AI Summary
Would you like to learn how to connect and use Kit with WPForms? With the Kit addon, you can easily send leads from your WordPress forms to your Kit account.
This tutorial explains how to install and use the Kit addon with WPForms.
Requirements:
- You’ll need a Plus or higher license to use the Kit addon
- Ensure that you’ve installed the latest version of WPForms to meet the minimum required version for the Kit addon
1. Installing the Kit Addon
Before you get started, you’ll first need to ensure WPForms is installed and activated on your WordPress site and that you’ve verified your license.
After that, you’ll be able to quickly install and activate the Kit addon.
2. Setting Up Kit Integration
After installing and activating the Kit addon, you’ll need to connect your site with your Kit account.
To do so, go to WPForms » Settings and then select the Integrations tab.

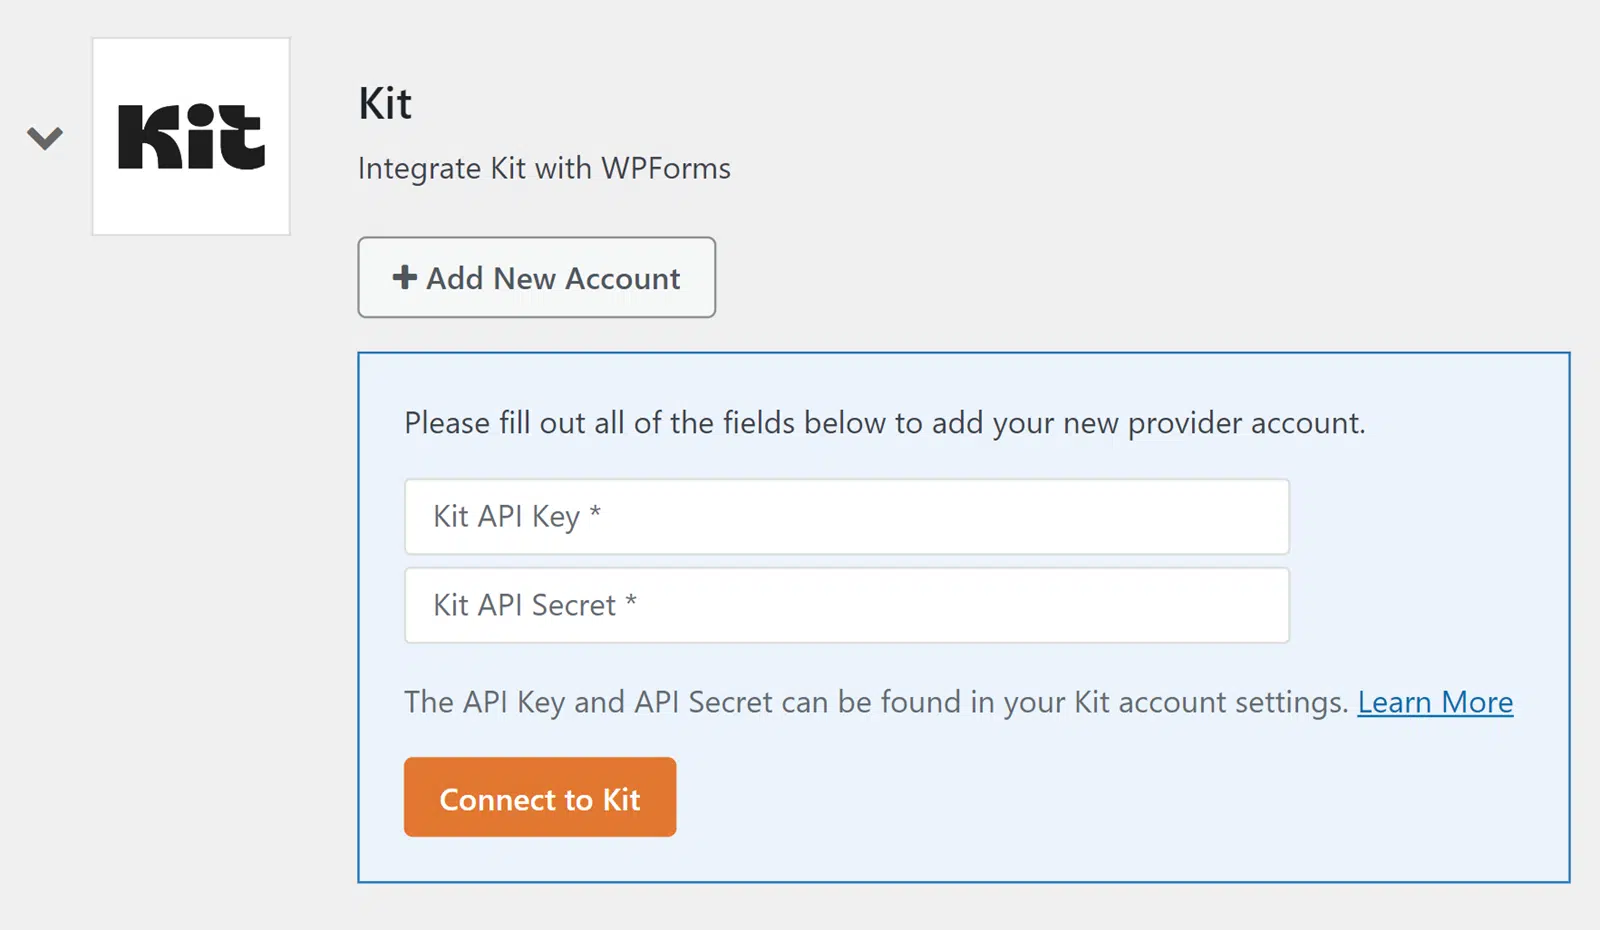
Next, click on Kit to reveal the details for this integration. Then click the + Add New Account button to connect your account.

You’ll need to enter the API Key and API Secret from your Kit account dashboard.
Keep this browser tab open, as we’ll return to it later.
Retrieving API Details
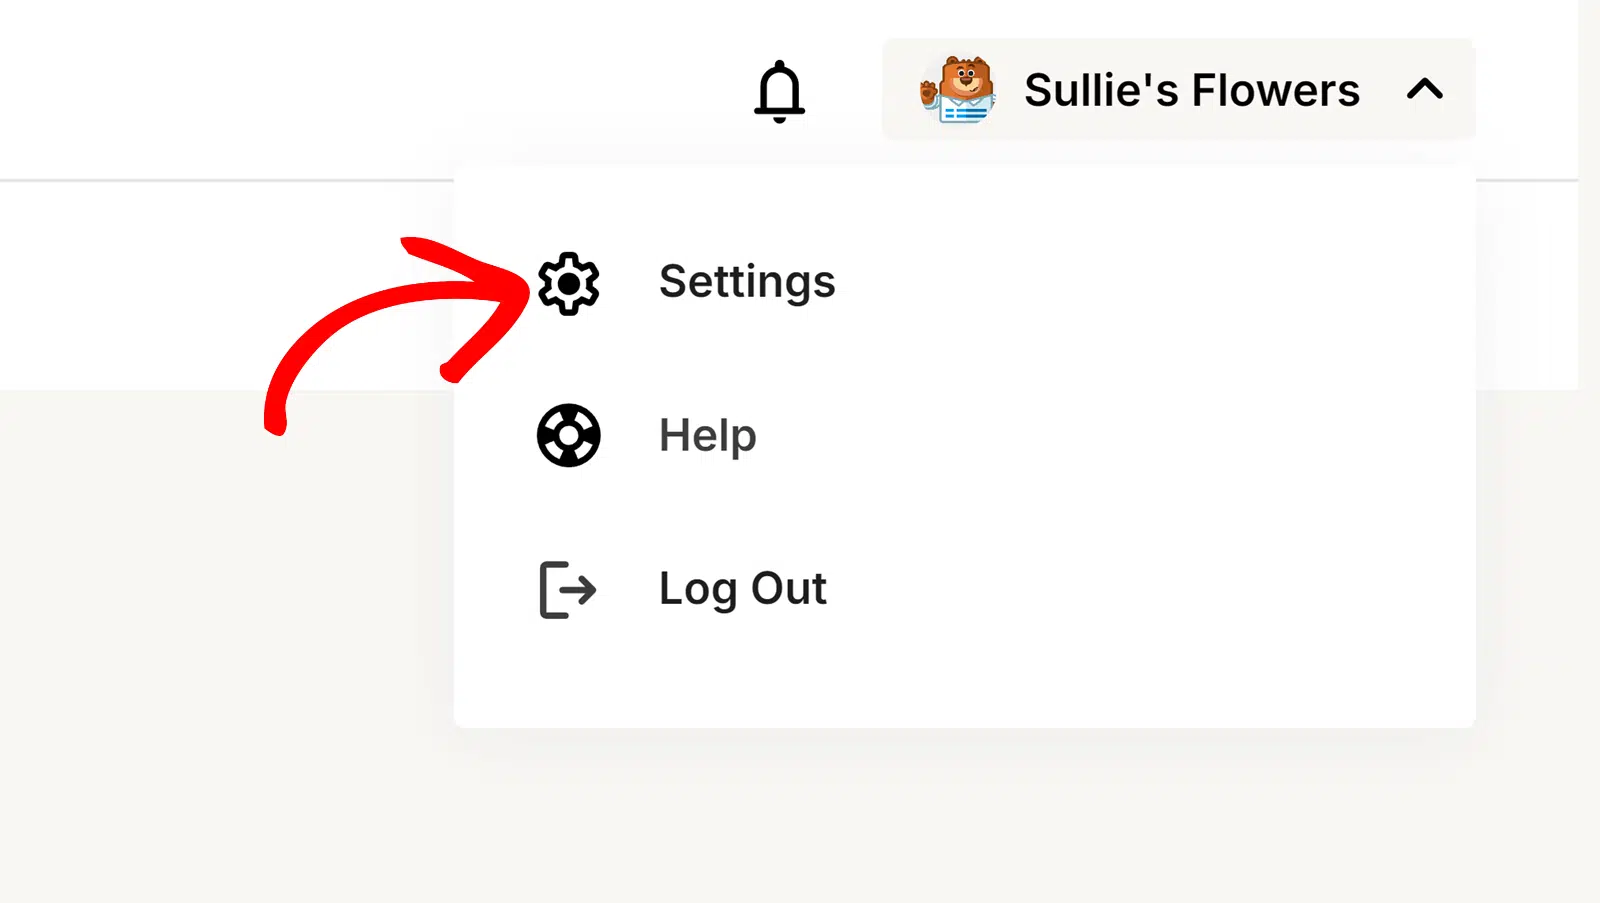
To get your API keys, log in to your Kit account dashboard. Next, click on your company name located at the top right corner and select Settings.
In the Settings page, scroll down and select the Developer option to open additional settings.
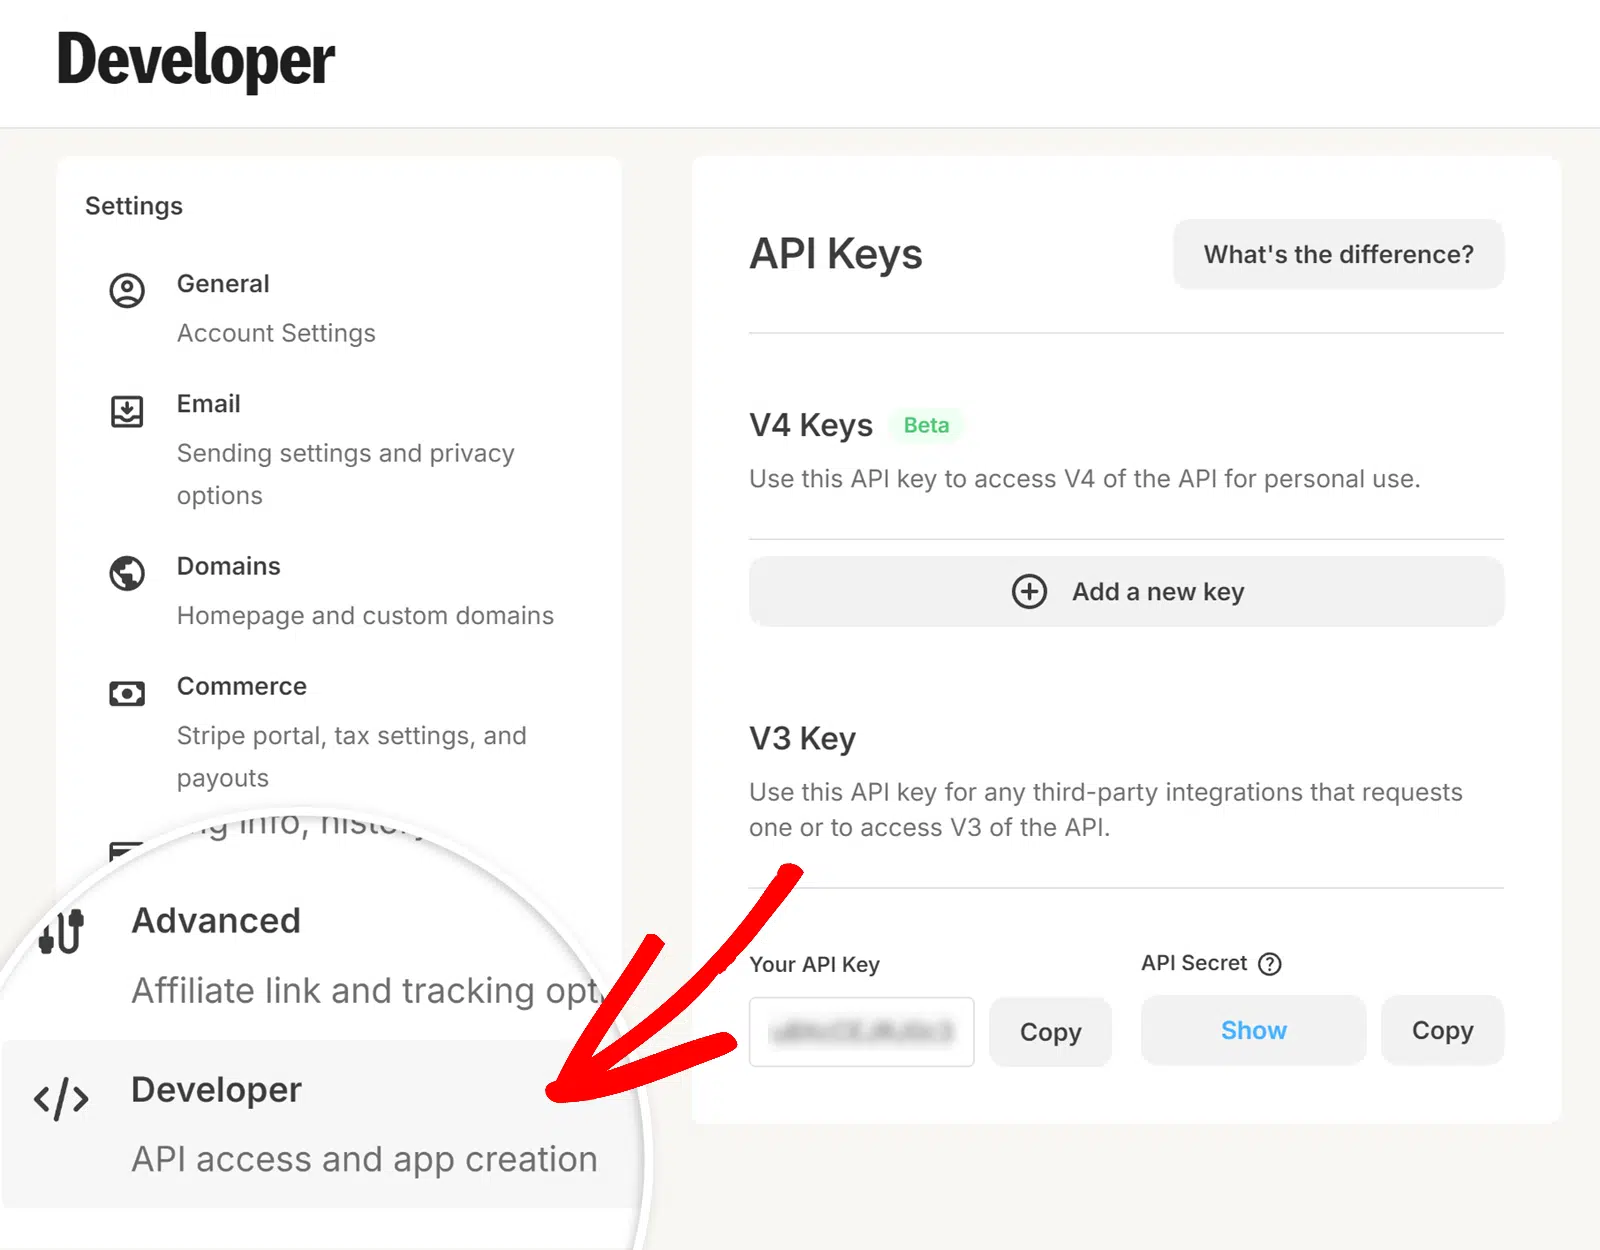
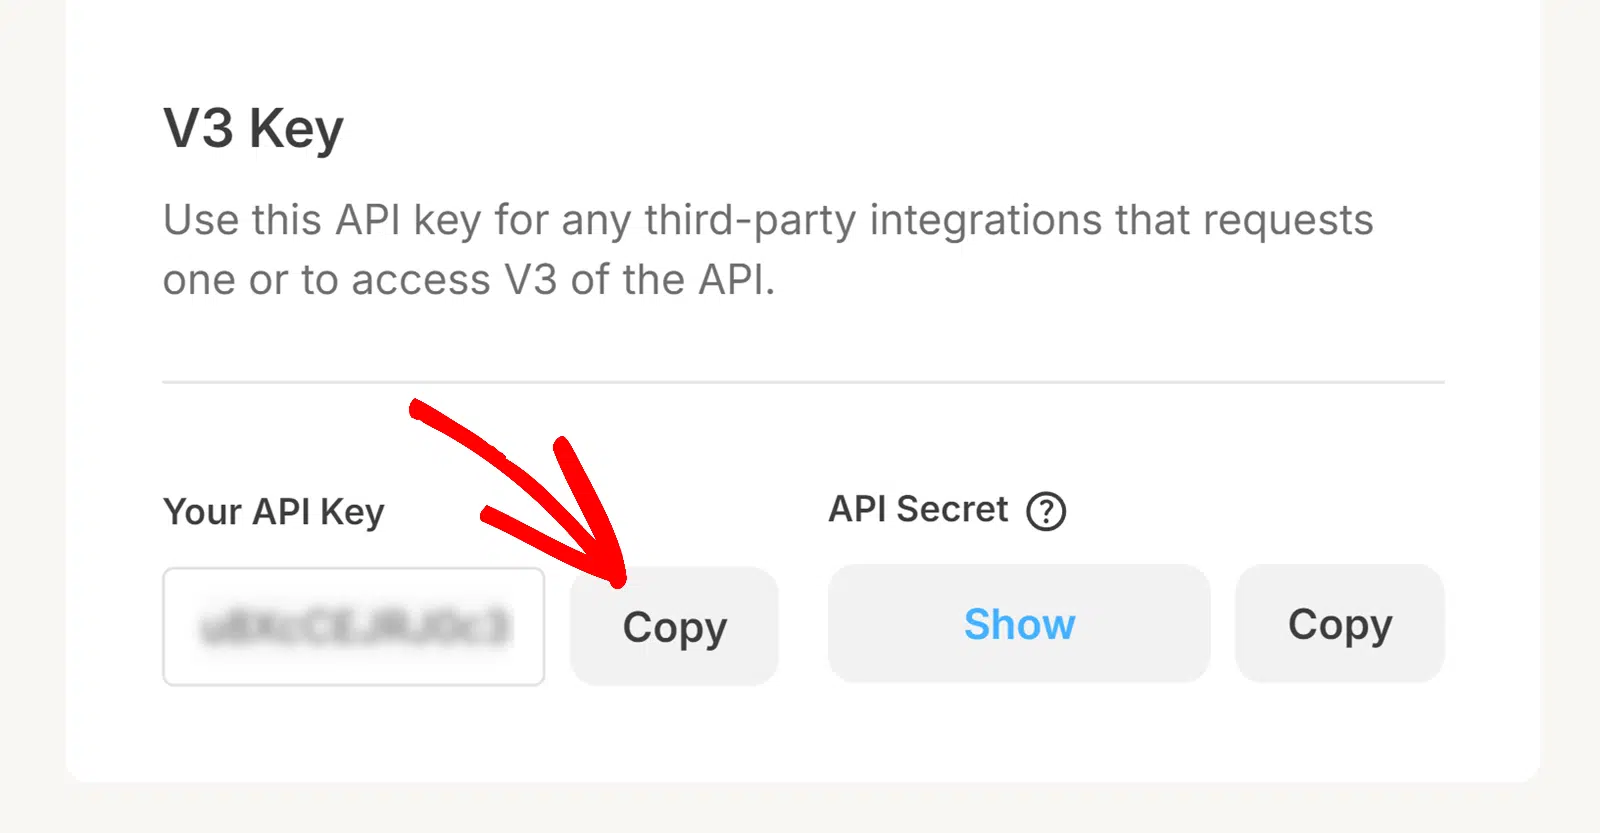
From there, you’ll see 2 API keys: Your API Key and API Secret in the V3 Key section.
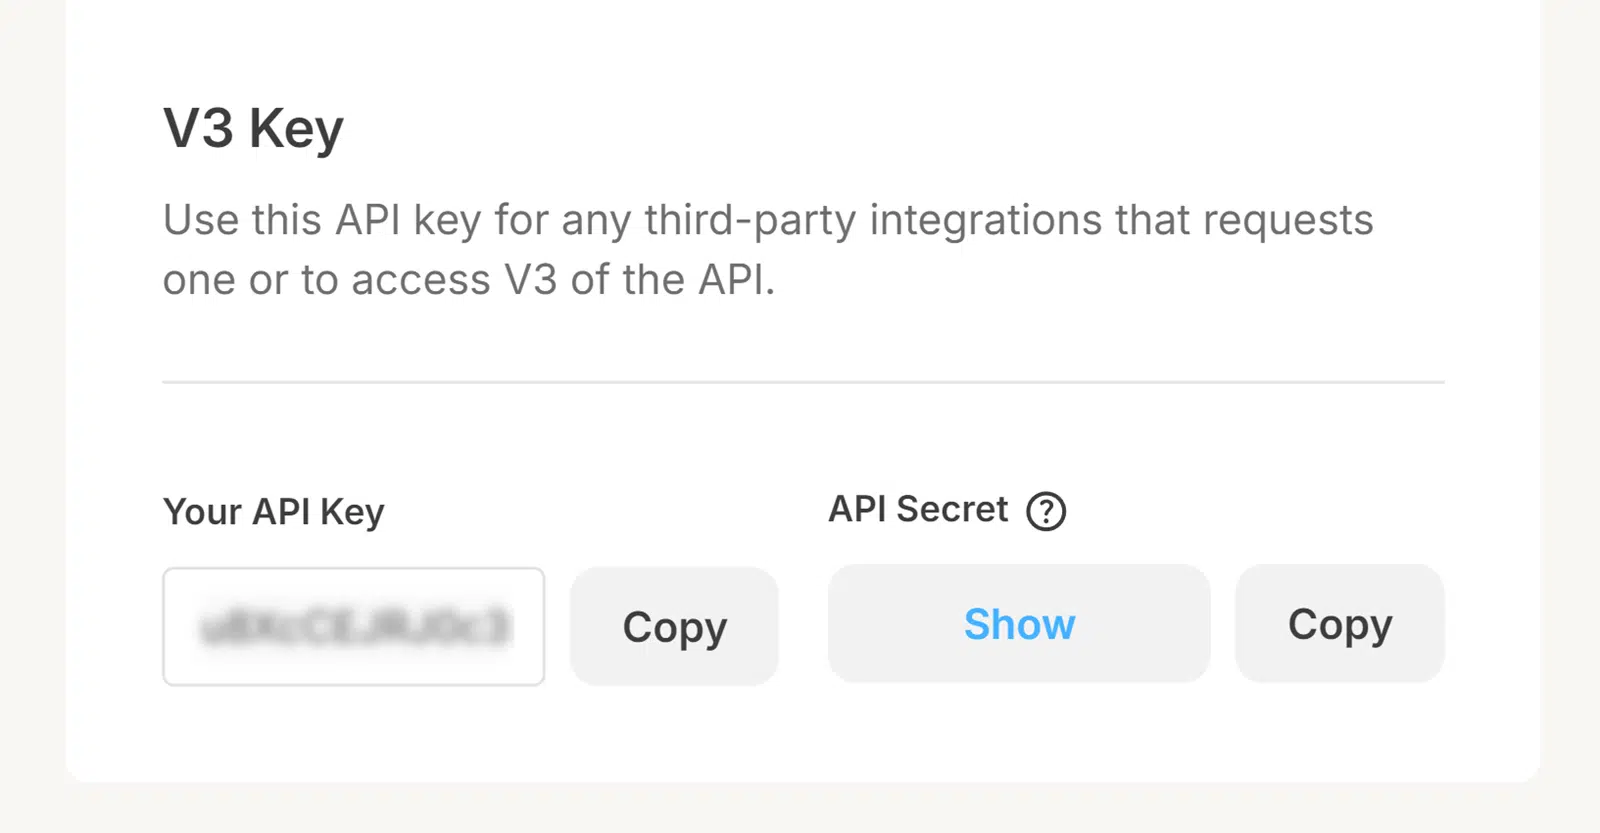
Click the Copy button next to Your API Key to copy the API Key.
Saving Your API Details in WPForms
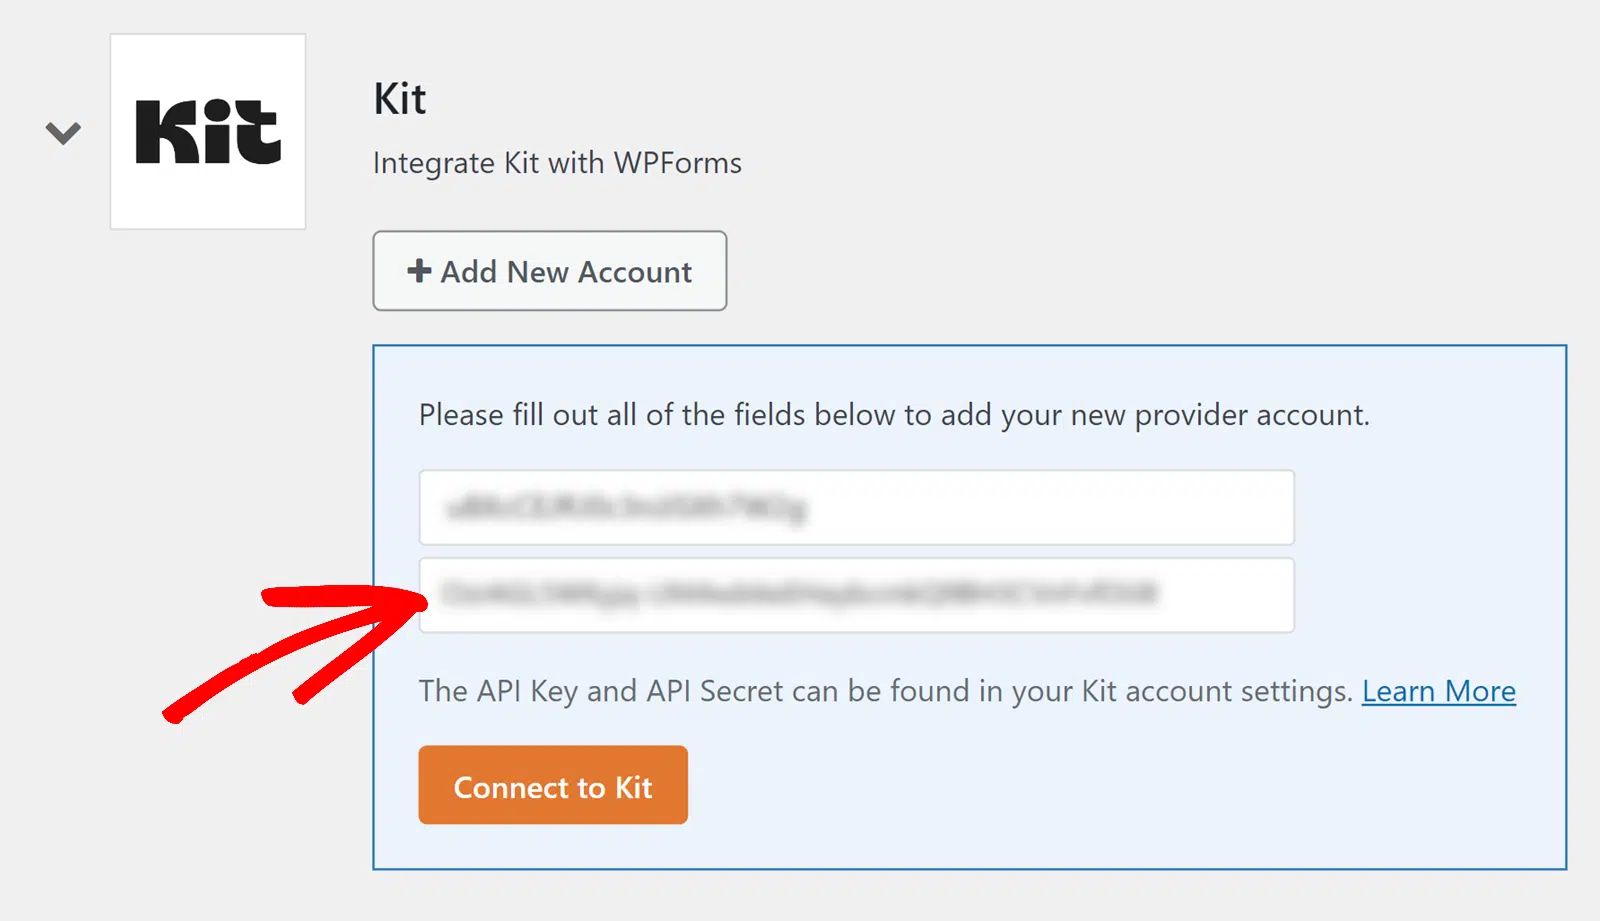
After copying your API key, return to the browser tab with WPForms open and paste the key you just copied into the Kit API Key field.
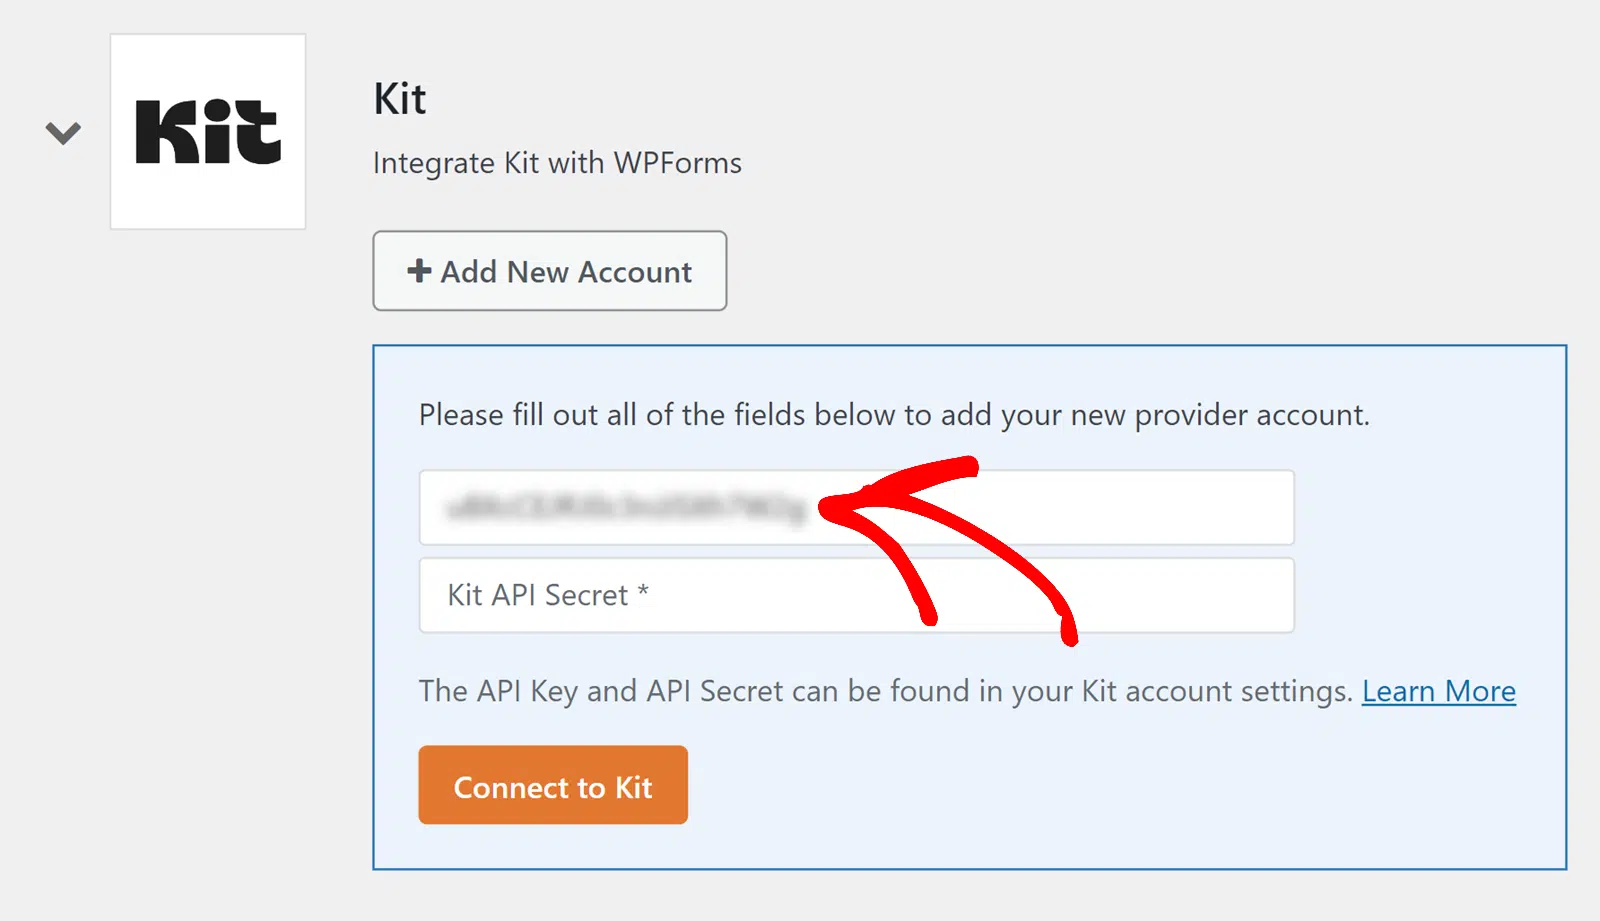
Similarly, you’ll need to copy your API Secret from Kit and paste it into the Kit API Secret field.
When you’re ready, click the Connect to Kit button to connect your account.
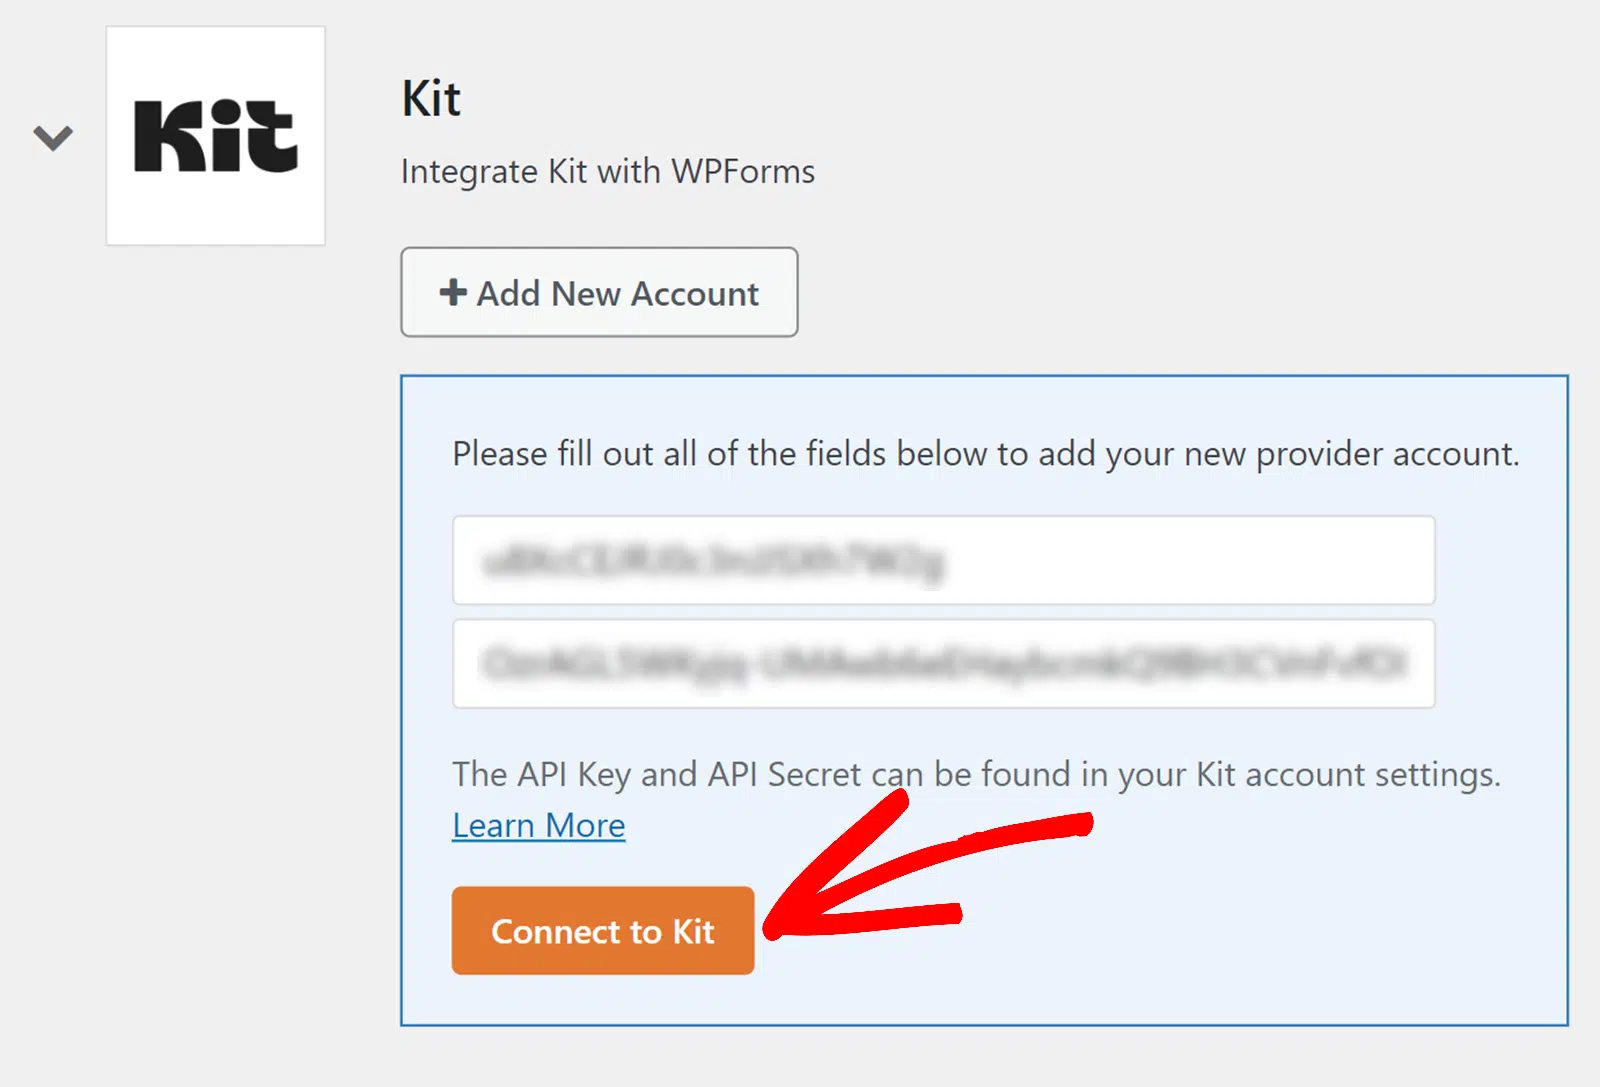
You should see Connected next to the addon name after saving your changes.
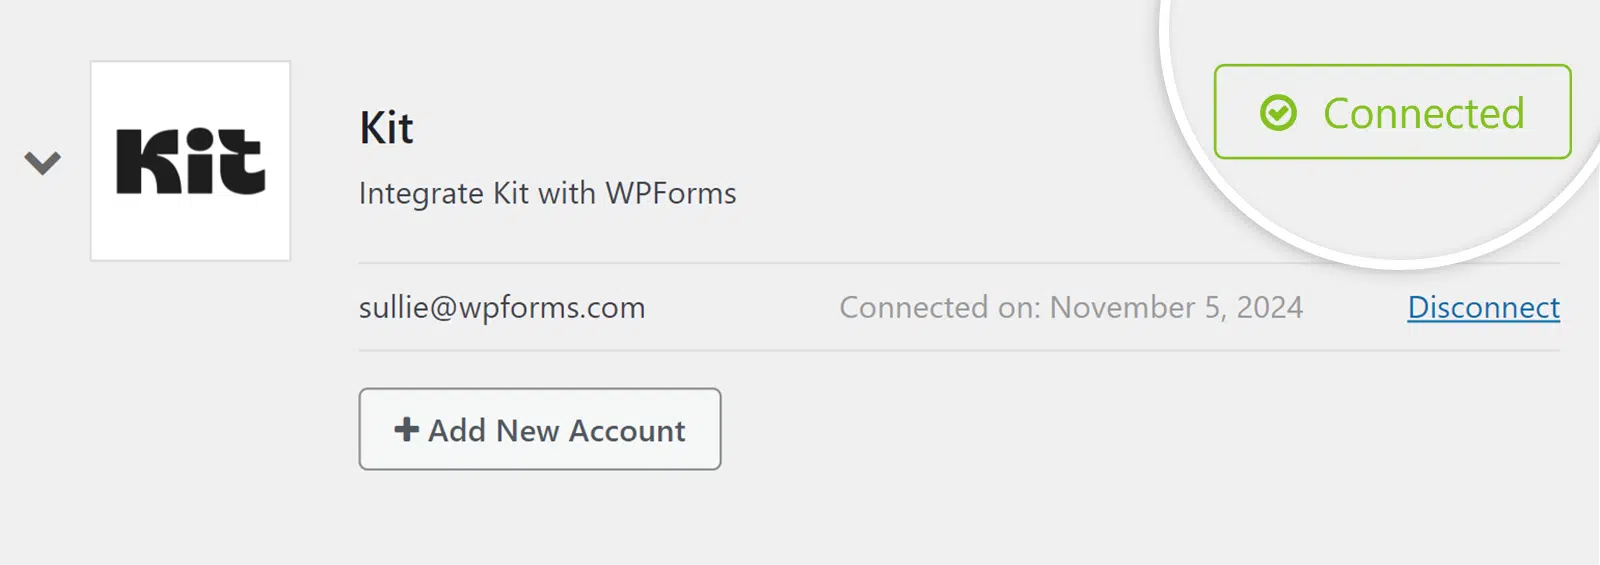
Note: You can connect multiple accounts to the Kit addon. To add an additional account, click the + Add New Account button and follow the same steps to retrieve and save your API keys.
3. Using Kit With Your Forms
After you’ve connected your account, you’ll be able to link Kit to your WordPress forms. To proceed, create a new form or edit an existing one to access the form builder.
Note: To see these features in action and get started quickly, you can use our pre-built ConvertKit Signup Contact Form Template as a foundation for your own form.
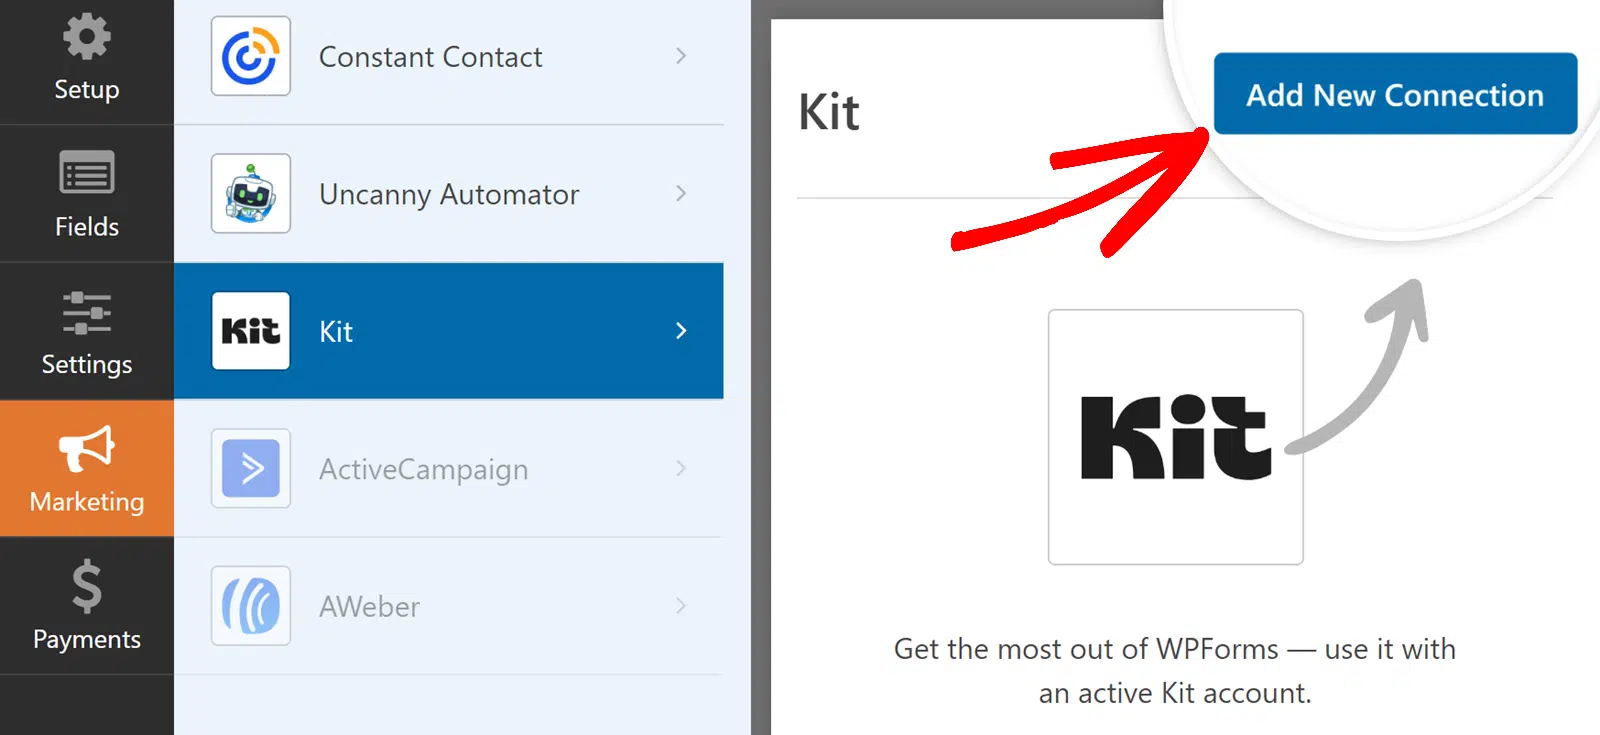
In the form builder, add the fields you’d like to include in your form. After that, go to Marketing » Kit to access the Kit configuration page.
Then, click on the Add New Connection button.
In the overlay that appears, enter a name for your connection. This name is for internal use only, so you can use any name you like.

Once you’ve named your connection, you’ll need to choose the account you connected under Select Account.

Note: You can create as many connections as you need. Simply click the Add New Connection button and select an account from the Select Account dropdown.
Choosing an Action to Perform
There are 3 available options to choose from:

Subscribe
This action lets you add a new contact to your mailing list. When selected, additional options will appear.

Below, we’ll explain the available options in more detail.
This field contains the user’s email you wish to add to your subscriber list. You’ll need to map this field to the Email field on your form.

New Email
This optional email field is particularly useful when you create a form allowing users to update their email address on your Kit account.

Kit will replace the subscriber’s email address with the one mapped to the New Email field.
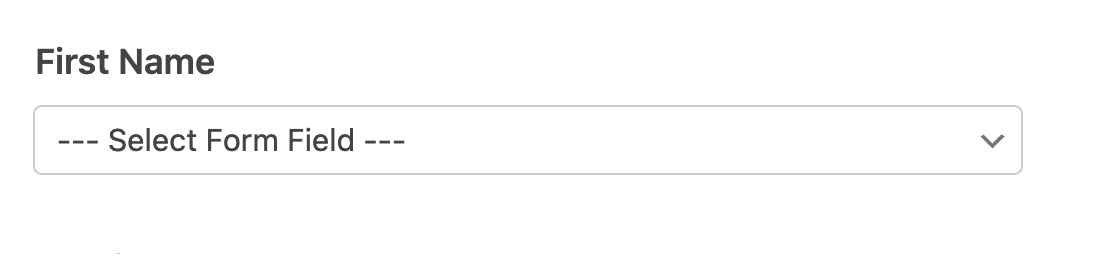
First Name
This is an optional field to capture the users’ name. This is useful if you’d like to send personalized emails to your subscribers.
Form
If you’ve created any form on your Kit account, you’ll be able to link the form to your WordPress form. To do so, click the Form dropdown and choose the form you’d like to connect with your WordPress form.

Tags
Tags allow you to segment your subscribers into groups. For example, you can group users who have shown interest in a particular product and then send promotional emails to the user group.

If you’ve set up tags on your Kit dashboard, you’ll be able to choose any of them from the Tags dropdown.
New Tags
WPForms lets you create new tags that’ll be added to your Kit account. You simply need to enter the tag name in the New Tags field.

Note: If you’d like to create multiple tags, enter the tag names in the New Tags field and separate each tag with a comma.
Custom Fields
When the Subscribe action is selected, you’ll be able to map any of your form’s Field Values to Kit custom fields.

Unsubscribe
This action allows you to remove a contact from your mailing list without deleting their information from your account.

When you choose the Unsubscribe action, you only need to select the email field from your form.

Once the form is submitted, the email address matching the one submitted through your form will be unsubscribed from your mailing list.
Remove Subscriber’s Tags
Use this option if you’d like to delete a subscriber from a specific tag(s) on your Kit account. Once selected, you’ll need to map the email field on your form to the Email field in Kit.

Next, you’ll need to choose the tag(s) you’d like to remove the user from in the Tags field.

Enabling Conditional Logic
Conditional logic allows you to configure rules that must be met for the connection to work. Once you enable it, you can set any rule(s) you like following WPForms conditional logic system.

For example, we can add the Checkboxes field with one option requesting the users’ permission before adding them as subscribers.
Then in the conditional logic block, we set the rule to process this connection if Join Our Newsletter? is Yes.

Note: For more details on using conditional logic in WPForms, we recommend checking out our conditional logic tutorial.
That’s it! Now you know how to install and use the Kit addon with WPForms.
Next, would you like to learn how to create a dedicated lead-capturing form? Check our tutorial to learn how to use the Lead Forms addon.