AI Summary
Would you like to add users to your Brevo lists through your WordPress forms? With the Brevo addon for WPForms, you can easily track events and subscribe, unsubscribe, or delete users in your Brevo account each time someone submits your form.
This tutorial will show you how to install and use the Brevo addon in WPForms.
Requirements:
- You will need a Plus license level or higher to access the Brevo addon
- Ensure that you’ve installed the latest version of WPForms to meet the minimum required version for the Brevo addon
Note: Brevo was formerly called Sendinblue. The functionality in our addon remains the same and is unaffected by the change of branding.
Before getting started, you’ll first need to make sure WPForms is installed and activated on your WordPress site and that you’ve verified your license. You will also need to sign up for a Brevo account if you don’t already have one.
Installing and Configuring the Brevo Addon
Once the core WPForms plugin is in place and your license is verified, go ahead and install and activate the Brevo addon.
After installing the Brevo addon, you’ll need to connect WPForms to your Brevo account. To do this from the WordPress dashboard, you’ll need to go to WPForms » Settings and click on the Integrations tab.

Then, click on the Brevo integration to expand its settings. From here, click the Add New Account button.

This will reveal 2 fields where you’ll need to add your Brevo account API key, as well as a nickname for the account.

Accessing Your Brevo API Key
To find your API key, first log in to your Brevo account. Once you’ve logged in, click on the main menu, which is located on the top right corner of the page, then select SMTP & API.

This will open a page where you can create a v3 API key. Switch to the API tab by clicking API Keys.

Next, click on the words Click here in the text that reads “Click here to generate your first API key” to create your v3 API key.

Now, in the overlay, go ahead and name your API key and click the GENERATE button.

On the next screen, you’ll see your new Brevo API key. Go ahead and click the copy icon to copy your API key.

Note: Be sure to copy your Brevo API key and store it somewhere safe as you won’t be able to view it again after you close the overlay.
Adding Your API Key to WPForms
After you’ve copied your API key, head back over to your WPForms settings and paste your key into the Brevo API Key field.

Then, add a nickname to the Brevo Account Nickname field. This is for internal reference only and can be helpful if you later decide to connect additional Brevo accounts.

When you’re ready, go ahead and click the Connect to Brevo button.

WPForms will now connect your site to your Brevo account. When it’s finished connecting, it will show a green Connected status next to your Brevo integration.

Adding a Brevo Integration to Your Forms
Once you’ve successfully connected your Brevo account, you’re ready to link it to a form. To do this, you’ll first need to create a new form or edit an existing one to open the form builder.
In the form builder, go to Marketing » Brevo. Then, click on the Add New Connection button.

Clicking this button will open an overlay where you can provide a nickname for this connection. You can enter any nickname you’d like, as this is for internal reference only.
Go ahead and click OK once you’ve added a connection nickname.

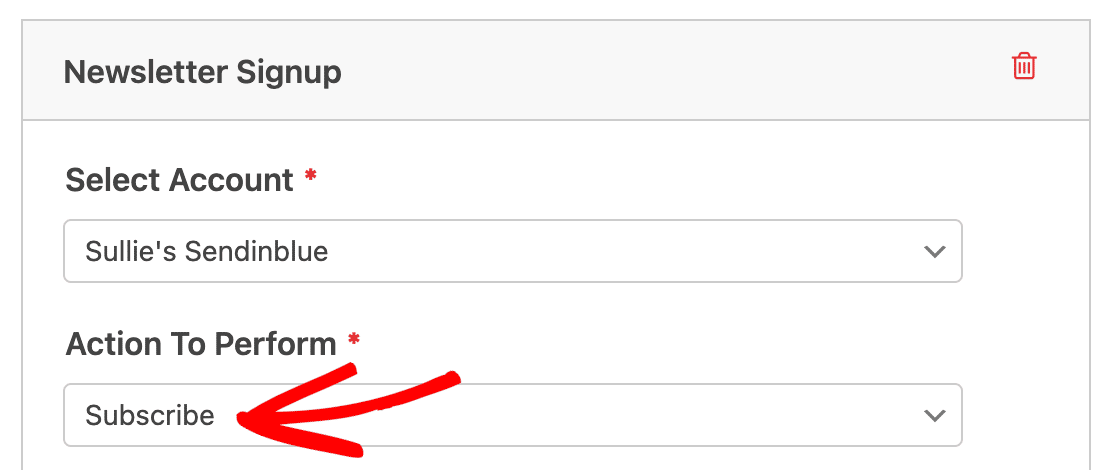
After naming the connection, you’ll need to select an account and choose an action to perform when someone submits your form.

- Select Account: Choose from any of the Brevo accounts you’ve connected.
- Action To Perform: Select the action you want to execute when a user fills out this form. The option selected here will also determine which additional settings are displayed.
We’ll cover each of the available actions, and their related options, in more detail below.
Subscriber: Create or Update
This action will simply add a new subscriber to a Brevo list or allow you to update an existing subscriber.
Once you’ve selected an action to perform, additional configuration settings will appear.
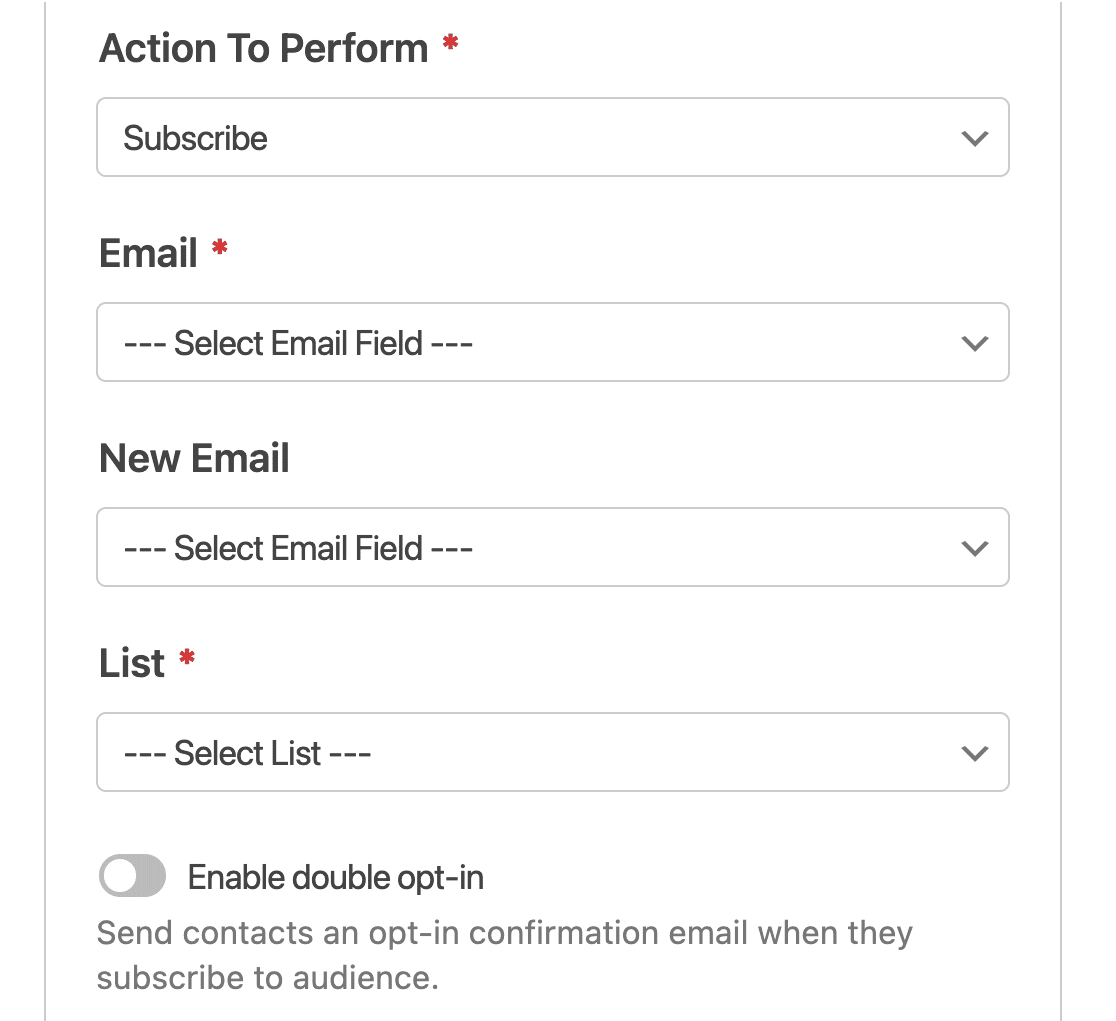
We’ve outlined each option below, with the required fields marked with an asterisk (*).
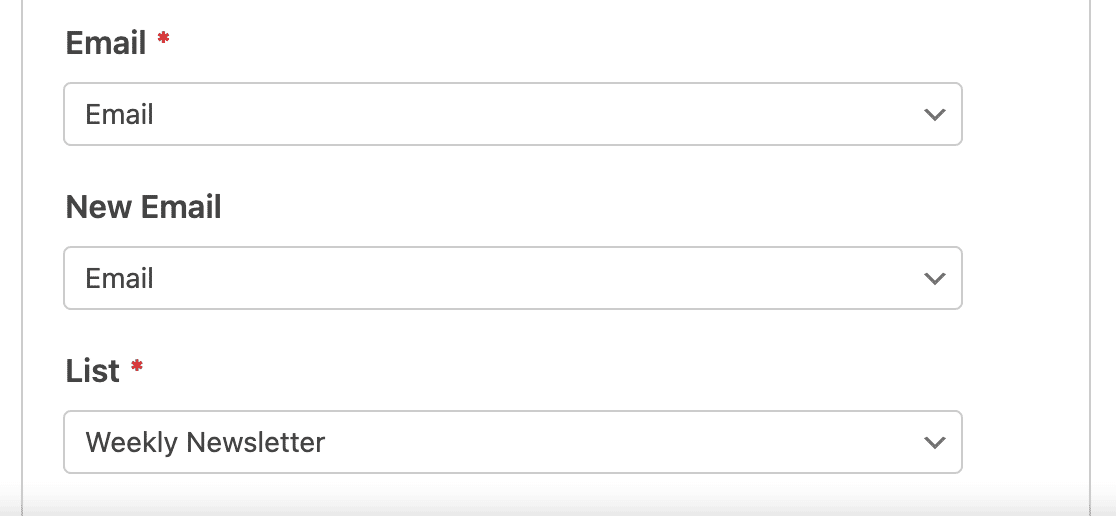
- Email:* Select the WPForms field that will contain the subscriber’s email address.
- New Email: Select the WPForms field that would contain the new email address of the subscriber. This field is only necessary when updating an existing contact in Brevo, so for our example, we’ll leave this field blank.
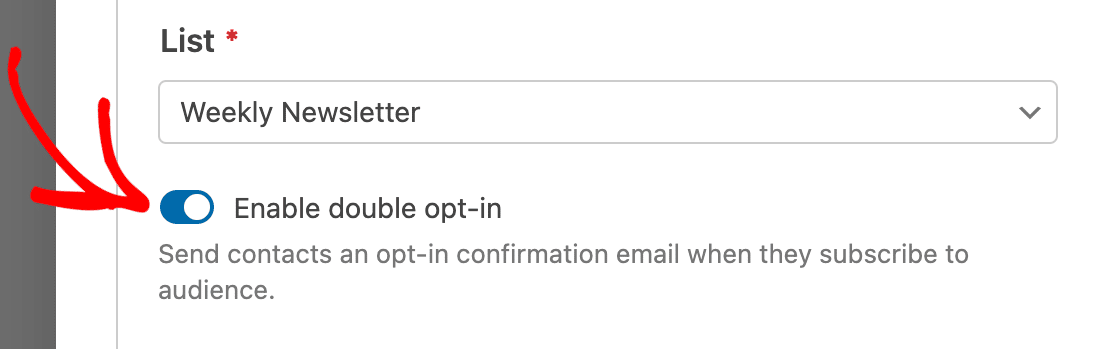
- List:* Select the Brevo list that you’d like the subscriber to be added to.
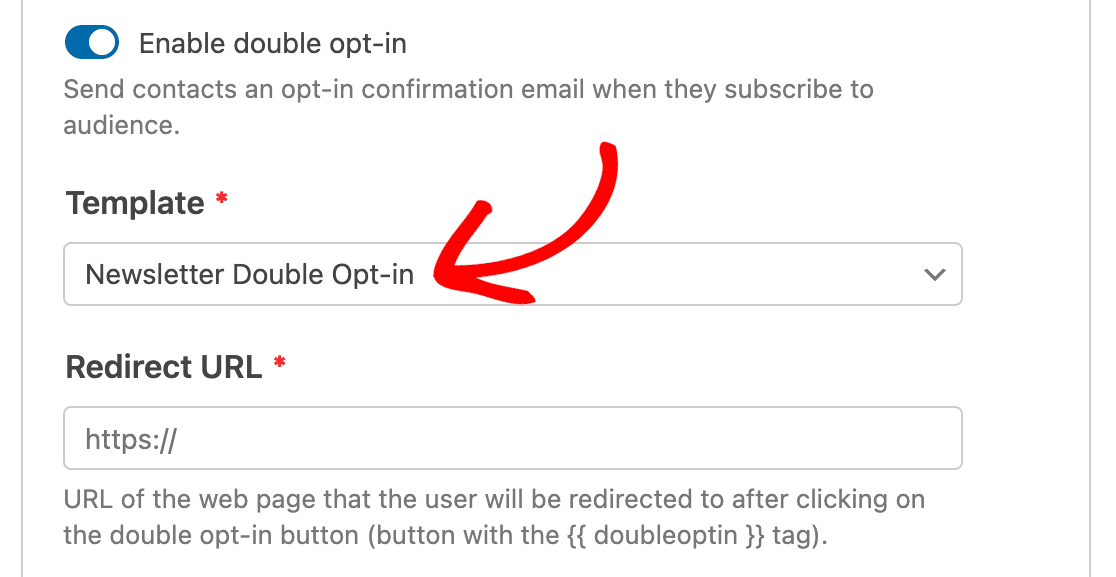
- Enable double opt-in: Toggle on if you’d like to send the subscriber a confirmation email before they’re added to a list in your Brevo account. This improves deliverability and contributes toward legal compliance in Europe (GDPR).
Note: Using double opt-in requires further configuration. To learn how to send a double opt-in confirmation email, see the Creating a Double Opt-In Confirmation Email section.
If you’d like, you can also map any custom fields you’ve added to your Brevo account under the Custom Field Name section.

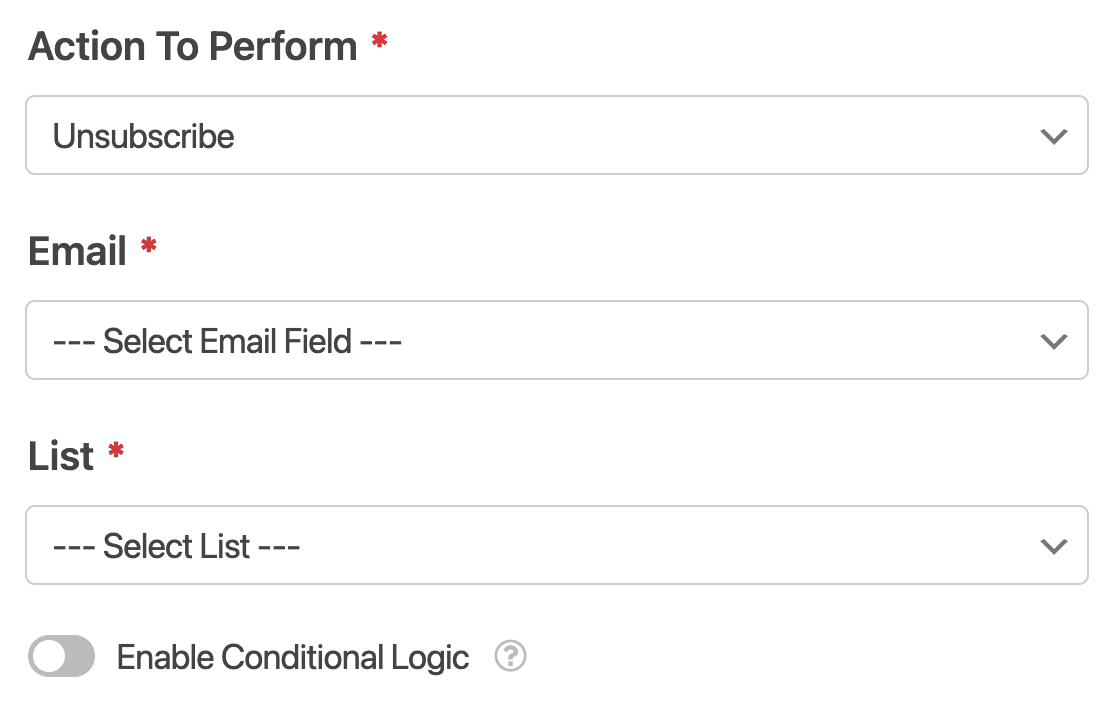
Subscriber: Unsubscribe
This action will allow your subscribers to remove themselves from your Brevo list. However, their user record will still be available in your Brevo account.
Subscriber: Delete
This action should only be used if your form is specifically intended to allow subscribers to delete themselves entirely from your Brevo account.
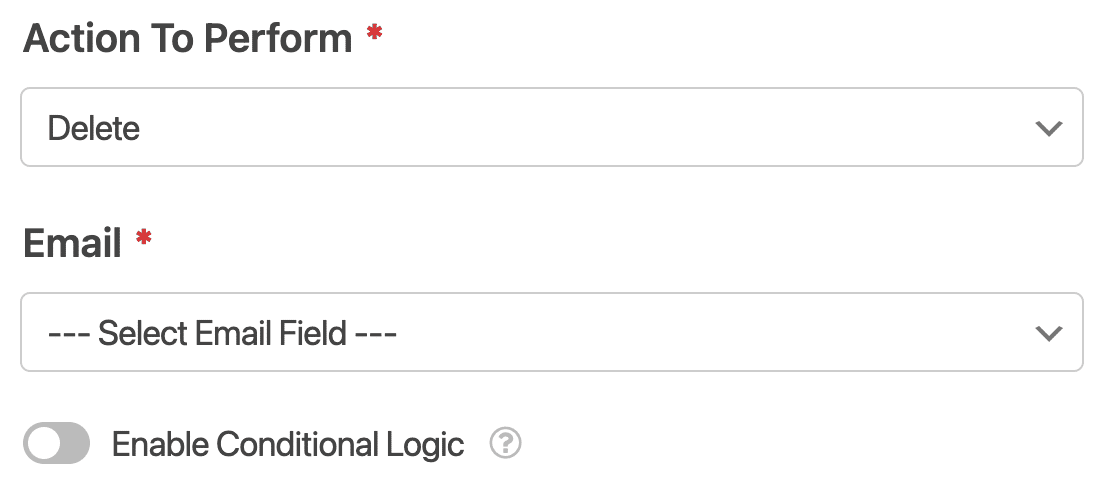
Note: If you’re setting up this option to help comply with GDPR, be sure to disable entry storage for this form (in the form builder under Settings » General). This will allow you to avoid storing additional records related to the user.
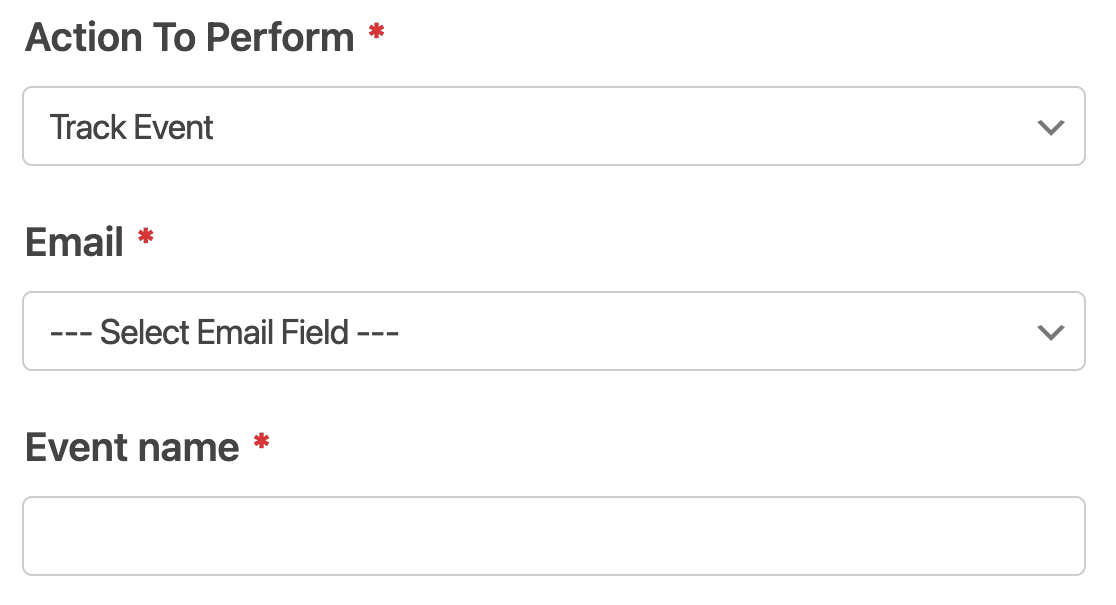
Event Tracking
Event Tracking allows you to record data about the behavior of your contacts. For example, you may want to trigger an automation in your Brevo account for any user who submits a specific form.
Once you’ve configured all your settings, be sure to save your form.
Creating a Double Opt-In Confirmation Email (Optional)
Note: Before you can send double opt-in emails, you’ll need to enable support for sending transactional emails in your Brevo account. To enable this feature, see Brevo’s documentation on activating Brevo (Sendinblue) SMTP, or ask the Brevo support team to enable it for you.
Creating a double opt-in email confirmation is an email marketing strategy that ensures excellent deliverability and contributes toward legal compliance in Europe (GDPR).
To create a double opt-in email confirmation, you’ll need to create a new email template in Brevo. To do this, go to Transactional » Templates from the left sidebar of your Brevo account dashboard.

On the next screen, go ahead and click on the New Template button in the top right corner.

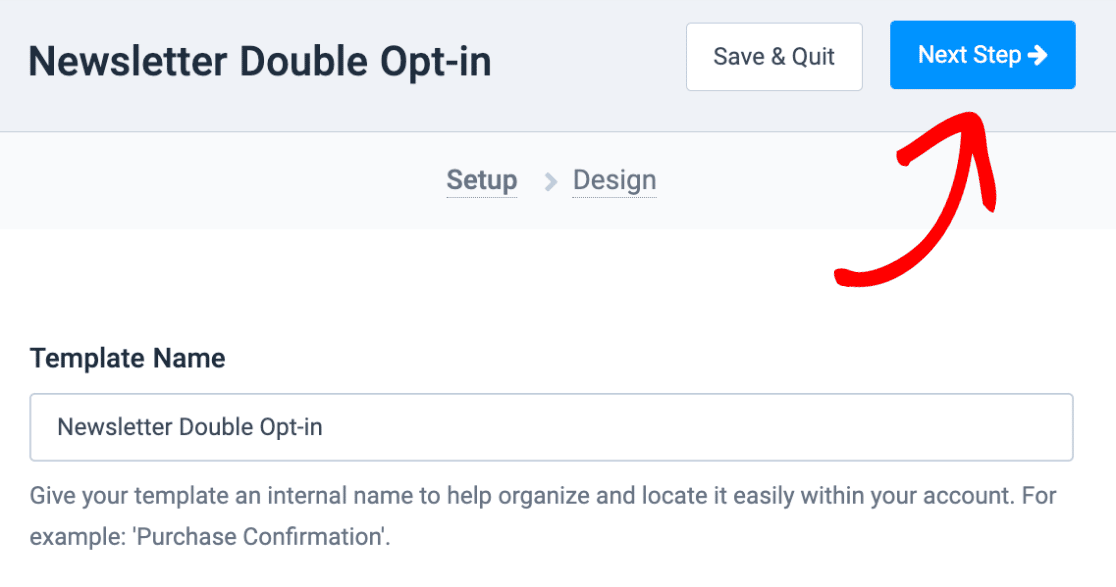
Then, fill out the required Template Name, Subject Line, and Preview text fields. These fields will be visible in the email that’s received by the person who filled out your form.
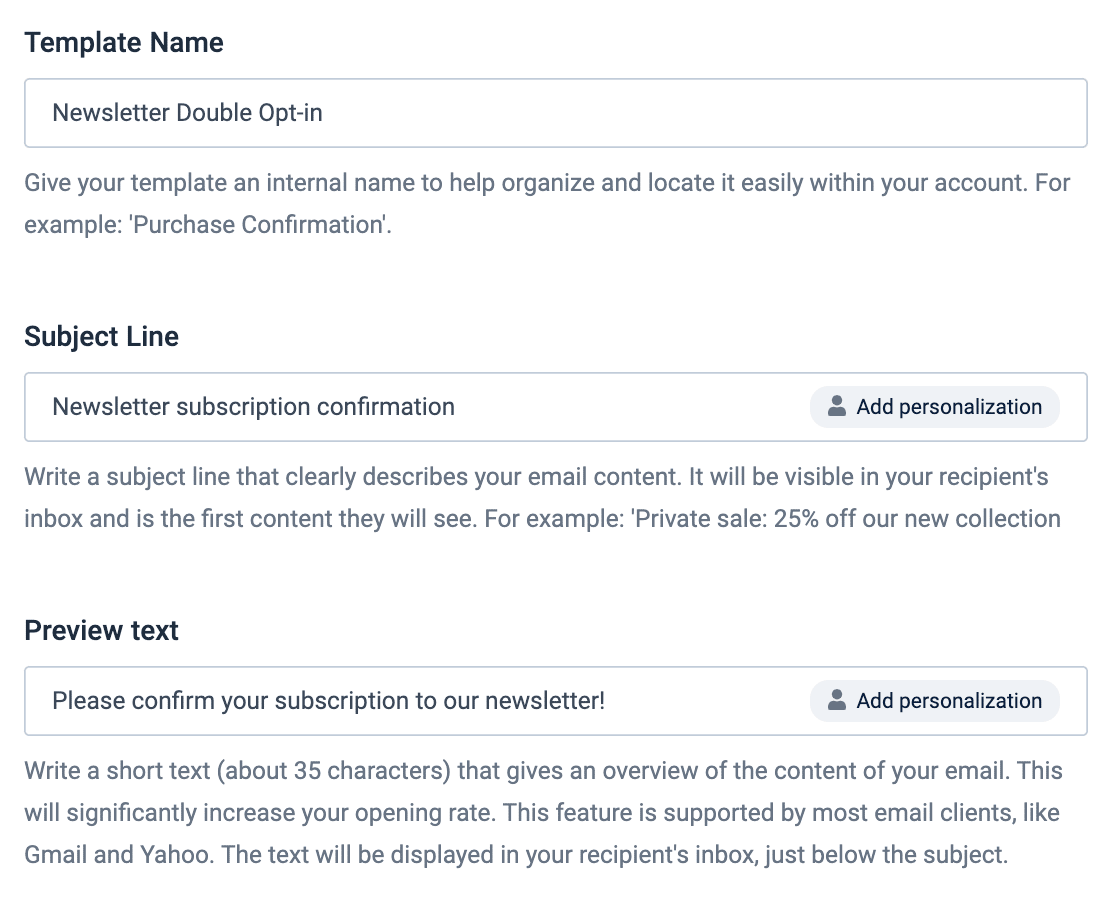
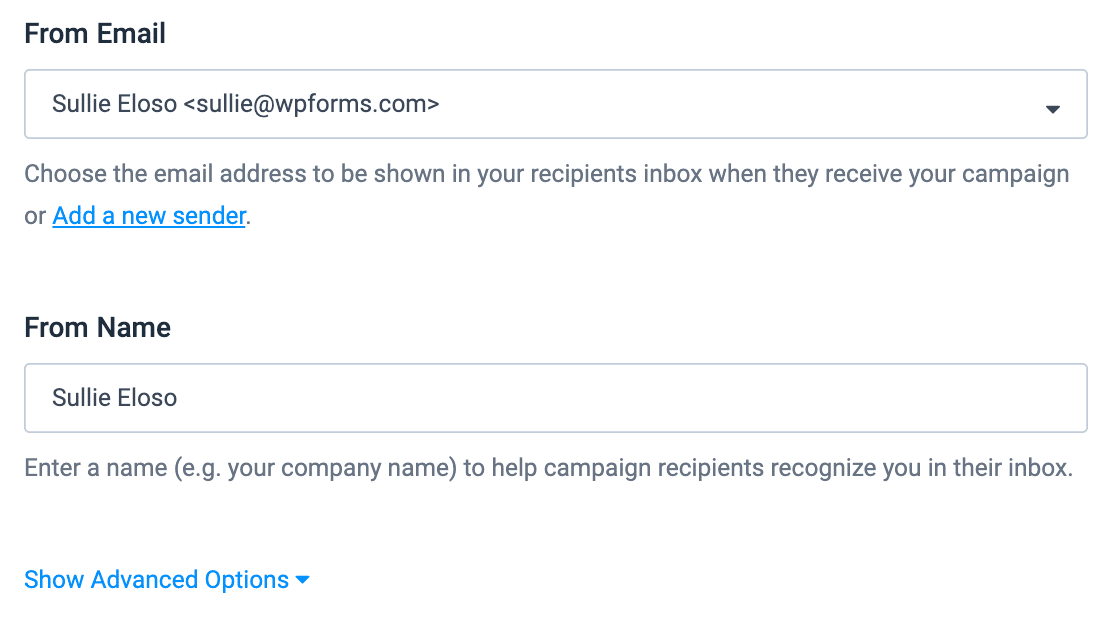
Next, choose a From Email. This is the email address that will be shown in the recipient’s inbox when they receive your confirmation email. You can also add a From Name to help the recipient identify who they’re receiving the email from.
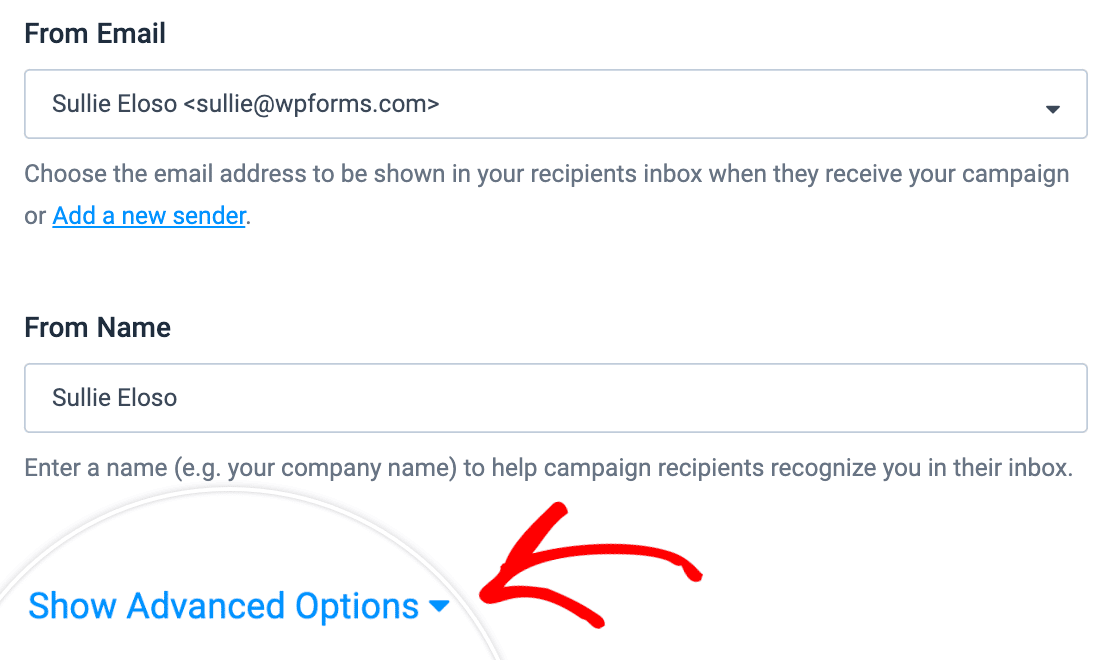
Once you’ve filled out the template details, click on Show Advanced Options at the bottom of the page.
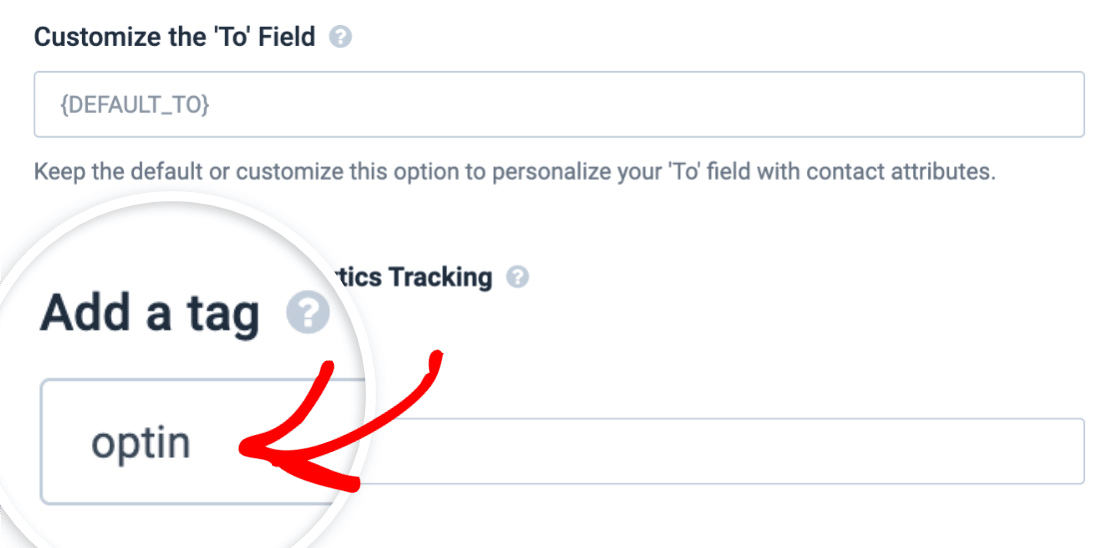
In the Add a tag field that appears, add the optin tag.
Note: Adding the optin tag is required for your double opt-in confirmation to work.
After you’ve added the optin tag, click on the Next Step button located at the top right of the page.
On the next screen you’ll see different options for building an email template. You can choose a premade template to help get you started, or you can even code your own.
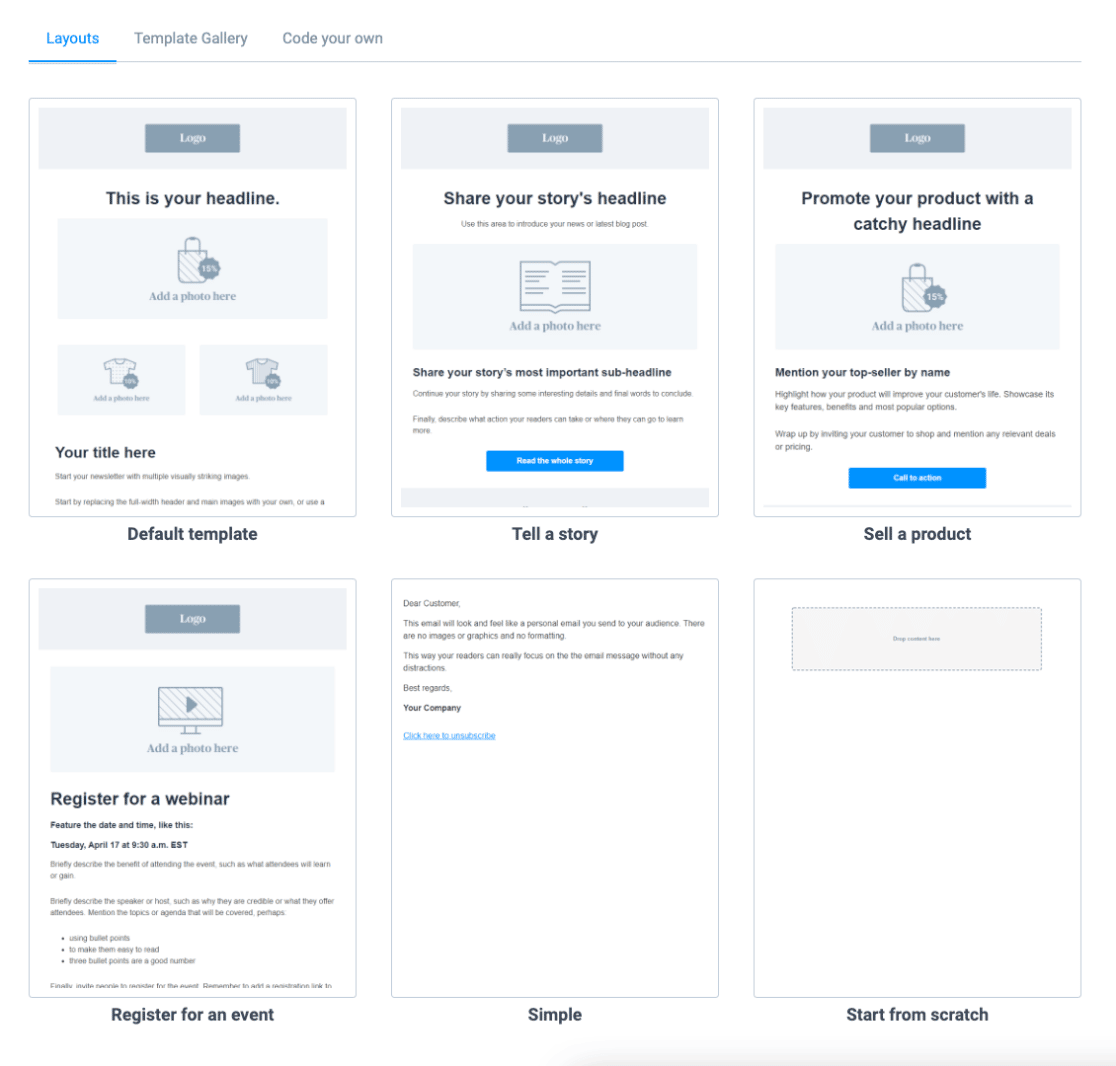
For our example, we’ll select the Start from scratch template so we have complete control of the layout.

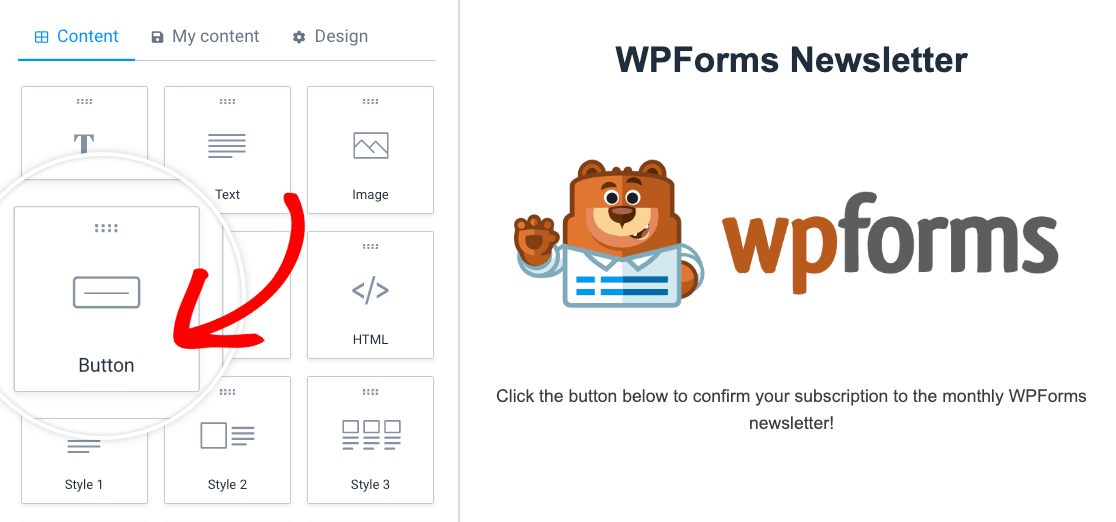
Feel free to customize your email template however you see fit. However, a button is required for the double opt-in feature to work so the email recipient can confirm their subscription.
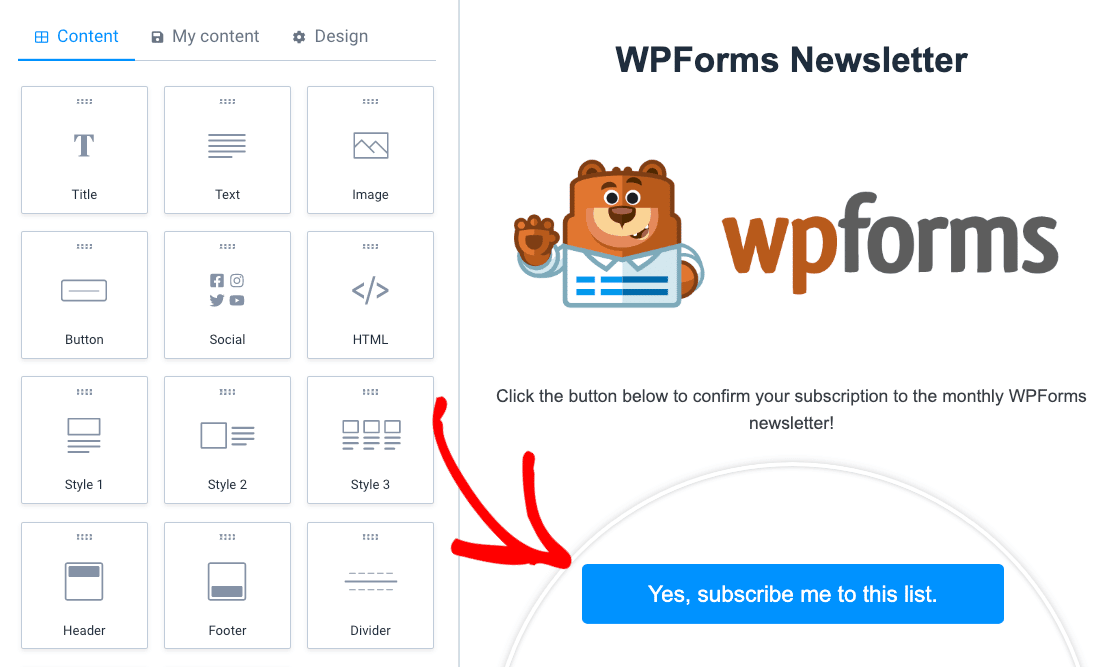
To add a button to the template, simply drag and drop the Button block to the template preview area.
Next, click on the button you’ve created to display the button settings.
Then, in the button settings that appear, click the link icon to add a link.
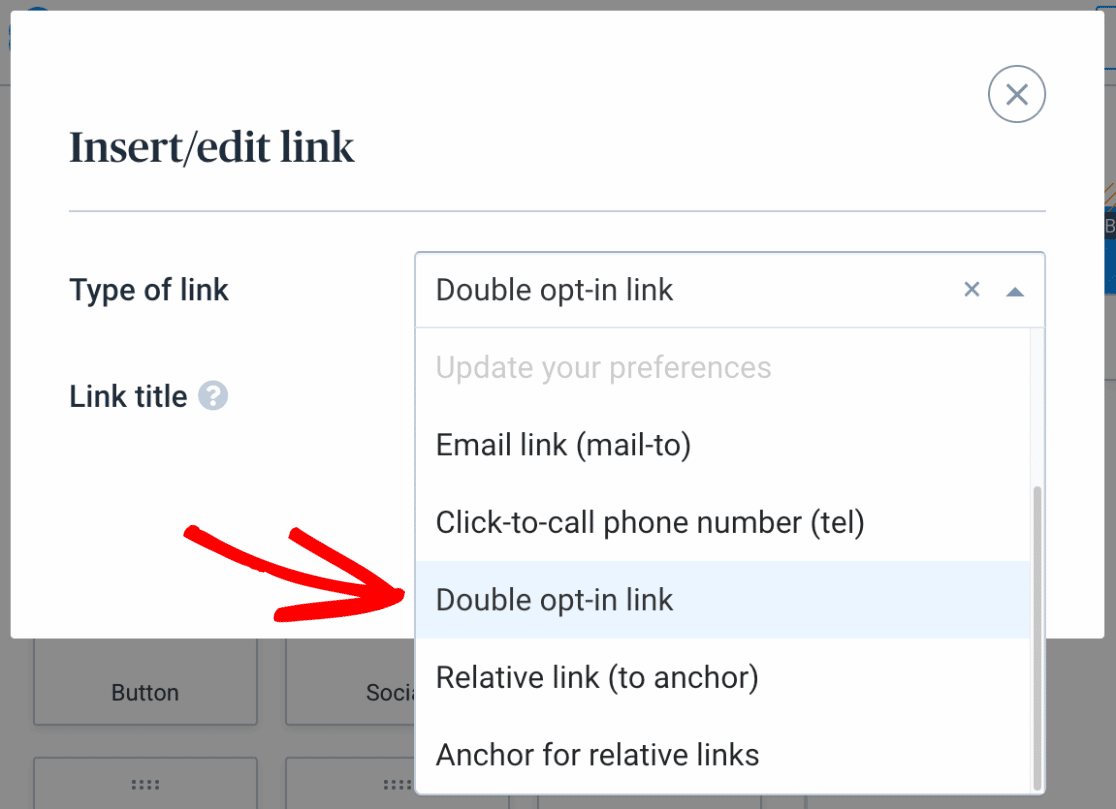
A modal window will now appear where you can insert a link for the button. Be sure to select Double opt-in link from the dropdown field next to Type of link.
If you’d like, you can add an optional link title, which will appear as a tooltip when a user hovers over the button.
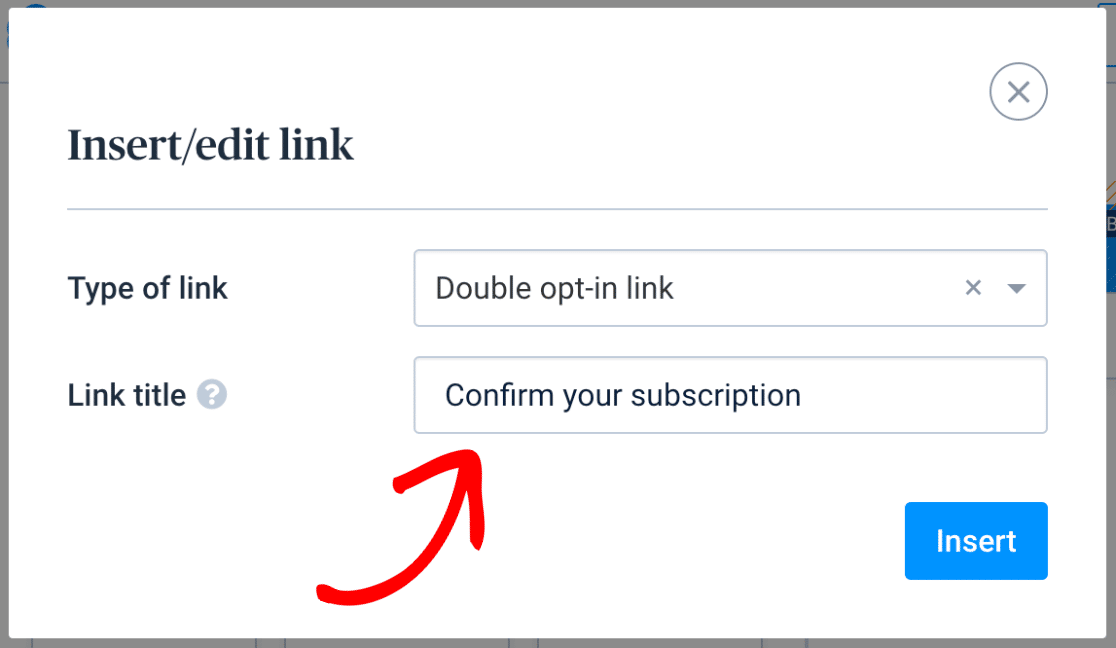
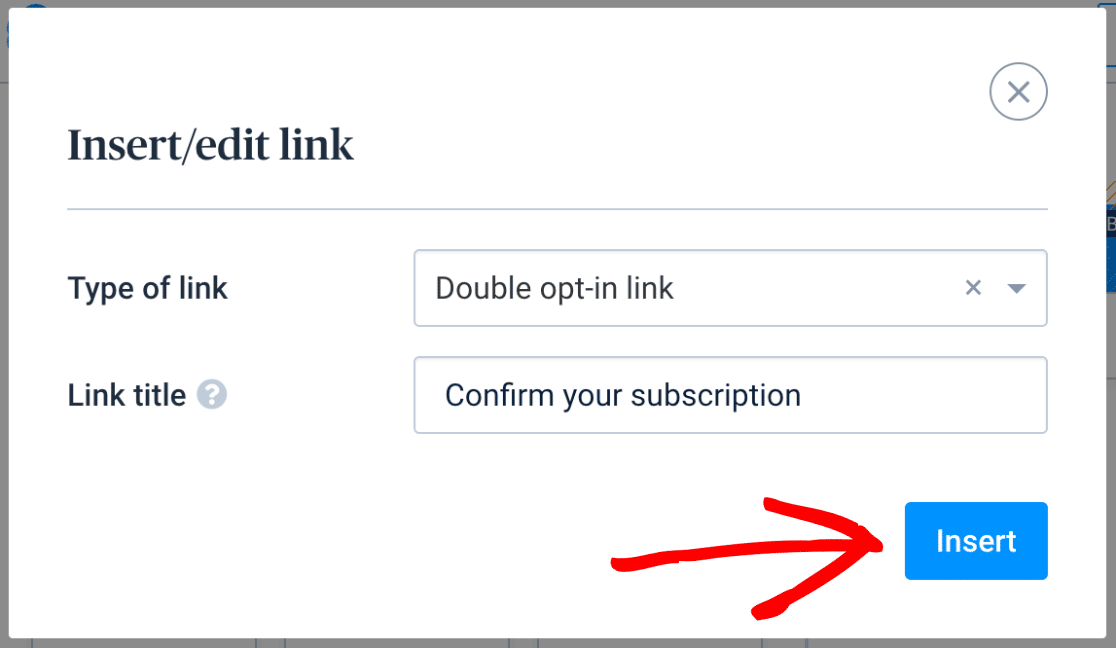
When you’re ready, go ahead and click the Insert button to save your settings and close the modal window.
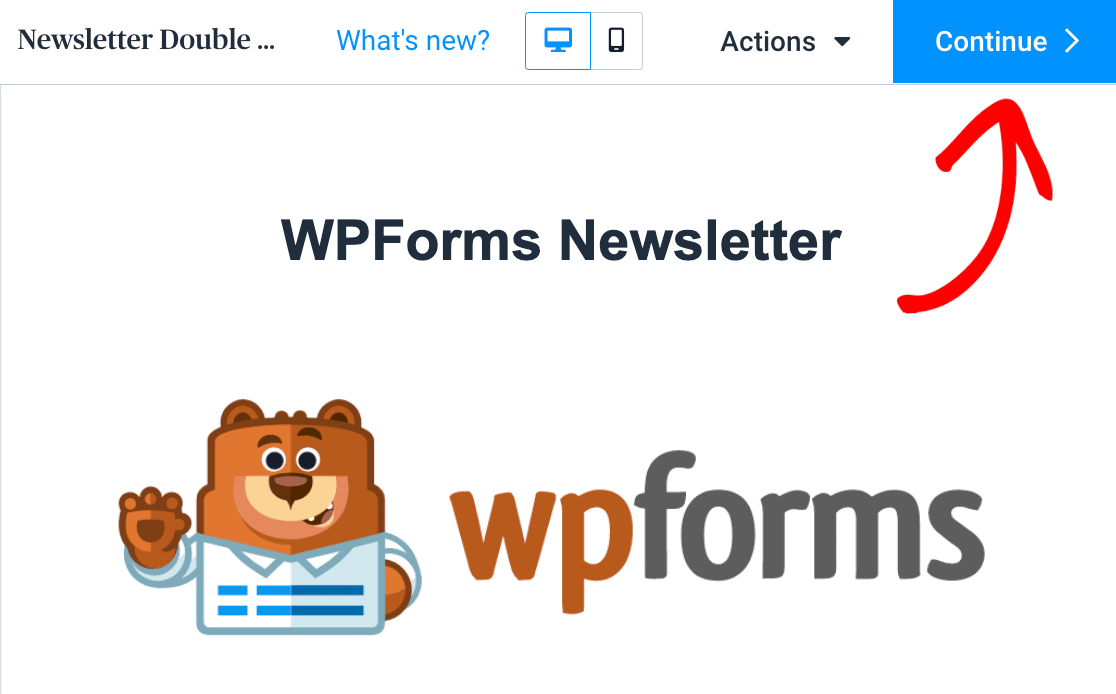
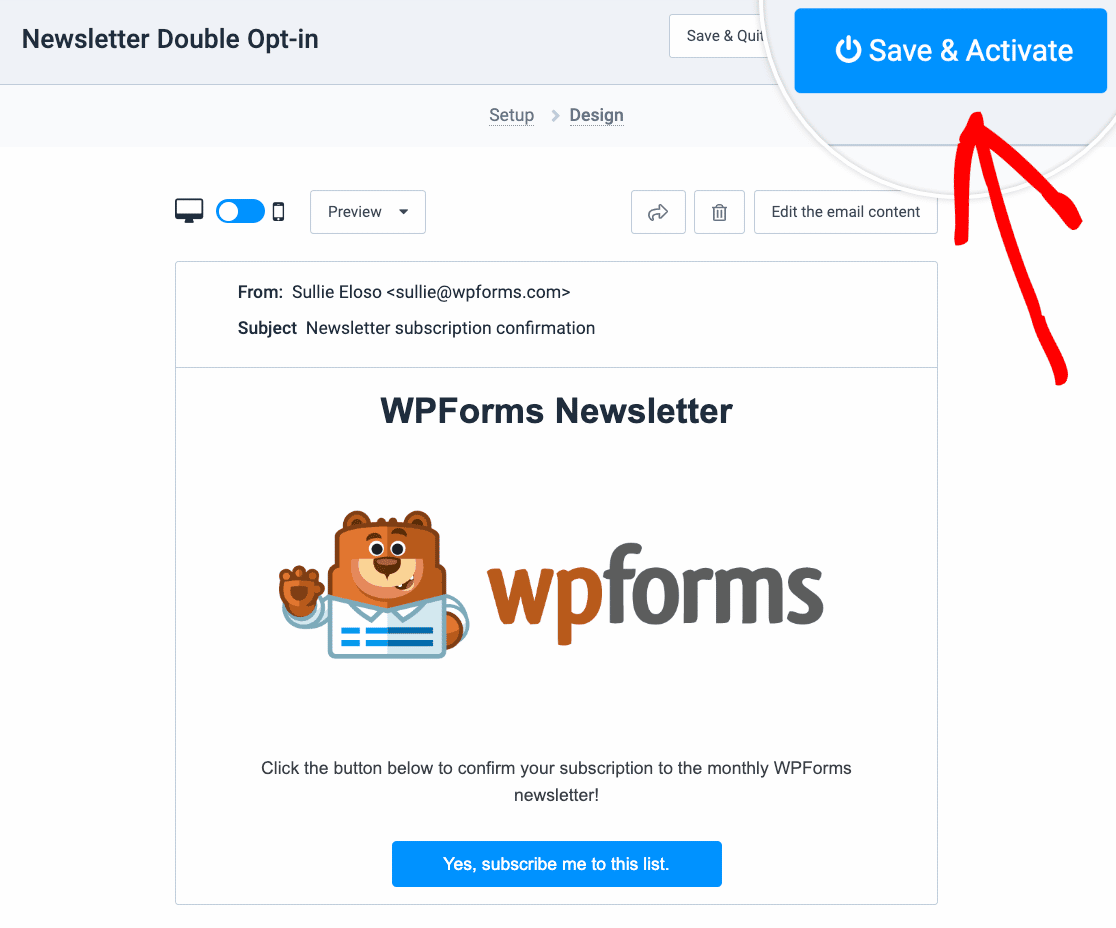
Now that you’ve created your template, click the Continue button at the top of the template builder.
On the next screen, you’ll see a preview of your email template. Once you’re satisfied with the way it looks, click the Save & Activate button at the top of the page.
Next, we’ll cover how to enable double opt-in for your form.
Enabling Double Opt-In for Your Form
After you’ve created your double opt-in email template, you’ll need to enable double opt-in for your form. To do this, locate the Brevo settings in the form builder by clicking on Marketing » Brevo.

Then, you’ll need to add a new connection and set the Action to Perform to Subscribe.
Note: The double opt-in feature only works with the Subscribe action. For more details on how to set up this action, see the Subscriber: Create or Update section.
Next, select an Email, New Email, and a List from the corresponding dropdown fields.
After that, toggle on the Enable double opt-in option.
Additional double opt-in settings will then appear. Go ahead and click the dropdown field under Template and select the Brevo template you created in the previous step.
Note: It may take up to 15 minutes for your Brevo email template to be available for selection in the form builder.
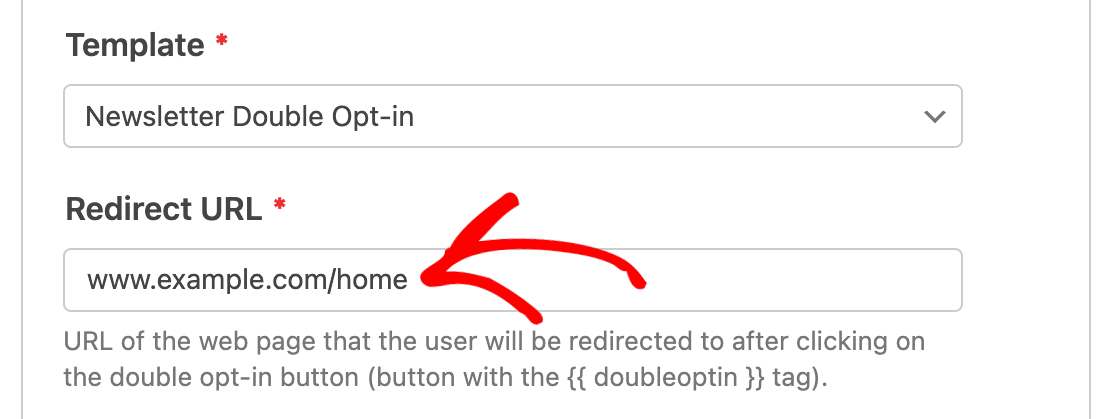
Next, you’ll need to add a Redirect URL. This is the URL of the web page that you’d like users to be redirected to after they click the button in the double opt-in confirmation email. You can add whatever URL you’d like, such as a link to your site’s homepage, a thank you page, or a page that confirms a successful subscription.
Finally, click the Save button at the top of the form builder to save your settings.

Now when someone submits your form, they’ll receive your double opt-in confirmation email. They’ll only be added as a contact in your Brevo account if they opt in by clicking the confirmation button in the email.
Setting Up Conditional Logic for Brevo (Optional)
Conditional logic allows you to change what will happen depending on a user’s selections in a form.
As an example, we’ll show how conditional logic can be used to let users choose if they’d like to be added to your Brevo mailing list.
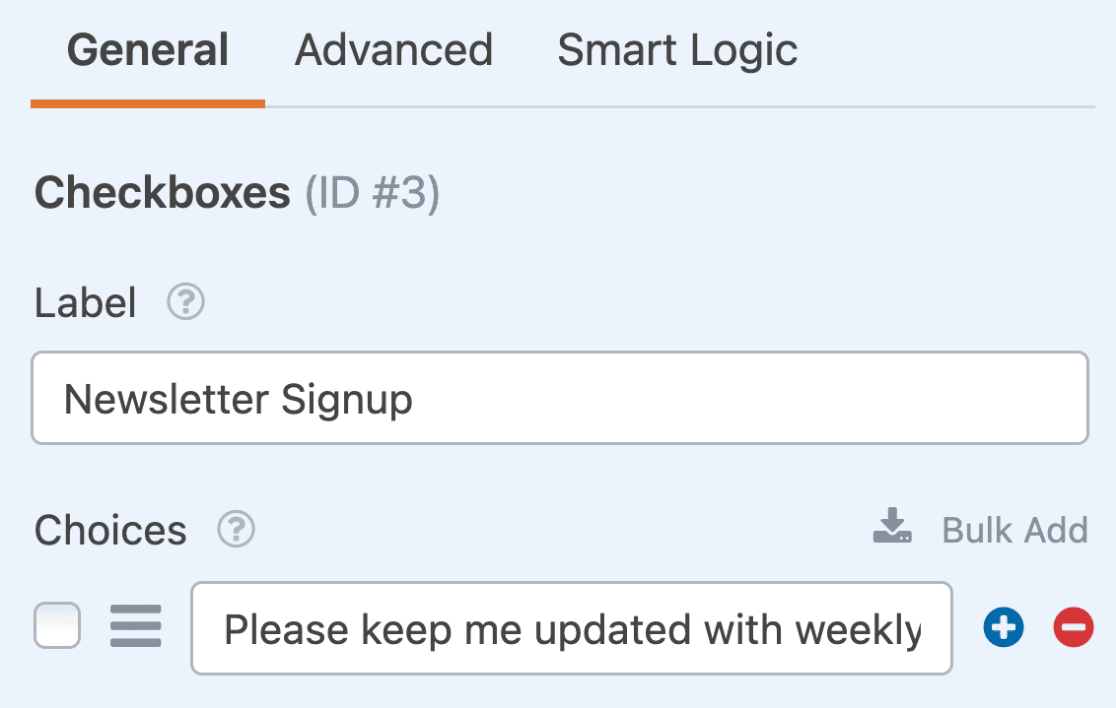
To set this up, you’ll first need to add a Checkboxes field to your form. For our example, we’ll only need a single checkbox, so we can remove the extra checkboxes by clicking the – (minus) icon.

Then, you’ll need to adjust the text for this field. For our example, the text will read Please keep me updated with weekly newsletters.
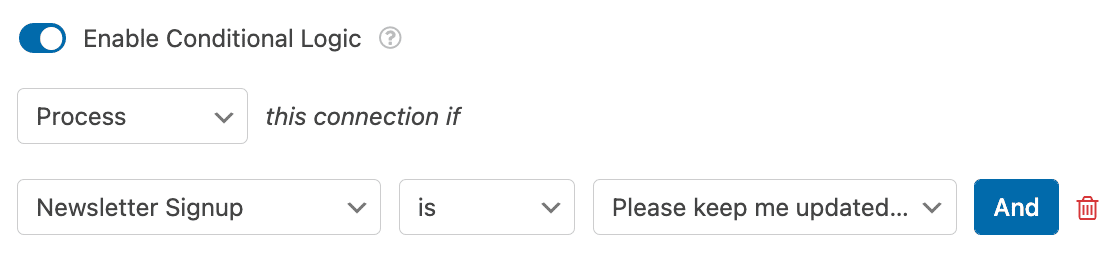
Next, you’ll need to configure your conditional logic. At the bottom of your Brevo settings, toggling on the switch labeled Enable conditional logic will display additional options.

Then, you’ll need to set up your rules for your conditional logic. For this example, our logic will be: Process this connection if Newsletter Signup is Please keep me updated with weekly newsletters.
Finally, be sure to save your form to apply the conditional logic.
That’s it! We just showed you how to install and use the Brevo addon with WPForms.
Next, would you like to add a CAPTCHA to your forms to help prevent spam submissions? Be sure to check out our tutorial on how to choose a CAPTCHA for your forms for more details.