Creating a class roster can be difficult, especially when you’re looking for a quick method to manage student information and facilitate communication between teachers and parents.
You might wonder if a tool like WPForms can really make this process smoother and whether or not it could deliver what you need easily to revolutionize classroom administration.
After putting WPForms to the test, I found a way to create a class roster that’s easy to manage and saves you a ton of time. In this guide, I’ll walk you through how I did it!
Create a Class Roster with WPForms 🙂
How to Create a Class Roster in WordPress
You can easily create a class roster and other educational forms in WordPress using WPForms. Follow the steps I’ve shared below to get started:
Step 1: Install and Activate the WPForms Plugin
To begin creating your class roster, you’ll need a WPForms Basic License to access the ability to add repeating sections to your forms, which is excellent for efficient classroom management and organized record-keeping.
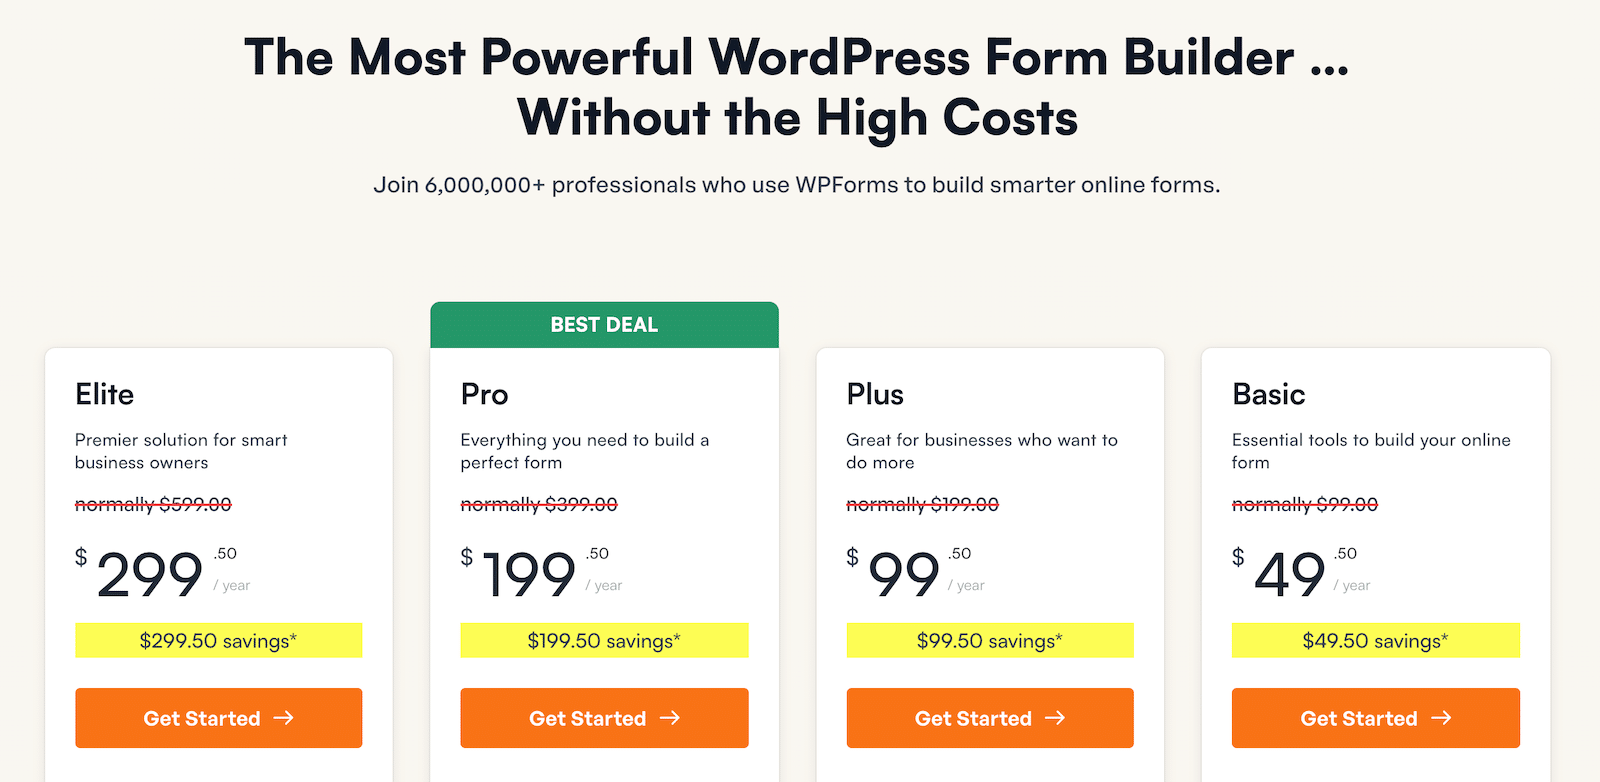
After securing the WPForms Basic License, you can proceed with adding the plugin to your WordPress site. If you’re new to this, don’t worry; check out this guide for step-by-step instructions on installing WPForms.
Step 2: Use the Class Rooster Form Template
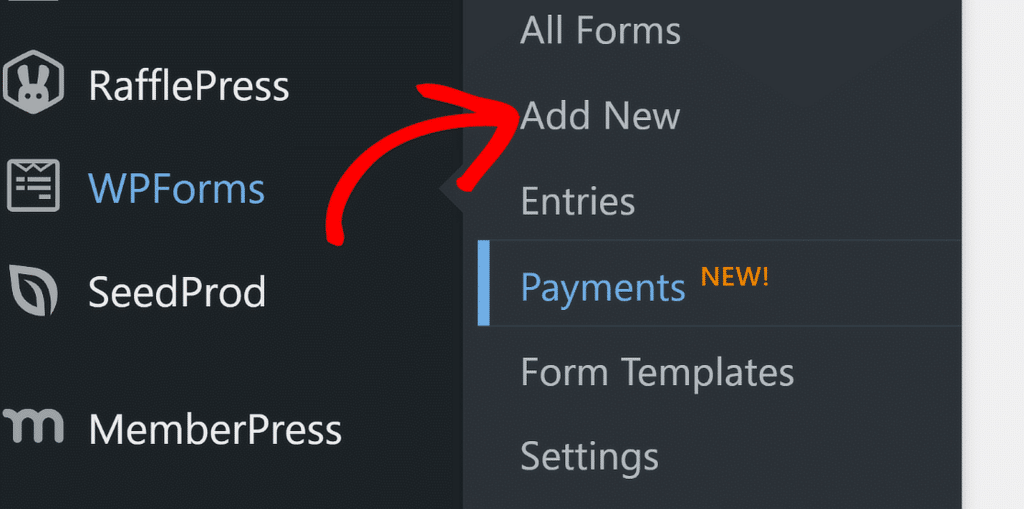
Now that WPForms is set up on your WordPress site, it’s time to create your class roster form. Start by heading to WPForms in your dashboard and click on the Add New option.
Next, give your form a name, like “Class Roster,” to keep things organized. You can either build the form from the ground up or take advantage of the pre-made templates available.
You’ll be pleased to hear that WPForms offers a handy Class Roster Form Template to get you started quickly. Use the search bar to find it and then click on the Use Template button.
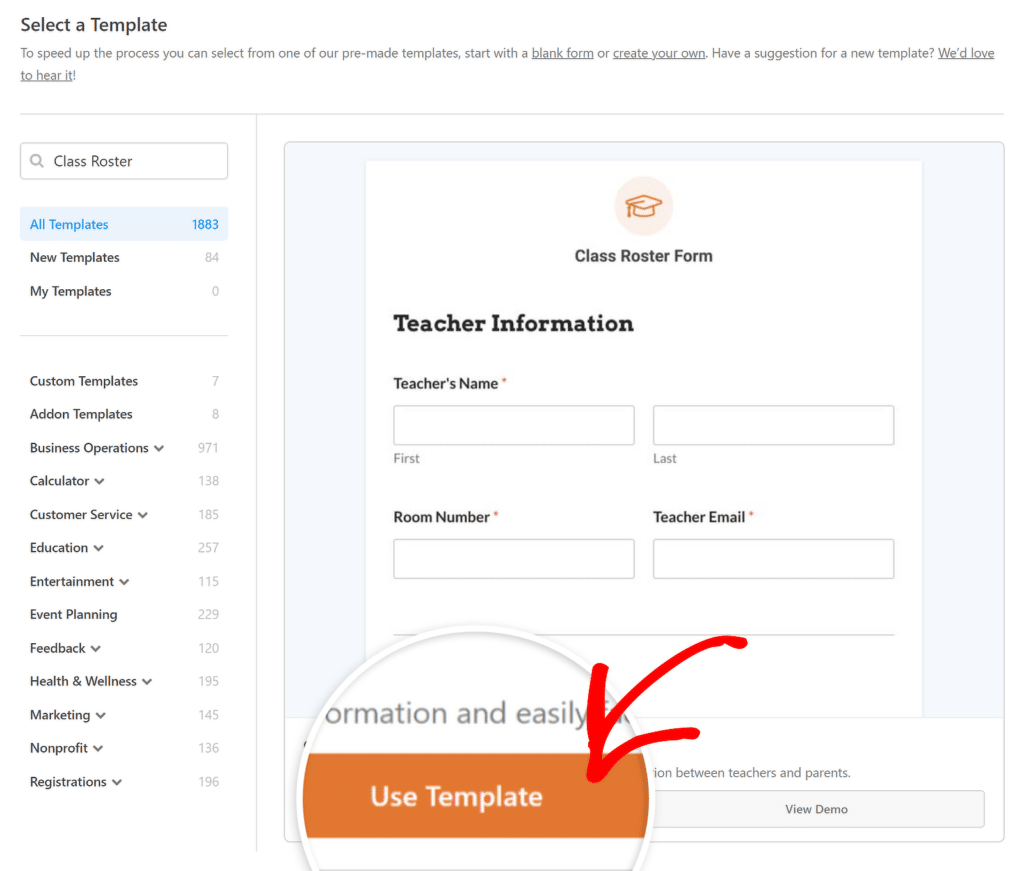
This template includes all the necessary fields for collecting student information, such as names, contact details, etc. You can customize it further if you need additional fields or want to tweak the layout.
Step 3: Customize the Class Roster to Your Liking
Once you’ve selected the Class Roster Form Template, it’s time to make it your own. WPForms allows you to adjust the template to fit your specific needs effortlessly.
Start by adding, removing, or rearranging the fields to ensure you’re collecting all the necessary information from your students.
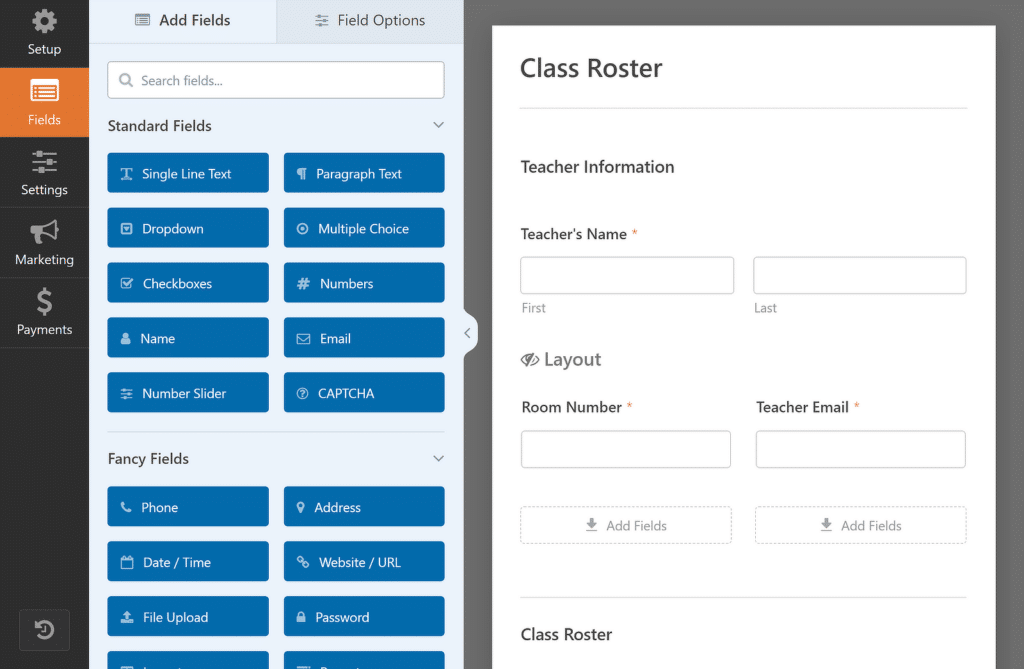
You can also change the wording of the labels and add placeholder text to make the form more user-friendly and relevant to your class.
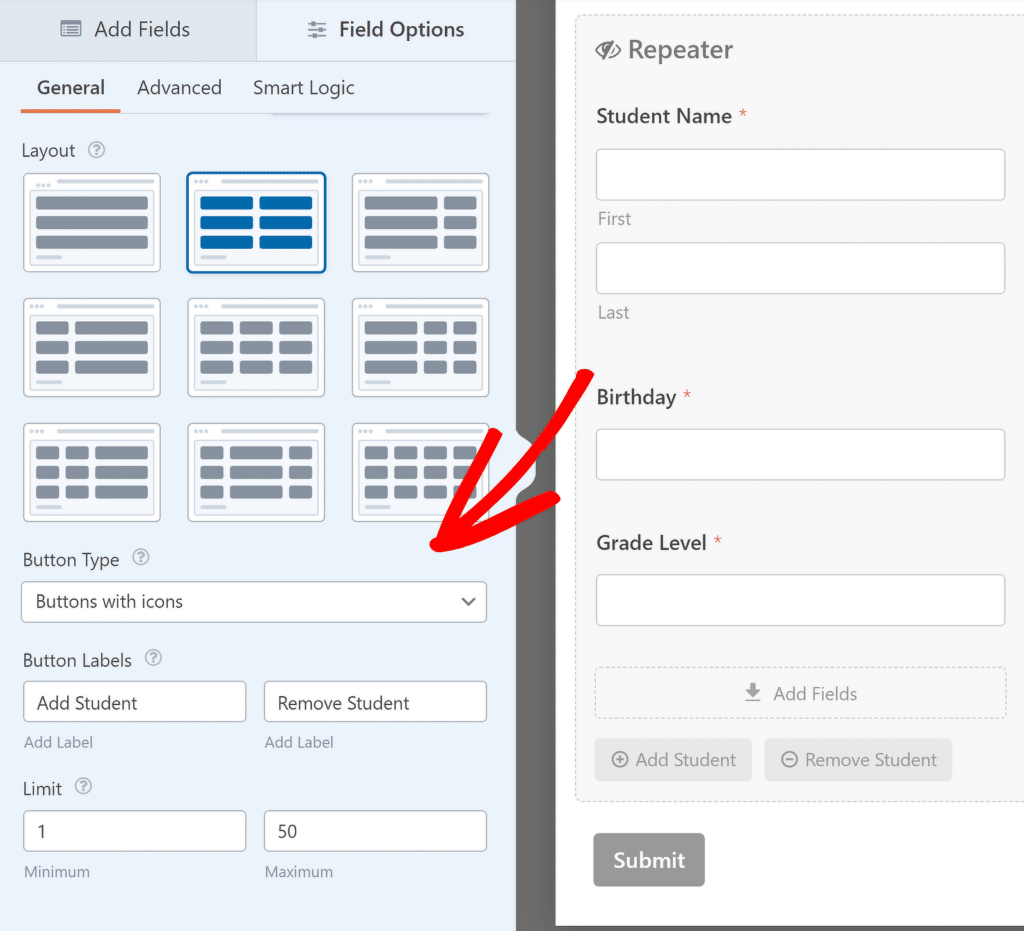
If required, you can even customize the Button Type of the Repeater field, change its labels, or set a minimum and maximum limit for student entries.
Once you’ve customized the form to your liking, you’re ready to configure the notification and confirmation messages that appear when a form is submitted.
Step 4: Configure the Notification and Confirmation Message
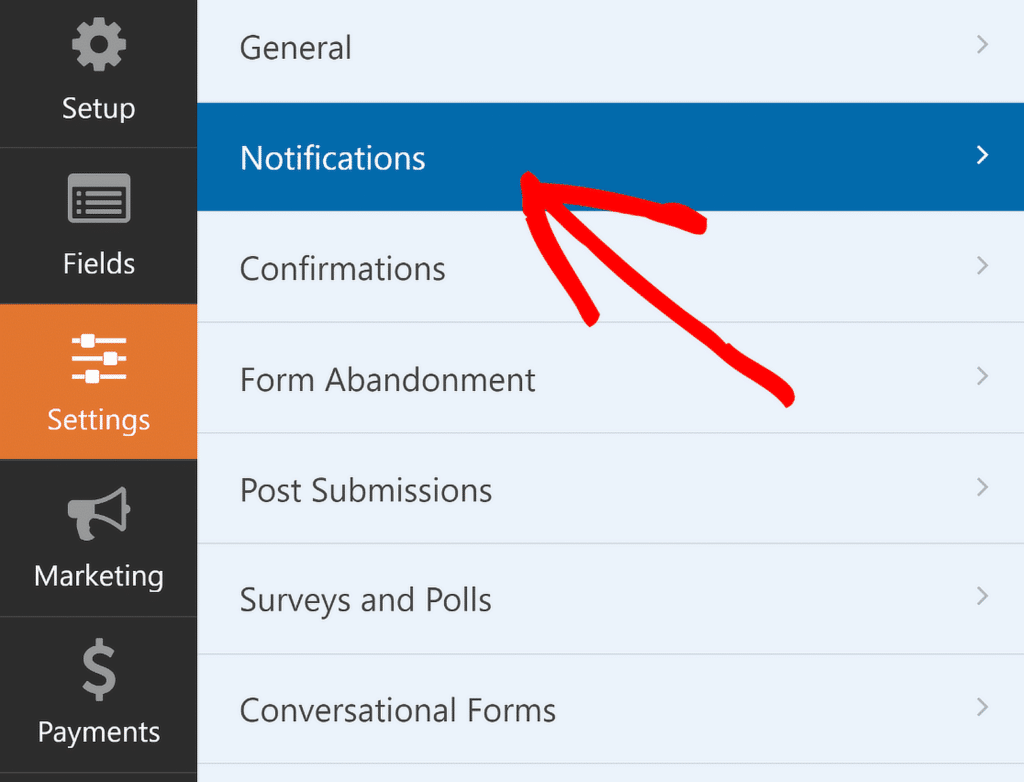
To stay informed about new entries, you’ll need to configure the notification message. Just click on Settings and then Notifications in the form builder.
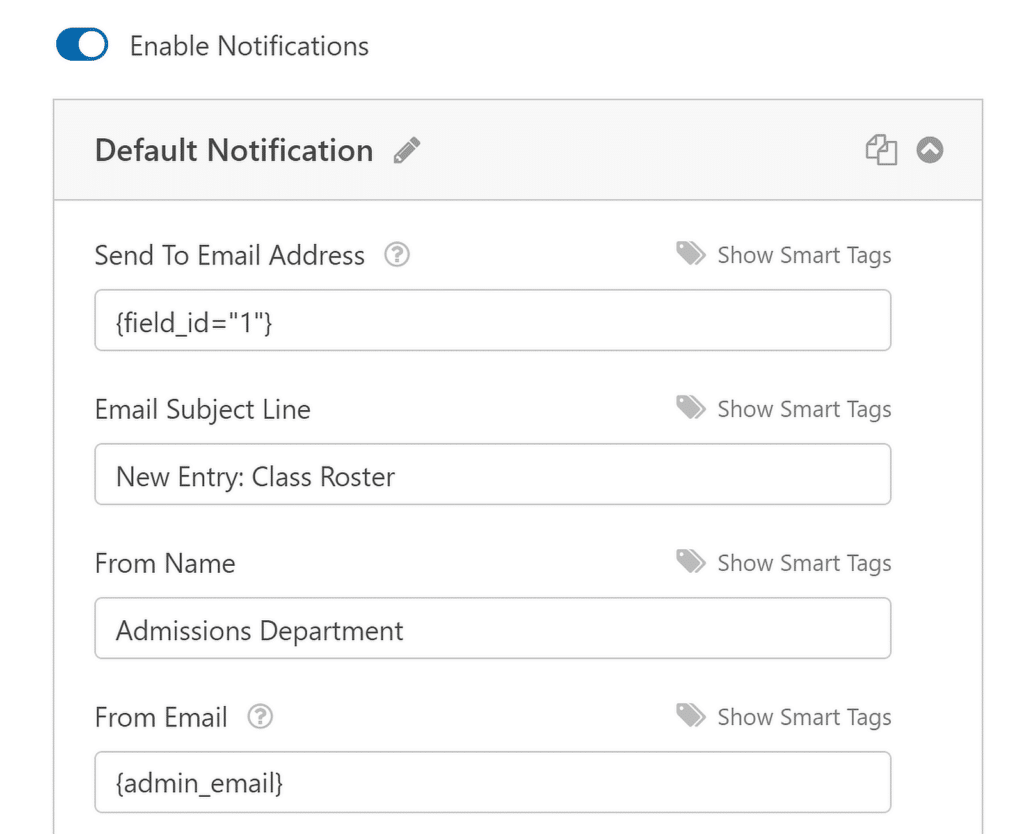
You can now modify the default notification settings, such as the recipient’s email address or the subject line. For more information, check out our guide on setting up form notifications in WordPress.
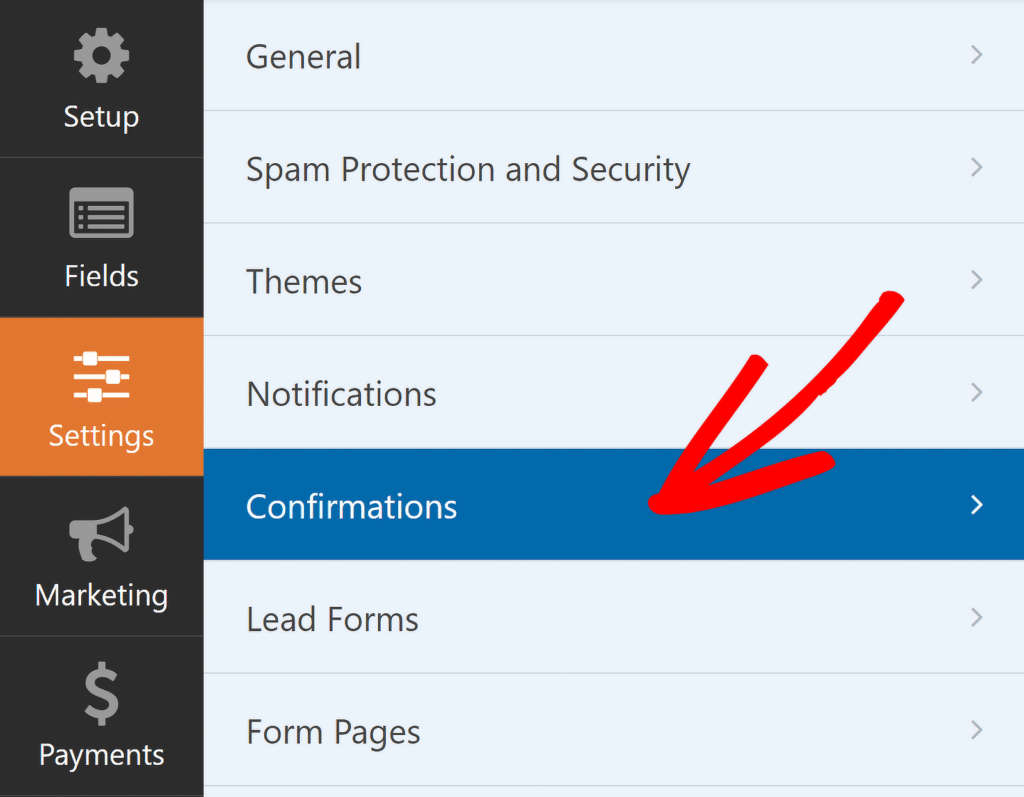
Next, set up confirmations by selecting Confirmations in the Settings menu. Choose how you want to respond to successful form submissions.
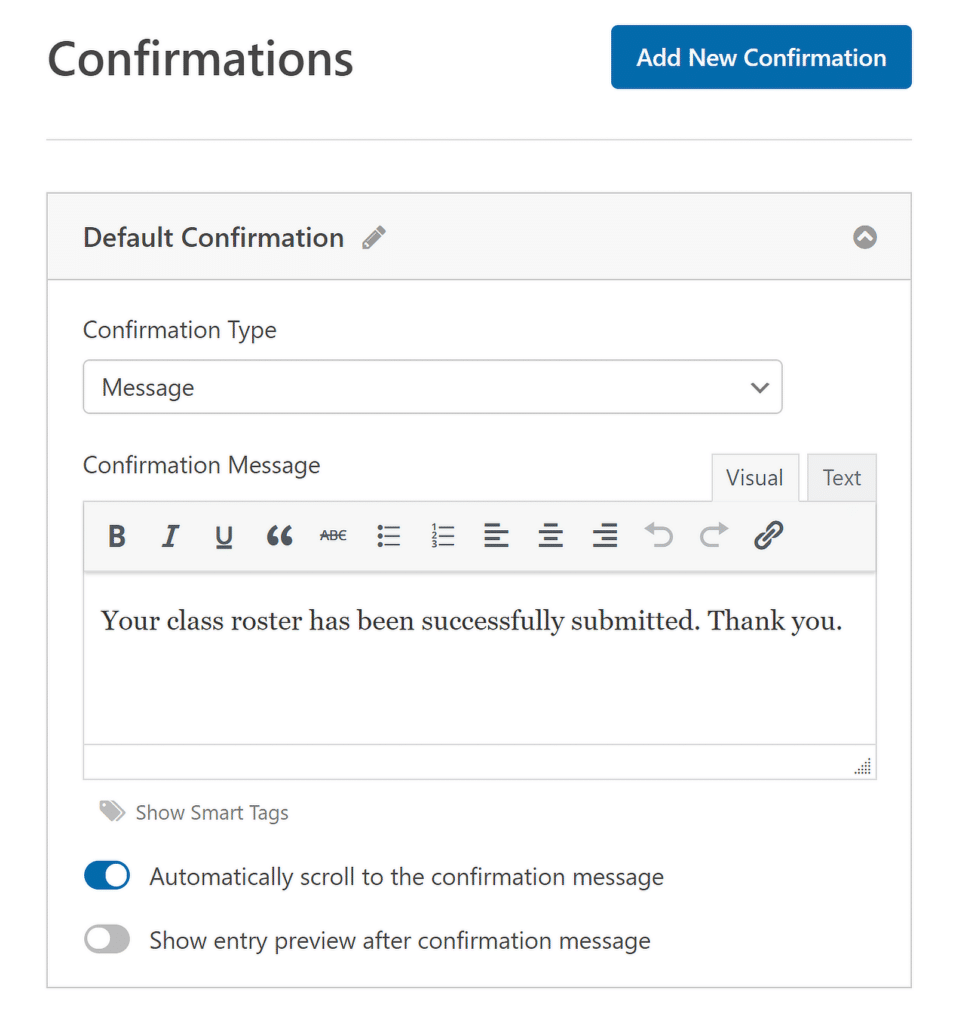
For instance, if you’re using the class roster form to get submissions from different teachers, you can simply show them a message saying that their rosters have been successfully submitted.
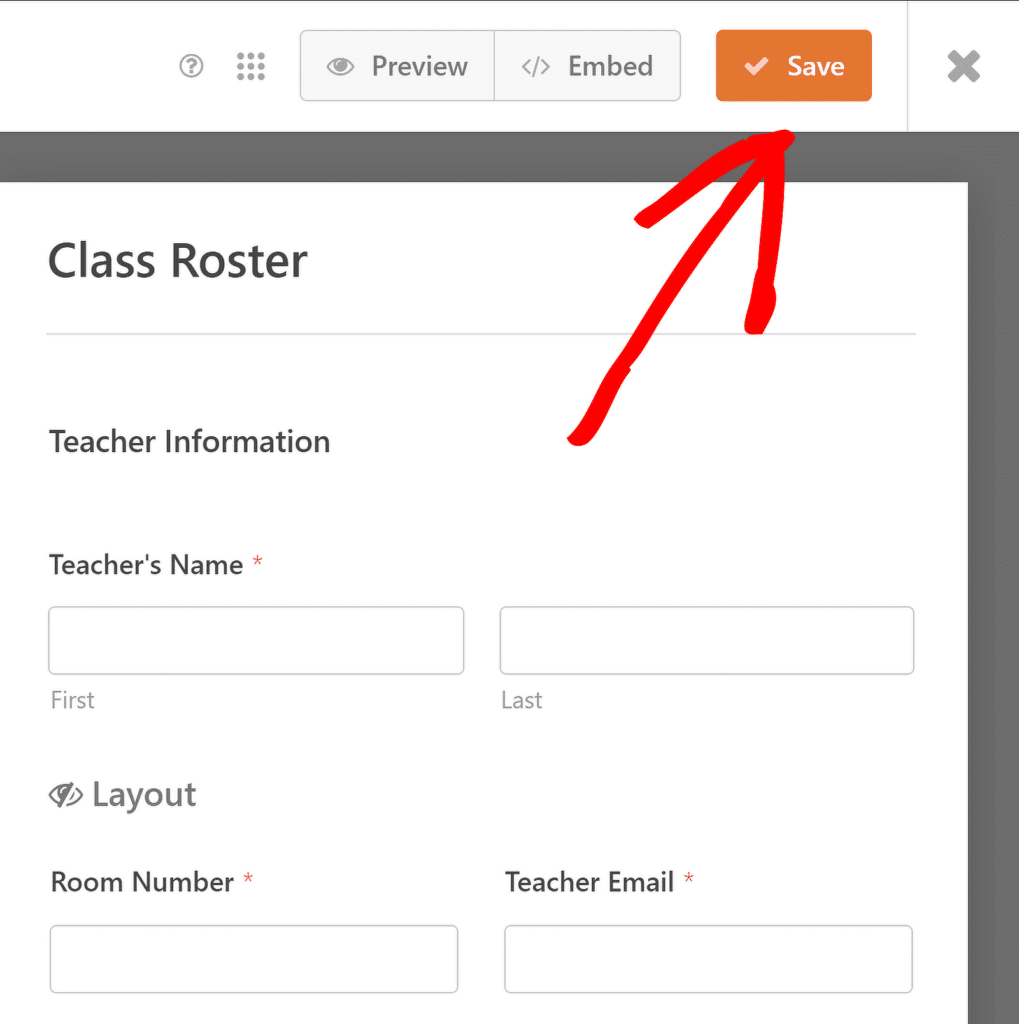
With that, you’re all done customizing your class roster. However, don’t forget that you need to save all your progress, so make sure to click the Save button on the top right corner of the page.
Now that your class roster form is ready, the next step is to make it accessible to your students. You can easily do this by placing the form on an existing page of your website or by creating a new page specifically for it.
Read Also: How to Create a Custom Data Entry Form in WordPress
Step 5: Publish Your Class Roster Form
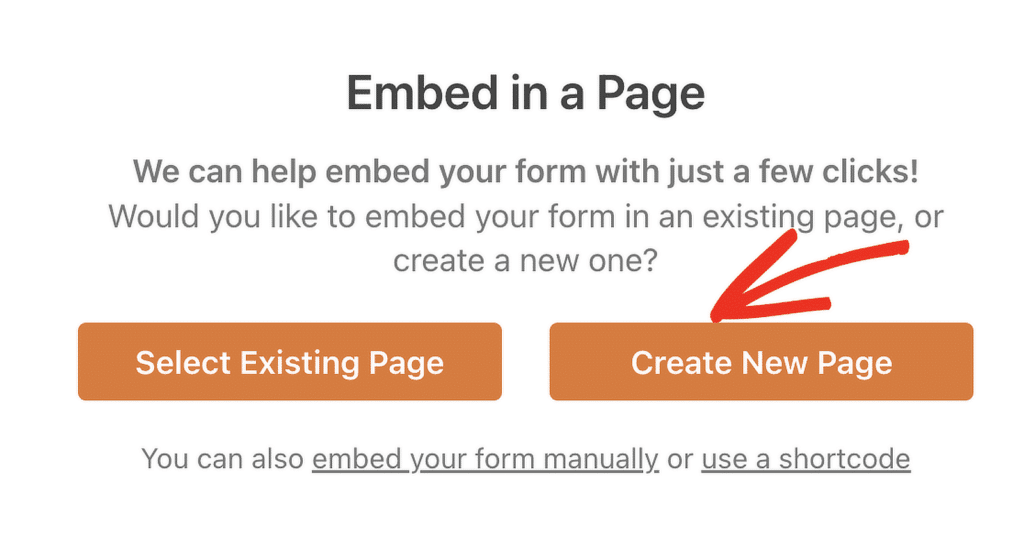
To get started, click on the Embed option at the form builder’s top right corner. If you want to add the form to a page that’s already on your site, select the option to choose an existing page.

If you prefer to create a new page, click on the option to create a new one and give it a name that reflects its purpose, like “Class Roster.”
Once you make your choice, the WordPress editor will open, and your class roster form will already be in place. To take it live, just press the Publish button at the top.
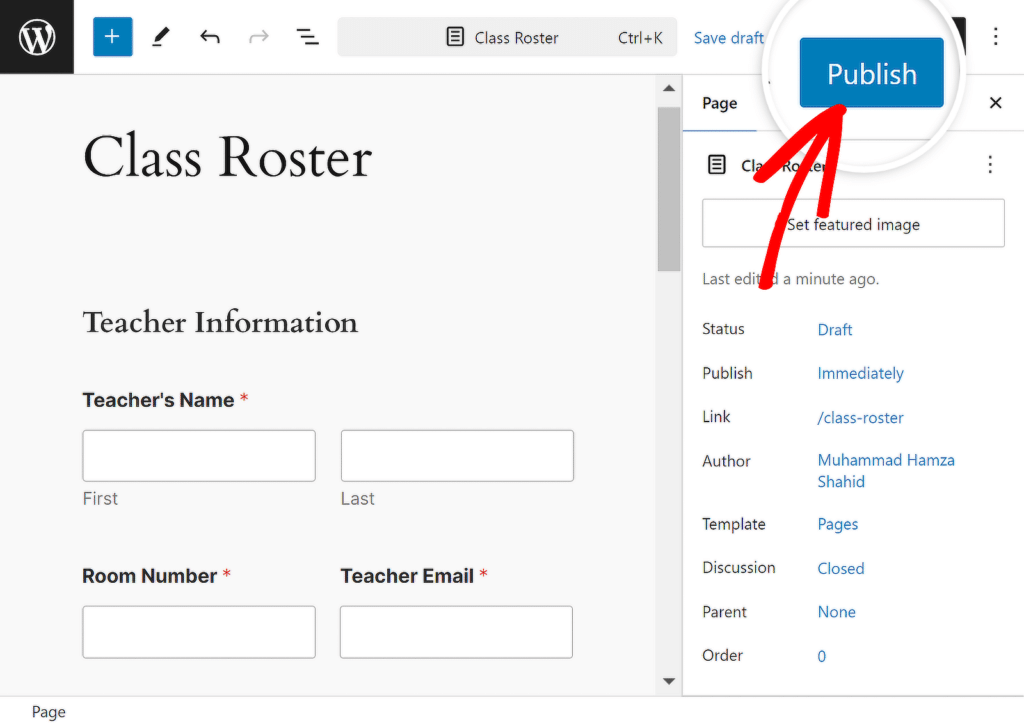
And there you have it! You’ve successfully created a class roster using WPForms. You can always go back to the form builder to make any changes or improvements whenever needed.
Create a Class Roster with WPForms 🙂
FAQs about Creating a Class Roster with WPForms
Creating a class roster is a popular topic of interest among our readers. Here are some quick answers to a few of the most commonly asked questions:
What is a class roster?
A class roster is a list of students enrolled in a specific class, including important details like their names, contact information, and other relevant data.
It helps teachers and administrators keep track of who is in the class and manage student information effectively.
Using WPForms with a Basic License and the Repeater field feature can simplify the process of creating and organizing a class roster.
What is an example of a roster?
An example of a roster could be a list of employees working a particular shift, showing their names, roles, and assigned duties.
In the context of education, a class roster is a list of students in a specific course, including details like their contact information and any special notes.
WPForms makes it easy to create such rosters by allowing you to customize the fields according to your needs.
What is the difference between a schedule and a roster?
A schedule outlines the timing of events or activities, such as when classes are held, while a roster is a list of people involved, like students in a class.
A schedule tells you when things happen, and a roster tells you who is involved. With WPForms, you can create both schedules and rosters using different form templates.
Next, Learn How to Create a Group Registration Form in WordPress
Organizing events, workshops, or classes often requires registering multiple participants at once. A group registration form can be handy for this. Check out this guide to walk you through each step of creating a group registration form in WordPress.
Create Your WordPress Form Now
Ready to build your form? Get started today with the easiest WordPress form builder plugin. WPForms Pro includes lots of free templates and offers a 14-day money-back guarantee.
If this article helped you out, please follow us on Facebook and Twitter for more free WordPress tutorials and guides.

