Are you looking for the easiest way to change your WordPress admin email?
This can be tricky: if you’re not getting emails from your WordPress site, you can’t change the admin email address!
We’re going to show you the easiest solution: we’ll fix your emails and change the email address at the same time.
How to Change the WordPress Admin Email
In This Article
1. Install WP Mail SMTP
You can easily change the admin email — and take control of your WordPress emails — with WP Mail SMTP. Installing this plugin will make sure your emails are delivered and help you to change your admin email address.
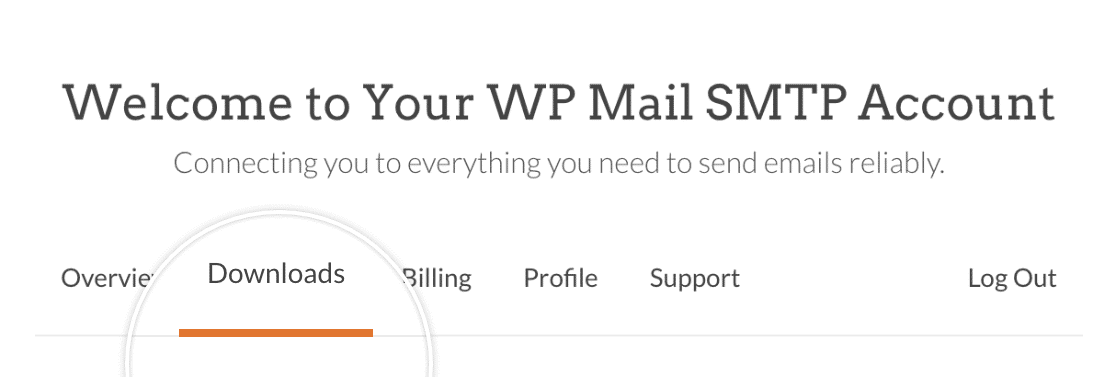
To get started, log in to your WP Mail SMTP account. Then click on the Downloads tab.
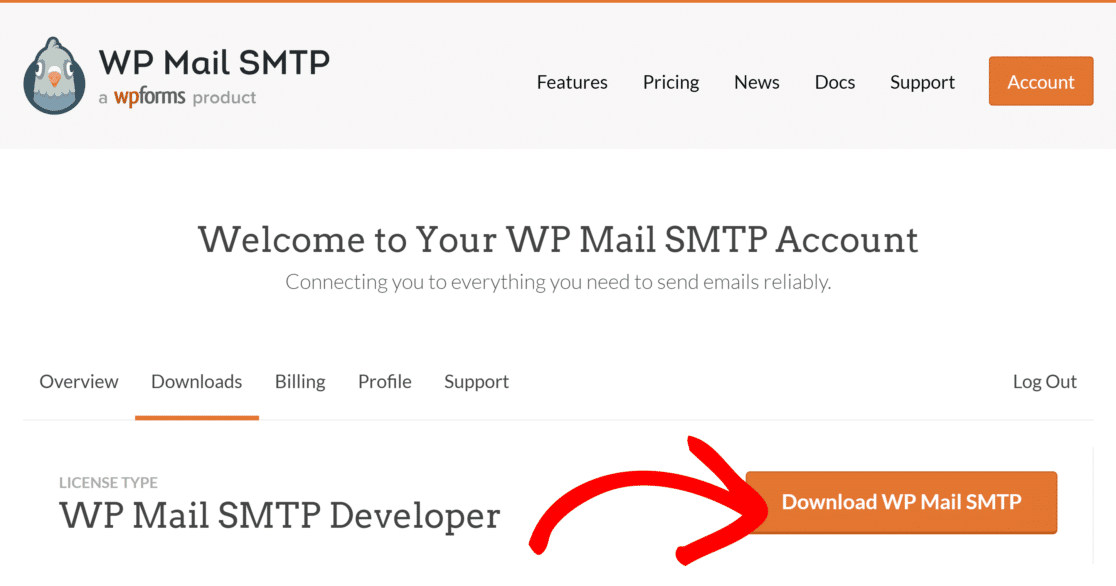
To download the plugin, click on the Download WP Mail SMTP button.
In the admin dashboard, click Plugins » Add New.
Then press the Upload Plugin button.

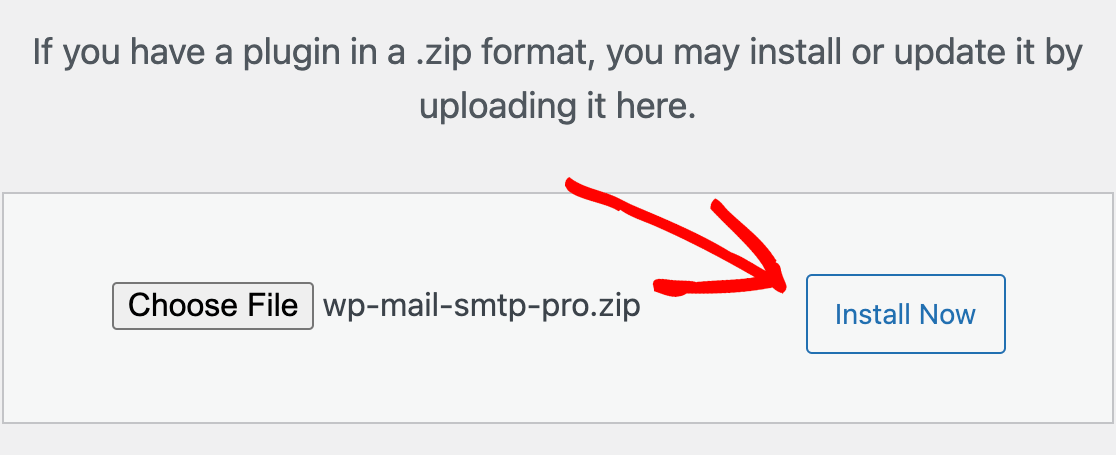
Click on the Choose File button and select your WP Mail SMTP zip file.
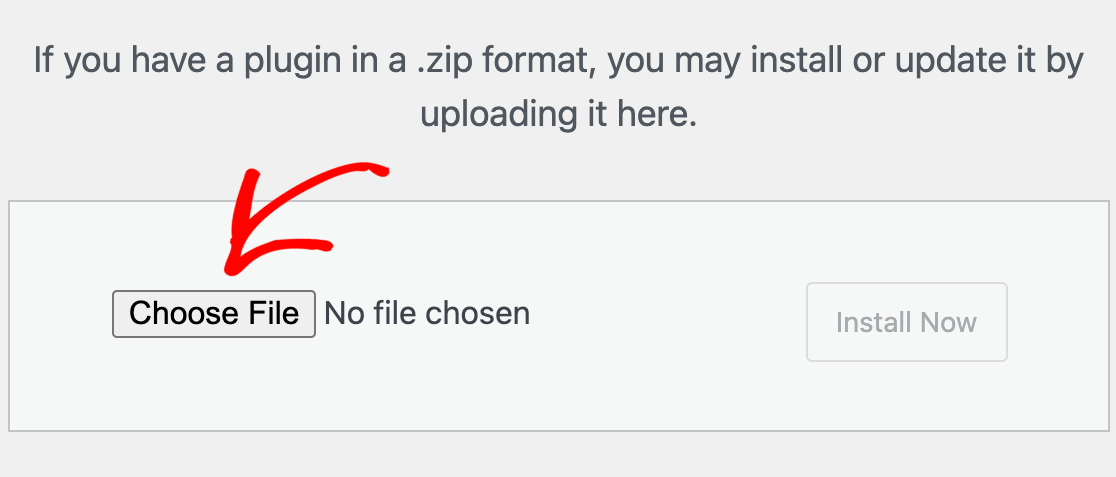
After your file is uploaded, click on the Install Now button.
WordPress will then install WP Mail SMTP for you. Once the plugin is installed, click the Activate Plugin button to activate the plugin.
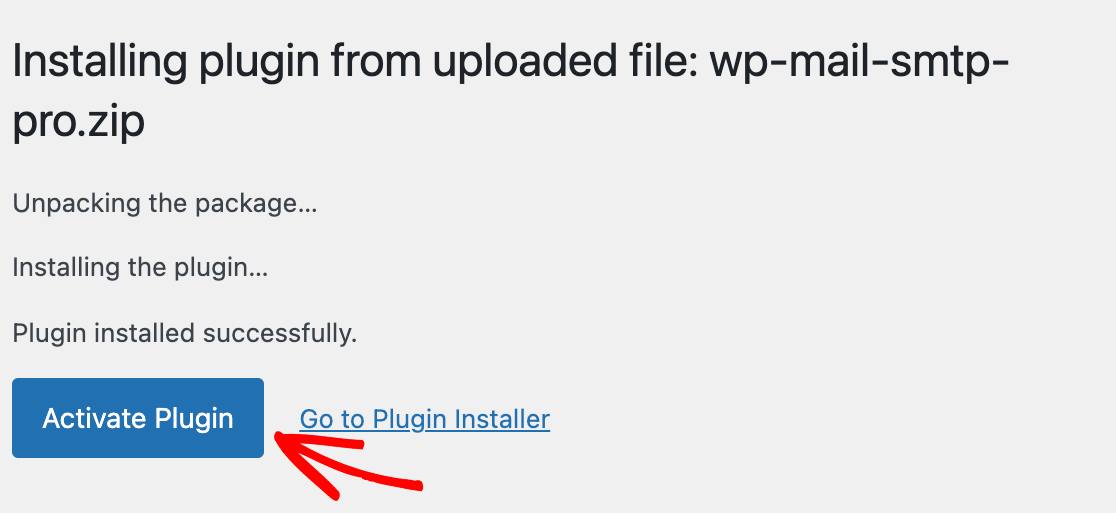
That’s it! You’ve now successfully installed WP Mail SMTP on your WordPress site.
2. Choose Your New Email Address
Now that you’ve installed the plugin, the second step is to choose your new email address.
Ideally, you would want to use a branded email address using your website’s domain name. For instance, [email protected].
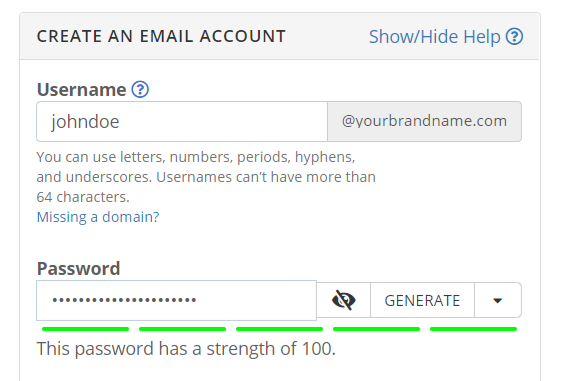
For detailed instructions on how to get an email address at your own domain, see our guide on how to get a free business email address.
3. Set Up Your Email Provider
Now that you’ve installed WP Mail SMTP and chosen your new email address, we’ll show you how to set up WP Mail SMTP. In this example, we’ll use the SendLayer mailer.
SendLayer is an affordable and simple way to authenticate your outgoing emails, ensuring they always reach your and your recipients’ inboxes. If you don’t have an account yet, see SendLayer’s instructions on creating a new account.
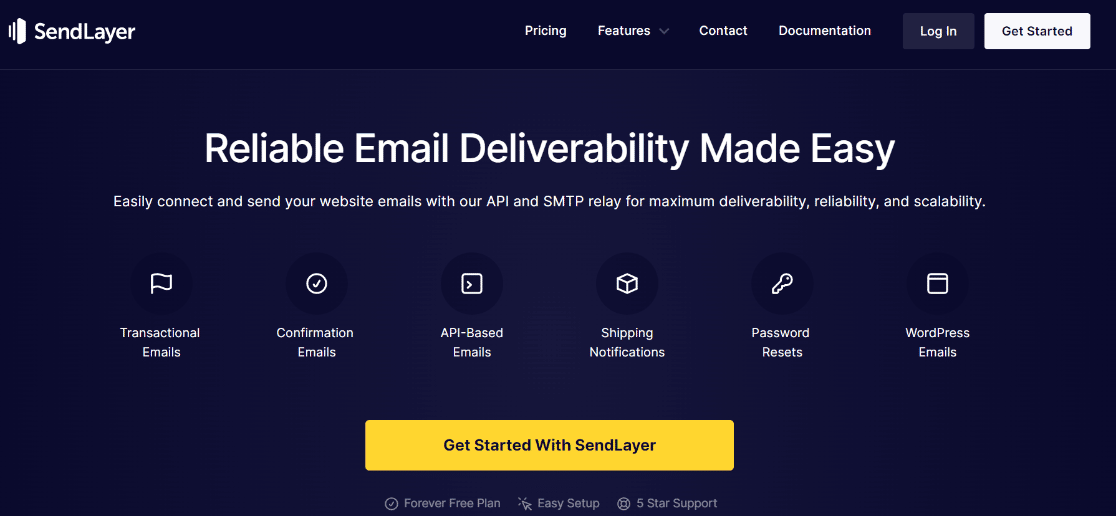
Once you’ve set up your SendLayer account, log in to the SendLayer dashboard and authorize your domain.
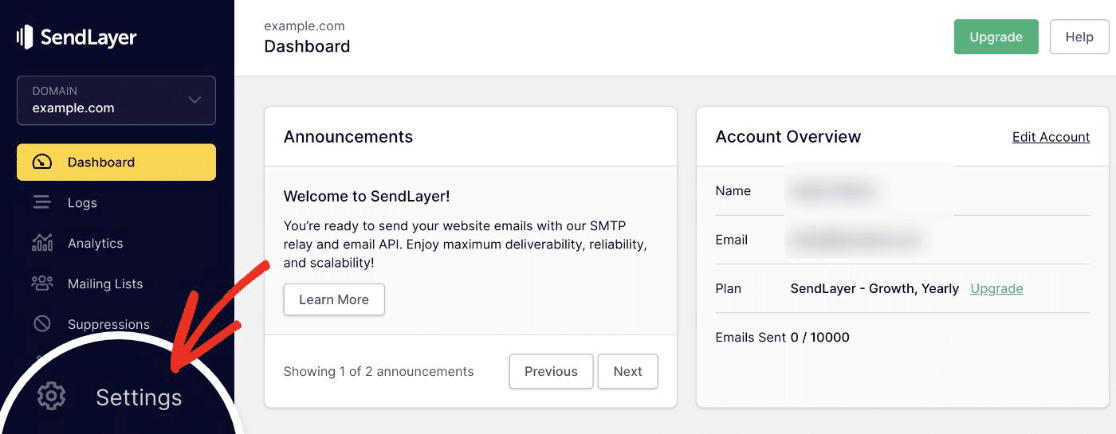
We’re all set! Now it’s time to connect WordPress to SendLayer.
4. Connect WP Mail SMTP and SendLayer
On your website’s dashboard, head to the WP Mail SMTP plugin. The plugin will open the Setup Wizard automatically.
Click SendLayer in step 1 of the Setup Wizard and move on.
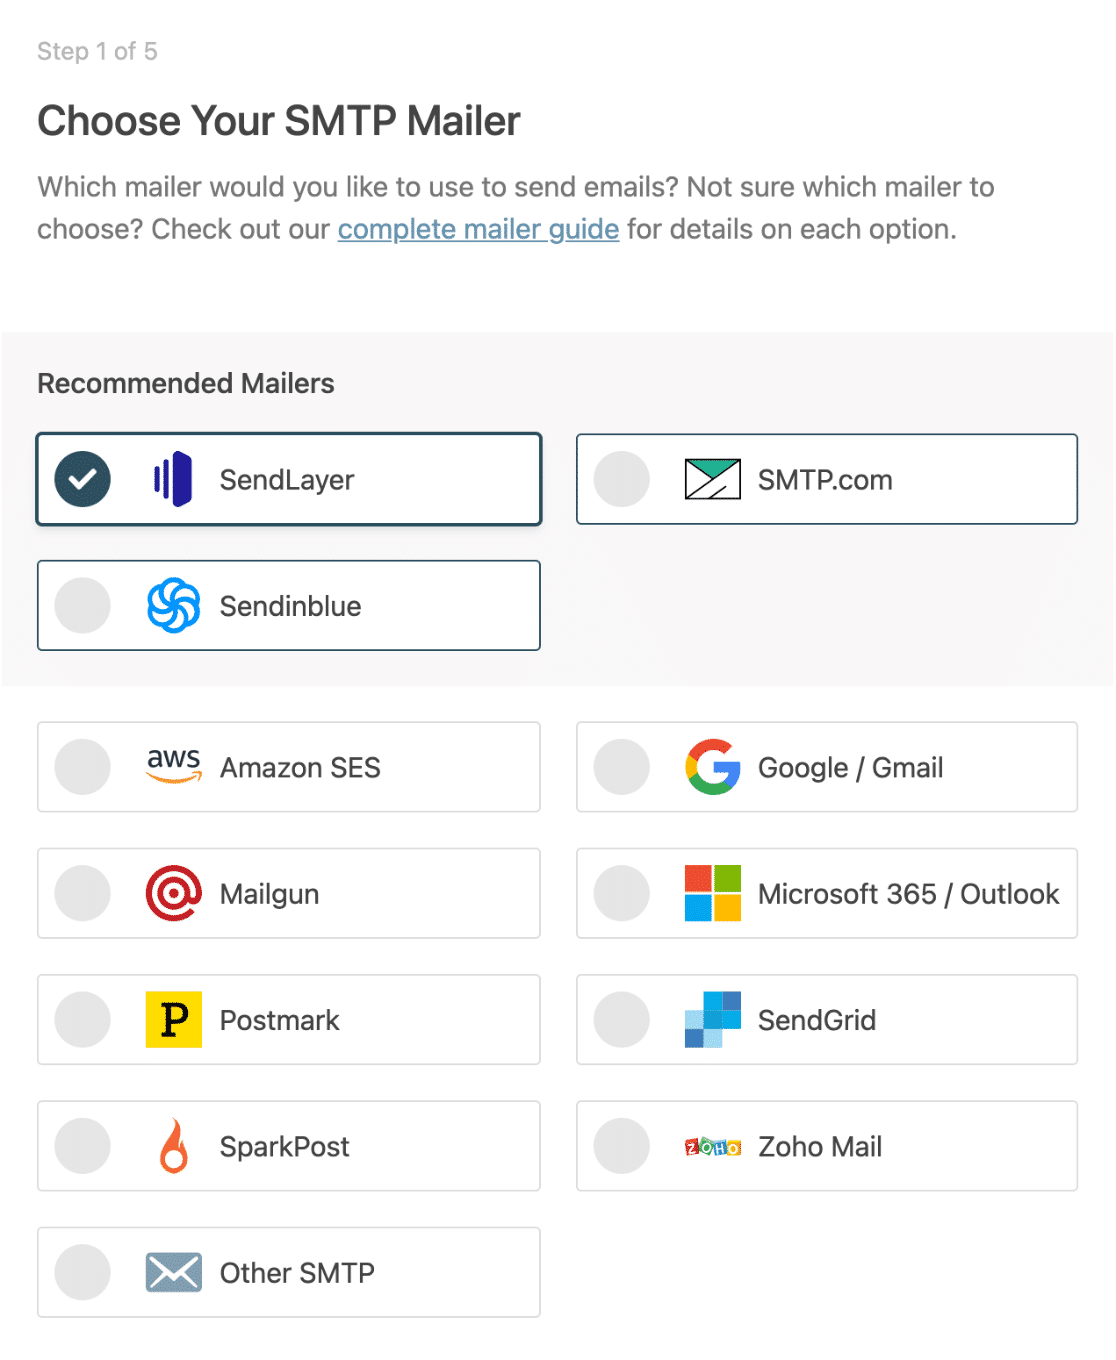
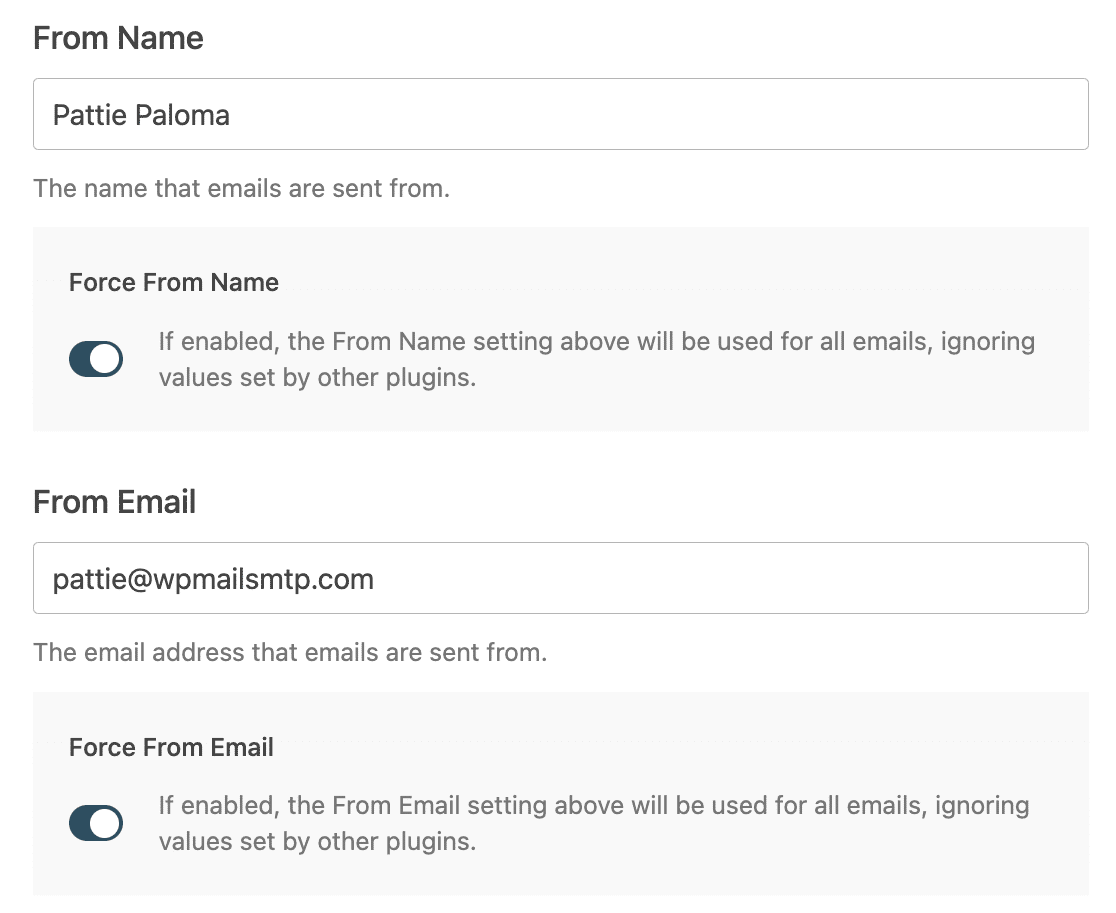
Next, you’ll need to:
- Add your API key, which you can obtain on our SendLayer dashboard
- Choose your From Name, which is the name you want your emails to come from
- Type in the From Email, which we’ll use as your WordPress admin email address.
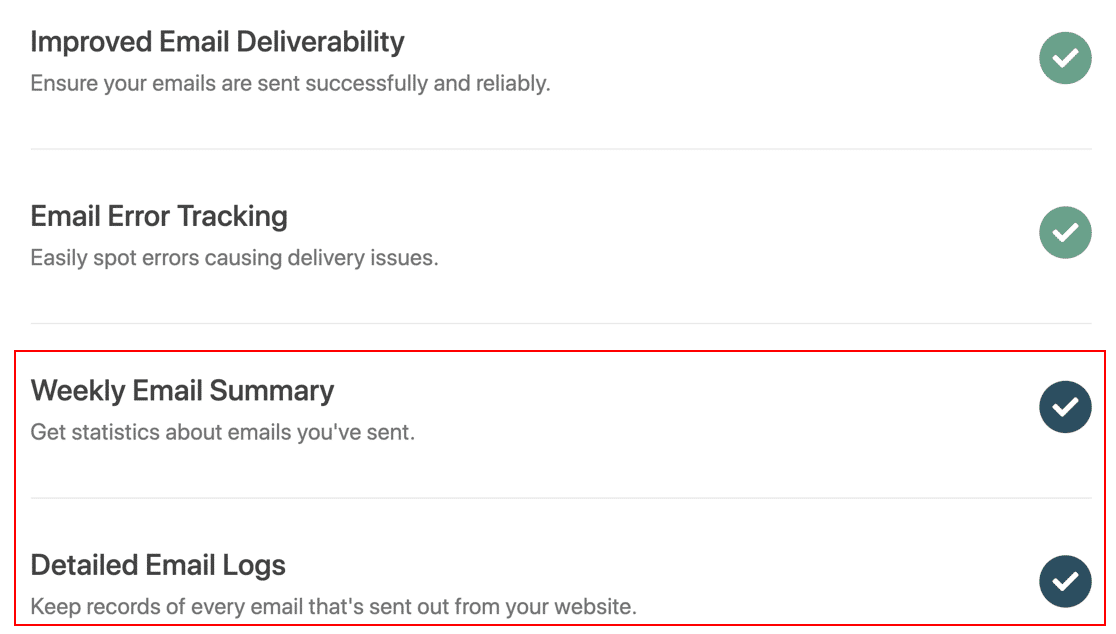
Moving on to the end of the Wizard, you can choose to enable the Weekly Email Summary and Detailed Email Logs, which we highly recommend.
These settings will keep a record of every email sent from your website.
The wizard will now run a check to ensure everything’s working correctly.
Now that you have WP Mail SMTP installed, a new email is chosen, and SendLayer is connected, it’s time to change your WordPress admin email address.
5. Change the WordPress Admin Email Address
First, in your WordPress dashboard, go to Settings » General and change the Administration Email Address to your new From Email.
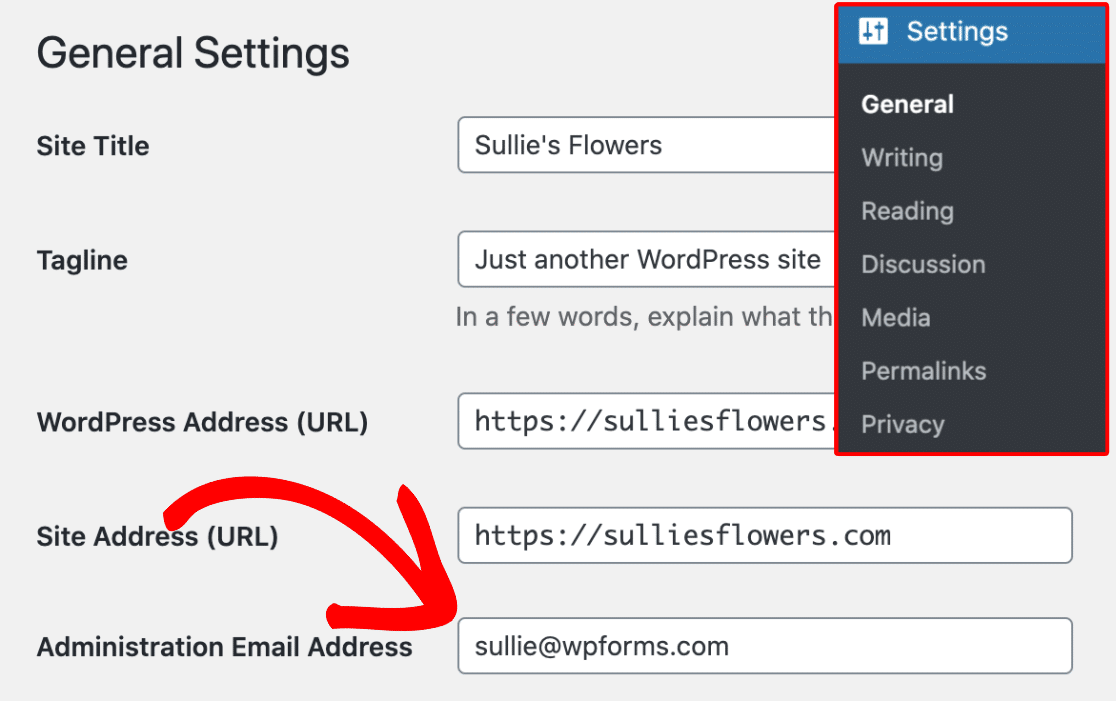
Now, you’ll need to verify the change.

The good news is that we’ve verified your connection to SendLayer to make sure this email arrives.
You’ll likely also want to change the email address of the admin user account. In that case, you need to go to Users » All Users and click on the Edit button below the desired user.

This will open the profile edit page for that user account. Scroll down to the email option and then update the email address.

Don’t forget to click on the Update Profile button to save your changes.
If you’re currently logged in to the same user account, WordPress will now send a confirmation email. Click on the link in the email to confirm the change of your email address… and you’re done!
Next, Prevent Unauthorized Password Resets
If you constantly receive password recovery emails, it could be someone trying to break into your website.
Prevent these annoying notifications and learn how to prevent spambots from sending unauthorized password reset requests.
Create Your WordPress Form Now
Ready to build your form? Get started today with the easiest WordPress form builder plugin. WPForms Pro includes lots of free templates and offers a 14-day money-back guarantee.
If this article helped you out, please follow us on Facebook and Twitter for more free WordPress tutorials and guides.

