AI Summary
Are you tired of getting spam through your WordPress forms, even after setting up CAPTCHA? Sometimes the real problem isn’t bots. It’s actual people submitting the same unwanted messages over and over.
Annoying, right?! If that sounds familiar, you’re not alone. And fortunately, there’s a simple fix: you can block specific email addresses (or entire domains) directly inside WPForms.
It’s super easy if you want to block a single spammer, prevent submissions from disposable email services, or just keep your forms private to people in your company. Want to do it? Let me show you exactly how to block an email address in WordPress using WPForms.
How to Block an Email Address on WordPress
Why Block Email Addresses on My Forms?
Most form spam protection focuses on bots. And while tools like reCAPTCHA and hCaptcha work well for automated spam, they won’t stop a persistent human spammer with a working email address.
That’s where WPForms’ Denylist feature comes in. You can block:
- A specific email address
- Multiple addresses at once
- All emails from a domain (like *@mailinator.com)
- Country-based email addresses using domain filters
This feature is especially helpful if you’re getting repeated submissions from the same sender, or if you’re seeing a pattern of spam from temporary email services.
How to Block an Email Address in WPForms (Step-by-Step)
These rules work instantly, without extra plugins or third-party tools. So let’s get to it!
Step 1: Open Your Form in the Builder
Within your WordPress dashboard, navigate to WPForms » All Forms
Now, click Edit on the form where you want to block an address

If you’re just getting started, you can also create a new form by clicking Add New Form.
Step 2: Click on the Email Field
In the form builder, click on the Email field.
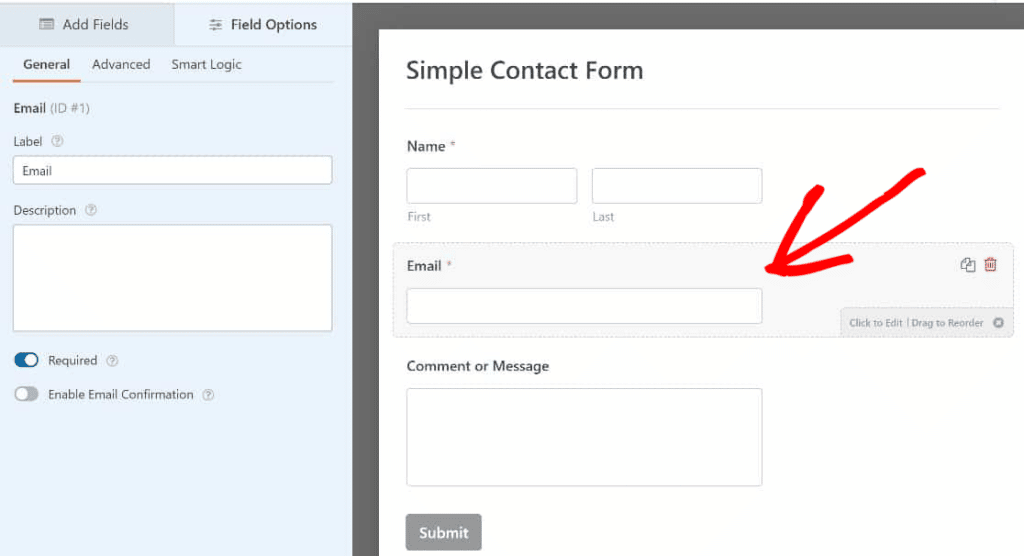
This is the field WPForms uses to apply allowlist or denylist rules. Make sure your form includes one — if not, just drag it in from the left panel.
Step 3: Expand the Advanced Options
Now, with the Email field selected, click the Advanced tab in the field options panel.

Here, look for the setting labeled Allowlist / Denylist.
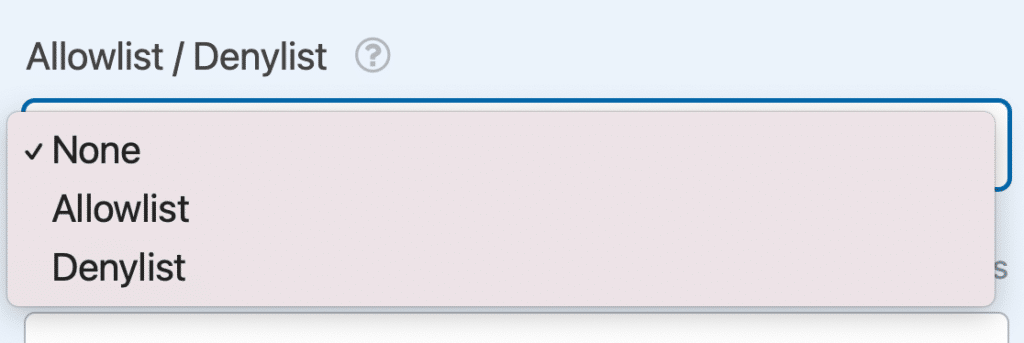
Use the dropdown to pick the type of restriction you want for the email field. You’ll see three options:
- None – No filtering is applied (besides the usual email format check). This is the default setting.
- Allowlist – Only the email addresses or domains you specify will be accepted.
- Denylist – Any email addresses or patterns you list here will be blocked from submitting the form.
Step 4: Select “Denylist” from the Allowlist / Denylist Dropdown
Since this blog post is all about blocking an email address in WordPress, let’s go ahead and deny those addresses!
From the dropdown, choose Denylist.
A text box will appear where you can enter the email addresses (or patterns) you want to block. Here’s how to use it:
Block a Specific Email Address
To block a specific email address from submitting a form, just type the full address on its own line:
Such as [email protected].
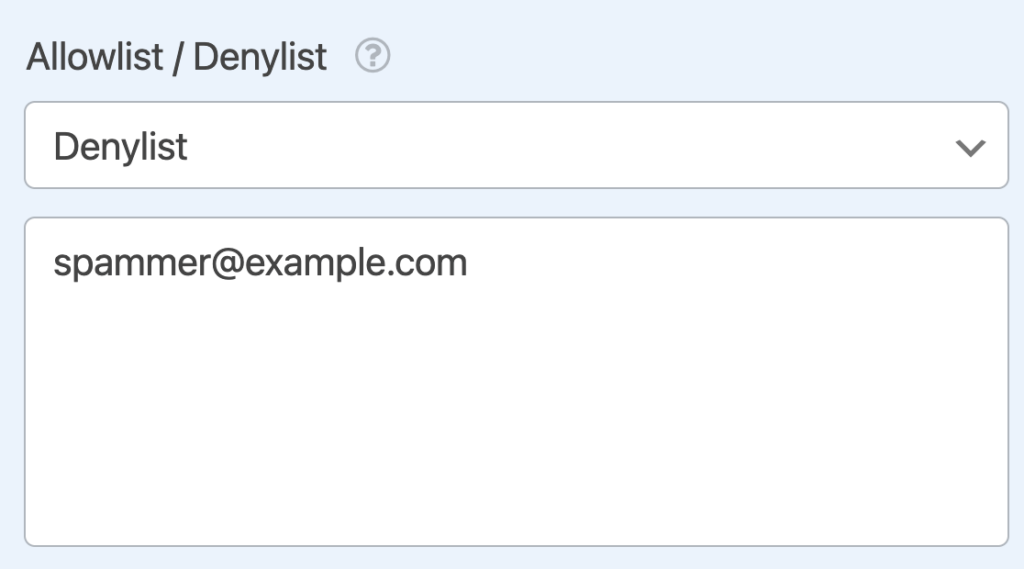
And if you’d like to block more than one email address, simply enter each of them on their own line on the denylist. This is a quick way to block multiple known offenders.
Block All Emails from a Domain
You can also block multiple email address. Use a wildcard to catch all the addresses coming from a domain, like this:
*@example.com
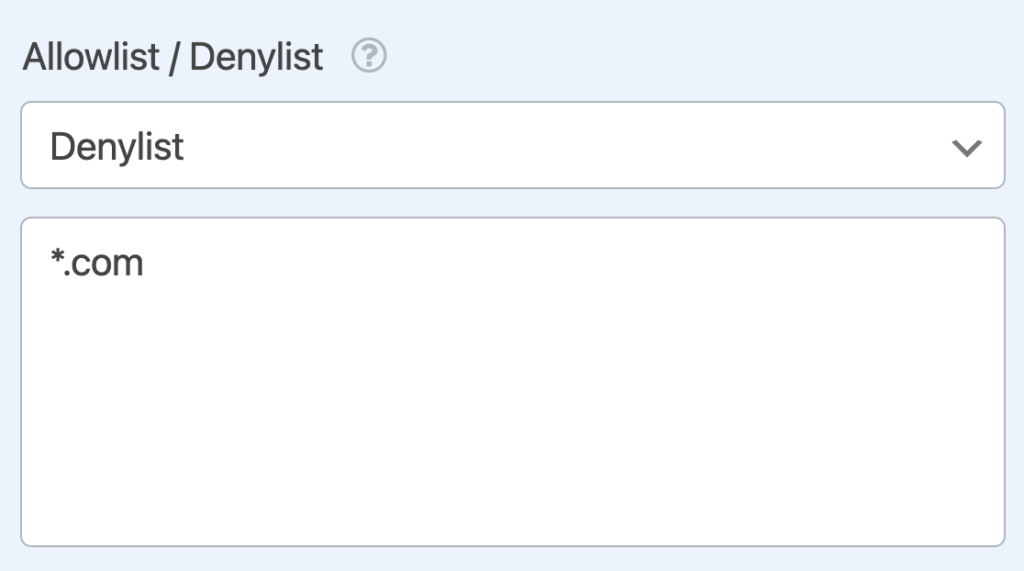
The asterisk (*) acts as a wildcard. This means that any email address will be denied if ends with the domain on this list. This is a great way to shut out disposable or mass-emailing domains.
Want to do the opposite? You can switch to an Allowlist and use the same wildcard to only accept emails from a trusted domain.
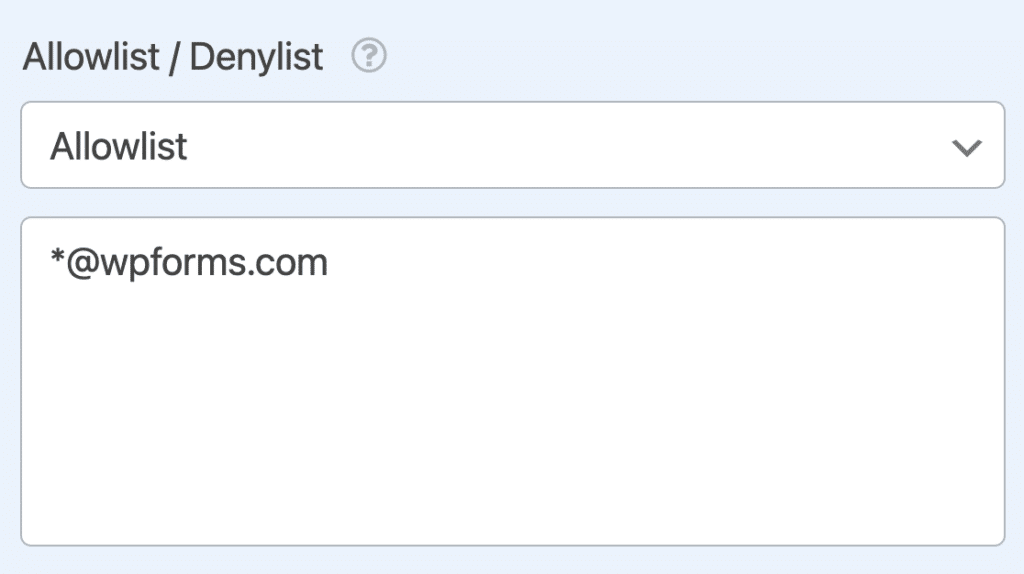
Block Country-Specific Domains
Just like you can filter by top-level domains (like .com), you can also restrict country-based domains.
To do this, use a wildcard (*) followed by the domain you want to target.
For example, *.us or *.ca.
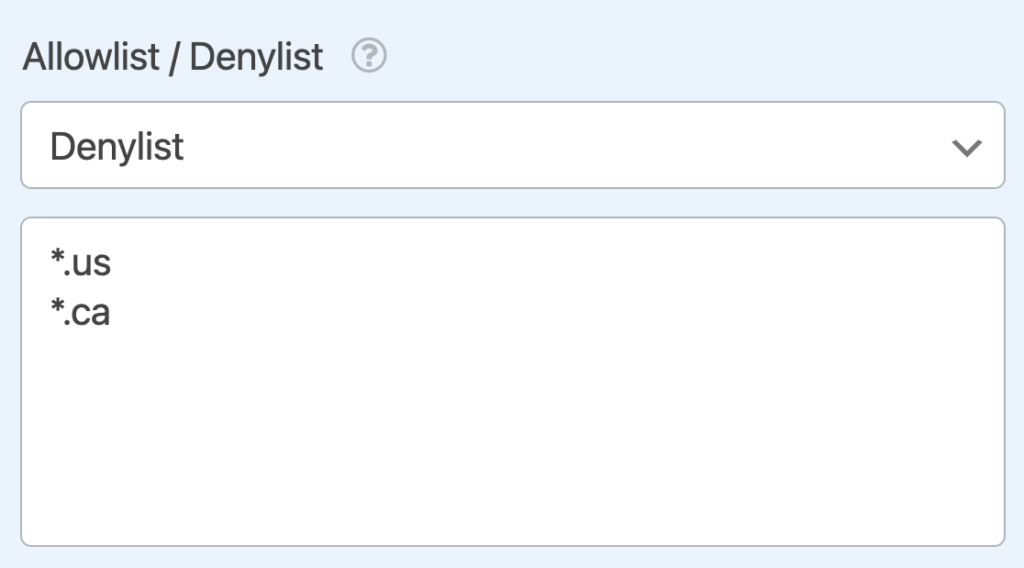
Like the others, each rule should go on its own line. This helps filter out email addresses tied to certain regions, which can be useful if you’re seeing a pattern in spam submissions from a particular country.
Test Your Rules
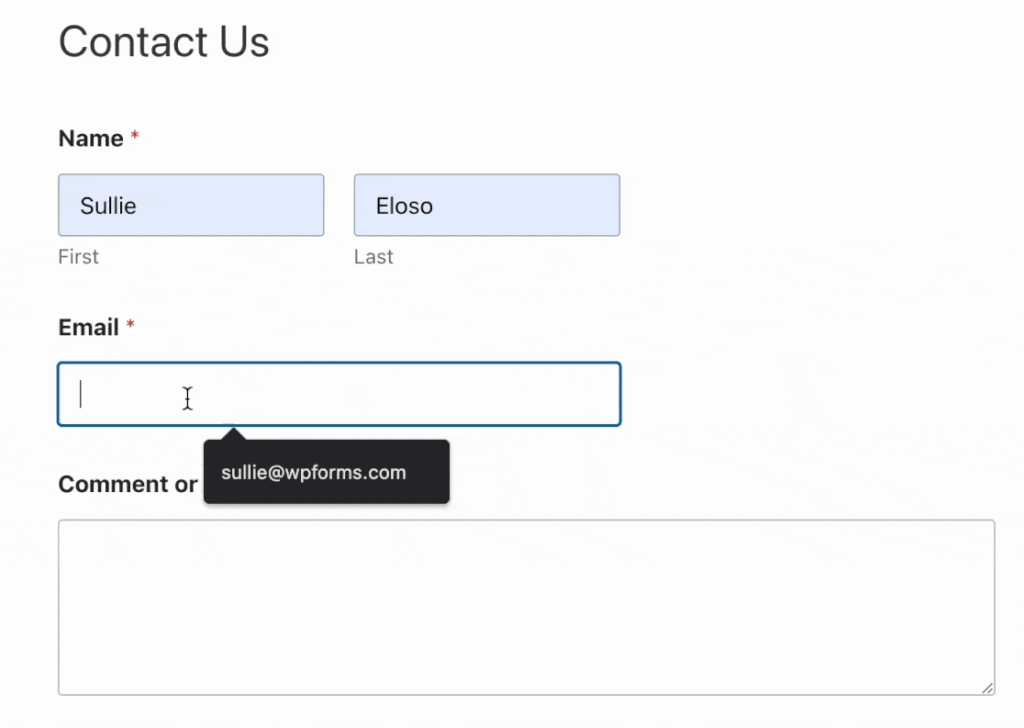
Once you have your denylist complete, try submitting the form using a blocked email address. You’ll see a message like:
“This email address is not allowed.”
That means it’s working!
If not, double-check that your wildcards and patterns are formatted correctly.
And if you want to change that message to something more custom (or more polite), you can.
Customize the Error Message for Blocked Emails (Optional)
To change what users see when they enter a blocked email, go to WPForms » Settings » Validation.
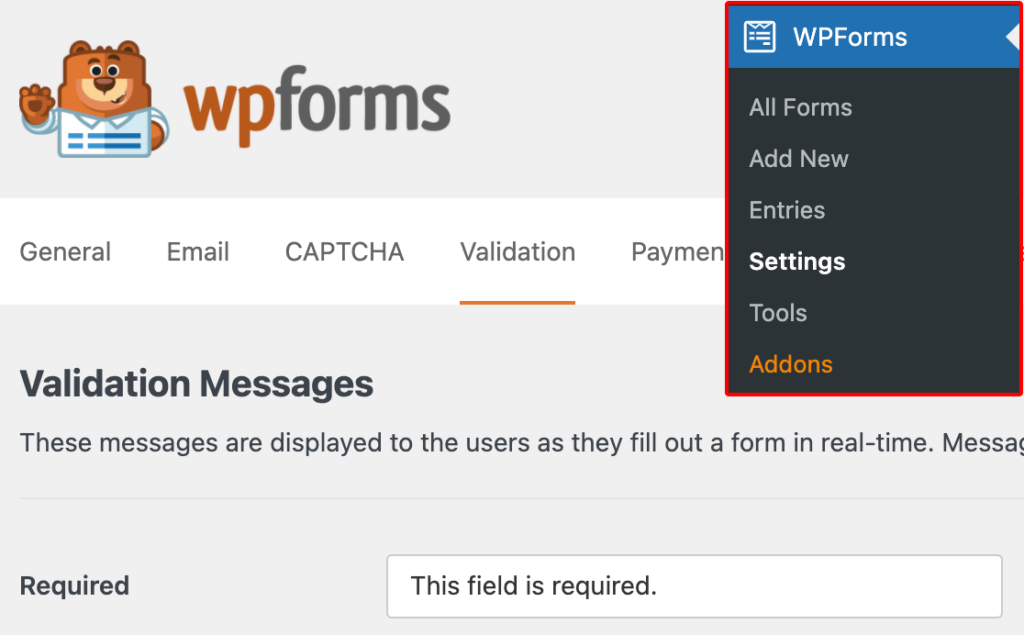
Look for the Email restricted setting. Here, you can enter a custom message like:
“Sorry, that email address isn’t allowed to submit this form.”
If you’re dealing with the same email addresses (or domains) spamming your forms over and over, the WPForms Denylist feature is your best defense. It’s quick to set up, flexible with patterns, and built right into every form.
And now you know how to enable it yourself!
FAQ On How to Block an Email Address on WordPress
Can I block more than one email address at a time?
Yes, you can add as many email addresses or patterns as you want to your denylist. Just make sure each one is on its own line in the settings box.
Will this block email addresses across all my forms?
No, allowlist and denylist settings are configured per form. If you want to block the same addresses on multiple forms, you’ll need to set the rules for each form individually.
Can I use wildcards to block groups of emails?
Absolutely. Wildcards make it easy to block entire domains (like @example.com) or patterns (like spammer). You can get pretty specific with how you structure your rules.
What happens when someone tries to submit a blocked email?
They’ll see a validation error message and won’t be able to submit the form. You can customize this message in WPForms » Settings » Validation.
Can I use this to only allow emails from my company domain?
Yes! Instead of a denylist, use the Allowlist option and enter something like *@yourcompany.com. This way, only team members or approved users can submit the form.
Next, Discover More Ways to Protect Your Forms From Spam
Blocking email addresses is great for stopping repeat offenders. But if spam is still sneaking through, we offer you a full suite of tools to tighten things up:
✅ Modern Anti-Spam (silent background filtering)
🔐 reCAPTCHA or hCaptcha (challenge-based protection)
🛑 Keyword Filters (block messages with specific words)
🌍 Country Restrictions (block submissions by location)
🔒 IP Blacklisting (via WordPress Discussion Settings)
Layering these tools gives you the best shot at keeping both bots and human spammers out of your inbox. They don’t stand a chance!
Ready to build your form? Get started today with the easiest WordPress form builder plugin. WPForms Pro includes lots of free templates and offers a 14-day money-back guarantee.
If this article helped you out, please follow us on Facebook and Twitter for more free WordPress tutorials and guides.

