Do you want to add Cloudflare Turnstile CAPTCHA to your WordPress forms?
Cloudflare Turnstile is a reCAPTCHA alternative that helps prevent spam submissions on your forms. It’s easy to enable, and more users are switching to it now that reCAPTCHA is introducing lower limits on its free plans.
In this post, we’ll walk you through the 6 steps to add Cloudflare Turnstile CAPTCHA to your forms.
Create Your WordPress Form Now
Why Use Cloudflare Turnstile in WordPress?
Cloudflare Turnstile is a very effective tool to stop contact form spam. The Cloudflare Turnstile CAPTCHA confirms that your form users are real humans visiting your site, not spammers or bots, without the need for users to complete puzzles.
Plus, it’s free! Google is going to start charging for reCAPTCHA on larger sites, so making the move to Turnstile might save you money.
The process to enable Cloudflare Turnstile in WordPress is simple, and we’ll show you how to do it in 6 steps.
How to Add Cloudflare Turnstile CAPTCHA to Your Forms
In This Article
1. Install and Activate WPForms
First, you need WPForms installed and activated on your WordPress site.
You can download the plugin directly from our WPForms site, where you’ll choose the plan and license that best suits your needs.

Check out our documentation for more more guidance on downloading and installing the WPForms plugin.
2. Set Up Cloudflare Turnstile in WordPress
Now we’re ready to set up Cloudflare Turnstile in WPForms.
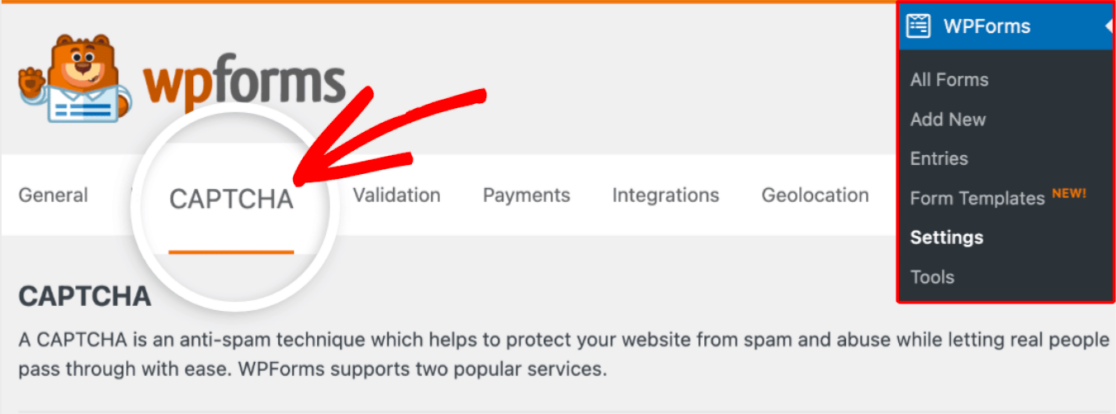
From your dashboard, navigate to WPForms » Settings. Then, click on the tab titled CAPTCHA.
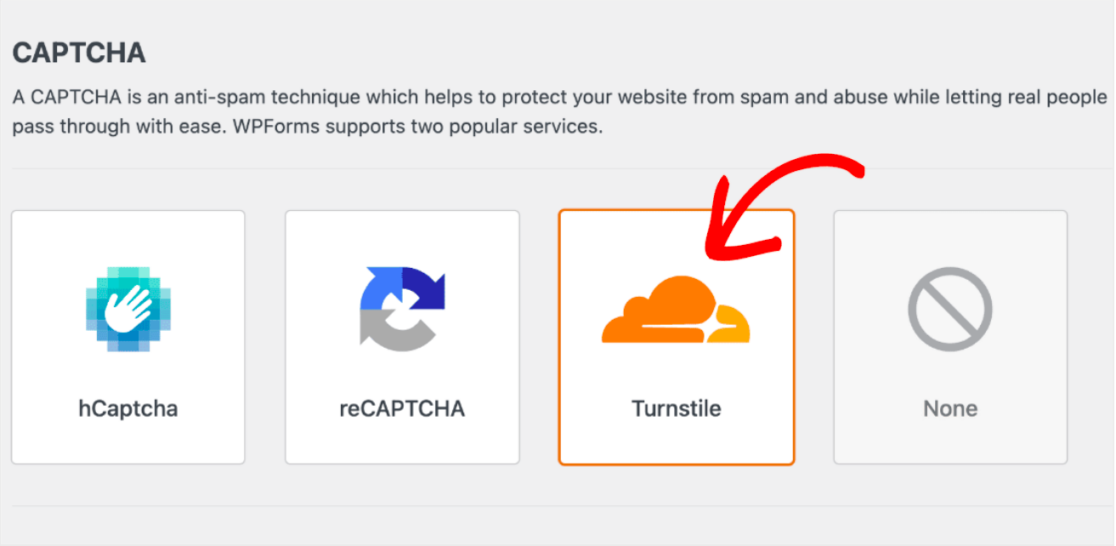
Next, click on the Turnstile square to select Cloudflare Turnstile as your CAPTCHA method.
After selecting Turnstile, you’ll need to create a new Cloudflare account and generate a set of API keys in order to connect it with WPForms. We’ll cover this later on in step #3.
So, for now, leave this tab open and move on to the next step.
3. Add Your Site in Cloudflare
To add your site and generate API keys, you’ll first need to set up your Cloudflare account.
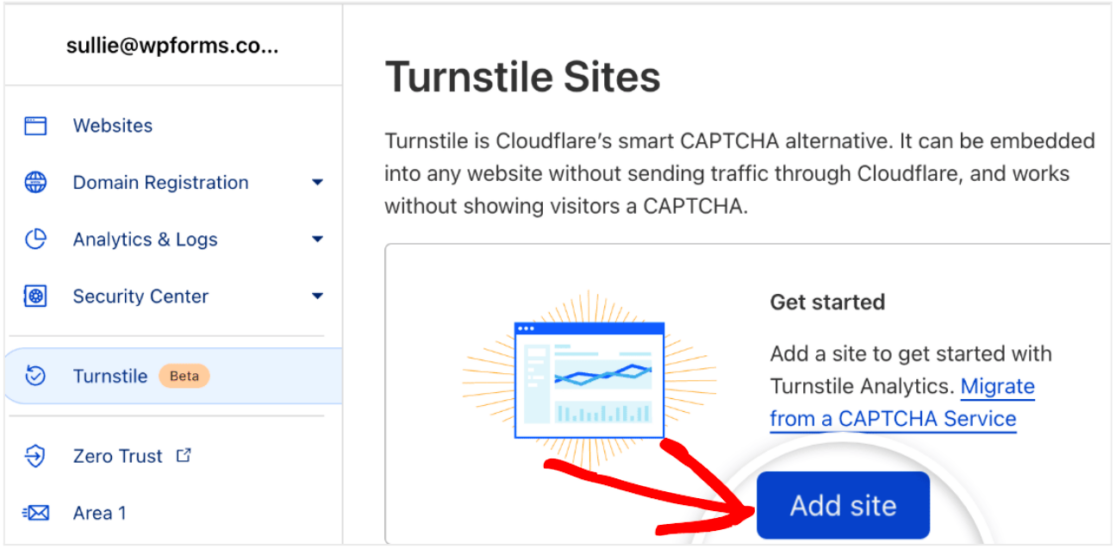
Once you’re in the Cloudflare dashboard, scroll down to the Turnstile tab and click on Add site.
Now, enter the Site name where you’ll use Turnstile.
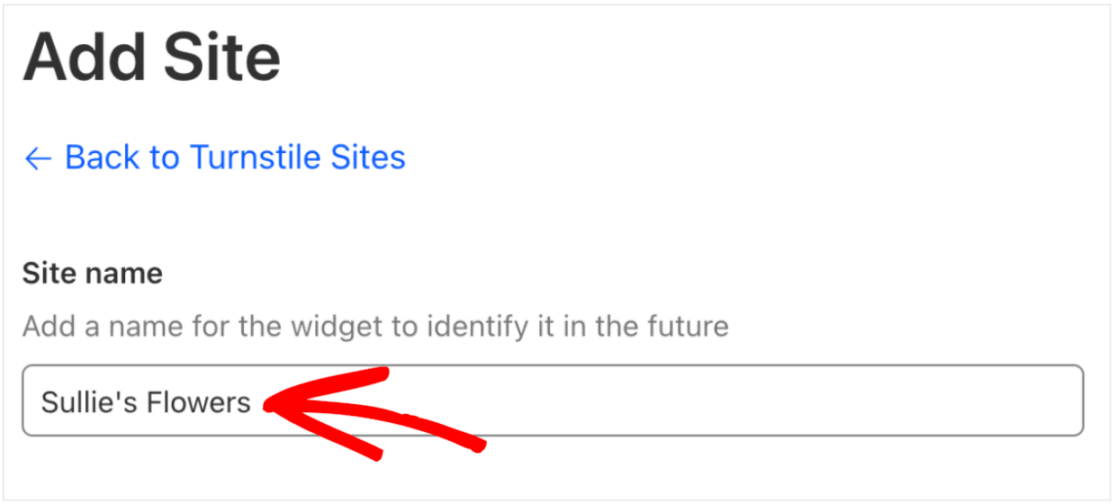
But don’t worry, this site name isn’t public, it’s just to help you identify it in your Cloudflare account.
Next, enter your website address in the box labeled Domain.
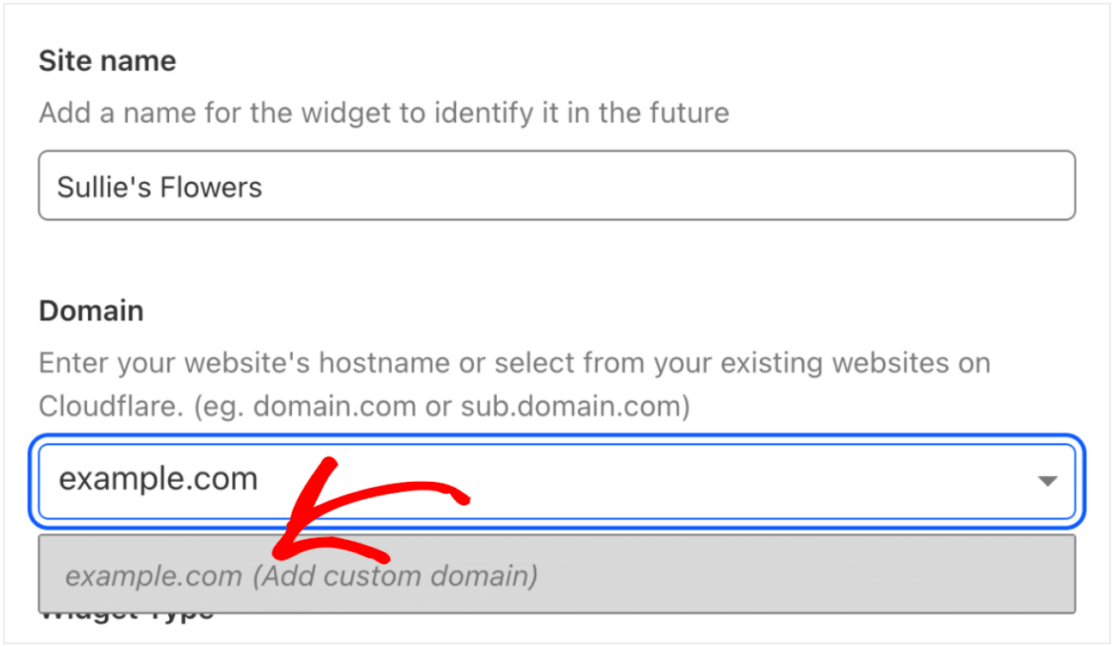
And keep in mind that you can add multiple domains here. That means you can use just one set of API keys across all of the websites where you use Cloudflare Turnstile.
Now, you’ll decide how you want Cloudflare to process the CAPTCHA requests on your website forms. You can choose between Managed, Non-interactive, or Invisible.
Make your selection under Widget Type.
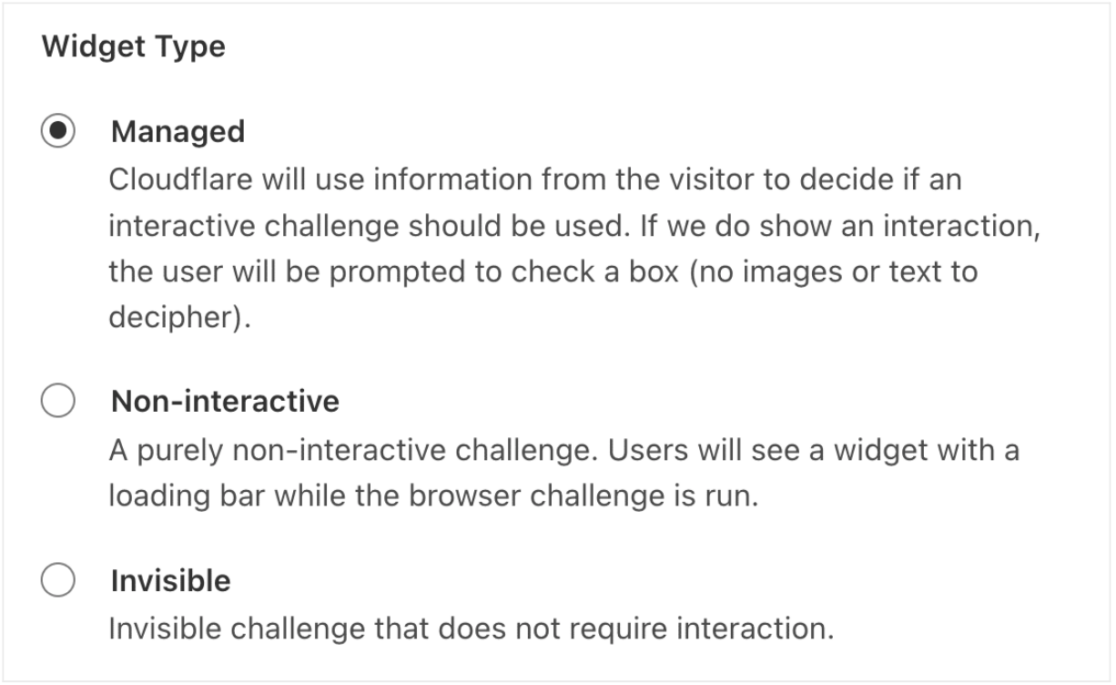
- The Managed option allows Cloudflare to decide whether to show an interactive challenge or automatically verify the user. Cloudflare will make this decision based on the user’s browser data and interaction.
- The Non-interactive option will show the CAPTCHA widget on the frontend of your website, and doesn’t require interaction by your website user. Cloudflare will run the challenge and verify the user automatically.
- Lastly, the Invisible option doesn’t require user interaction either, and will simply run in the background.
Once you’ve made your selection, click Create to add your option to your website.

Now, you can finally generate the unique set of API keys needed for your WordPress site. Clicking Create will automatically generate these keys for you.
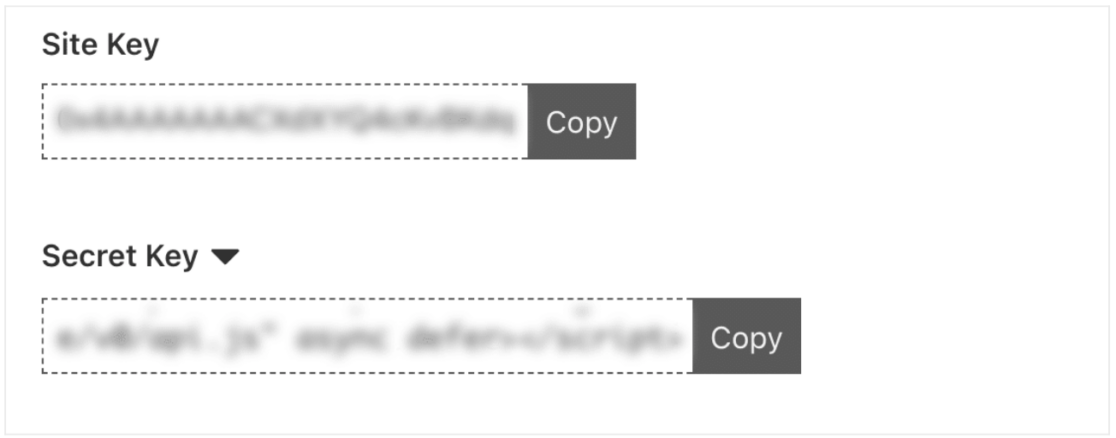
You’ll need the Site Key and Secret Key for your WPForms settings, so be ready to copy and paste them in the next step.
4. Add API Keys to WPForms
Now that you have the API keys from Cloudflare Turnstile, you need to add them to WPForms.
Go back to your WPForms Settings, and paste each key into the necessary field.
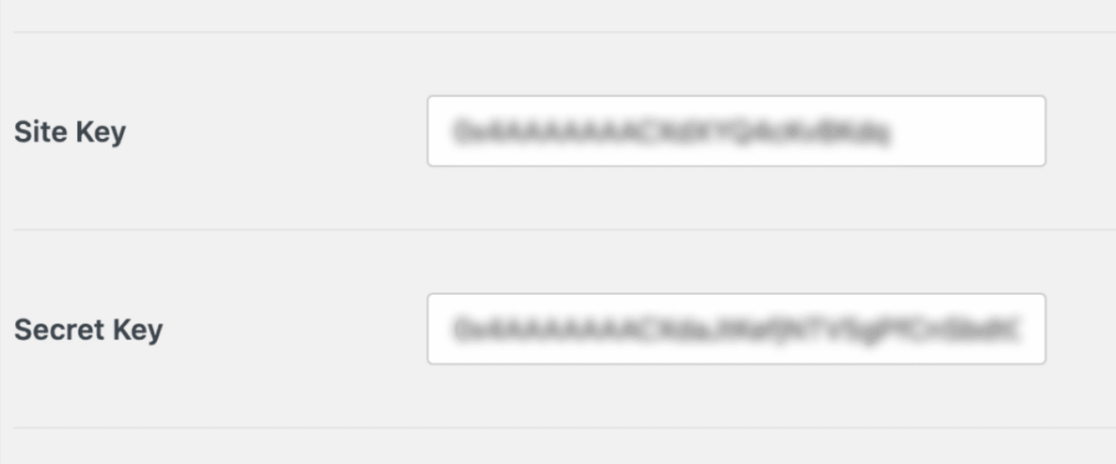
Now, you’ll configure your Cloudflare Turnstile settings in WordPress.
5. Configure Additional Settings
WPForms gives you control over the way Turnstile works on your site.
The first additional setting that you’re able to configure is the Fail Message that your form users may receive. Users will receive this message if they try to submit a form without completing the Cloudflare Turnstile challenge.
You’ll find this message setting directly below the Secret Key you entered above. You can update this message to display whatever you’d like for your users to receive.

The next setting to configure on this page is the style of the widget.
You’ll make a selection from the Type dropdown menu, choosing from Auto, Light, or Dark styling.

Keep in mind here that selecting the default Auto styling will toggle from Light to Dark mode, depending on the form user’s settings.
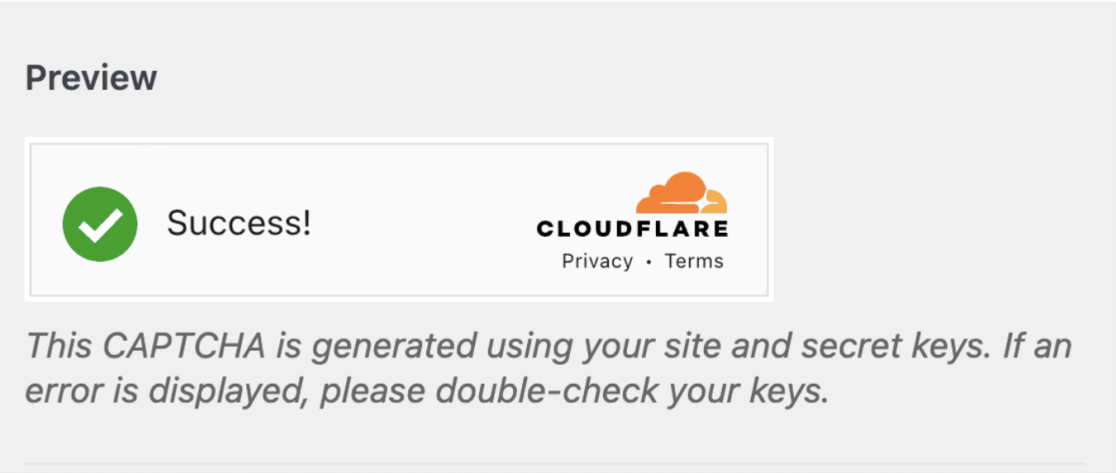
Next, you’ll see the Preview section of this page, which will show you how the Cloudflare Turnstile widget will appear on your website.
Be sure to save your settings before previewing the widget.

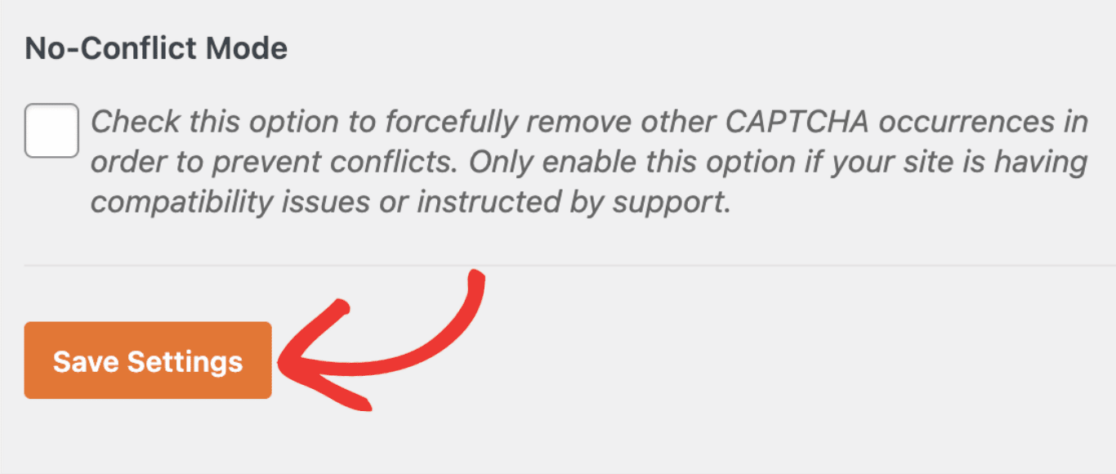
Directly below the Preview settings are the No-Conflict Mode settings.
No-Conflict Mode removes any Cloudflare Turnstile code that WPForms does not need. This can help to resolve conflicts. If you’re having trouble getting Turnstile to work on your site, you might need to enable this setting to troubleshoot the issue. However, we don’t recommend turning on No-Conflict Mode unless you’re experiencing problems with Turnstile.
Now, you should be able to preview your Cloudflare Turnstile widget.
And that’s it for configuring all of the additional settings! Now you’re ready to add the widget to your forms.
6. Add Cloudflare Turnstile to a WordPress Form
With your site keys and settings configured, you can now add Cloudflare Turnstile to any of your new or existing forms from WPForms.
Go ahead and get into the form builder for a new or already made form to check out this new field.
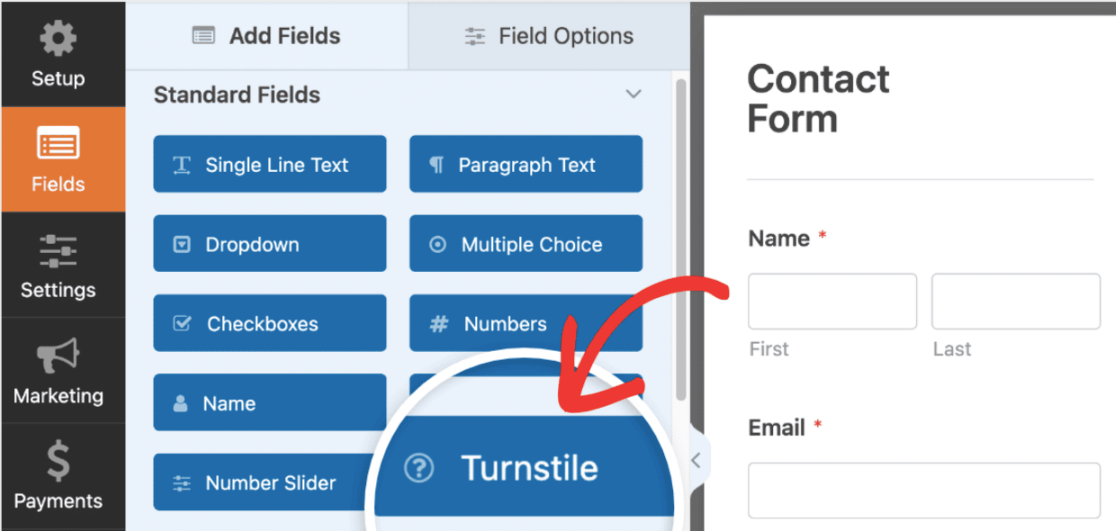
Scroll through the Standard Fields and select the Turnstile field to drag and drop it on your form.
You can also enable or disable Cloudflare Turnstile for your form via Settings » Spam Protection and Security.
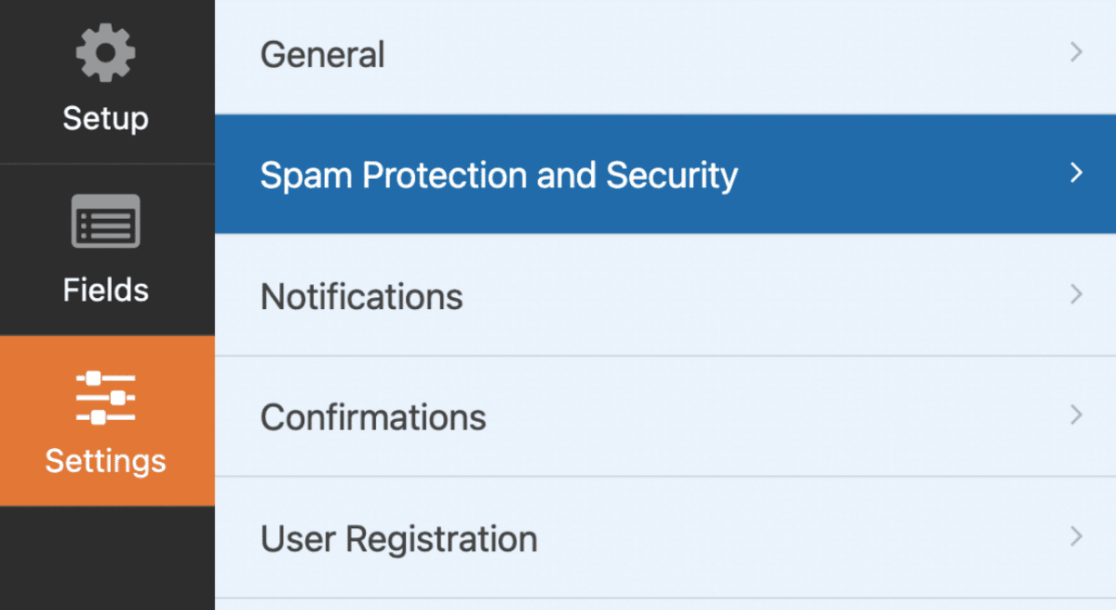
From here, navigate to the CAPTCHA section and make sure that the Enable Cloudflare Turnstile option is toggled to the on position.

Then, to check that it’s enabled in the form builder, look for the Turnstile badge in the upper right-hand corner.
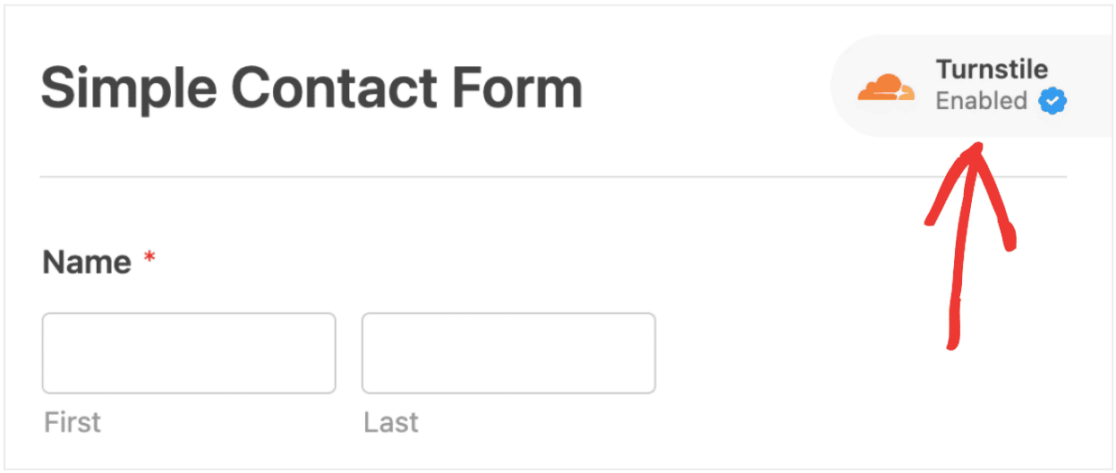
If you don’t see the Turnstile badge on your form builder, check your Cloudflare Turnstile API keys. They may have been incorrectly set.
All that’s left for you to do now is to make sure that Cloudflare Turnstile works the way you want it to on your forms!
Simply submit a test entry to your form to check out your Cloudflare Turnstile CAPTCHA.
And that’s it! You now have an added layer of security on your WordPress site.
Create Your WordPress Form Now
Next, Consider Other reCAPTCHA Alternatives
Cloudflare Turnstile is a great alternative method to reCAPTCHA, but it’s just one of many. For even more suggestions on how to protect your site without using reCAPTCHA, have a look at our favorite alternatives to use on your contact forms.
If you’re looking to create campaigns with countdown timers, check our list of the best WordPress countdown timer plugins.
Ready to build your form? Get started today with the easiest WordPress form builder plugin. WPForms Pro includes lots of free templates and offers a 14-day money-back guarantee.
If this article helped you out, please follow us on Facebook and Twitter for more free WordPress tutorials and guides.

