AI Summary
Recently, one of our readers asked us for step-by-step instructions on how to edit the header in WordPress since they couldn’t find anything to guide them from scratch.
While this is something really basic, we thought this was an excellent opportunity to help those starting out with their WordPress journey.
So, without further ado, let’s dive into how you can edit the header of your WordPress site and style it to look more appealing.
In This Article
How to Edit the Header in WordPress
With the latest version of WordPress, you can use the interactive and user-friendly Site Editor to customize and brand your website and create a custom header easily.
Since most new WP installations come with the Twenty Twenty-Four Theme, the site editor is quite helpful for several header customizations:
- Fonts
- Colors
- Button Styling
- And more
Step 1: Access the Site Editor
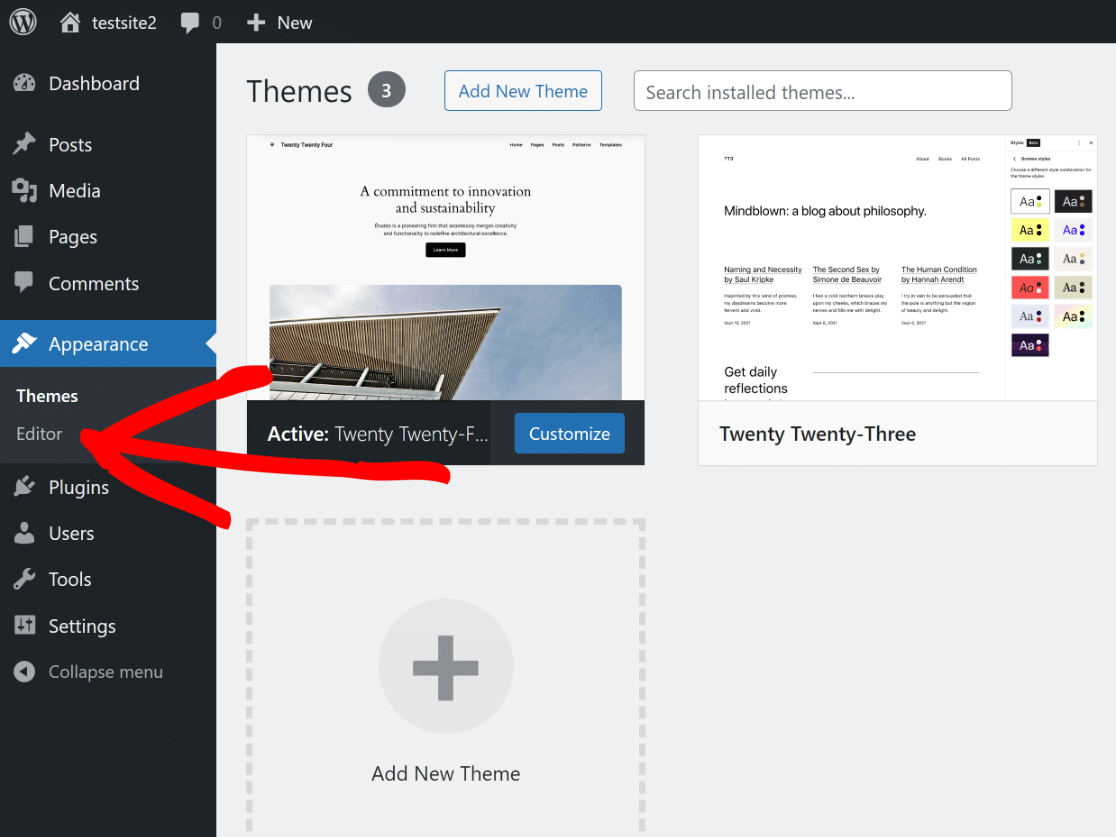
From your WordPress Dashboard, simply navigate to Appearance and then click on the Editor option from the menu.
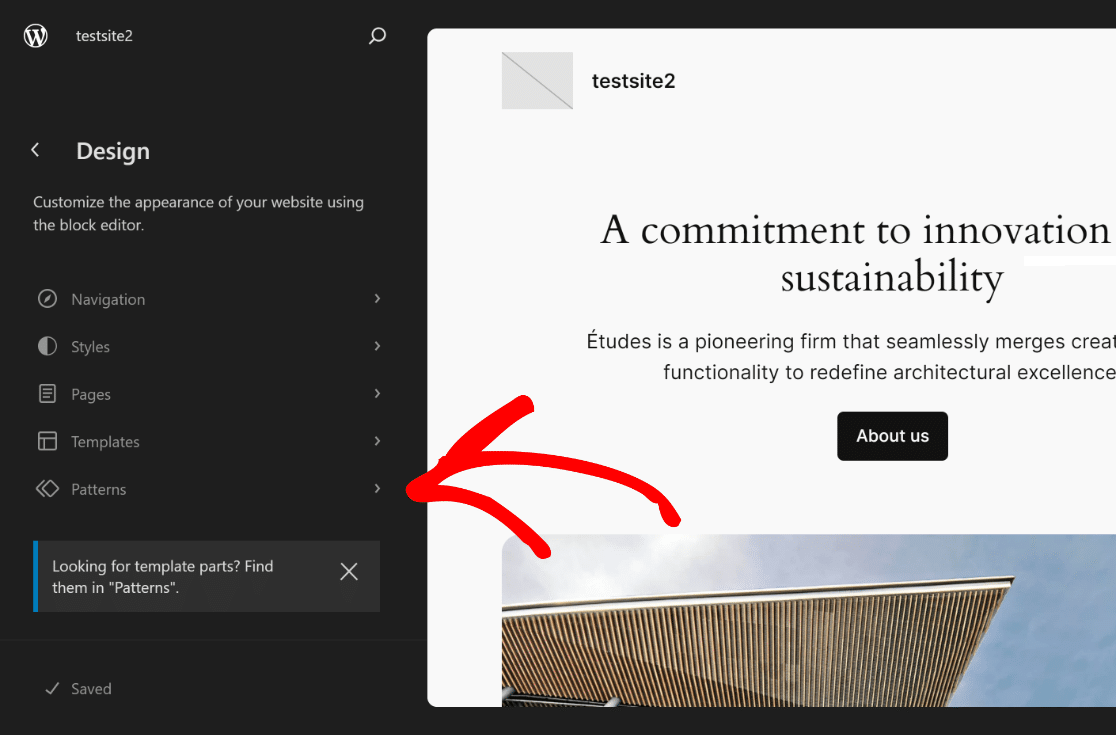
This will redirect you to the Site Editor, where you can customize the appearance of your website using the block editor. Open up the options in Patterns.
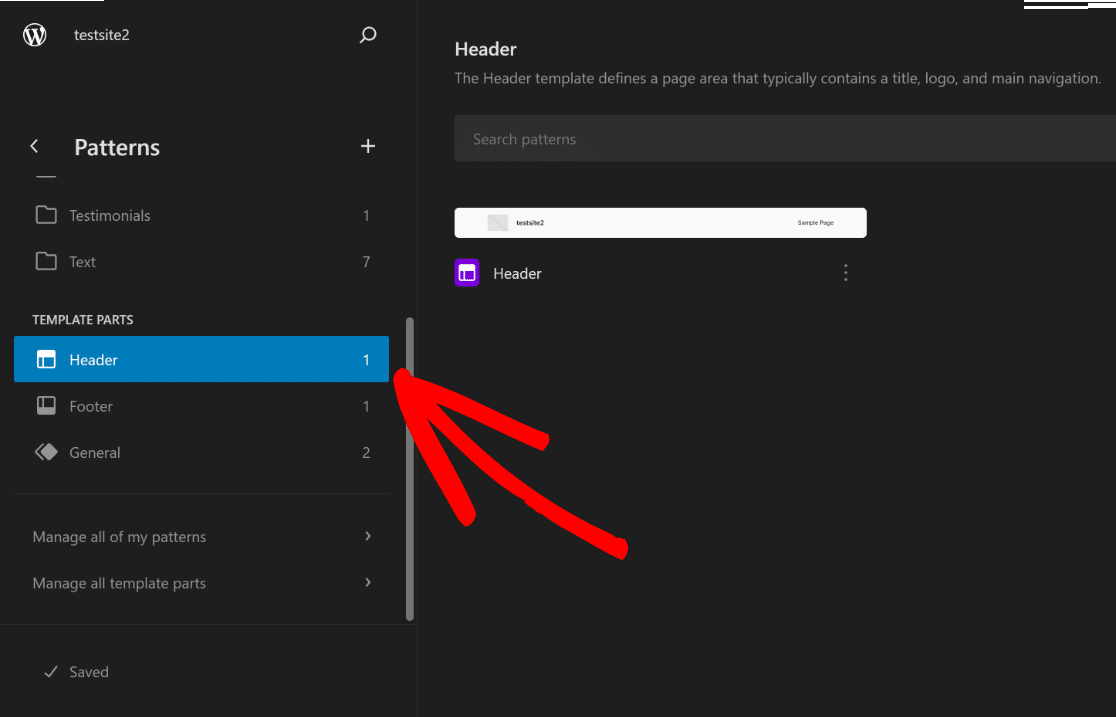
Now, all you have to do is scroll down until you can see the Template Parts section and then click on Header to open up its options.
On the right side of the screen, click on the Header image to open up the customization options available in the Site Editor and click on the Edit icon.
![]()
You will now be redirected to the Block Editor of WordPress, where you can start by adding your logo, navigation, social icons, and even a CTA button (if needed).
Step 2: Add Your Site Logo
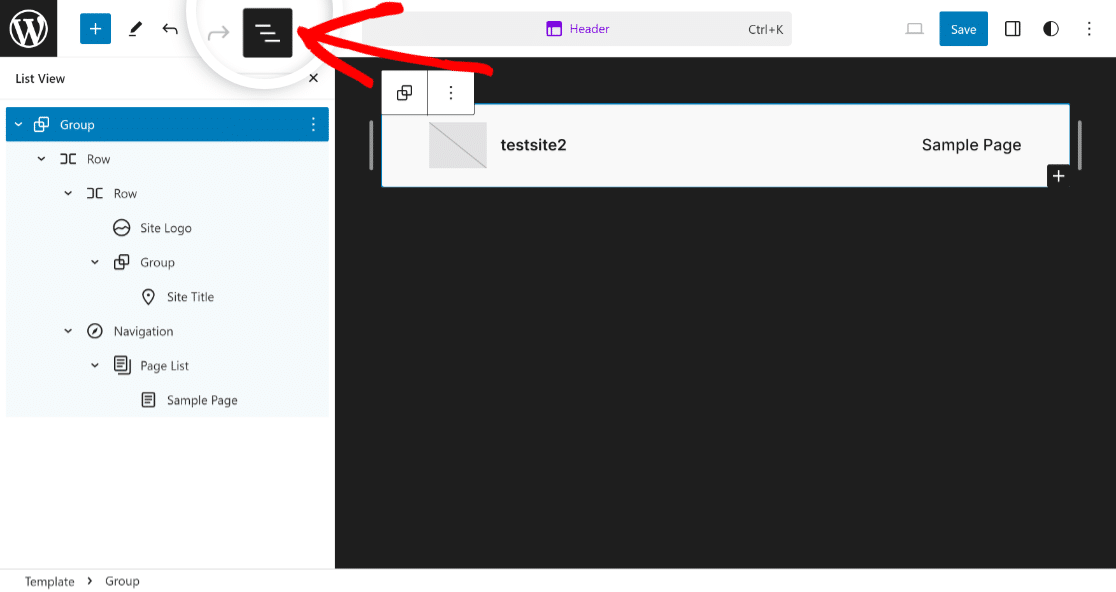
Once you’re in the Block Editor for the Header of your website, click on the List View icon so that it’s easy to know what elements are included in the WordPress header.
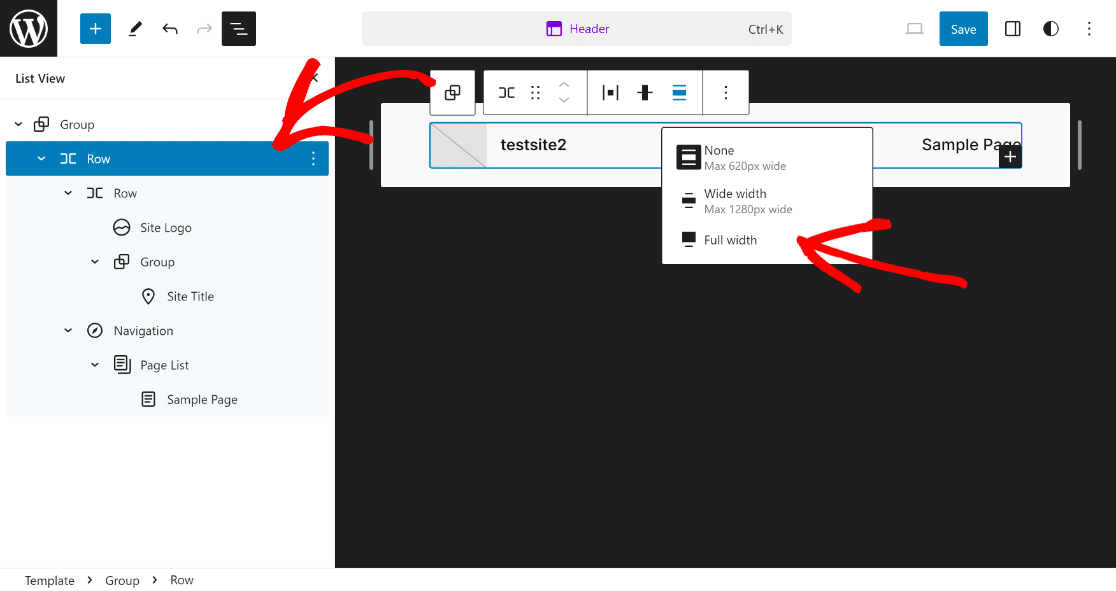
Expand all the Blocks included in the List View, click on the first Row item, and set the Alignment to Full Width to begin customizing the header template.
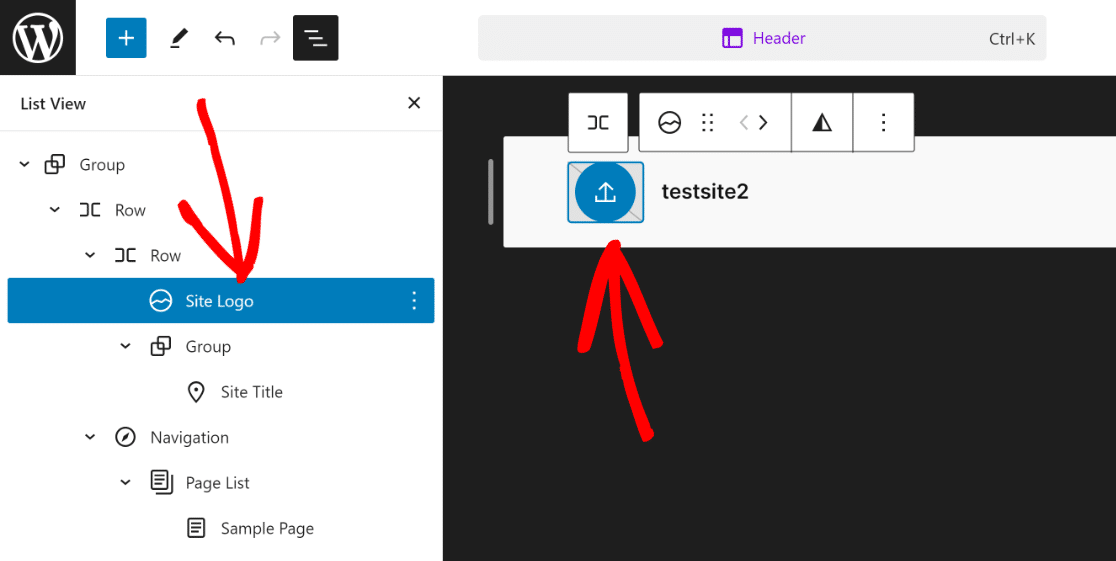
Now, all you have to do is click on the Site Logo option in List View and click on the Upload icon in the header preview section.
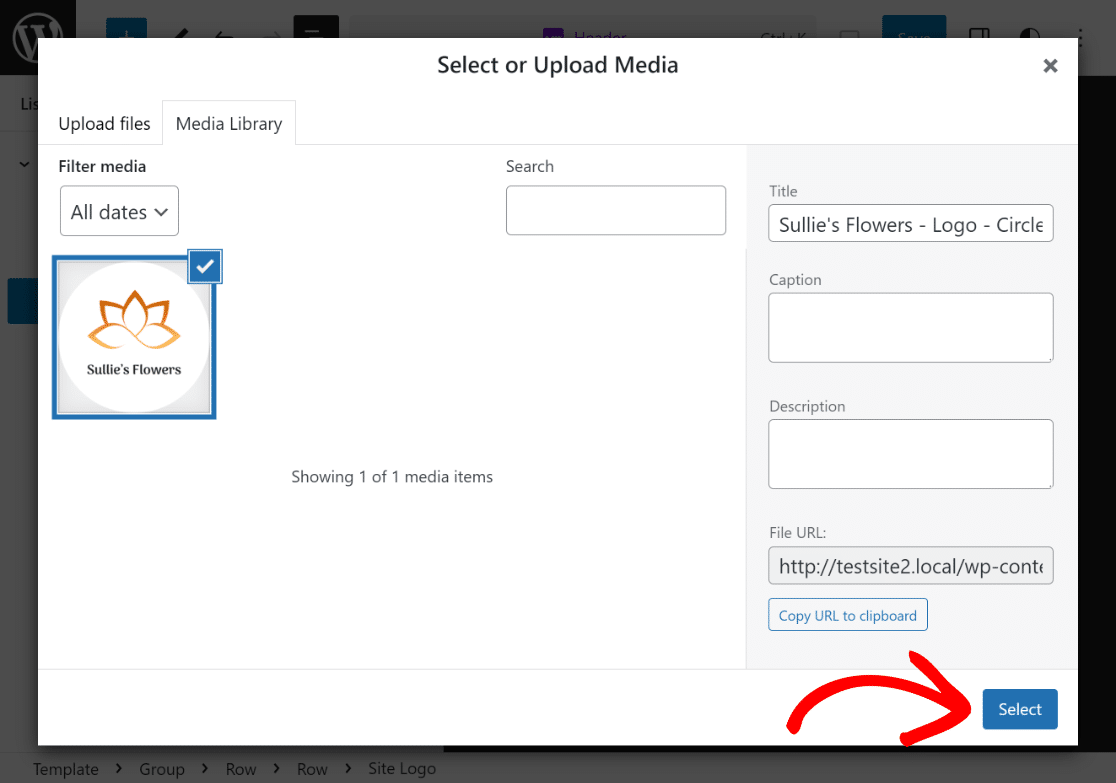
You can choose to upload your logo through the Upload Files tab, or simply select the file from your existing Media Library.
If needed, you can use the Resize Dots to change the dimensions and size of the site logo, based on your specific needs or requirements.
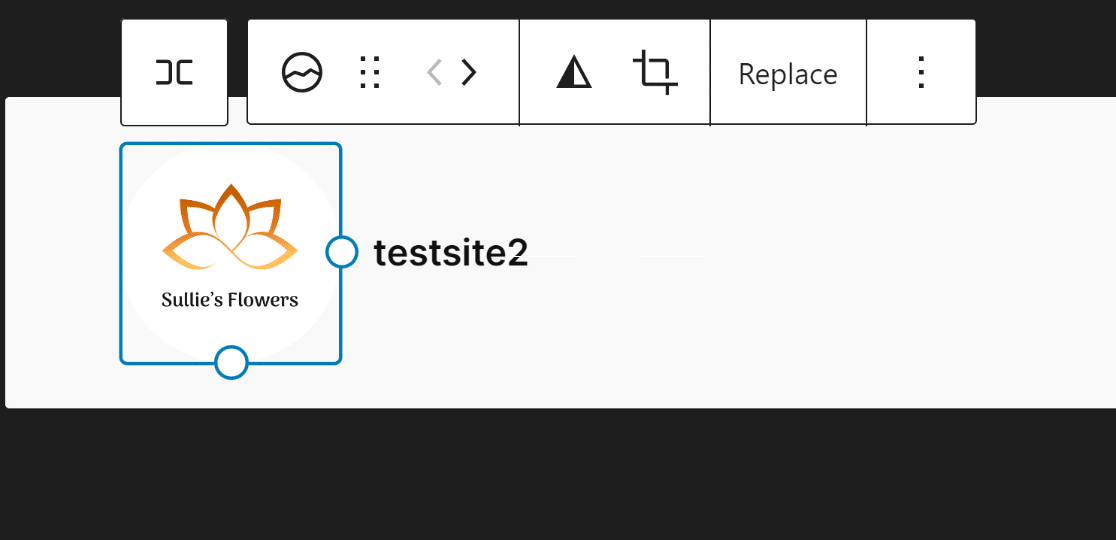
Great job! That’s all you need to do for uploading your Site Logo to the header. Now, let’s move on to the next step of adding your Site Title!
Step 3: Add Site Title
Adding the Site Title in your website header is equally as simple as uploading your Site Logo on the WordPress theme. Simply click on Site Title from the List View.
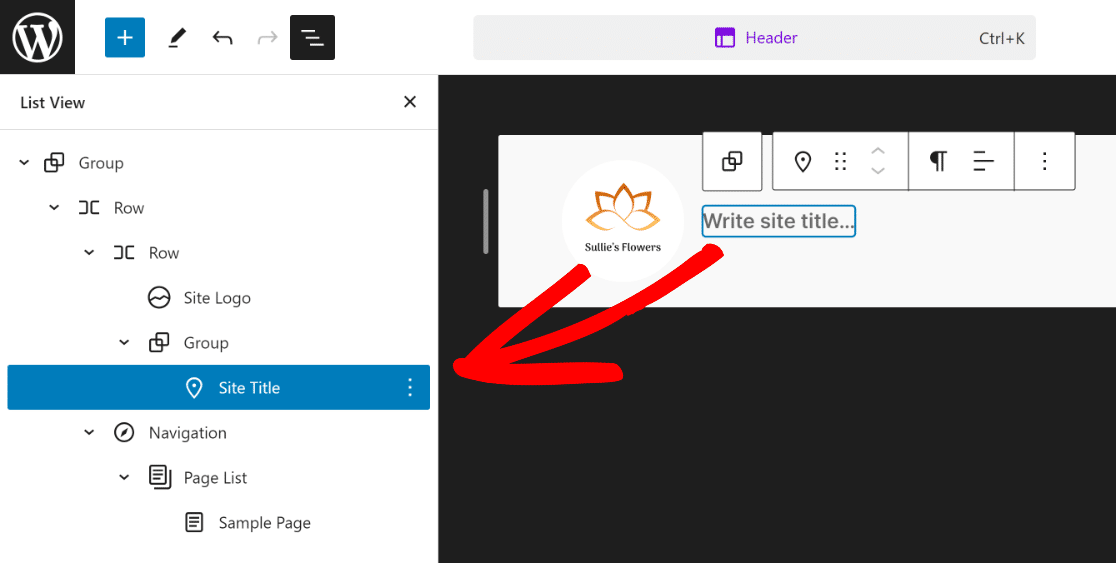
Then, similar to how we changed the site logo earlier, click on the block that says “Write site title…” and add your Site Title inside it.
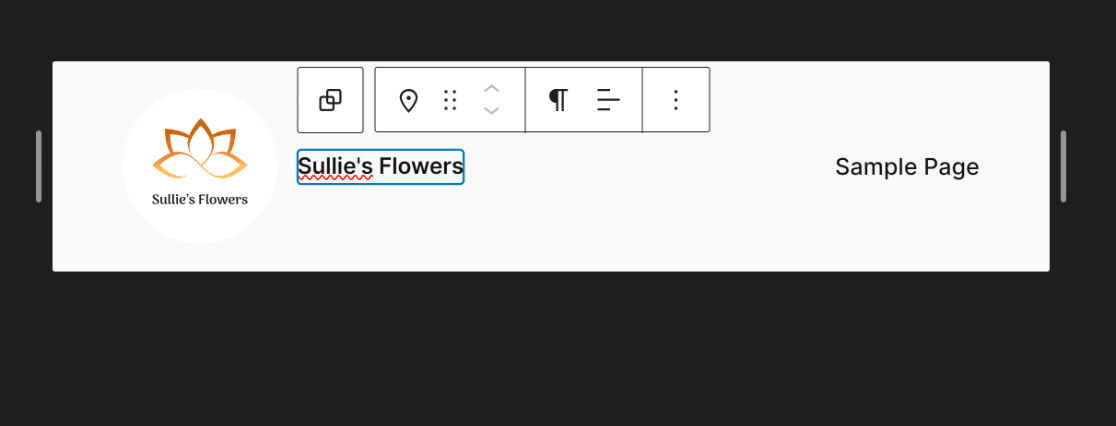
As you can see, your theme’s header is now slowly coming into shape. For the next step, we’re going to add some navigational elements to your header.
To add your pages to the header, simply click on Navigation from the List View, and then click on the Edit option for its block.
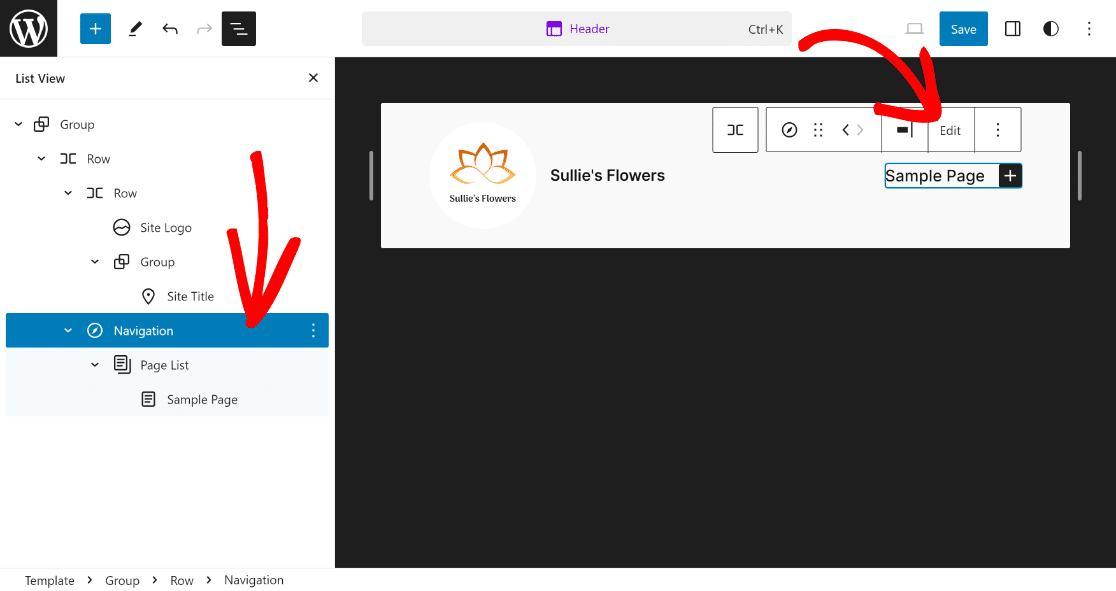
This will take you to the dedicated Block editor page for the Navigation element, where you can add new pages and their links via the Plus icon.
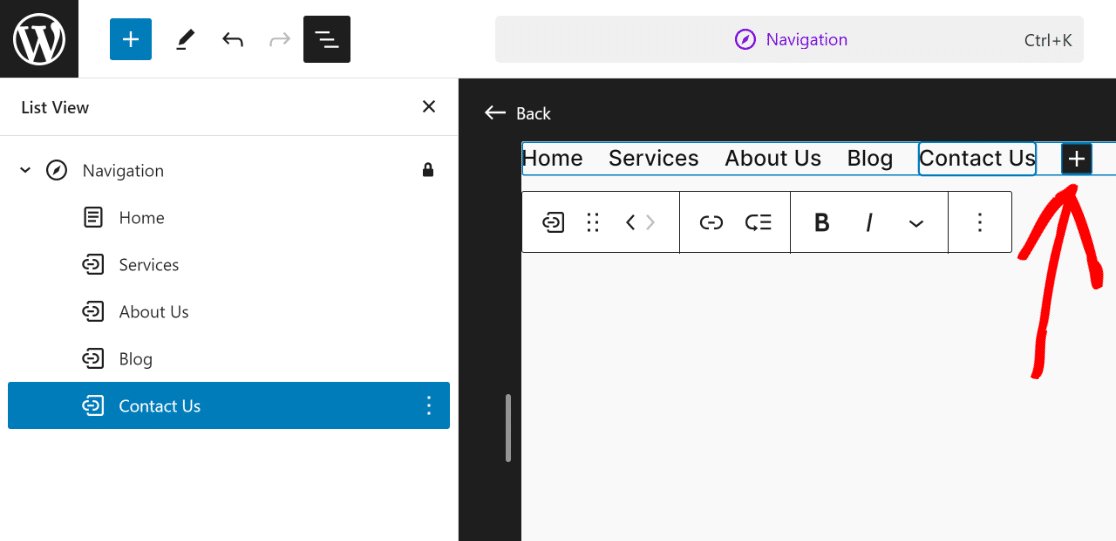
This will complete the look of your header, but as you can see, it looks too simple and there’s much room for improvement!
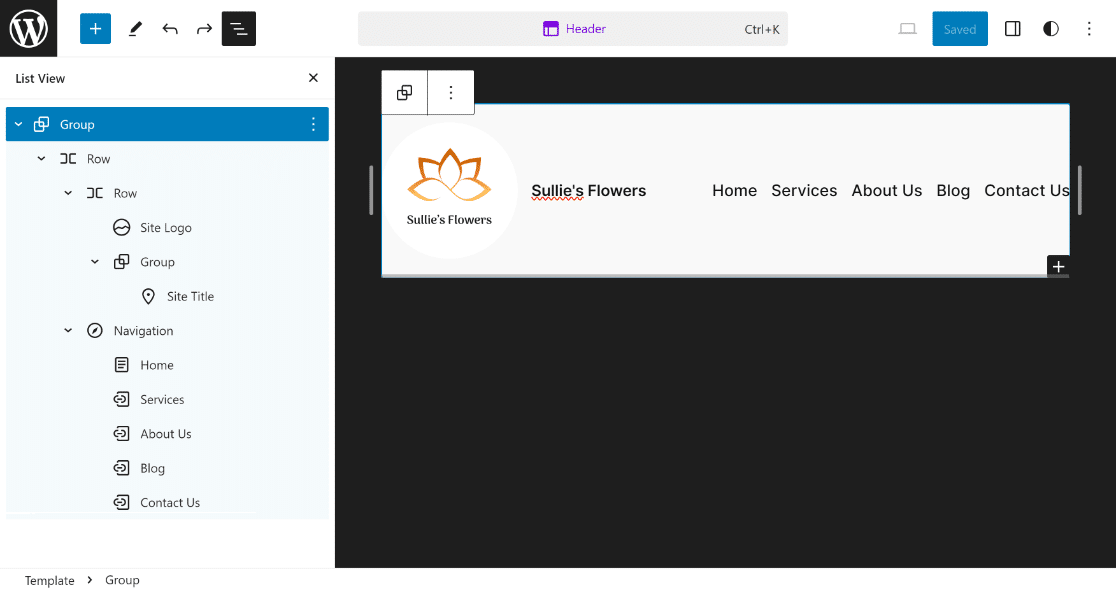
Let’s add a bit of styling to your Header now to make it look more visually appealing and match the color tones of your website.
Step 5: Change the Background Color
One of the most basic modifications you can make to the header is to change its background color. To do so, click on the first Row and open up its Settings.
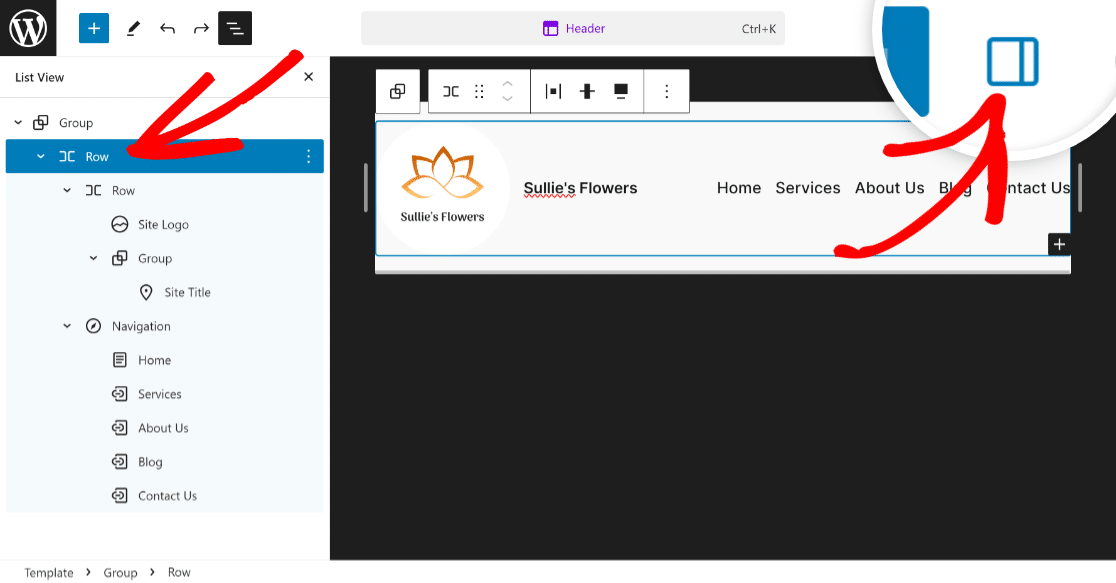
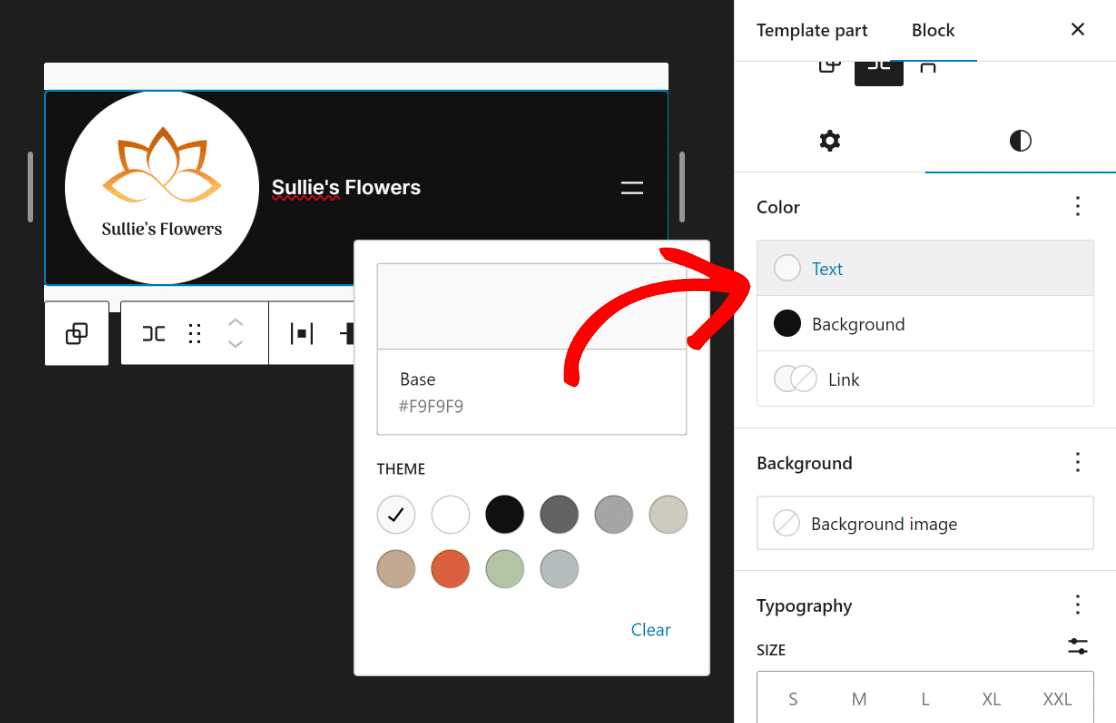
You will now be able to see the Block options for the selected Row. All you have to do now is click on the Styles icon next to the gear (settings) icon.
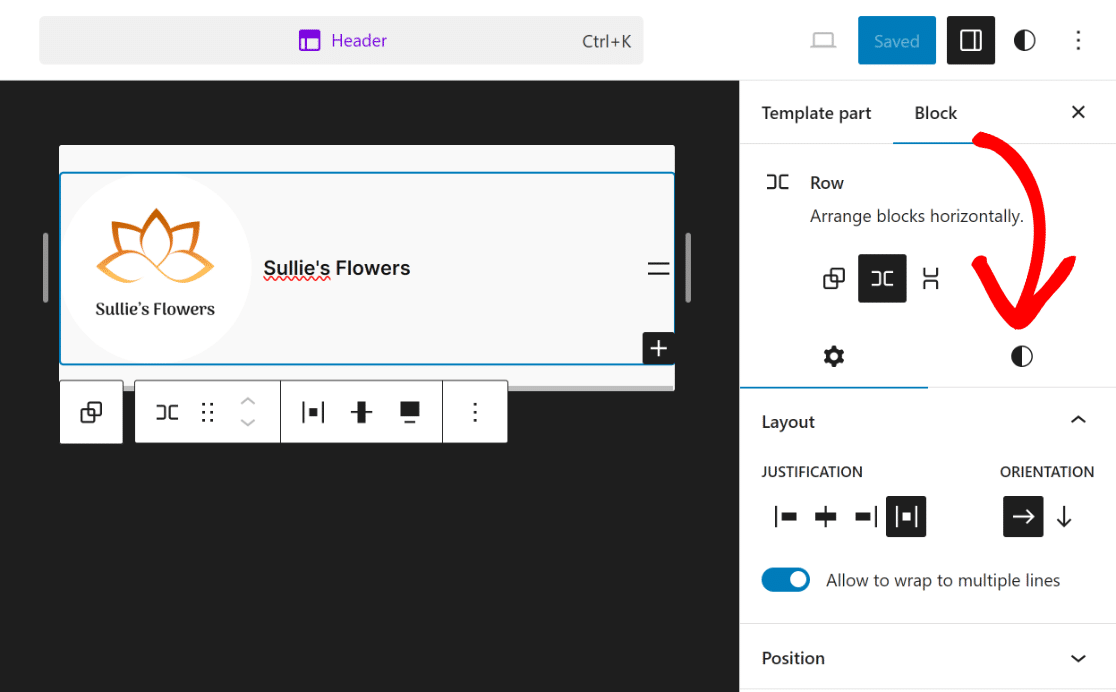
This will open up numerous options for the selected Row, where you can modify the Color, Background Image, Typography, and Dimensions.
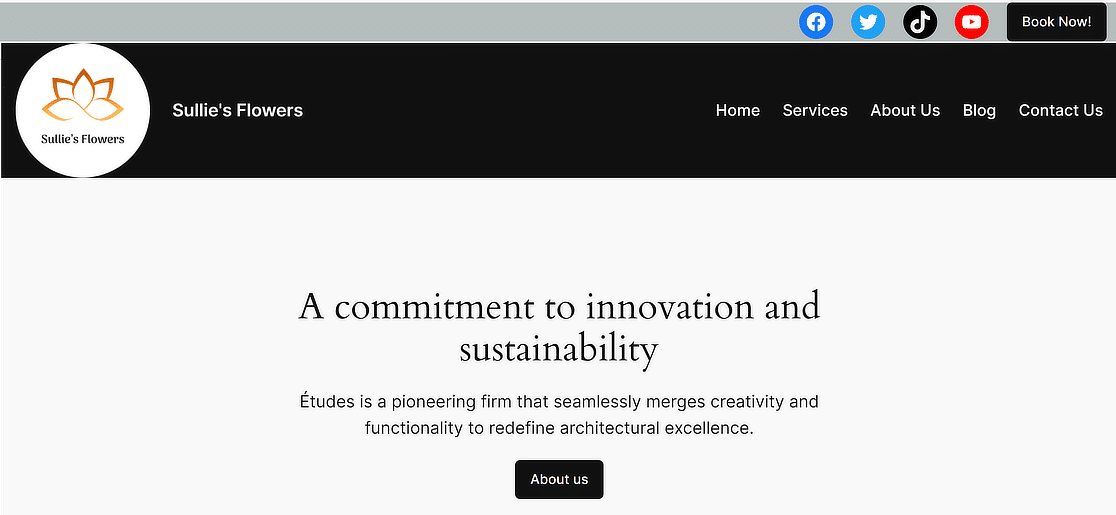
You can explore these to make your header look more appealing. Since we just needed to change the color, we selected white for the Text and black for the Background.
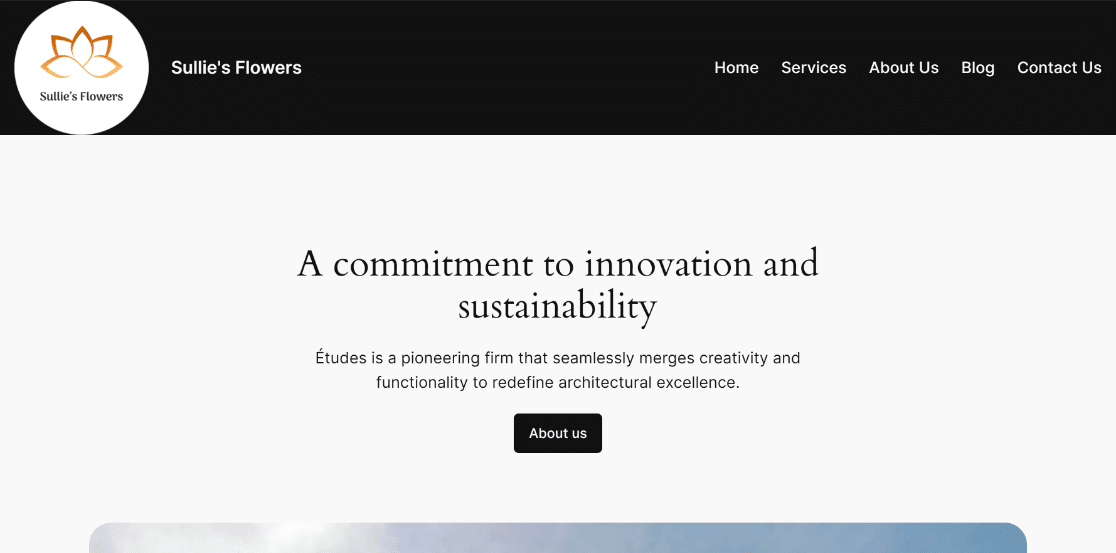
As you can see, the header on the front end looks much better now and gives the website a more complete look.
Do you want to make further modifications to the header, like inserting some social icons and a CTA button? Well, the process is simple!
Step 6: Add Social Icons and CTA Button
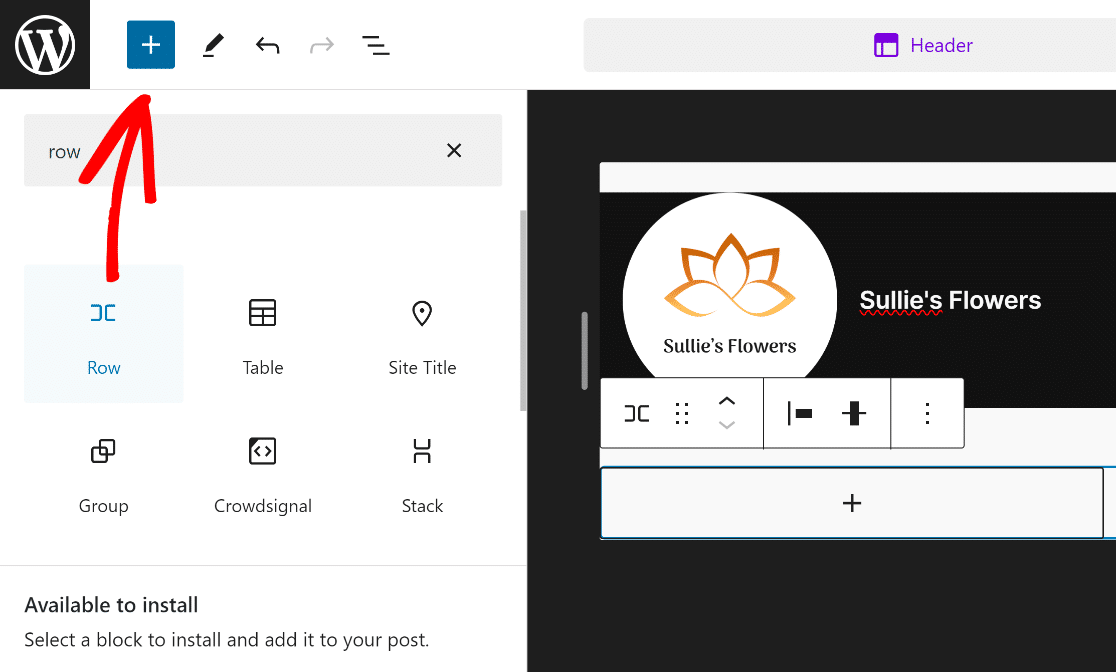
To add social icons and a CTA button, you’ll need to add a new Row. Click the Plus (+) icon and select the Row block.
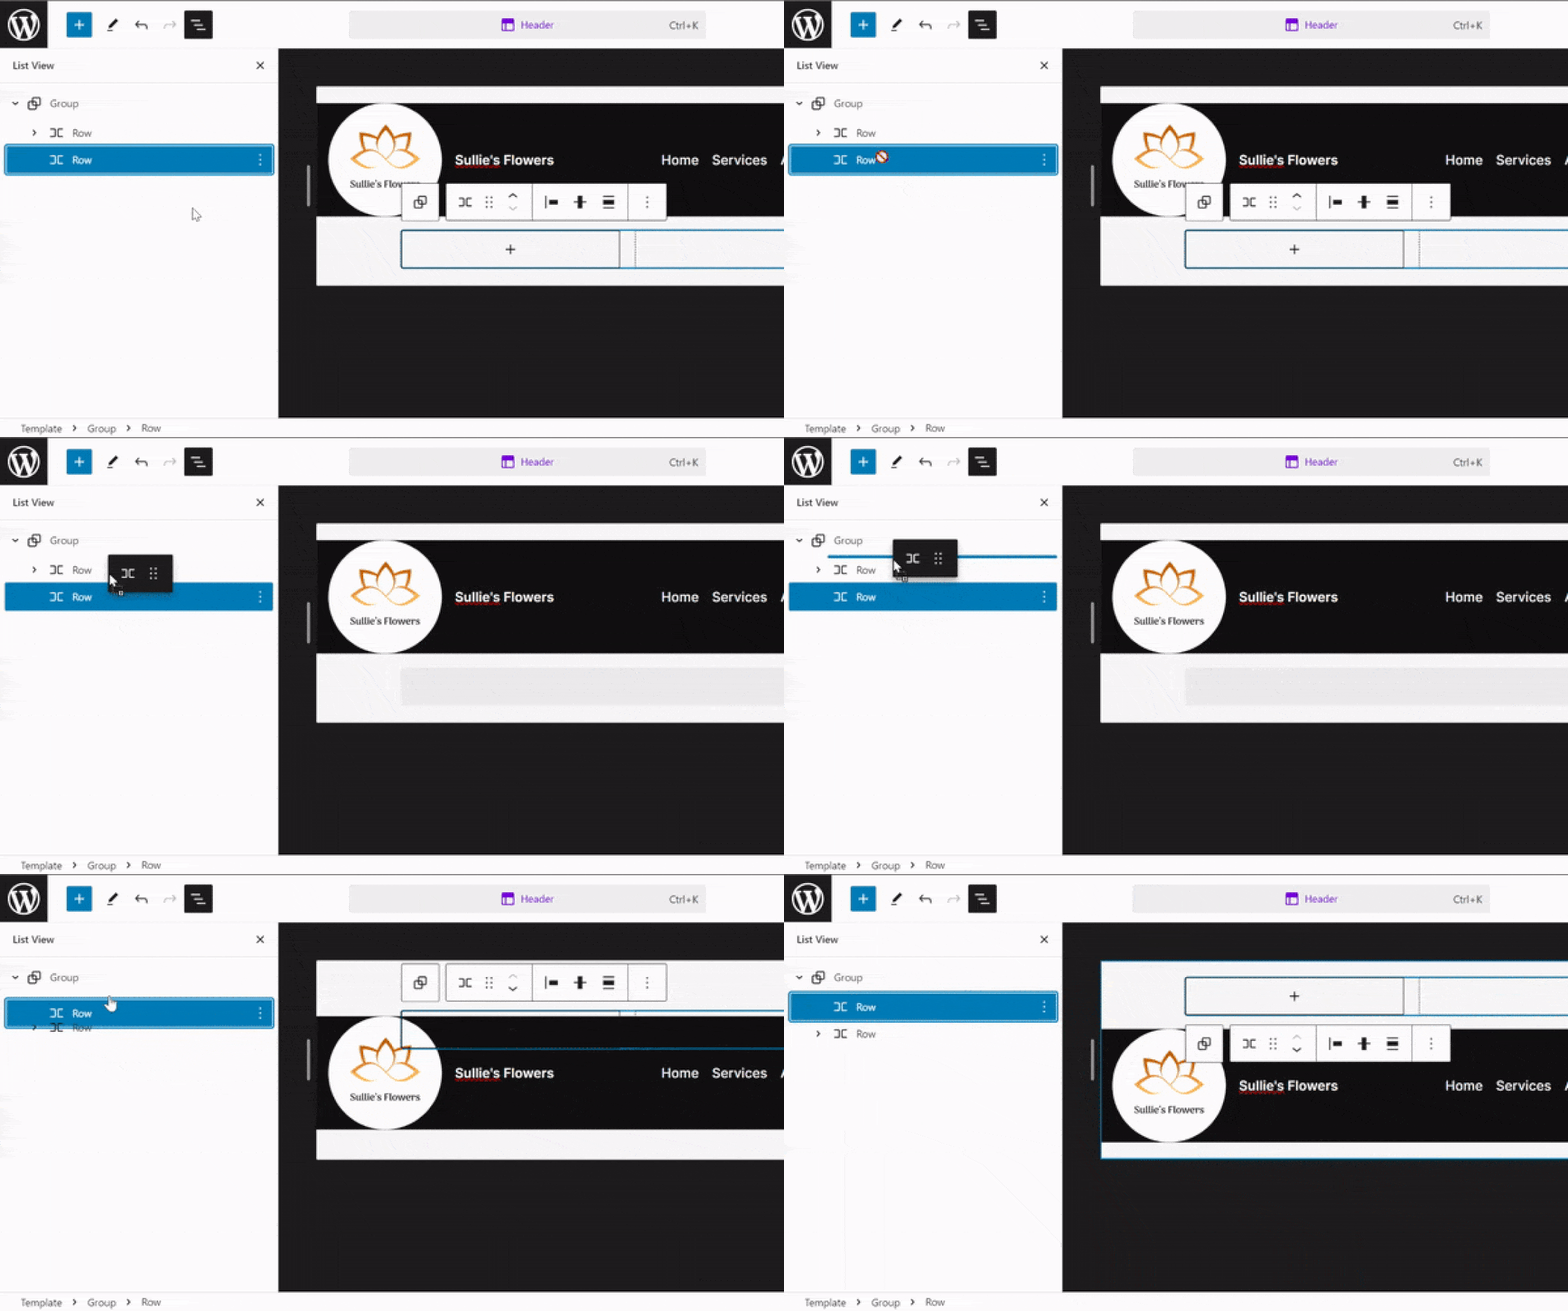
Next, drag the newly added Row block above the existing row so that you can freely customize it without affecting the existing header.
After that, click on the (+) button inside the new Row and search for and select the Social Icons block.
![]()
Similar to how we added pages in the Navigation, click the (+) button to insert Social Media Widgets for whichever platforms you prefer.
![]()
Once done, select the Row again from List View and click on the (+) button again to add a Button block to your header.
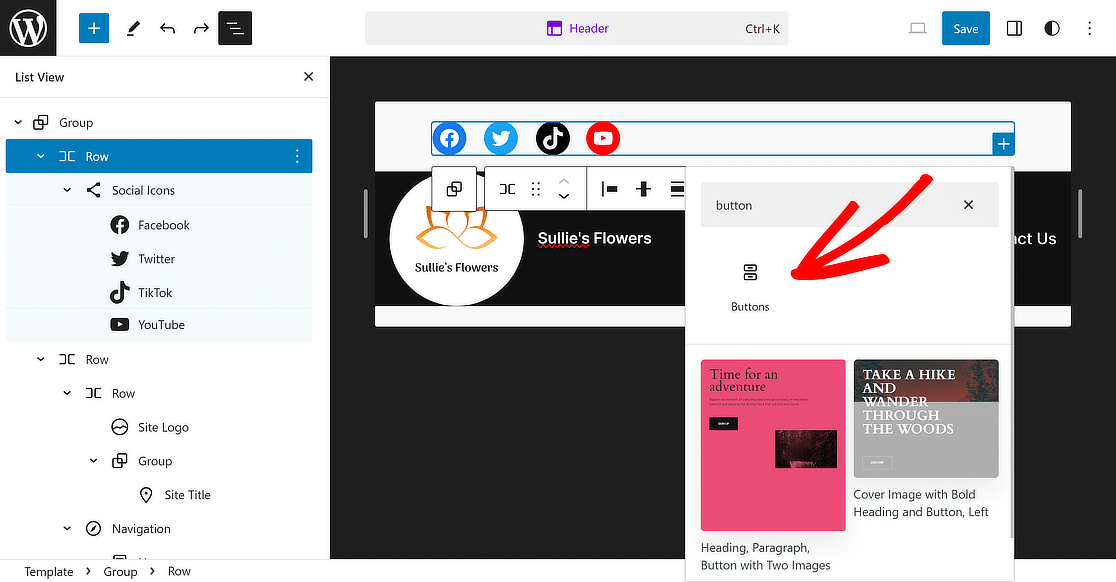
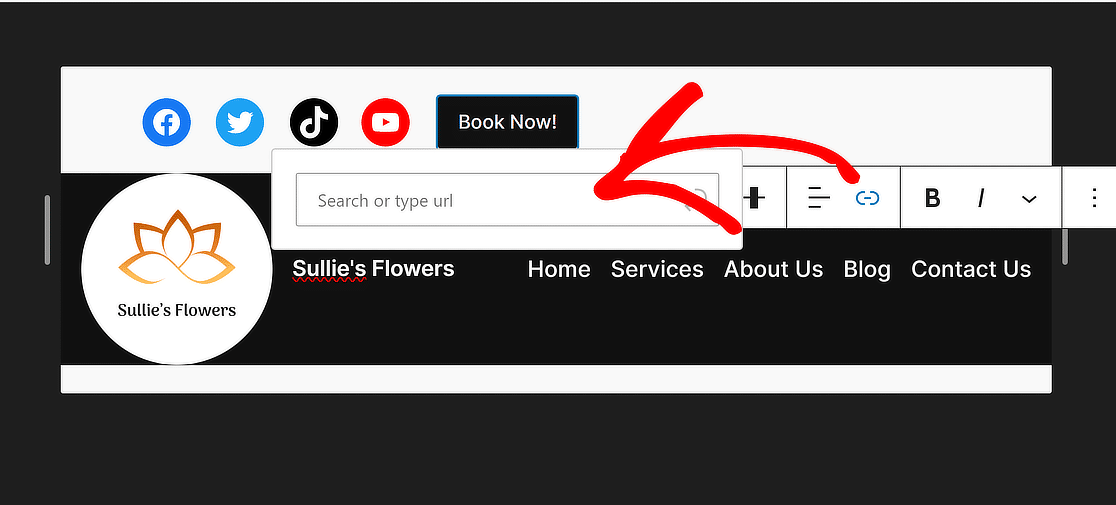
All you have to do now is give your button a text like “Book Now!” and update its Link to set up a redirect for website visitors.
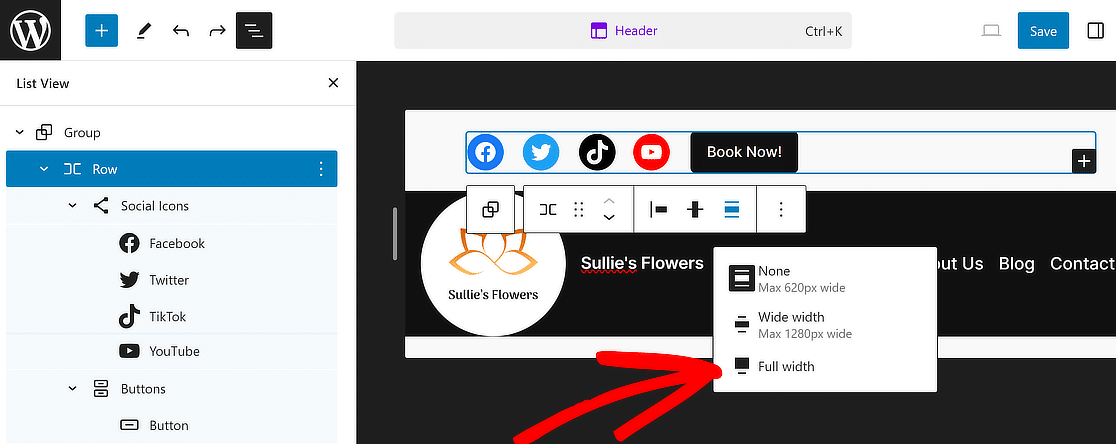
To make it all come together, select the Row again and set the Alignment to Full Width as we did with the first row.
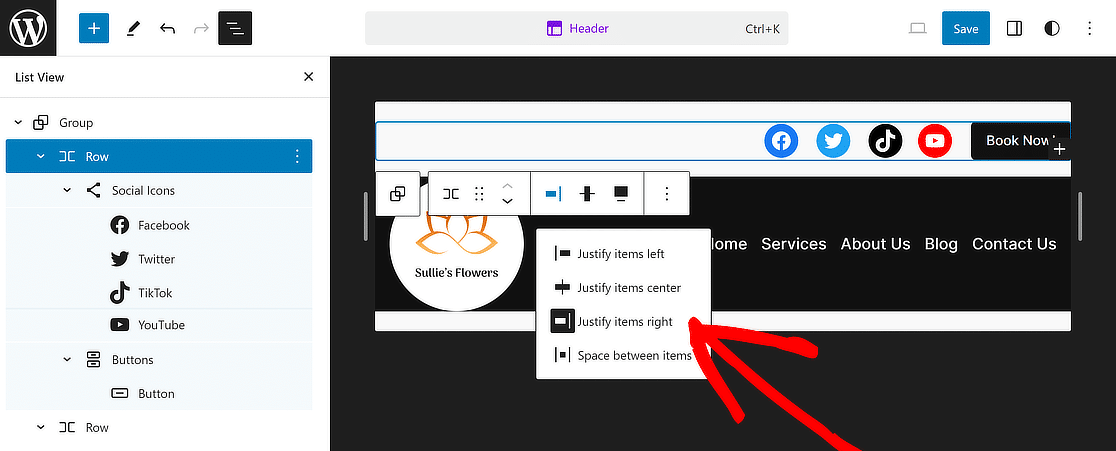
Then, to give this section a more appealing look, use the Change items justification menu and select the Justify items right option.
And there you have it! Your header is now complete and looks perfect. Simply click the Save button at the top to avoid losing any changes.
Step 7: Add Logo to Email Templates (Optional)
Consider adding your logo to an email template to add consistent branding that also trickles down to the emails being sent from your WordPress website.
It’s easy to change how Email Notifications work in WPForms. First, go to WPForms » Settings and click on the Email tab.
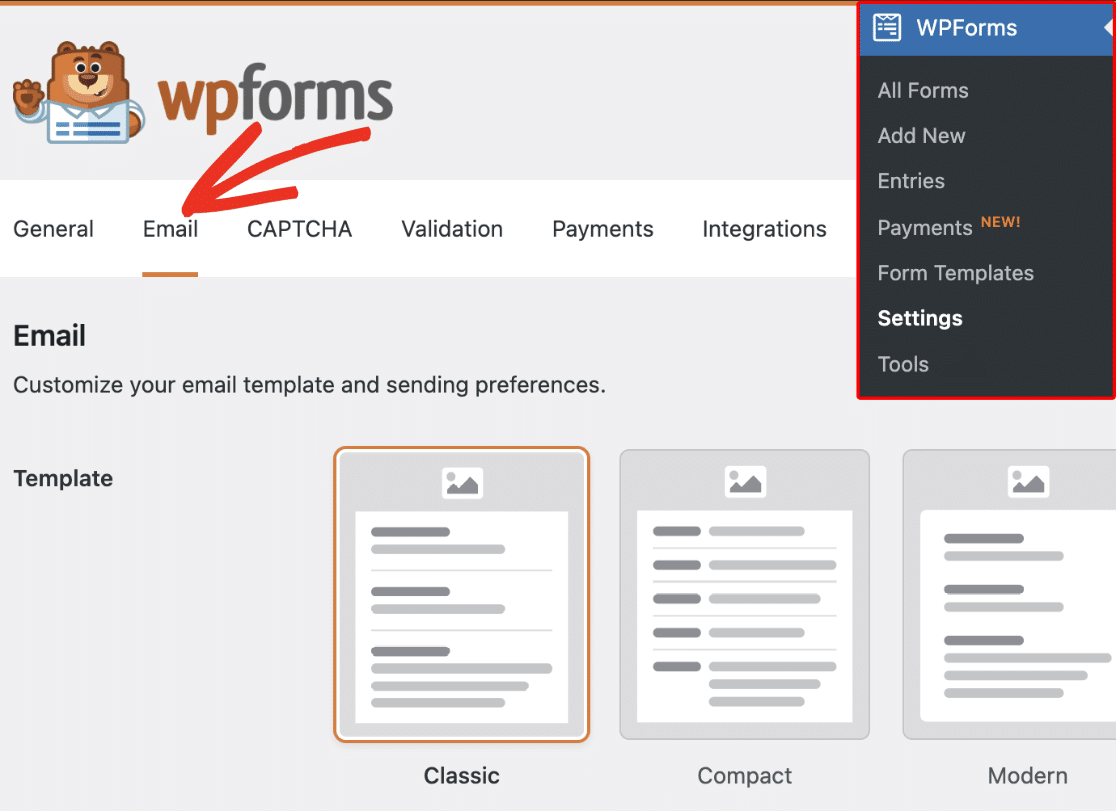
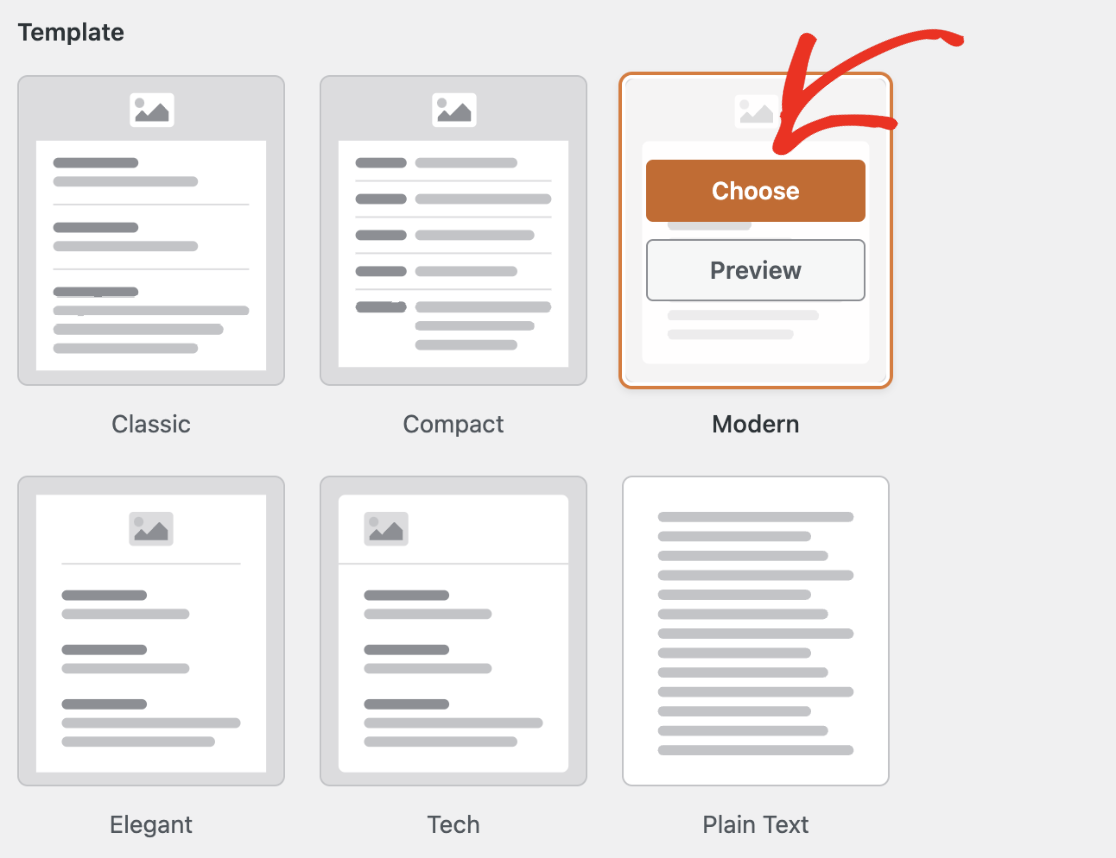
Pick any style that best suits your branding from the Template section and hit the Choose button to apply it.
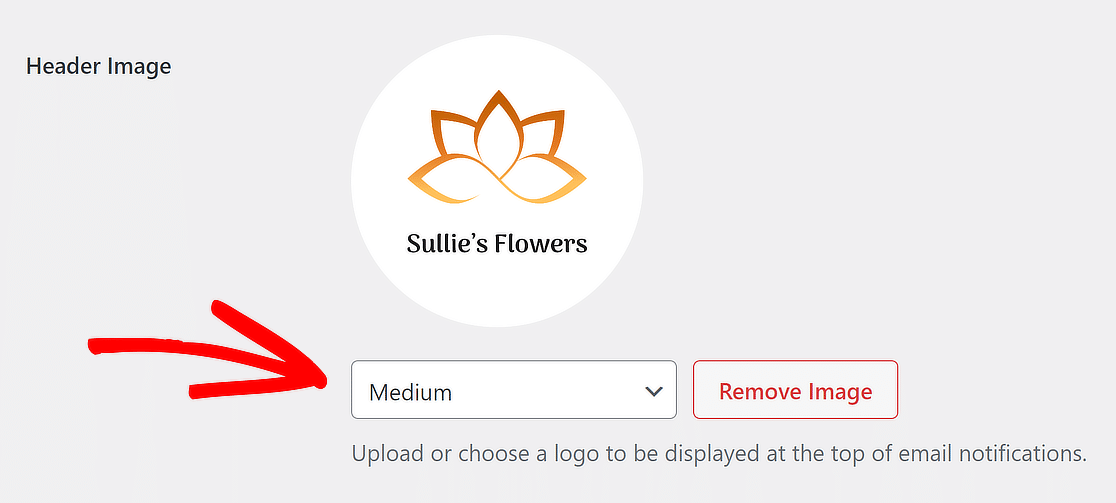
After that, to add your site logo to emails, navigate to the Header Image section and click on the Upload Image button.

Once you have uploaded your image, select the desired size for the image to be used in your email notifications from a dropdown menu.
Following this, simply click on the Preview Email Template link located under the Typography dropdown menu.
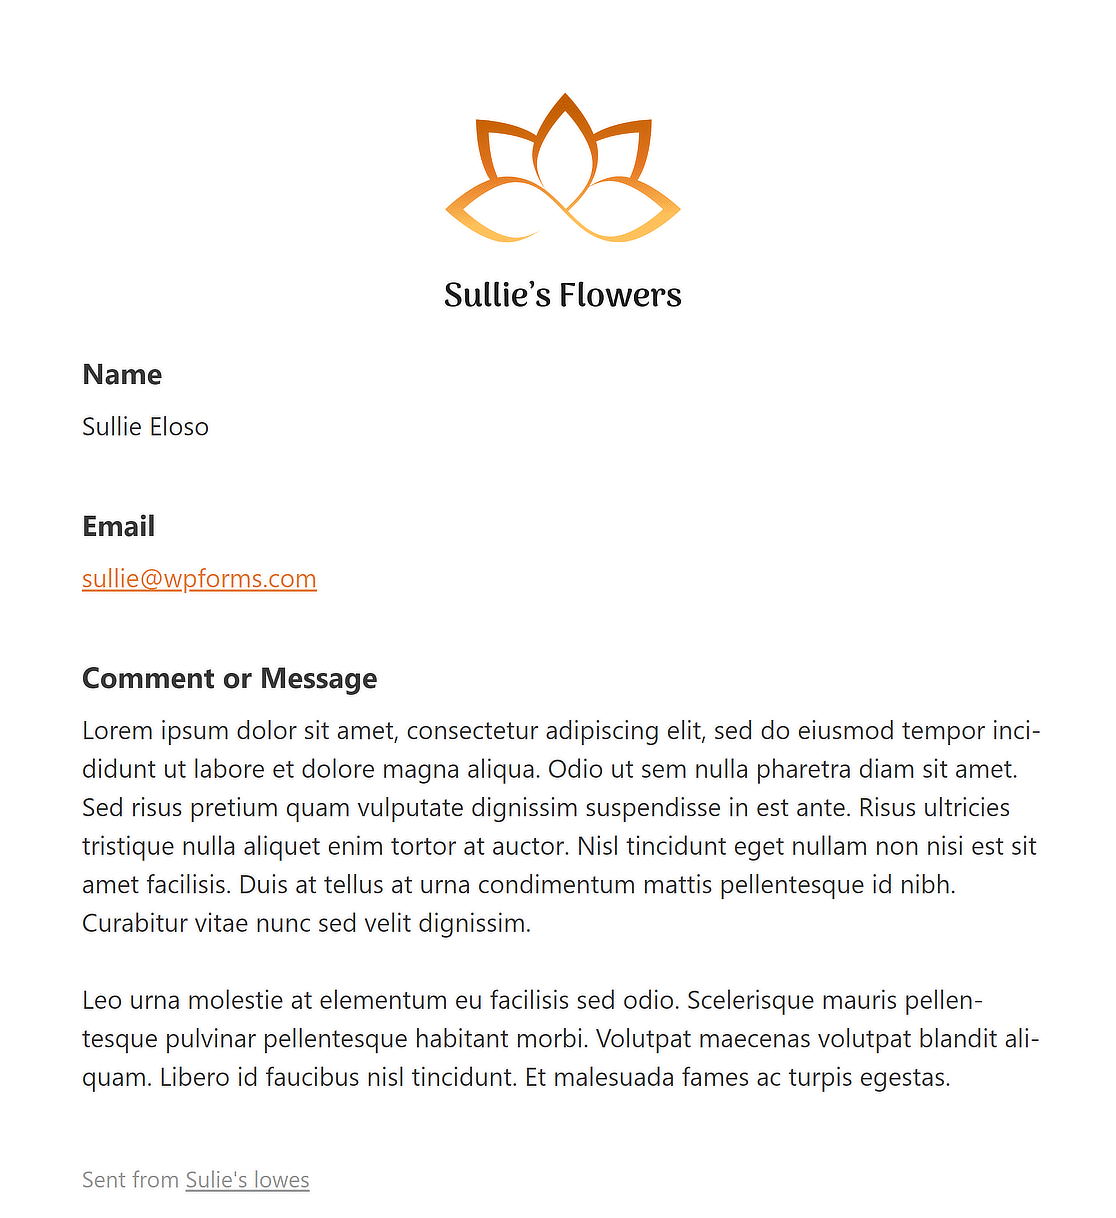
A new tab will open in your browser where you can see a preview of your notification email template with your site logo!
FAQs about Editing the Header in WordPress
Learning how to edit the header in WordPress is a popular topic among our readers. Here are answers to some common questions about it.
How do I customize my header in WordPress?
To customize your header in WordPress, navigate to your dashboard and go to Appearance > Customize. Here, you’ll find the Header section. Click on it to explore various options, such as changing the logo, adjusting the header layout, colors, and other elements. Some themes offer additional header options to tweak to match your style.
How do you edit header buttons in WordPress?
Editing header buttons in WordPress typically involves accessing the Customizer through Appearance > Customize. Once there, look for Header or Menu settings. You can edit buttons by changing their text, links, and styles or by adding new items if your theme supports it. If required, you can also add some custom code to edit header buttons.
How do I reset my header and footer in WordPress?
To reset your header and footer in WordPress, you can start by going to Appearance > Customize and select the Header or Footer section. Look for a reset option within these settings. If there isn’t one, you may need to manually undo changes or use a plugin that provides reset functionalities.
Next, Learn How to Make a Multi Step Form in Elementor
Ever wondered how to increase user engagement and lead generation on your website with an Elementor multi-step form? These forms guide users through the process step by step, making it less overwhelming and more user-friendly.
Create Your WordPress Form Now
Ready to build your form? Get started today with the easiest WordPress form builder plugin. WPForms Pro includes lots of free templates and offers a 14-day money-back guarantee.
If this article helped you out, please follow us on Facebook and Twitter for more free WordPress tutorials and guides.

