
AI Summary
Picture this: a supporter visits a nonprofit’s website to donate some winter coats. They’re ready to drop them off, but the form just shows a dropdown with three street addresses. No map or context included. They open Google Maps in a new tab, paste in each address one by one, figure out which is closest, then come back to finish the form.
Some will. Most won’t…
Now imagine an interactive map right inside the form. The three drop-off sites are pinned with custom icons, labeled “North Community Center,” “Downtown Library,” and “Eastside Church.” The user taps the one nearest them, the pin bounces to confirm, and their selection is captured cleanly in your entry. It’s done in seconds and without ever leaving the page.
That’s the WPForms Map field in action! And while a location-selectable booking form is probably the first use case that comes to mind, it’s far from the only one. Retail pickup, product returns, event check-in, service area selection, volunteer sign-ups… any form that involves choosing a physical location gets better with it.
Let me show you how to set it up, along with multiple ways to put it to work.
How to Add an Interactive Location Picker to Any WordPress Form
What You’ll Need
- WPForms Pro — the Map field is part of the Geolocation addon, included with all Pro plans
- A Google Places API key — free to set up; this powers the map and address autocomplete
- The latest version of WPForms installed on your WordPress site
If you’re on WPForms Lite, you’ll need to upgrade to Pro to access the Geolocation addon. If you’re new to WPForms entirely, Pro is the place to start.
Step 1: Install the Geolocation Addon
From your WordPress dashboard, go to WPForms » Addons, search for “Geolocation,” and click Install Addon.

Once active, head to WPForms » Settings » Geolocation and enter your Google Places API key to connect to Google Maps.

For a full API key setup walkthrough, see the Geolocation Addon documentation.
Step 2: Add the Map Field to Your Form
Open any form in the WPForms builder — new or existing. Find the Map field under Fancy Fields in the left panel and drag it in.

It works in any form type: contact forms, appointment forms, registration forms, donation forms, you name it.
Step 3: Add Your Locations
Click the Map field to open the field options settings. In the General tab under Locations, start typing an address — Google Places autocomplete will suggest matches.

Select the right one, then give it a Name (like “Main Street Location”) and an optional Description (hours, parking notes, anything useful to the visitor).
Click + to add more locations. There’s no limit.
Enable Show List of Locations to display location names and addresses in a clean list beneath the map.

This gives visitors a text reference alongside the visual map, which is especially useful on mobile where tapping small pins can be tricky.
Step 4: Enable Location Selection
With two or more locations added, turn on Allow Location Selection, beneath the List of Locations toggle. This adds radio buttons below the map, turning the field from a visual display into a live form input.

When a visitor clicks a pin or selects from the list, the marker bounces to confirm. Their submission captures the location’s name, address, and coordinates — plus a View on Map link — right in your form entry.
Note: Location selection requires both the Show List of Locations option and at least two configured locations.
Step 5: Customize Your Markers
This is where the Map field pulls away from a generic Google Maps embed. Next to each location you’ve added, there’s an Icon dropdown.
Selecting Icon gives you access to a large library of Font Awesome icons. Simple choices like map pins or building icons tend to work well as markers, but more specific options are available too, like calendars, hearts, and so on.
Each pin is fully customizable:
- Icon — choose from 2,000+ Font Awesome icons. A shopping bag for a retail location, a heart for a donation site, a recycle symbol for a return drop-off point.
- Image — upload your own logo or branded marker from your Media Library.
- Color — use the color picker or paste a hex value to match your brand exactly.
- Size — set pins to Small, Medium, or Large. Larger markers make your locations stand out immediately from Google Maps’ default points of interest.
Each pin can also display a name and description popup when clicked, so visitors get full context without leaving the form.
Step 6: Fine-Tune the Display
Under the Advanced tab, you can clean up the map interface by hiding elements visitors don’t need — the fullscreen toggle, map type selector (satellite/terrain), Street View control, and location info cards for other businesses.

You can also disable dragging or scroll-wheel zooming to keep focus on your pinned locations.
For entries, enable Show Thumbnail in Entry to see a map preview directly on the submission page inside WPForms » Entries.
Step 7: Set Up Location-Aware Notifications
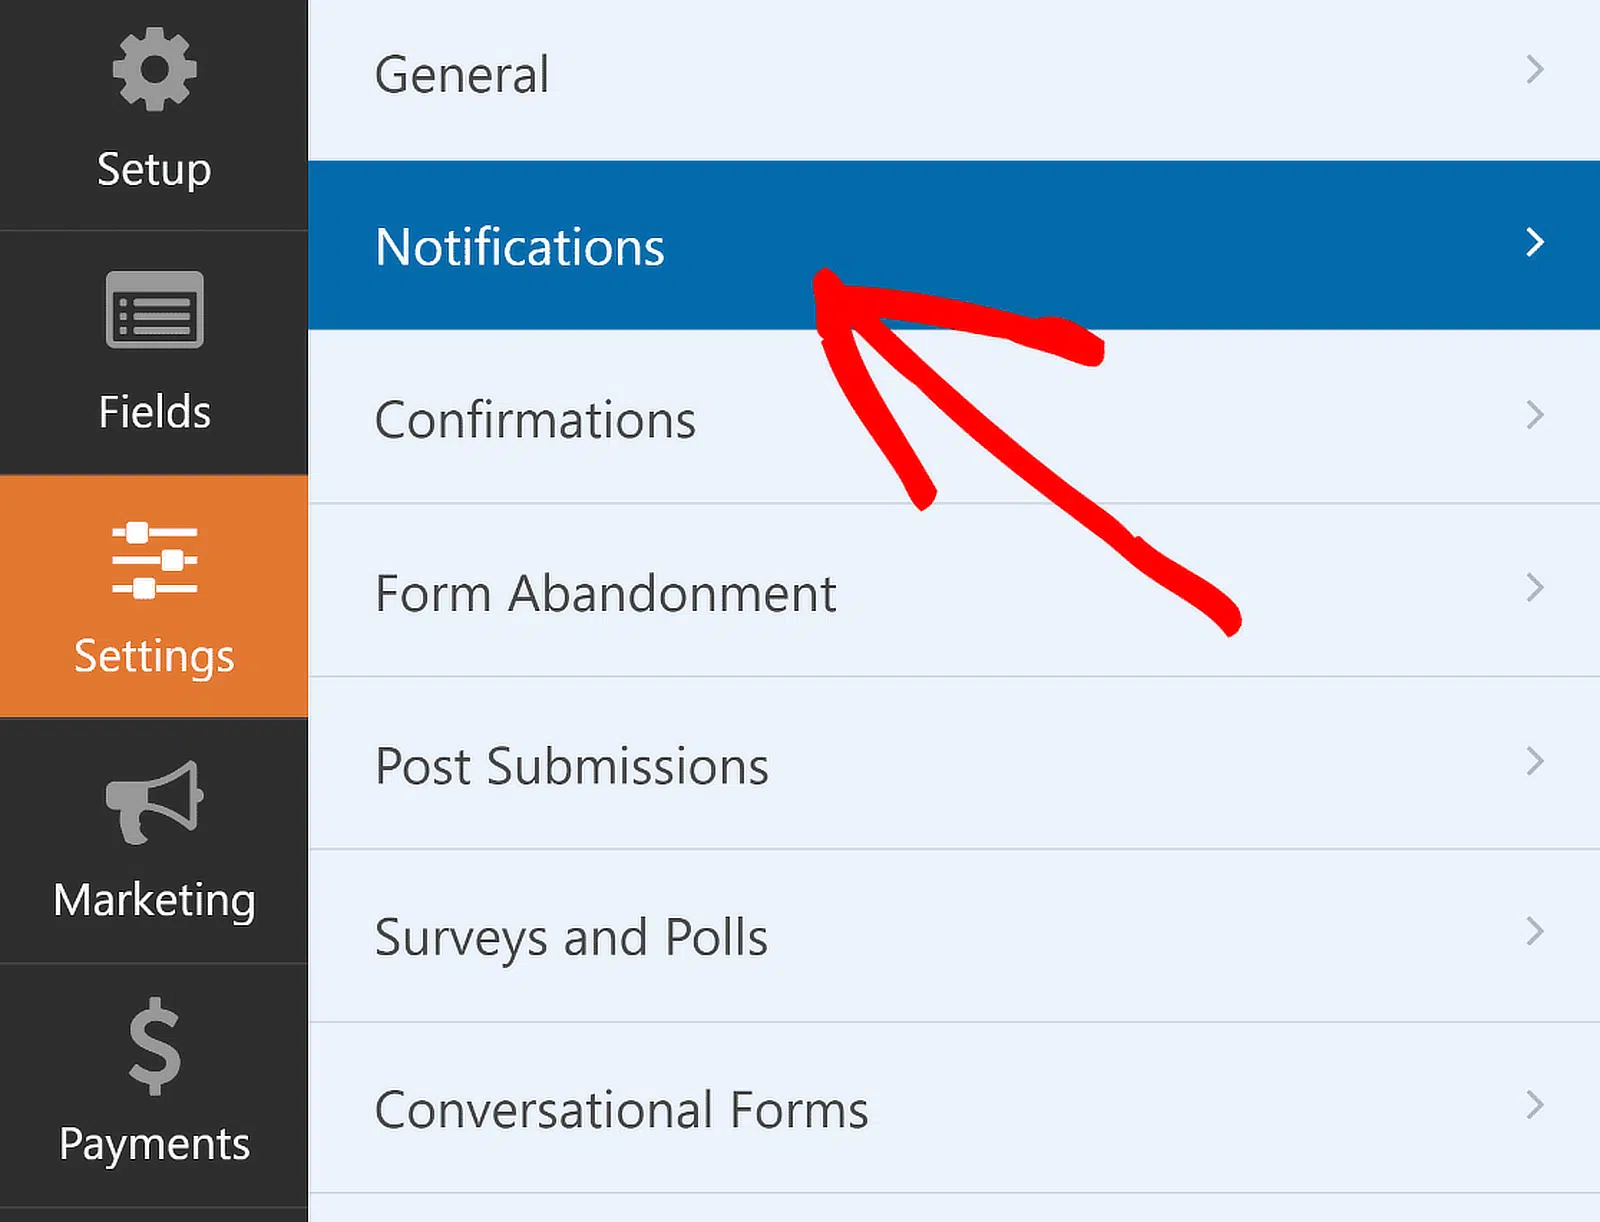
Before publishing your multi-location booking form, it’s worth taking a moment to set up notifications and confirmations. In the form builder, go to Settings » Notifications.
WPForms automatically sends a notification to your WordPress admin email each time the form is submitted. From this screen, you can adjust the default settings — things like the subject line or recipient email addresses.
With Smart Tags, you can also set up a notification that goes directly to the person who filled out the form, acknowledging receipt and letting them know someone will follow up. This is a particularly useful step for multi-location forms in WordPress. For more detailed guidance, refer to the documentation on how to set up form notifications in WordPress.
When that’s done, head to Confirmations under the Settings menu to decide what happens after a successful submission.

There are three options:
- Message: Displays a thank-you message on the same page — a good fit when simplicity is the priority.
- Show Page: Redirects the visitor to another page on your site, such as one that outlines next steps or provides additional contact details.
- Go to URL (Redirect): Sends the visitor to an external URL, which works well when a third-party booking system or custom landing page is involved.
Choose whichever option suits your setup. If you go with the Message option, the default text can be customized, for example: “Thanks for booking with us! We’ll send a confirmation email to the address you provided shortly.”
For guidance on the other confirmation types, see the documentation on setting up form confirmations.
Map Field vs. Address Autocomplete: What’s the Difference?
These are two separate Geolocation addon features that do opposite things and are easy to mix up:
| Map Field | Address Autocomplete | |
| What it shows | Your predefined locations | Typing suggestions for any address |
| What it captures | The location a visitor selects | The address a visitor types |
| Best for | Choosing from your branches, sites, or venues | Collecting a delivery, billing, or service address |
You can use both in the same form. A food delivery order form might use the Map field to let the customer pick a restaurant branch, and an Address field with autocomplete to collect their delivery address.
To enable address autocomplete, open any Address field, go to the Advanced tab, and turn on Enable Address Autocomplete. For a full walkthrough, see how to make a Google Maps autocomplete address form.
Viewing Location Data in Your Entries
All location data lives in WPForms » Entries.

Open any submission to see the selected location’s name, address, and a View on Map link. If you enabled the map thumbnail in Advanced settings, you’ll see a visual preview right on the entry page.
If you export to Google Sheets, map the selected location fields using the Google Sheets addon — useful for building fulfillment lists organized by pickup location, or tracking volunteer sign-up counts per site.
Ready to get started? The Map field is available in the WPForms form builder for all Pro users. If the Geolocation addon is already installed, you’ll find it waiting in the Fancy Fields section.
FAQs About Adding an Interactive Location Picker to Any WordPress Form
Does the Map field work on mobile?
Yes. The Map field is fully responsive. The location list with radio buttons beneath the map makes selection easy on phones — no need to precisely tap a small pin.
Do I need to pay extra for the Geolocation addon?
No. It’s included with all WPForms Pro plans at no additional cost, alongside 2,000+ form templates and all other pro addons.
What happens if I only add one location?
With a single location, the Map field works as a display — your branded pin on the map, no selection required. Location selection only activates with two or more locations and Show List of Locations enabled.
Can I use conditional logic based on which location a visitor selects?
Yes. Using WPForms conditional logic, you can show or hide fields, route notifications to different recipients, or trigger different confirmation messages based on the selected location.
Can I upload my own logo as a map marker?
Yes. In the Locations section of Field Options, choose Image from the icon dropdown and upload any image from your Media Library as the pin marker.
Dive Deeper With These Use Cases
Want to explore more on a specific use case? I think you’ll find these guides handy:
- How to Create a Multi-Location WordPress Booking Form — full walkthrough for service businesses and appointment-based scheduling
- How to Create a Restaurant Online Order Form — add location selection to a complete ordering and payment flow
- How to Create a Multi-Step Form in WordPress — break complex forms into pages with location selection as step one
- How to Make a Google Maps Autocomplete Address Form — complement the Map field with visitor address autocomplete
Ready to build your form? Get started today with the easiest WordPress form builder plugin. WPForms Pro includes lots of free templates and offers a 14-day money-back guarantee.
If this article helped you out, please follow us on Facebook and Twitter for more free WordPress tutorials and guides.

