Are you looking for a simple way to add an accordion form design to your WordPress website?
Accordion forms offer an intuitive and accessible way to present complex data while maintaining a clean, organized look.
Create Your WordPress Accordion Form Now
In this article, we’ll show you the easiest way to design an accordion form to boost your website’s functionality and user experience.
How to Design an Accordion Form in WordPress
To create an accordion design form in WordPress, you can rely on the simplicity and functionality of WPForms. Follow the steps below to get started:
In This Article
1. Install and Activate WPForms
The first thing we’re going to do is install and activate WPForms.
WPForms is an advanced and user-friendly form builder plugin for making all types of forms. It comes with 2,000+ WordPress form templates and a ton of features to boost your site’s functionality.
To get started, head over to WPForms and register for the account. Please note that for this tutorial, we’ll be using a Pro license, but you can use any license level you like.
Need some help installing WPForms on your website? Check out this tutorial on how to install WordPress plugins.
Once you’ve got the plugin installed, don’t forget to activate it!
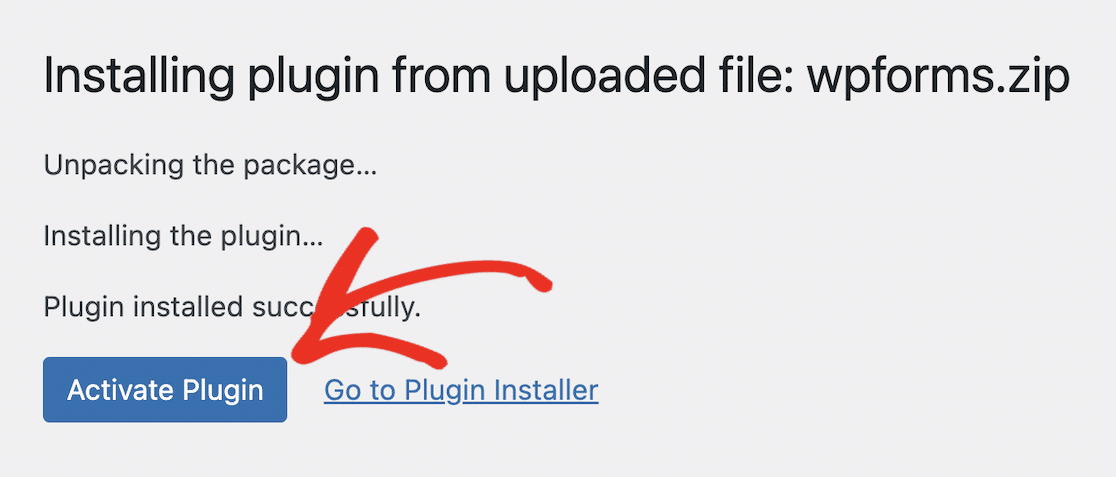
Once you’re done with that step, we’re going to install WPCode and add the code snippet that makes the accordion style come together.
2. Install WPCode and Add the Accordion Code Snippet
To make the accordion form magic work, we need to install the WPCode plugin, which works with WPForms. Please make sure you complete both parts of this step: installing WPCode and adding the accordion code snippet.
When you install the WPCode plugin on WordPress, you’ll get access to a special code snippet library just for WPForms users. Don’t forget to activate the plugin after you’ve installed it!
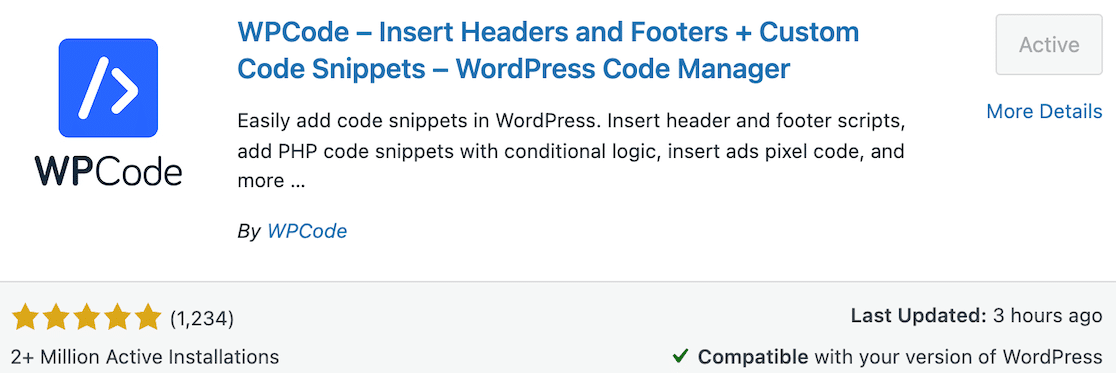
After installing WPCode from the WordPress plugin repository, return to WPForms. Now we’ll activate a code snippet in WPForms.
Note that you must be running WPForms 1.8.5 or higher and have WPCode installed to access code snippets.
From your WordPress dashboard, navigate to WPForms » Tools in the left navigation sidebar. On that page, select the tab for Code Snippets.
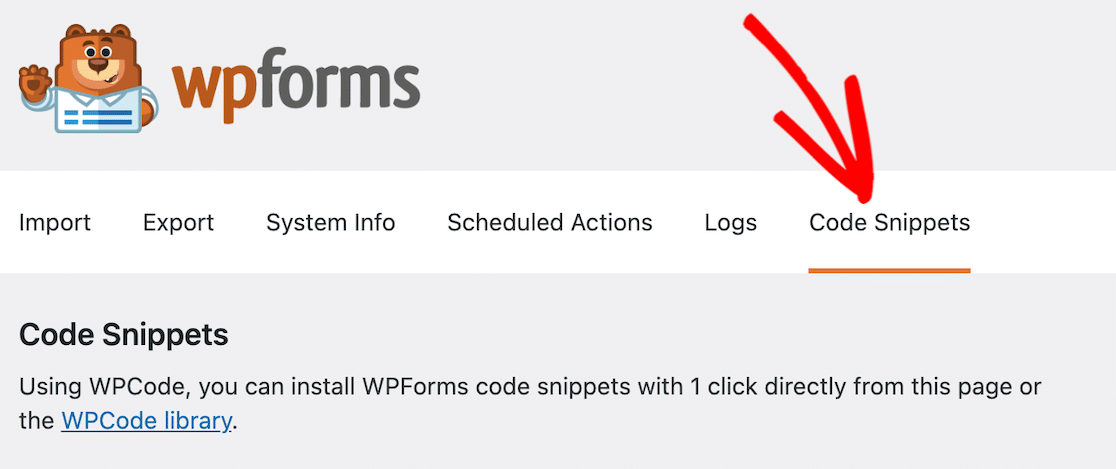
Note that if you don’t have WPCode installed, you will not see the Code Snippets option.
Scroll through or use the search feature to locate the Accordion Template Helper snippet.
Click on the Install Snippet button.
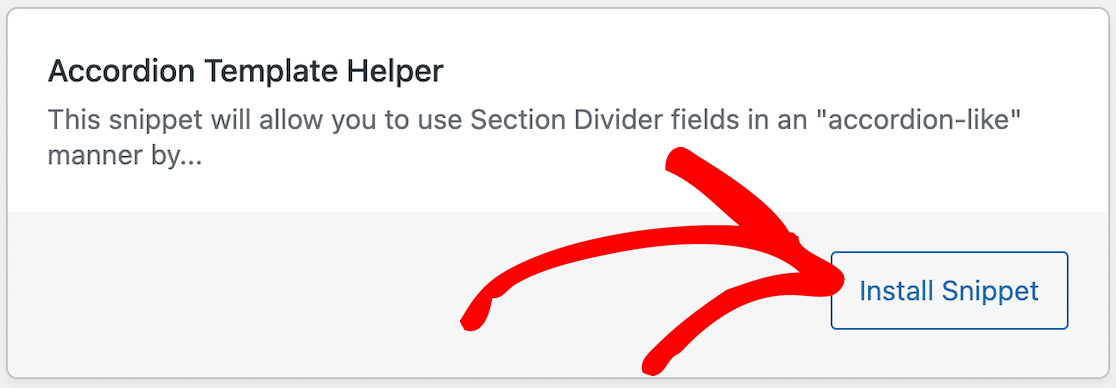
After you click to install it, a page showing the code snippet will open. The only thing you need to do on this page is activate the snippet and click Update.

Now you’re ready to create your form!
3. Create a New Form
From your WordPress admin dashboard, navigate to WPForms and click on Add New from the list of options.
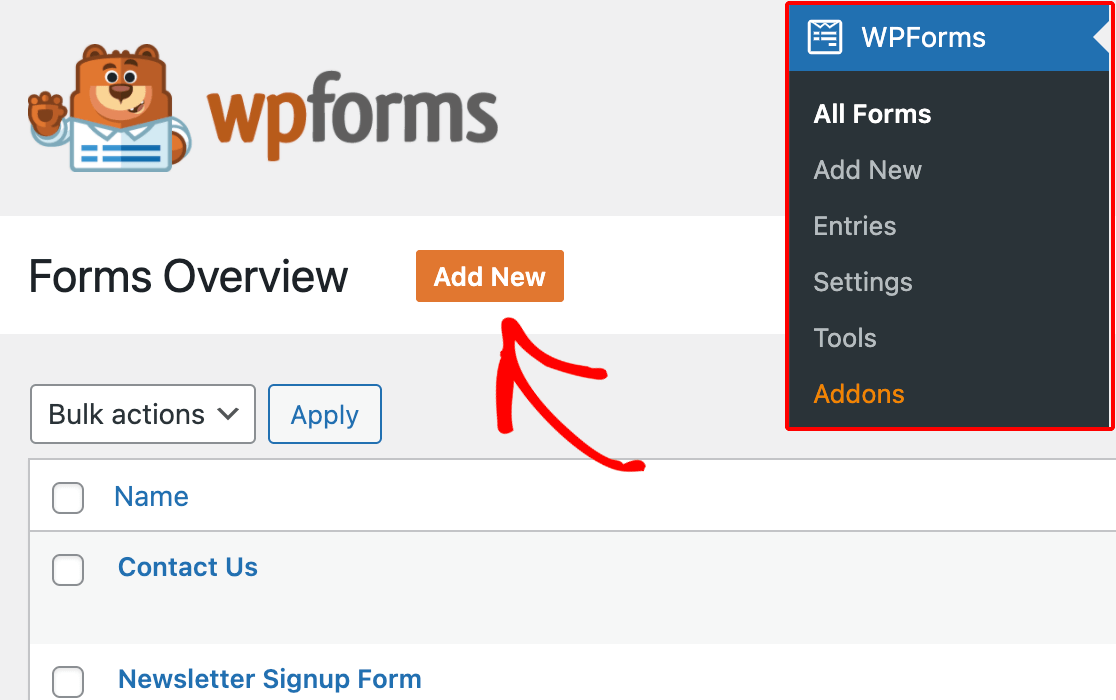
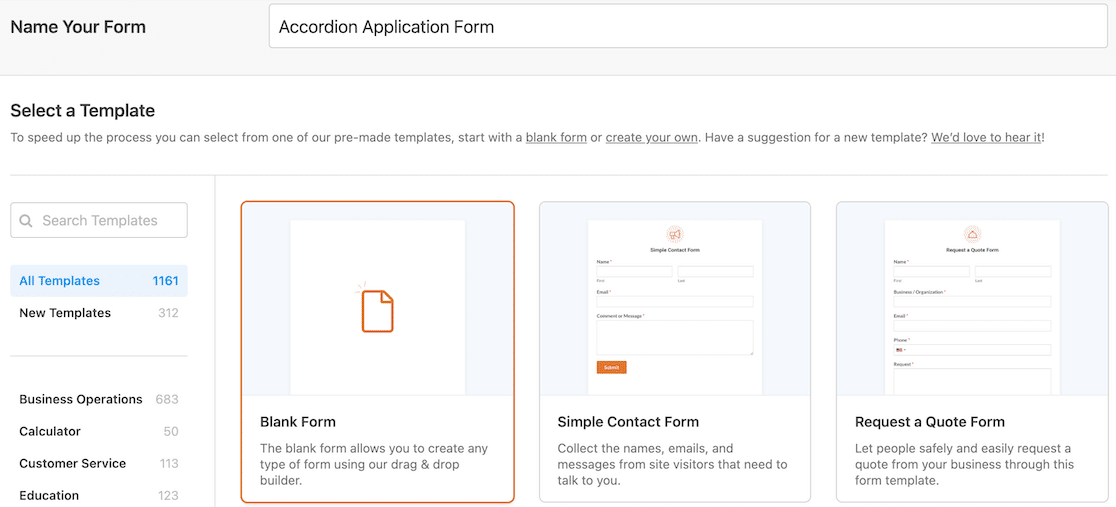
Next, give your form a name. You can select an existing template based on your specific requirements, but for our purposes in this tutorial, we’re going to start with a blank form. This will give you a better idea of how to create the accordion format.
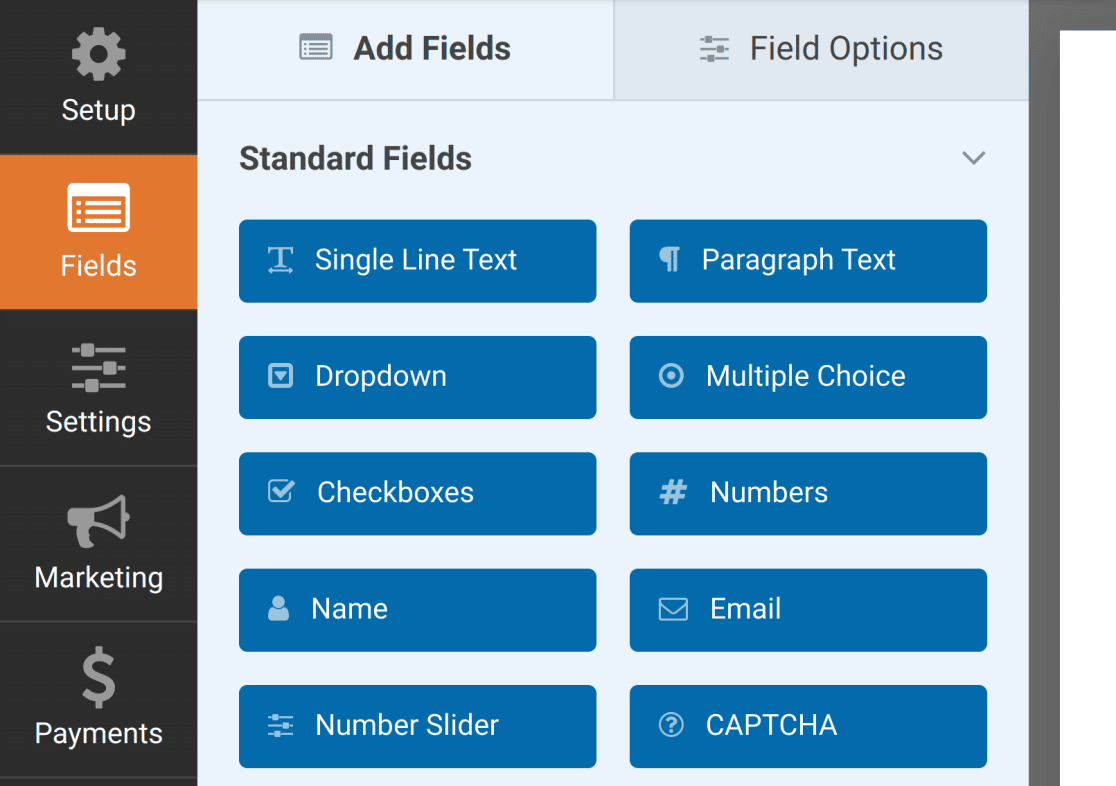
You will now be directed to the Fields screen, where available fields appear on the left panel. The ones you have access to will depend on your license level.
In the right panel, you will see an editable preview of your form. If you selected a blank form, don’t worry that there’s nothing there to start. You’ll drag and drop your form elements there and it won’t be blank for very long!
Build Your Form Using Section Dividers
As you begin to build your form, think about how you want to group information together. That is, what information do you want to be included in the dropdown when the form accordion is opened?
For each of those sections, you need to add a section divider field. Name the field whatever you want that section of information to be called.
Our example is an application form, so we’re going to start with contact info at the top.
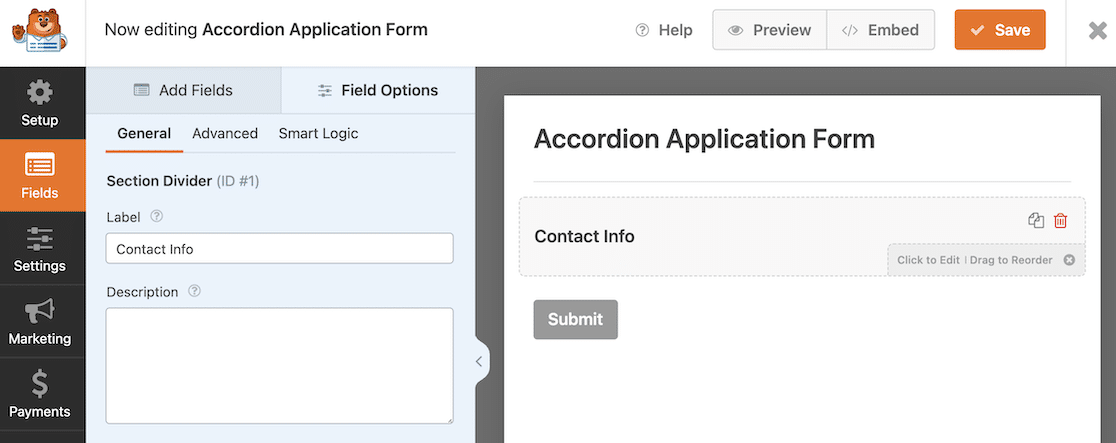
Once you have the section divider in place, you can drag and drop all of your desired form elements below it in whatever way you’d like.
Add Page Breaks
Once your fields are all in place, add a Page Break field at the bottom of each of your form sections.
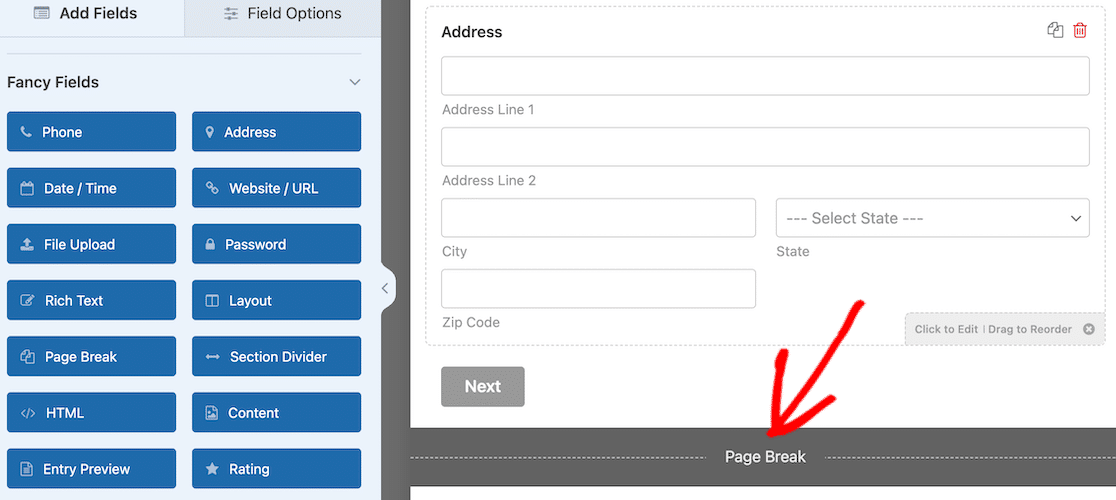
Note: when you add the initial page break, click on it to open up the field options. On the left side, you’ll see a dropdown menu where you can make changes to the progress indicator. Select None. You only need to do this once per form.

If you miss this step, the accordion will still work, but there will be an inactive progress bar at the top of the form when it’s live.
After adding the page break, repeat the process for as many sections as your form will have.
If you preview it right now, it will look like a multi-page form and not like an accordion. Don’t worry; we’re about to add the magic ingredient: a CSS class!
4. Add the CSS Class
At this point, you should have your whole form created. Each section of your form should start with a section divider and end with a page break. Those sections are what will become the dropdowns in the accordion.
You already activated the code snippet before starting the form. There’s just one super easy thing left to do. You have to add the CSS class that will bring it all together.
First, save your form. With the form builder still open, navigate to the Settings option in the left menu. It will default to the General page. Scroll the whole way down and click on Advanced.
Next, enter wpf-accordion-form into the Form CSS Class field.
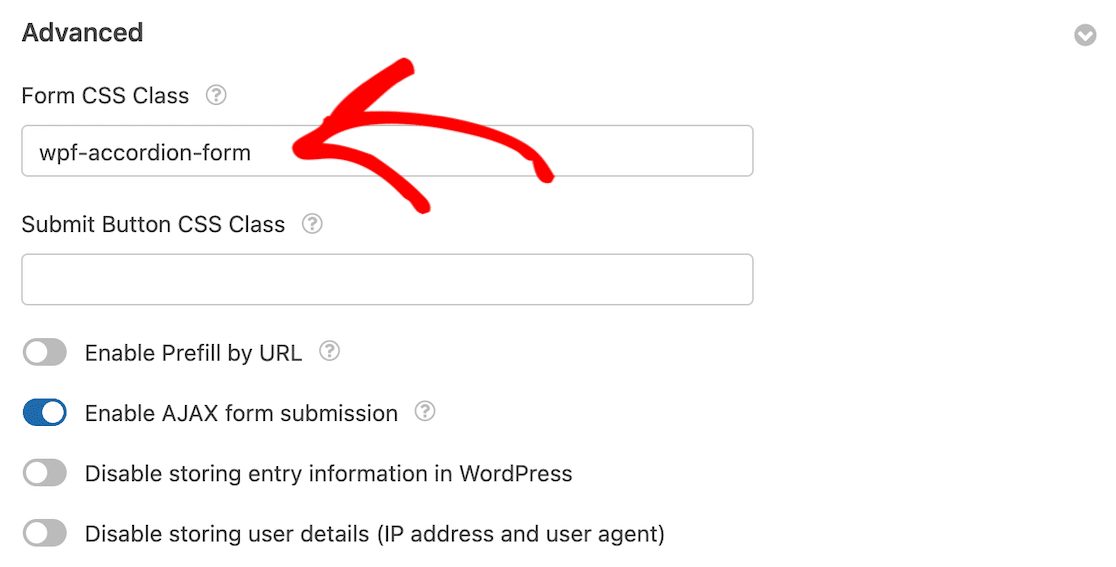
After you’ve entered that code, click the Save button. While we’re in the settings, let’s update our form notifications and confirmations.
5. Configure Notifications & Confirmations
It is crucial to set up the messages and notifications that will appear after a user fills out and submits the form.
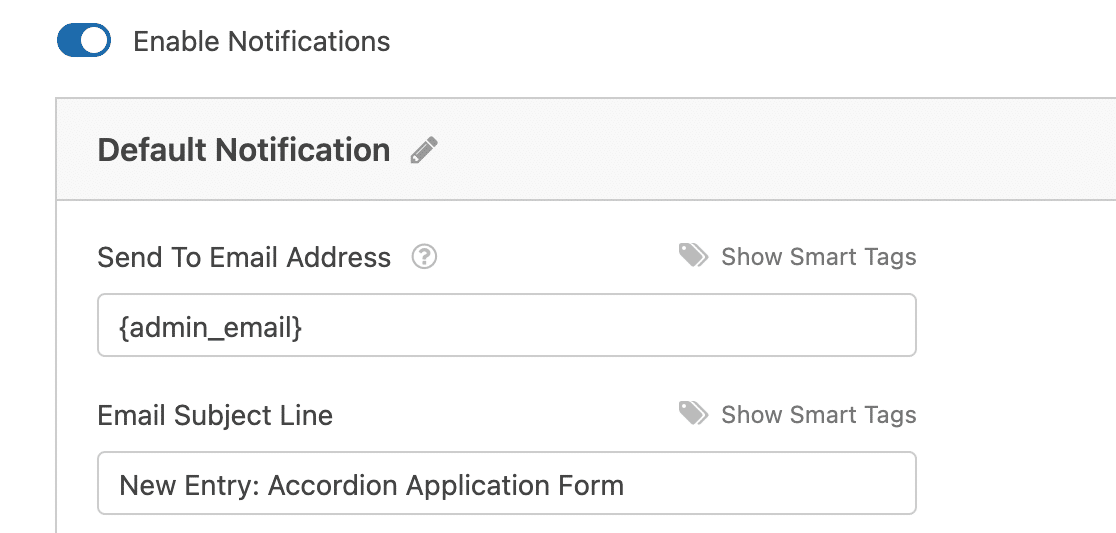
This is easy to do. Navigate to the Settings tab and select Notifications.
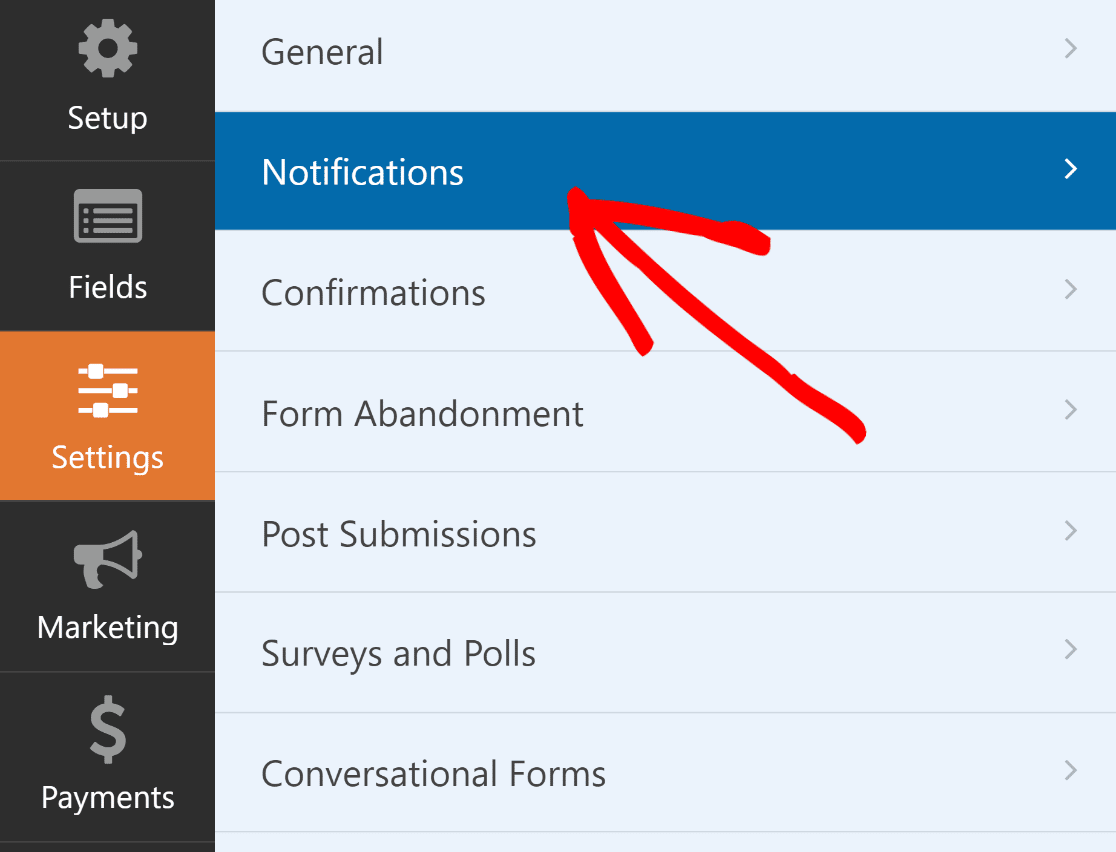
Administrators will receive alerts automatically. However, the email’s title, body, and list of recipients can be modified if required.
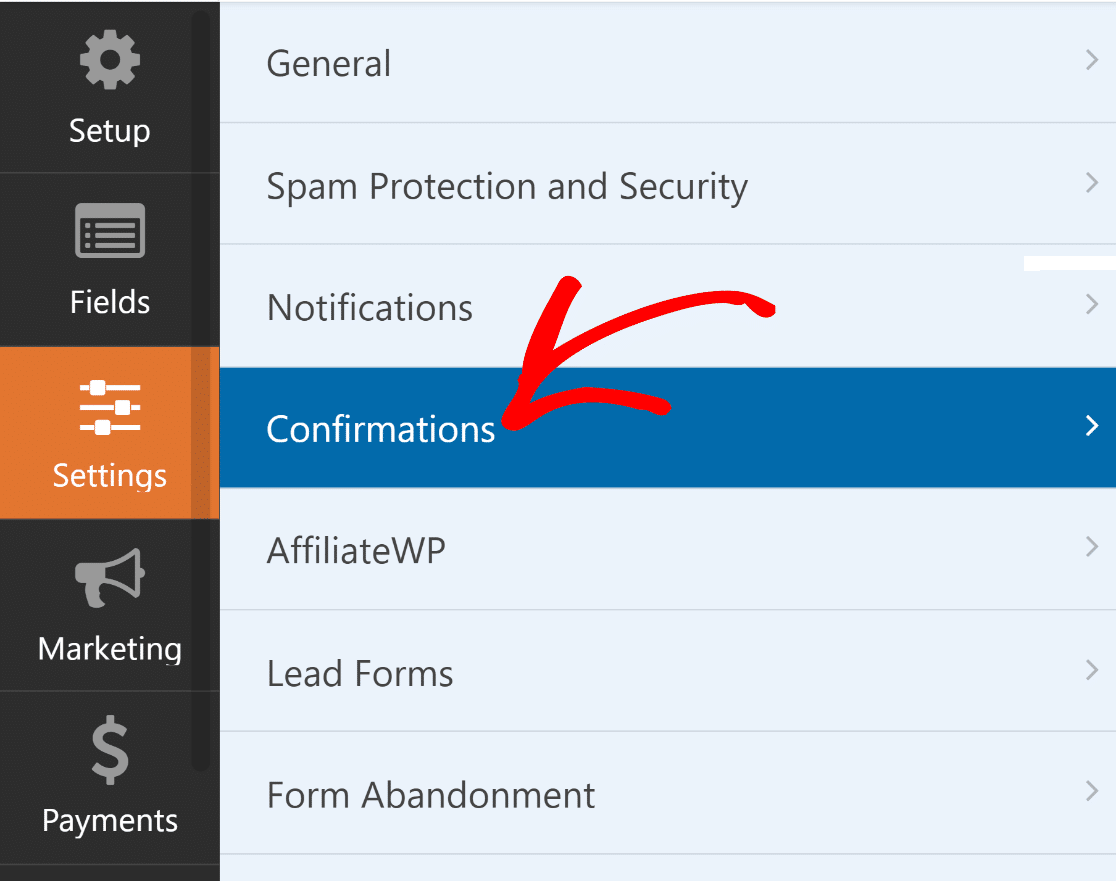
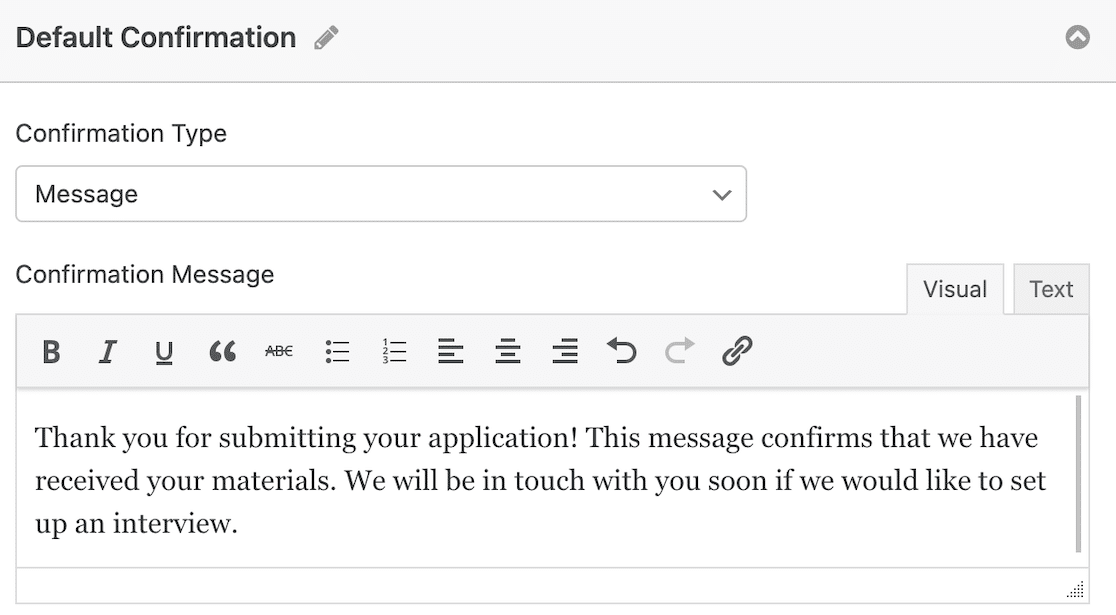
Next, under the Settings tab, select Confirmations to modify the message your customers will receive upon completing the form.
You can also use the Confirmation Type setting in WPForms to display a message, link to another page, or redirect the user.
Publish Your Accordion Form
After you’ve finished updating your form confirmations and notifications, you’re ready to publish!
There are different ways to embed a form in WordPress. We’re going to use the embed button for our tutorial, but if you’d like to try another way, check out our post about the 3 ways to embed a form on your WordPress site.
With your form open in the form builder, simply click the Embed button at the top right.

A modal window will ask you if you want to embed the form on an existing page or create a new page.
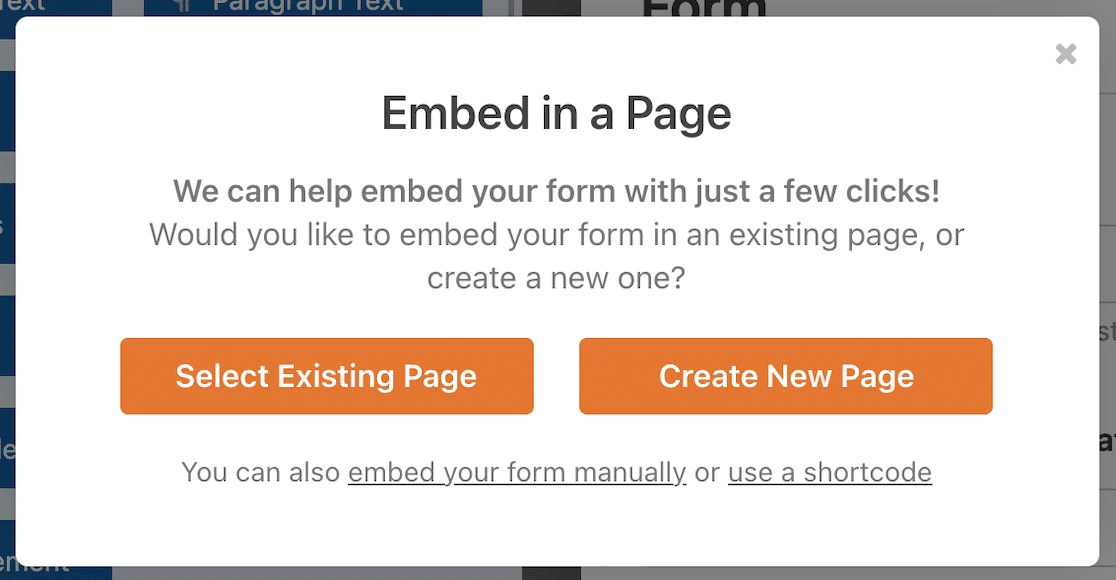
If you want to select an existing page, you’ll be able to choose which one. If you create a new page, you’ll be prompted to give it a name.
Once you’ve made your choice, your form will open in WordPress, in a draft of the page you selected or created. If it still looks like a multi-page form here, don’t worry. Click to preview the page and you should see your accordion form.
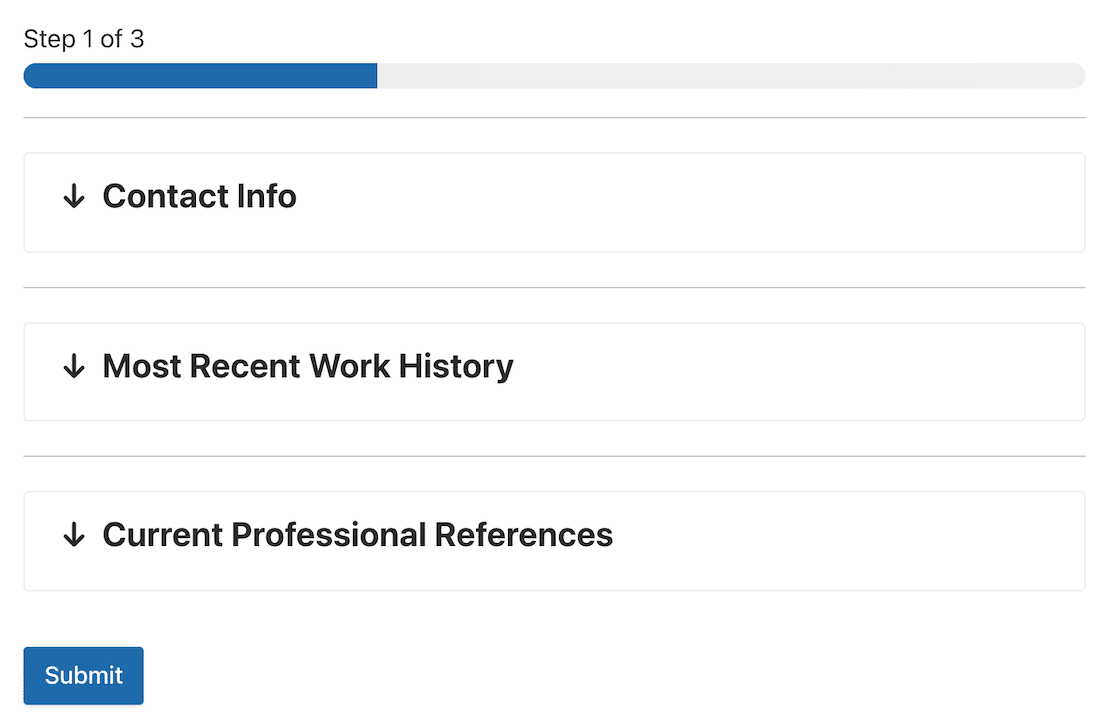
Now you’re ready to publish your page and get your accordion form out into the world.
After you’ve published the accordion form, all that’s left to do is ensure it works as planned by testing the embedded form.
Congratulations on completing your accordion form!
Accordion Form FAQs
Creating accordion forms is a popular topic of usability among our readers. Here are some quick answers to a few of the most commonly asked questions:
What are the pros/cons of accordion forms vs multi-page forms?
An accordion form allows you to fit more content in a small space but can be overwhelming if not designed well.
What are the best practices for accordion form labels?
Use labels that are concise and clear. Make use of headings, and steer clear of designations like “Section 1.”
How do you design accordion forms for desktop and mobile?
To design accordion forms that are responsive and work smoothly on both desktop and mobile, consider signing up with WPForms!
Next, Learn How to Require an Email Address for File Downloads
Wouldn’t it be great to require users to submit their email addresses before downloading a file from your WordPress site? Learn how to encourage users to share their email addresses for downloading a file from your WordPress site.
Create Your WordPress Accordion Form Now
Ready to build your form? Get started today with the easiest WordPress form builder plugin. WPForms Pro includes lots of free templates and offers a 14-day money-back guarantee.
If this article helped you out, please follow us on Facebook and Twitter for more free WordPress tutorials and guides.



It appears that if an accordion is closed again after data are entered, the data are lost and must be re-entered. Am I missing something?
Hey Peter – We’d be happy to help! When you get a chance, please drop us a line in support so we can assist.
If you have a WPForms license, you have access to our email support, so please submit a support ticket.
Otherwise, we provide limited complimentary support in the WPForms Lite WordPress.org support forum.
Thanks 🙂