AI Summary
Would you like to add more integration options to your forms? With Zapier, a connector service, you can easily connect your forms to numerous web applications to add even more functionality to WPForms.
This tutorial will show you how to install and use the Zapier addon for WPForms.
Requirements:
- You will need a Pro license level or higher to access the Zapier addon
- Ensure that you’ve installed the latest version of WPForms to meet the minimum required version for the Zapier addon
- Zapier requires a secure connection. Make sure your site loads over HTTPS and has an up-to-date SSL certificate installed before you continue. If you need help, check out WPBeginner’s guide to SSL and HTTPS in WordPress
Installing the Zapier Addon
Before you get started, be sure you’ve installed and activated WPForms and verified your license. Then go ahead and install the Zapier addon.
Once the Zapier addon is activated, go to WPForms » Settings and click on the Integrations tab.
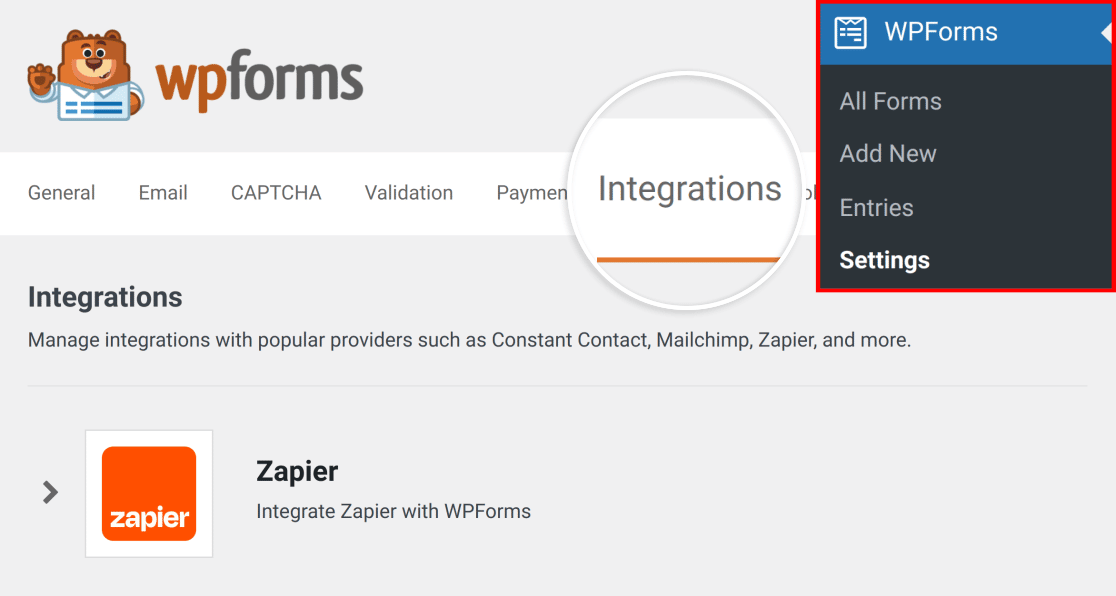
Here, you’ll see Zapier listed with your available WPForms integrations. Go ahead and click on it to see more details. This is where you’ll find the Zapier API key for your site.

Be sure to keep this browser tab or window open, as you’ll need this API key in the next step.
Creating a Zap in Zapier
In Zapier, the integrations you create are called “zaps.” The next step is to create a zap that sends information from your forms to another service.
First, you’ll need to log in to your Zapier account. If you don’t have one yet, then you can sign up for free.
Note: Some integrations will require a paid account with Zapier. For more details on identifying paid integrations, please see Zapier’s documentation on premium apps.
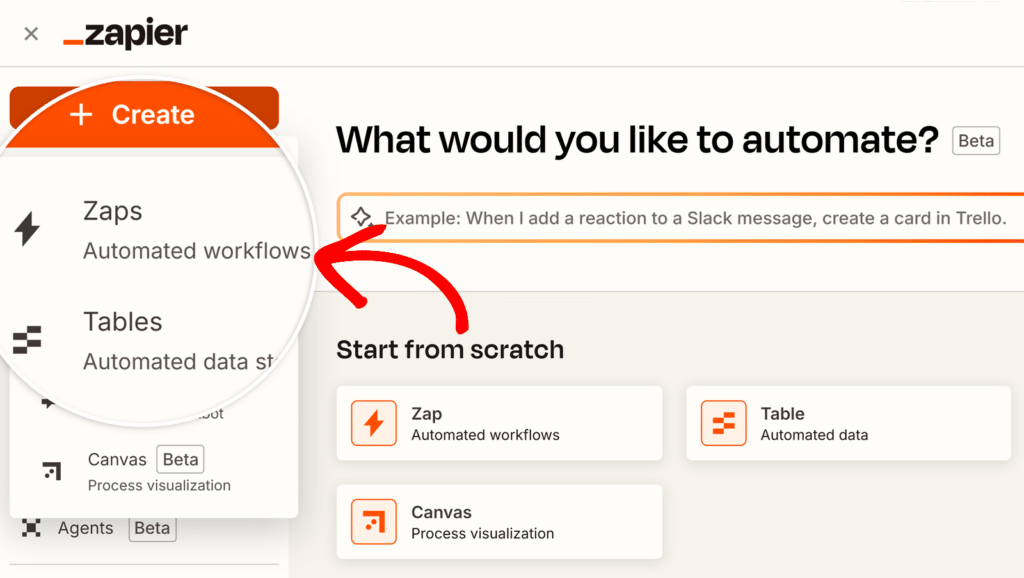
After you’ve logged in to your account, click the Create button in the upper left corner (if your browser window is small, this button may appear as an orange plus (+) sign instead), then select Zaps from the dropdown.
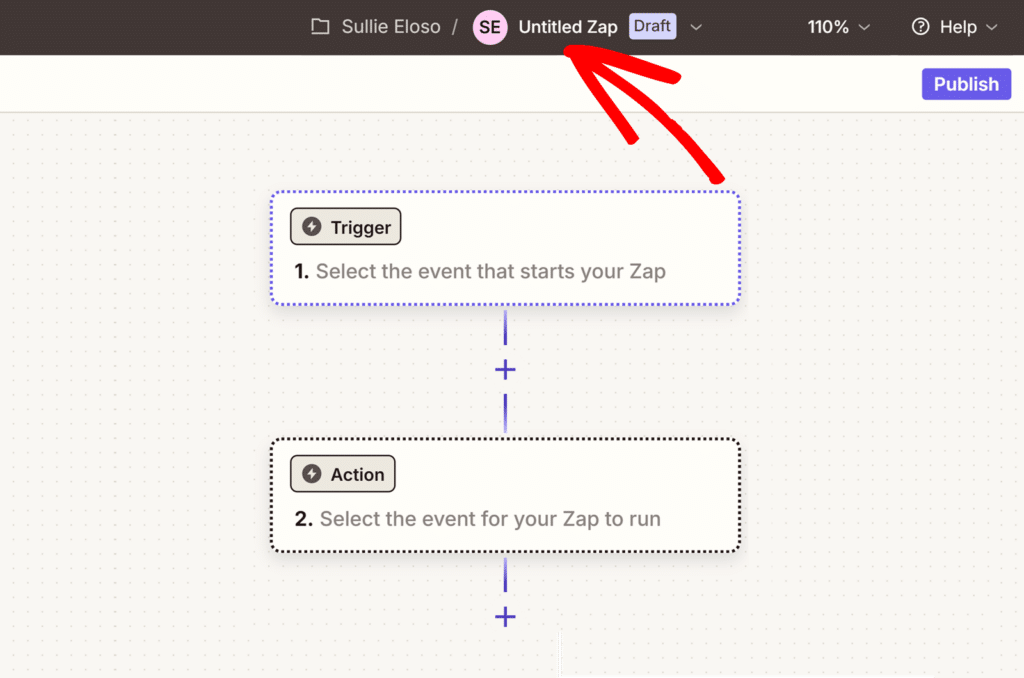
This will open the setup page for your new zap. If you’d like to name your zap, go ahead and add a title by clicking on the title in the top center of the page.
Setting Up Your Trigger Event
To begin, click on the Trigger box shown in the Zap editor.
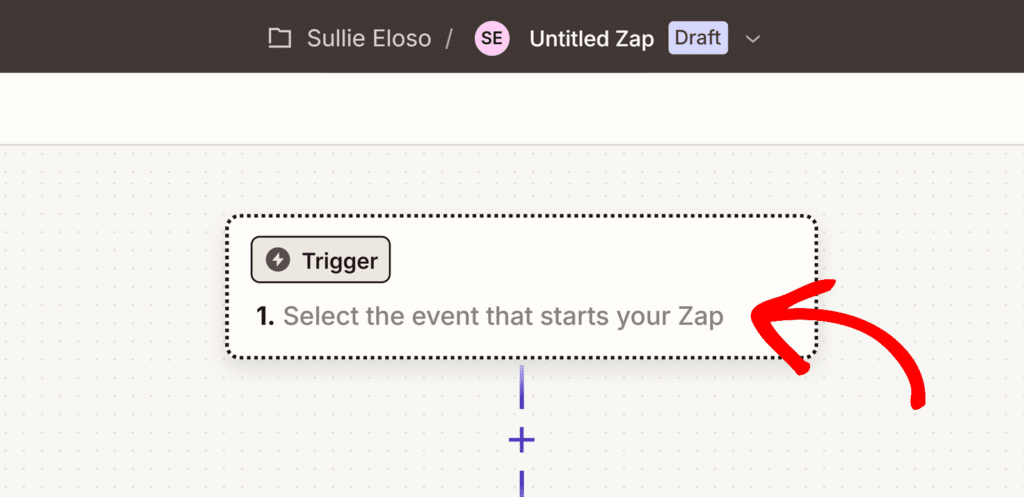
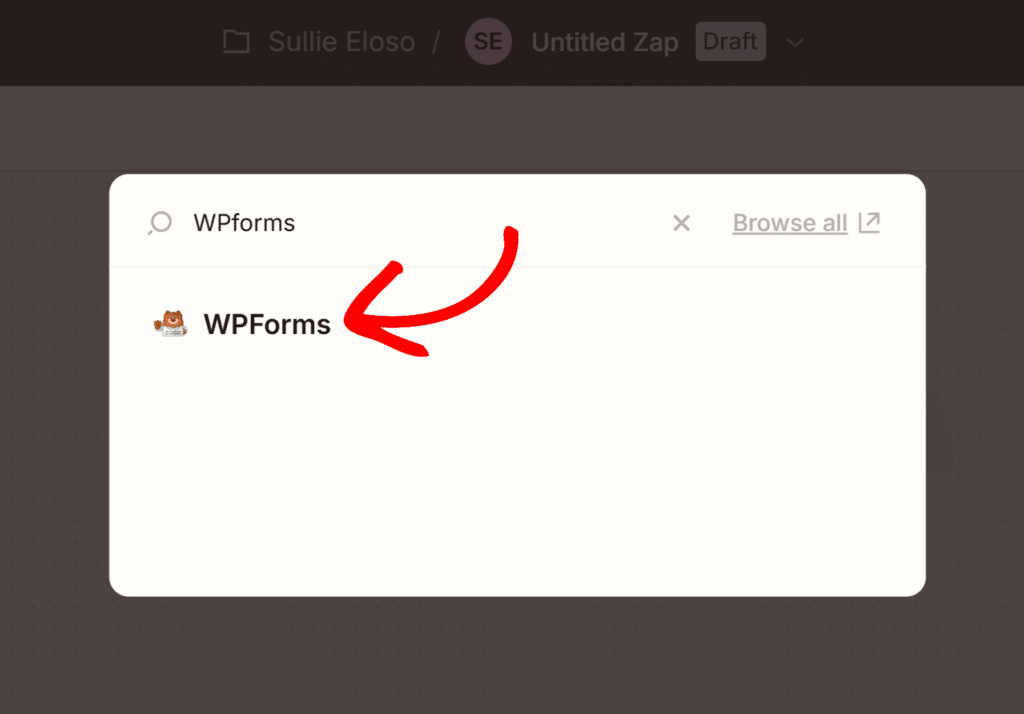
This will open a modal where you can search for apps and events. In the search box at the top, type “WPForms” and click on WPForms from the results that appear.
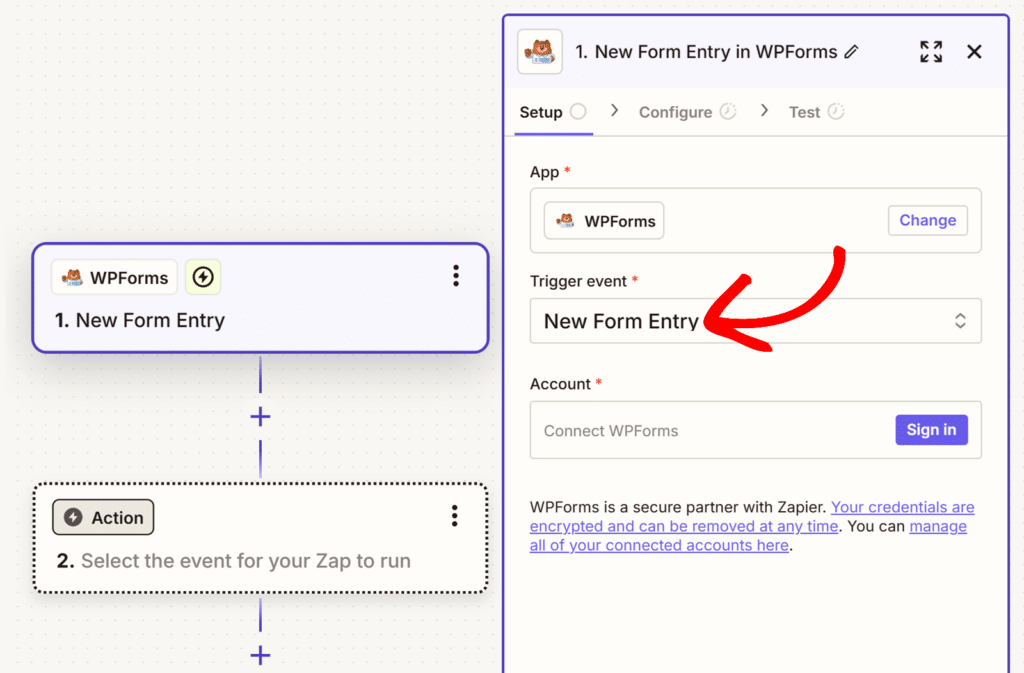
After selecting WPForms, a configuration panel will appear on the right side of the screen. Under Trigger event, click the dropdown menu to see available options. WPForms has only one trigger event available – New Form Entry. Select this option from the dropdown list.
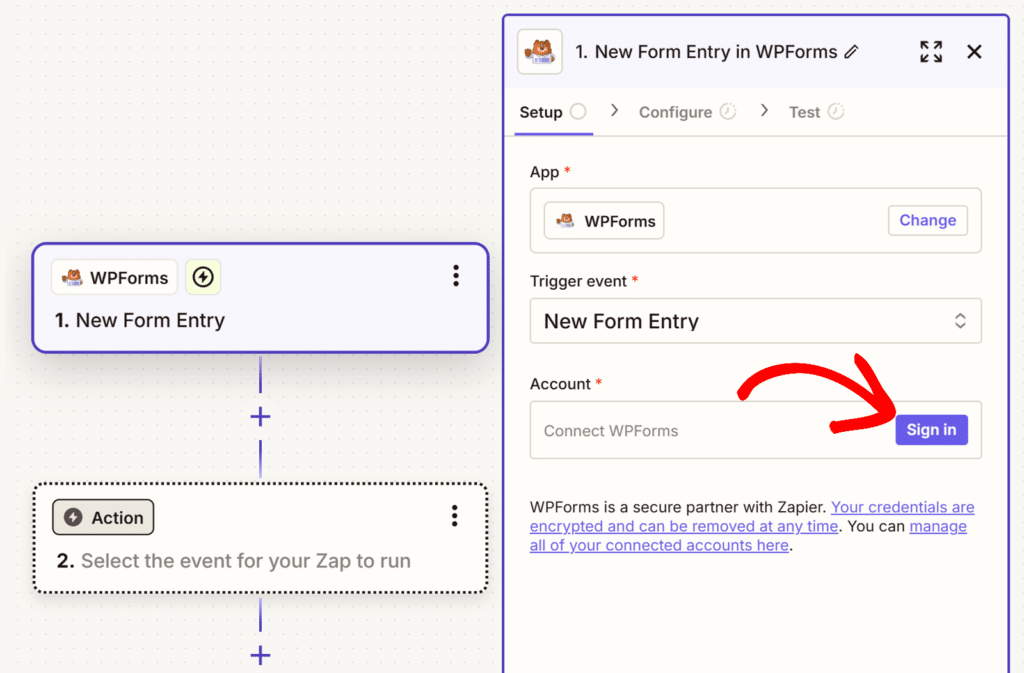
Next, under Account, click the Sign in button to connect your WPForms account.
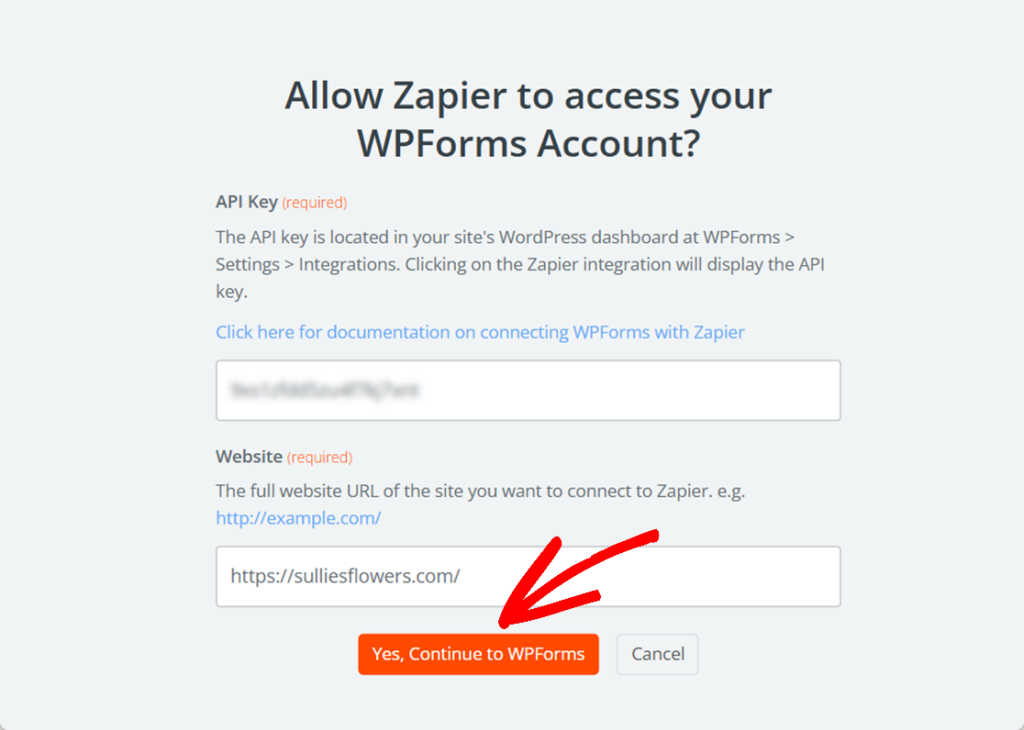
This will cause a new window to appear. Here, you’ll need to add your API Key.
To find your API key, go back to the browser tab or window with your WPForms integrations settings. Then copy and paste the Zapier API key into the zap setup page.
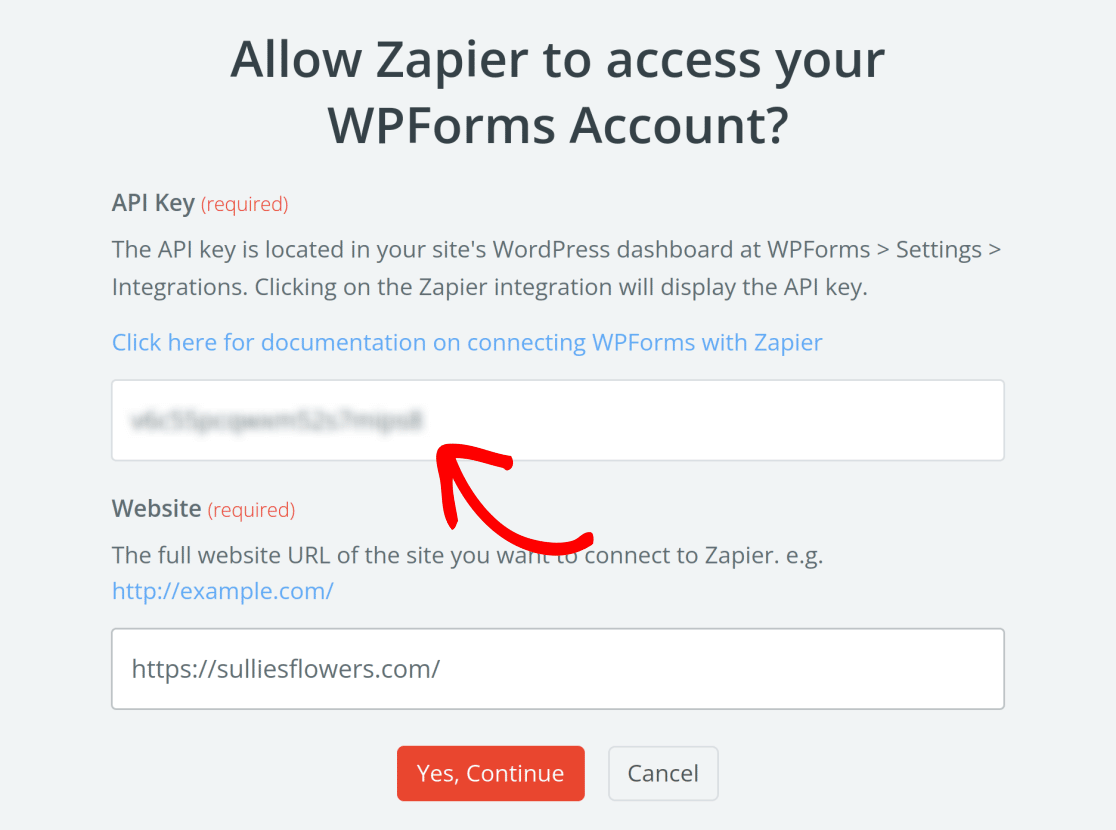
Next, you’ll need to fill out the Website field. Be sure to enter the full URL of your website and include the trailing slash (i.e., https://example.com/).
Note: If you’re creating a zap for a site in a WordPress multisite network, you’ll need to enter the full path URL (i.e., https://sitename.com/subsite/) to create your zap.
When you’re ready, click the Yes, Continue to WPForms button.
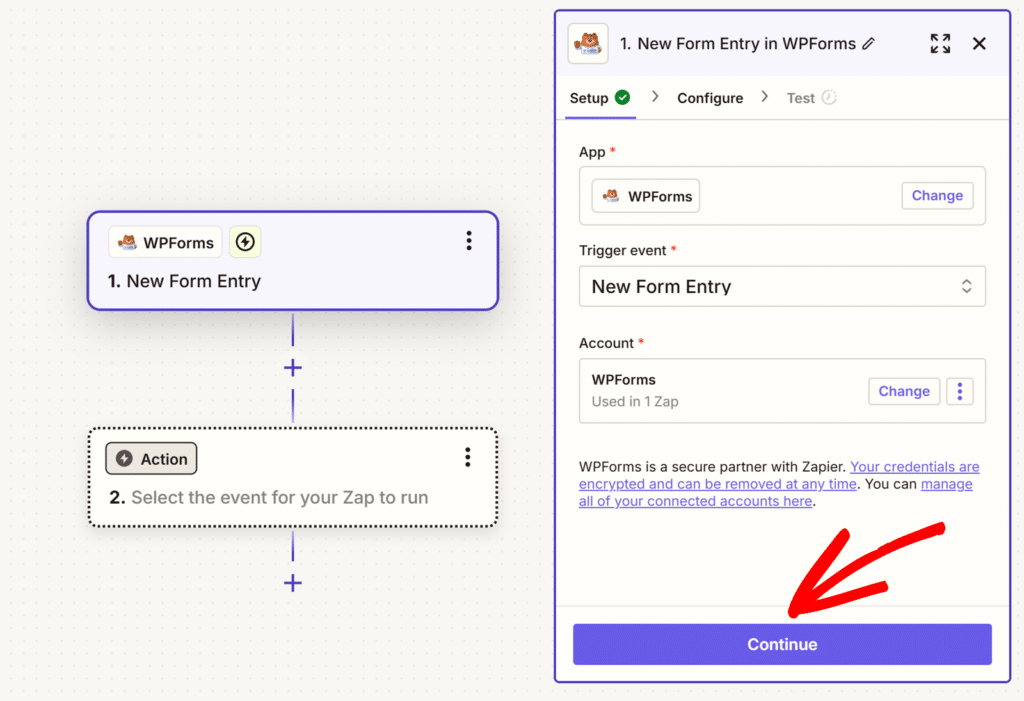
Once your site is connected, click the Continue button to proceed.
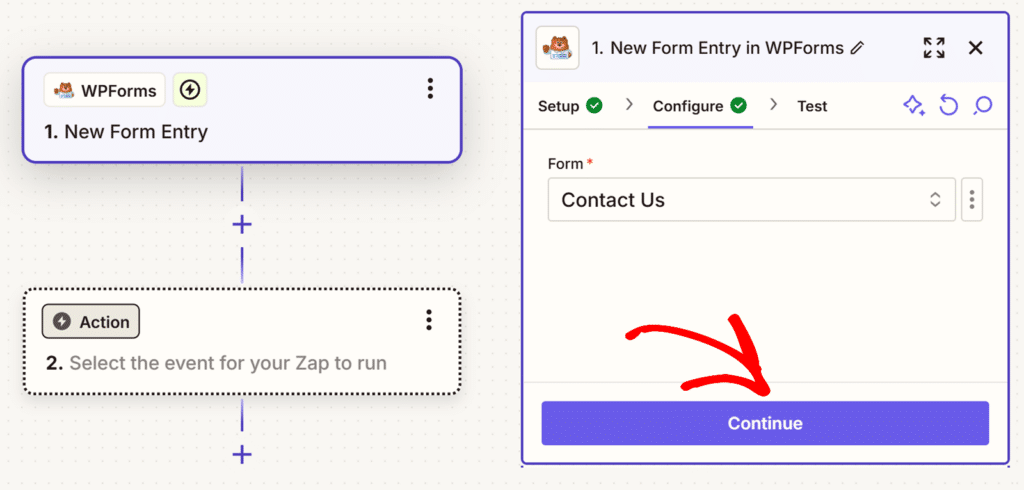
Next, select the form you’d like to use from the Form dropdown and click Continue again.
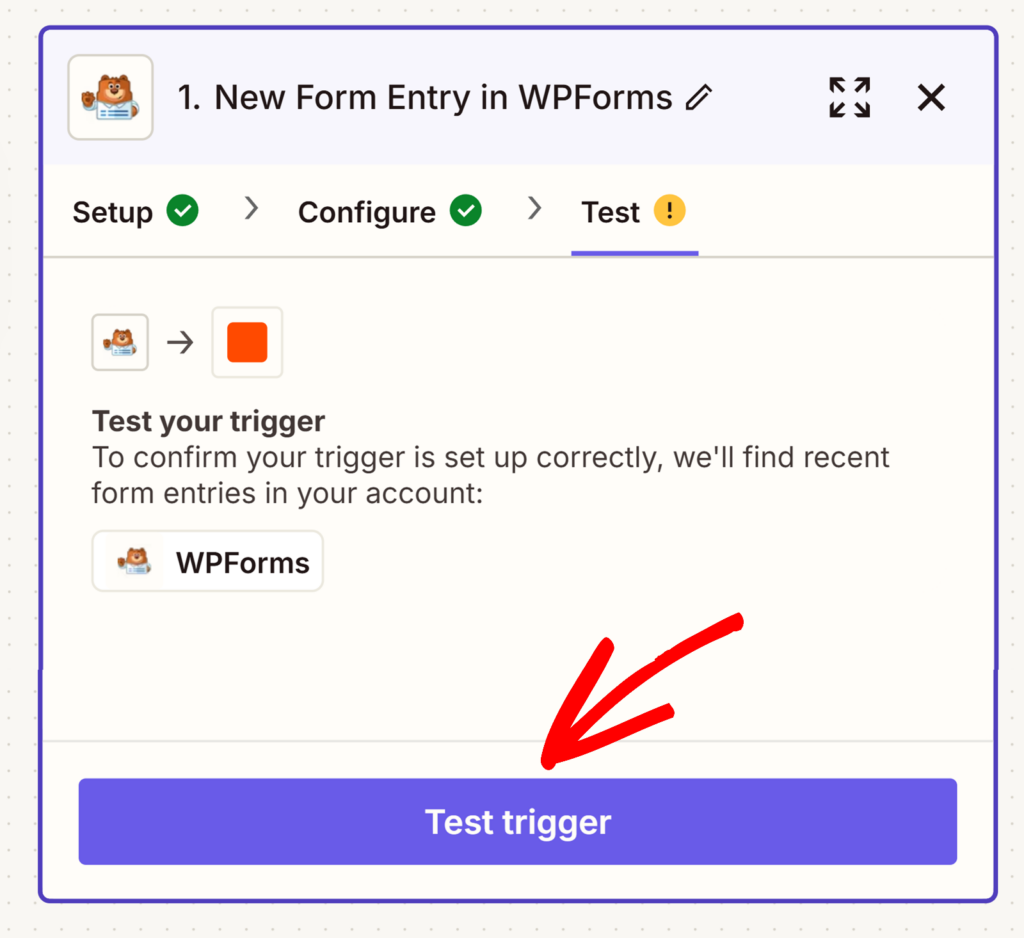
Zapier will then give you a chance to pull in sample entries to test your connection.
Note: The form you selected in the previous step needs to have at least 1 entry in order for the test to work.
Click the Test trigger button to load available entries.
Zapier will then show you the entries it was able to pull from your form. You can select any available entry to view its data and make sure everything looks correct.
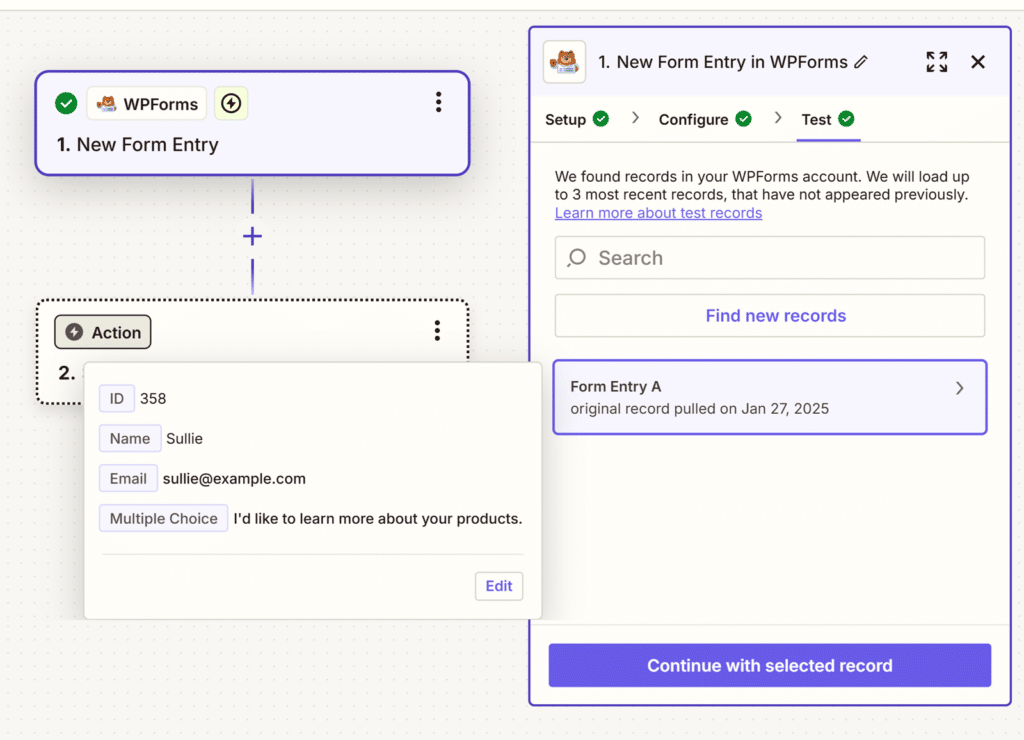
When you’re happy with the trigger test’s results, click the Continue button to proceed.
Setting Up Your Action Event
After testing your trigger, you’ll need to select an action – this is what will happen each time your form receives an entry. Click on the Action box to choose which app you want to use for your action.
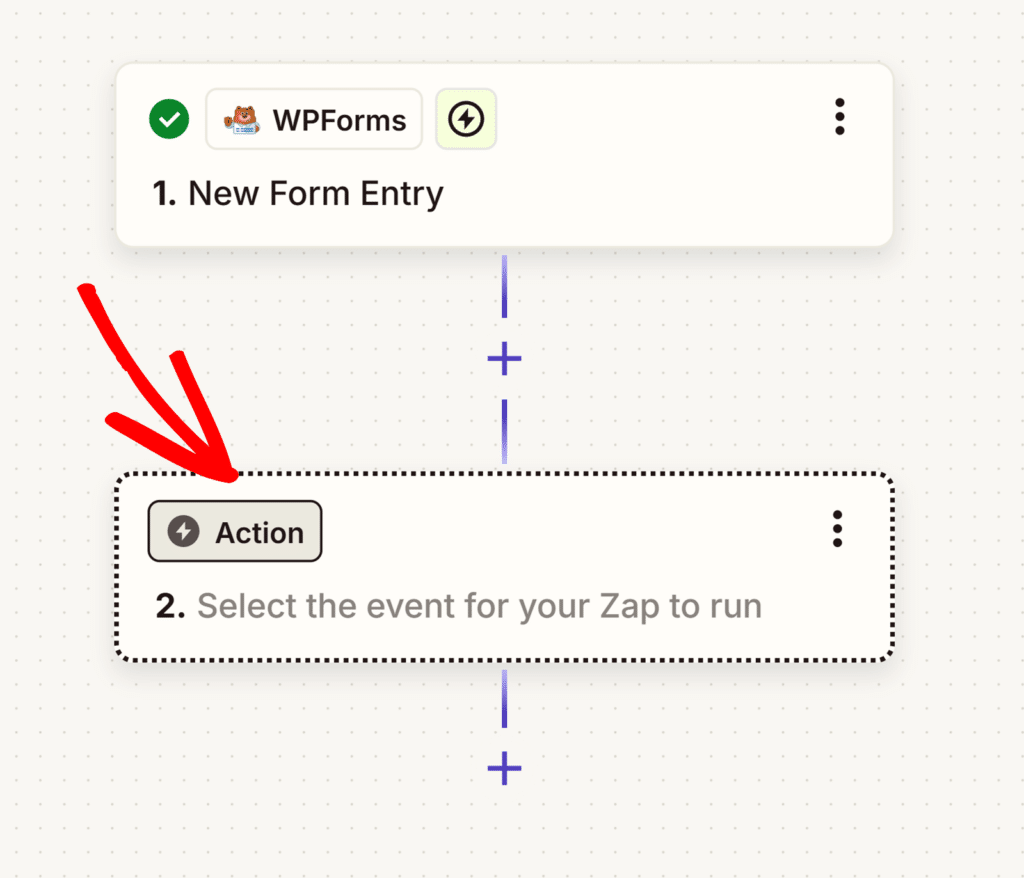
Next, you’ll see a modal where you can find and select the app you want to use for action. You can search for your desired app using the search box at the top, or select it from the list of available apps shown below.
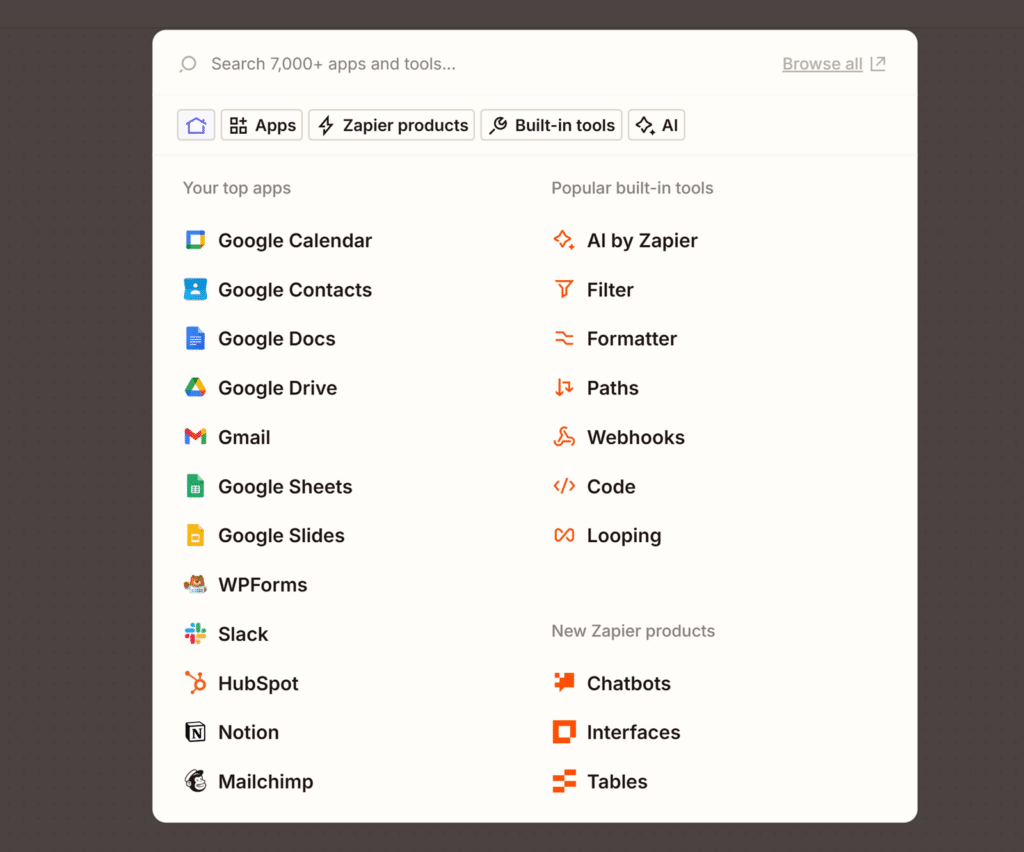
This app is the service you’d like to send your form entry details to.
After selecting an app, Zapier will walk you through the steps to pass form data to your chosen service. These steps will depend on which service you integrate with.
Examples of Zapier Connections for WPForms
Since the next steps will vary depending on which integration you choose in Zapier, we aren’t able to cover all possible options in a single tutorial.
For detailed guides on our most popular Zapier integrations, please check out the articles below.
Send Uploaded Files to Web Storage Services
Send Leads to Marketing Services and CRMs
Send Entry Details to Task Lists or Team Communication Services
Send Entry Details to Invoice or Accounting Applications
Other Popular Integrations
- Google to create contact lists
- Google Calendar to schedule events
- Jira to create support issues
- Planyo to make restaurant reservations
- Twilio to receive SMS text messages
- YouTube to upload videos
- ZenDesk to collect support tickets
Frequently Asked Questions
In this section, we’ll answer some of the most common questions about the Zapier addon.
Can I disable entry storage when using the Zapier integration with my form?
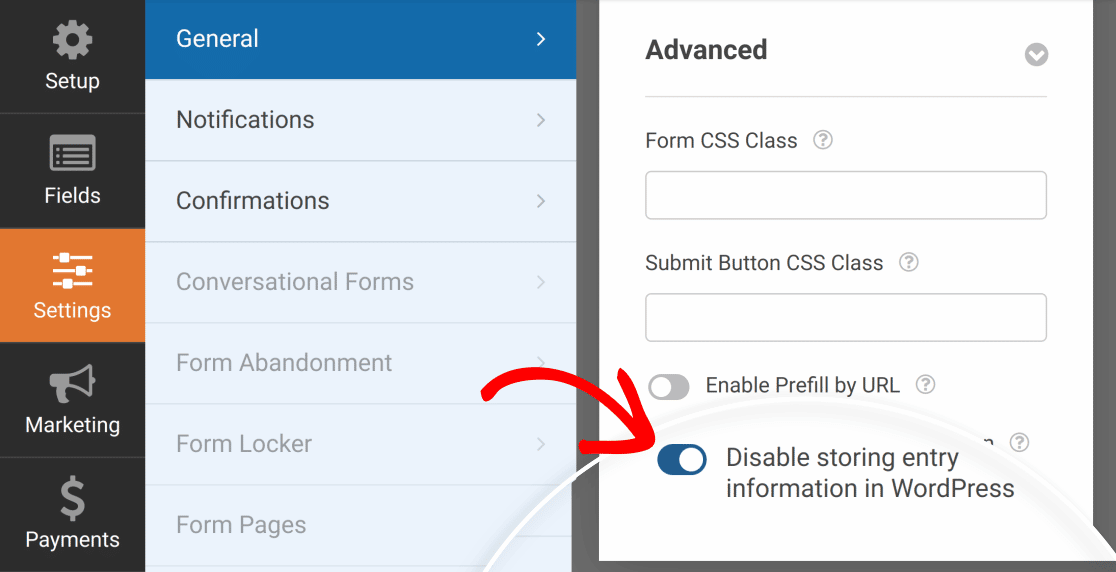
Yes, you can absolutely do this. You’ll need at least 1 entry for your form when setting up a zap in Zapier. Once that’s done, you can disable entry storage.
To do so, open the form for editing and go to Settings » General. Expand the Advanced section, then toggle on the Disable storing entry information in WordPress option and save your changes.
Can I send User Journey data to Zapier?
Yes. If you have the User Journey addon v1.5.0 or higher and the Zapier addon v1.8.0 or higher installed, Zapier will include an Entry User Journey field for WPForms New Form Entry triggers that you can map to columns or fields in your action apps. If one of the addons is not updated, your zaps still run but the journey data is not available.
That’s it! You can now connect your forms to hundreds of web services through the Zapier addon in WPForms.
Next, would you like to learn more about what you can do with WPForms entries? Be sure to check out our complete guide to entries for details on all of the available options and tools.

