AI Summary
Are you wondering about the fields available with a paid license in WPForms? WPForms provides lots of field types to create simple and complex forms in WordPress.
This tutorial will cover the available fancy field types WPForms provides and their functions.
- Fancy Fields (Available with the Basic license and above, unless otherwise noted)
- Phone
- Address
- Date / Time
- Website / URL
- File Upload
- Camera
- Password
- Rich Text
- Layout
- Repeater
- Page Break
- Section Divider
- HTML
- Content
- Entry Preview
- Rating
- Hidden Field
- Custom Captcha
- Signature (Available with the Pro license and above)
- Likert Scale (Available with the Pro license and above)
- Net Promoter Score (Available with the Pro license and above)
Fancy Fields
Fancy Fields are available with all paid licenses for WPForms (unless otherwise noted).
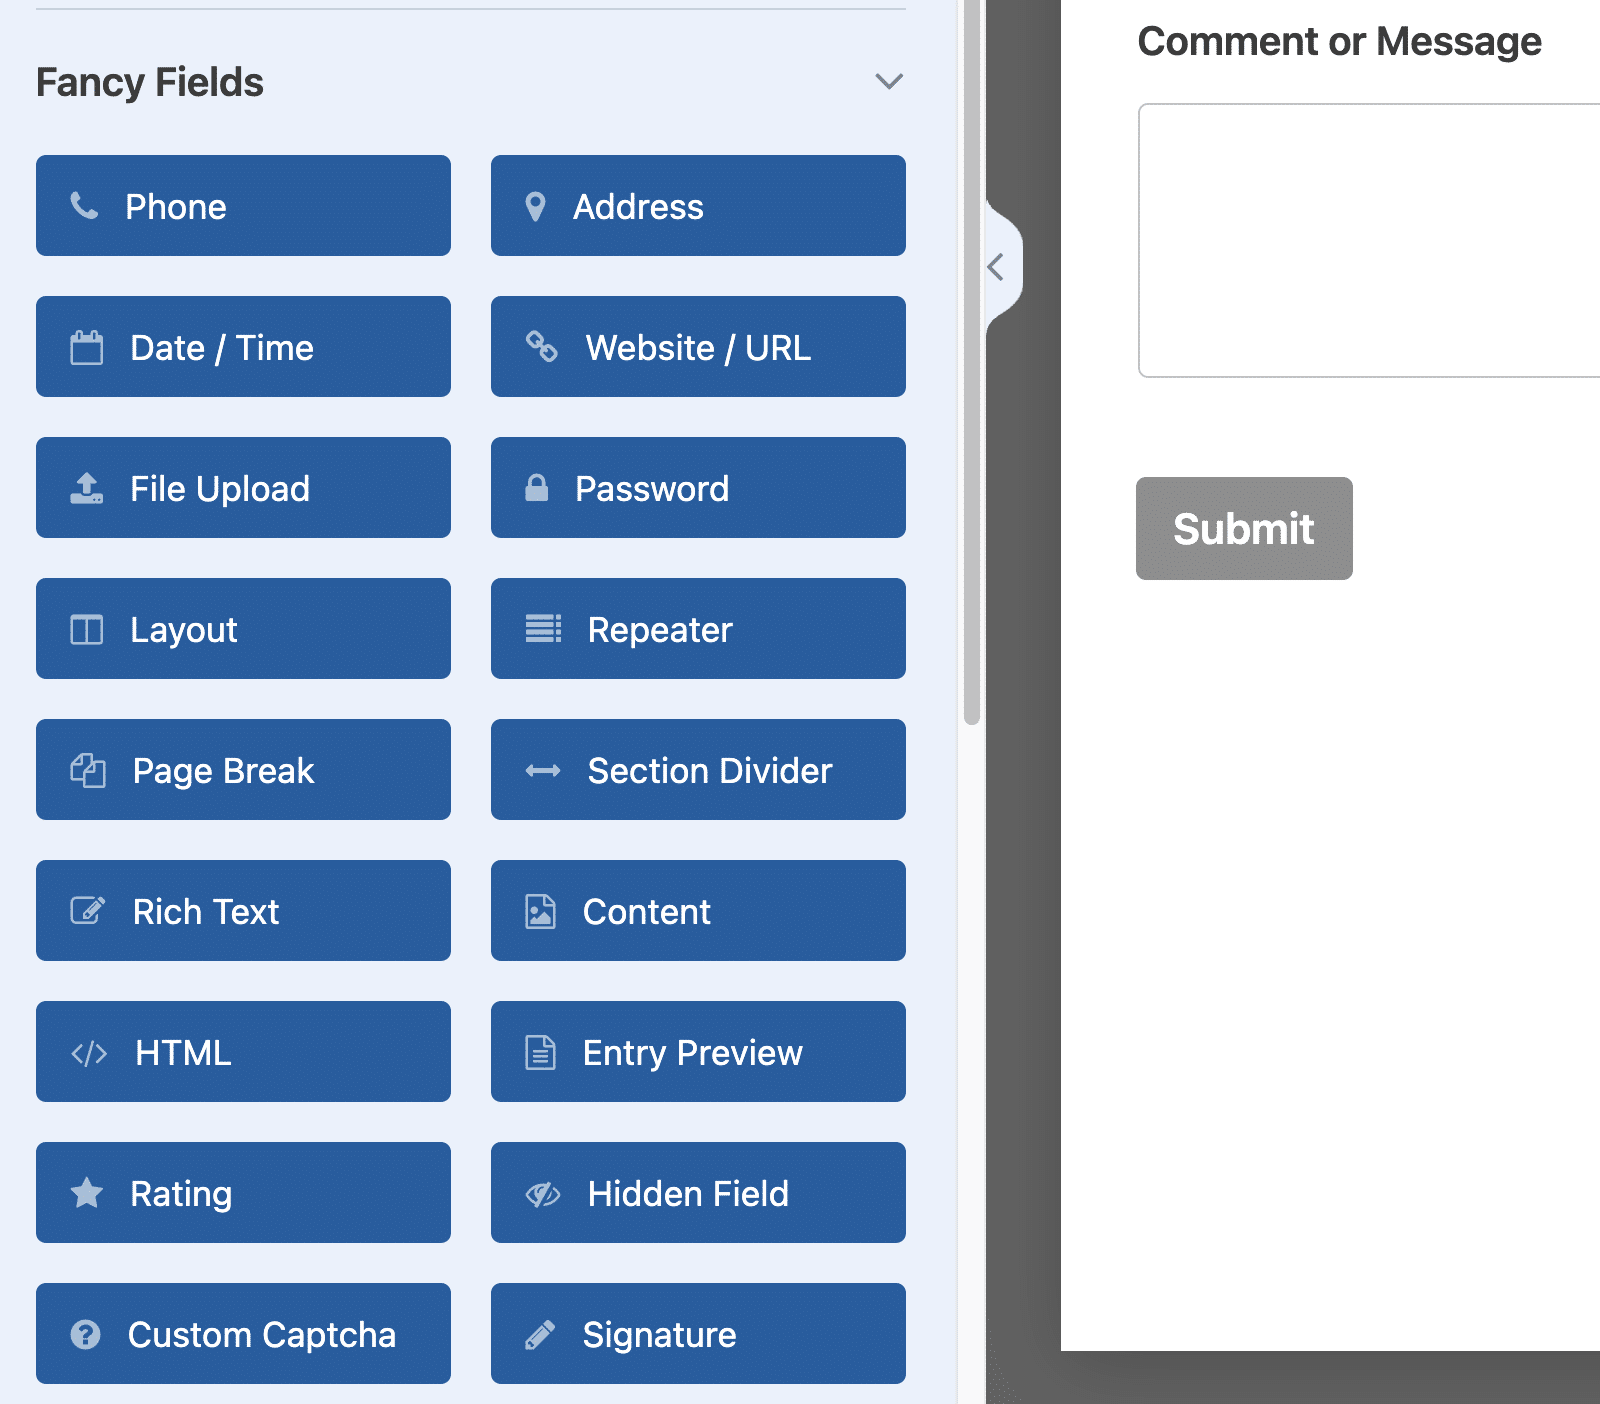
Here’s a live preview of some of the Fancy fields in WPForms.
Phone
The Phone field accepts phone numbers from users and allows three formats: Smart, US, or International.
The Smart format is the default, and it will use the user’s location (based on IP address) to determine the required phone number format. To help guide the user, the field will display a flag indicating their detected country and placeholder text to demonstrate the format.

If the detected location isn’t accurate, or if the user needs to enter a phone number in a different format, they can simply click the flag icon on the left side of the field to choose a different country.
If you would prefer to require one specific phone format for all users, you can use the US or International formats. The US format will always require a (###) ### – #### format, whereas the International format is more flexible.
Address
The Address field provides a collection of labeled subfields in a clear format.
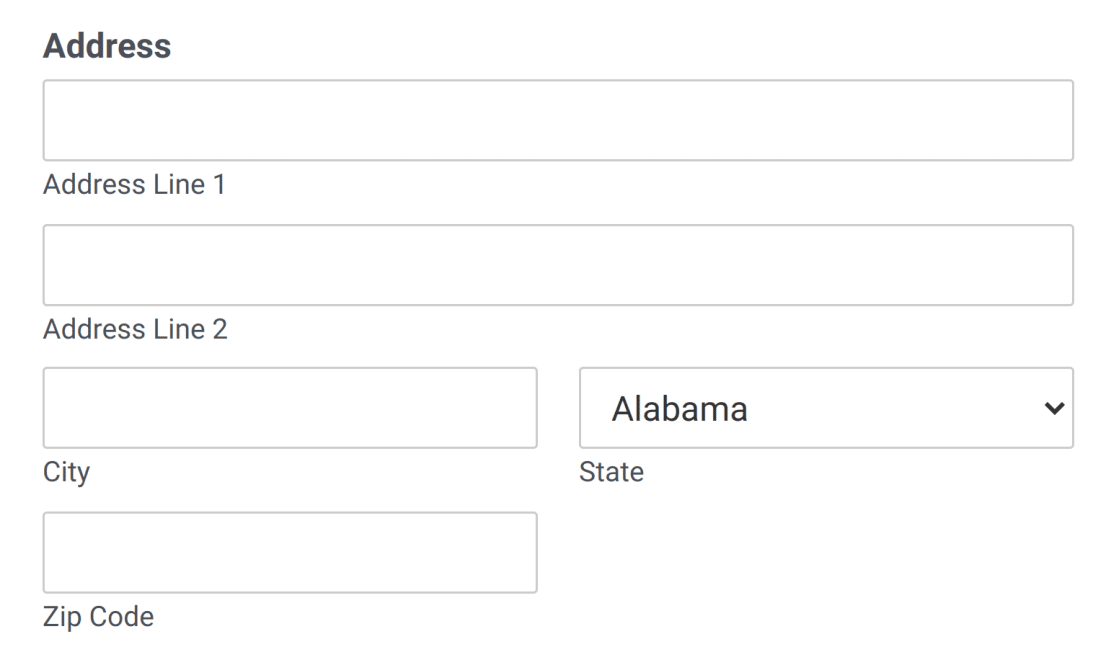
It offers two formats: US and International. The US format allows users to choose a US State from a pre-loaded dropdown list, while the International format allows users to choose from a dropdown list of countries.
Date / Time
By default, the Date / Time field will display fields for both Date and Time selections.

Website / URL
Only website URLs can be entered in this field. The form automatically checks if the URL is in a valid format (for example, https://wpforms.com).

To help users avoid formatting confusion, this field will automatically add http:// to the front of a URL written in shorthand. For example, wpforms.com would be automatically converted to https://wpforms.com.
If a user tries to enter input that is not in an accepted format, they will see a message that reads, “Please enter a valid URL.”

File Upload
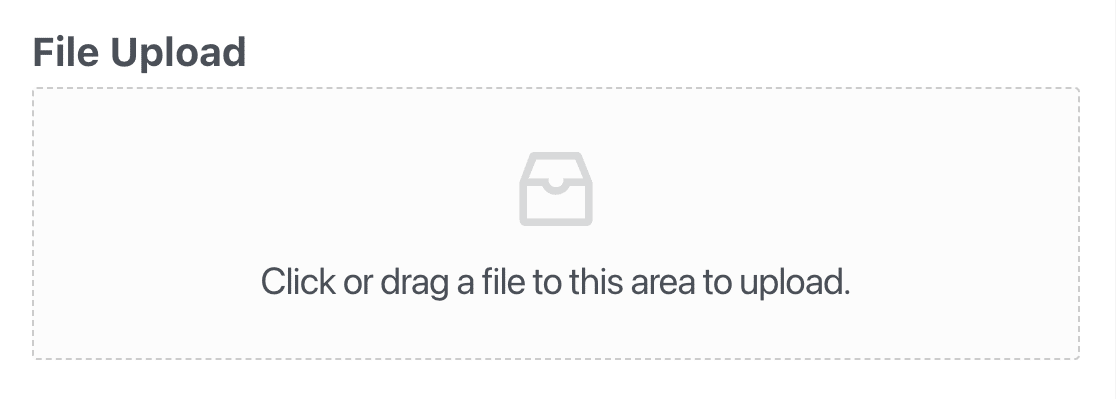
The File Upload field enables users to include files along with their form submissions.
Camera
The Camera field allows users to capture photos or record short videos directly from their device’s camera while filling out a form. This is useful for collecting things like profile pictures, ID verification snapshots, or quick video responses.
You can set the Camera field to capture either photos or videos and adjust options such as the maximum file size and time limit for recordings.
For more details, be sure to check out our guide to using the Camera field.
Password
You can use the Password field in a user registration or login form. When users enter their input, each character is obscured as dots for security.

You can also enable a minimum password strength (weak, medium, or strong) and add a Confirm Password field.

Rich Text
The Rich Text field inserts a rich text editor into your forms so users can write, format, and style their own content in their entries. This is particularly useful for creating blog post submission forms and other types of forms that let users share long-form content.
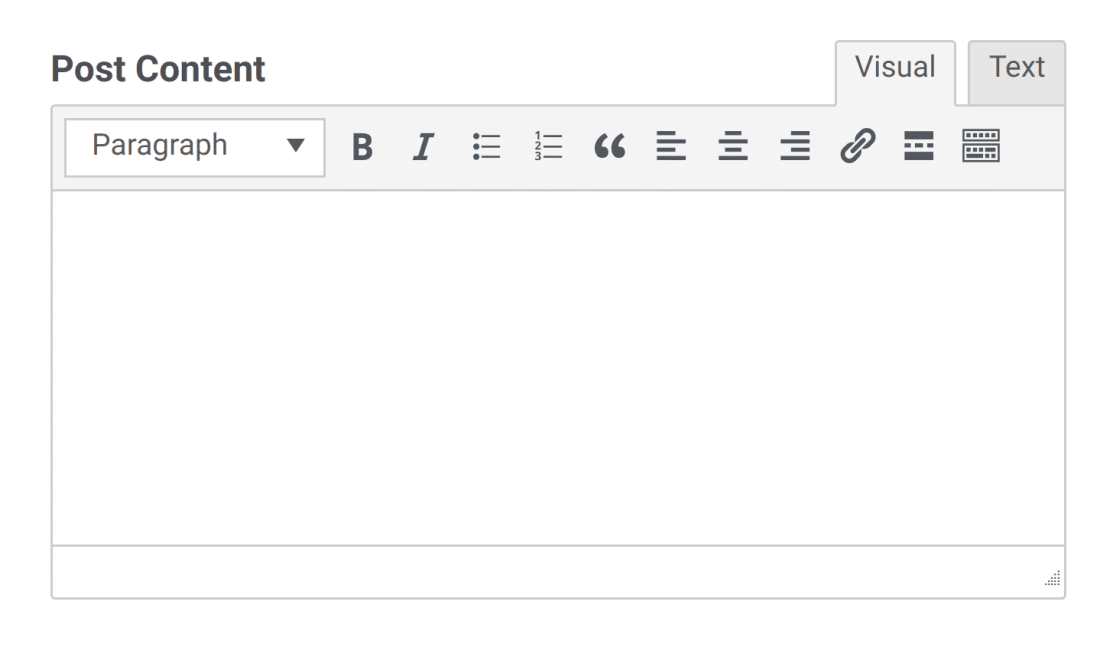
You can enable the Rich Text field to accept media file uploads and store them in the WordPress Media Library, too.
For more details, please see our complete guide to the Rich Text field.
Layout
The Layout field provides a container that allows you to display your form in 2 to 4 columns, in which you can place other fields. The columns will automatically adjust to fit the users’ screen size.
Unlike most other fields, the Layout field is not visible to users. However, the other fields you place inside the Layout field’s columns will be visible to users.
For more details, be sure to check out our guide to using the Layout field.
Repeater
The Repeater field allows users to dynamically add multiple instances of a field or group of fields. This can be helpful when creating a form to allow users add more than one entry of similar input types, like social media profile links, or relevant work experiences.

You can either display them as Rows or Blocks on your site’s frontend. To learn more about how this field works, see our tutorial on using the Repeater field.
Page Break
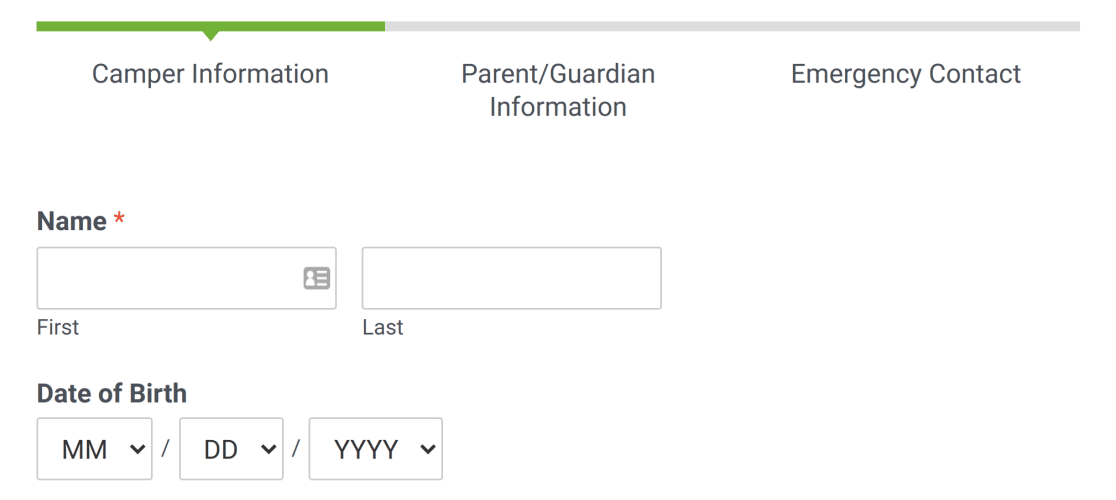
Page Breaks separate a form into two or more pages. This can improve the user experience of longer forms.
Section Divider
The Section Divider displays a clear indication of a new part of the form.
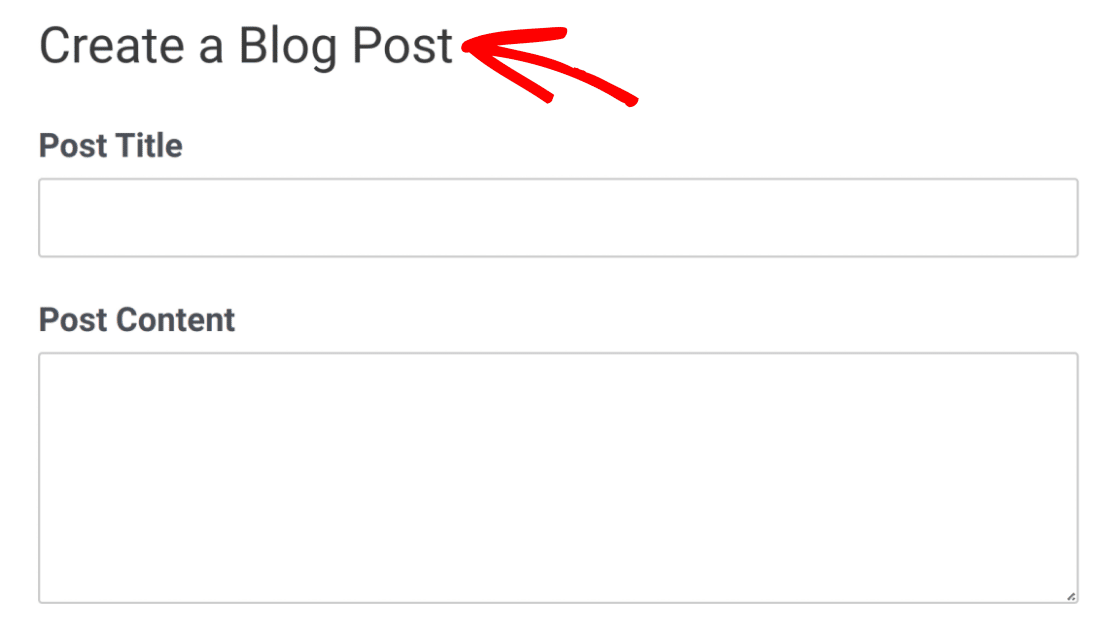
You can add a description to this field to provide users with important information or instructions on how to fill out the next set of fields.
HTML
The HTML field is useful for including custom valid HTML code in your form. You can use this to add extra text throughout your forms, include links to other resources users may need while filling out your form, add icons or images to your forms, and more.
Content
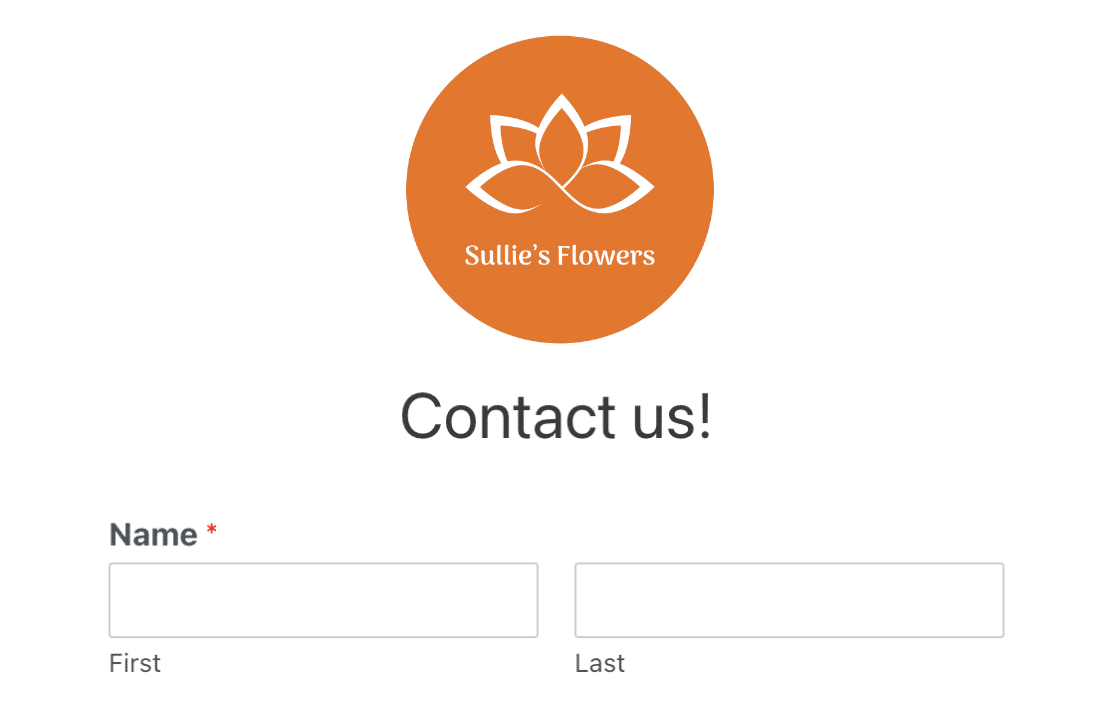
The Content field allows you to add extra content to your forms, such as images, videos, headings, and text, without using code. It also includes a built-in editor that makes it easy to format and style text by adding a bullet or numbered list, changing text alignment, adding bolded text, and more.
For more details, be sure to check out our guide to using the Content field.
Entry Preview
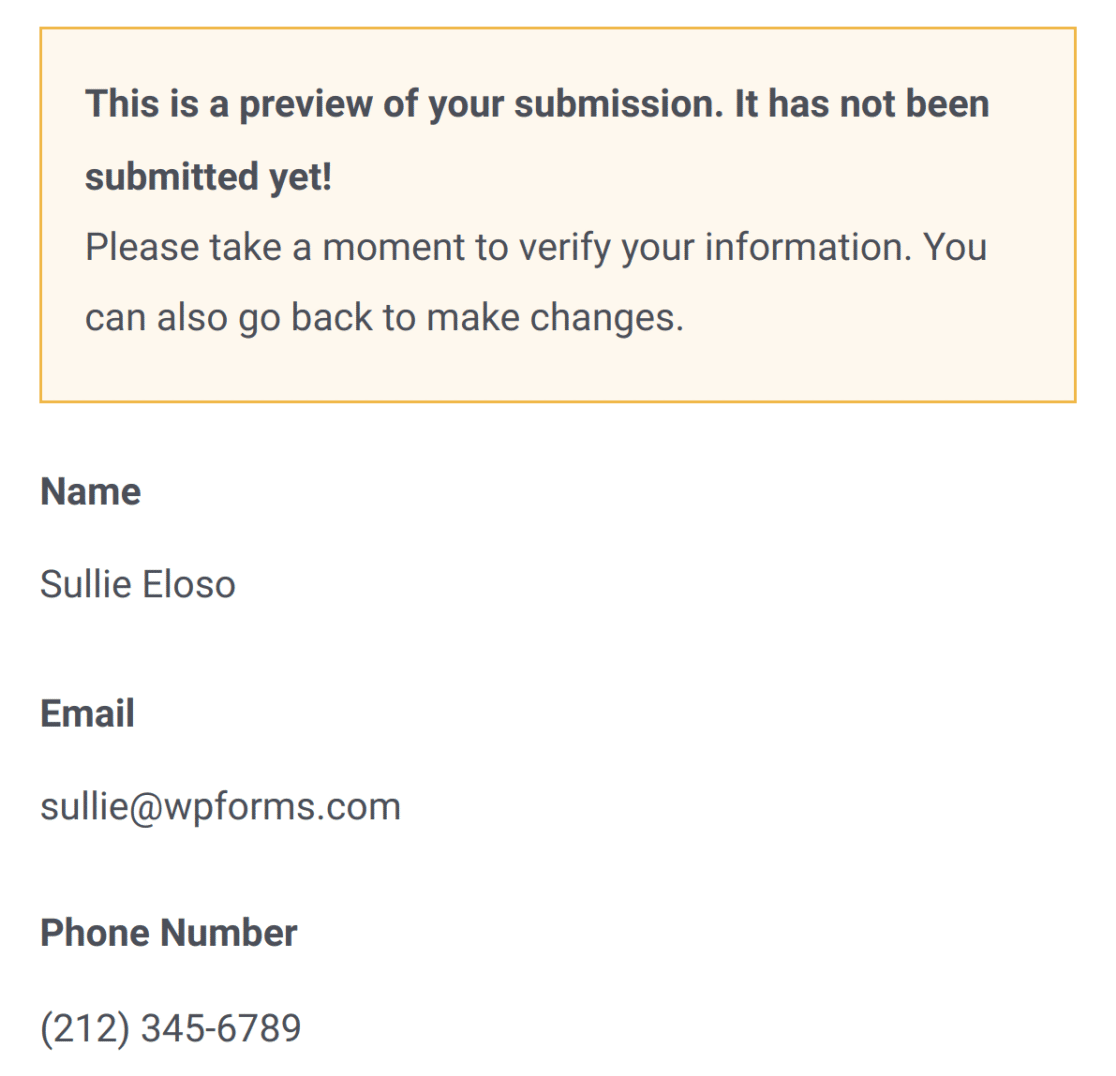
The Entry Preview field enables you to display users’ input and selections from your form before they submit it. This gives them a chance to go back and make changes before confirming their submissions.
Rating
The Rating field displays a set number of icons so that users can visually select a numeric rating.

Hidden Field
The Hidden Field is not visible to users. You can use it to capture or display any information you’d like to collect without allowing users to see or change the field value.
For example, you can use Smart Tags to collect information like the current page URL, which may be useful for you to see in an entry but would likely be confusing to a visitor if it were visible as they completed the form.
Custom Captcha
The Custom Captcha field helps combat spam form submissions from bots by requiring users to answer a question.

For more details, you can check out our tutorial on using the Custom Captcha feature.
If you’d prefer, we also offer integration with Google’s reCAPTCHA and hCaptcha to prevent spam entries.
Signature
Requirements: The Signature addon must be installed to use the Signature field. This addon is available with the Pro license level or higher.
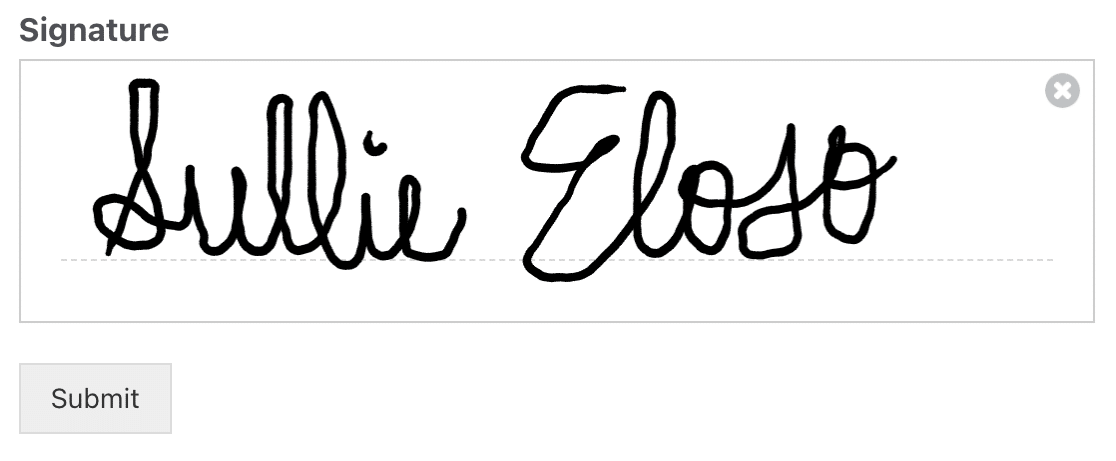
The Signature field allows users to draw their signatures in your form.
Likert Scale
Requirements: The Survey and Polls addon must be installed to use the Likert Scale field. This addon is available with the Pro license level or higher.
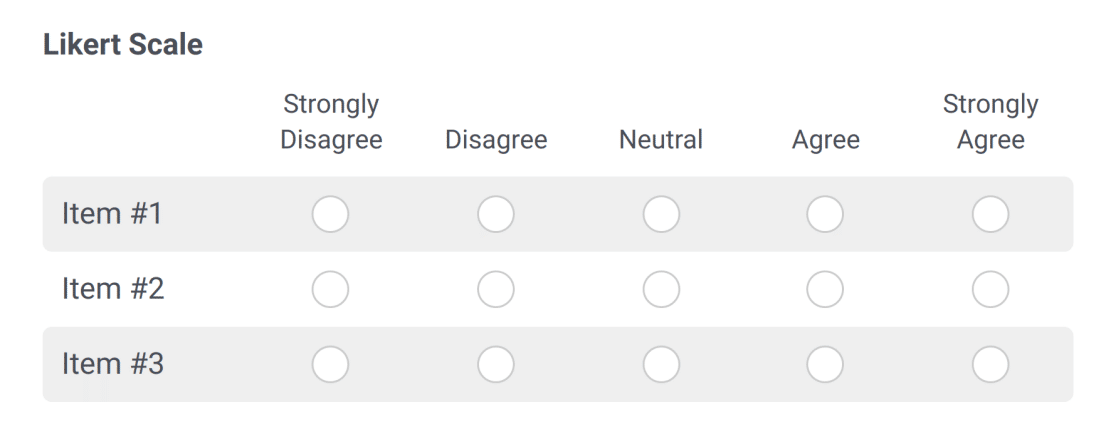
The Likert Scale field allows users to choose from a range of possible options.
Net Promoter Score
Requirements: The Survey and Polls addon must be installed to use the Net Promoter Score field. This addon is available with the Pro license level or higher.
The Net Promoter Score field lets customers easily share how they feel about your company, providing valuable insights.

That’s it! You’ve now learned the functions and use cases for fancy field types in WPForms.
Ready to start building with WPForms? You may want to check out our tutorial on how to create your first form.
