AI Summary
Would you like to add content to your WordPress forms? The Content field for WPForms provides a simple and user-friendly way to add content such as headings, lists, paragraphs, and media to your forms.
This tutorial will show you all you need to know to get started with the Content field in WPForms.

Before getting started, you’ll first need to make sure WPForms is installed and activated on your WordPress site and that you’ve verified your license. Then you can create a new form or edit an existing one to access the form builder.
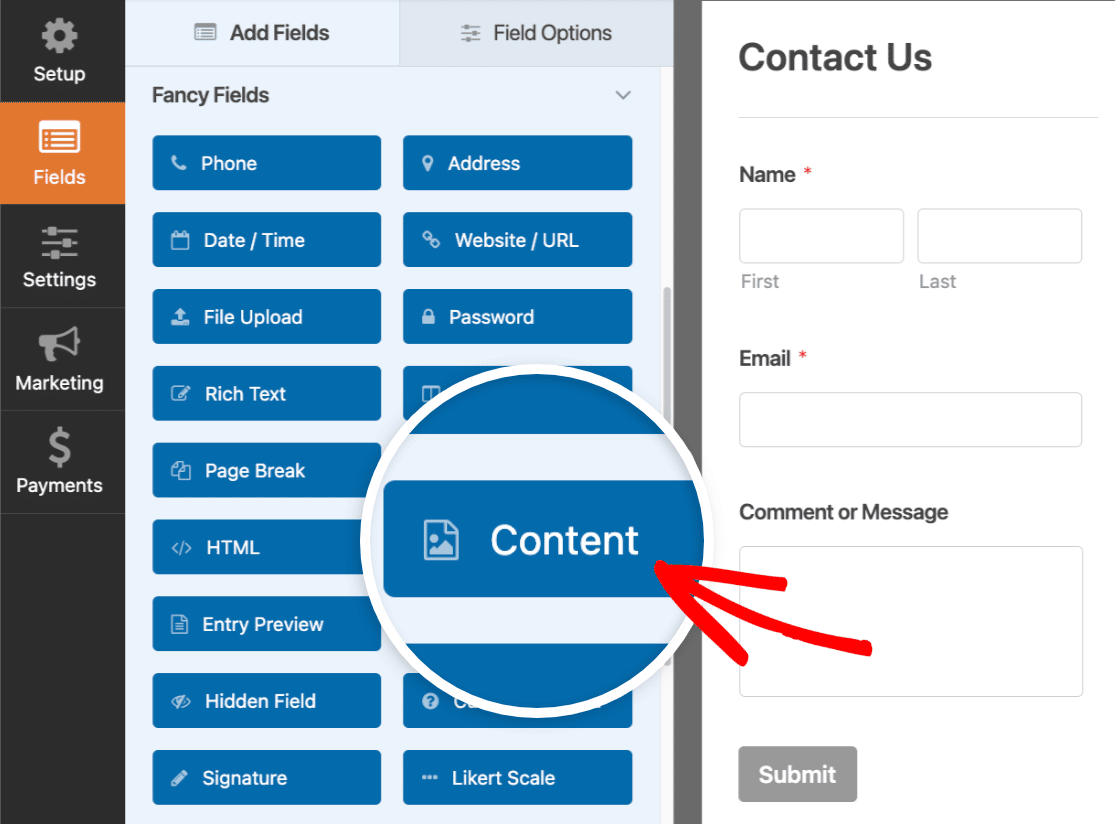
Adding a Content Field to Your Form
Once you’ve opened the form builder, you’ll find the Content field located under the Fancy Fields section. Go ahead and click the Content field or drag and drop it to the preview area to add it to your form.
Adding Content
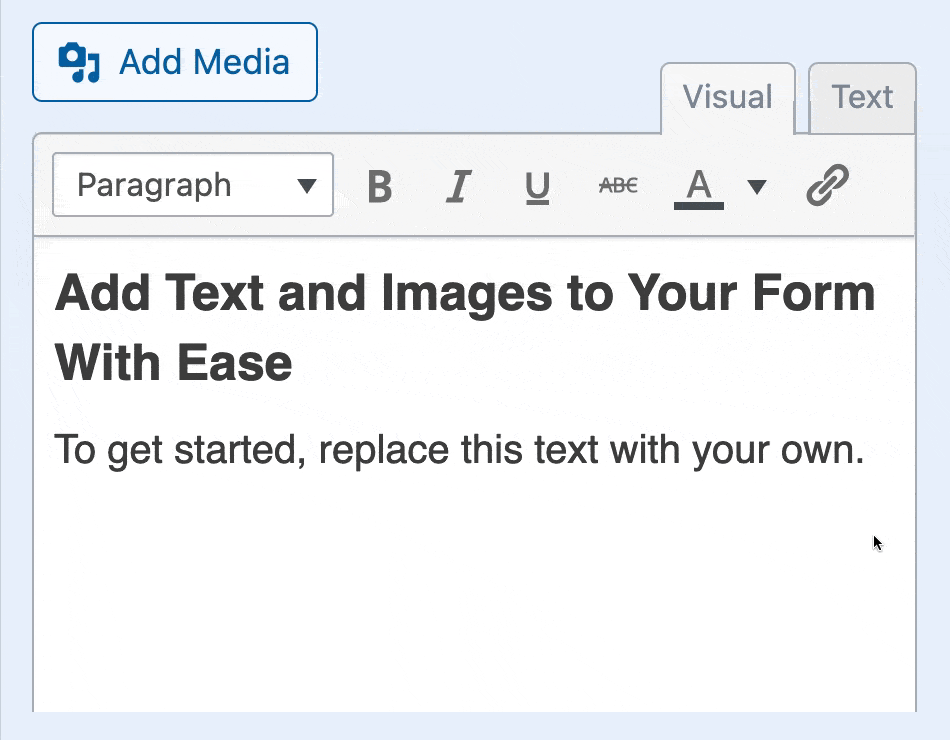
Now that you’ve added a Content field to your form, it’s time to add your content. To get started, click on the field in the form preview area.
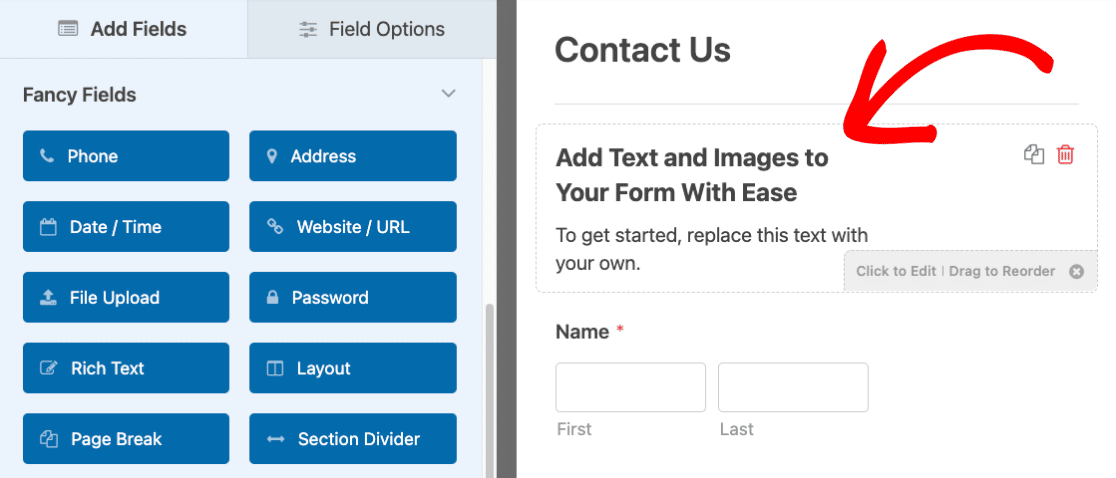
This will take you to the Field Options panel. Here you’ll see a simple editor that you’ll use to add your content.
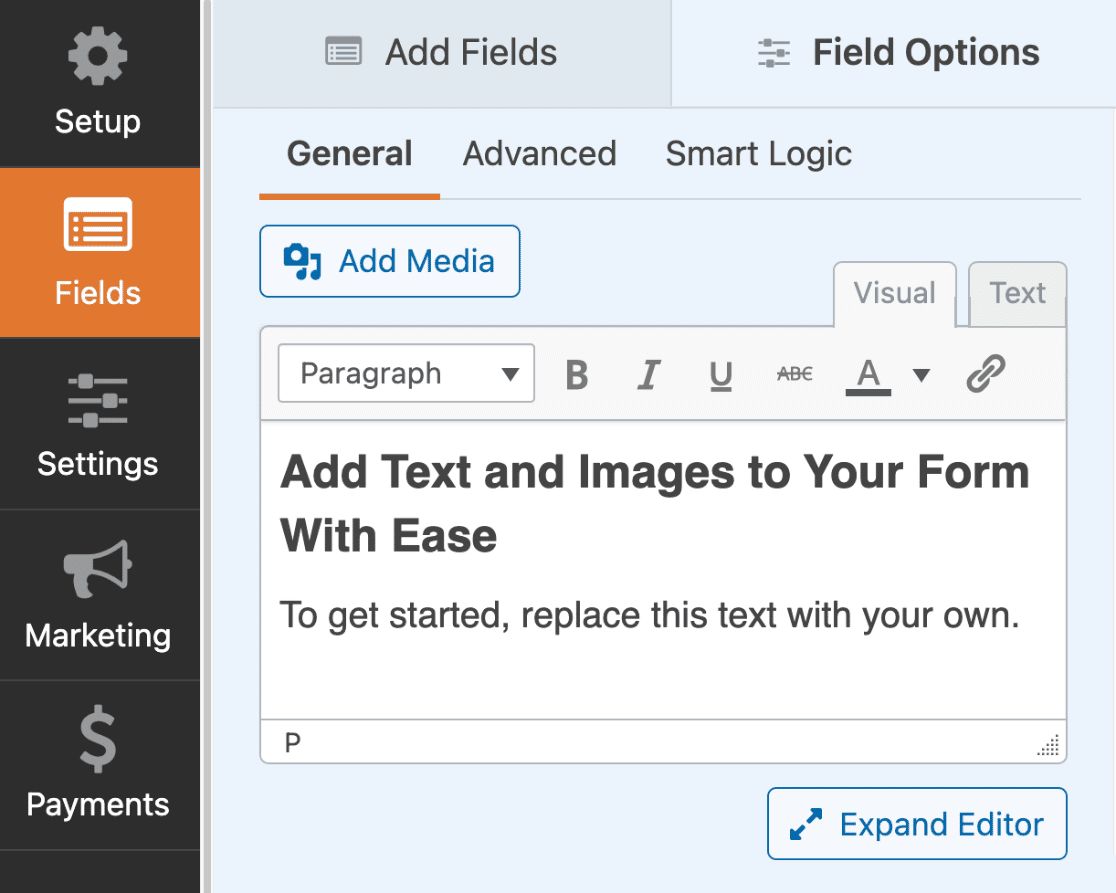
The editor has 2 different modes that you can choose for adding content: Visual and Text.
Using the Visual Editor
The visual editor provides a simple, code-free way to add content. It allows you to view what your content will look like as you’re editing it, much like a WYSIWYG editor.
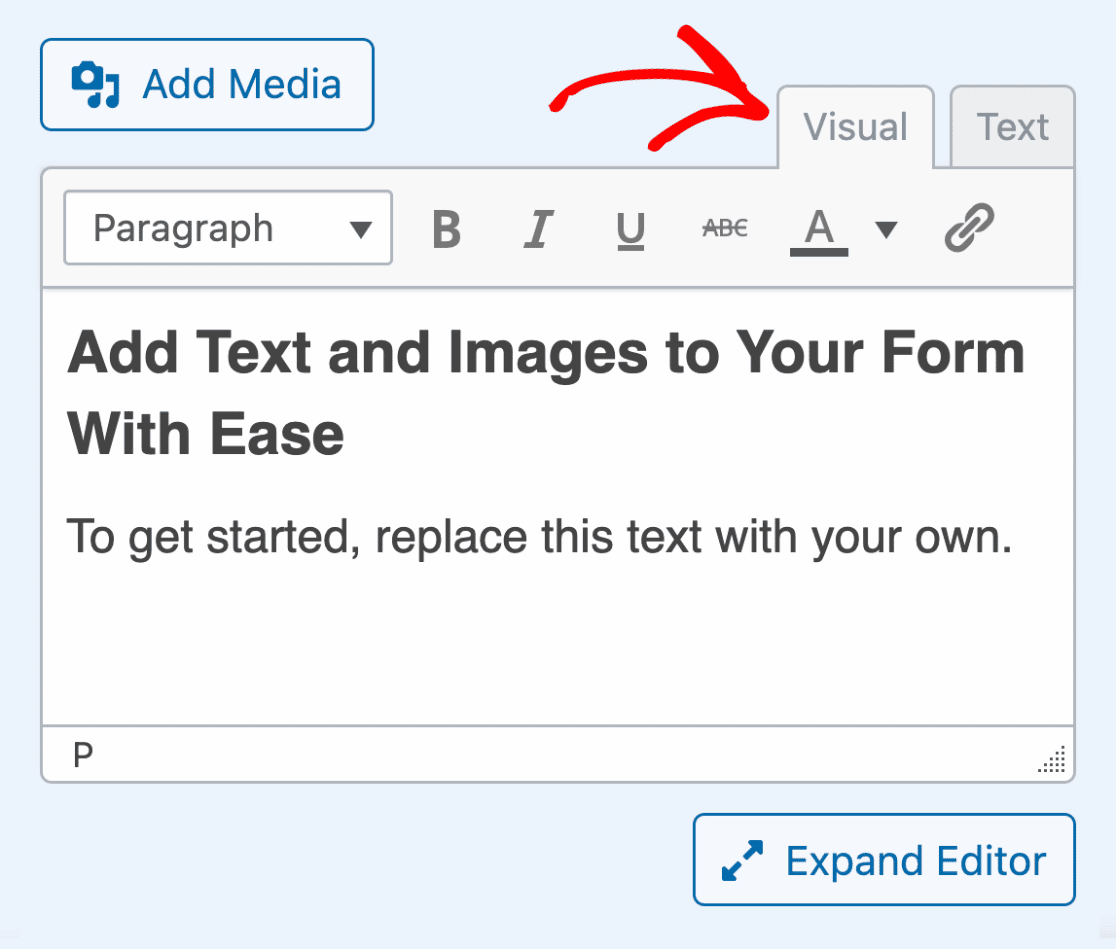
To use the visual editor, select the Visual tab.
To add content, simply replace the default text with your own.
At the top of the editor, you’ll see several clickable options for formatting your content.
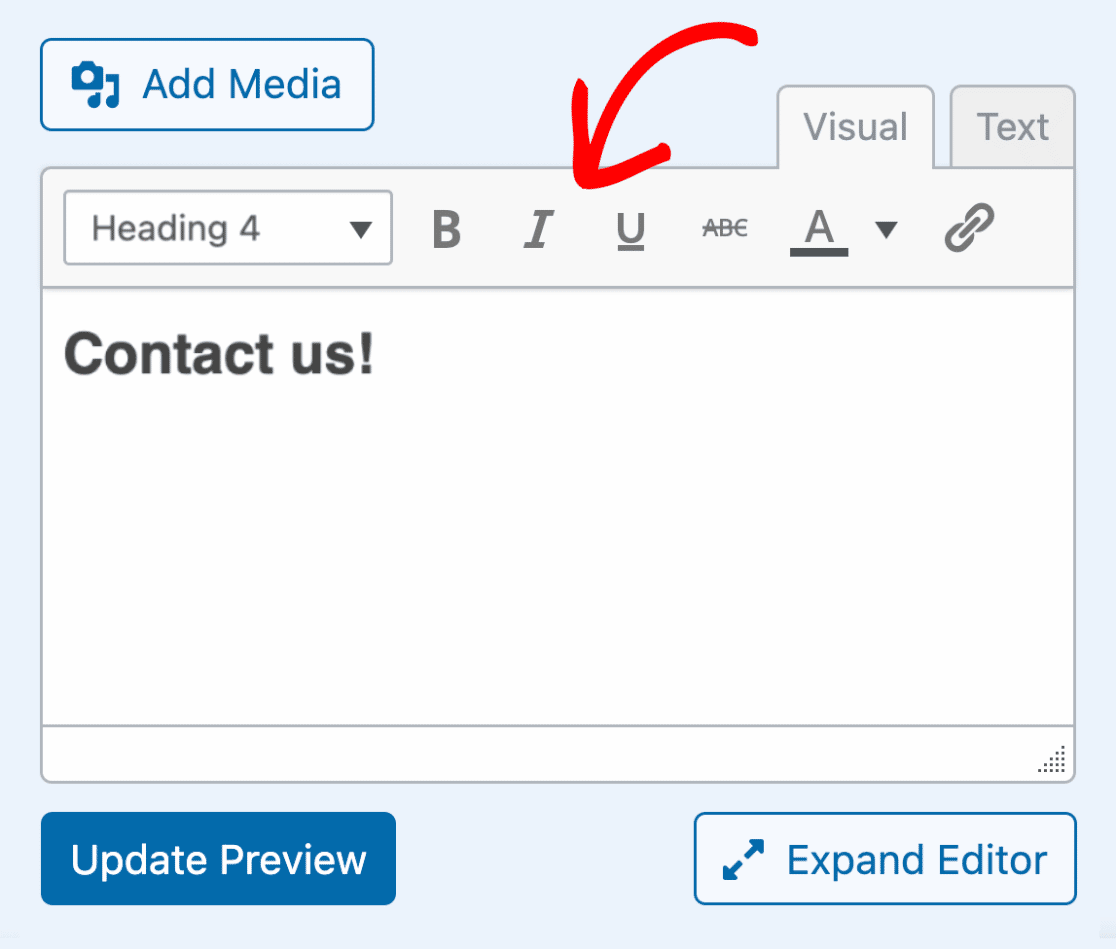
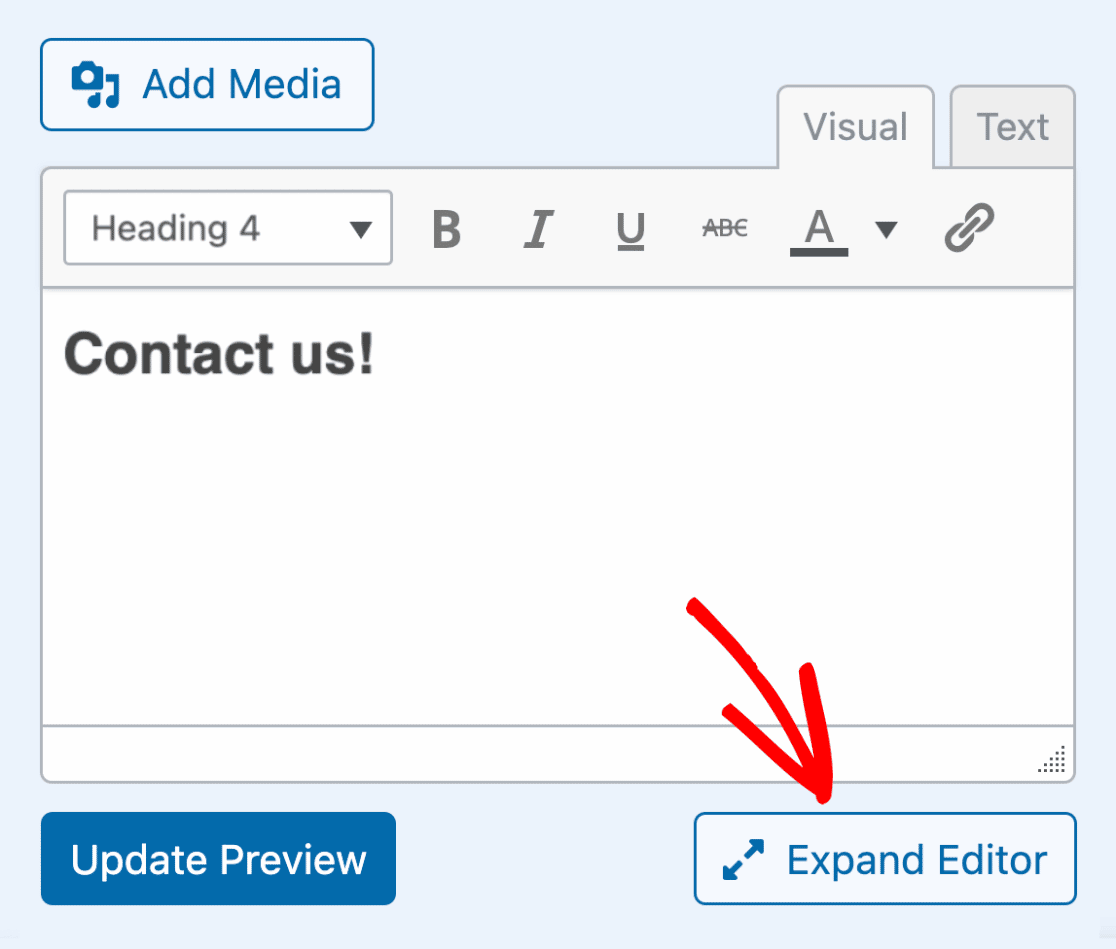
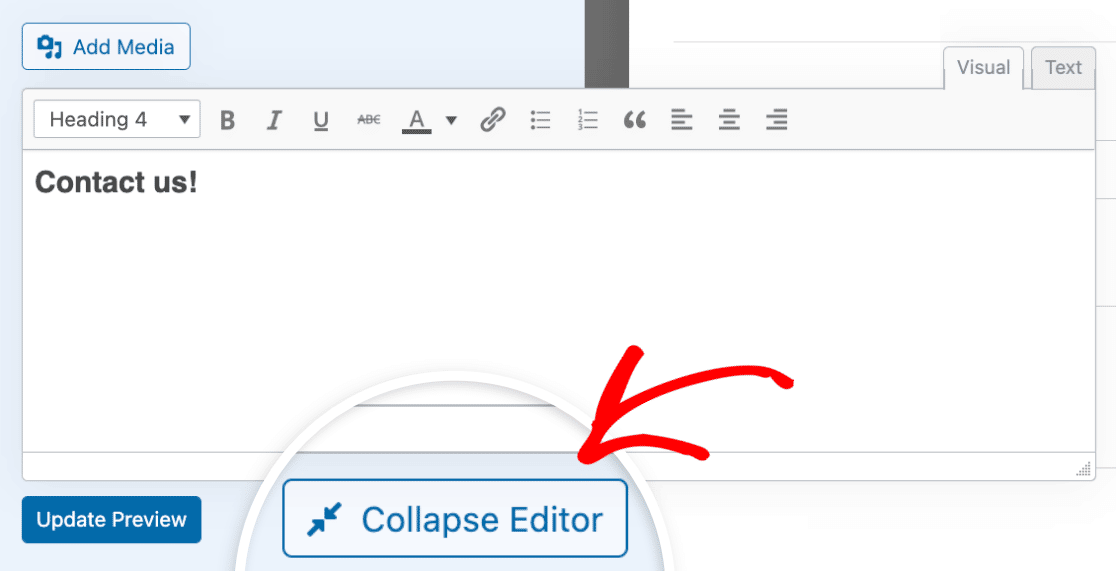
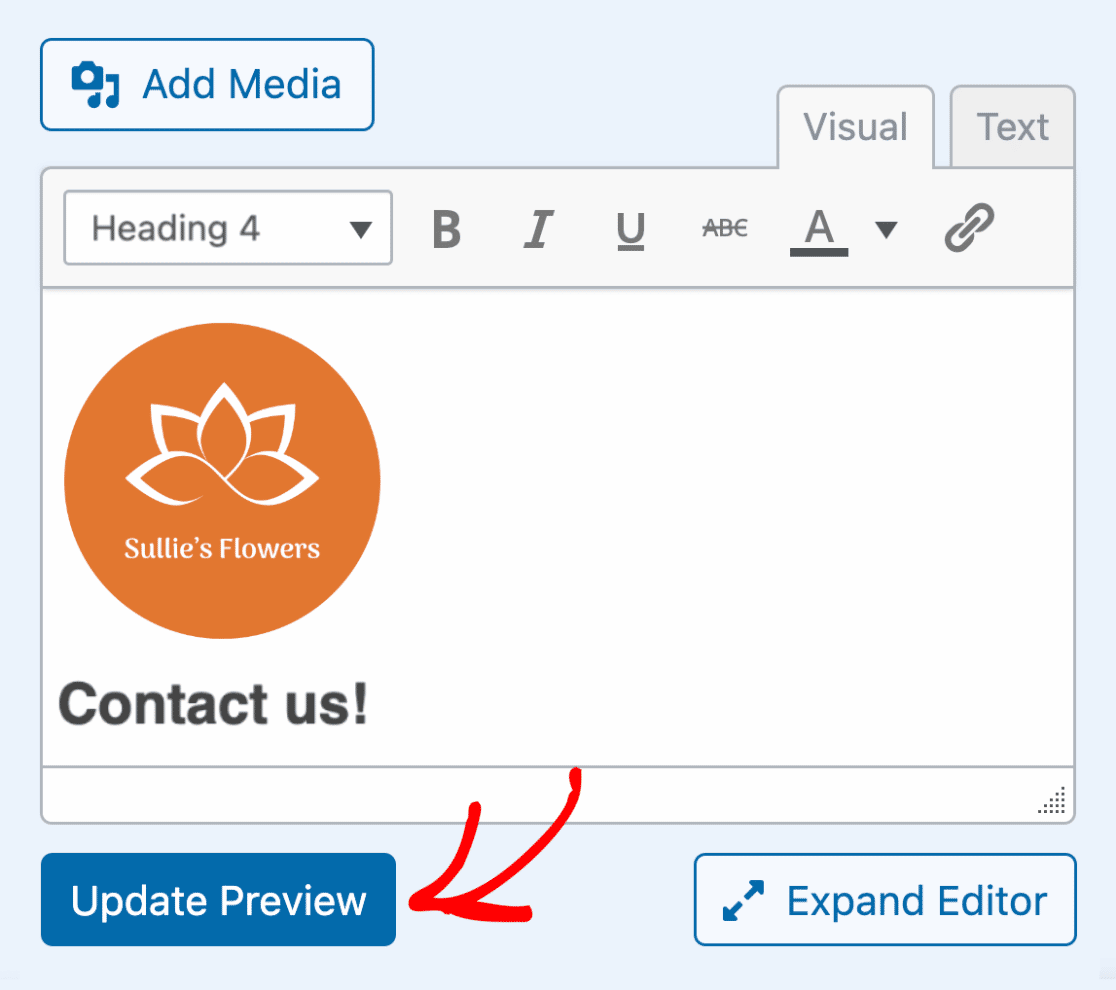
To view more formatting options, click the Expand Editor button located below the editor’s text area.
Next, the editor will expand, and you’ll see even more options for formatting your content.
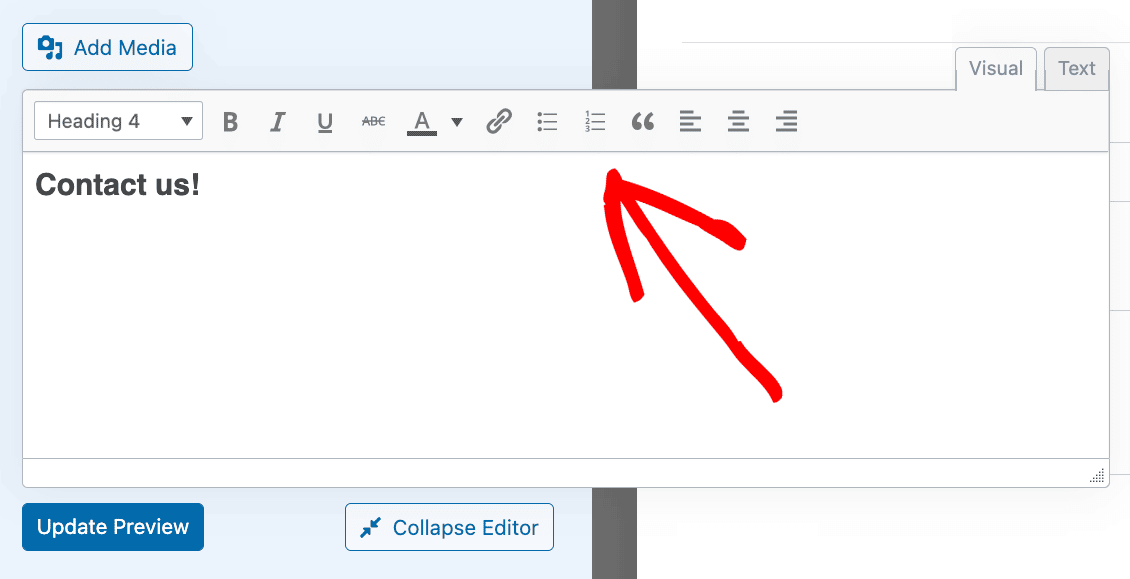
To collapse the editor back to its original size, click Collapse Editor.
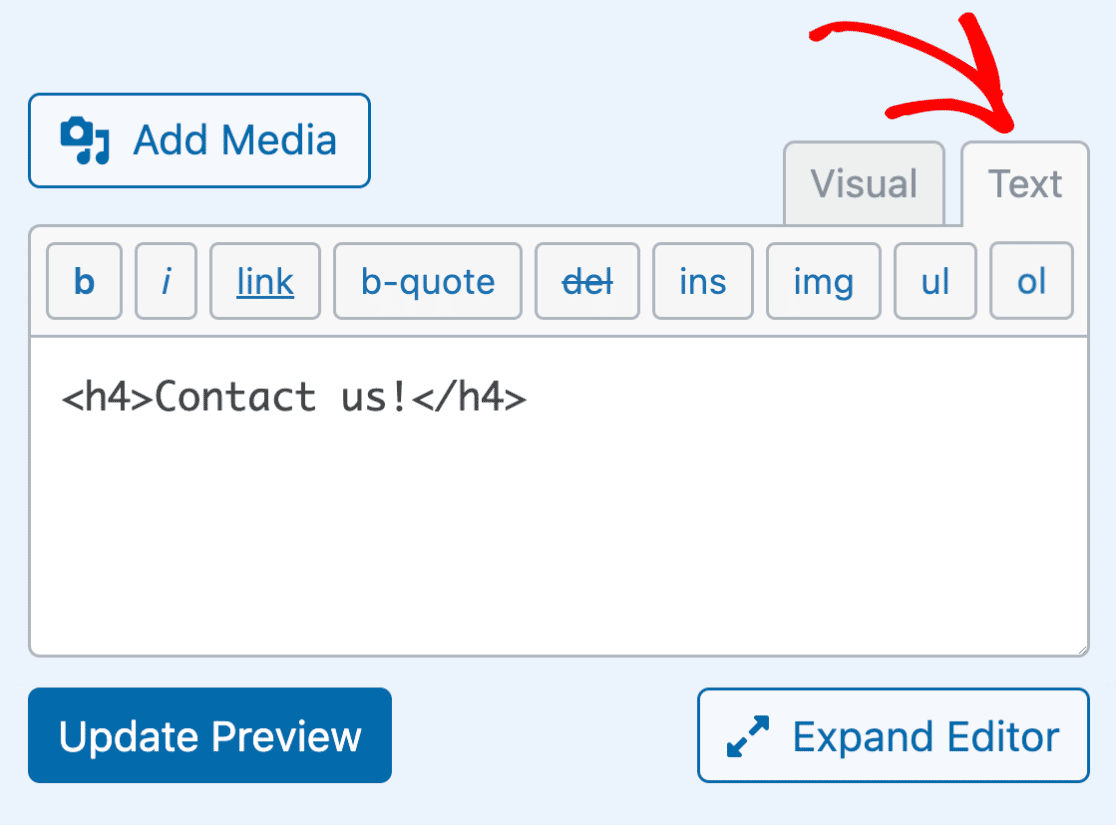
Using the Text Editor
The text editor allows you to add and edit your content using HTML. This can be useful if you’d like more control of the style and format of your content.
To use the text editor, click the Text tab.
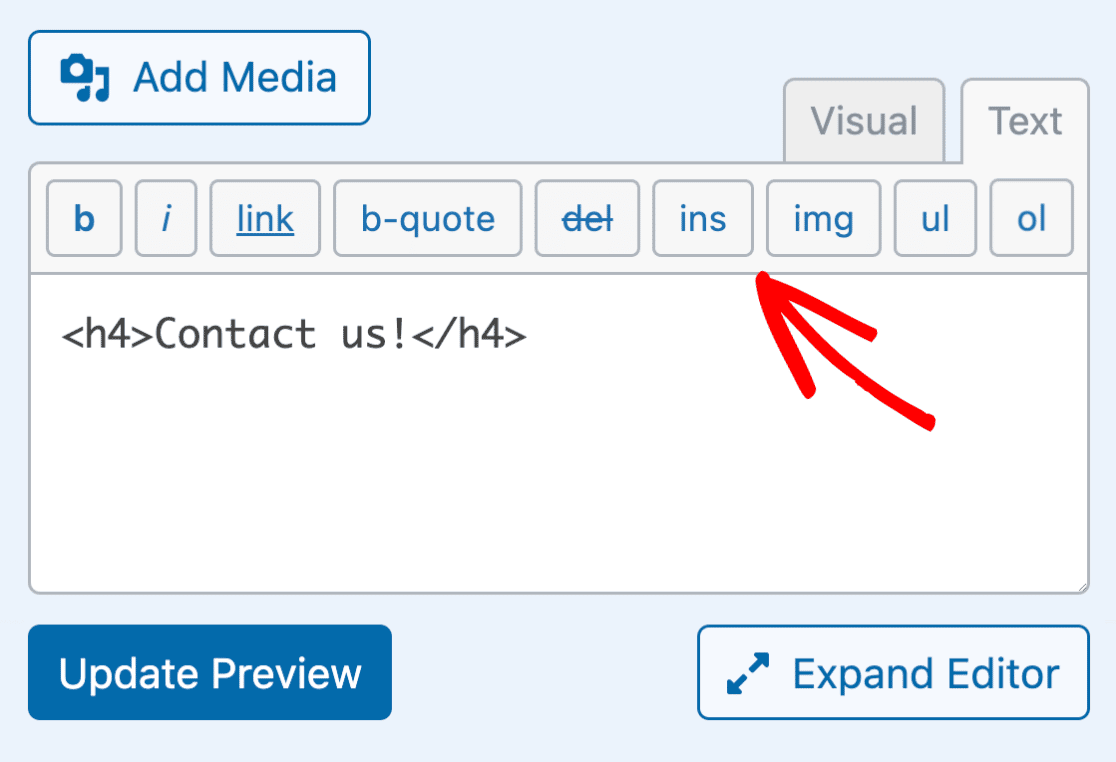
At the top of the text editor, you’ll see some basic options for formatting your content with HTML markup.
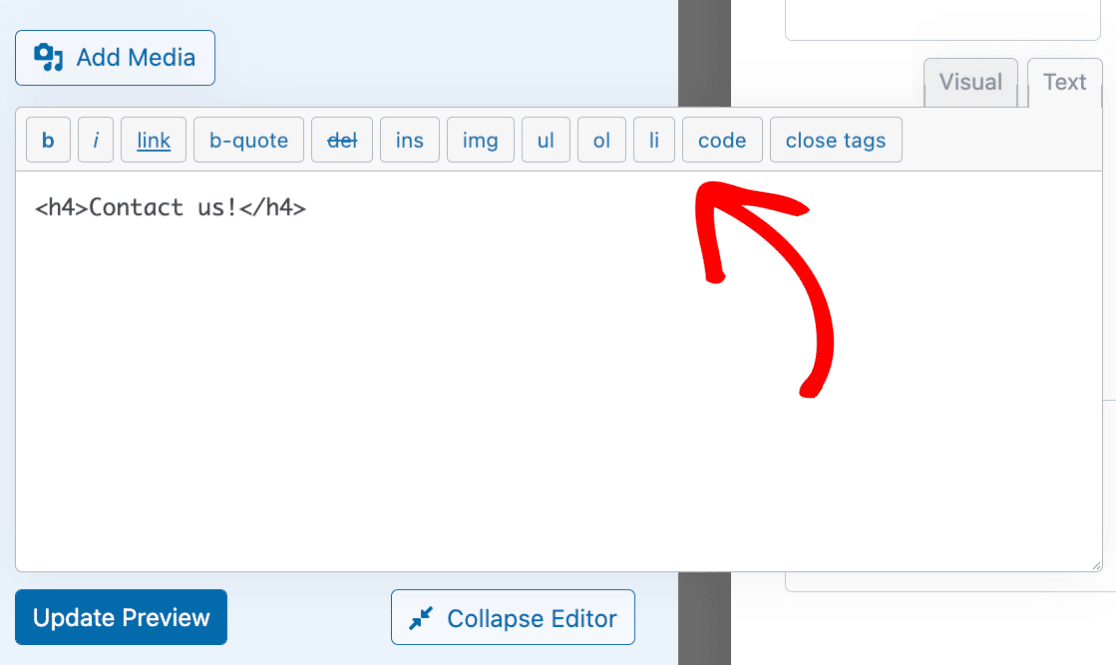
When you expand the editor, you’ll see even more options to format your content.
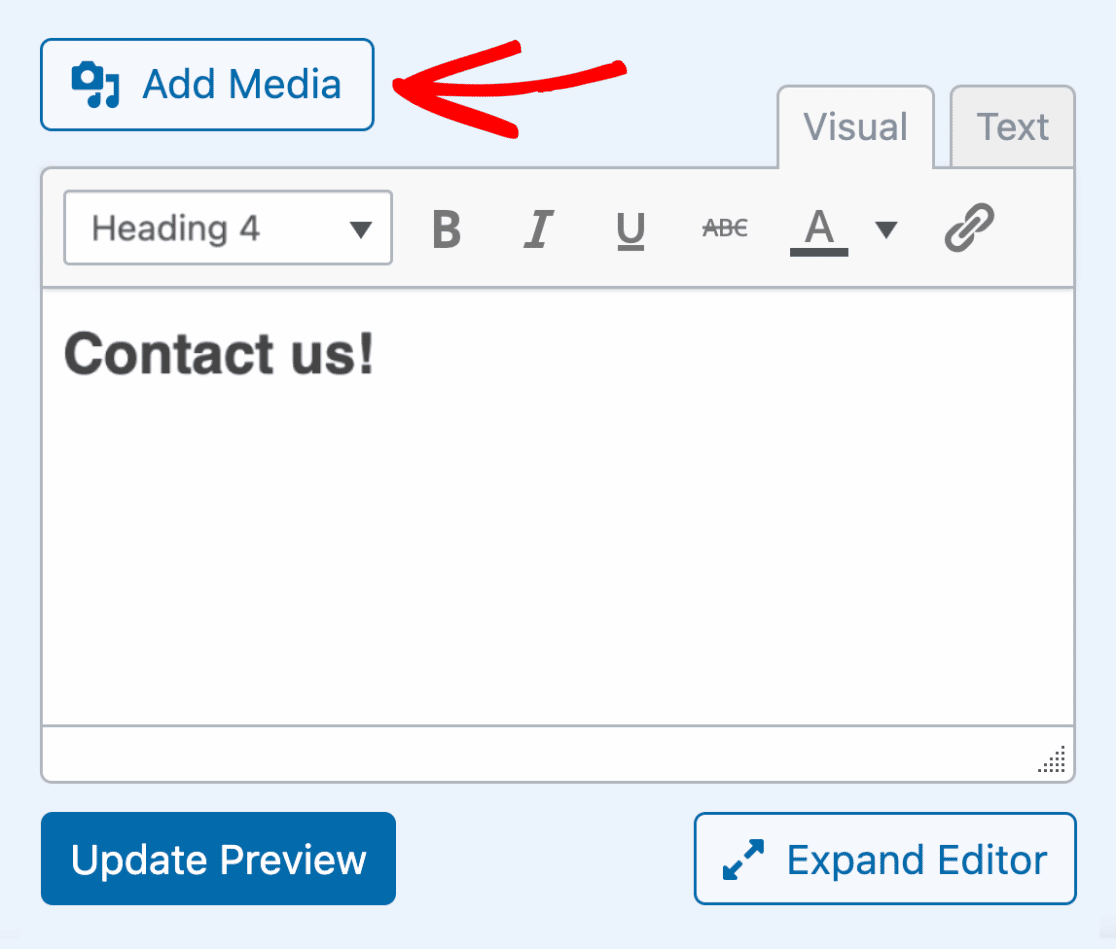
Adding Media to the Content Field
To add media to the Content field, such as an image or video, click the Add Media button located above the editor.
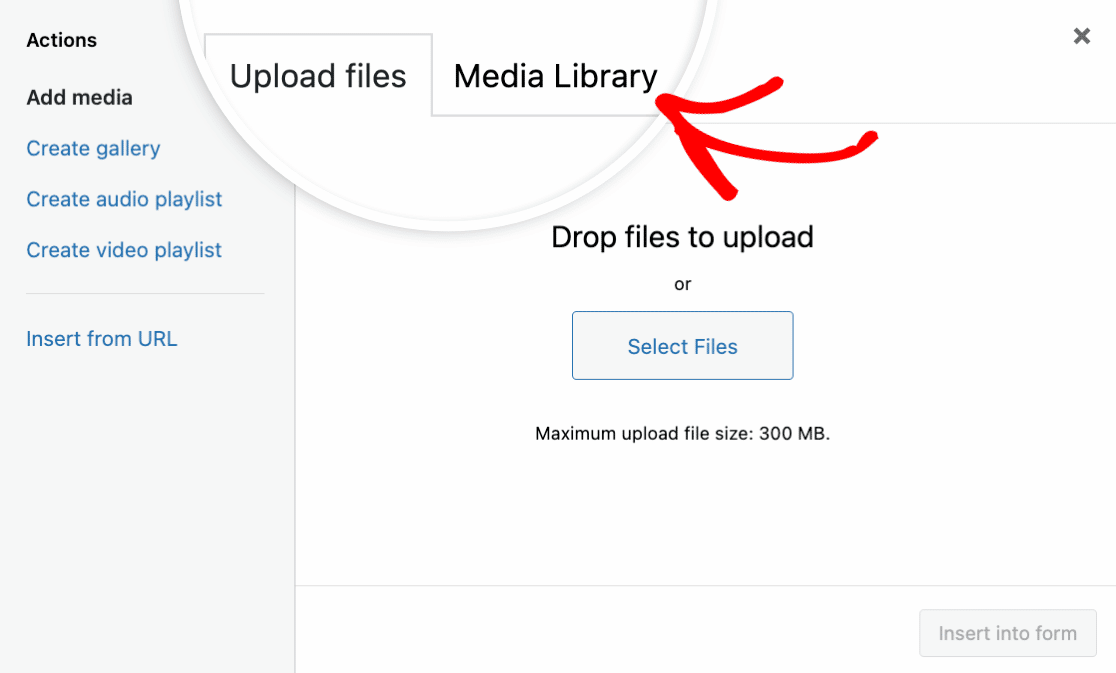
Next, an overlay will appear that shows options for uploading new files or selecting existing ones from the WordPress Media Library.
For our example, we’ll select an image that we’ve already added to the WordPress Media Library. To do this, click the Media Library tab.
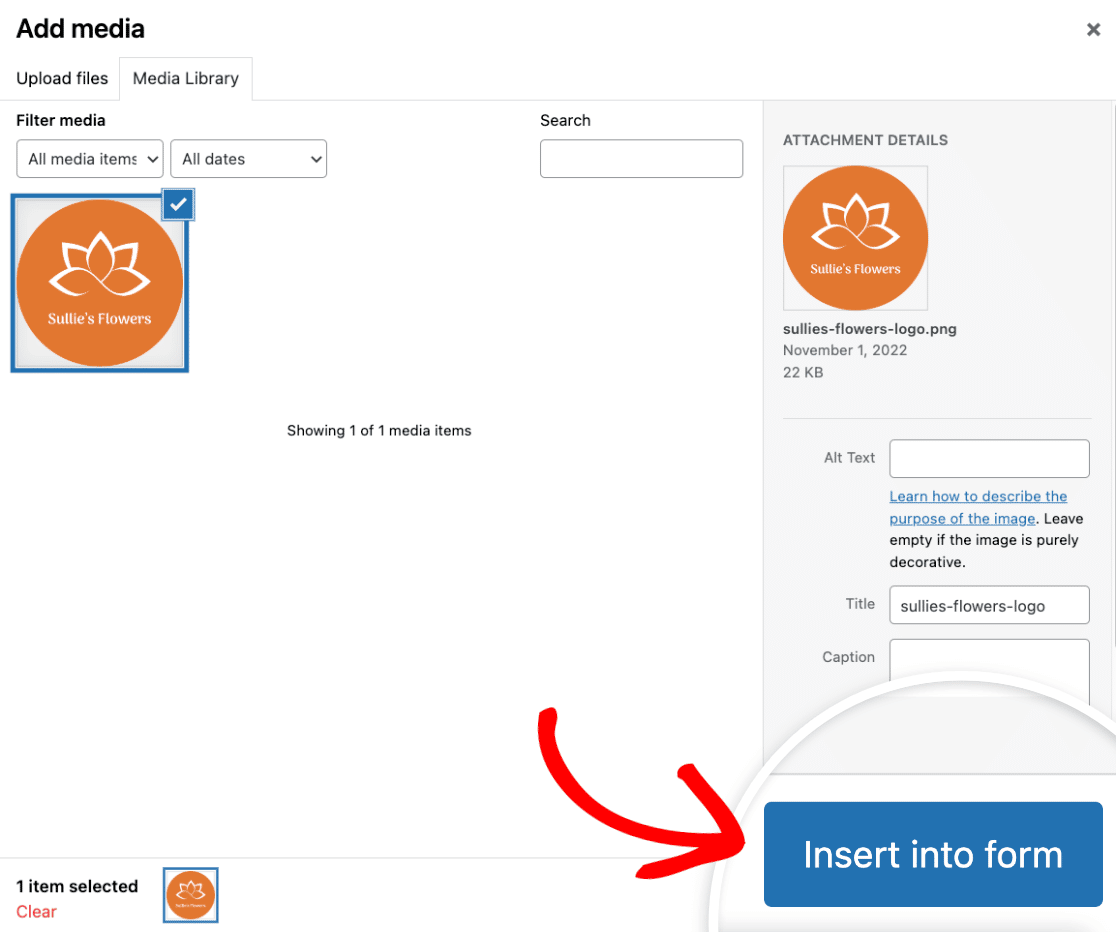
Go ahead and select an image and click the Insert into form button.
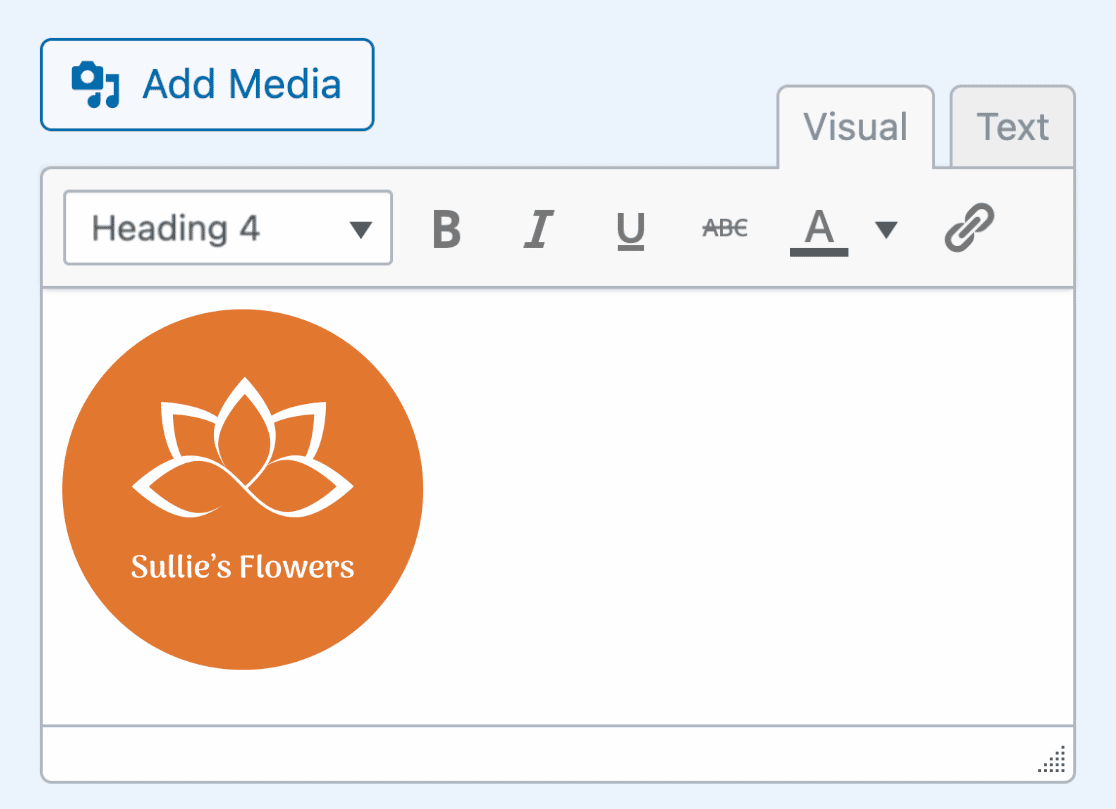
You should now see the image in the text area of the Content field editor. If you’re using the visual editor, you’ll see a preview of what the image looks like.
If you switch to the text editor, you’ll see the HTML for the image.

Previewing Your Content in the Form Builder
The Content field has a neat feature that allows you to preview what your content will look like right in the form builder.
To preview the content you’ve added to your form, simply click the Update Preview button.
On the right side of the form builder, you’ll now see a preview of how the content is displayed in your form.
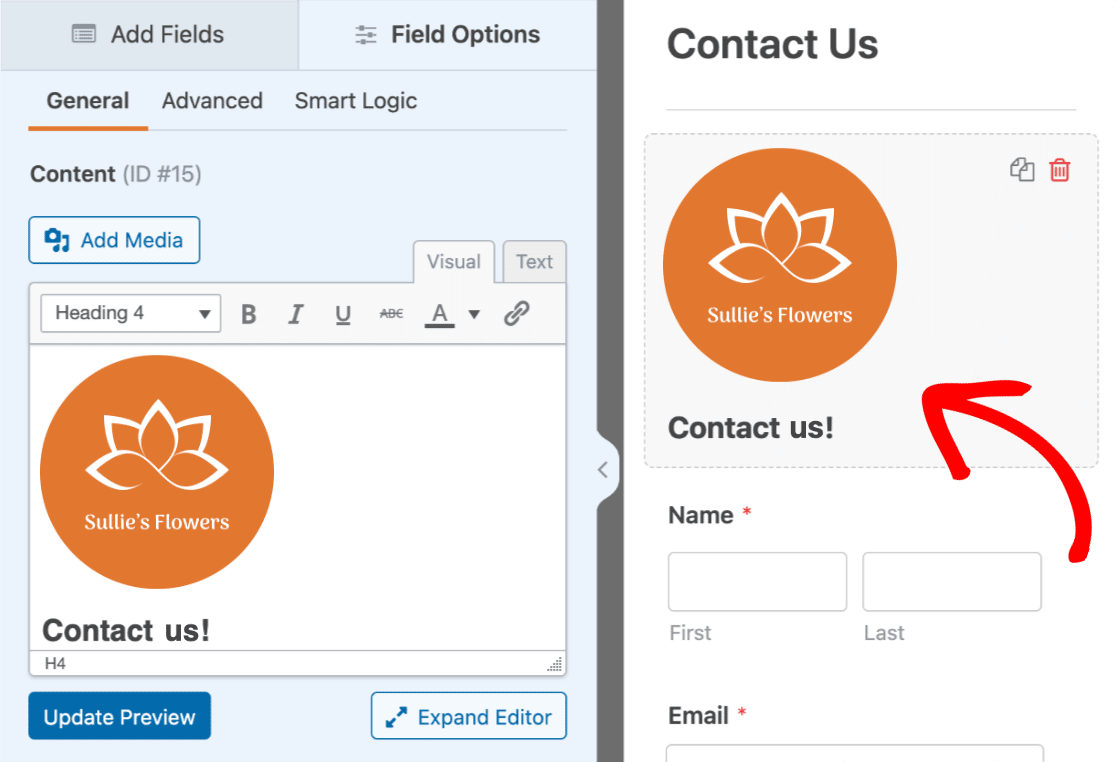
Note: Clicking the Update Preview button doesn’t save the content to your form. To save the content and any other changes you’ve made to your form, you’ll need to click the Save button located at the top of the form builder.
Saving and Previewing Your Form
Once you’ve added your content and formatted it the way you like, it’s time to save and preview your form.
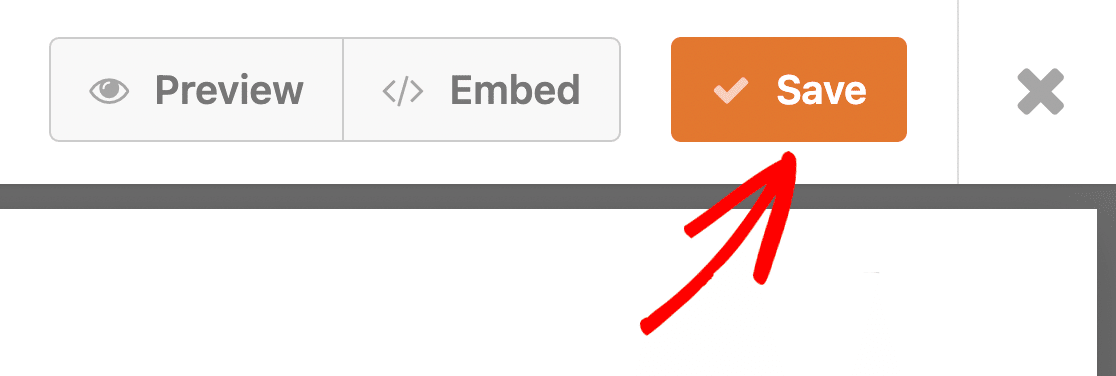
To save any changes you’ve made to your form, click the Save button located at the top of the form builder.
After saving your form, click the Preview button.
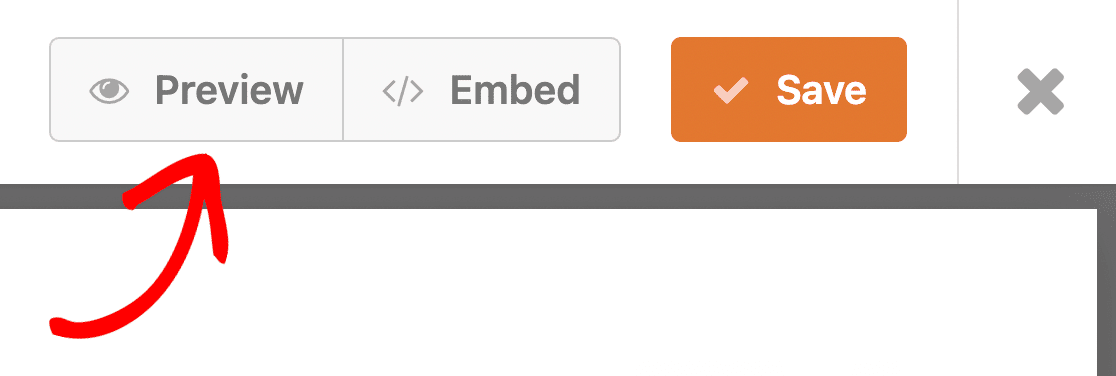
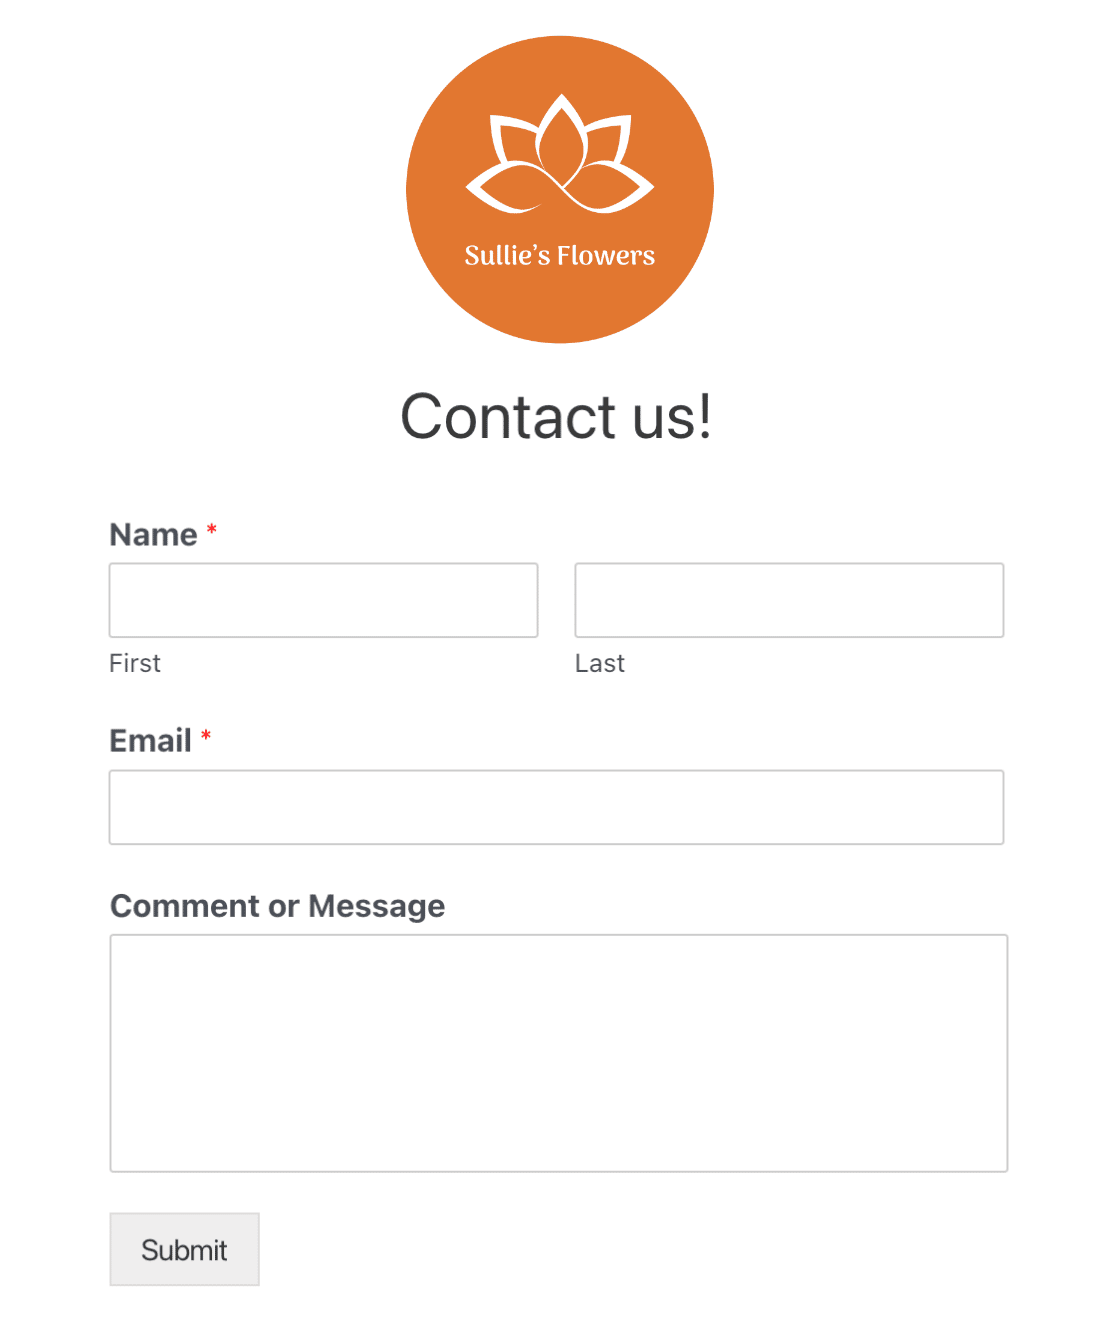
A new page will open in your browser with a preview of how your form looks on the frontend of your site.
Frequently Asked Questions
Below are some of the most common questions we receive about the Content field.
Why does my content disappear after I save my form?
If your content loses its formatting or disappears completely after you save your form, it’s likely because your WordPress user role doesn’t have the unfiltered_html capability enabled. If this capability is disabled, users cannot post HTML markup in pages, posts, comments, or widgets, including forms. This is to help prevent users from posting potentially malicious code.
To fix this issue, you’ll need to enable the unfiltered_html capability or reach out to your site’s administrator so they can enable it for you.
Why is the content not included in notification emails?
By default, non-input fields like the Content field and Page Breaks are excluded from email notifications. However, you can update the default behavior to include them in your email notifications. Please see our tutorial on including non-input fields in notification emails if you’d like to learn how.
That’s it! Now you know how to use the Content field in WPForms.
Next, want to learn how to include file attachments in form notification emails? Be sure to check out our guide to file upload attachments for all the details.