AI Summary
Do you want to attach the files that users submit through your form to notification emails? Our File Upload Attachments feature lets you easily access uploaded files as attachments in the notification email!
This tutorial will show you how to enable file upload attachments in form notification emails.
Before getting started, you’ll need to ensure WPForms is installed and activated on your WordPress site and that you’ve verified your license. Then you can create a new form or edit an existing one to access the form builder.
Adding a File Upload Field to a Form
In the form builder, you’ll need to add a File Upload field to your form. Go ahead and click on the File Upload field or drag and drop it into the preview area.
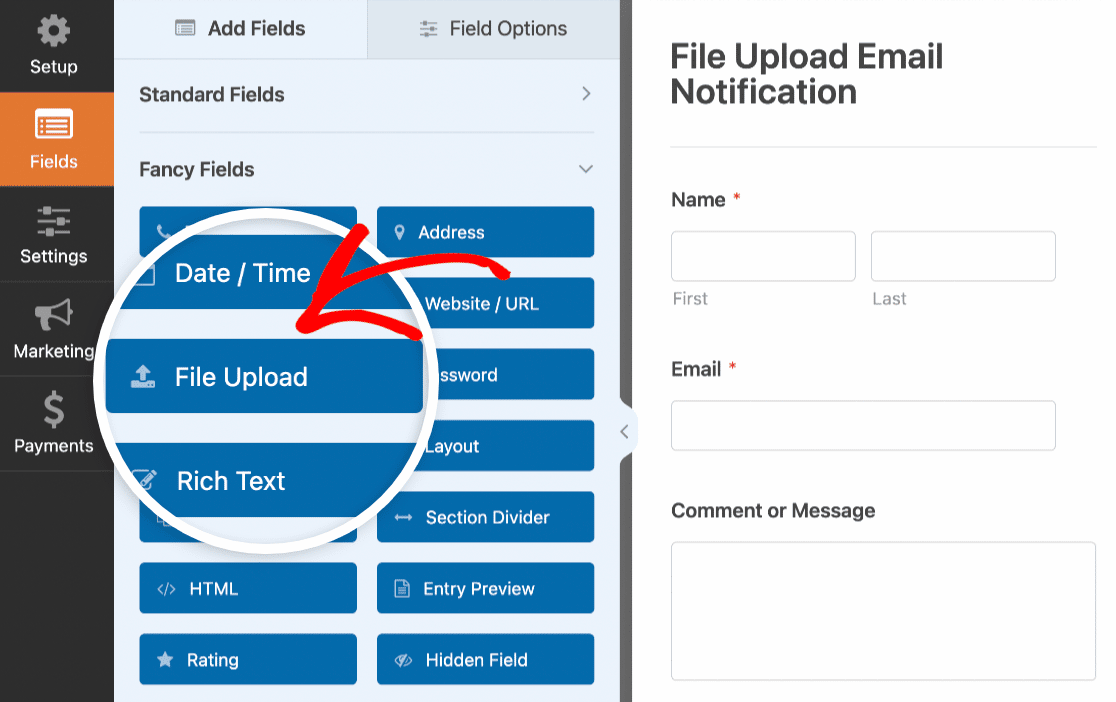
This field allows users to upload files to the form before submitting it. Check out our guide to using the File Upload field to learn more about supported file types and file upload limits.
Accessing Form Notification Settings
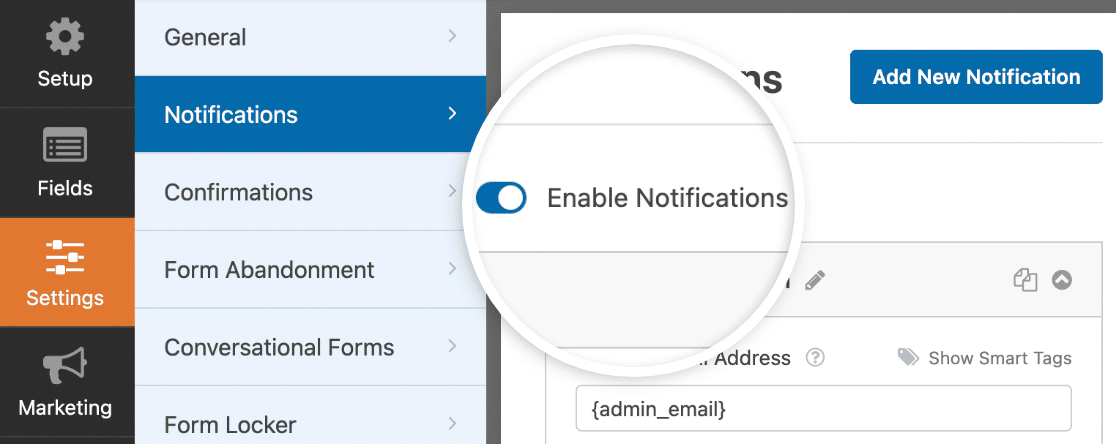
To access form notification settings, go to Settings » Notifications. You’ll need to ensure the Enable Notifications option is toggled to the on position.
Now scroll down and click on Advanced to open additional options.
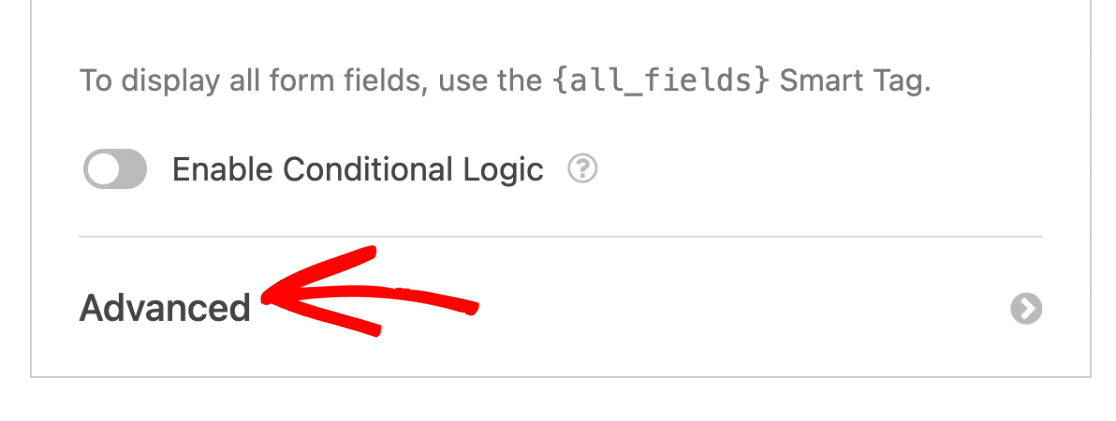
Once you click on the Advanced dropdown, you’ll see 2 options available: Enable File Upload Attachments and Enable Entry CSV Attachment.

Note: Enabling entry CSV attachments allows you to receive form entries as CSV files in notification emails. To learn more about this feature, check out our guide on CSV attachments.
Enabling File Upload Attachments
The File Upload Attachments feature allows you to receive uploaded files from your form as attachments. To enable this option, go ahead and toggle the Enable File Upload Attachments option.
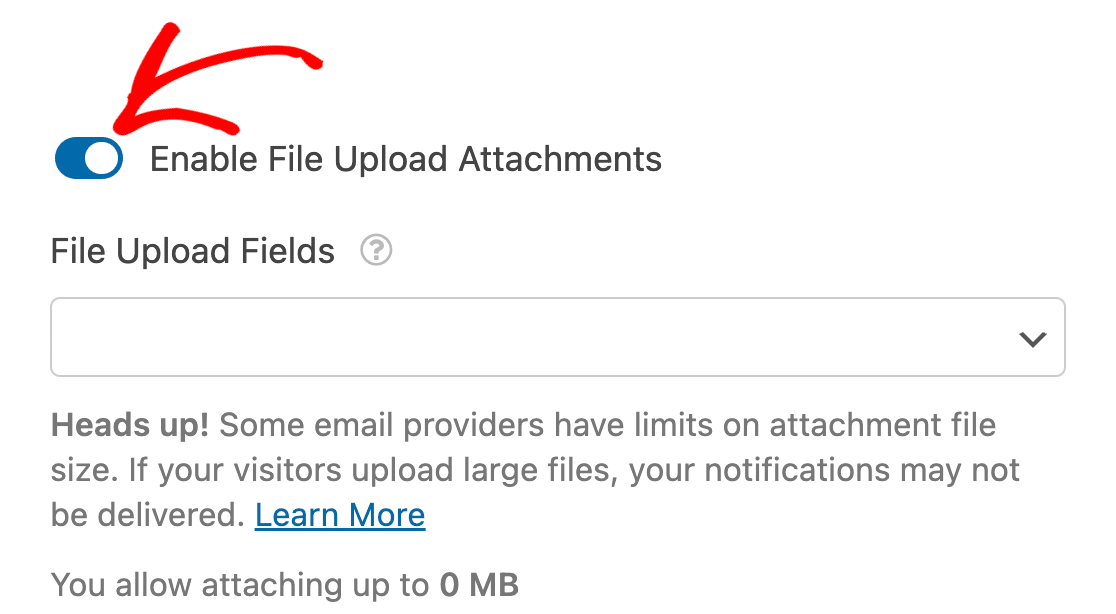
Note: After enabling file upload attachments, you’ll see a warning that reads, “Heads up! Some email providers have limits on attachment file size. If your visitors upload large files, your notifications may not be delivered.” We’ll explain more about this warning when troubleshooting email delivery issues.
Next, you’ll need to select the File Upload fields you’d like to use to receive attachments. Click on the File Upload Fields dropdown and choose the File Upload field we added to the form.
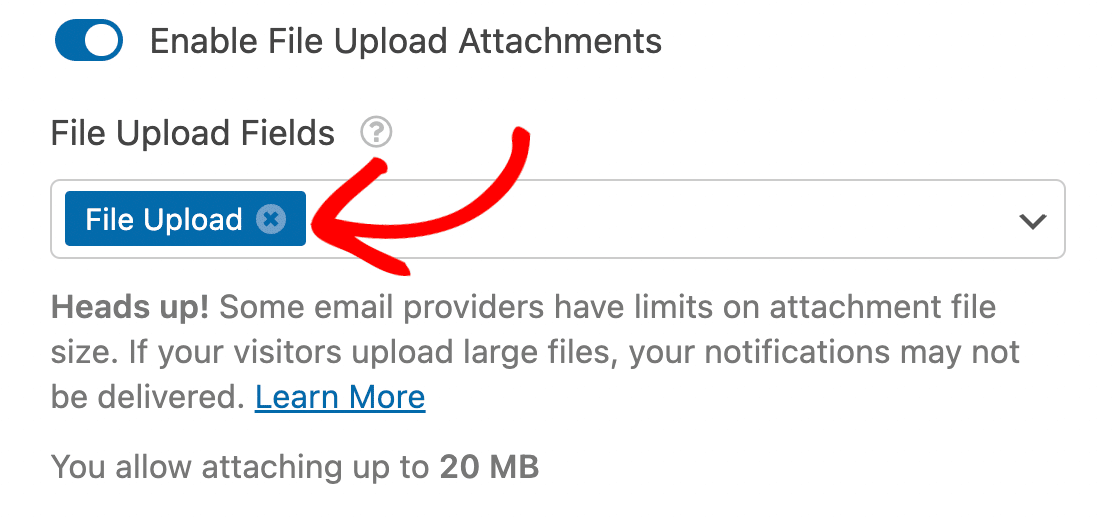
Note: If you have several File Upload fields in your form, you’ll need to select each one you wish to use for attaching files to your notification emails.
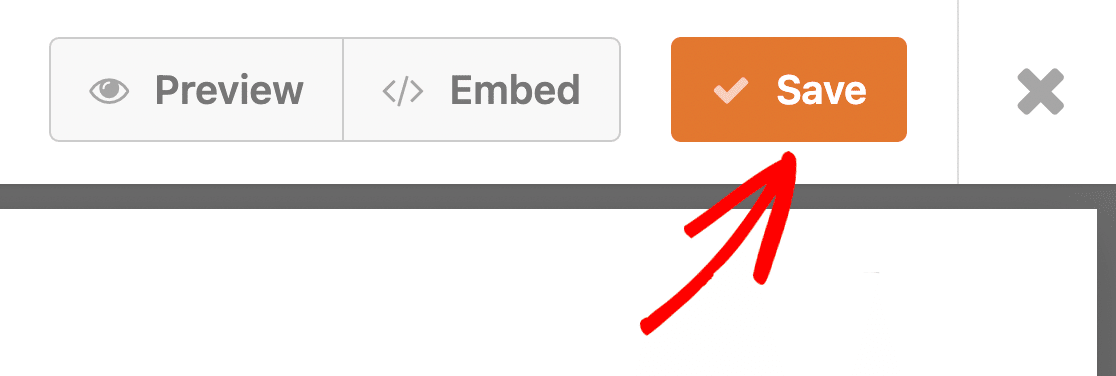
After selecting the File Upload field, be sure to click Save to update your form.
Testing File Upload Attachments
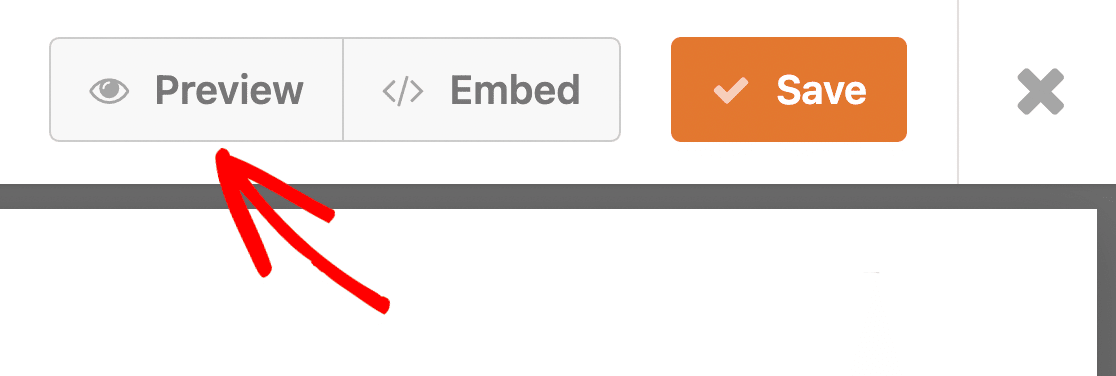
To test your form, go ahead and click on Preview. It will open the frontend view of the form in a new tab.
You’ll need to fill out the form and upload a file to the File Upload field.
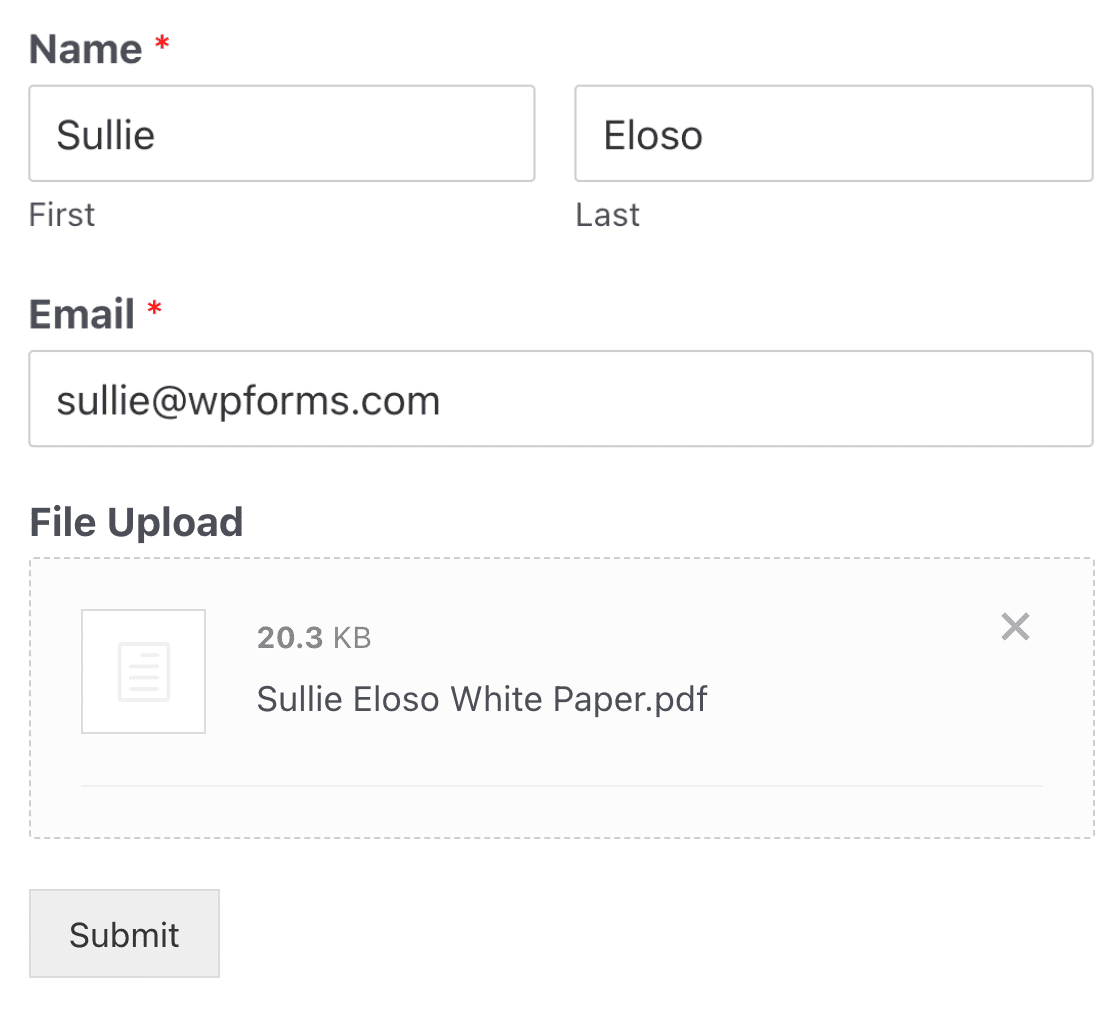
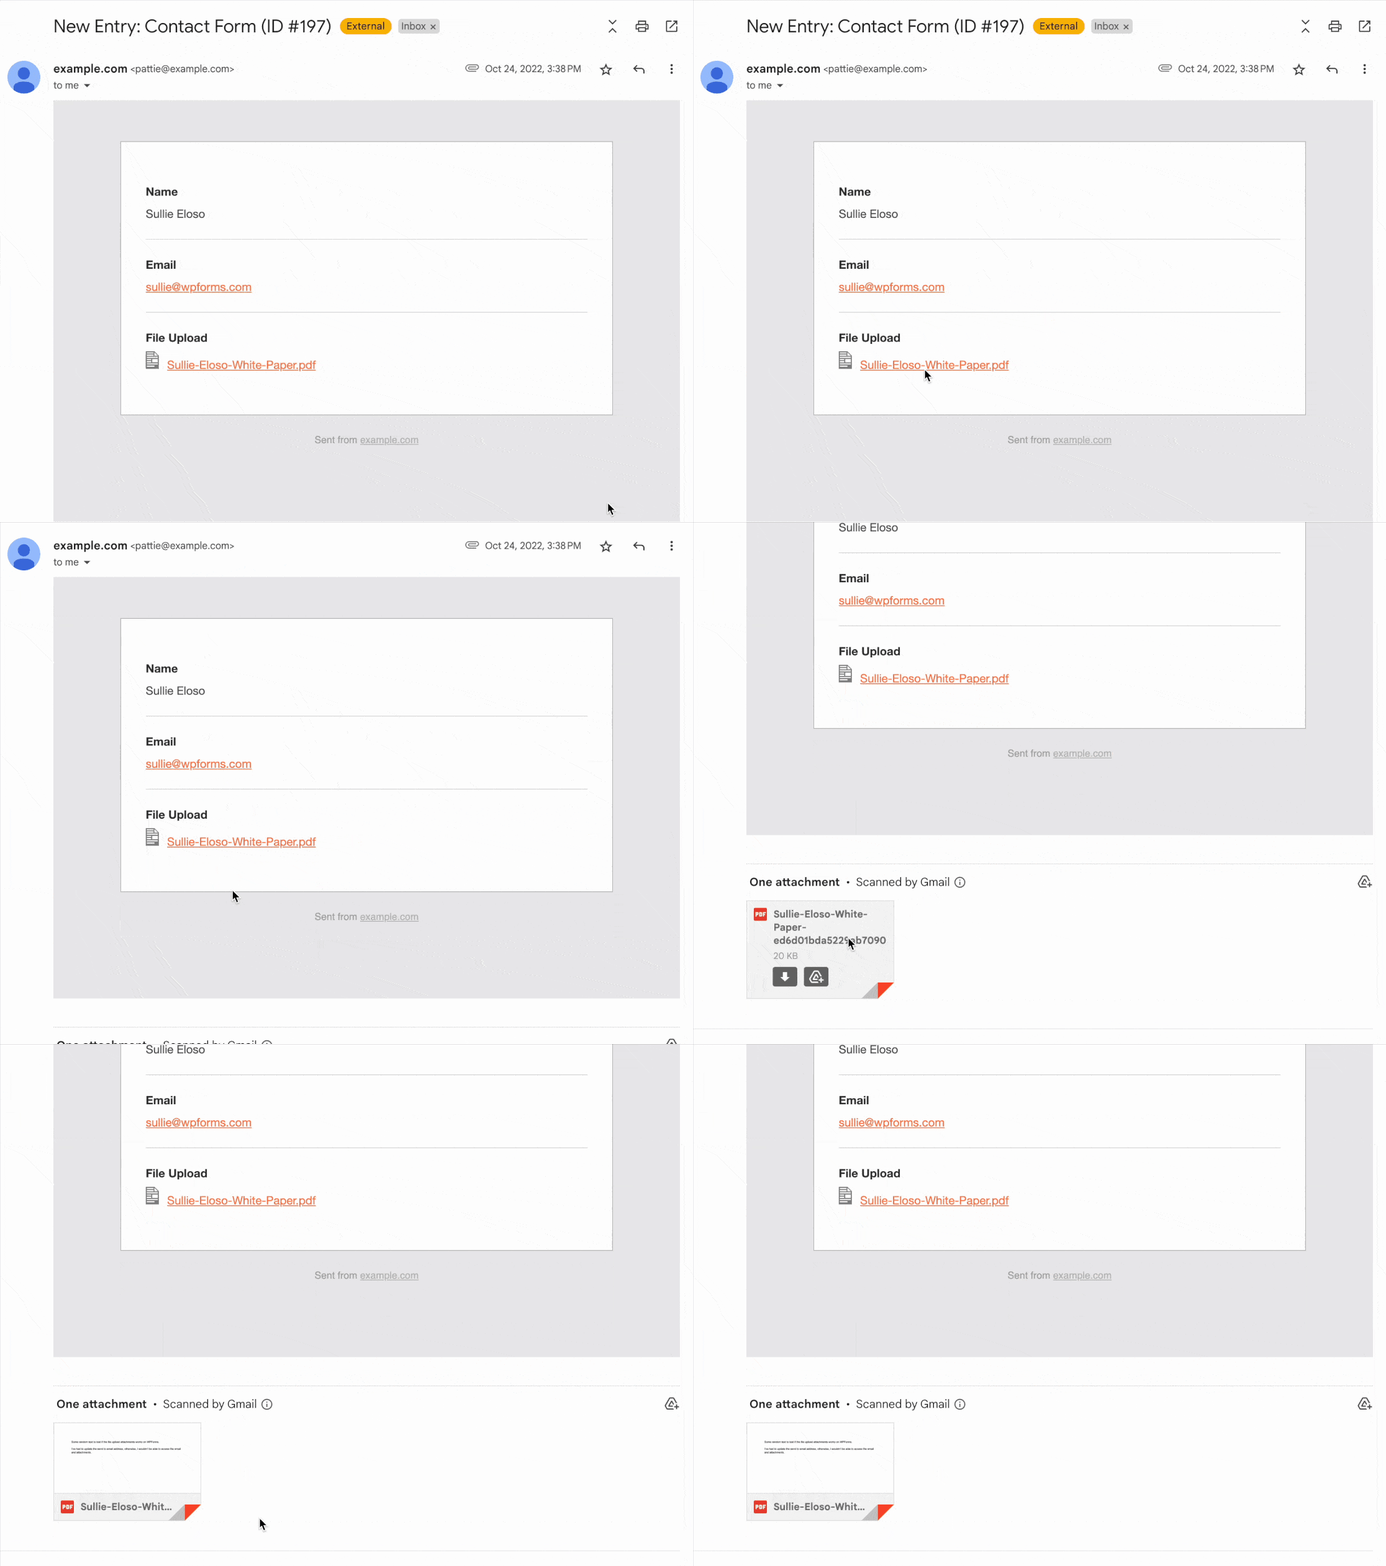
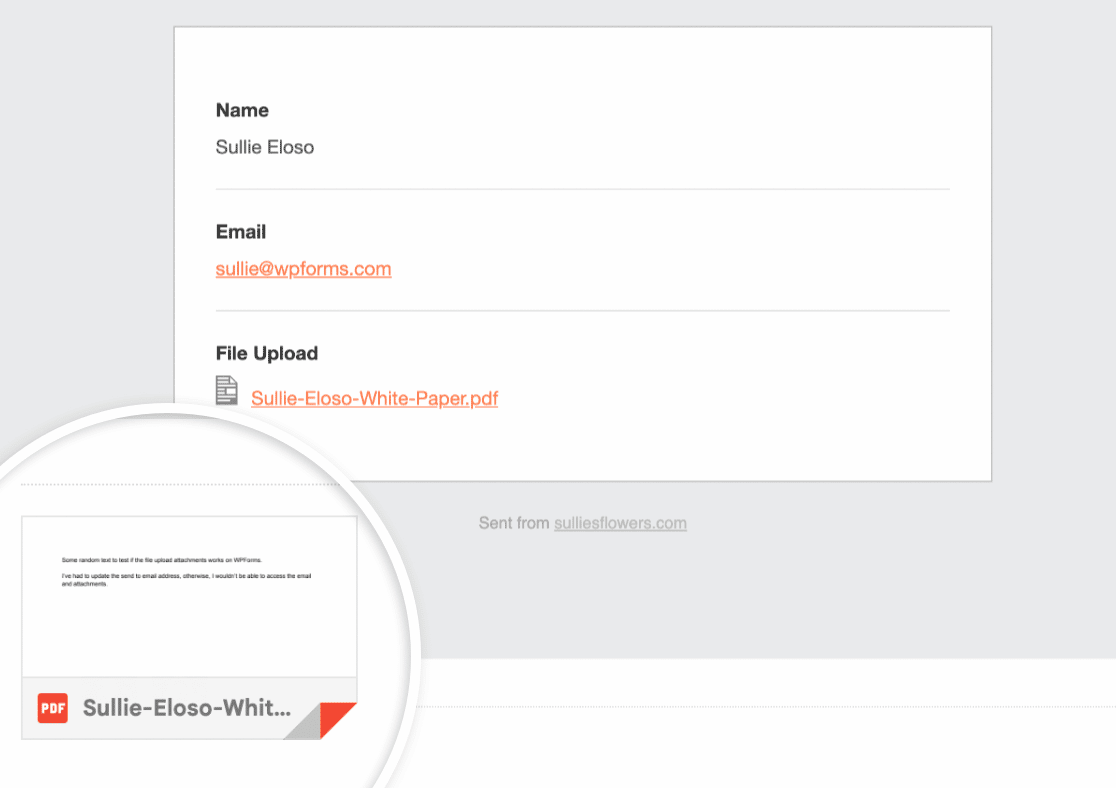
Once you submit the form, you’ll receive a notification email with the form entry. The email will also include the file you uploaded as an attachment.
Note: If you’d like to control who can access these uploaded files, you can restrict access to specific WordPress users or protect files with a password. To learn more about protecting your uploaded files, check out our guide on securing uploaded files with access restrictions.
Troubleshooting File Upload Attachments Not Sending
If you aren’t receiving notification emails when a file is uploaded to your form, your email service provider may be blocking emails from sending due to an exceeded file size limit.
WPForms automatically sets the file upload limit to your website’s maximum file upload size. However, if you use an SMTP service such as WP Mail SMTP to send emails, your mailer will set the maximum size limit for uploaded files.
If the uploaded file exceeds the limit set by your mailer, it will likely result in email delivery issues.
To fix this, you’ll need to contact your email service provider and confirm your maximum upload limit. Once you’ve confirmed that, you’ll need to update the File Upload field to the limit from your mailer.
If you’d like to learn more about file upload limits, see our guide on setting the maximum file size for uploads.
That’s it! Now you know how to attach files to your form notification emails.
Next, would you like to edit the email template to send notification emails with your brand logo? Be sure to check out how to add a custom header image to notification emails to learn more.
