Would you like to quickly determine how your customers feel about your company? A Net Promoter Score uses a simple 0 to 10 scale to collect valuable insights about customer perception of your brand or company.
This tutorial will show you how to set up a Net Promoter Score field in WPForms.
Requirements: You’ll need a Pro license level or higher to access the Surveys and Polls Addon and use the Net Promoter Score field.
What Is a Net Promoter Score?
A Net Promoter Score, or NPS, is an average numeric rating that tells you how your customers, users, or even employees feel about your company. It’s an easy way to find out how happy a specific group is with your business.
To get a Net Promoter Score, you’ll generally ask just one question: “How likely are you to recommend our company to a friend or colleague?”
Users are then provided with a scale of numbers from 0 to 10, where 0 means that they’re extremely unlikely to recommend your company and 10 means that they are extremely likely to recommend your company.

In WPForms, your Net Promoter Score is automatically calculated from your form entries, so there’s no need to do the math yourself. We’ll discuss how to view your Net Promoter Score field results and what those numbers mean, a little later in this article.
Adding a Net Promoter Score Field to Your Form
Before you get started, you’ll need to install and activate the WPForms plugin and verify your license. Then install the Surveys and Polls Addon and create a new form or edit an existing one to open the form builder.
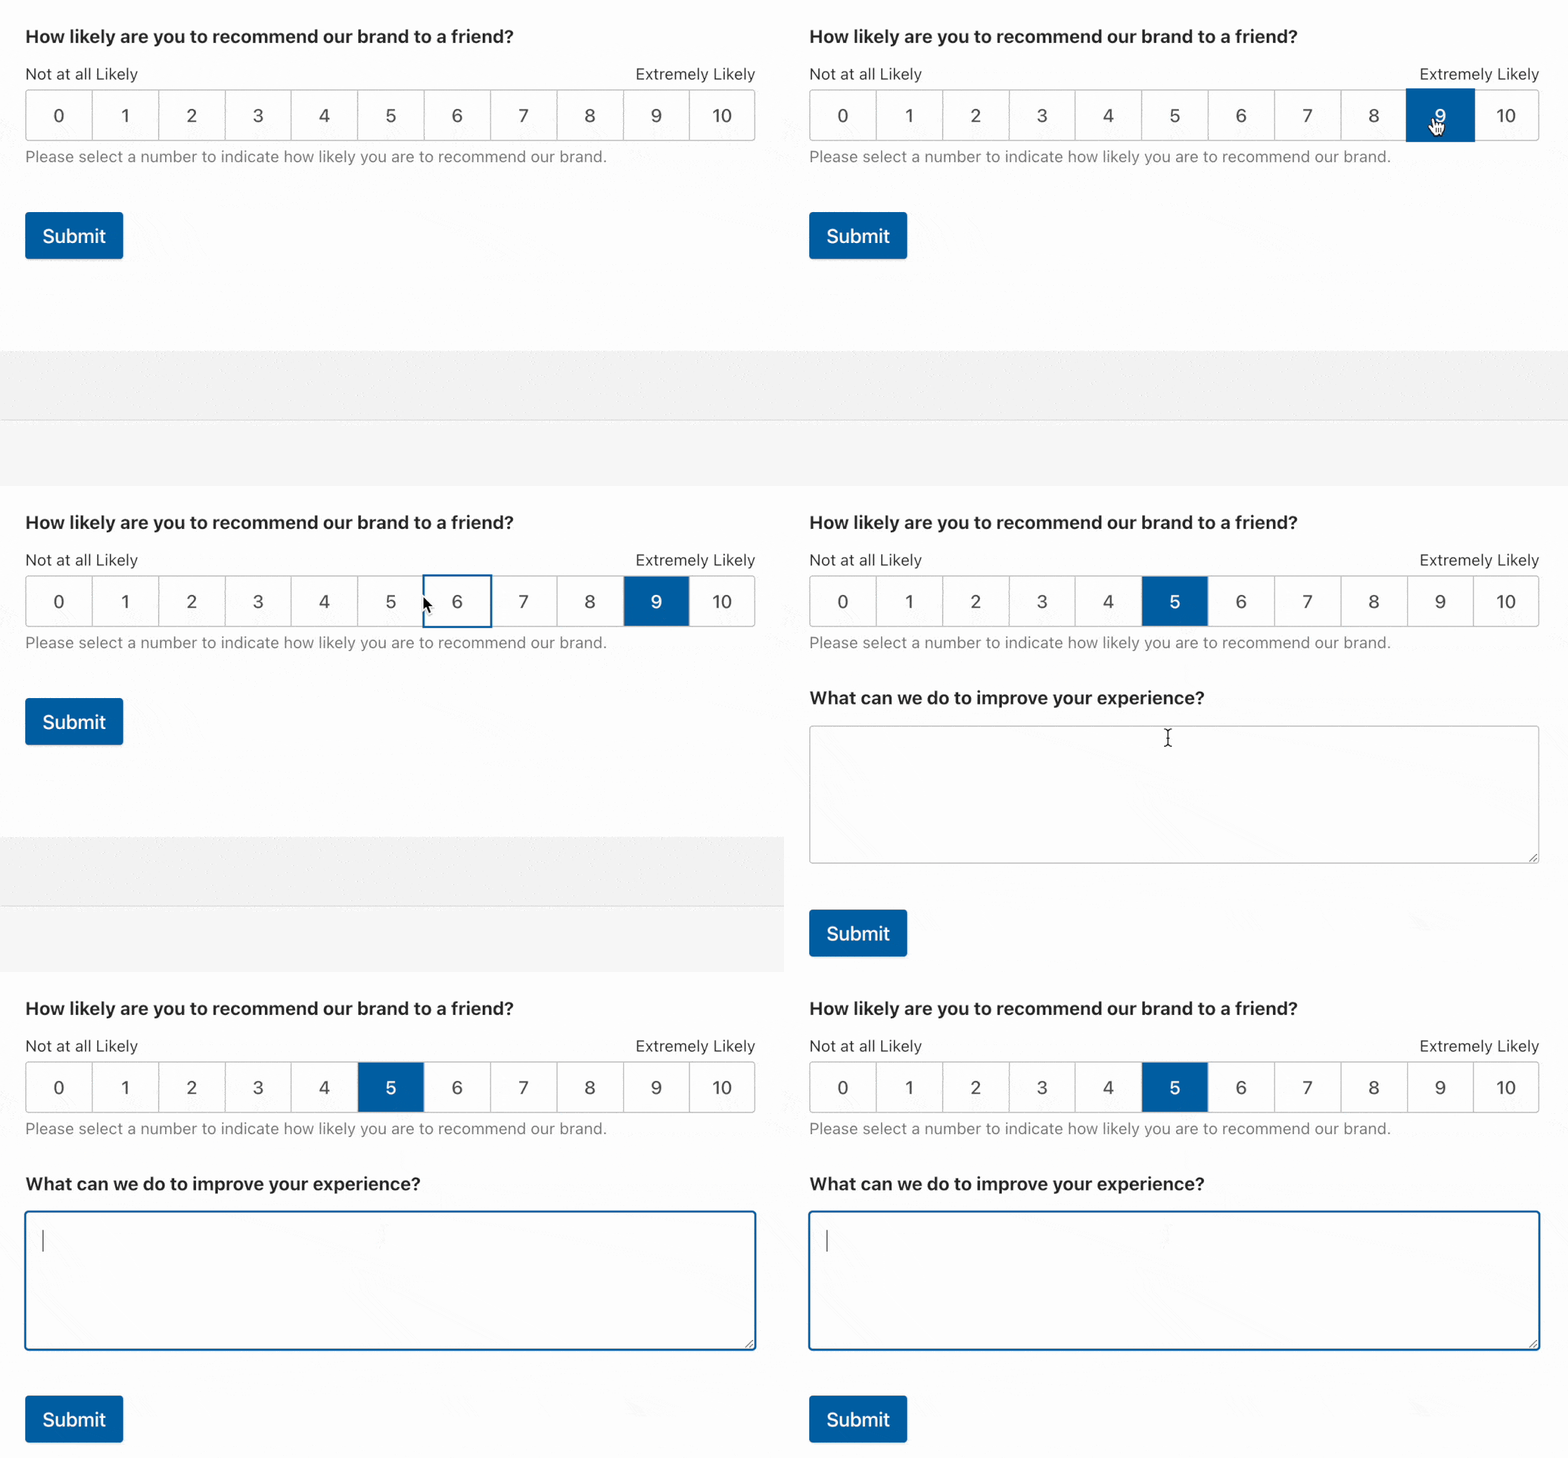
After opening a form for editing, look under the Fancy Fields section to find the Net Promoter Score field. Simply click on it or drag and drop it into the preview area to add it to your form.
Customizing Net Promoter Score Field Options
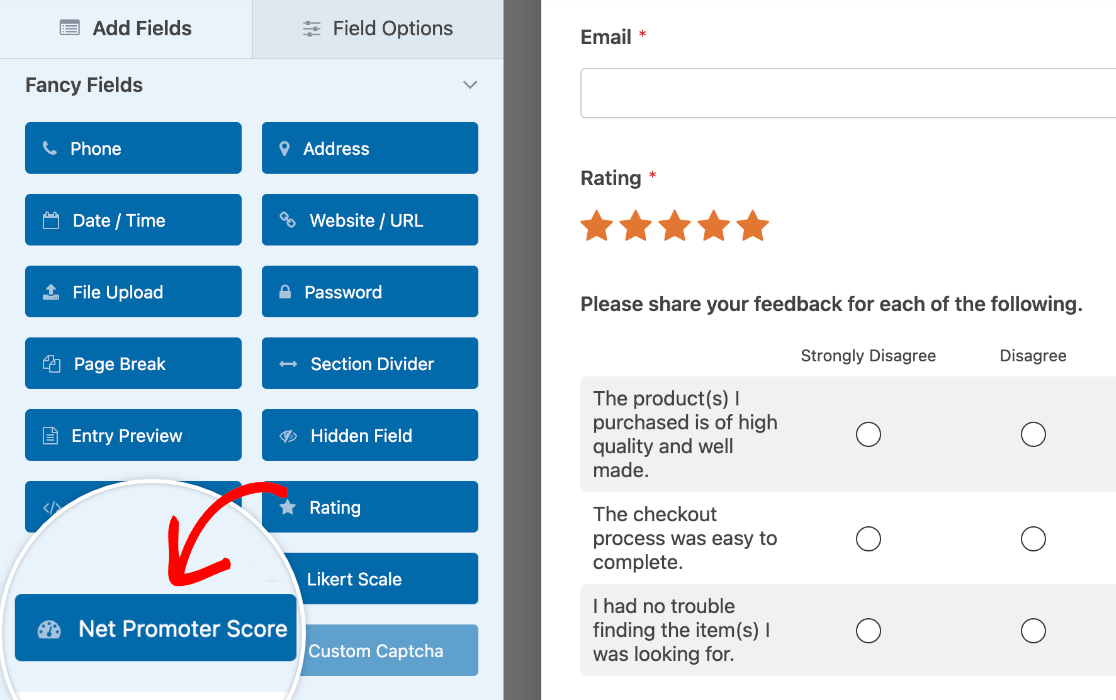
Once you’ve added the field, you can click on it in the preview area on the right side of the form builder. This will open the Field Options panel.
From here, you can change the field’s label, add a description, and mark it as required so that users have to select a rating before they can submit your form.
Customizing Advanced Field Options
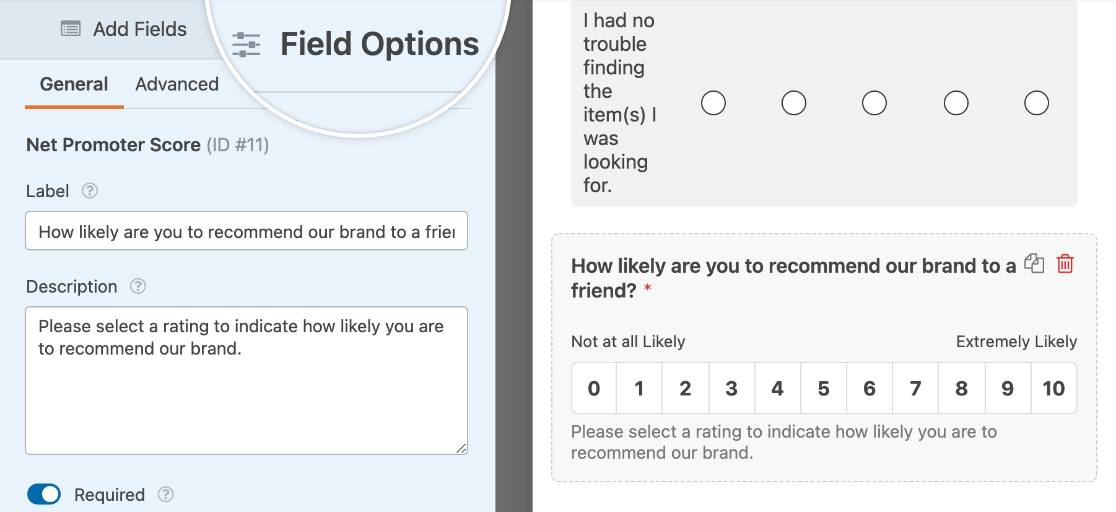
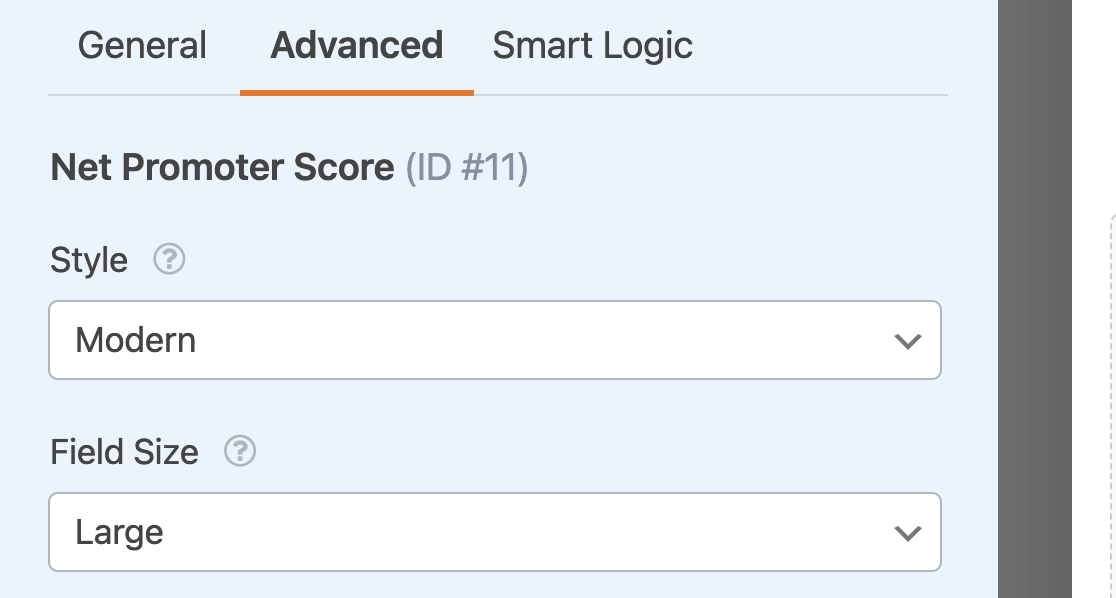
Additional options are available in the Advanced tab of the Field Options panel.
Here, you can select the field style and size.
Viewing and Interpreting Net Promoter Score Results
Once your form is ready, you can embed it on your site and start collecting entries. The Surveys and Polls Addon generates lots of useful information for you, but for this tutorial, we’ll specifically focus on the Net Promoter Score results.
Viewing Your Net Promoter Score
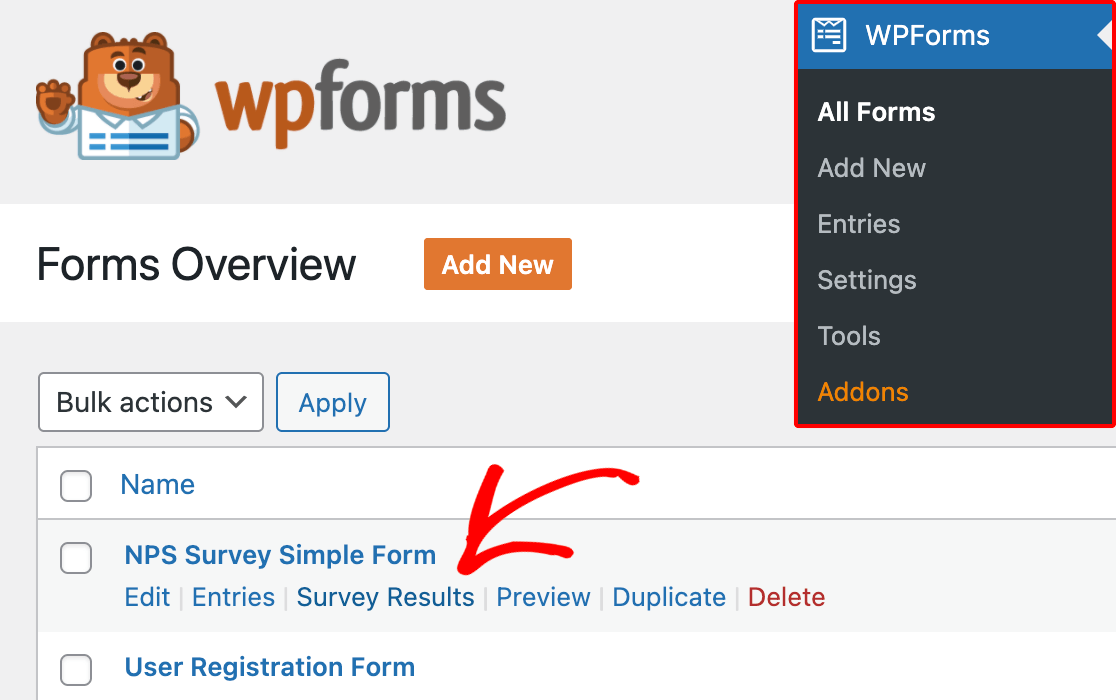
WPForms will calculate your NPS based on the ratings your users submit. To view your results, go to WPForms » All Forms. From here, hover over the form name, then click Survey Results.
Once you’re viewing the Survey Results page, you’ll be able to easily see your NPS data in a graph and as a table. The table displays the percentage and the total number of users who fall into each NPS category (explained in detail below). It will also show your overall Net Promoter Score based on these values.
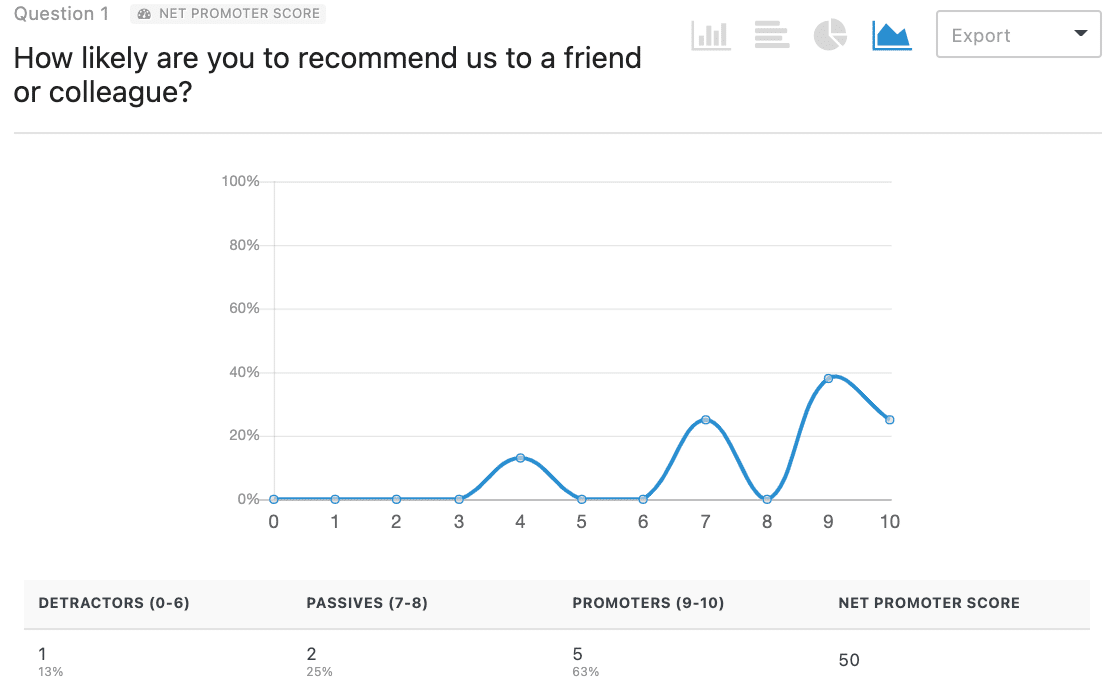
You can click the icons above your Net Promoter Score results graph to switch the chart type.
Interpreting Your Net Promoter Score
The simple 0 to 10 scoring system for NPS lets you get a quick read on your customers. Here’s how the NPS system groups scores:
- Promoters (9-10): Enthusiastic and loyal. They will likely purchase from you again and, importantly, help promote your brand by recommending your products or services to others.
- Passives (7-8): Satisfied or neutral (not particularly enthusiastic or loyal). They will likely not feel strongly enough about your products or services to promote them in either a positive or negative way.
- Detractors (0-6): Unsatisfied and not loyal. They will likely not purchase from you again and may share a negative view of your brand with others.
To get your Net Promoter Score, you’d use the following formula:
% Promoters – % Detractors = Net Promoter Score
The resulting score can range from -100 to 100. A positive score means that you have more Promoters than Detractors, so usually, any positive score is considered good.
In general, a score of 50 or higher is viewed as excellent, and 70 or more is considered exceptional, though the standards can vary quite a bit between industries.
Enabling Conditional Logic for NPS
Would you like to collect more details from users who share a particular Net Promoter Score? Conditional logic lets you show additional questions only to users who select a certain rating.
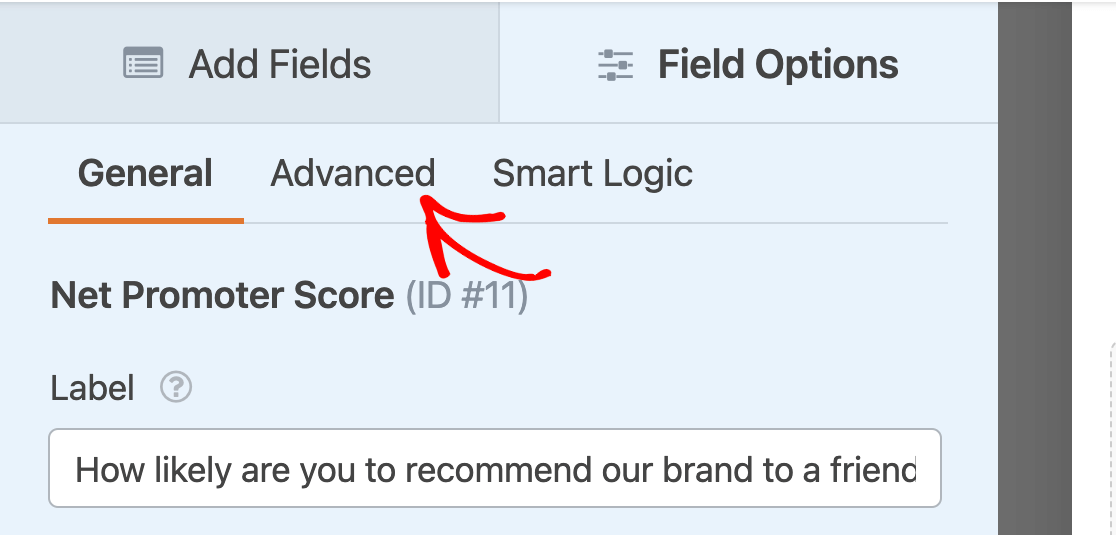
As an example, let’s ask customers who give a score of 8 or below (any Passives or Detractors) to share some extra insights.
To set this up, you’ll need to open the form builder and add a new field. Since we want to ask an open-ended question in our example, we’ll add a Paragraph Text field.
Then we’ll change the field’s Label to, “What can we do to improve your experience?”
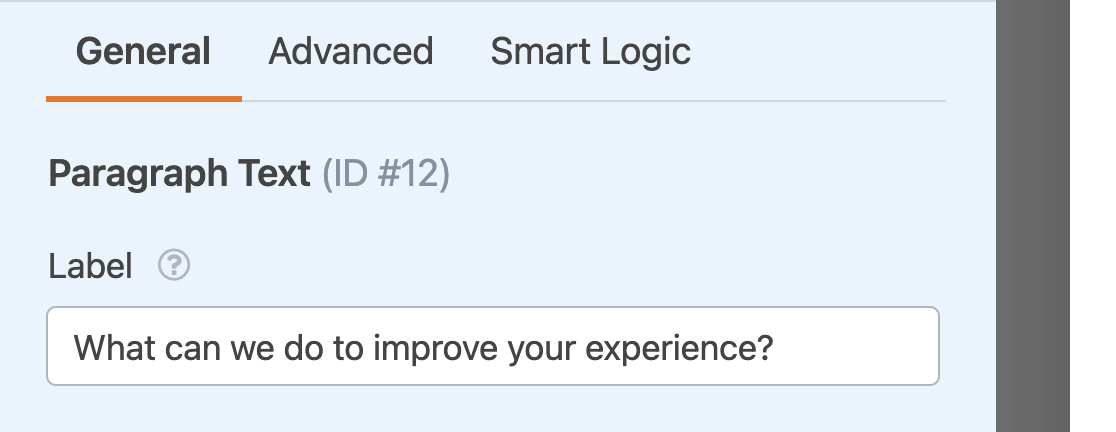
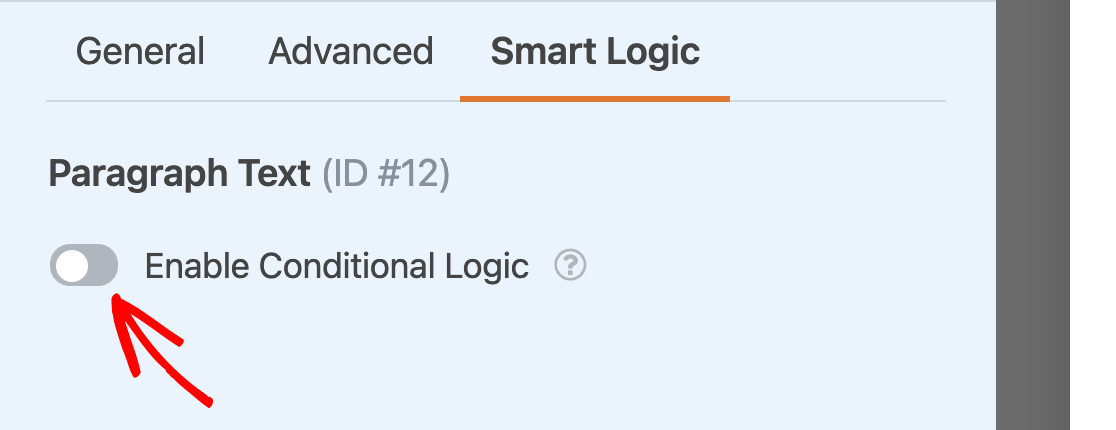
Once you’ve created your new field, you’ll need to add conditional logic. In the Field Options panel where you set the field label, open the Smart Logic tab. Then toggle on the option labeled Enable Conditional Logic.
Now, you can create a rule to determine when the field will be visible and when it will be hidden. For our example, our rule will state, “Show this field if How likely are you to recommend our company to a friend or colleague? is less than 9.”
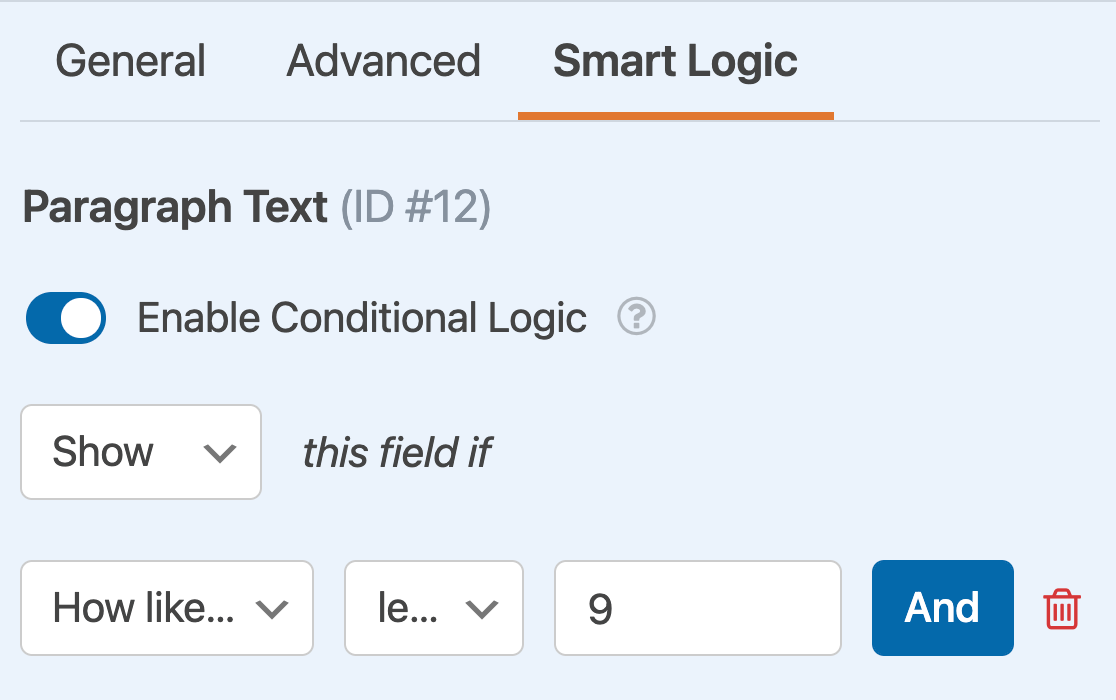
With this rule in place, the field will only display when a user selects a Net Promoter Score rating of 8 or less. Here is a live form to test our implementation.
Frequently Asked Questions
Below, we’ve answered some of the most common questions we receive about using the Net Promoter Score field.
Can I change the label on the NPS field?
Yes, you can change the default label on the NPS field using CSS. To do so, begin by identifying your form’s unique ID. This ID can be found in its shortcode in the page/post editor, or by navigating to WPForms » All Forms, and checking within the Shortcode column.
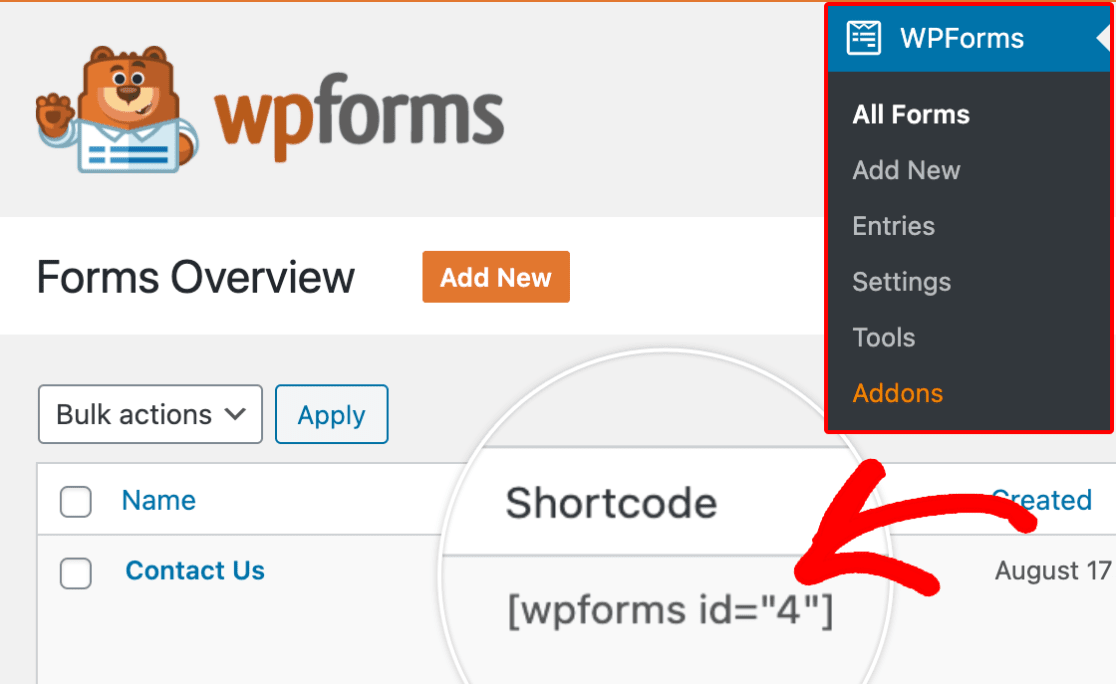
Once you have the ID, use the following CSS code, making sure to replace YOUR-FORM-ID with your actual form ID:
form#wpforms-form-YOUR-FORM-ID span.not-likely:before
{content: "Not at all satisfied";
font-size: 14px !important;}

form#wpforms-form-YOUR-FORM-ID span.extremely-likely:before
{content: "Completely satisfied";
font-size: 14px !important;}

form#wpforms-form-YOUR-FORM-ID span.not-likely, form#wpforms-form-YOUR-FORM-ID span.extremely-likely
{font-size: 0;}
To add this CSS to your WordPress site, you can follow WPBeginner’s guide to adding custom CSS to WordPress.
Note: Altering text with CSS means it won’t be translatable on multi-lingual sites.
That’s it! You can now easily survey customers to find out your Net Promoter Score.
Next, would you like to learn what else you can do with your survey report? Be sure to check out our tutorial on the Surveys and Polls Addon for details on all of the powerful features it includes.
