Would you like to allow your users to choose from a scale of options in your form? With the Likert Scale field for WPForms, your users can easily select from a range of choices within a single field, such as “Agree,” “Neutral,” or “Disagree.”
This tutorial will show you how to add and set up a Likert Scale field.
Requirements: You will need a Pro license level or higher to access the Surveys and Polls Addon and use the Likert Scale field.
Before getting started, you’ll first need to make sure WPForms is installed and activated on your WordPress site and that you’ve verified your license. Then, you can create a new form or edit an existing one to access the form builder.
Adding a Likert Scale Field to Your Form
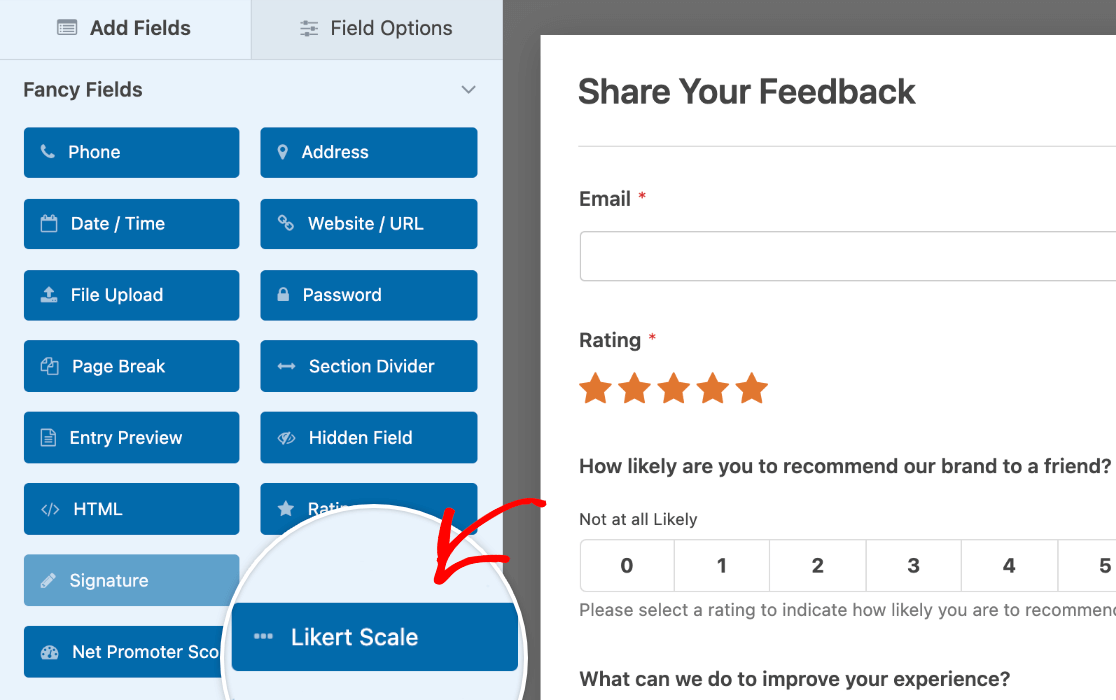
After opening the form builder, look under the Fancy Fields section to find the Likert Scale field. Simply click on it or drag and drop it into the preview area on the right side of the form builder to add it to your form.
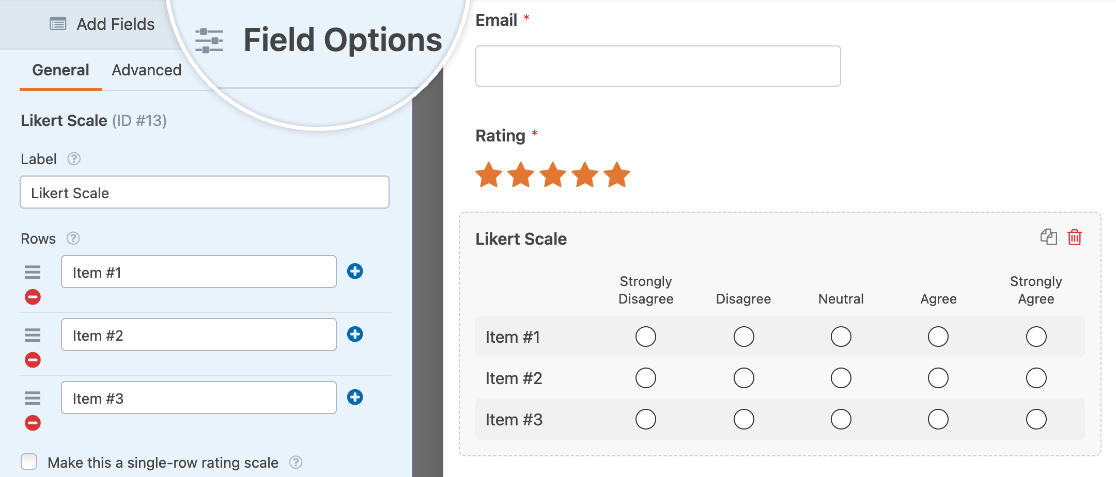
Once you’ve added the field to your form, click on it to open its Field Options panel.
Note: To complement your survey options, explore our Net Promoter Score (NPS) field guide for gauging customer loyalty and satisfaction.
Customizing Likert Scale Field Options
Once you’ve added a Likert Scale to your form, you can add your column and row options and customize the field to suit your needs.
Note: For more details on all of the ways you can customize your form’s fields, check out our complete guide to field options in WPForms.
Adding a Field Label and Description
The field label and description enable you to add some instructions or other text to your Likert Scale to help users fill it out correctly.
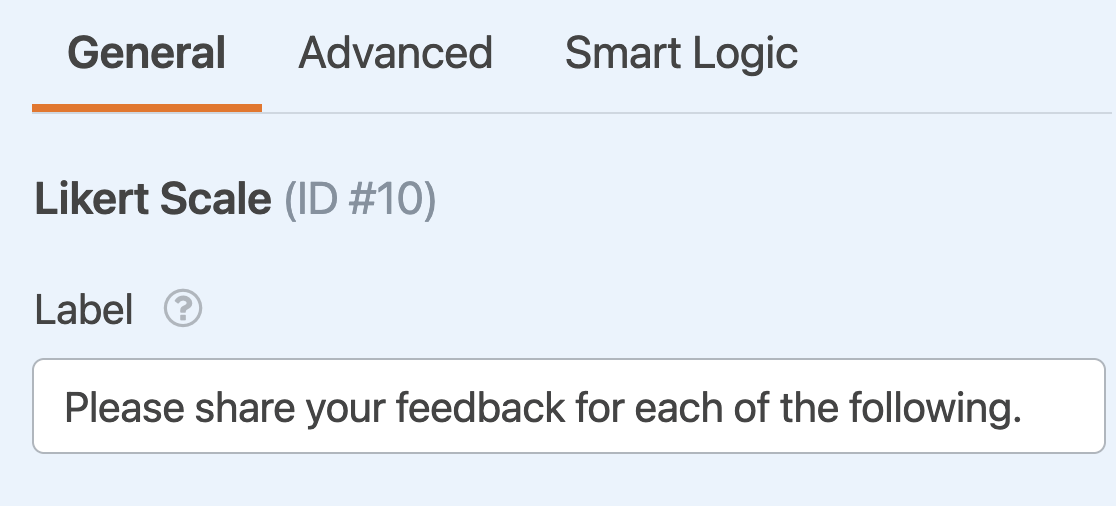
By default, the field label will be “Likert Scale,” but you can change it to whatever you like.
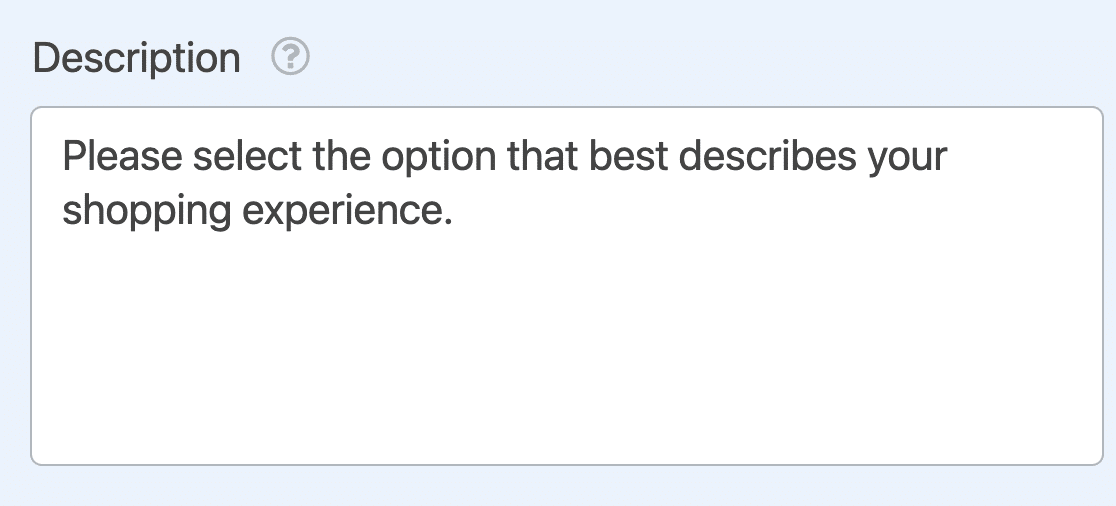
You can also enter any text you want to add in the Description field.
Note: Want to learn about other ways you can use text in your forms? See our tutorial on adding extra text in WPForms.
Making the Field Required
If you want to make sure users fill out your Likert Scale before they submit your form, you can make it a required field by toggling on the Required setting at the bottom of the Field Options panel.

Adding Row and Column Options
In the Field Options panel, you’ll also be able to customize your Row and Column options. For this example, we want to collect opinions about users’ shopping experiences.
Your row options can include questions, statements, or anything you’d like to collect data about. In our row options, we’ll add statements that the user can choose to agree or disagree with.
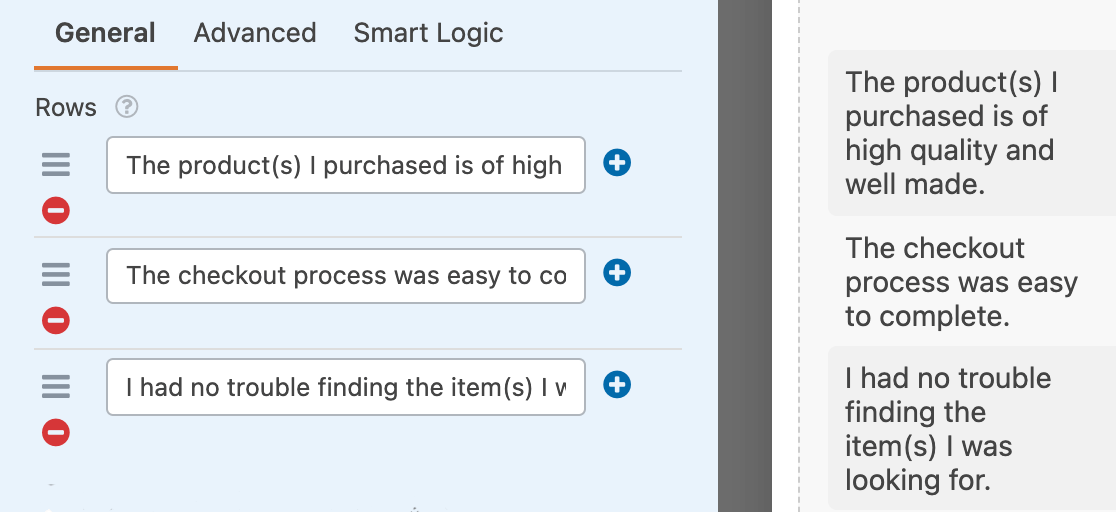
You can add or remove options by clicking the plus (+) and minus (-) buttons.
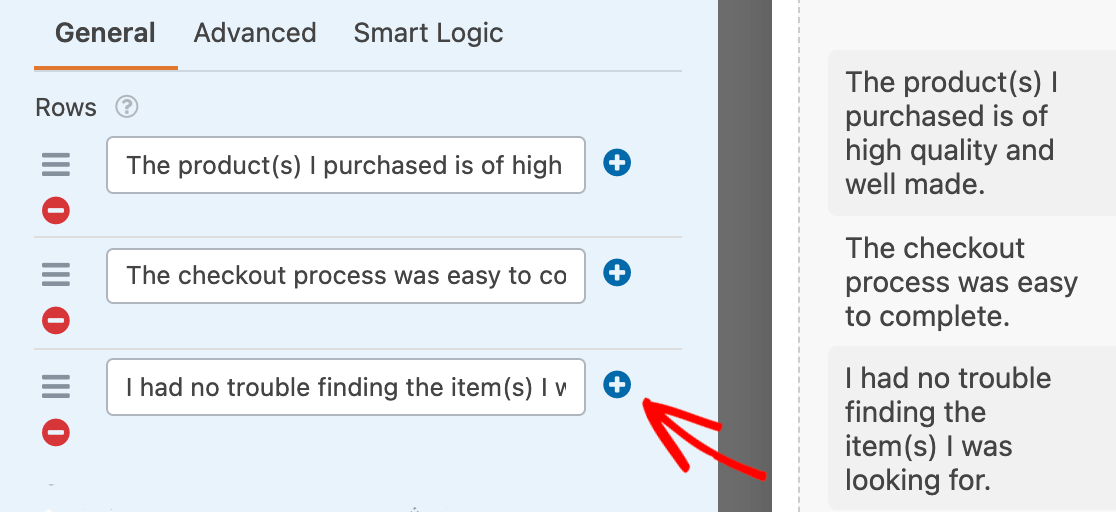
For the columns, you’ll need to include a scale of options. We’ll use the default agreement scale for our example, but you can include any options you’d like.
For inspiration, here are some other common Likert scales:
- Likelihood: Very Likely, Likely, Neutral, Not Likely, Very Unlikely
- Satisfaction: Very Satisfied, Somewhat Satisfied, Neutral, Not Very Satisfied, Not at All Satisfied
- Importance: Very Important, Moderately Important, Slightly Important, Not Important
Displaying a Likert Scale with a Single Row
By default, the Likert Scale field is designed to hold multiple rows with a single question or statement for each row. However, WPForms lets you easily customize this.
If you’d like to only include a single row, you can toggle on the option labeled Make this a single-row rating scale.

This will remove all row options, so be sure to include the question or statement you want users to respond to in the field label.

Allowing Multiple Selections Per Row
You can also choose to Allow multiple responses per row. This will let your users select more than one option for each available row.

Customizing Advanced Likert Scale Field Options
There are additional options you can customize in the Advanced tab of the Field Options panel.
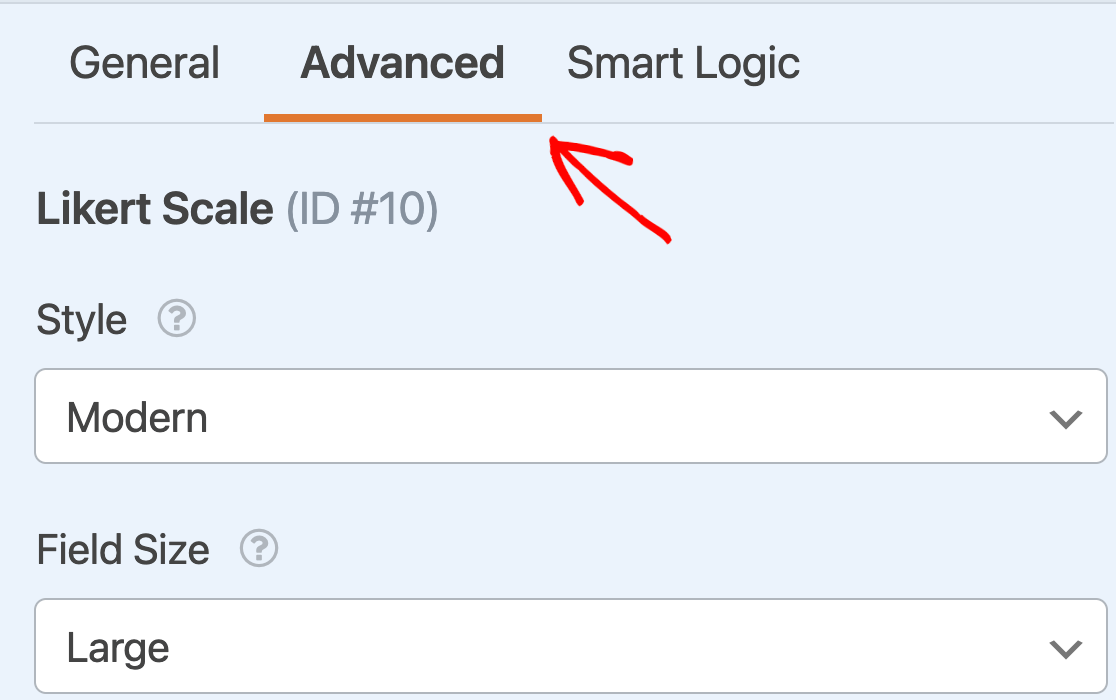
Field Style
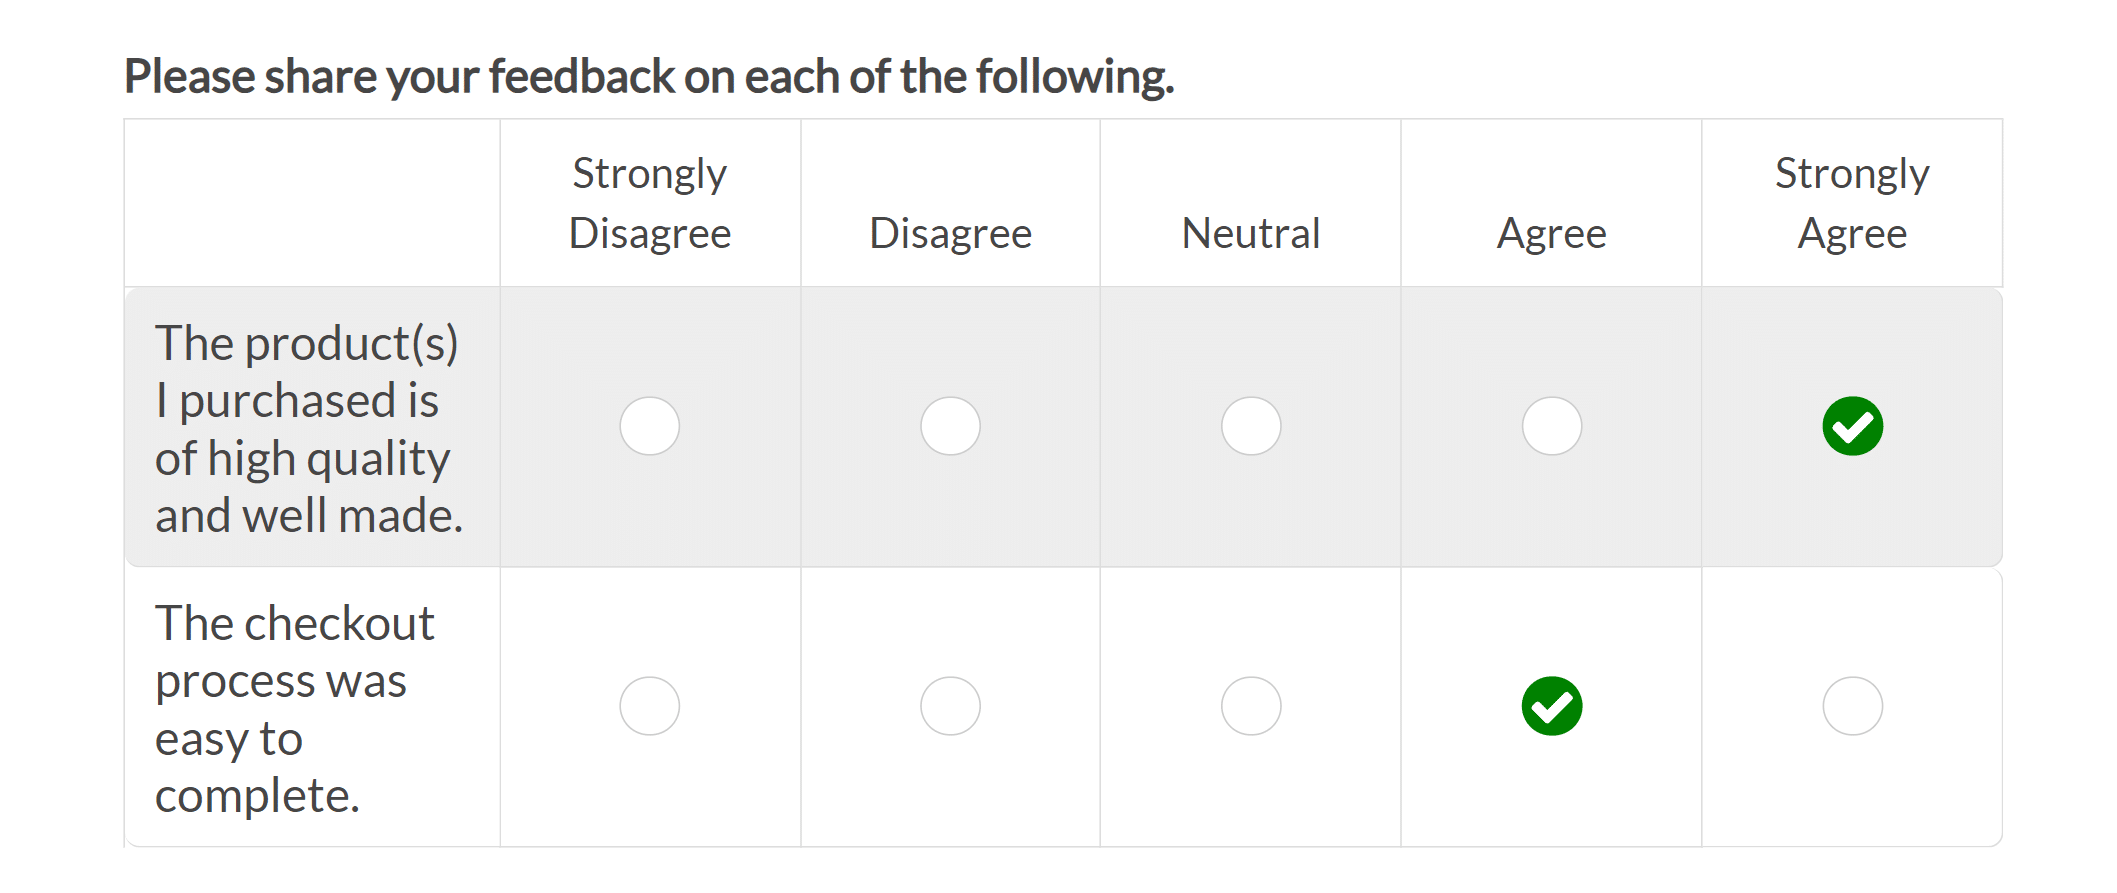
The Likert Scale field comes with two built-in style options: Modern (which is the default style) and Classic.

The Modern style uses green checkmarks to identify selected options and has rounded borders.
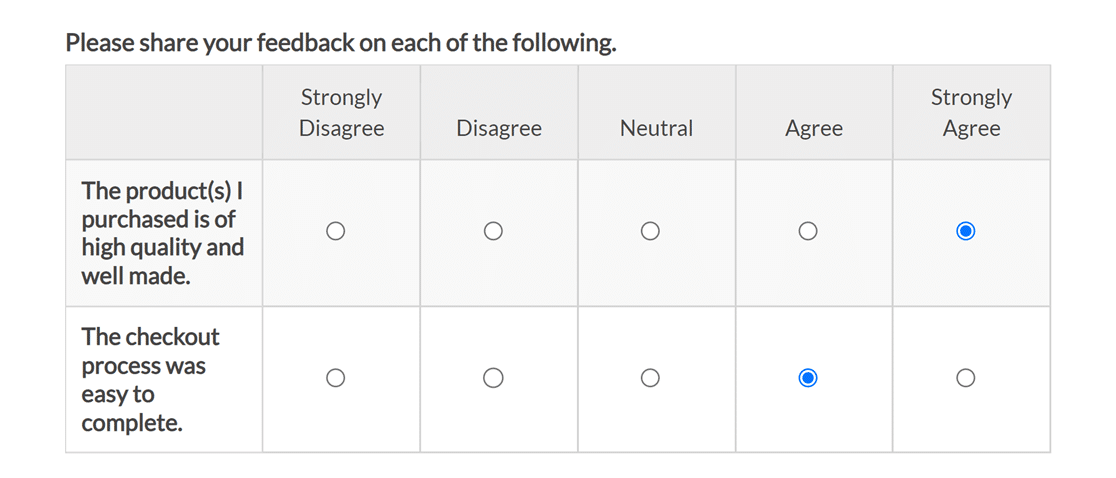
The Classic style uses blue dots to indicate selected options. It has square borders and a more distinct header for your column labels.
Field Size
The Field Size option controls the width of your Likert Scale. You can select from Small, Medium, or Large.

Note: If you’re looking to customize the appearance of the Likert scale field table to better match your form’s design, our developer documentation provides detailed guidance on how to achieve this.
That’s it! You can now add and customize a Likert Scale field to any of your forms.
Next, would you like to learn how to analyze the data you’ve collected? Be sure to check out our tutorial on the Surveys and Polls Addon to learn how to view entry statistics, generate reports, and more.
