AI Summary
Would you like to allow users to repeat sets of similar information in your WordPress forms? The Repeater field in WPForms allows you to create repeating sets of fields within your forms. This can be particularly useful for gathering multiple entries of similar information, such as multiple skills or work experiences.
This tutorial will demonstrate how to use the Repeater field in WPForms.
- Adding a Repeater Field to Your Form
- Choosing the Display Option
- Choosing a Column Layout
- Adding Fields to the Repeater Field
- Customizing the Add and Remove Buttons
- Setting Limits on Repeater Entries
- Configuring Repeater Field Advanced Options
- Configuring Conditional Logic
- Previewing Your Form
- Frequently Asked Questions
Before you get started, be sure to install and activate WPForms and verify your license. Then, create a new form or edit an existing one to access the form builder.
Adding a Repeater Field to Your Form
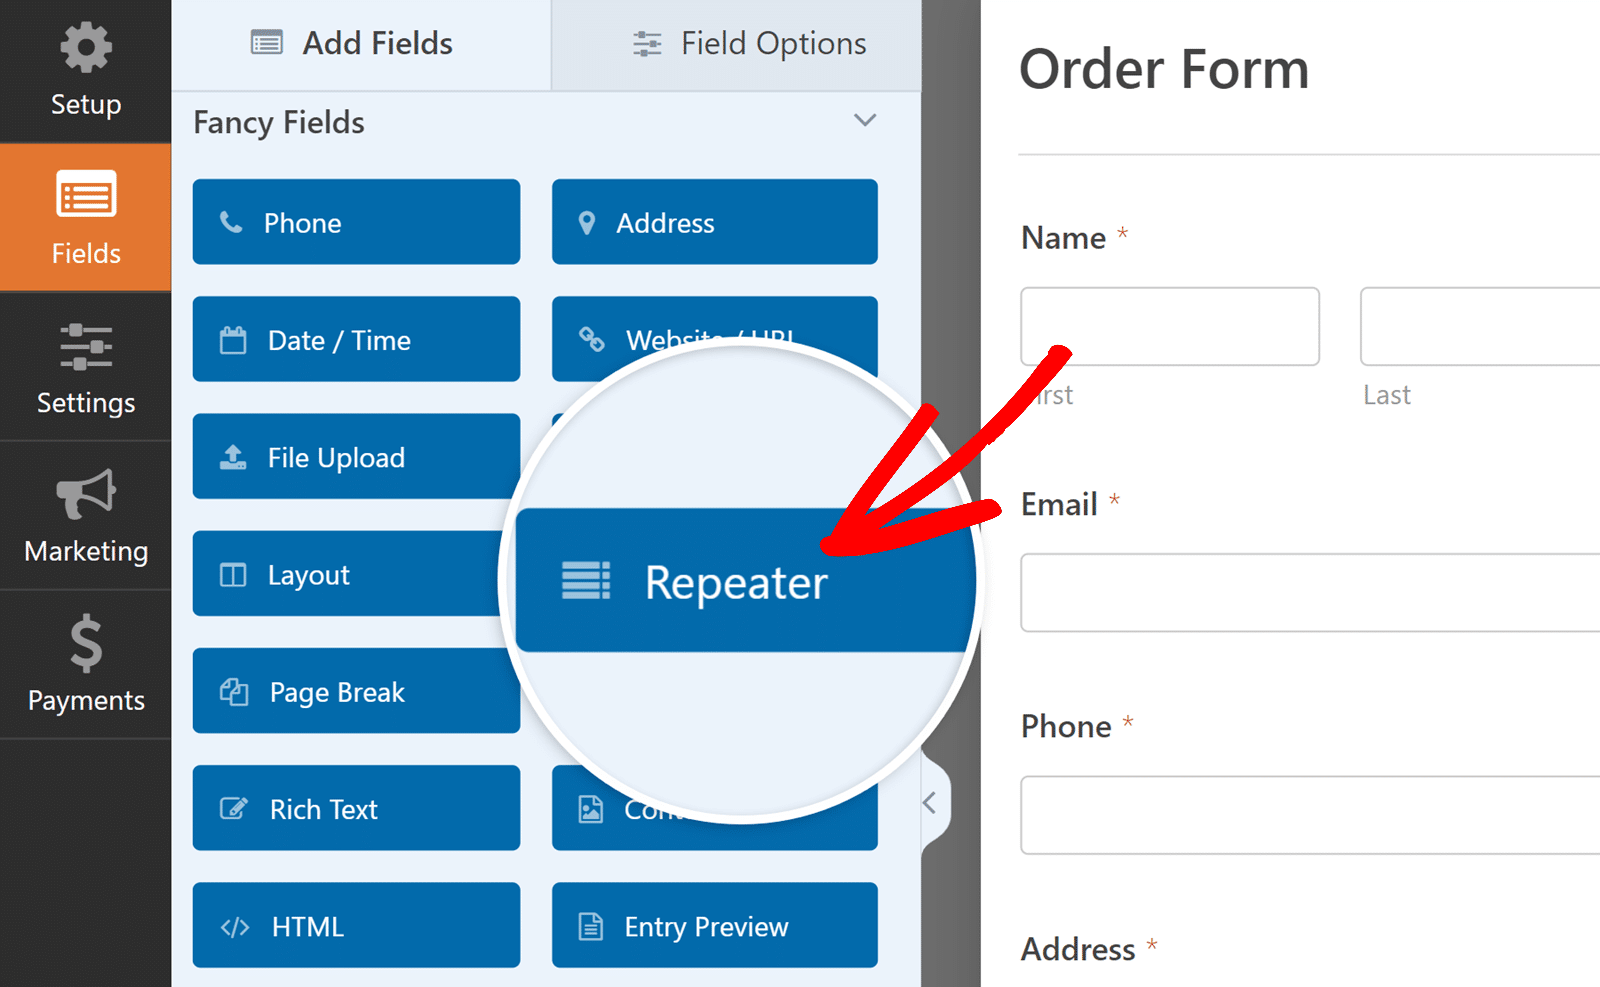
In the form builder, you’ll find the Repeater field under the Fancy Fields section. Click the Repeater field or drag and drop it into the form preview area to add it to your form.
Choosing the Display Option
After adding the Repeater field, you need to choose how the group of field(s) will be displayed on your site’s frontend.
To do so, click on the Repeater field in the builder to open its Field Options panel. There, you’ll see a Display section with two choices: Rows and Blocks.
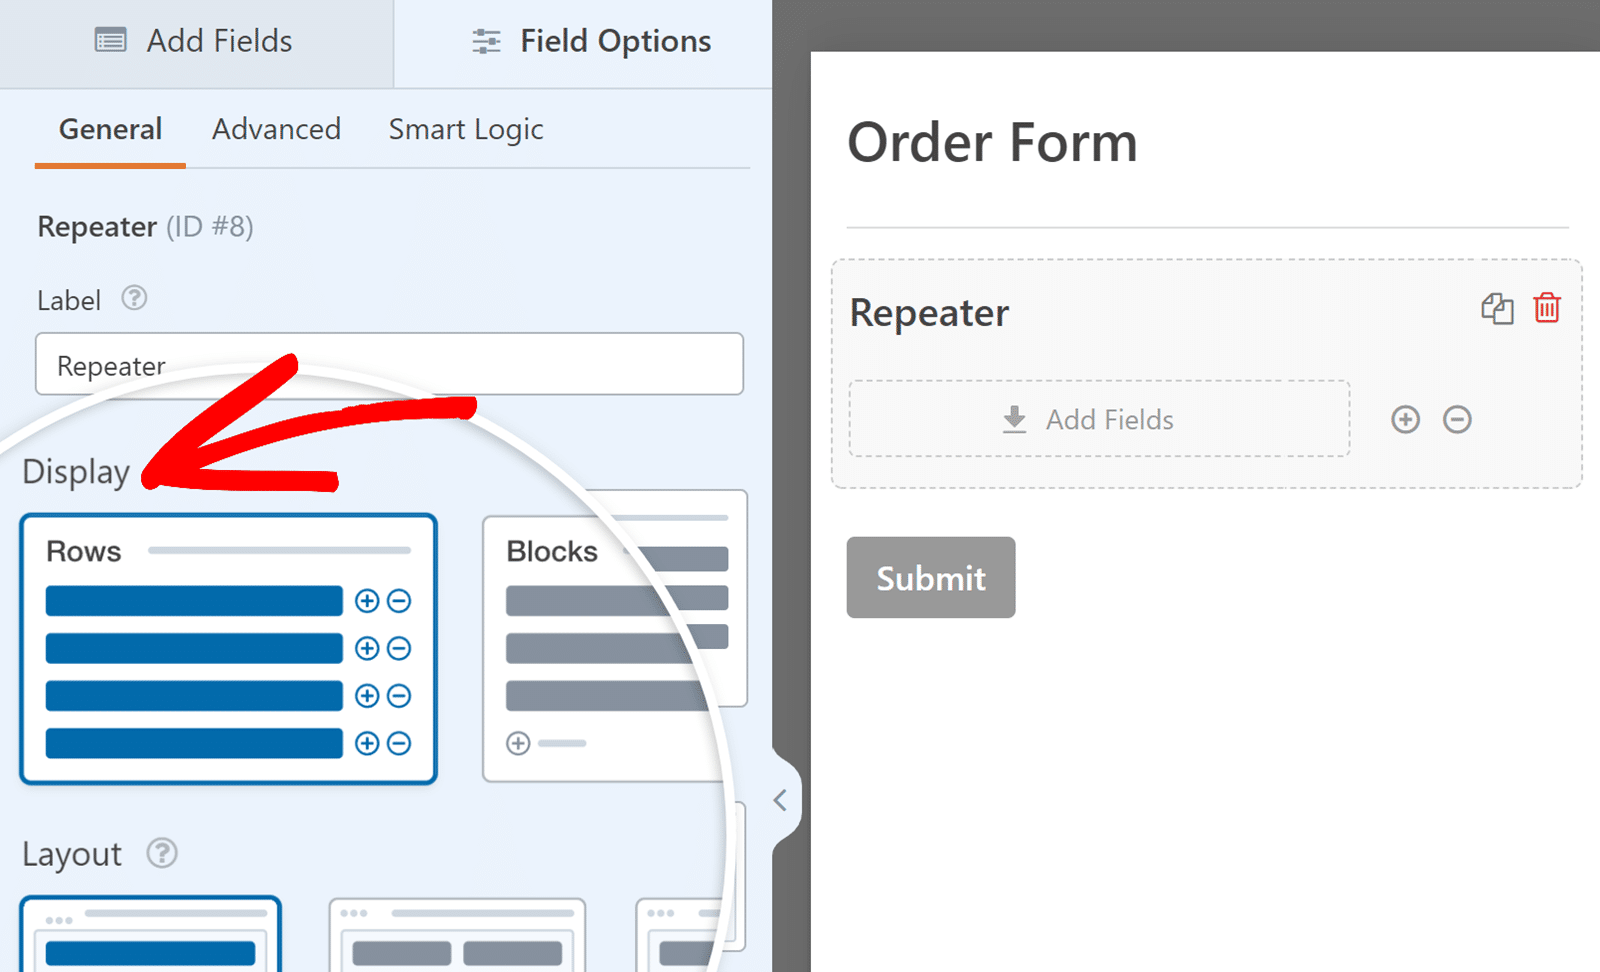
Below, we’ll cover how each of these options works to help you decide the one to use.
Rows
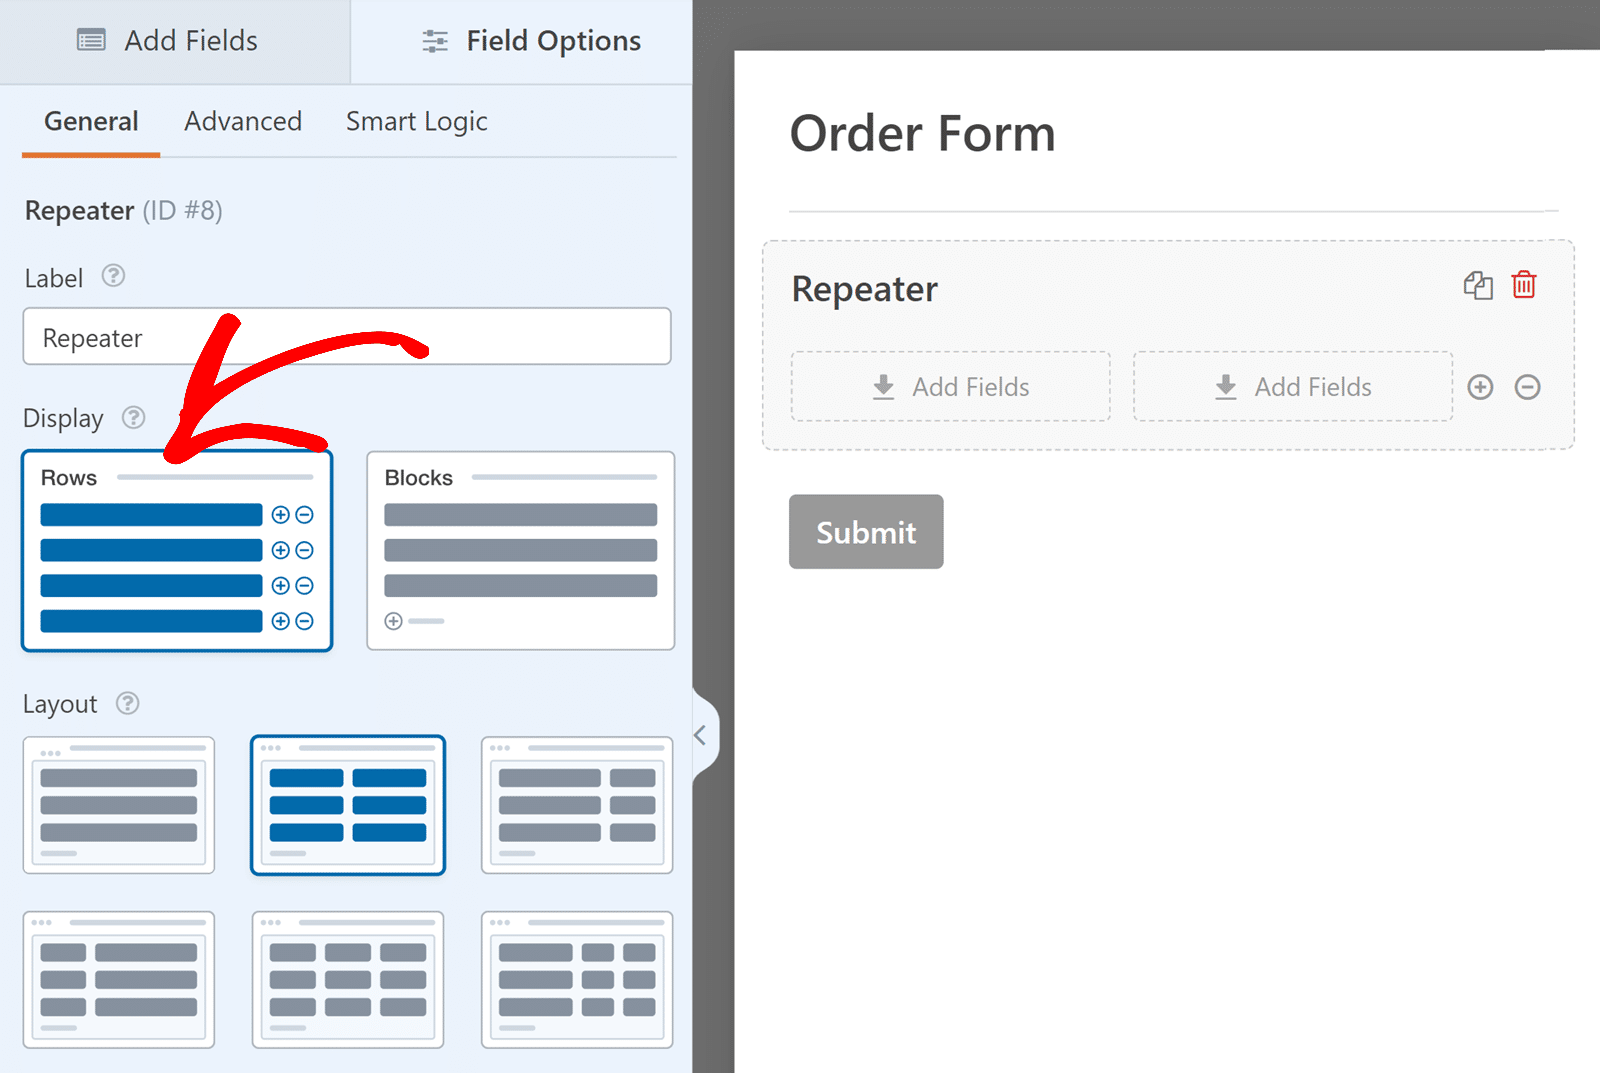
This option is selected by default. It shows each group of fields in a vertical list, one below the other. The Rows display is perfect for simple forms where each piece of information is entered separately. For example, you can use the Rows display to collect a user’s social media profile links or links to portfolio pieces for a job application.
With the Rows display, you can only add fields side by side, not below each other. For example, in a 3-column layout, you can place three fields next to each other in a single row.
Blocks
This option provides more flexibility in how you arrange your fields. You can create multiple columns and rows within each block, allowing for a more complex and organized layout.
The Blocks display is ideal for grouping related fields together. For example, you might use the Blocks layout to collect detailed employment history, with fields for position, company, location, start date, and end date all within the same block.
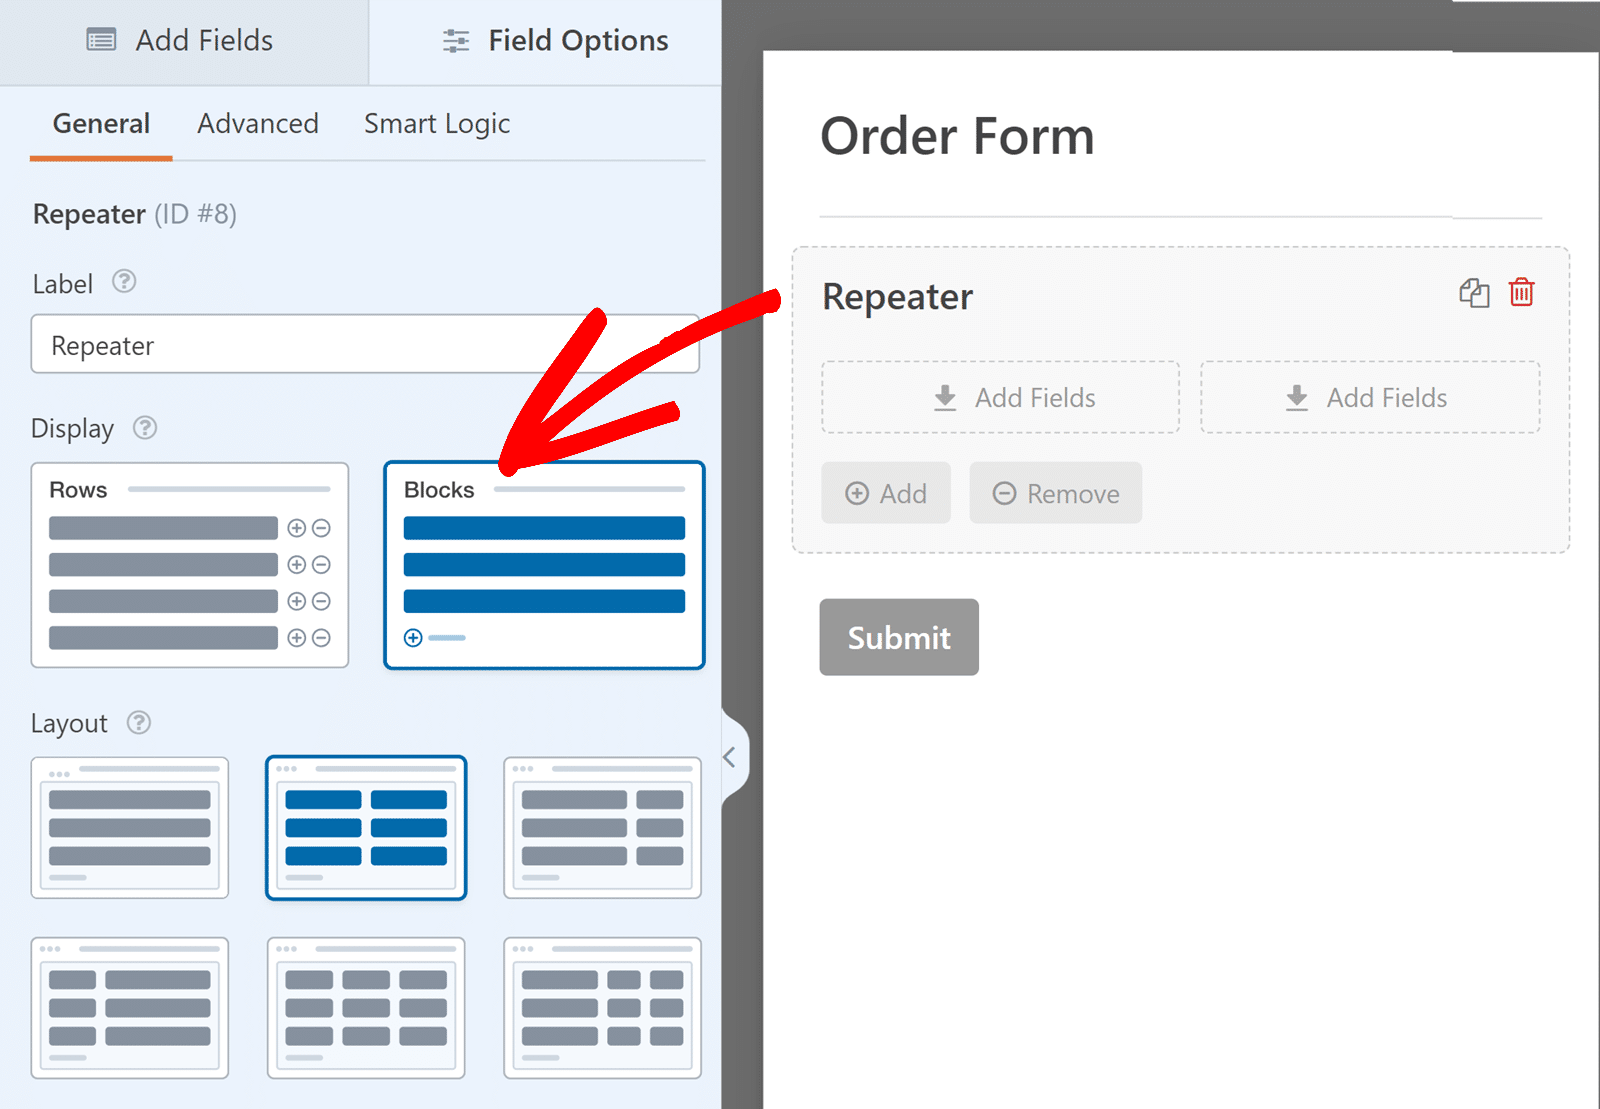
Simply choose the option that best fits your form’s needs to control how the repeating sets will be displayed.
Choosing a Column Layout
Next, you need to choose the layout preset for your Repeater field.
The Repeater field features multiple options for arranging your form fields in different columns. To open the Field Options panel and view the available column layouts, click the Repeater field in the form preview area.
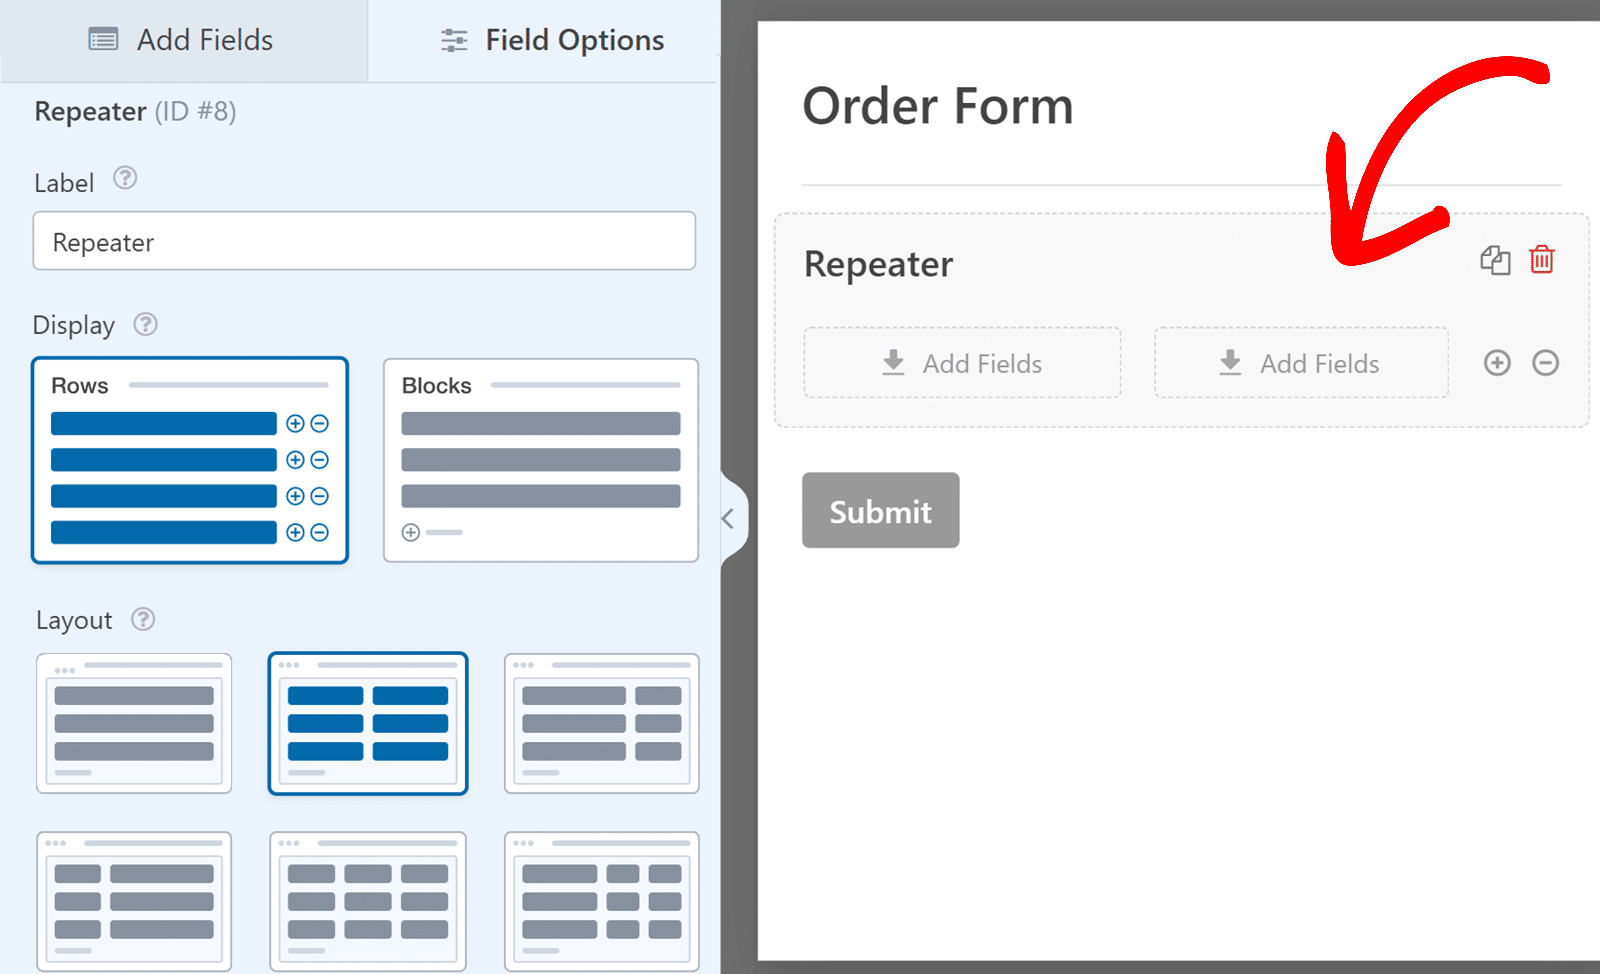
Now you’ll see several available layouts in the Layout section, each featuring different column configurations. The default layout for the Repeater field is a single-column layout. However, you can choose other configurations if needed.
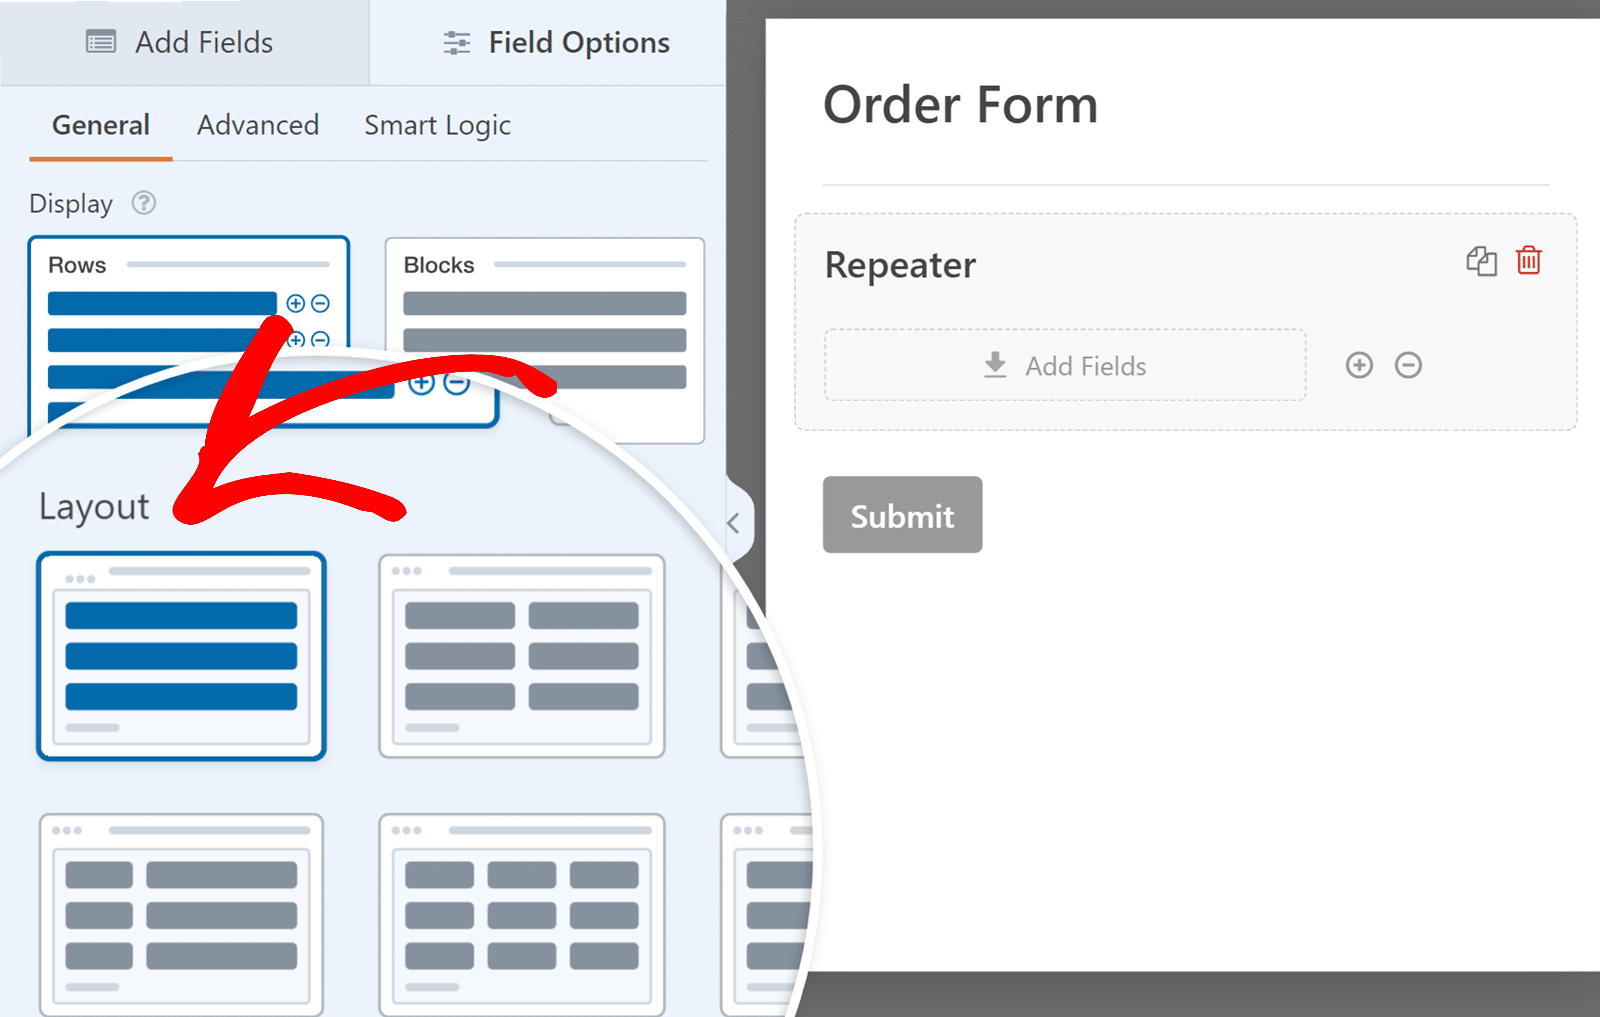
Note: The column layout options in the Repeater field are similar to those in the Layout field. For a detailed guide on using and customizing layouts, check out our guide to using the Layout field.
Adding Fields to the Repeater Field
Once you have selected the display and the layout option, you can start adding fields to the columns in the Repeater field.
To add a field to any column in the Repeater field, click and drag the field from the sidebar to the target column.
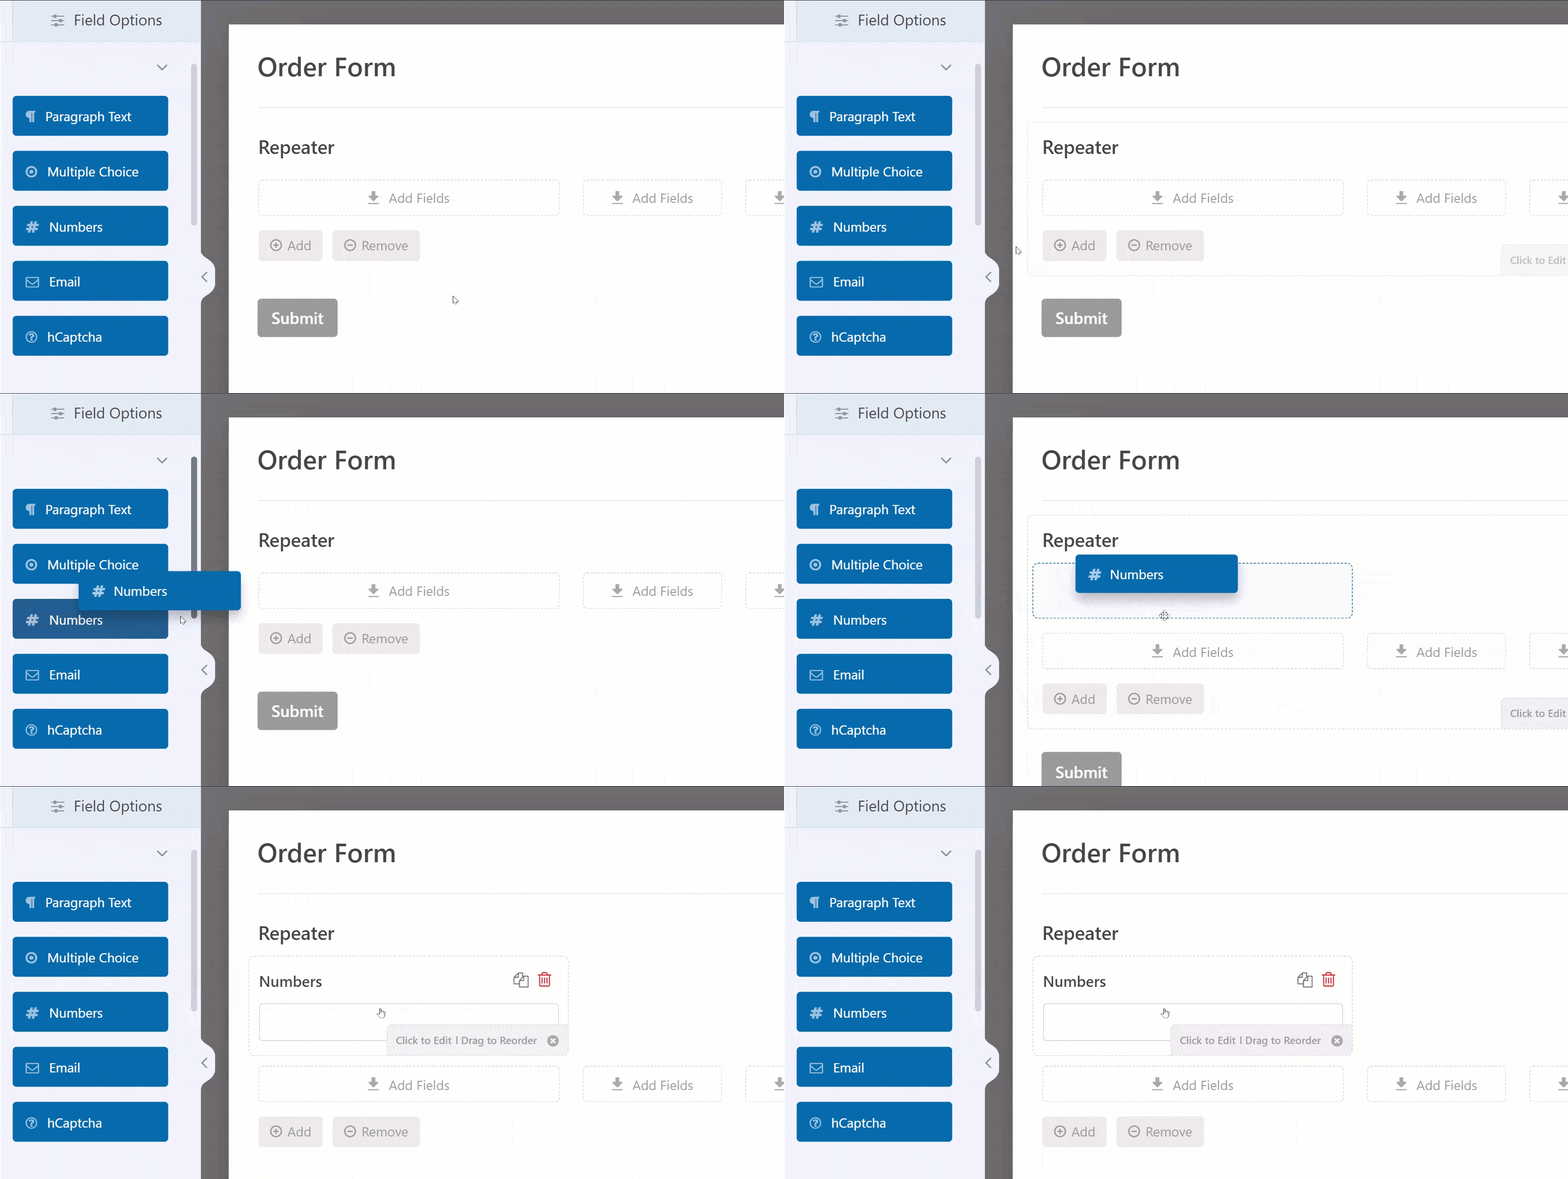
You can customize the fields you add to a Repeater field just like any other field in WPForms. This includes setting labels, placeholders, and other options. However, note that conditional logic and calculations cannot be enabled on fields inside a Repeater field.
Note: Not all fields can be added to the Repeater field. Please see our FAQ section for a complete list of unsupported fields.
Customizing the Add and Remove Buttons
When using the Blocks display option, you can customize the design and labels of the buttons for adding and removing repeated sets of fields.
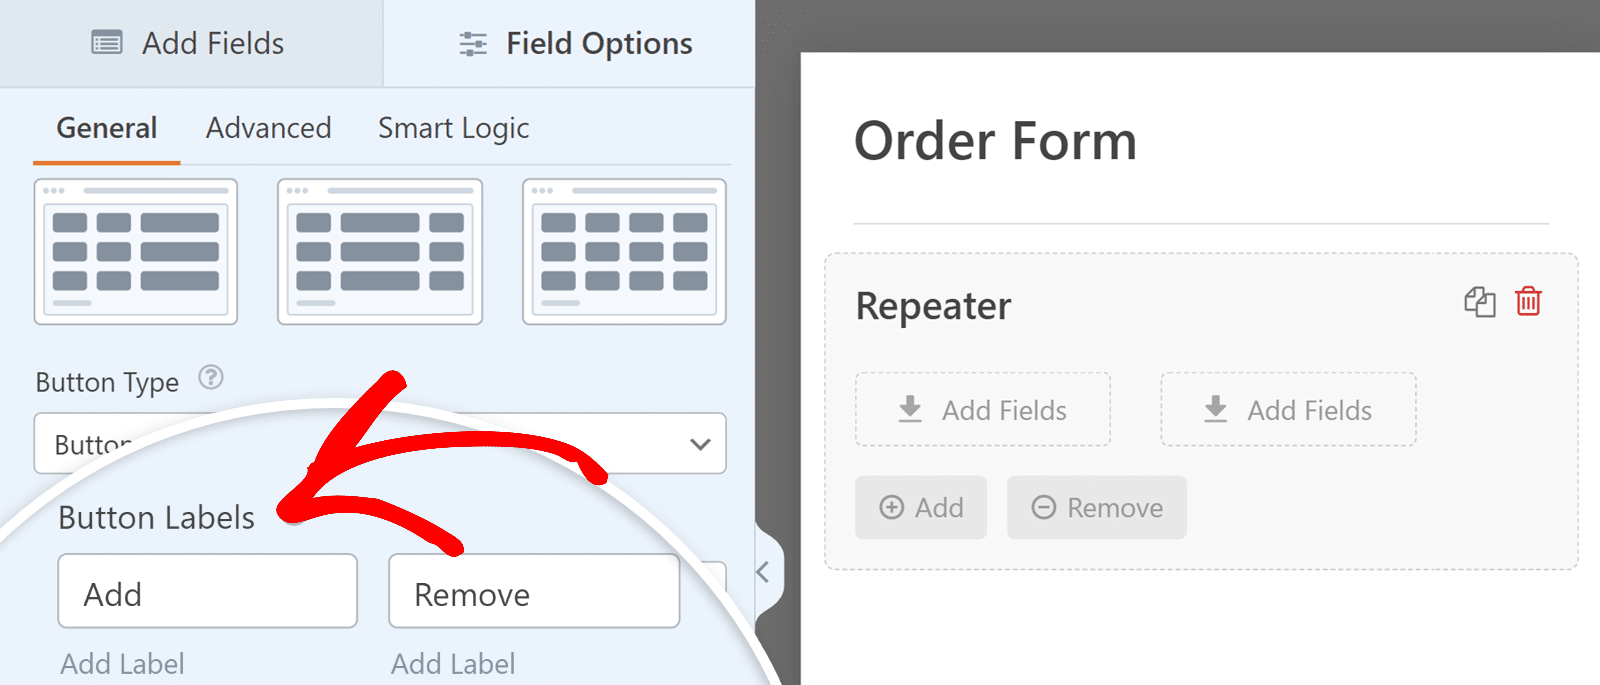
In the Field Options panel, you will find the Button Type dropdown, where you can choose from various designs for the Add and Remove buttons. Options include Buttons with icons, Buttons, Icons with text, Icons, and Plain text.
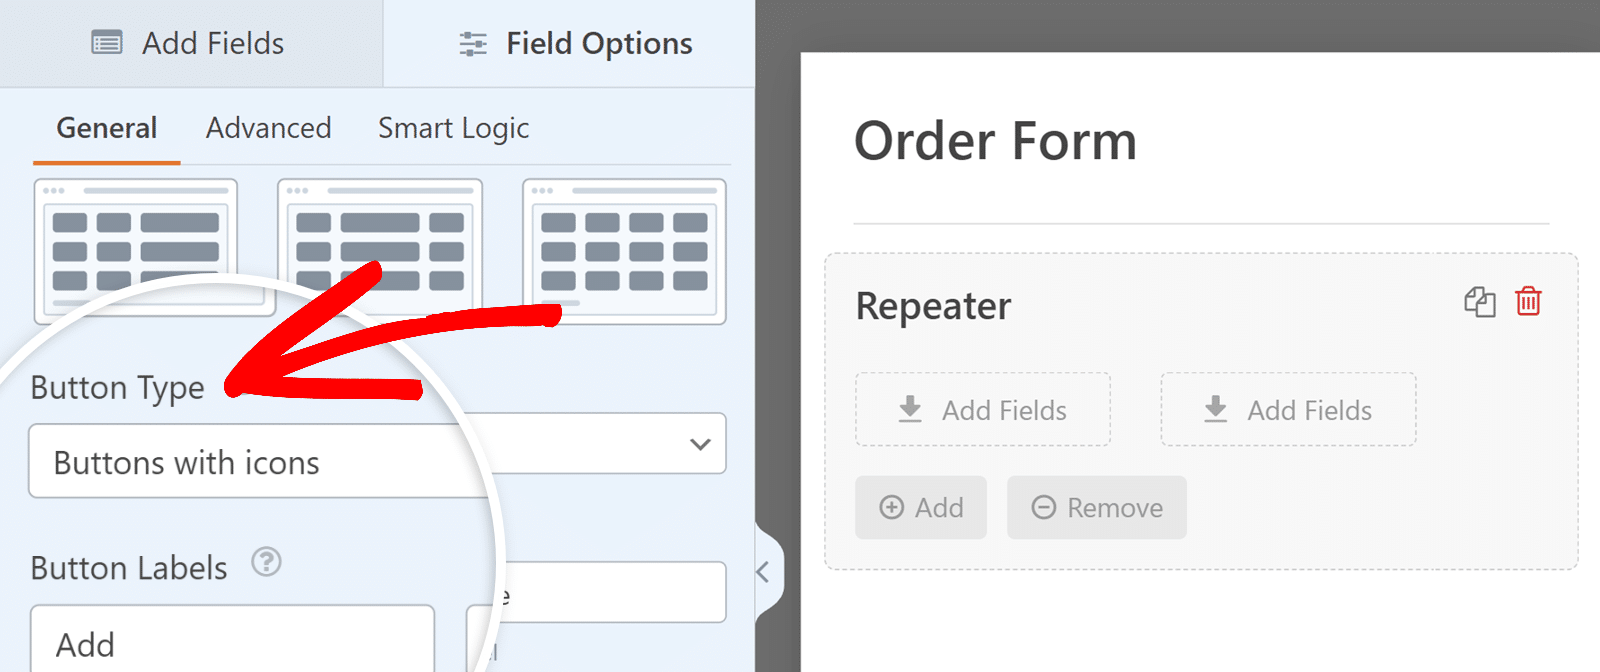
You can also change the labels for these buttons using regular text inputs. In the Button Labels section, enter your preferred text for the Add and Remove labels.
Setting Limits on Repeater Entries
The Repeater field also provides options to limit the number of entries a user can add for a single submission.
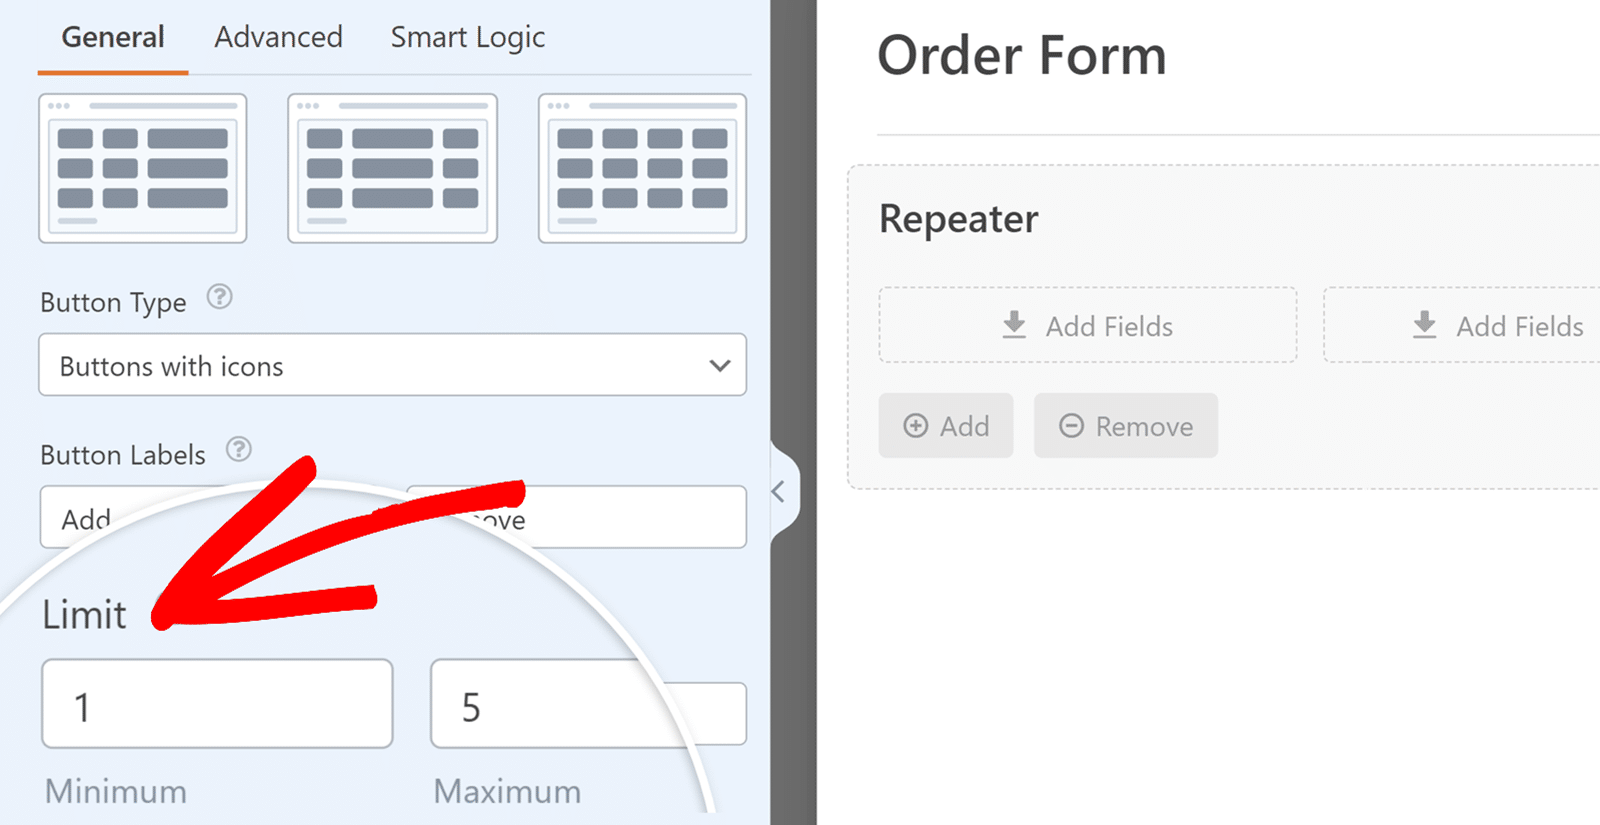
By default, the minimum is set to 1, while the maximum is set to 10. However, you can update these limits as you’d like.
In the Field Options panel of the Repeater field, scroll down and locate the Limit section. Here, you can set the minimum and maximum number of times the field can be repeated. This helps make sure users provide the required amount of information without exceeding the allowed limit.
Configuring Repeater Field Advanced Options
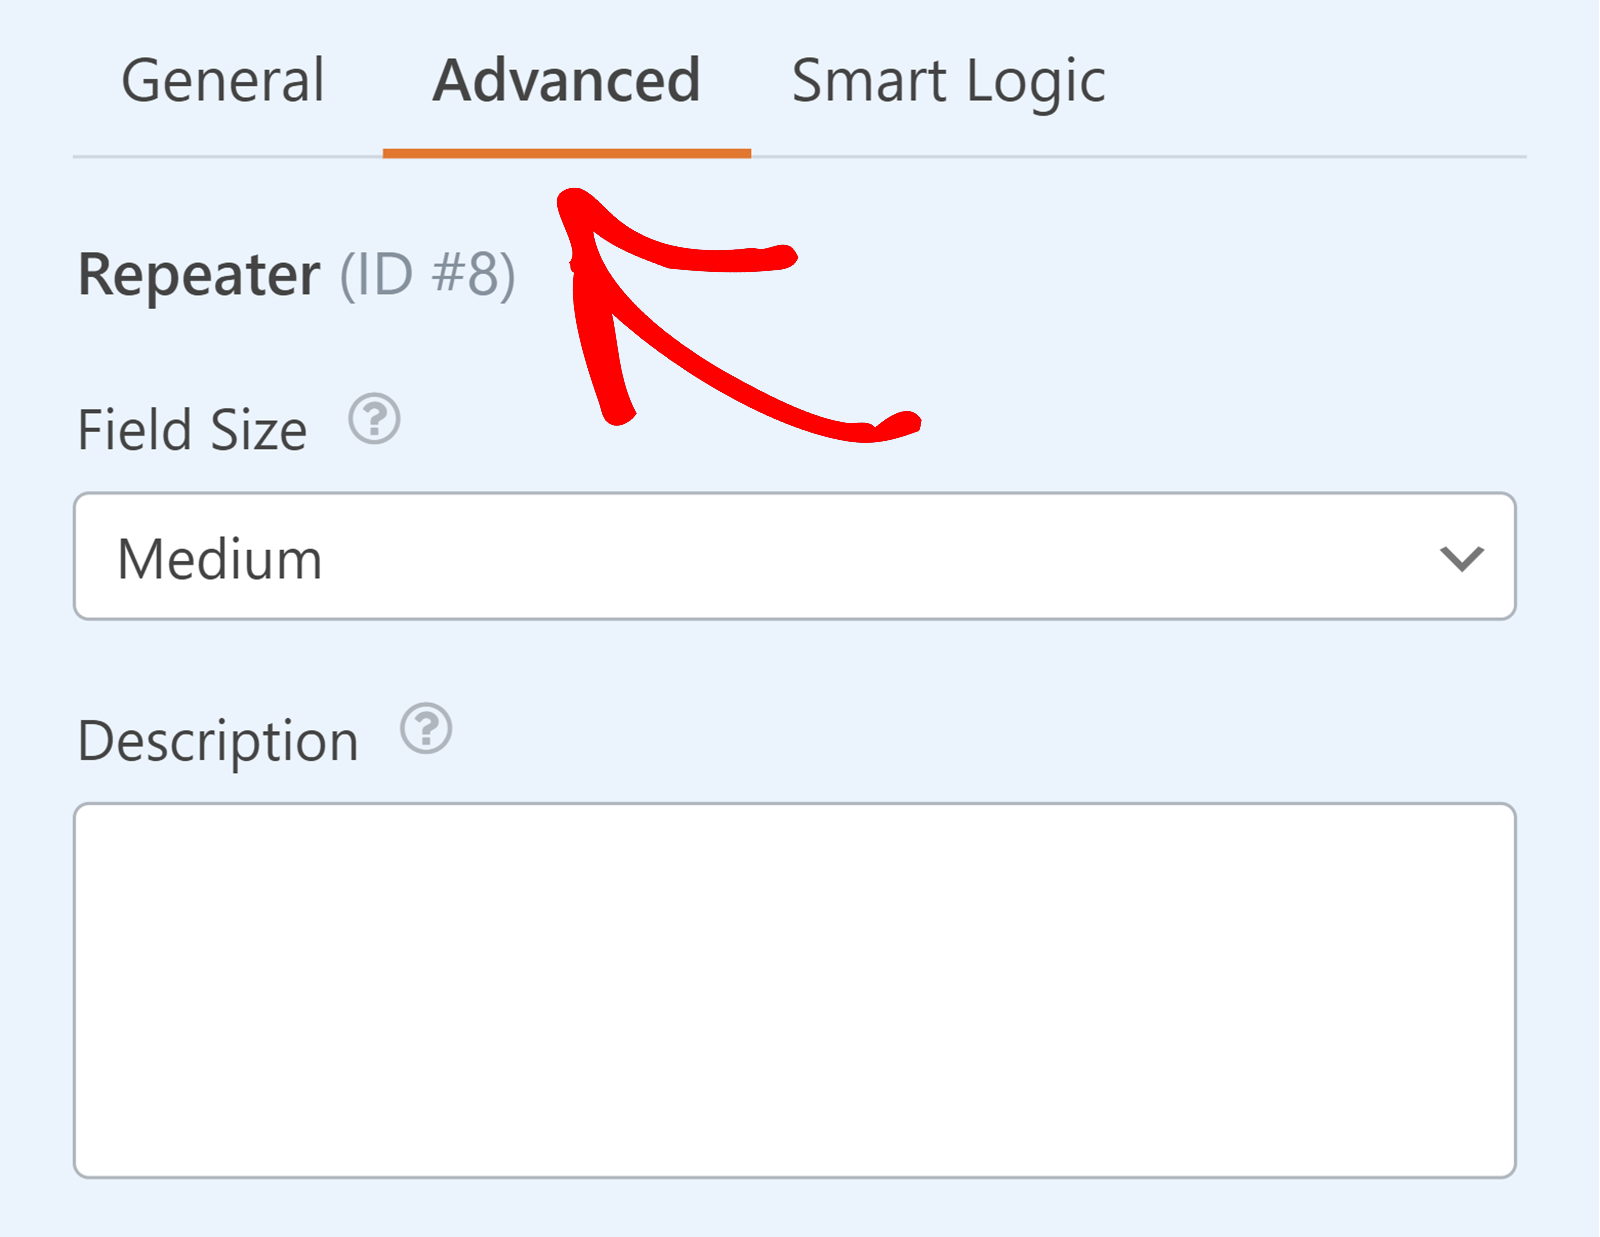
The Advanced tab lets you configure additional options for the Repeater field. You can set the field’s size and add a description to provide more context for users.
Field Size
This option allows you to choose the width of your Repeater field. You can select from Small, Medium, or Large.

Note: The Field Size option will be disabled if you select a layout with more than one column.
Description
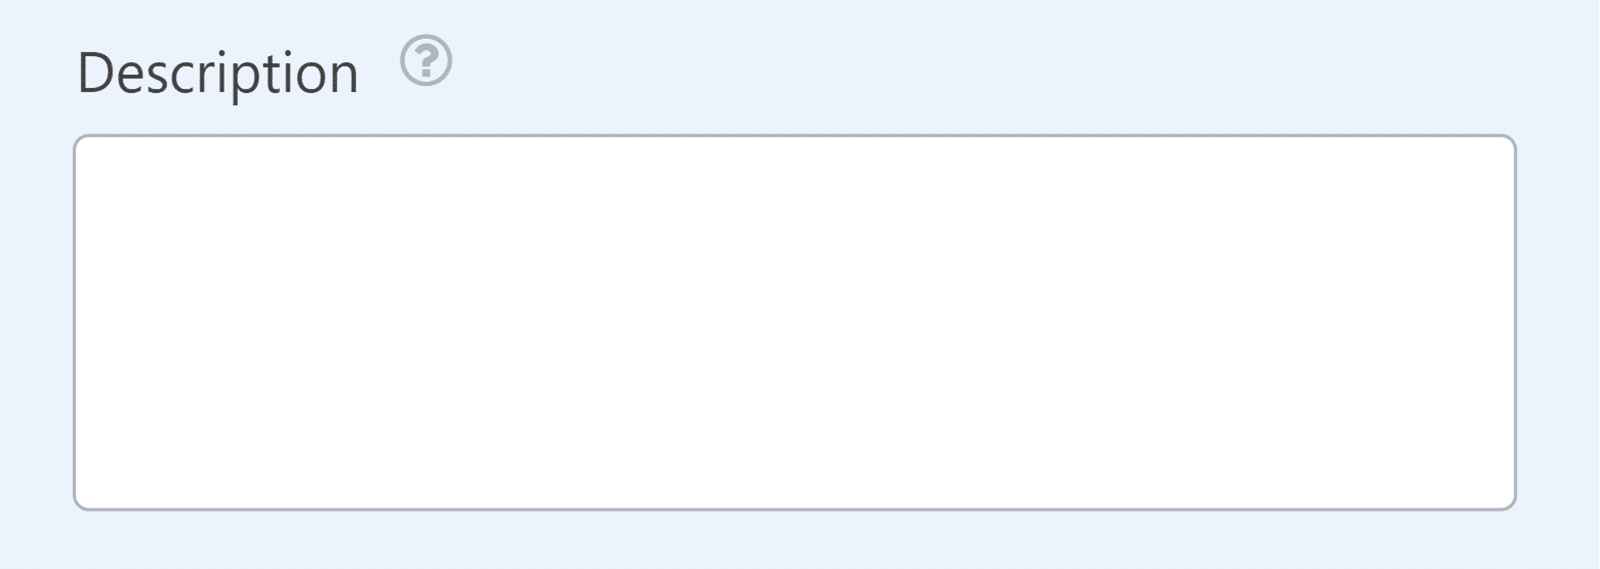
You can also add a description to your Repeater field to provide extra information or instructions. This text will appear below the Repeater field on your form, giving users additional context and guidance.
Configuring Conditional Logic
The Smart Logic tab allows you to apply conditional logic to the entire Repeater field. This means you can show or hide the Repeater field based on user inputs from other fields in the form.
To enable conditional logic, simply toggle on the Enable Conditional Logic option.
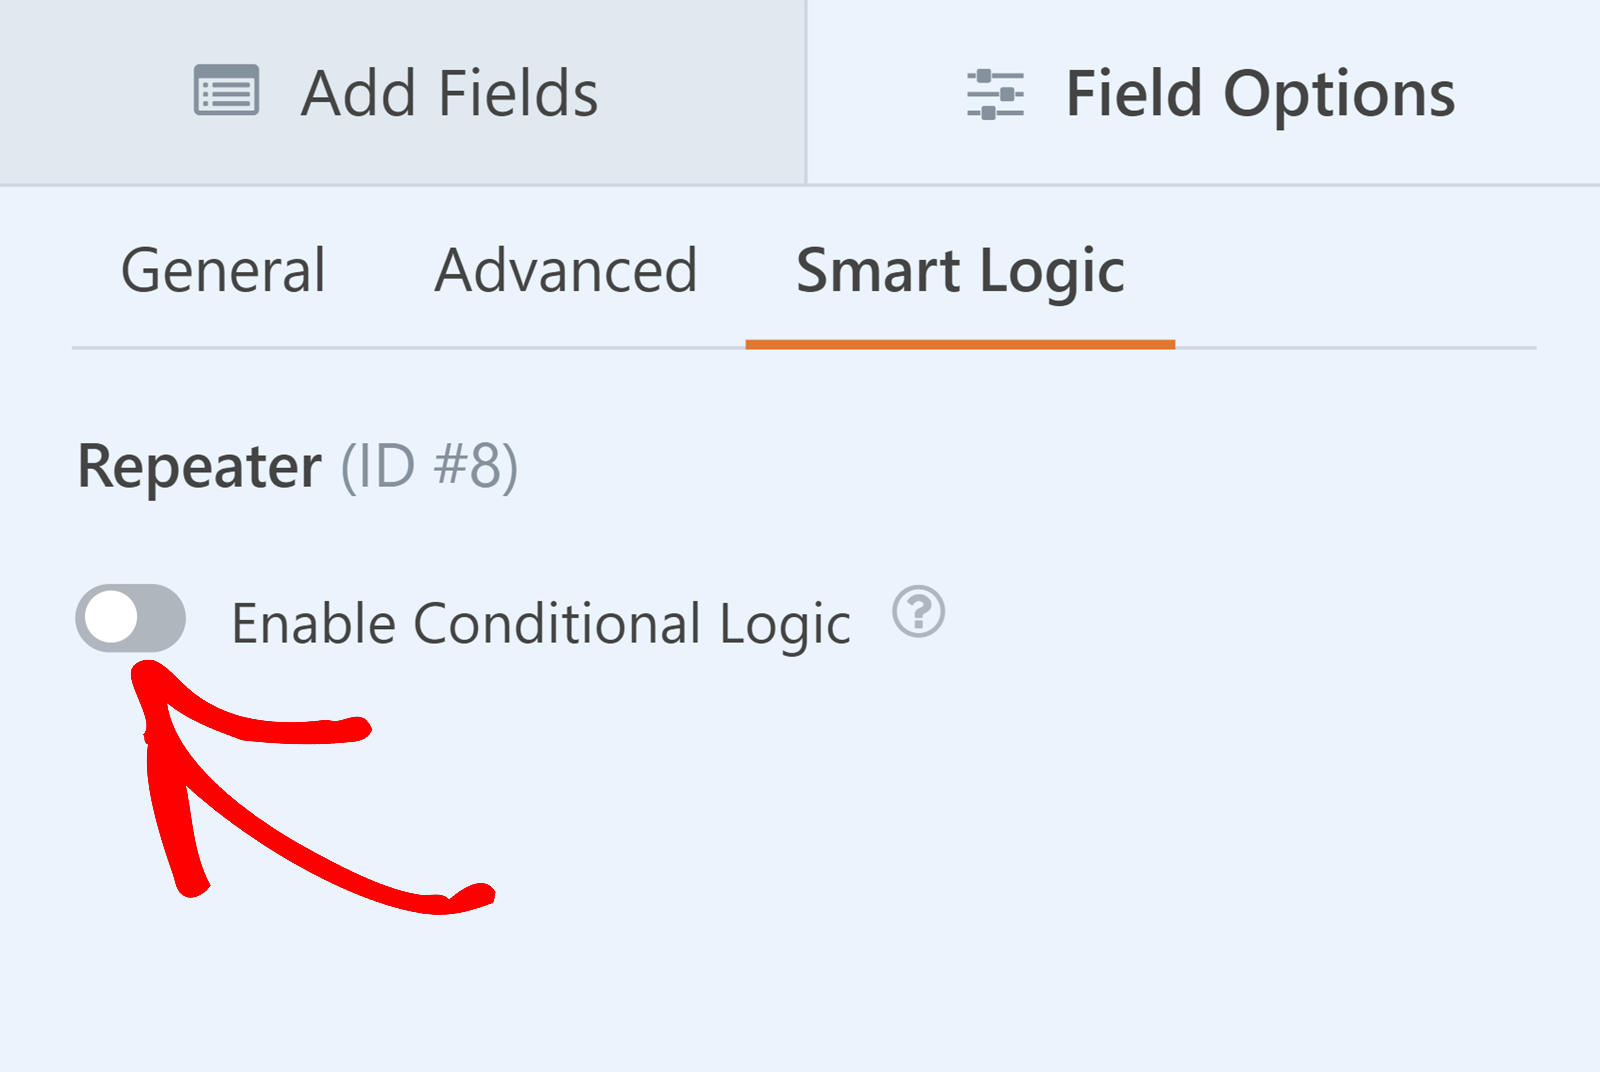
Note: Conditional logic applies to the entire Repeater field and not individual fields within the Repeater field. Additionally, fields you add to the Repeater field cannot have their own conditional logic.
For more details on using conditional logic, check out our guide on using conditional logic in WPForms.
Previewing Your Form
Once you have configured the Repeater field and added all necessary fields, save your form by clicking the Save button at the top right of the form builder.

Then, click the Preview button to see how your form will look on the frontend, ensuring everything appears as expected.

Note: We always recommend testing your forms before you publish them to make sure your conditional logic and other features work properly. See our complete form testing checklist for a step-by-step guide to this process.
Frequently Asked Questions
These are answers to some of the most common questions we receive about using the Repeater field in WPForms.
What fields cannot be added to a Repeater field?
The following fields cannot be added inside a Repeater field:
- Repeater
- Page Break
- Section Divider
- Entry Preview
- Payment Fields (Stripe, Square, etc)
- Coupon
- Total
- Custom Captcha
- File Upload
- Likert Scale
- Net Promoter Score
Why isn’t the Repeater field displaying correctly?
This often occurs if you’ve applied custom CSS classes to the form with the Repeater field. To resolve this issue, check that there are no conflicting CSS classes on the form that might be affecting the Repeater field’s layout.
Can I use multiple Repeater fields in a single form?
Yes, you can add multiple Repeater fields to your form and configure each one separately.
Does the Repeater field work with all WPForms addons?
The Repeater field works with these WPForms addons:
- Conversational Forms
- Form Abandonment
- Geolocation
- Google Sheets
- Offline Forms
- Save and Resume
- Signature
- User Journey
That’s it! You now know how to use the Repeater field in WPForms to create dynamic and flexible forms.
Next, would you like to easily enhance the design of your forms with ready-made themes? Be sure to check out our guide to using form themes for all the details on how to apply these themes to your forms.

