AI Summary
Would you like to let users save their progress in your forms and return to complete and submit their entries later? The WPForms Save and Resume addon enables you to do just that.
This tutorial will show you how to install and use the Save and Resume addon in WPForms.
Requirements:
- You’ll need a Pro license level or higher to access the Save and Resume addon
- Ensure that you’ve installed the latest version of WPForms to meet the minimum required version for the Save and Resume addon
Before you get started, you’ll need to make sure WPForms is installed and activated on your site. Once you verify your license, you can also install and activate the Save and Resume addon.
The Save and Resume addon settings are located in the form builder, so you’ll need to create a new form or edit an existing one to access the form builder.
Enabling Save and Resume Functionality
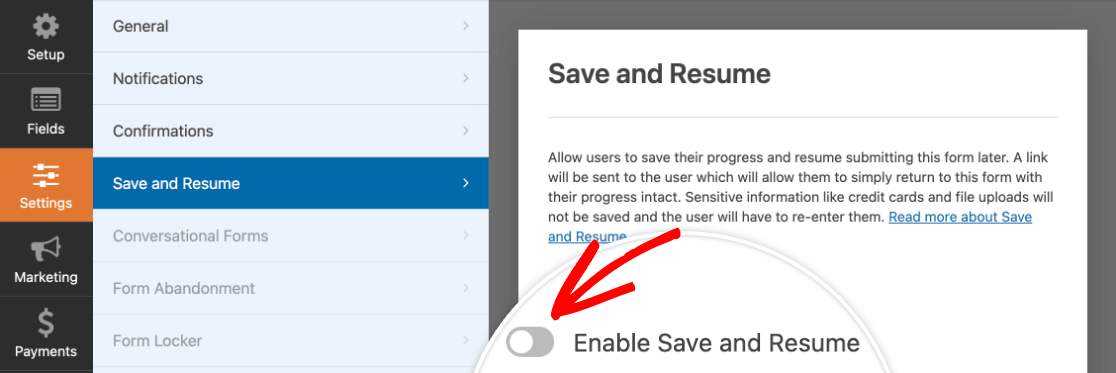
Once you’re in the form builder, go to Settings » Save and Resume. To turn on save and resume functionality, toggle on the Enable Save and Resume settings.
Configuring Save and Resume Settings
Enabling save and resume functionality will reveal several settings for you to configure. We’ve broken each of them down below.
Customizing Save and Resume Link Text
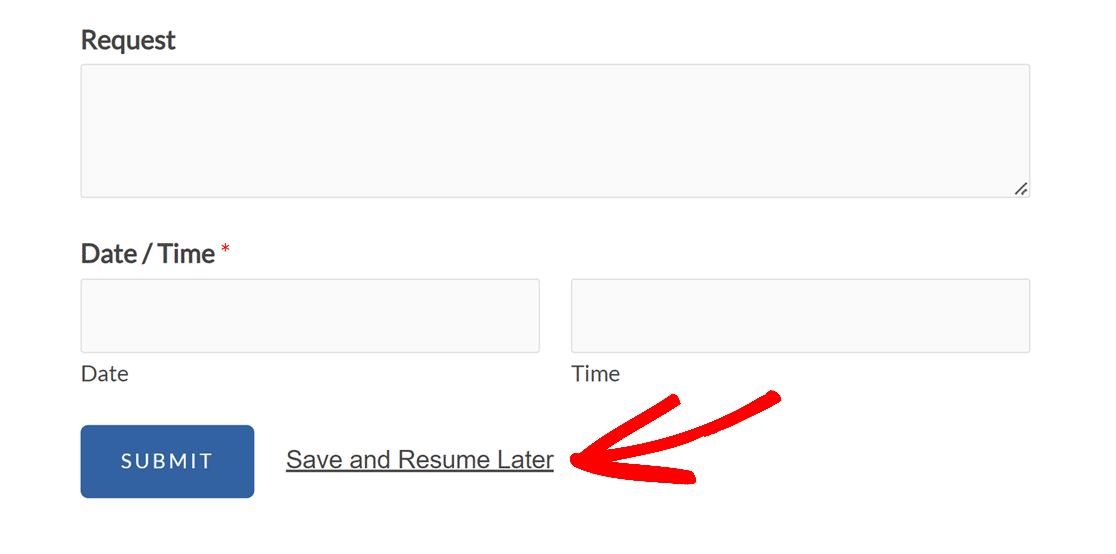
First, you can customize the text for the link users will click to save their progress in your form. By default, it reads, “Save and Resume Later,” but you can change it to whatever you like in the field provided.

On the frontend, this link appears at the bottom of your form, near the Submit button.
Enabling a Disclaimer Page
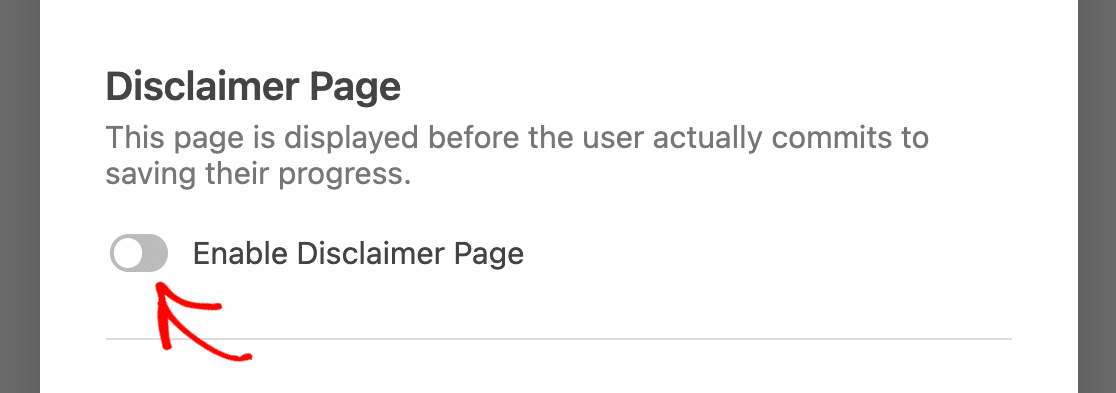
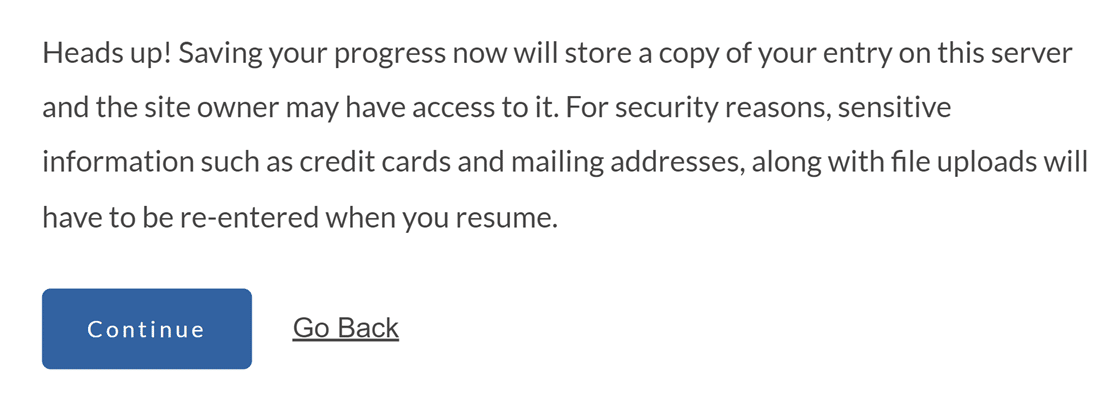
You can optionally add a disclaimer page that will appear when users click the save and resume link before they leave your form. To do so, toggle on the Enable Disclaimer Page option.
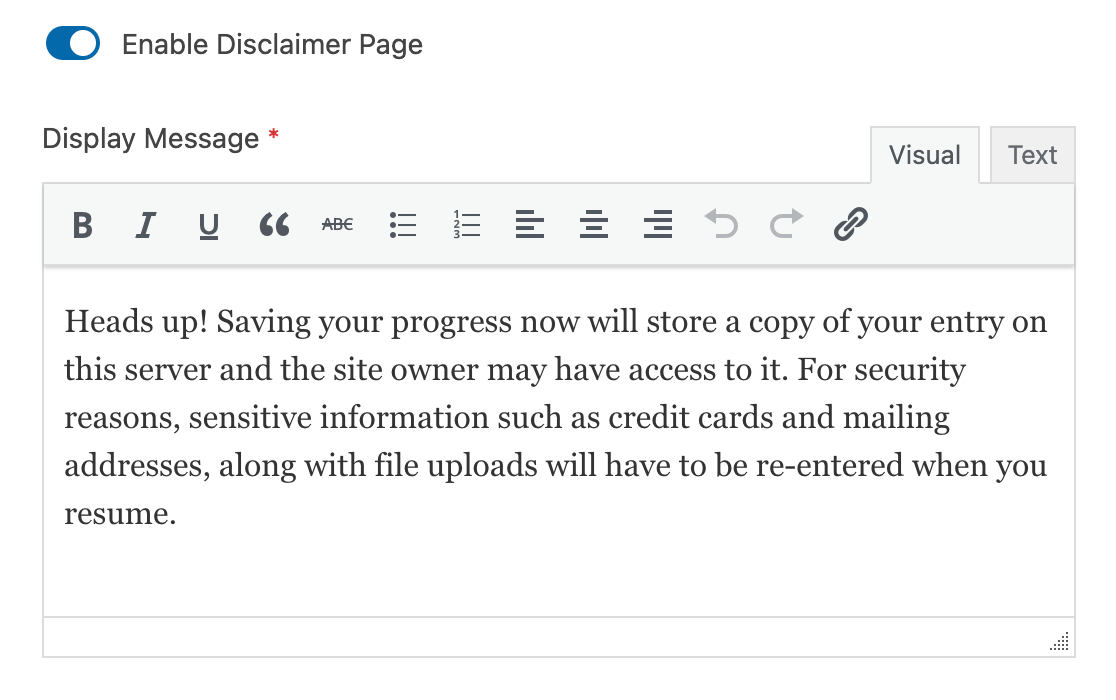
This will reveal a text editor you can use to customize the content of your disclaimer page.
When a user clicks the save and resume link in your form, they will see your disclaimer page and have to confirm their decision to save their progress and leave your form by clicking the Continue button. Alternatively, they can click the Go Back link to return to your form.
Customizing the Save and Resume Confirmation Page
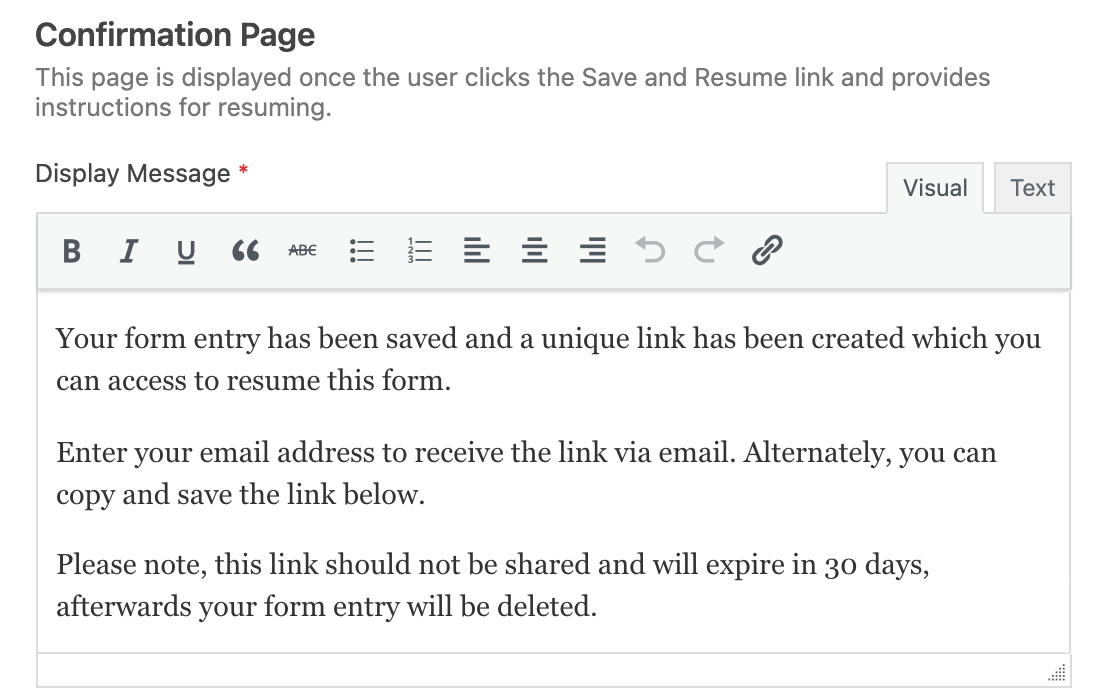
Once your users save their progress in your form, they’ll see a confirmation page. It should include instructions on reaccessing the form when they’re ready to continue filling it out.
Using the text editor provided, you can customize the message users will see on your confirmation page.
Next, there are two ways you can enable users to return to your form to finish filling it out: a resume link or an email notification. You can use one or both.
Note: Regardless of which option you use to share users’ save and resume links, these URLs will expire after 30 days. When customizing your save and resume messages, we recommend making this clear to users, so they’re less likely to lose their progress due to inactivity.
Enabling the Resume Link
One way users can access their saved forms is with a resume link. Users will be able to copy this link from the confirmation page and paste it into their browsers to access their saved entries.
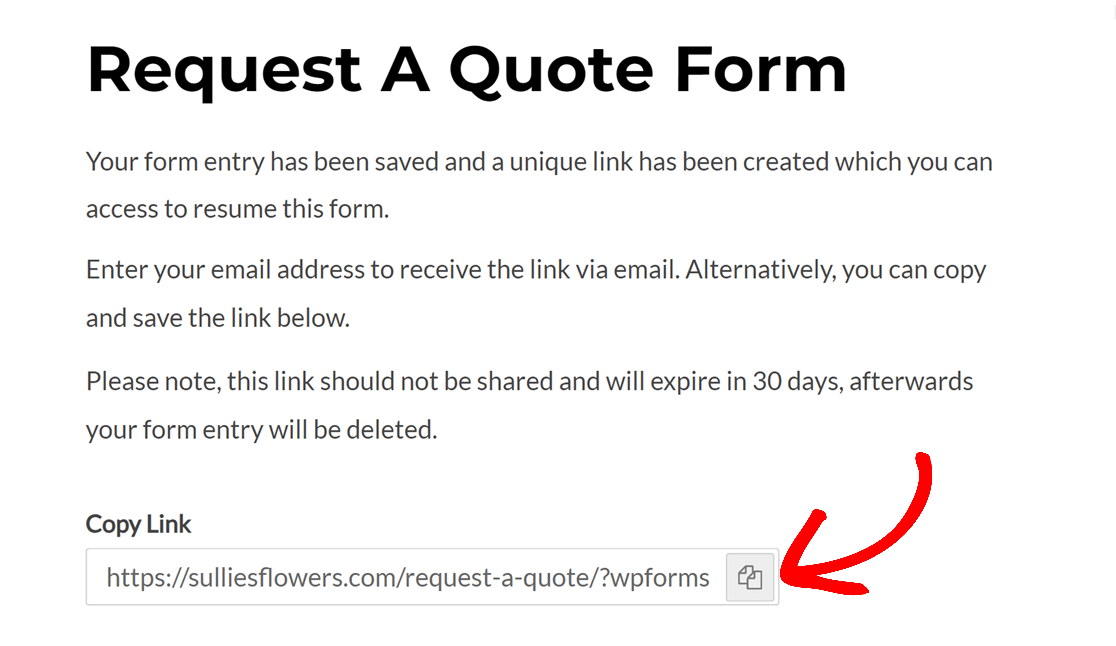
To provide a resume link, toggle on the Enable Resume Link setting.

Creating a Resume Email Notification
If you enable the resume email notification, users will receive an email with the same resume link you can display on the confirmation page. They can use this URL to access their saved entries and finish them.
When users save their progress in your form, they’ll be taken to your confirmation page. Here, they’ll need to enter their email address and click the Send Link button to receive their resume link.
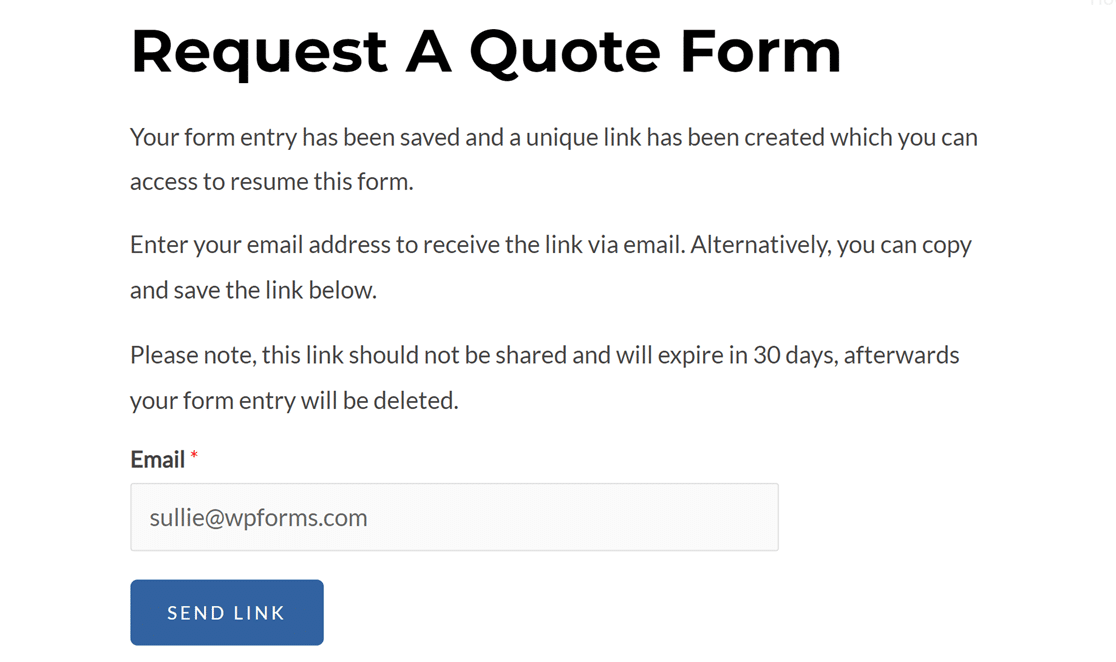
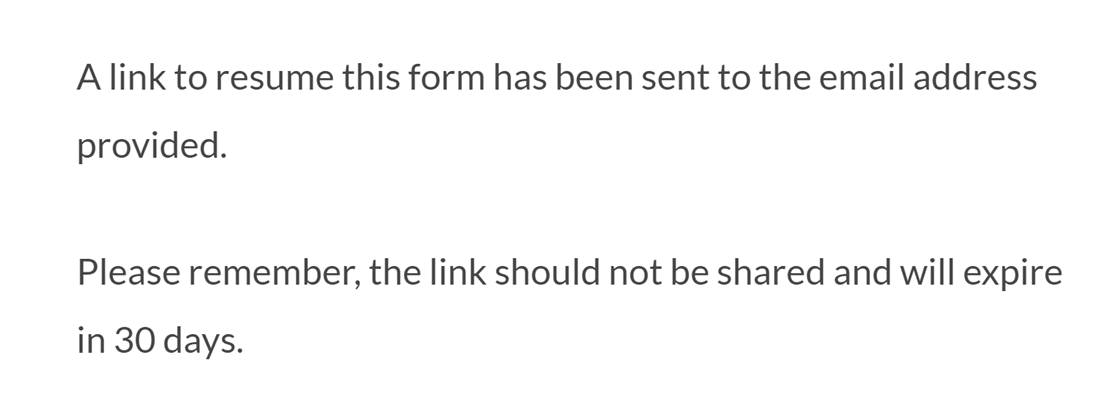
Once they’ve done so, they’ll see another message confirming that the email notification has been sent to the address they entered.
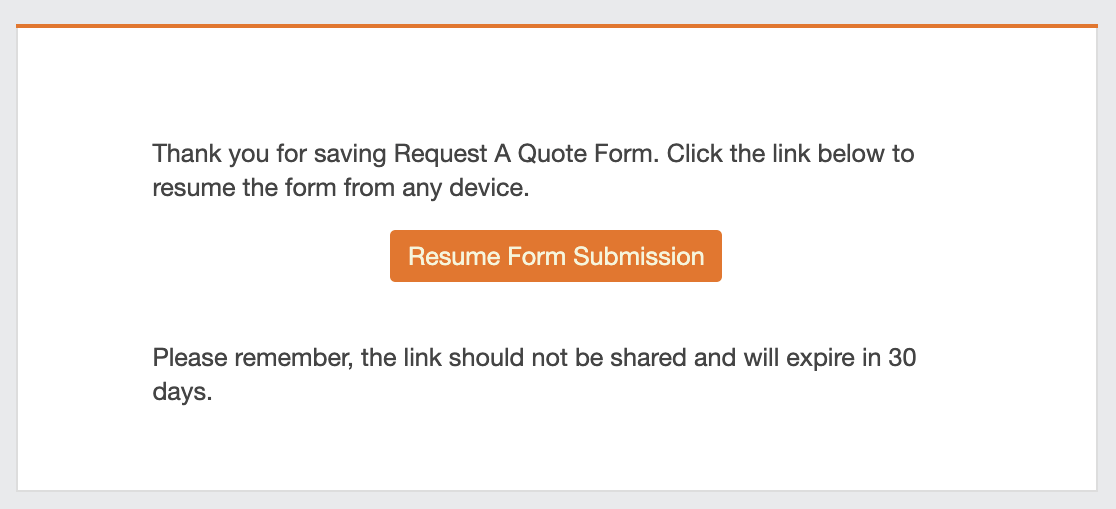
The email notification itself will include a button labeled Resume Form Submission. The user can click it to access the page they need to visit to finish filling out the form.
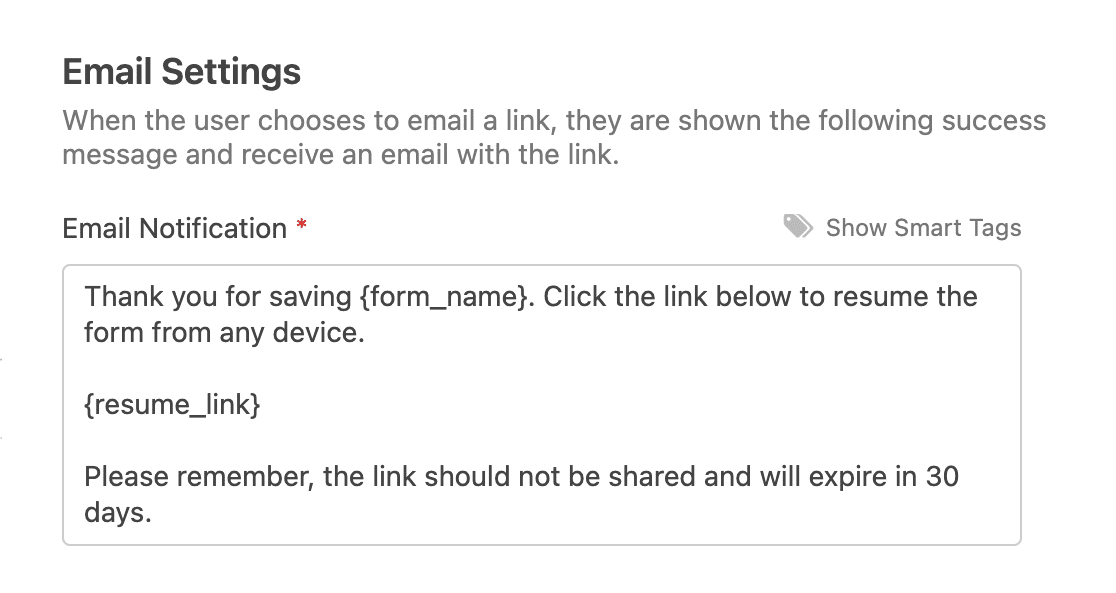
To send users email notifications with links to resume their saved form entries, toggle on the Enable Email Notification setting.

You can then use the text editors provided to customize the email notification message and the confirmation message users will see after they enter their email address.
Although you can change the default message to whatever you like, be sure to include the {resume_link} Smart Tag in the email notification. This Smart Tag will display a link to the partially completed form, allowing the user to continue where they left off.
Once you’re finished configuring your save and resume settings, be sure to save your form before leaving the form builder.
Note: Want to customize the email subject line for the Save and Resume notifications? Check out our developer documentation for a quick guide on customizing it.
Viewing Partial Entries
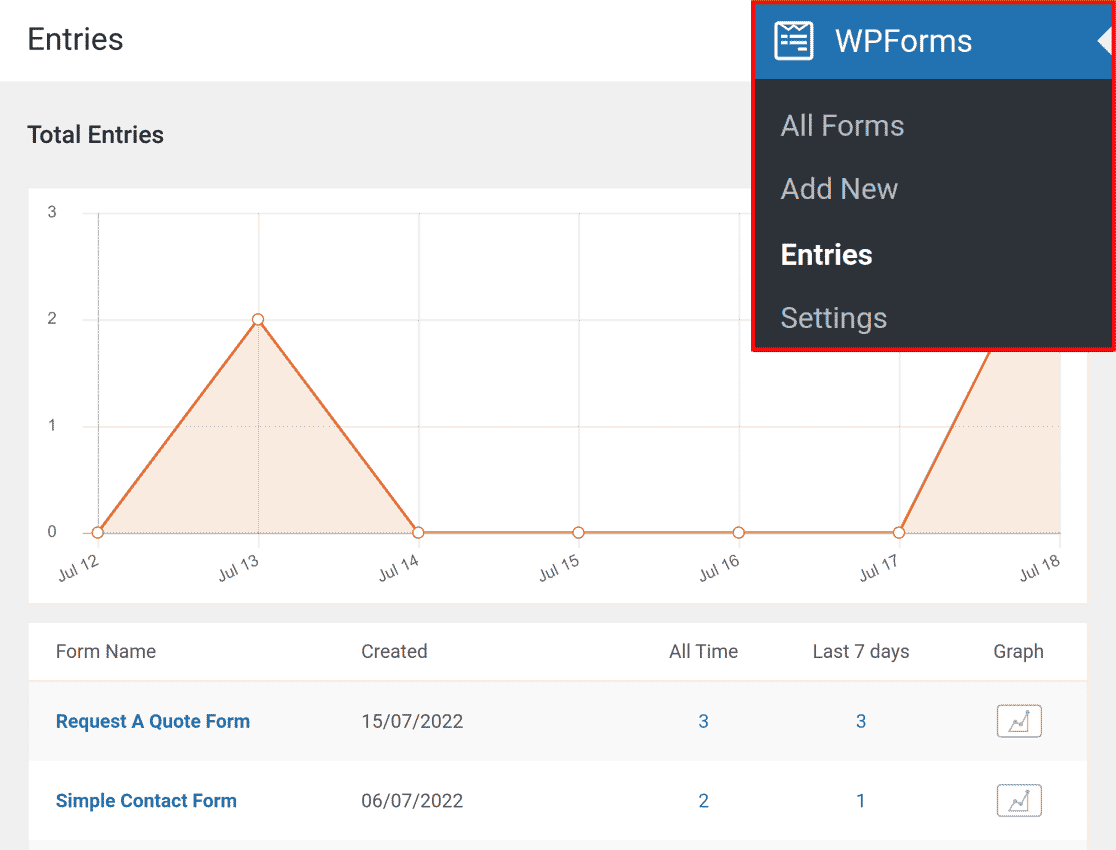
When a user saves their progress in your form, it’s stored as a partial entry in WPForms. You can view partial entries by going to WPForms » Entries and clicking on the title of the form.
Note: Want to learn more about viewing entries for your forms? See our complete guide to form entries for all the details.
In the Status column, incomplete entries will be labeled “Partial.”

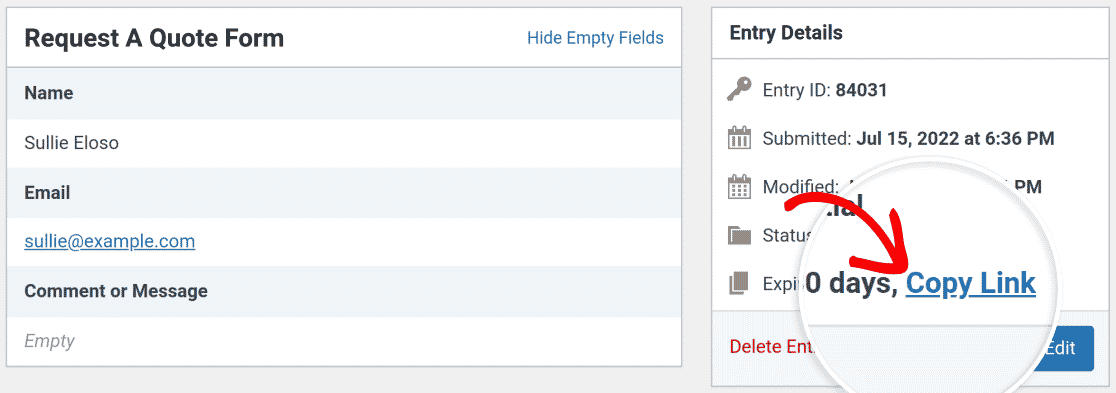
You can click View to see the entry in more detail, including which fields the user has completed and when the entry was last modified.

To copy the resume link for any partial entry, click Copy Link in the Entry Details panel.
Note: The following fields, which contain sensitive information, will not be stored when users save their progress in your forms:
These fields will not be listed in partial entries, and users will have to re-enter their input for them when they resume filling out your form.
Partial entries are stored for 30 days. After that time, if the user hasn’t returned to complete the form, their entry will be deleted.
Note: Interested in customizing the expiry period for partial entries? You can adjust the default 30-day duration to a timeline that aligns with your specific requirements. For guidance on how to change this setting, please consult our developer documentation.
Frequently Asked Questions
These are the answers to some top questions about the Save and Resume addon.
Is the Save and Resume Addon compatible with other WPForms addons?
Yes! The Save and Resume addon works with our other WPForms addons. There are a few special cases, including:
- Surveys and Polls: Partial entries created by the Save and Resume addon are excluded from the statistics generated by the Surveys and Polls Addon.
- Form Locker: Partial entries created by the Save and Resume addon are excluded from entry limit counts set by the Form Locker Addon.
- Conversational Forms: The Save and Resume addon fully supports conversational forms.
- Form Pages: The Save and Resume addon fully supports form pages.
- User Journey: User Journey data will become visible in the entry after the user submits the completed form.
Why is the Resend Notifications option missing from my form entries?
On the individual page for a form entry, you’ll typically see an option to resend email notifications to the user.
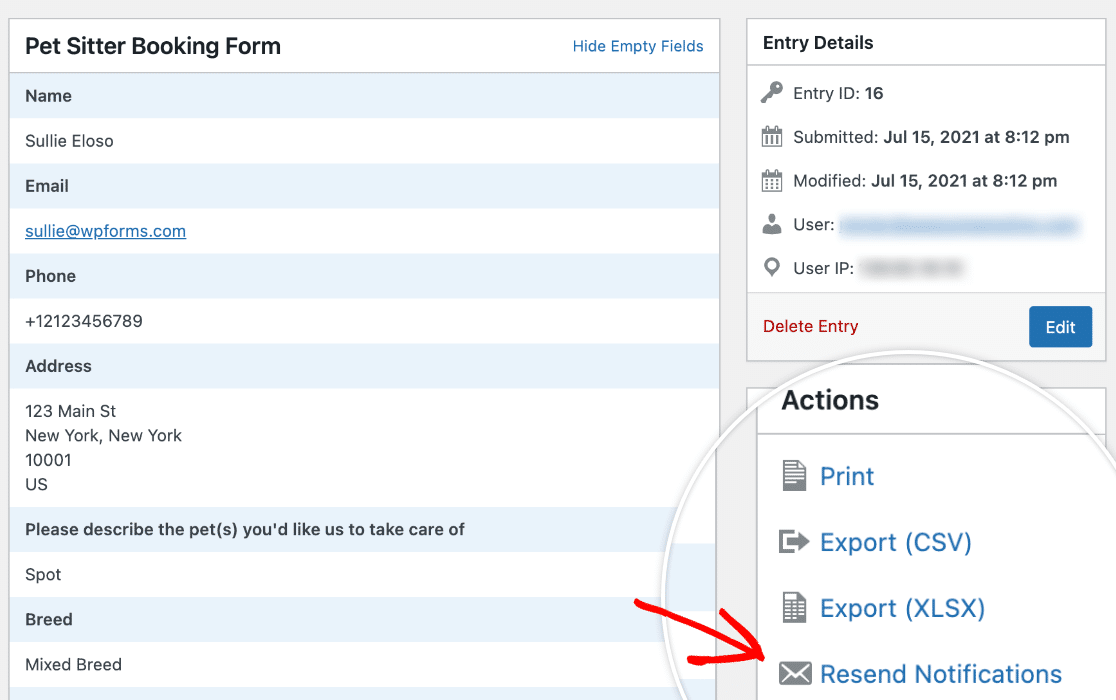
If you have the Save and Resume addon enabled for a form, this action will not be available. This is because the Resend Notifications option sends out all the notifications for the form again, not just the one with the form’s resume link. Receiving all of these messages may be confusing or annoying for your users, so we’ve disabled this action.
That’s it! Now you know how to use the Save and Resume addon so that your users can pause filling out your forms and return to complete their entries later.
Next, want to learn how to capture partial entries when users leave your forms and don’t come back to submit them? Check out our tutorial on how to use the WPForms Form Abandonment addon.

