Would you like more control over who has access to your forms? With the Form Locker addon, you can password protect your forms, limit submissions, and so much more.
This tutorial will provide a step-by-step guide to installing and using the Form Locker addon in WPForms.
In This Article
Requirements:
- You’ll need a Pro license level or higher to access the Form Locker addon
- Ensure that you’ve installed the latest version of WPForms to meet the minimum required version for the Form Locker addon
Getting Started
First, you’ll need to be sure you’ve installed and activated WPForms. Once that’s all set, go ahead and install the Form Locker addon.
All settings for the Form Locker addon are within the form builder. To view these options, you’ll need to create a new form or edit an existing one.
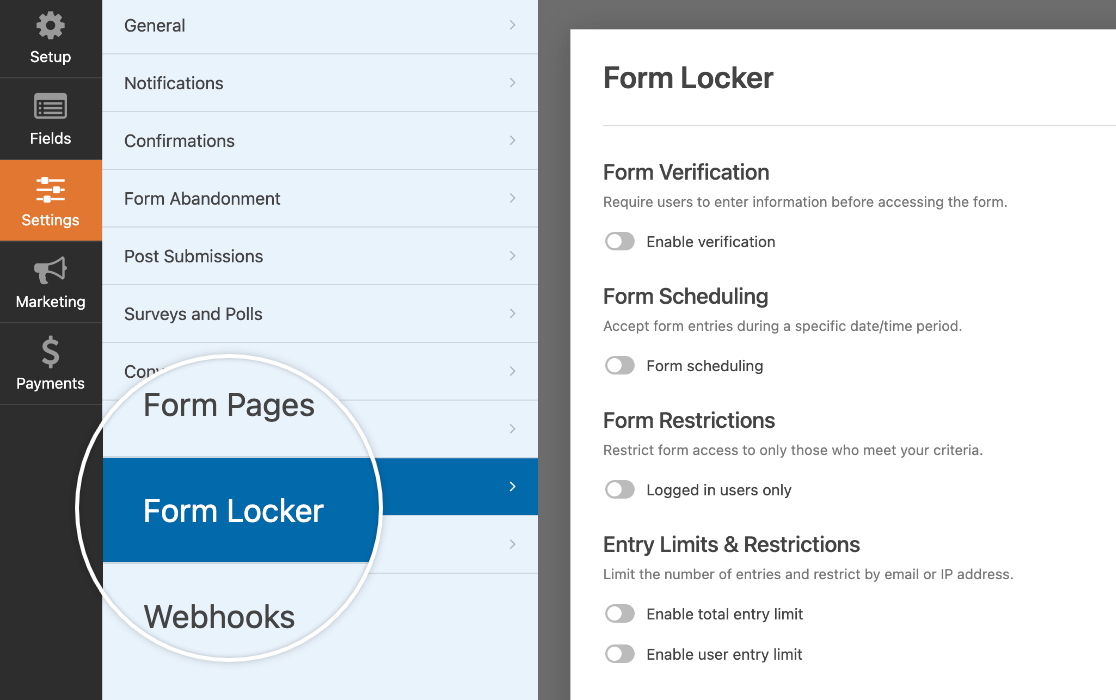
After opening the form builder, go to Settings » Form Locker to check out the Form Locker options. We’ll discuss each in more detail below.
Requiring User Verification
If you’d like for users to enter some information before accessing your forms, you can use the Form Locker addon’s Form Verification options to require them to do so.
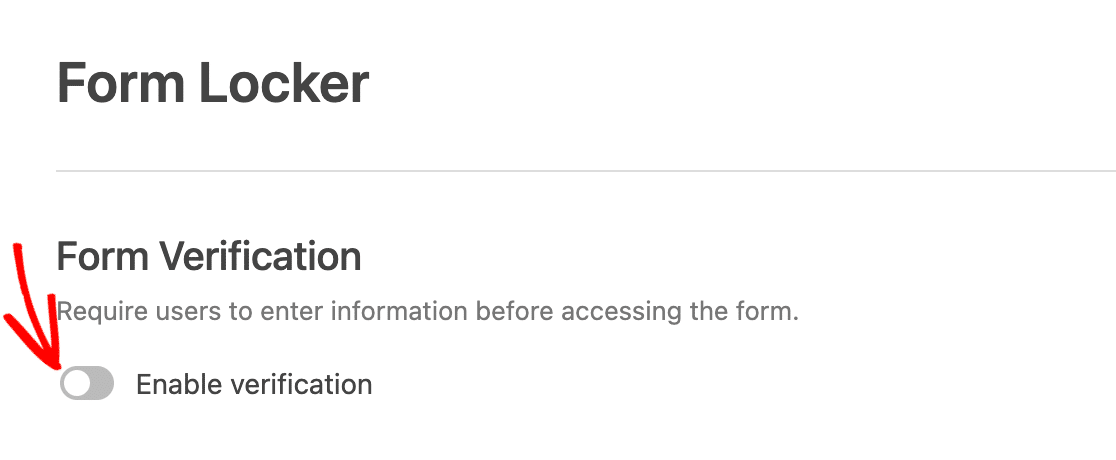
First, toggle on the Enable verification option in the Form Locker settings.
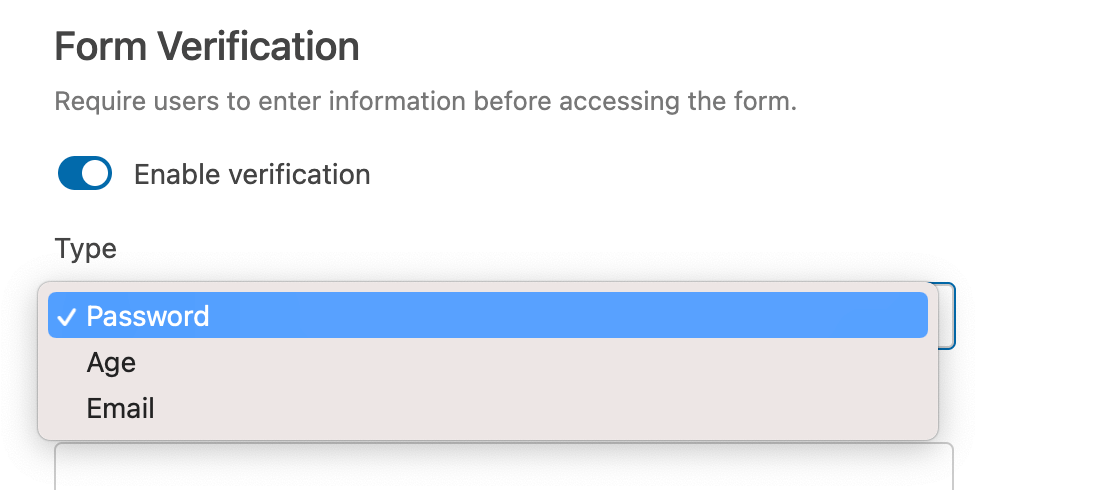
Then select from 3 verification types: Password, Age, or Email.
Requiring a Password for Form Access
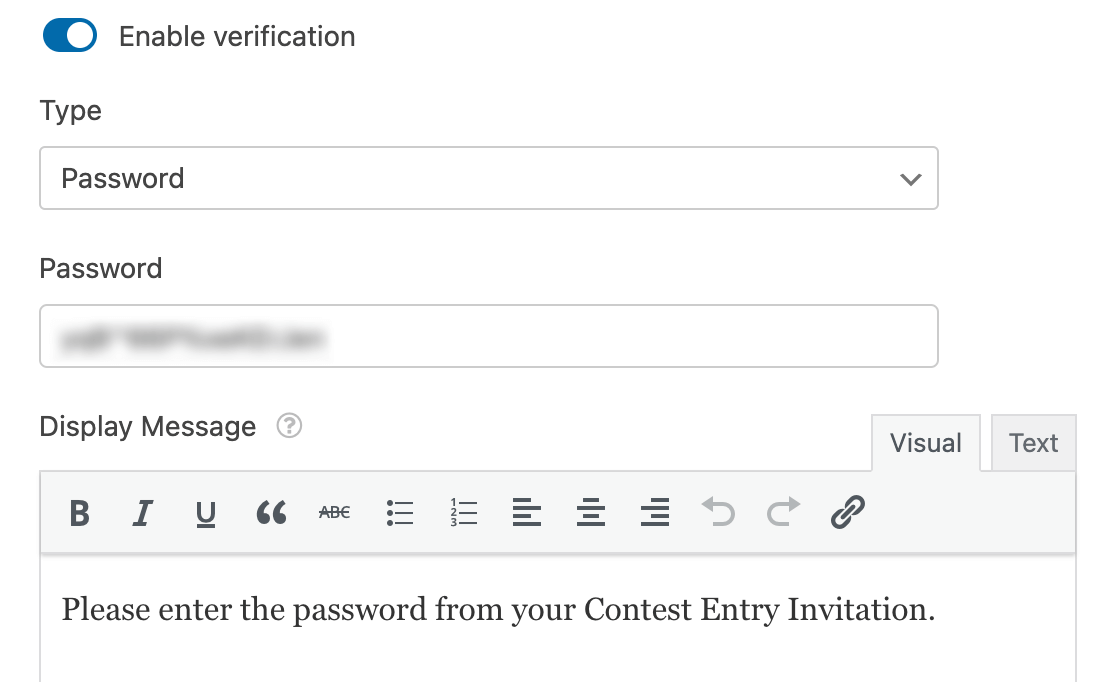
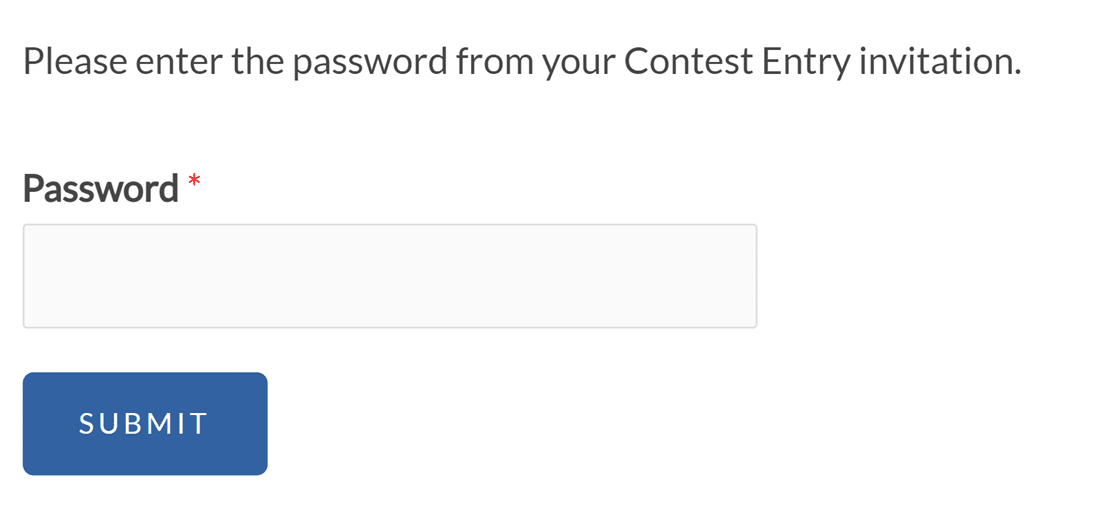
The Password form verification option will require all users to enter a specific password before they can see your form. You can set any password you’d like, and write a message that will display above the Password field.
Here’s an example of how the form verification password field and message look on the frontend.
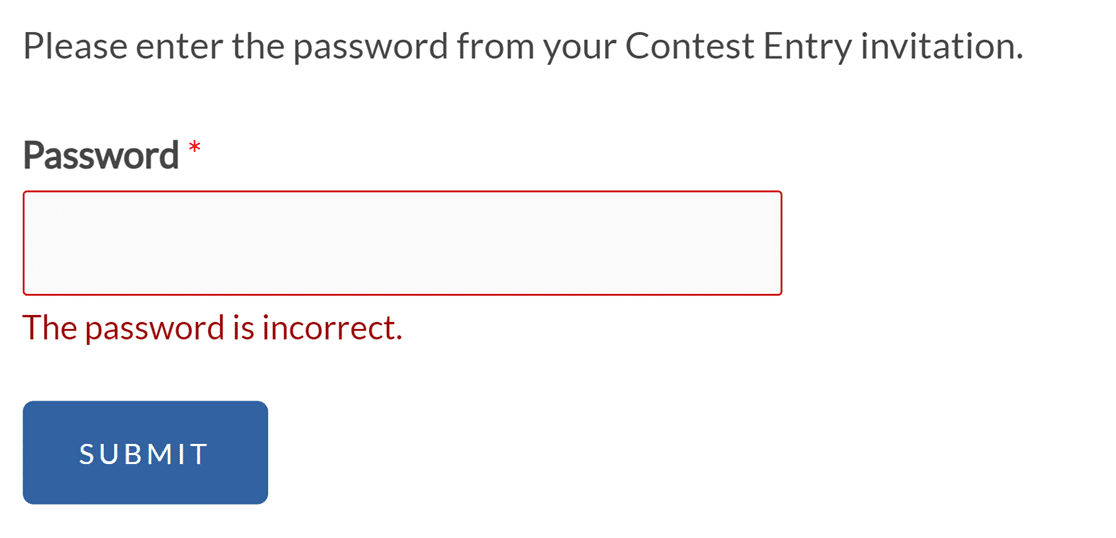
If users enter an incorrect password, they will see a validation message that reads, “The password is incorrect.”
Restricting Form Access by Age
The Age verification option will require users to enter their birthdates to prove their age before they can view your form.
Under Criteria, enter an age in years. Then select from the following options:
- Minimum: Users must be at least this old to view the form.
- Equal to: Users must be exactly this age to view the form.
- Maximum: Users must be younger than this age to view the form.
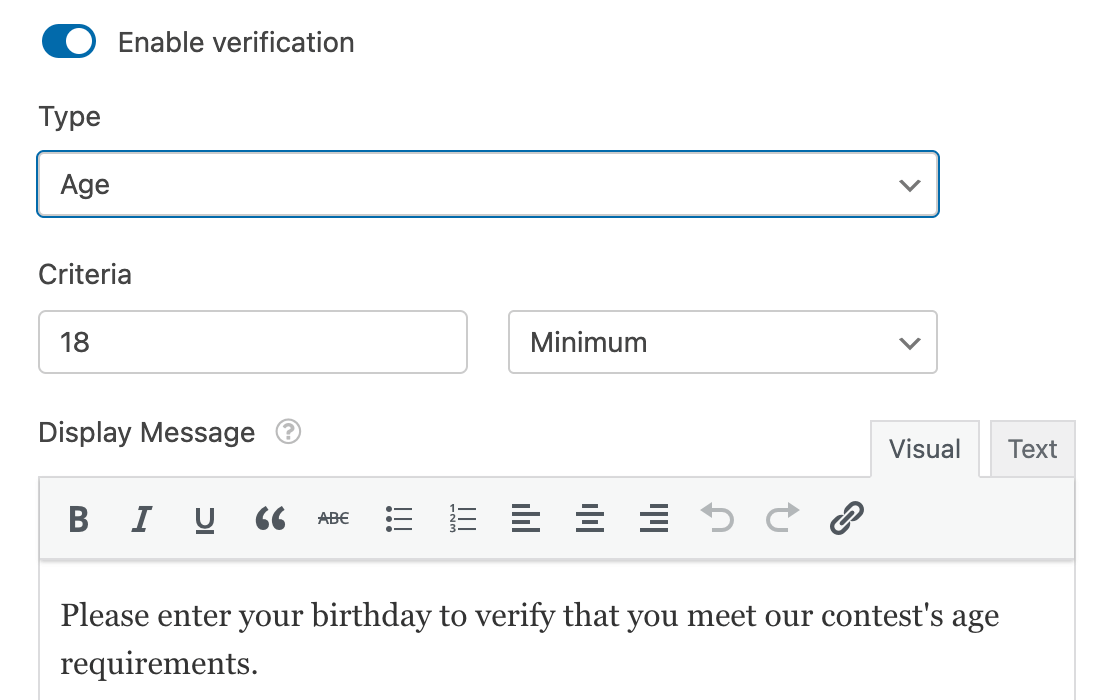
You can also enter a message that will appear above the age verification fields.
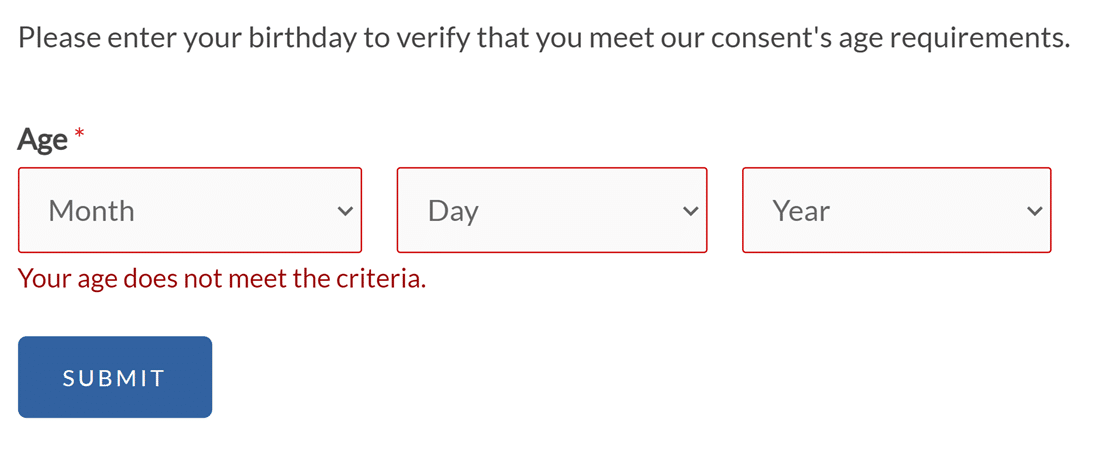
On the frontend, users will see 3 dropdowns they’ll use to enter their birthdates.
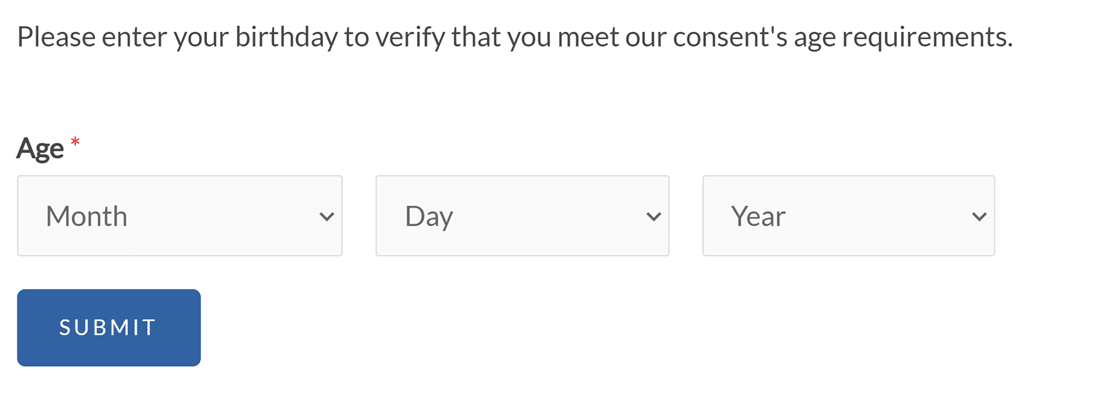
If their age does not meet the requirements you’ve set, they will see a message that reads, “Your age does not meet the criteria.”
Note: Need to alter the age verification message in your form? Our developer documentation provides a detailed guide on customizing this message to fit your needs.
Verifying Form Access by Email
Another way to verify users’ identities before allowing them to see your form is to implement email verification. This can help reduce spam entries.
If you like, create a custom message to display above the email field.
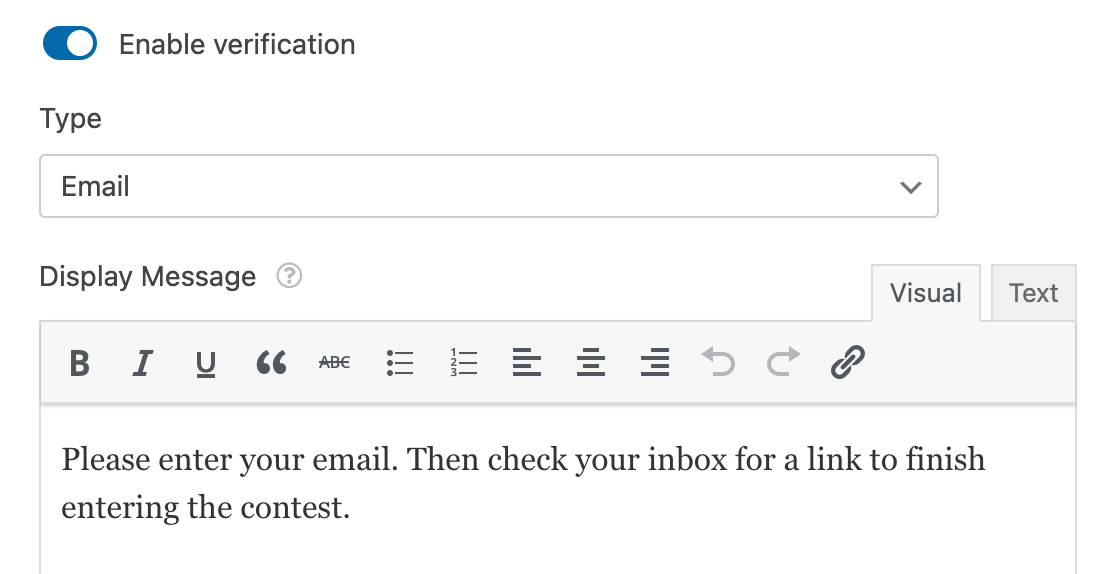
On the frontend, users will be asked to provide their email addresses.
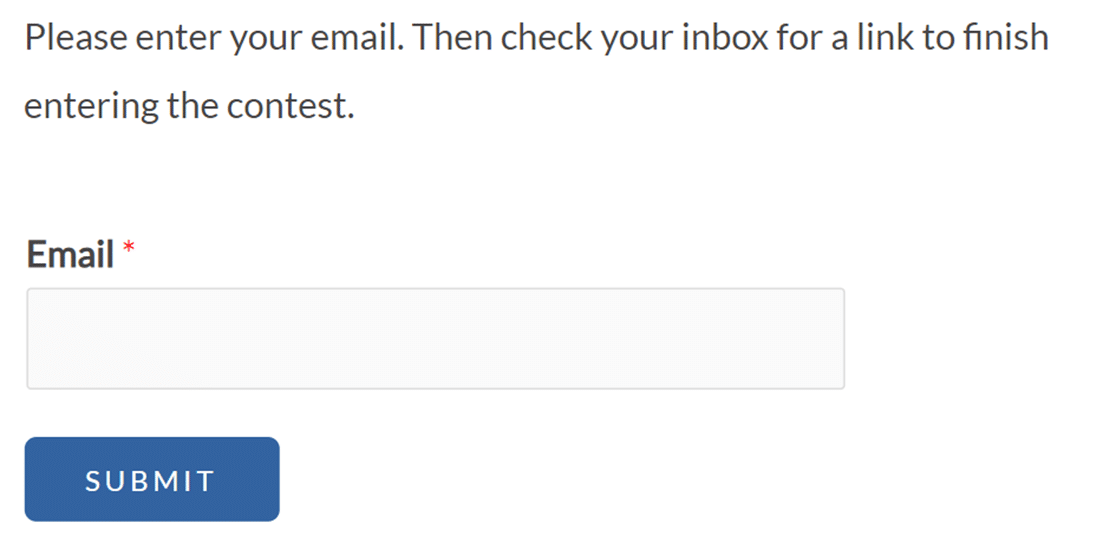
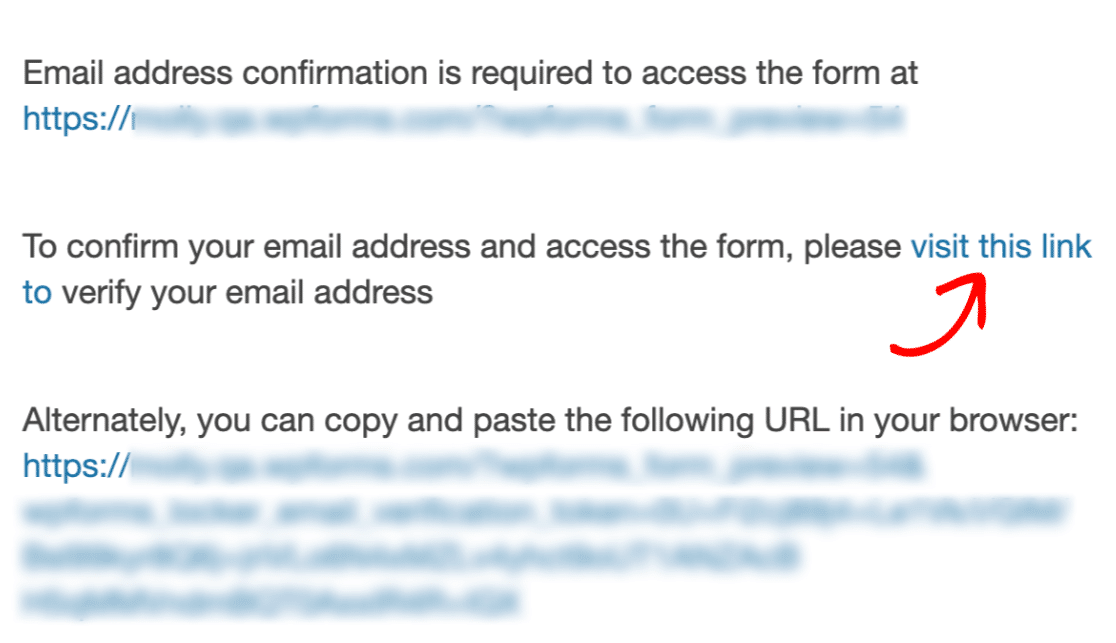
Once they submit an email address, they’ll see a message instructing them to check their inbox for their verification link.

They’ll then need to click on the link in the email to view your form and fill it out.
Scheduling Form Access
The Form Scheduling option allows you to set the date and time that a form will become accessible, as well as when it will close and stop accepting submissions. To enable this feature, toggle on the Form scheduling setting.

Once this setting is turned on, additional fields will display:
- Start Date and Start Time: When to automatically open the form.
- End Date and End Time: When to automatically close the form.
- Closed Message: Displayed in place of the form when the schedule determines that the form is not available.
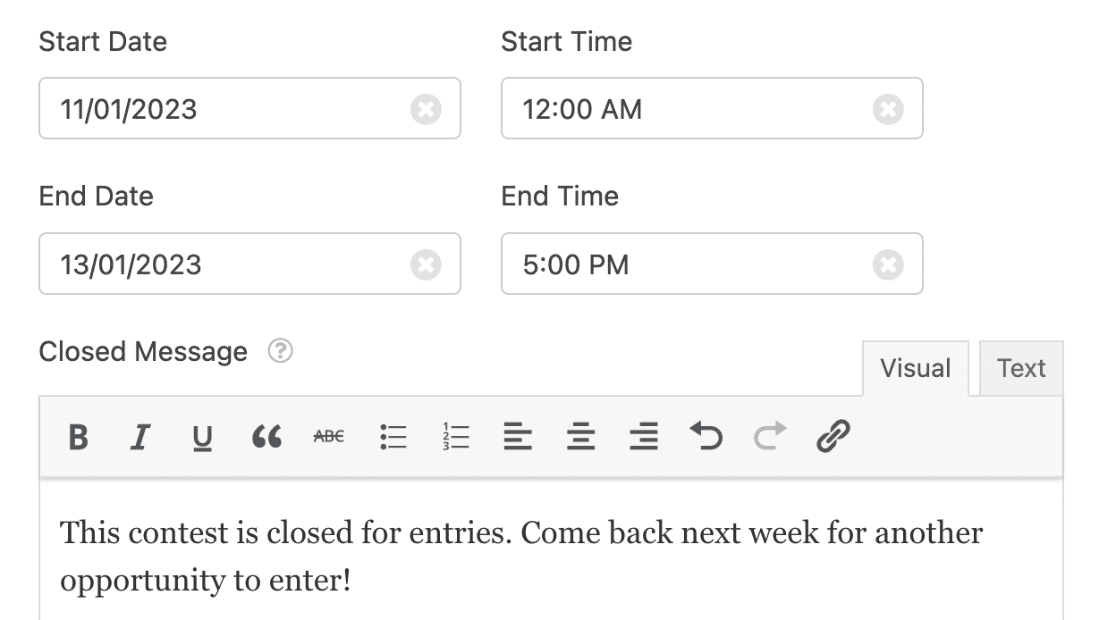
You can also leave the End fields blank and only set a time for the form to open, or vice versa.
If users access your form before or after the open period, they’ll see the closed message you specified in the Form Locker settings.

Restricting Access to Logged-In Users
In some cases, you may want to only allow logged-in users to view your form. The Form Restrictions option lets you enforce this.
To enable this feature, toggle on the Logged in users only setting. Then you can enter a message to display to visitors who try to access your form but aren’t logged in.
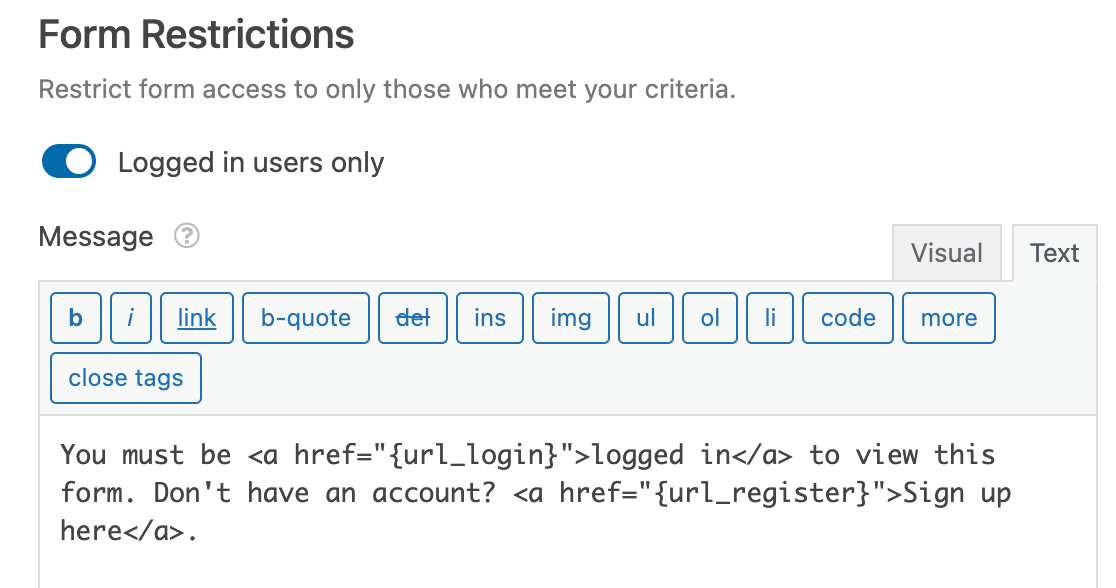
This is how our example message looks on the frontend.
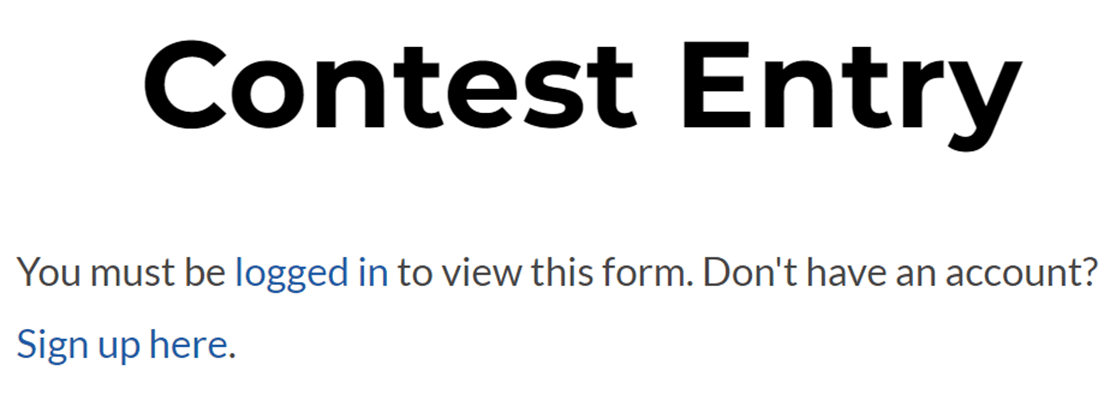
Note: Want to display links to your site’s login and registration pages like in our example above? See our complete guide to using Smart Tags in WPForms for more details.
Limiting Entries
In some scenarios, you may want to limit the number of entries a form will accept or prevent users from submitting your form multiple times. The Form Locker addon enables you to do both.
Limiting the Total Number of Entries for a Form
If you want to place a cap on the number of entries allowed for a form, toggle on the Enable total entry limit option in the Form Locker settings.

Once this option is turned on, additional fields will display:
- Limit: The maximum number of total entries allowed for the form.
- Closed Message: The message that will display after the entry limit is reached.
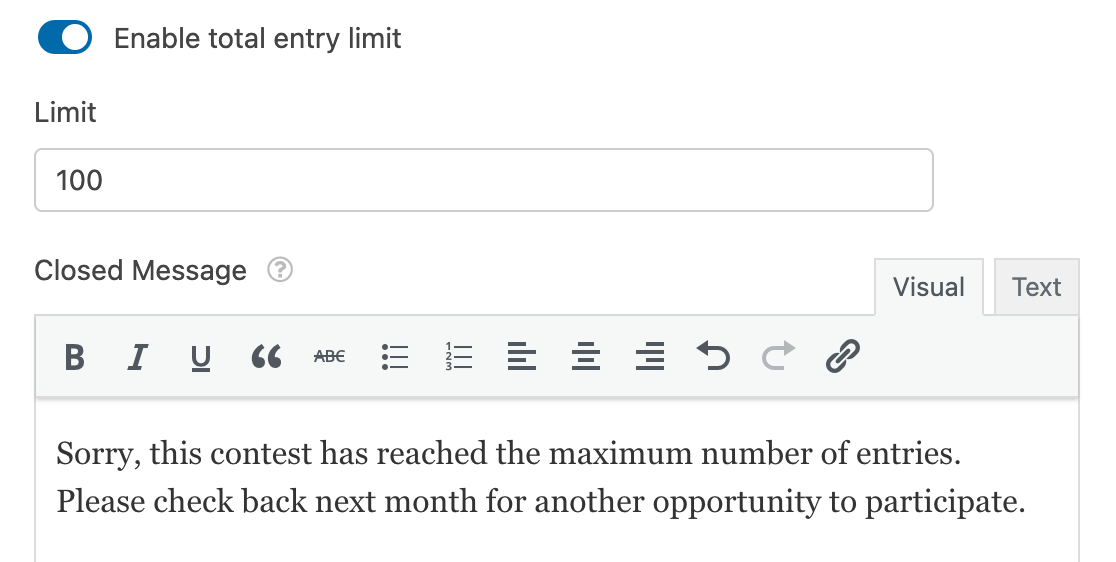
On the frontend, users will see your message displayed like so once the maximum number of entries have been submitted.

Note: To display the remaining number of entries allowed for a form, you can use a specific PHP code snippet. For guidance on implementing this functionality, please refer to our developer documentation.
Limiting Entries from the Same User
If you’d like to prevent the same user from submitting multiple entries, you can limit the number of submissions from a single IP address, email address, or both.
First, toggle on the Enable user entry limit option.

Then check the box(es) for the value(s) you want to use to limit entries.
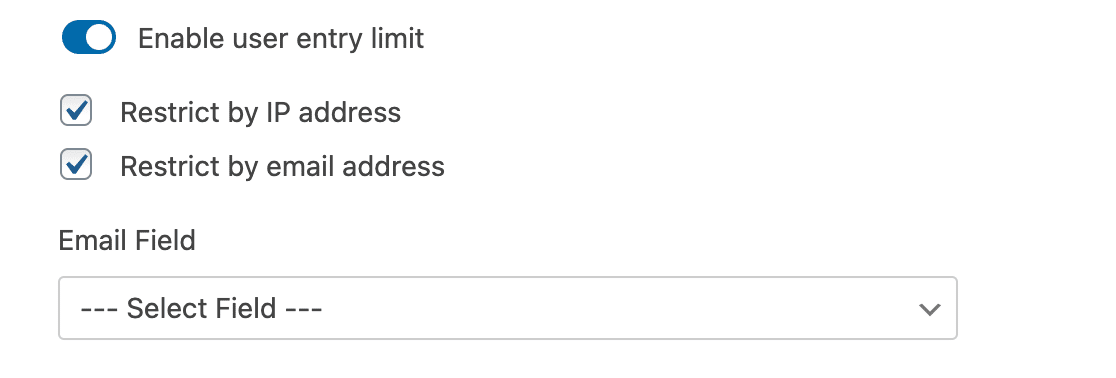
If you select the Restrict by email address option, you’ll also need to specify which field in your form contains the user’s email by selecting it from the Email Field dropdown.
Next, enter the maximum number of entries you want users to be able to submit in the Limit field. Then use the dropdown next to it to select how you want the limit to apply. Below, we’ve outlined the available options:
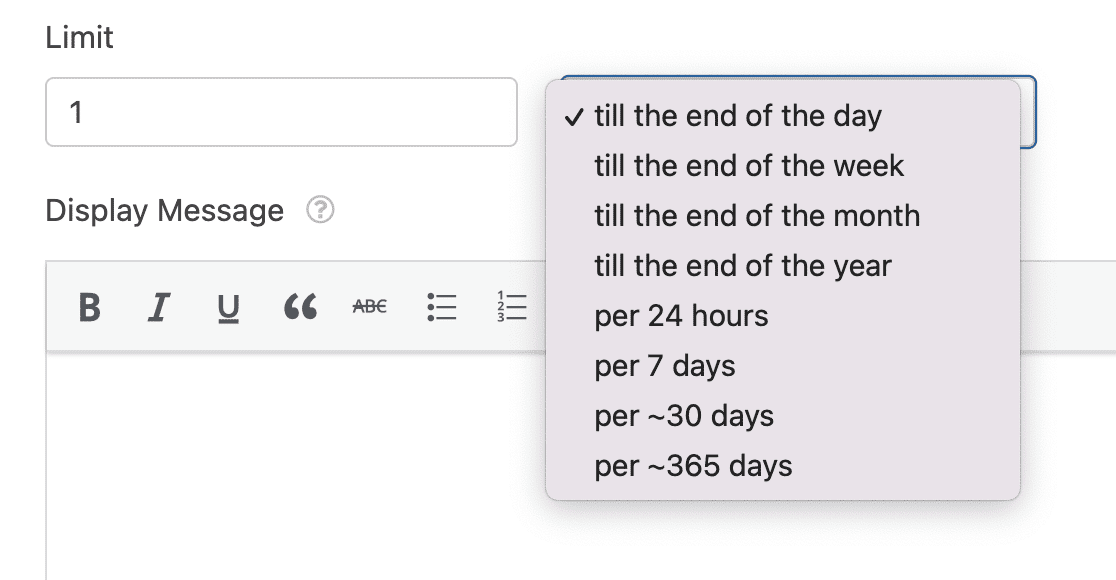
- Till the end of the day
- Till the end of the week
- Till the end of the month
- Till the end of the year
- Per 24 hours
- Per 7 days
- Per ~30 days
- Per ~365 days
For our example, we’ll set the limit to 1 entry per user till the end of the month. This option would reset the form and allow the user a new entry at the beginning of each month.
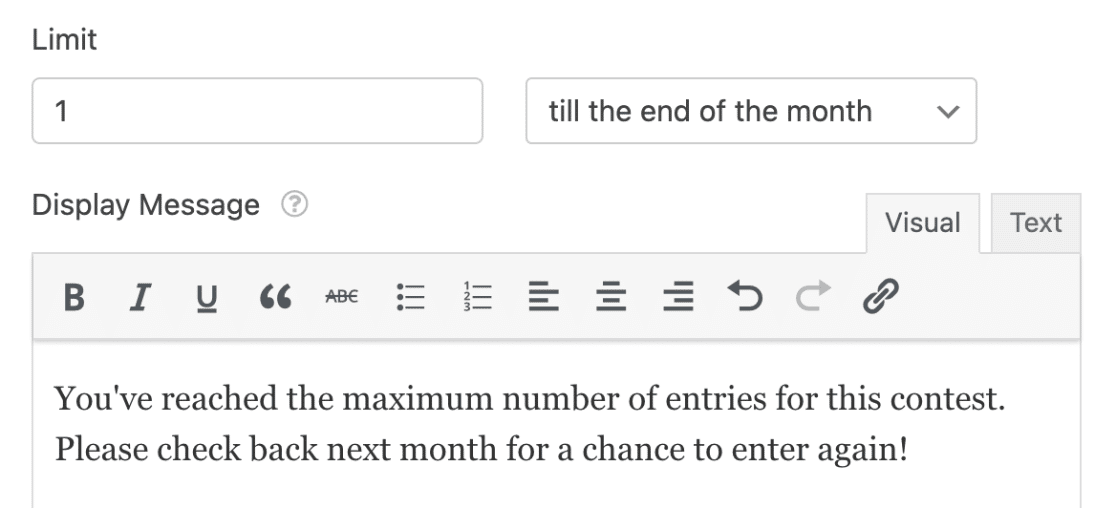
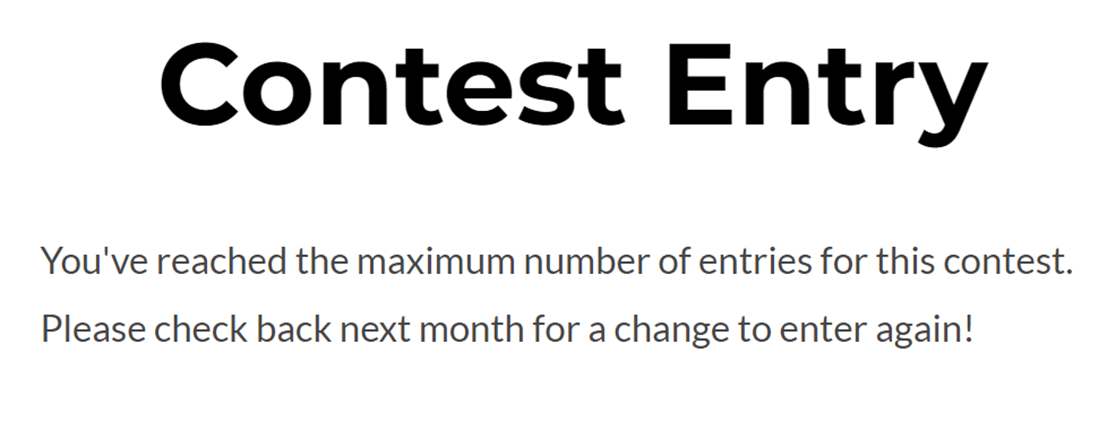
Finally, enter the message you want to display to users who reach the entry limit. On the frontend, it will look something like this.
Requiring Unique Answers in Form Fields
Another way that you can limit entries for a form is to require unique answers for certain fields. This can prevent submissions with the same name, email, or other identifying details.
You can require unique answers for the following field types:
- Name
- Phone
- Website
- Password
- Single Line Text
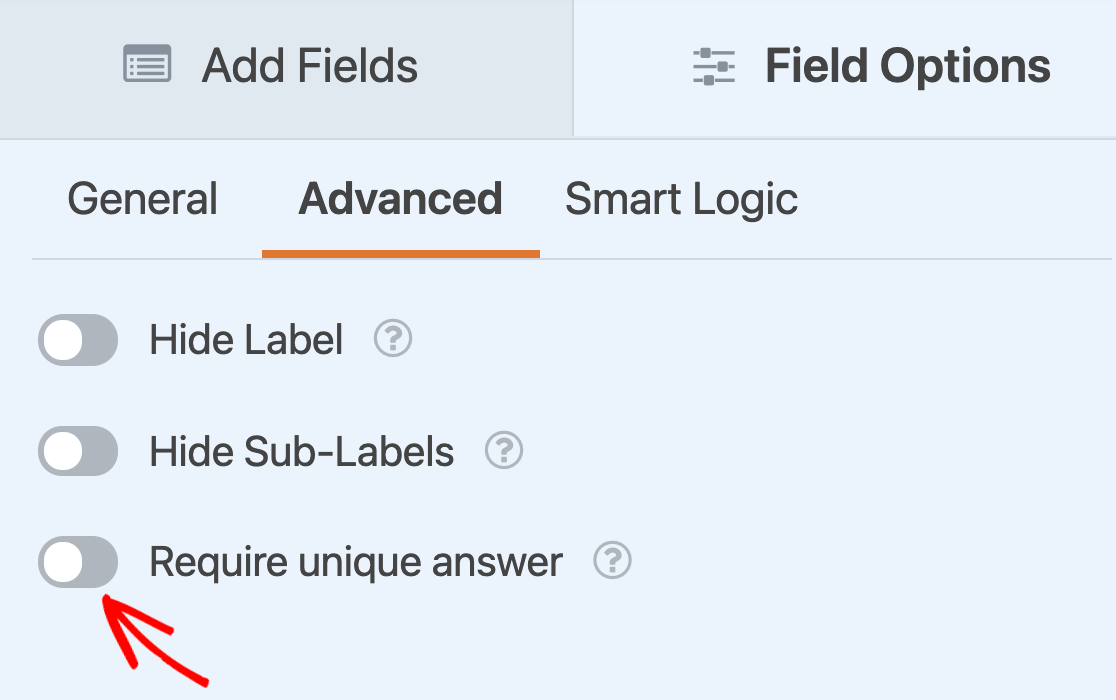
To do so, click on the field in the form builder’s preview area to open the Field Options panel. Then click on the Advanced tab.

Next, scroll to the bottom of the advanced field options and toggle on the Require unique answer setting.
When this form is published, if a user tries to enter an email address that has been submitted before, they’ll see a message reading, “The value must be unique.”

Note: Want to customize the error message for fields that require unique answers? See our tutorial on changing validation messages for a step-by-step guide.
That’s it! You can now use the Form Locker addon to restrict access to your forms.
Next, would you like to collect statistics and generate reports on the data collected in your forms? Be sure to check out our Surveys and Polls addon to take your form’s functionality to the next level.
