AI Summary
Want to automatically send lead information from your WordPress forms to your Zoho CRM account? With the Zoho CRM addon for WPForms, you can connect your forms to streamline data collection and save time.
This guide will show you how to install, connect, and set up the Zoho CRM addon for WPForms.
Requirements:
- You will need the Elite license level to access the Zoho CRM addon
- Ensure that you’ve installed the latest version of WPForms to meet the minimum required version for the Zoho CRM addon
Before you get started, be sure to install and activate WPForms on your WordPress site. You will also need to sign up for a Zoho account if you don’t already have one.
Installing and Activating the Zoho CRM Addon
Once the core WPForms plugin is in place and your license is verified, you’ll be able to quickly install and activate the Zoho CRM addon.
Connecting WPForms to Your Zoho Account
The next step is to connect WPForms with your Zoho CRM account. To do this from the WordPress dashboard, you’ll need to go to WPForms » Settings and click on the Integrations tab.
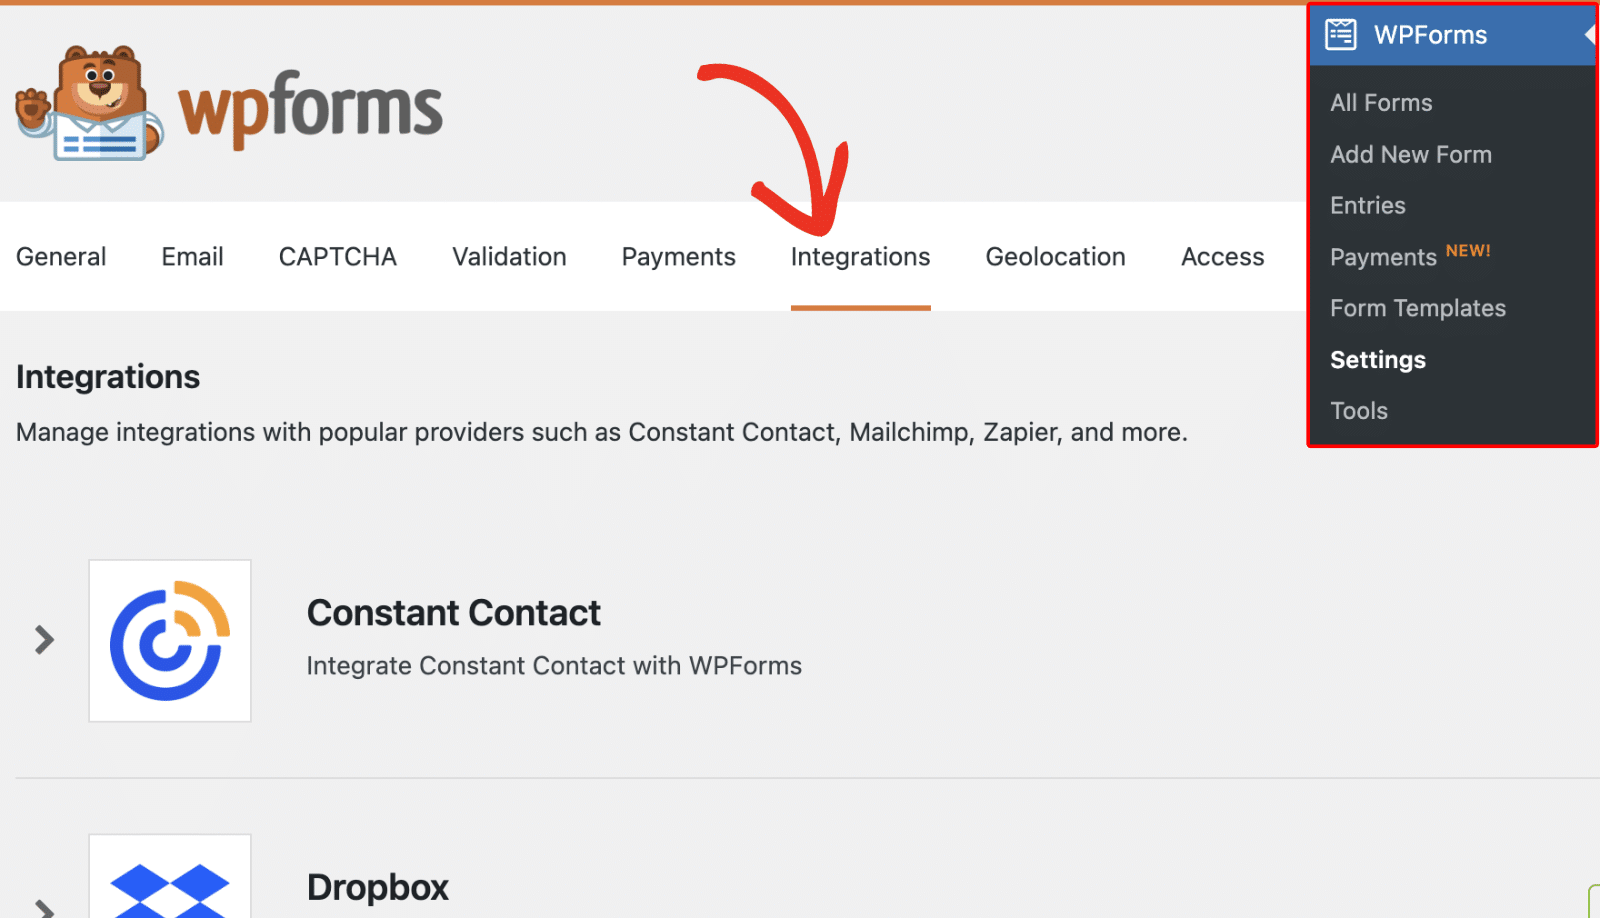
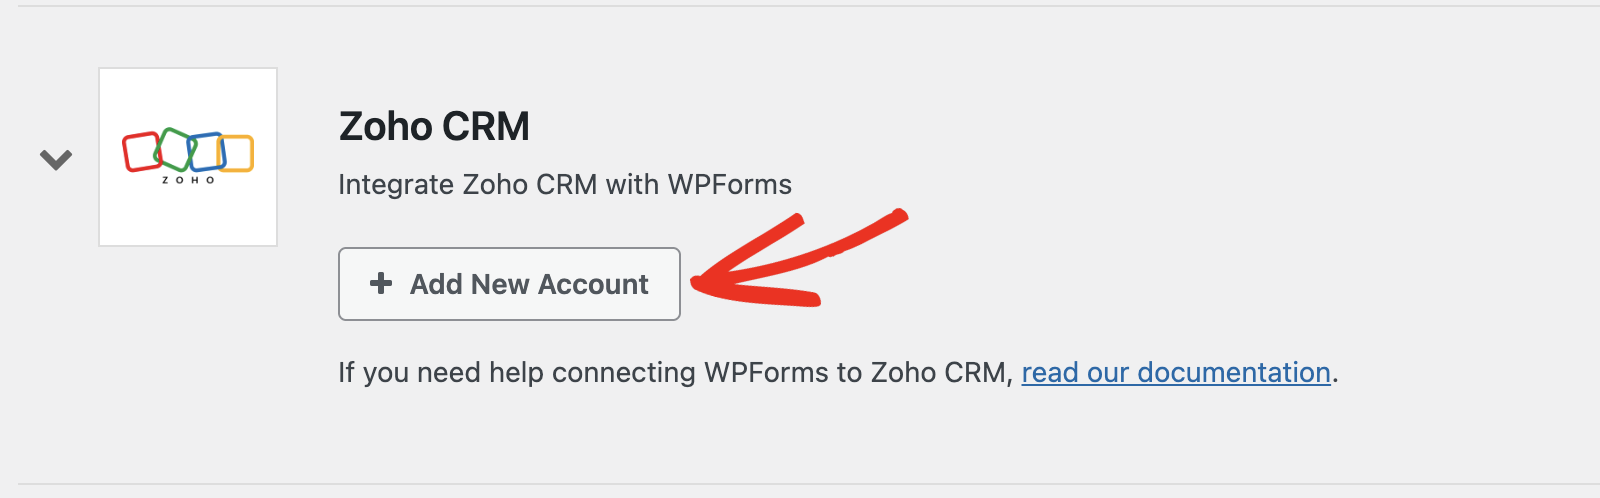
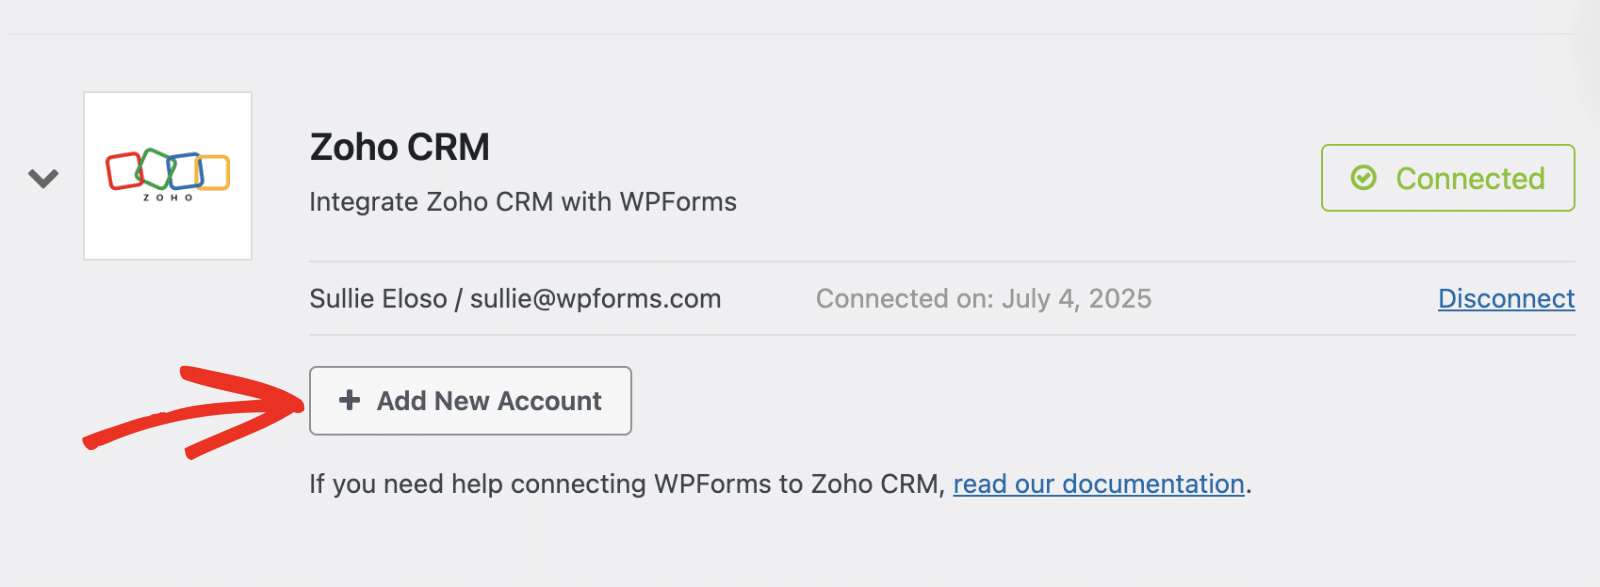
Then, click on the Zoho CRM option to expand its settings. From here, click the Add New Account button.
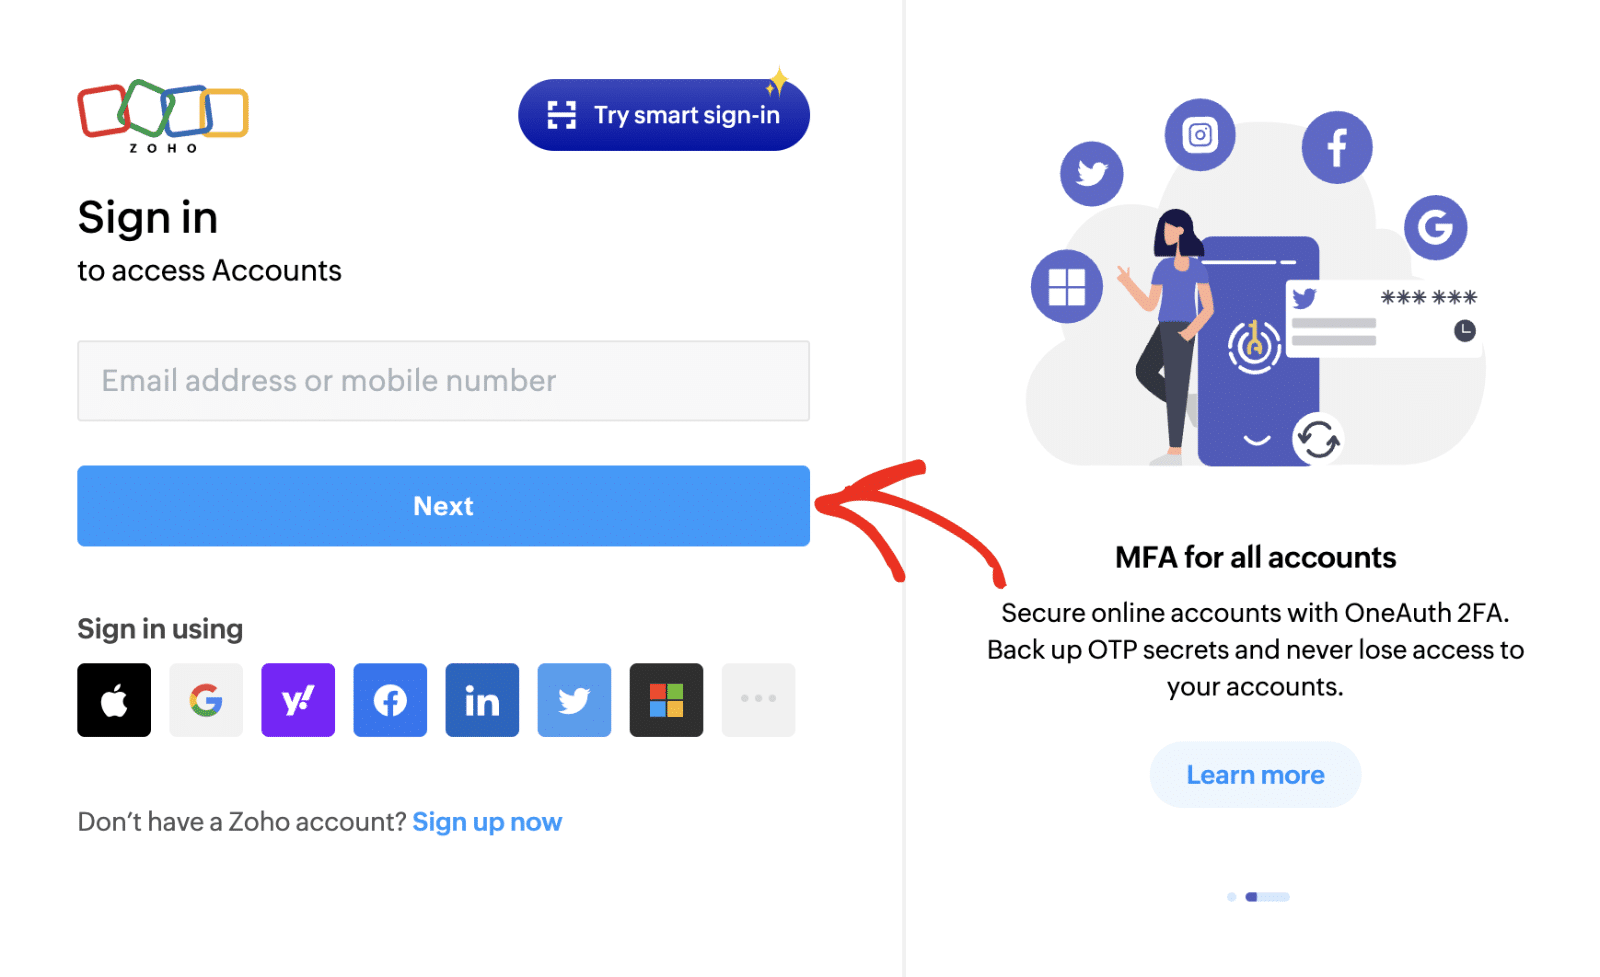
You’ll then be redirected to Zoho’s login page. If you already have a Zoho account, enter your email address and click the Next button to sign in.
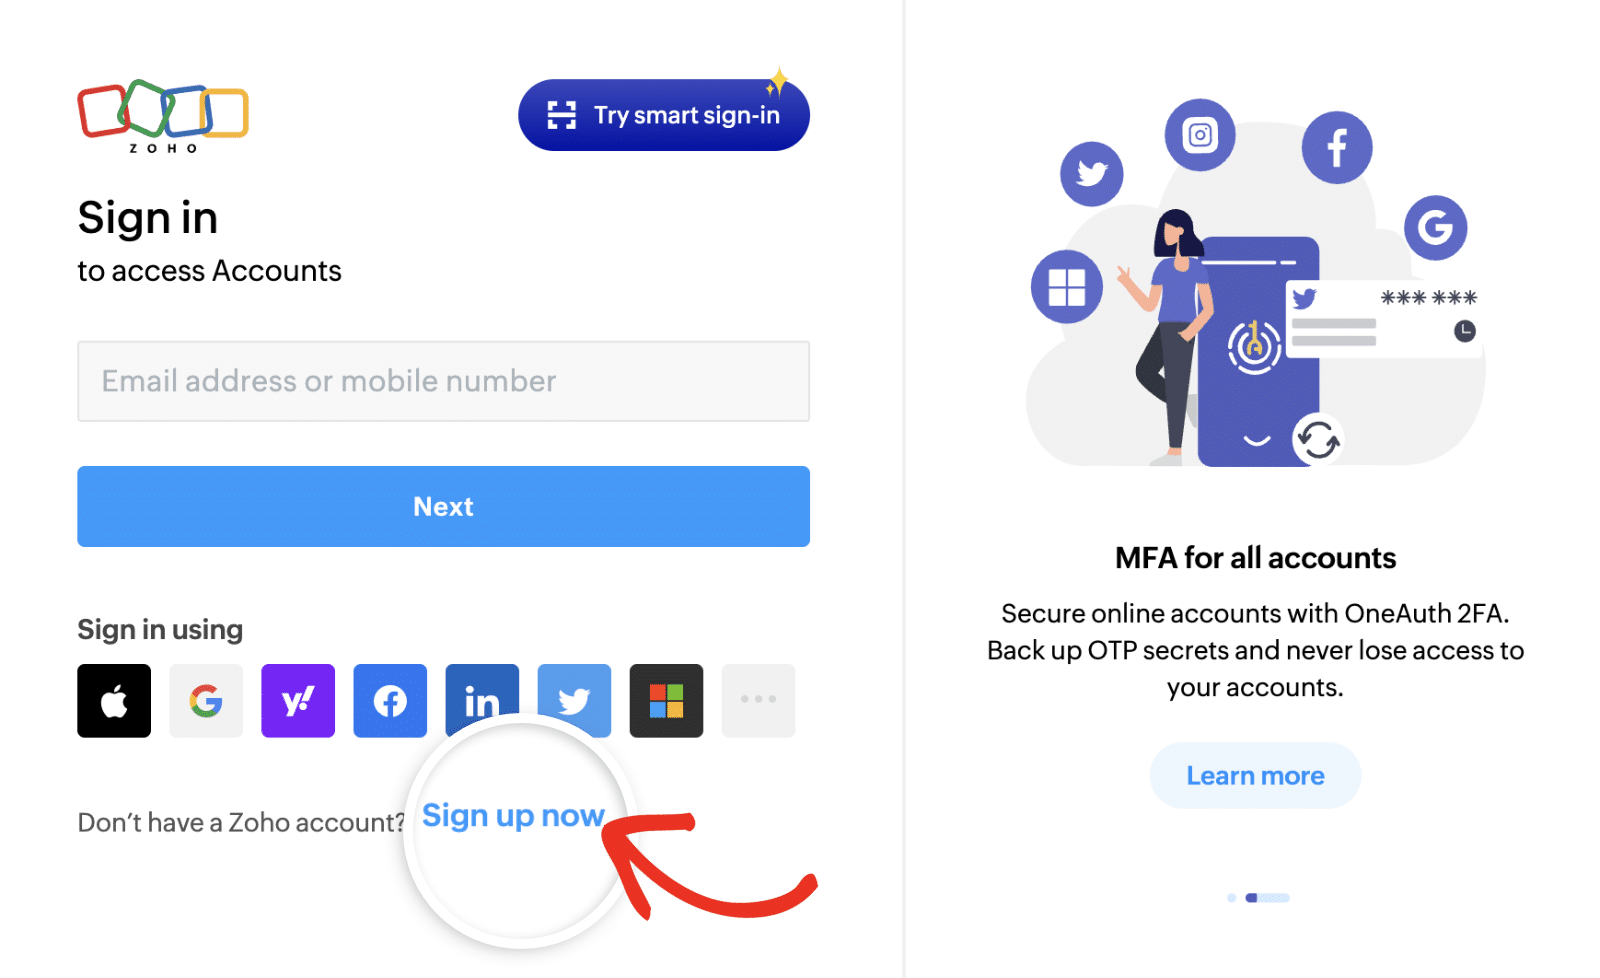
If you need to create a new Zoho account, click the Sign up now link and fill out the registration form.
Once you’ve logged in to your account, you’ll need to authorize WPForms to access your Zoho CRM data. Review the permissions and click the Accept button to continue.

Note: You’ll need to set up a company profile in your Zoho CRM account before you can connect your account to WPForms. See our FAQ section for more details.
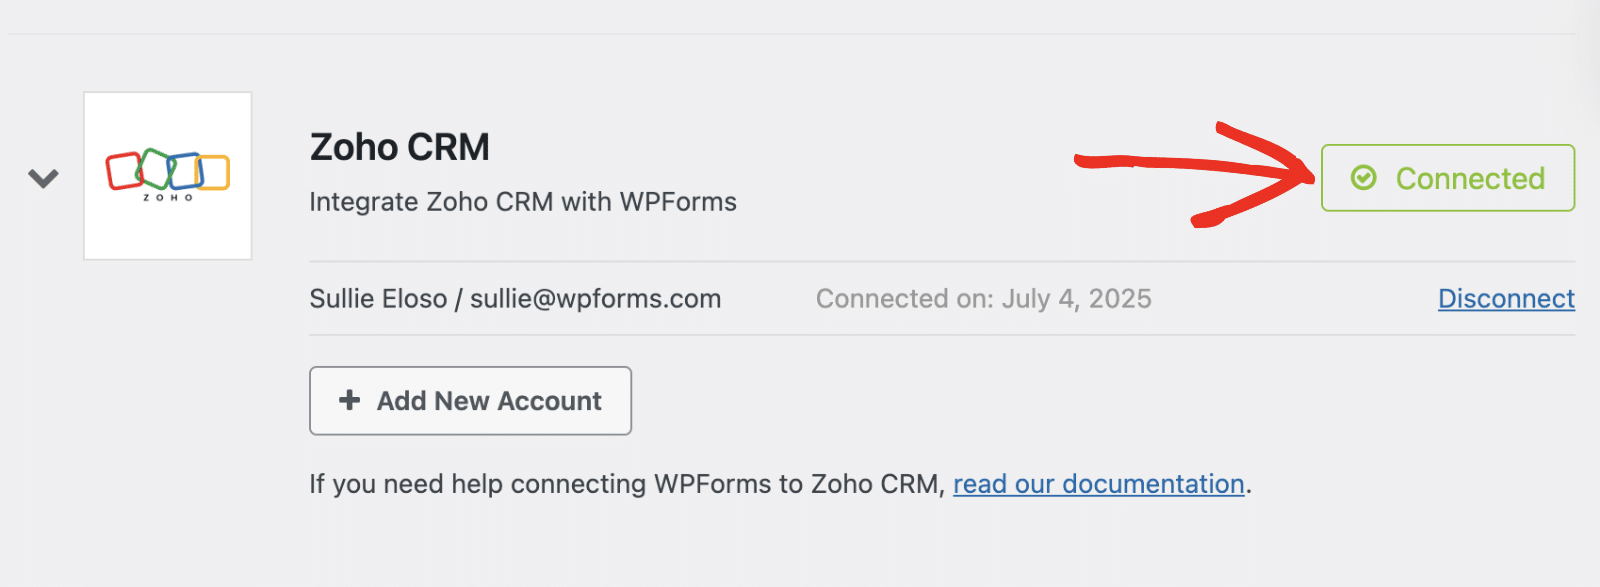
After that, you’ll be redirected back to your WordPress admin area. You should see the green Connected status along with your connection details.
Adding a Zoho CRM Connection to Your Form
After connecting your account, you’ll be able to add a Zoho CRM integration to specific forms on your site. To do this, you’ll need to create a new form or edit an existing one to open the form builder.
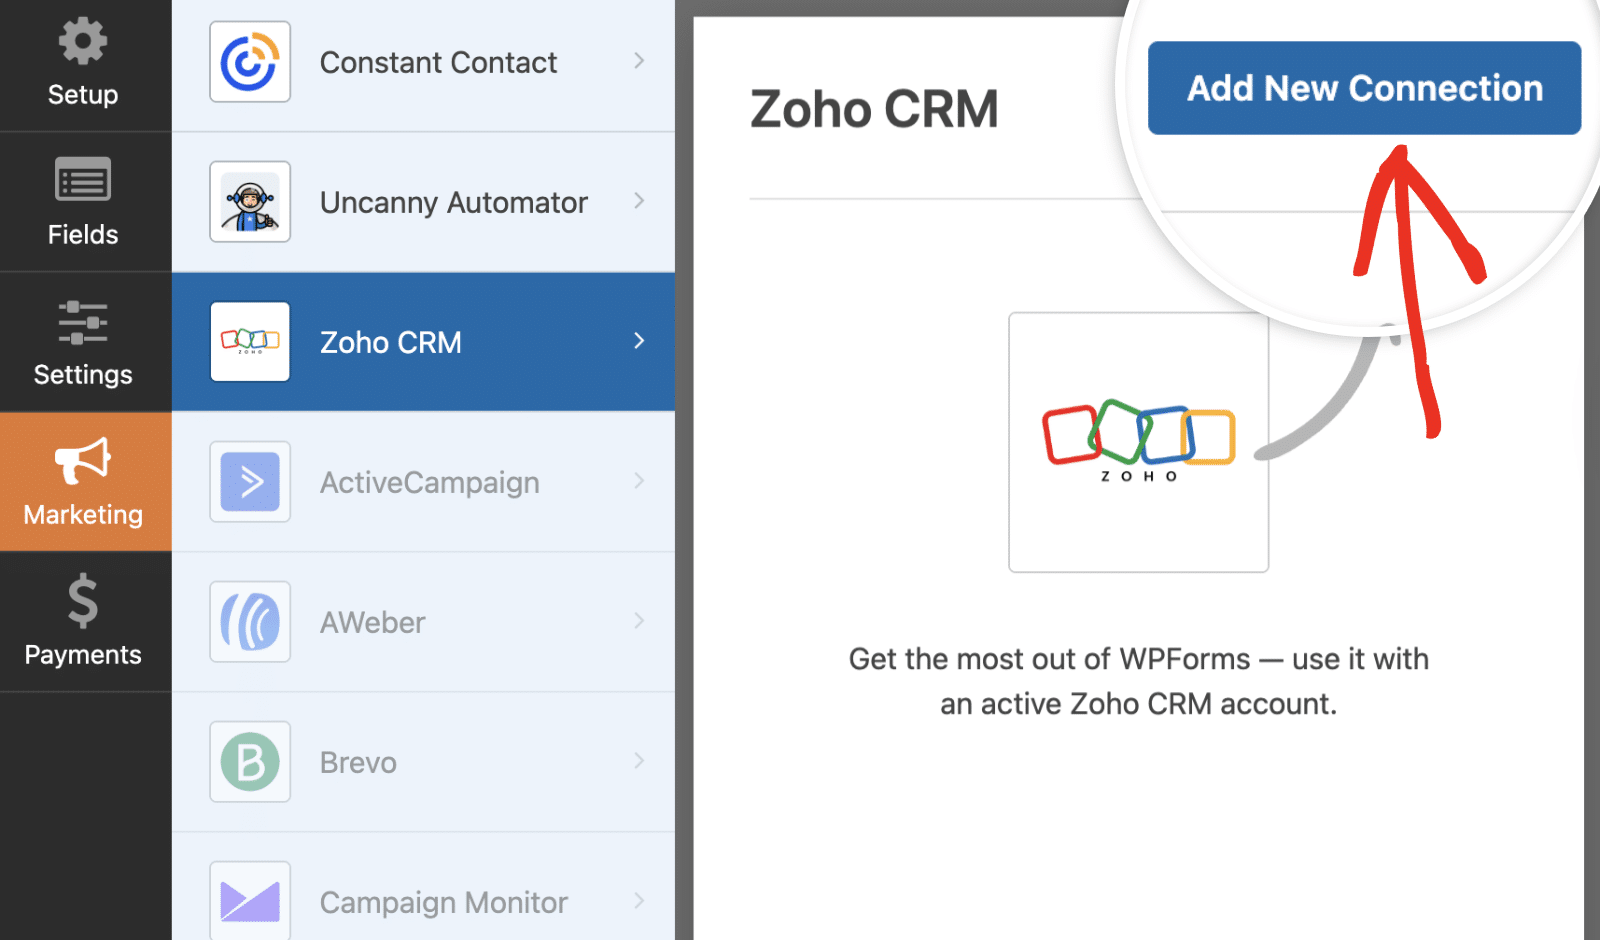
In the form builder, go ahead and add the fields you’d like to include in your form. To access the Zoho CRM settings page, go to Marketing » Zoho CRM. Once here, click the Add New Connection button to create a new integration.
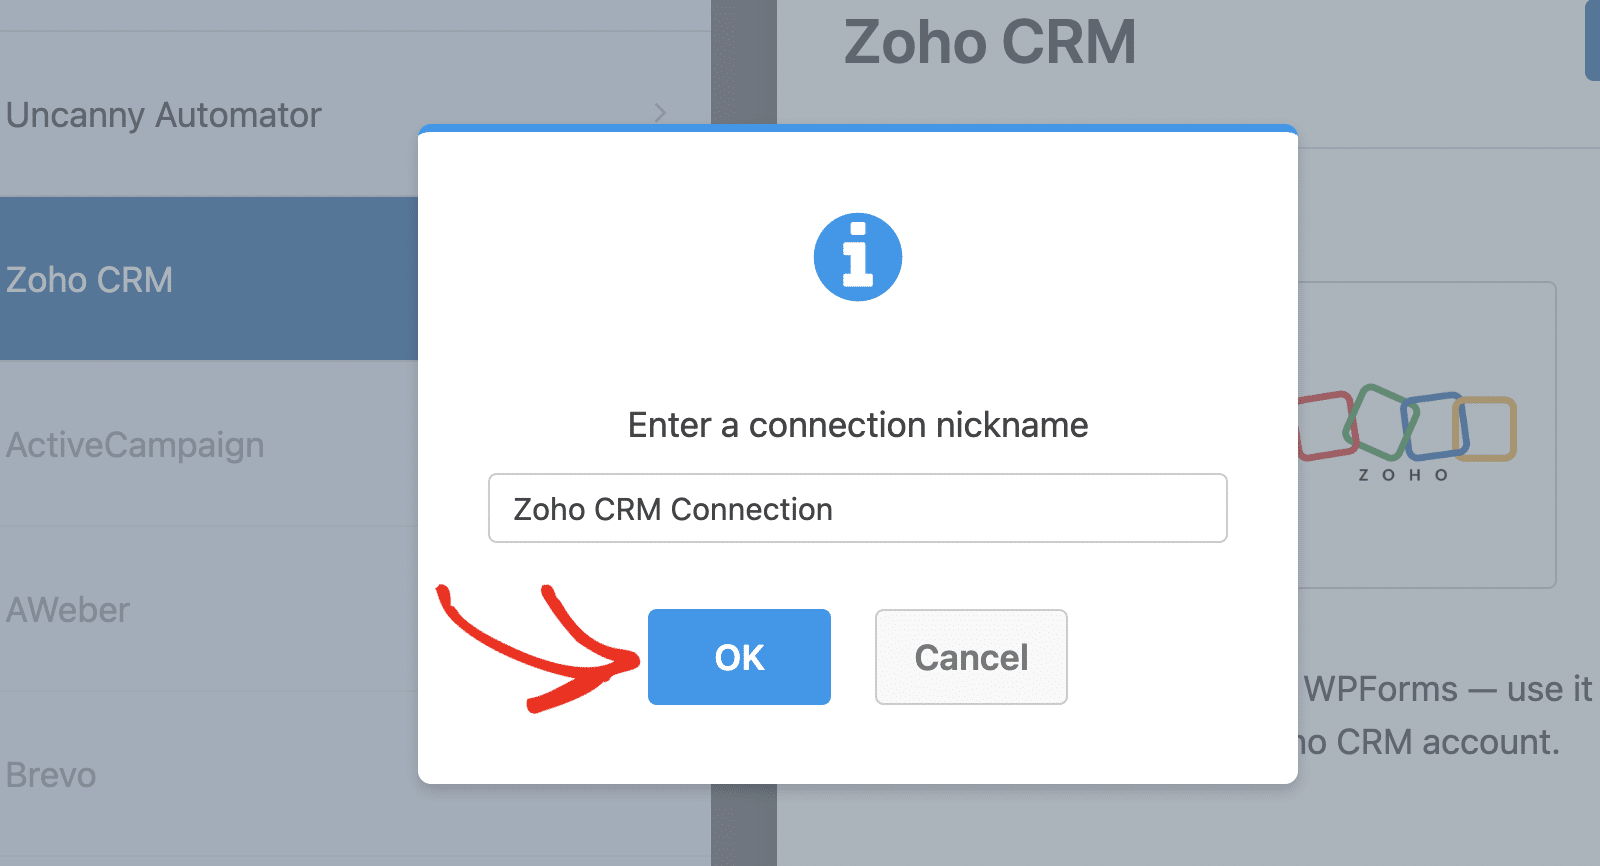
This will open an overlay where you’ll need to provide a nickname for this connection. You can use any nickname you’d like, as this is for internal reference only. Once you’ve added a nickname, click the OK button.
After you name the connection, additional settings will appear.
Setting Up Connection Actions
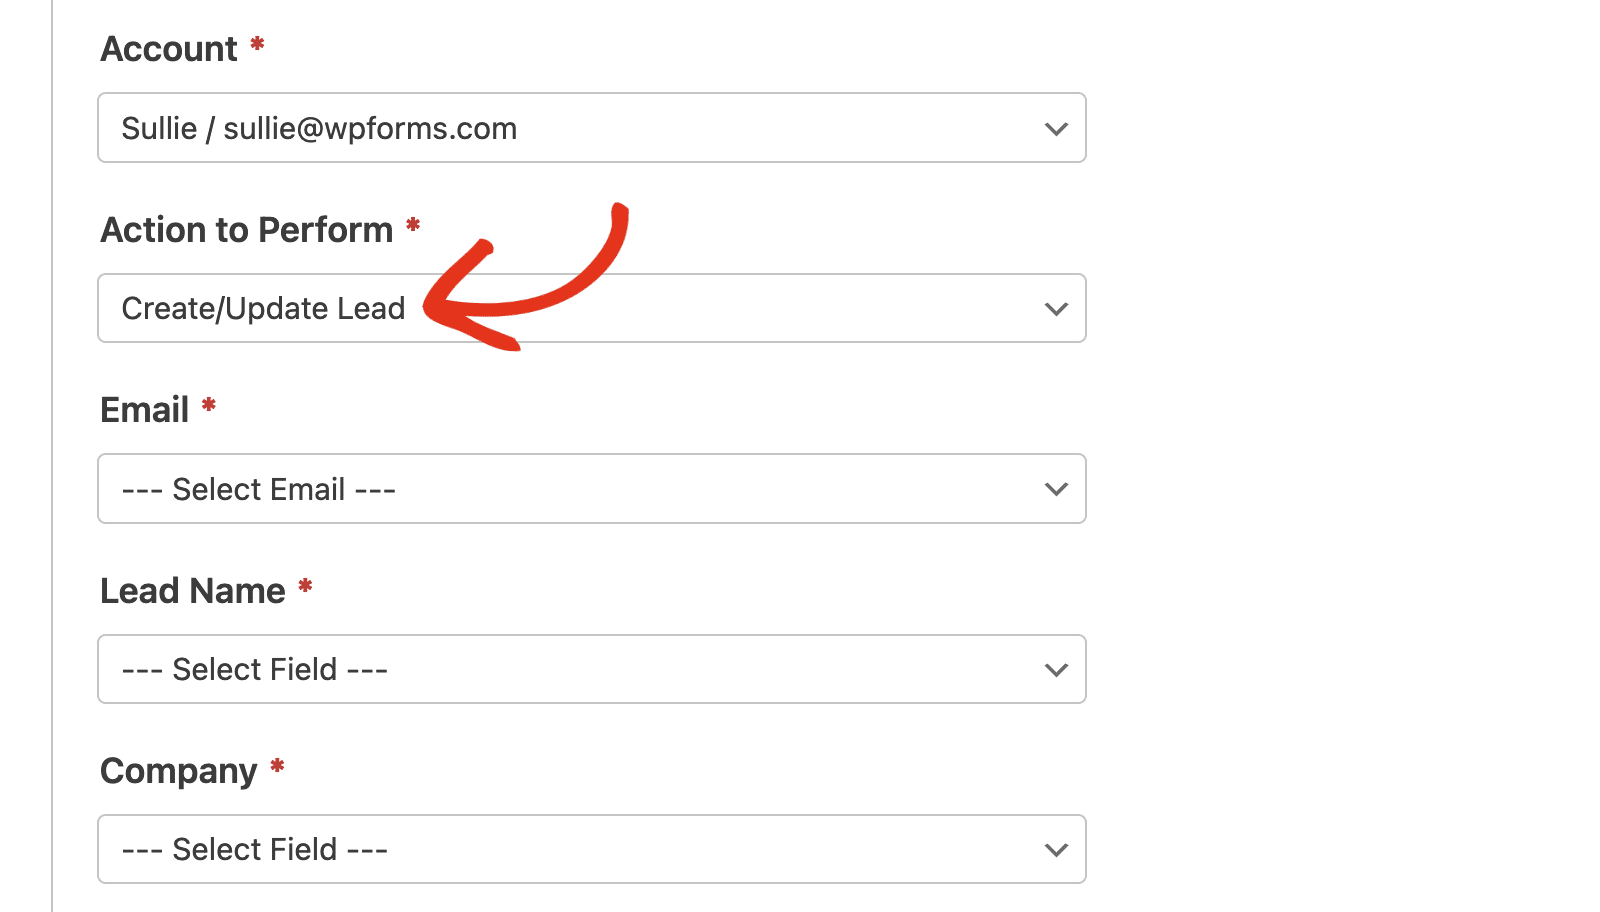
First, use the Account dropdown to select the Zoho CRM account that you’ve connected in the previous step.
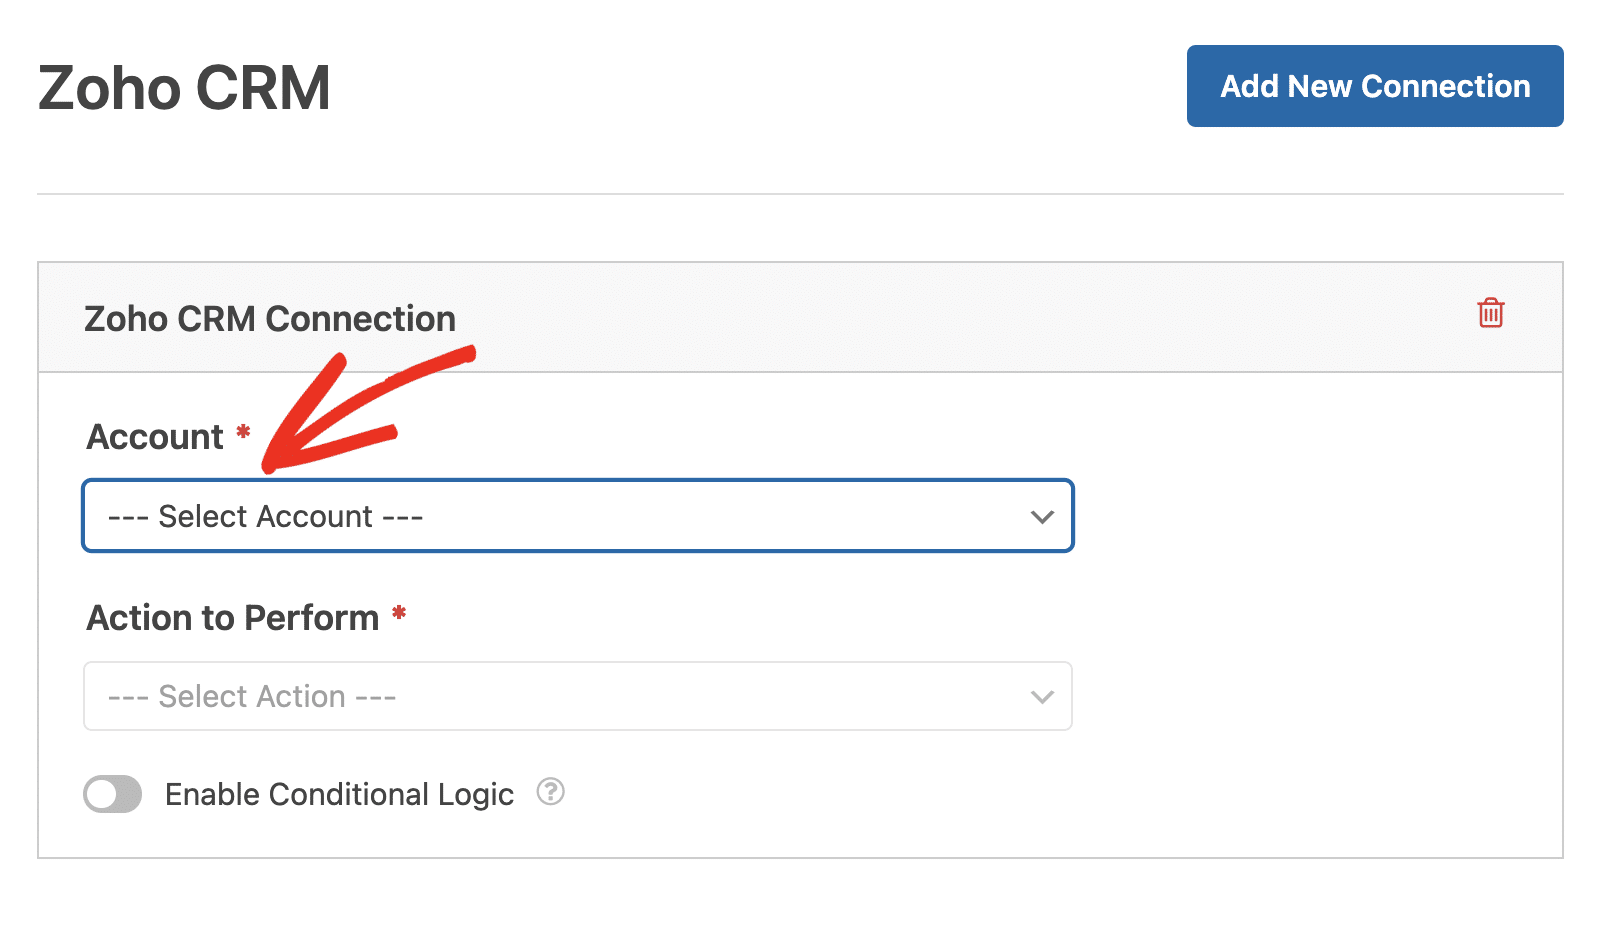
Next, you’ll need to choose an Action To Perform from the dropdown. This is the action you want to take when a user fills out your form. The option selected here will also determine which additional settings are displayed.

The available actions are:
In the following sections, we’ll cover the available actions and their related options in more detail.
Create/Update Contact
This action will add a new contact record to your Zoho CRM contact database or update an existing contact.

Below is a list of all the options available for this action. Items marked with an asterisk (*) are required:
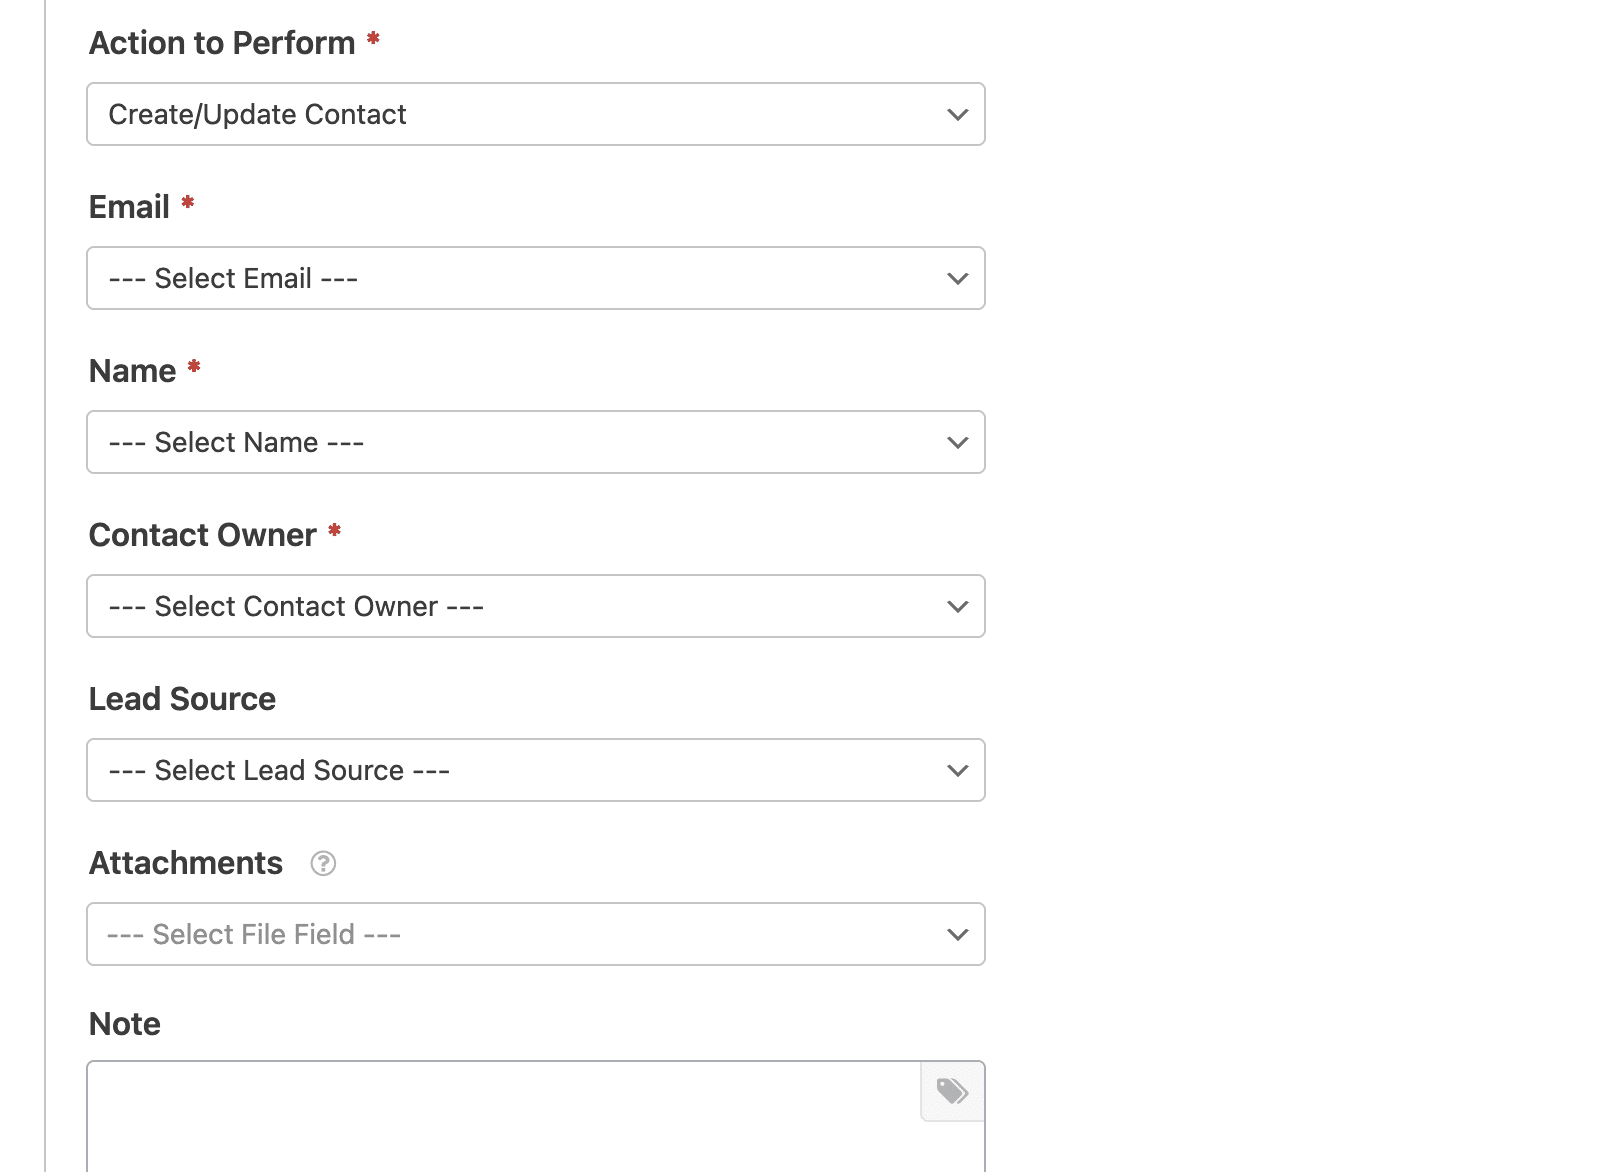
- Email*: Choose an Email field from your form.
- Name*: Select a Name field from your form to identify the contact.
- Contact Owner*: Select a contact owner to assign to the contact. This will often be the account you connected to this integration.
- Lead Source: Select a lead source to track where the contact originated.
- Attachments: Choose a file upload field from your form to attach files to the contact record.
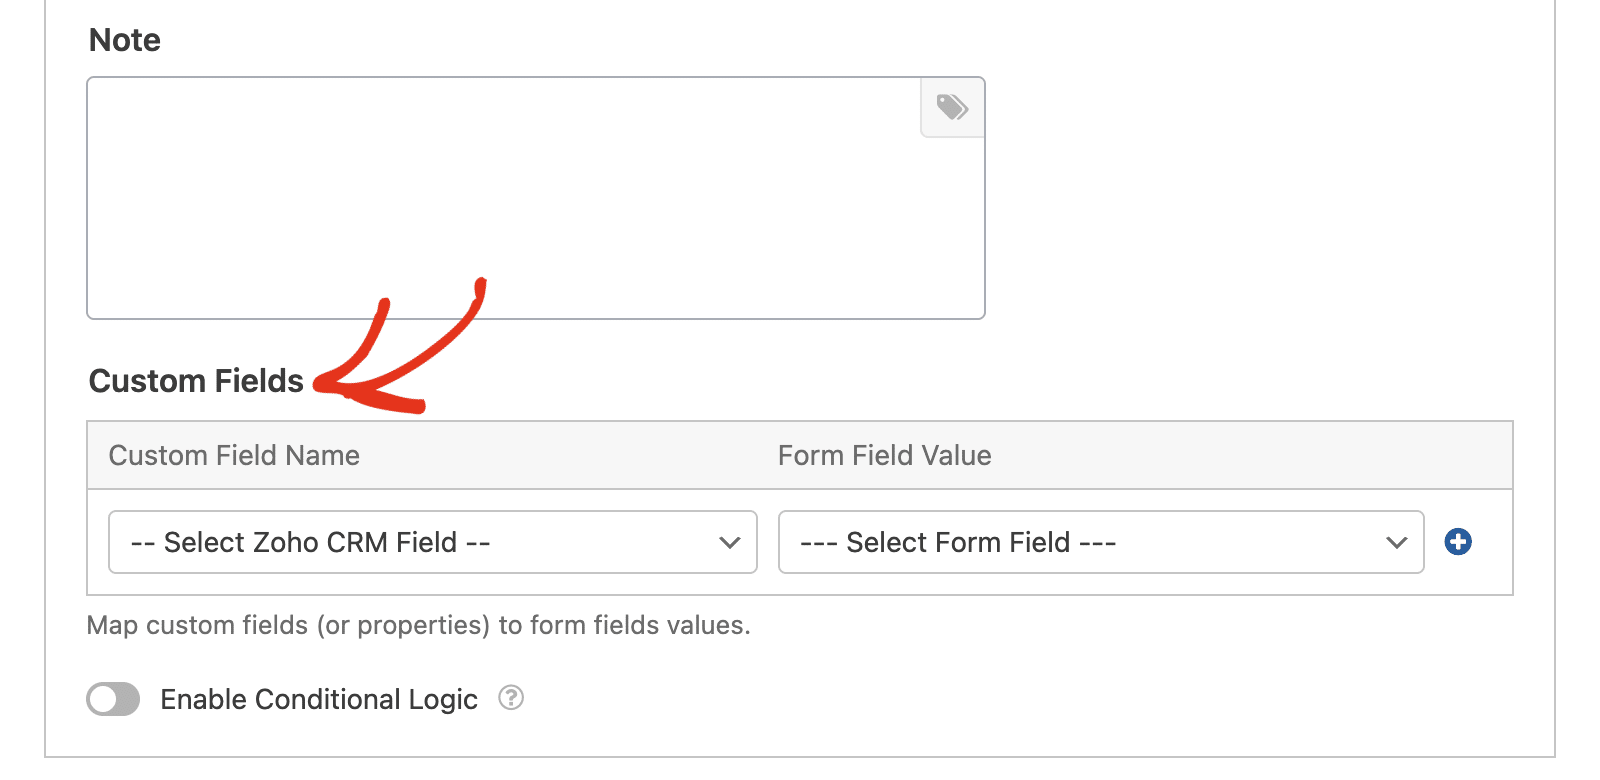
- Note: Automatically add a note to the contact’s record. Clicking the tag icon will display a list of available WPForms Smart Tags you can include in the note.
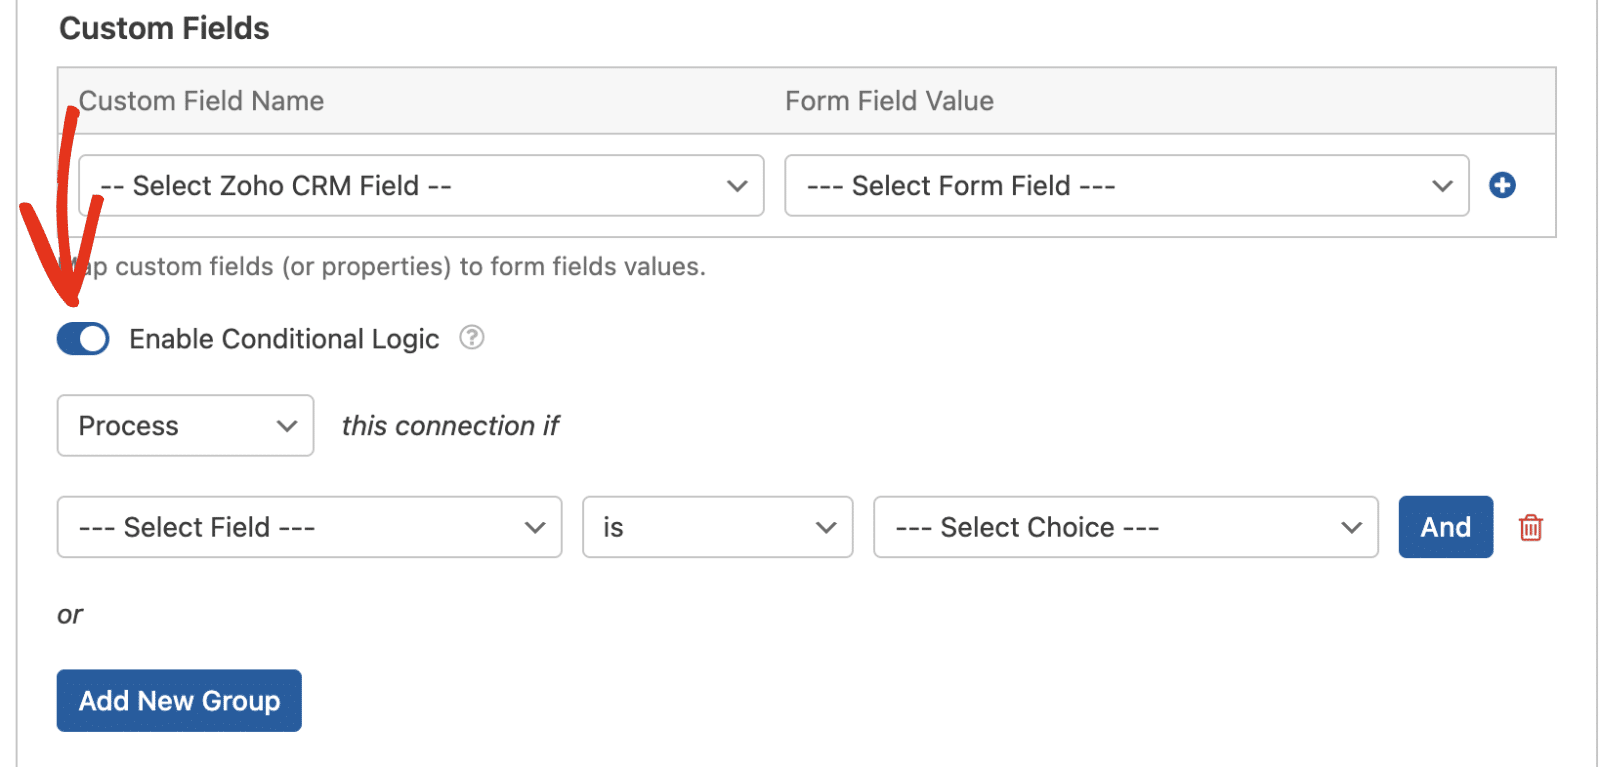
In the Custom Fields section, you can map additional Zoho CRM contact fields to your form fields. This allows you to send more detailed information from your forms to your CRM.
Create/Update Lead
This action will add a new lead record to your Zoho CRM lead database or update an existing lead.
Below is a list of all the options available for this action. Items marked with an asterisk (*) are required:
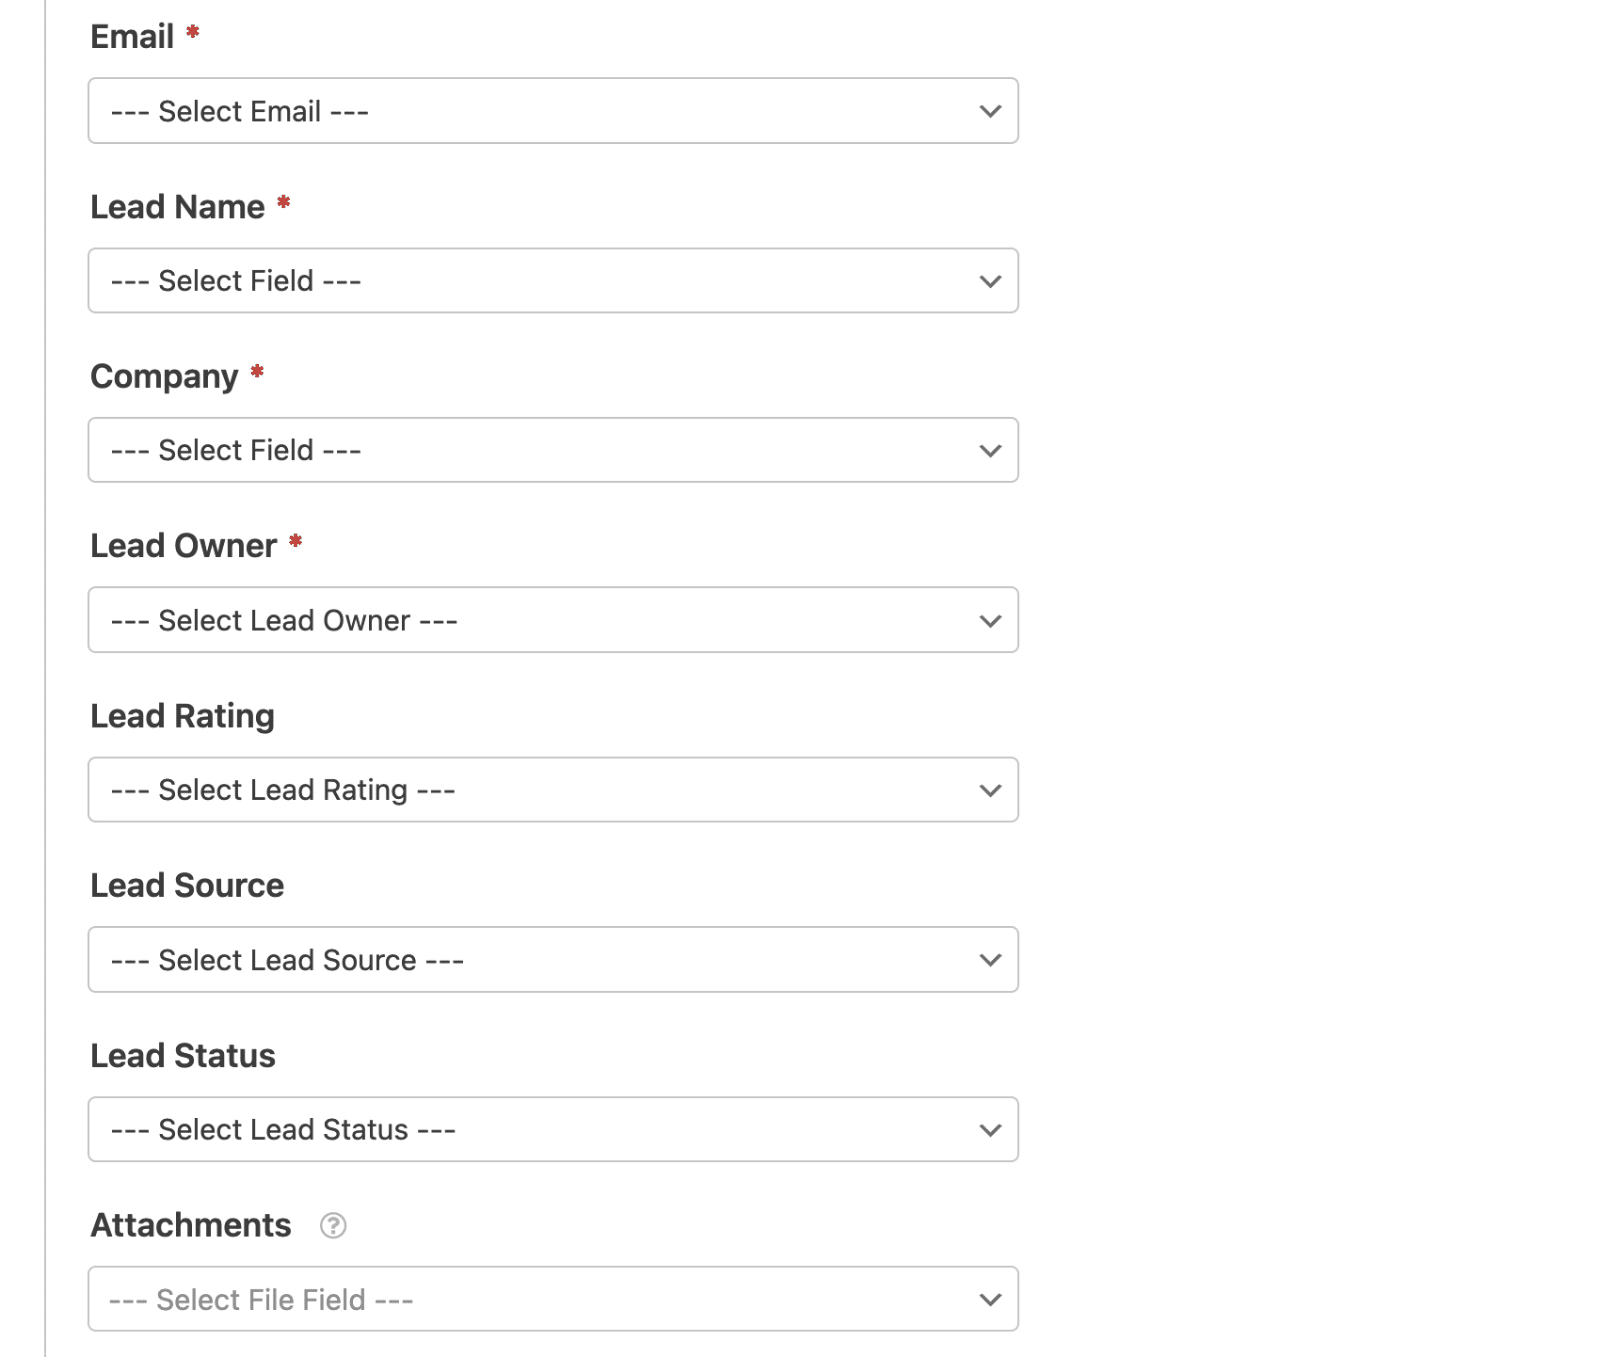
- Email*: Choose an Email field from your form.
- Lead Name*: Select a Name field from your form to identify the lead.
- Company*: Select a field containing the company name.
- Lead Owner*: Select a lead owner to assign to the lead.
- Lead Rating: Select a lead rating to categorize the lead quality.
- Lead Source: Select a lead source to track where the lead originated.
- Lead Status: Select a lead status to indicate the lead’s current state.
- Attachments: Choose a file upload field from your form to attach files to the lead record.
- Note: Automatically add a note to the lead’s record. You can include smart tags in the note by clicking on the tag icon.
Similarly, you’ll be able to map additional form fields to Zoho CRM fields from the Custom Fields section.
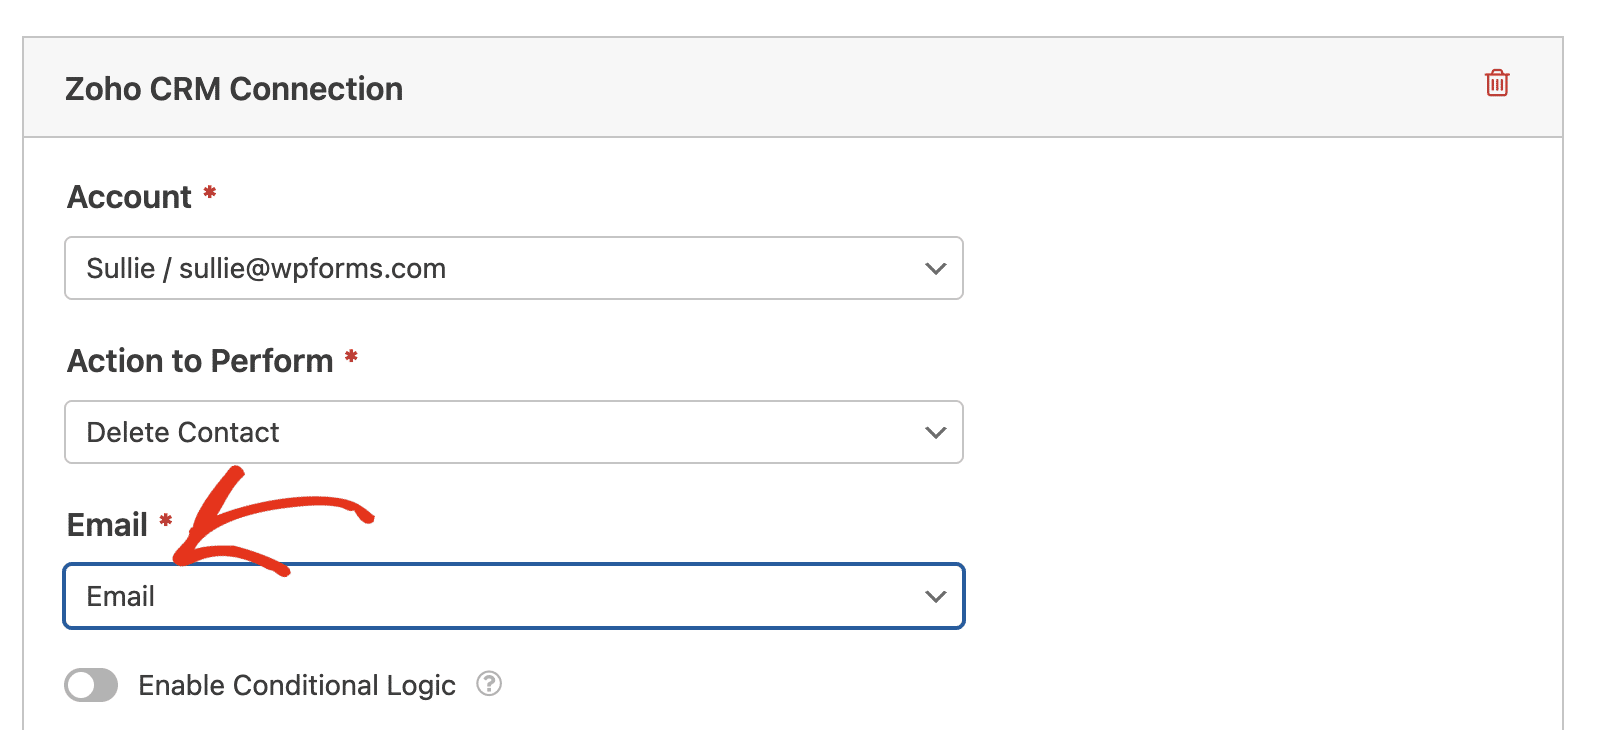
Delete Contact
This action will allow a contact to remove their record from your Zoho CRM account.
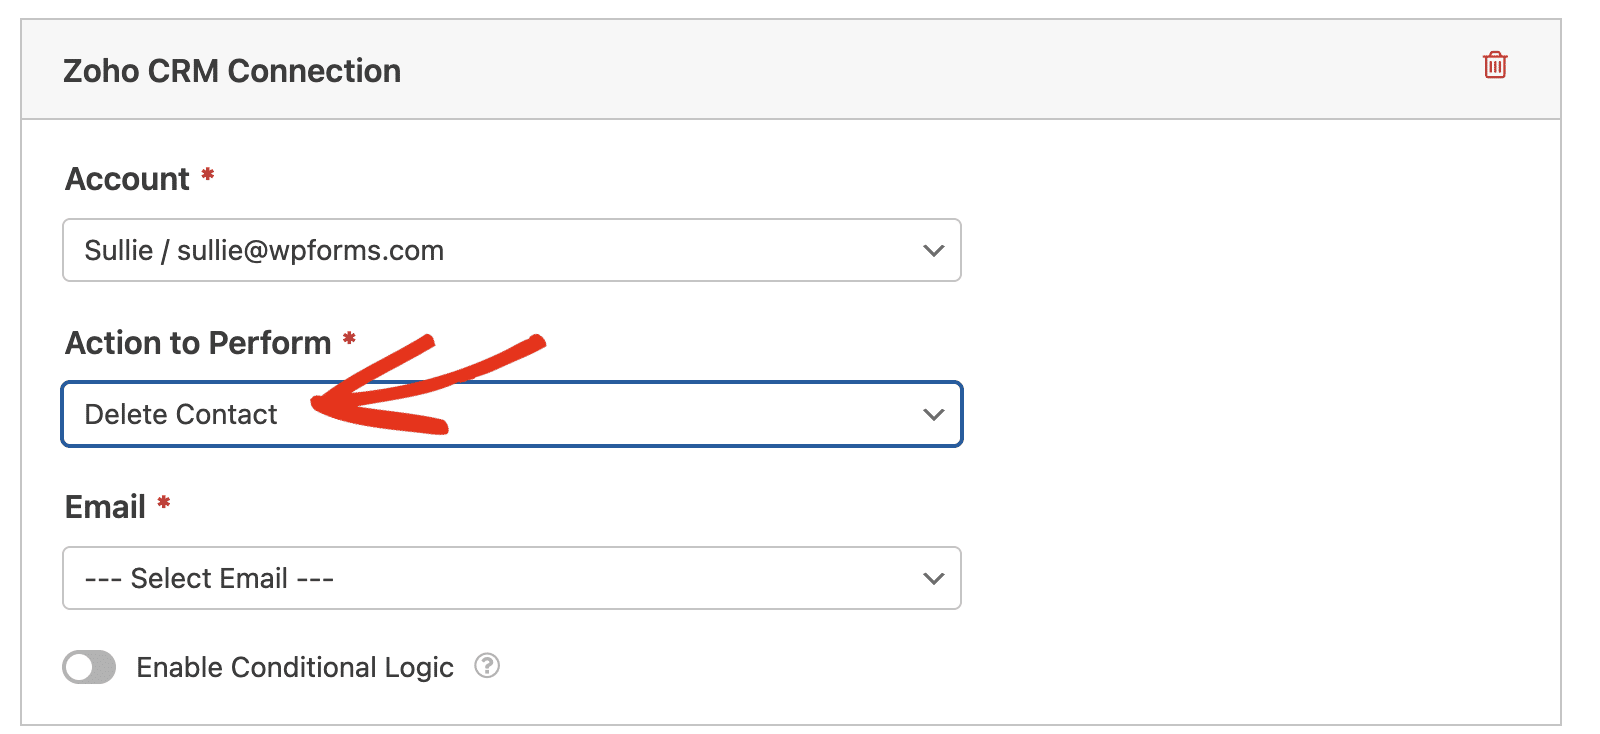
To set up this action, simply select the Email field from your form.
Delete Lead
This action will allow a lead to remove their record from your Zoho CRM account.
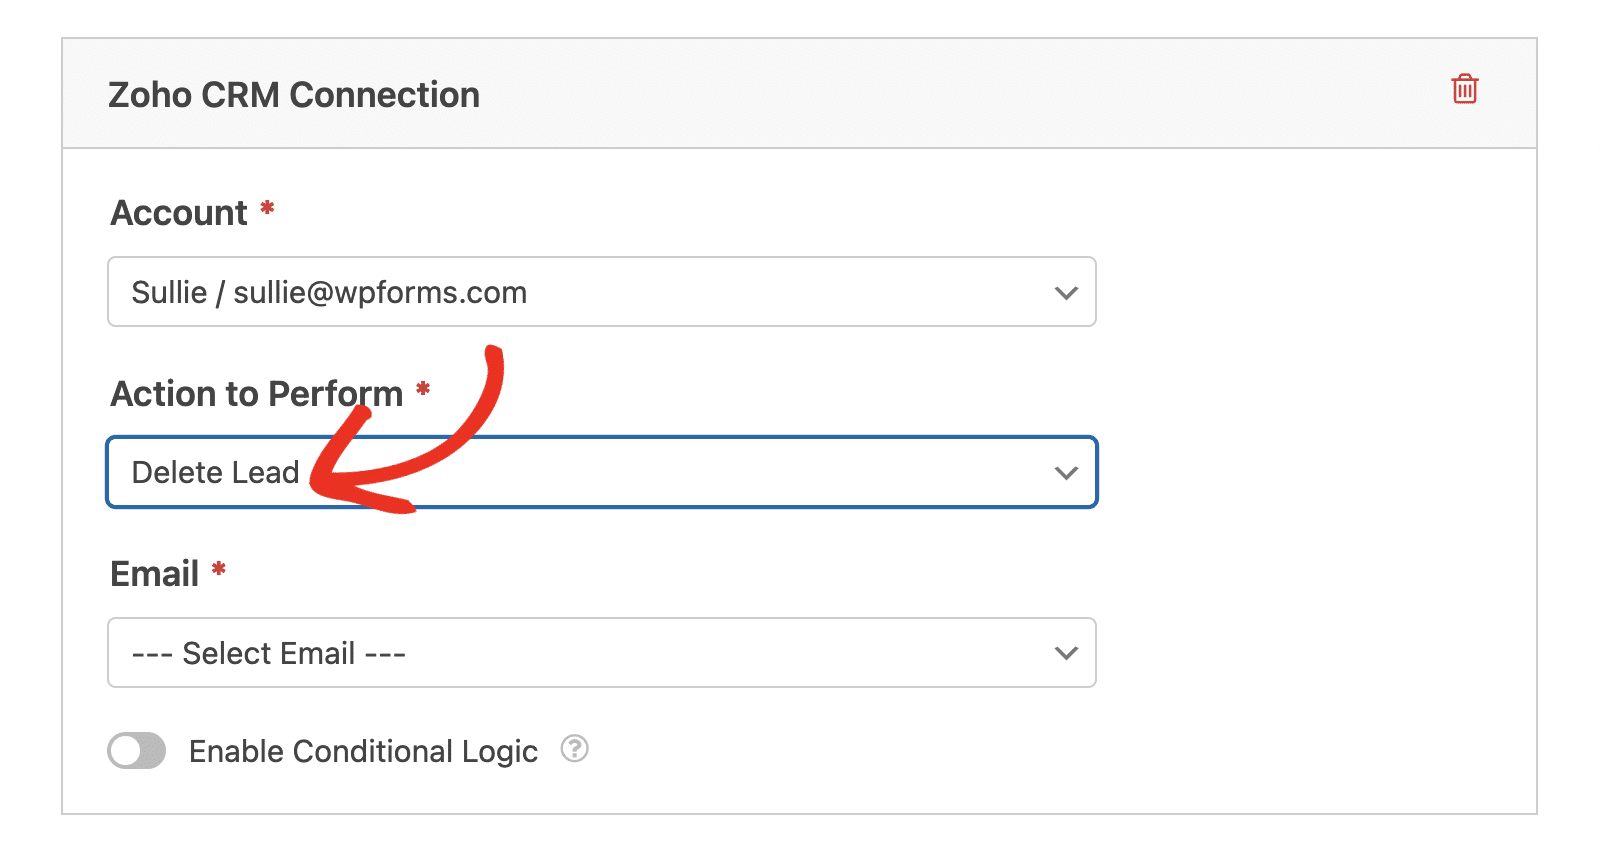
To set up this action, select the Email field from your form.

Enabling Conditional Logic (Optional)
Conditional logic lets you automatically change certain aspects of your form depending on users’ selections or input.
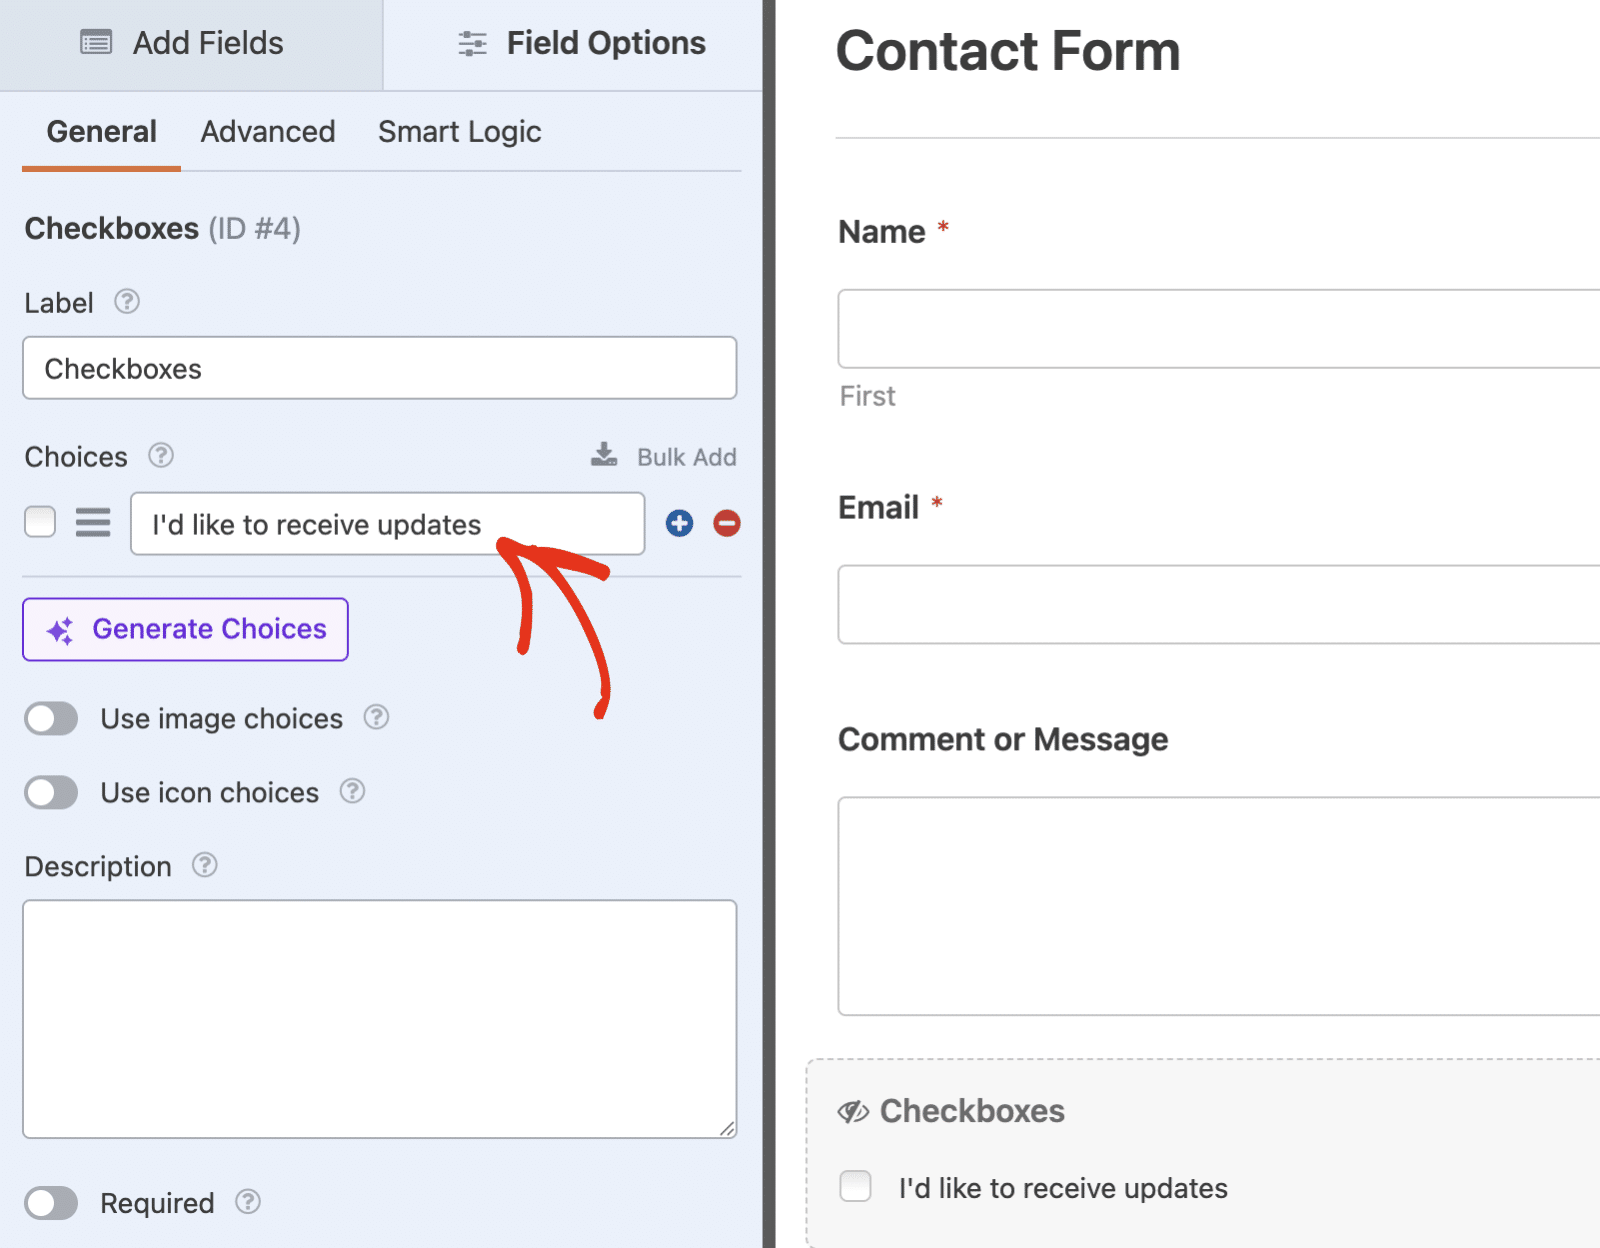
As an example, we’ll show you how to use conditional logic to let users choose if they’d like to be added to your Zoho CRM as a lead or contact.
To set this up, you’ll first need to add a Checkboxes field. Then delete other options and leave one with a label like “I’d like to receive updates.”
Next, go to Marketing » Zoho CRM in the form builder and toggle on the Enable Conditional Logic option.
Then, you’ll need to use the dropdowns that appear to set up your conditional logic rule. For this example, we’ve set it to Process this connection if Checkboxes is I’d like to receive updates.
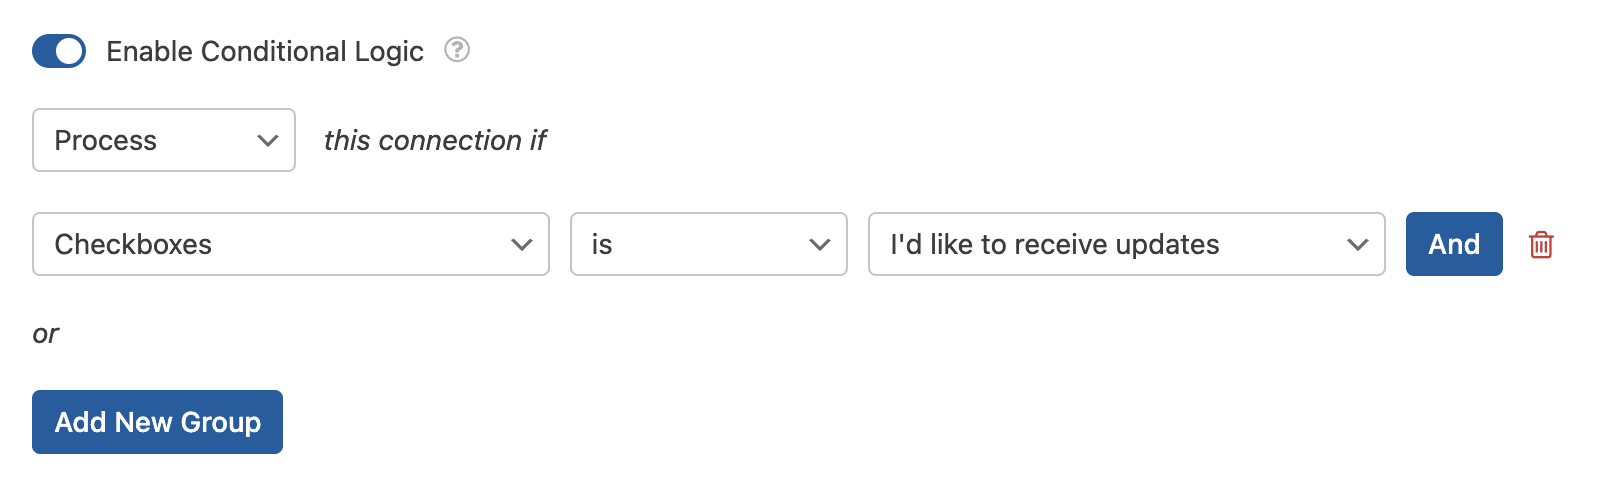
This will set your form to only process the Zoho CRM connection if the user checks the I’d like to receive updates checkbox.
Once you’re done customizing your form, be sure to save any changes and test your form before displaying it on your site.
Frequently Asked Questions
These are some of the top questions we receive about integrating Zoho CRM with WPForms.
Can I connect more than one Zoho account?
Yes, you can connect multiple Zoho accounts to WPForms. When setting up the integration in WPForms » Settings » Integrations, you can click Add New Account to connect additional accounts. Each form connection can use any of your connected accounts.
Where can I manage leads created through WPForms?
You can view and manage all leads and contacts created through WPForms by logging into your Zoho CRM dashboard. The data will appear in the appropriate modules (Leads or Contacts) based on the action you configured.
That’s it! Now you can connect your WordPress forms to Zoho CRM and automatically manage leads and contacts from your form submissions.
Next, would you like to capture even more leads? Be sure to check out our guide on creating a popup form to increase your conversion rates.