AI Summary
Would you like to add a WordPress form to a popup on your site? Displaying a form in a popup can be a great way to generate more leads and drive more sales for your business.
This tutorial will show you how to create a popup form with WPForms and OptinMonster.
Before getting started, ensure WPForms is installed and activated on your WordPress site.
Installing OptinMonster
To begin, install OptinMonster, a powerful WordPress plugin for creating popups and other marketing solutions.
Go to Plugins » Add New, then search for the OptinMonster plugin in the search bar.

Next, click the Install Now button to install the plugin.
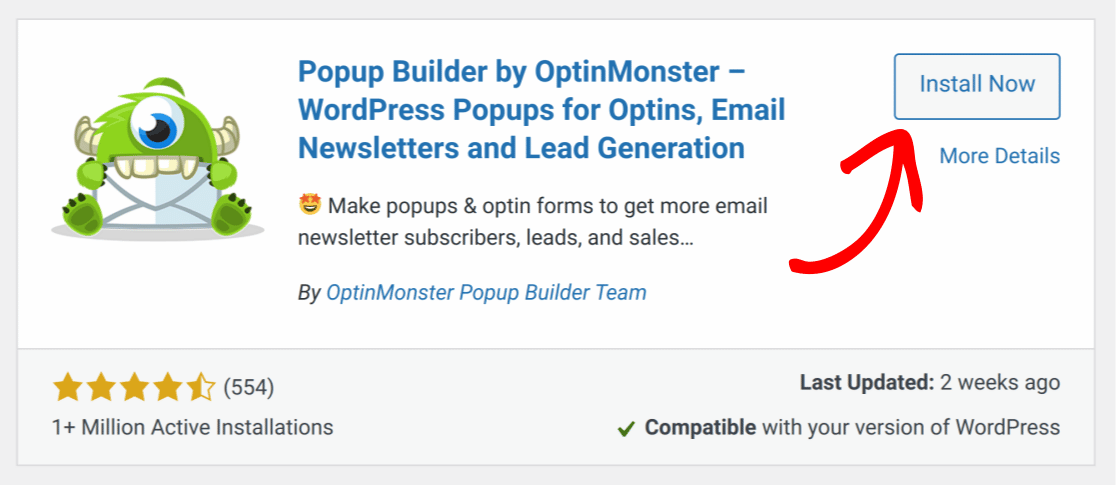
Once you’ve installed the OptinMonster plugin, click Activate to enable the plugin.

Note: For extra help, be sure to check out WPBeginner’s guide to installing WordPress plugins.
Connecting Your Site to OptinMonster
When you activate the OptinMonster plugin, you’ll be prompted to connect your site to OptinMonster via the setup wizard. If you have an OptinMonster account, click Connect Your Existing Account to continue.

In the new dialog that appears, click Connect To WordPress.

OptinMonster will automatically connect to your site as soon as you log in.

Creating a Form
Now that you’ve got OptinMonster installed, it’s time to set up your popup form. To get started, go ahead and create a new form.
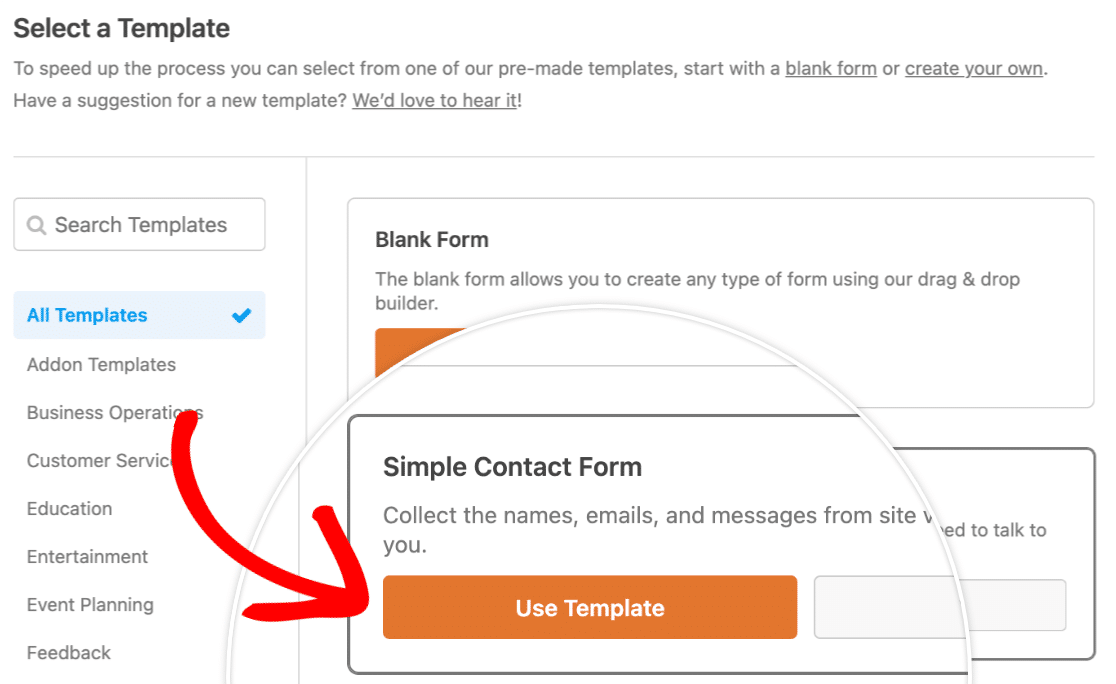
For this example, we’ll create our form with the simple contact form template. To do this, go to WPForms » Add New. Then, select the simple contact form template by clicking the Use Template button.
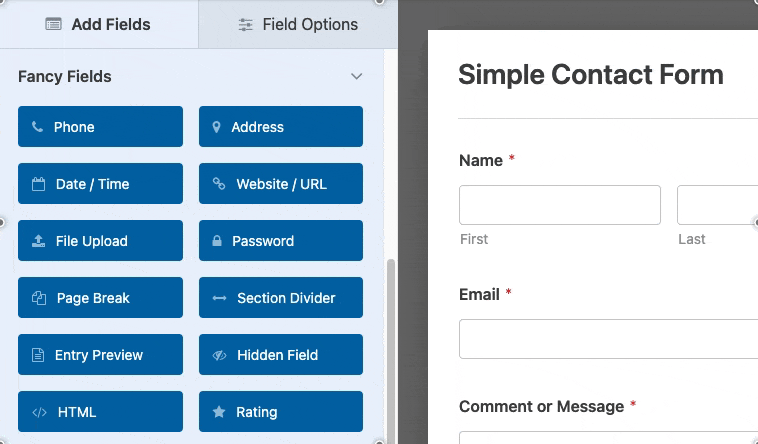
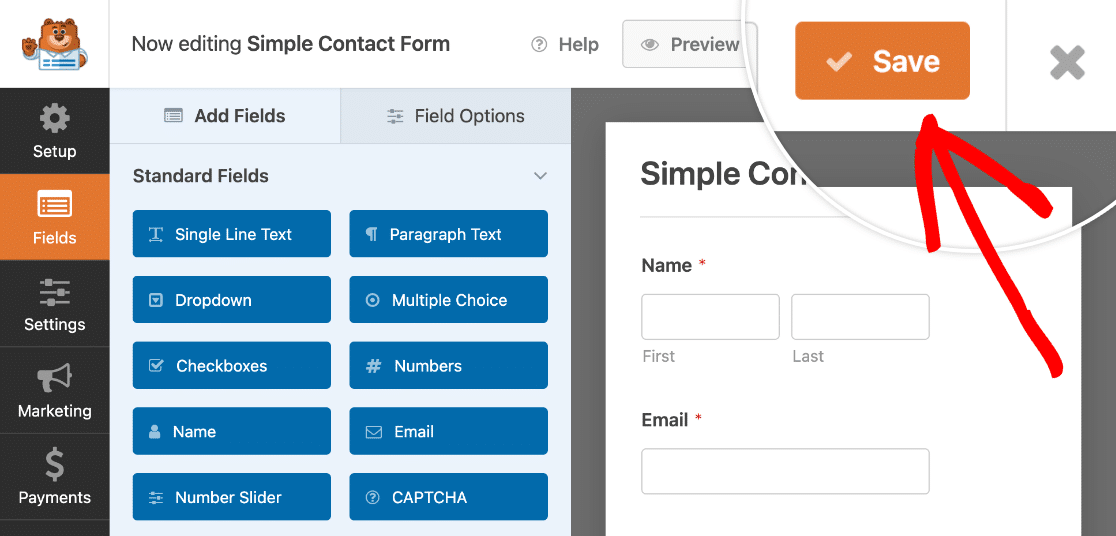
This will take you to the form builder, where you can add additional fields by dragging and dropping them into the form preview area.
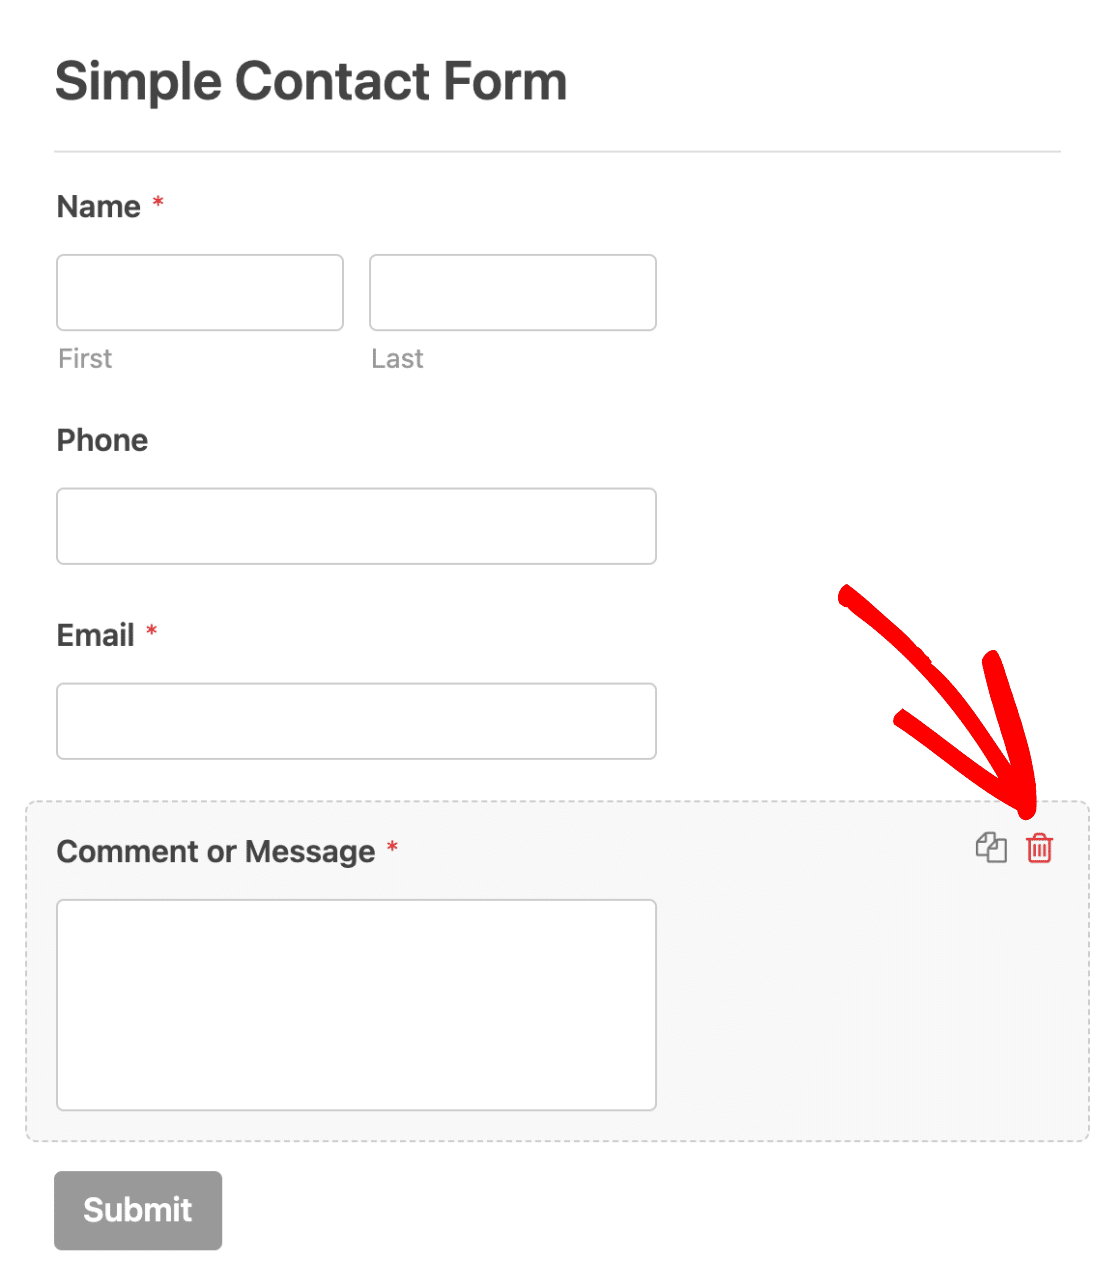
To remove a field from your form, hover over it and click the red trash icon.
Once you’re done editing your form, be sure to click the Save button to save any changes.
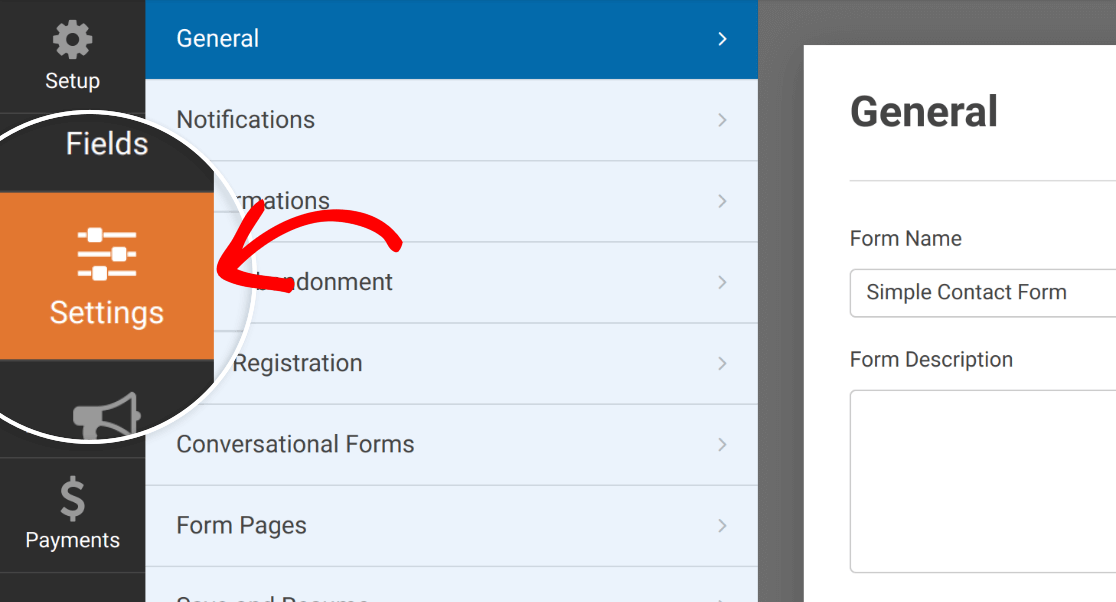
After you’ve saved your form, further customizations are available in the Settings tab.
If you’d like to receive an email when your form is submitted, check out our guide to setting up form notifications. You can also set up confirmation settings for your form if you’d like.
Note: Some WPForms fields are incompatible with OptinMonster popups. We recommend previewing and testing your form in your popup before releasing it live on your site.
Creating a Popup in OptinMonster
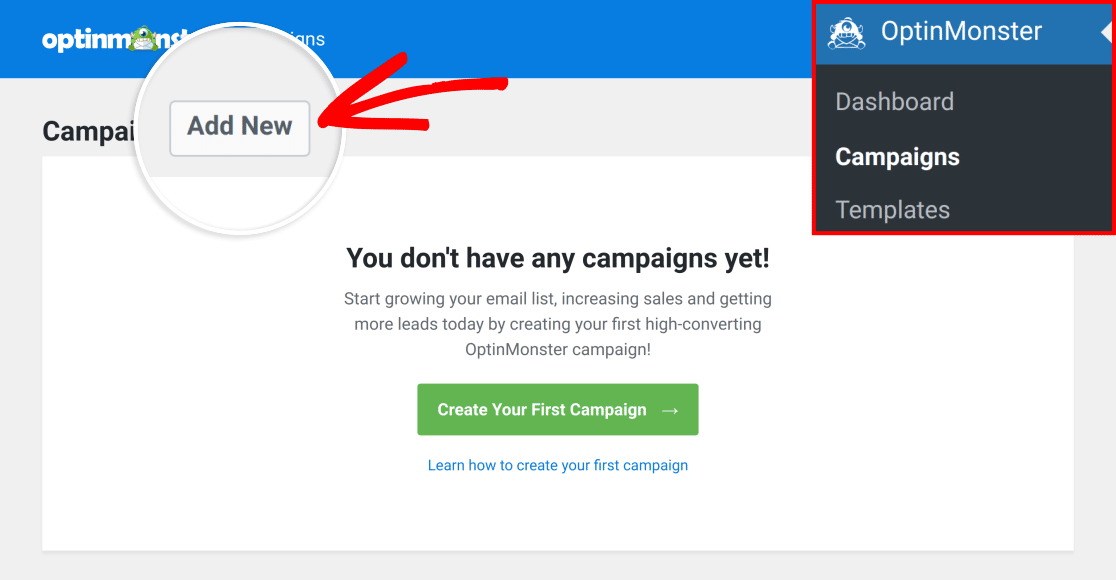
Now that your form is ready, you’re ready to start creating a popup. To get started, go to OptinMonster » Campaigns and click Add New.
This will bring you to the Templates screen. By default, OptinMonster will select Popup as the Campaign Type.

Choose a popup template from any of the available categories, or enter the search term that most closely matches your intended style.

Select the template you want to use, then click the Use Template button.

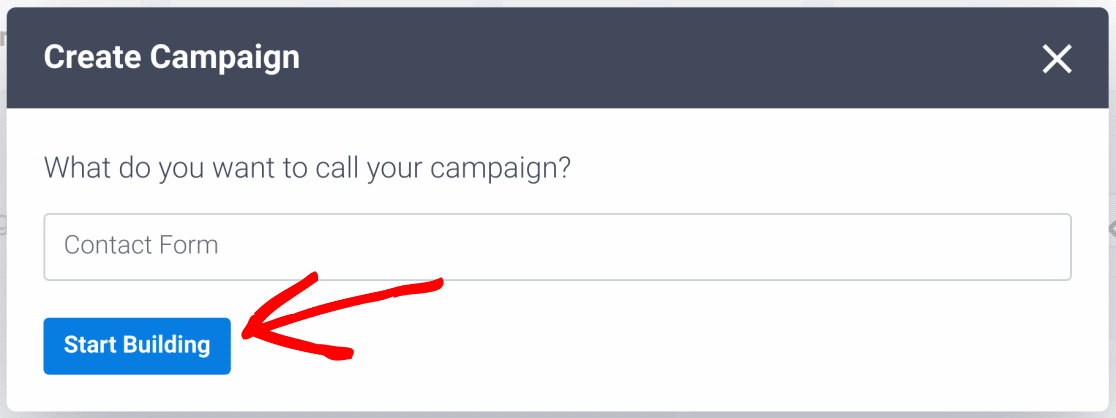
Then, choose a name for your campaign in the Create Campaign dialog, and click the Start Building button to move on to customizing your popup.
Next, your popup will open in the OptinMonster app, where you can customize your campaign as you like.

Note: For more information on working with campaigns in OptinMonster, check out their documentation on designing campaigns.
Embedding the WPForms Block
To add a form to your OptinMonster popup, find the WPForms block in the sidebar on the left. You can also search for WPForms in the search box.

Now, click and drag the WPForms block to the area of your popup where you’d like it to appear. Then, select the form you previously created in the Form Selection dropdown list.

Note: If you don’t see your forms in the dropdown list, be sure to check that you’ve connected your site to OptinMonster.
When you’re done setting up your popup, click the Save button to apply your changes.

Publishing Your Popup Form
Now that your popup is all set up, it’s time to publish it. To do this, you’ll first need to click the Publish tab.

Then, click on the Publish button under Publish Status.

Now your popup will be live on your site.
Previewing Your Popup Form
If your popup hasn’t been published, follow the steps to publish your form, then click the Preview button.

Note: Previews are only available after your popup has been published at least once.
This will load your site in a new tab and show your popup with the embedded form.

If you’re not ready for this popup to be live, be sure to reset its Publish Status to Draft once you’ve finished previewing.
Note: If you attempt to preview your OptinMonster campaign in draft mode, you’ll see the WPForms shortcode instead of the entire form. This is normal and expected behavior. You’ll need to publish your campaign to see the whole form.
Frequently Asked Questions
Below, we’ve answered some of the top questions about creating a popup form in WPForms.
I’ve changed which form is used in my popup, and now I only get a shortcode. What do I do?
If you’ve changed which form your popup displays, you’ll notice that the preview method above no longer appears to work. Instead, when you preview your popup, you’ll only get the shortcode for your form.

To fix this, you’ll need to temporarily change your Campaign’s Publish Status. For example, if your Publish Status is set to Draft, change it to Publish.

Your form will be refreshed and loaded correctly within your OptinMonster popup. If you’re not ready for your popup to be live, be sure to check that your Publish Status is set to Draft when you’re done previewing.
Can I connect my popup form with Google Sheets?
Yes. WPForms integrates seamlessly with Google Sheets. This integration is made possible with the Google Sheets addon.
Note: You’ll need to install and activate the Google Sheets addon to connect your forms to a spreadsheet.
After installing the addon and connecting it to your Google account, you’ll be able to map your form fields to columns in your spreadsheet.
To learn more about connecting your forms to Google Sheets, see our Google Sheets addon tutorial.
That’s it! Now you know how to create a popup form with WPForms.
Next, would you like to test out your forms before you publish them? Our complete form testing checklist will walk you through the process step by step.