Would you like to connect your WPForms to a third-party service that we don’t yet have an addon for? Uncanny Automator enables you to create “recipes” to send data from your forms to other services, automatically take certain actions when users submit forms, and more.
This tutorial will show you how to set up and use Uncanny Automator with WPForms.
In This Article
What Is Uncanny Automator?
Uncanny Automator is a WordPress plugin that lets you set up “triggers” and “actions” to automate certain workflows on your site.
For example, say you set up form submission as a trigger, and create a new row in a Google Sheets file as its corresponding action. Every time a user submits the form on your site, a new row will appear in your spreadsheet. You could also send data from the form entry to populate the row.
You can create almost endless workflows (called “recipes”) in Uncanny Automator. It lets you make connections between different WordPress plugins, and between your site and third-party services and apps.
The free version of Uncanny Automator is available to download from the WordPress Plugin Directory. However, it has some limitations as to which integrations and actions you can use.
To access more options, you’ll need to upgrade to a paid license. Visit Uncanny Automator’s Pricing page for details.
Installing Uncanny Automator
Before you continue with this tutorial, make sure WPForms is installed and activated on your site. You’ll also need to verify your license key. Then create a new form or open an existing one for editing to access the form builder.
After you’ve customized your form to suit your needs, go to Marketing » Uncanny Automator.
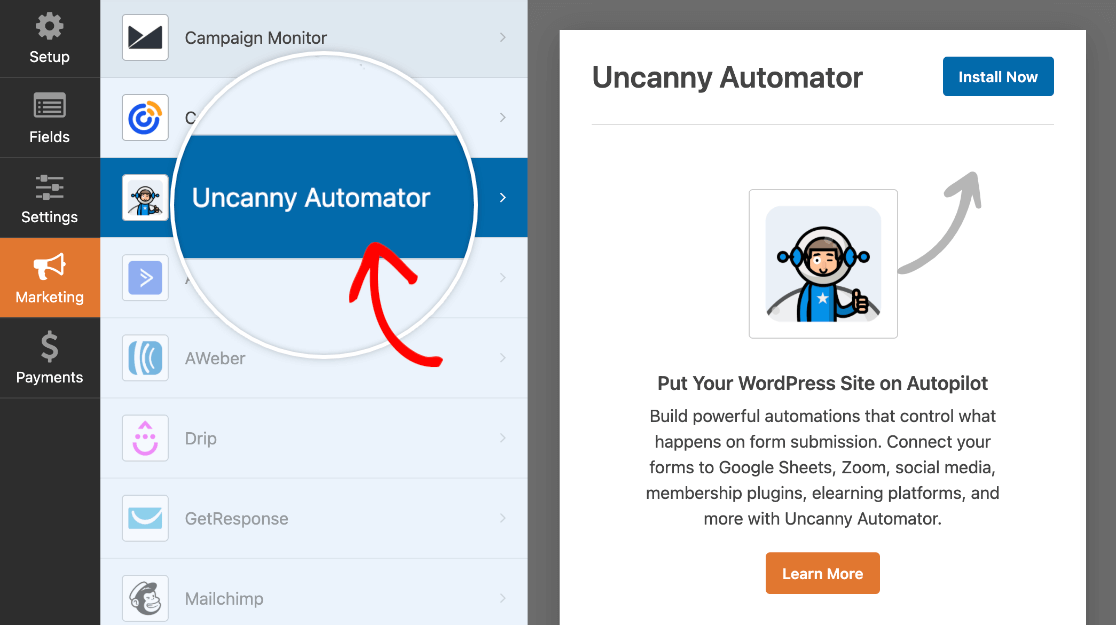
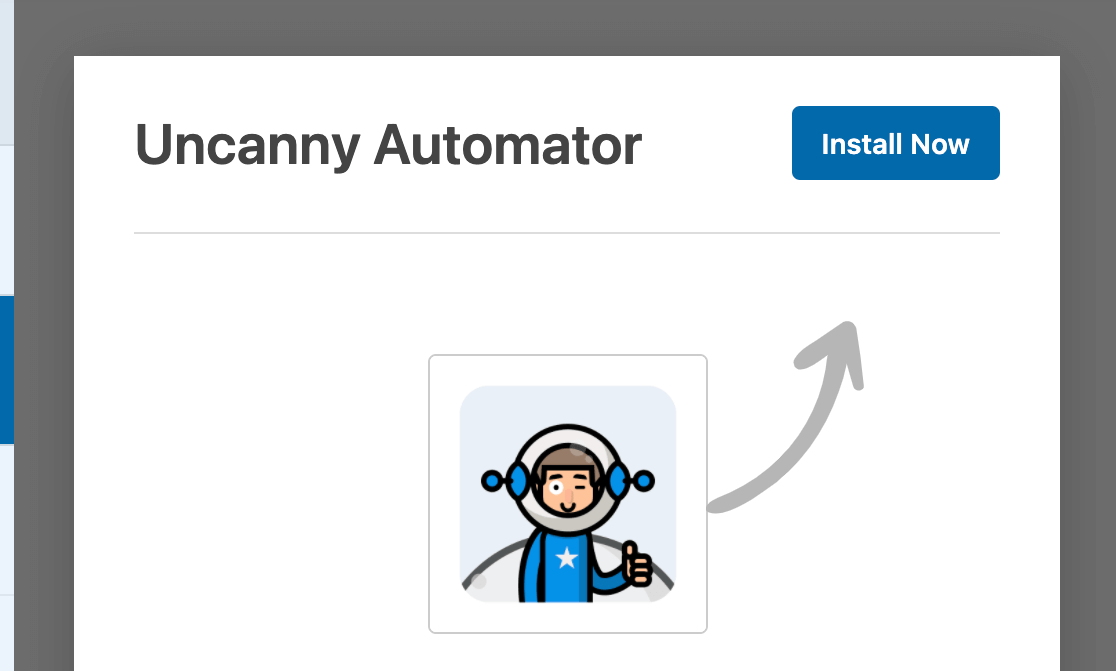
To install the free version of Uncanny Automator, click on the Install Now button.
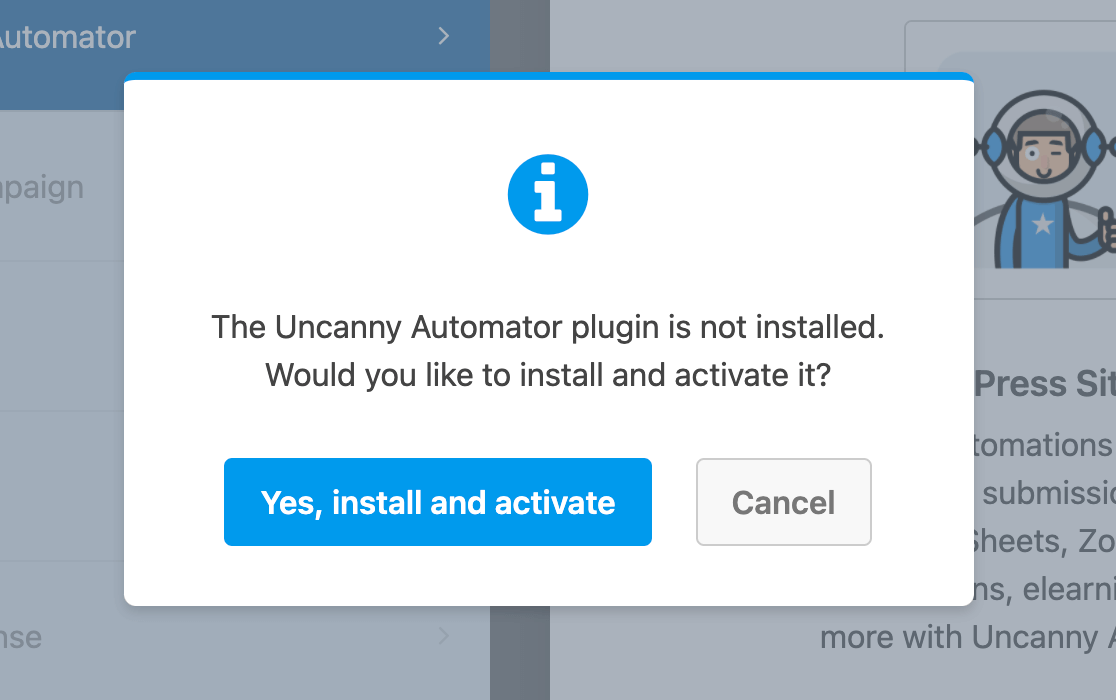
This will open a popup window where you’ll need to confirm that you would like to install and activate Uncanny Automator. Click on Yes, install and activate to proceed.
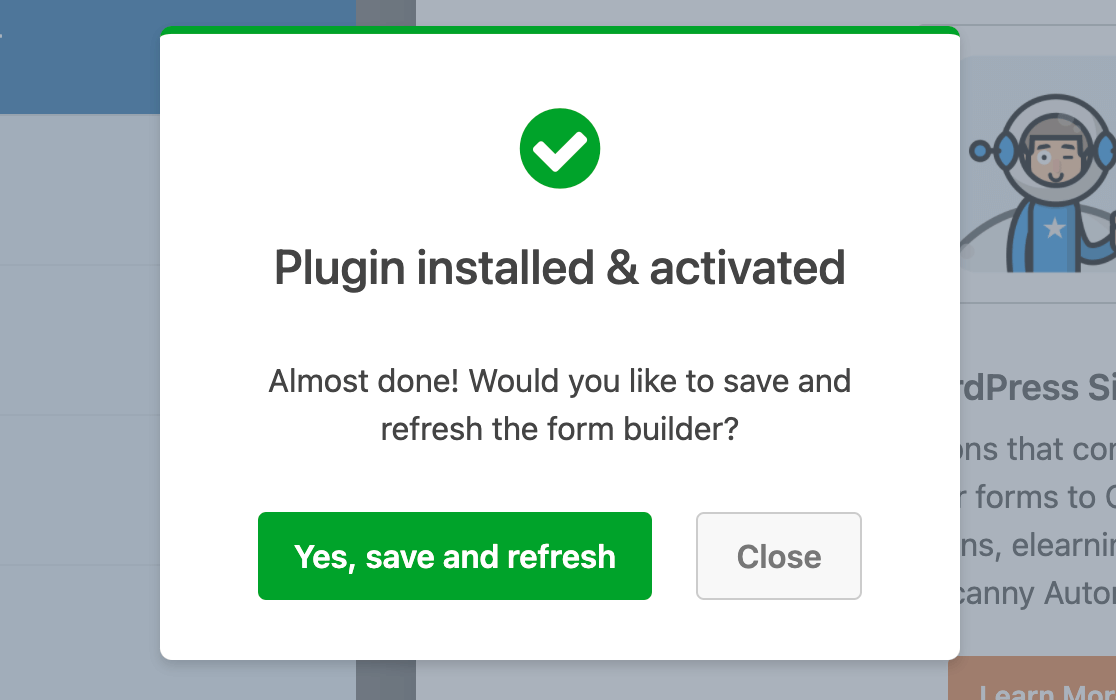
After you install and activate the plugin, you’ll need to refresh the form builder to continue. Click on the Yes, save and refresh button in the success message popup to do so.
Upgrading to an Uncanny Automator Paid License
The free version of Uncanny Automator does not allow you to connect to all of the available third-party services, apps, and plugins. Also, the only trigger you’ll be able to use with WPForms is a basic form submission.
The paid version of the plugin lets you set up more detailed triggers for WPForms, such as submissions in which users enter specific values in certain fields.
If you would like to upgrade to a paid license for Uncanny Automator, you can click on Get it now in the Uncanny Automator section of the form builder.
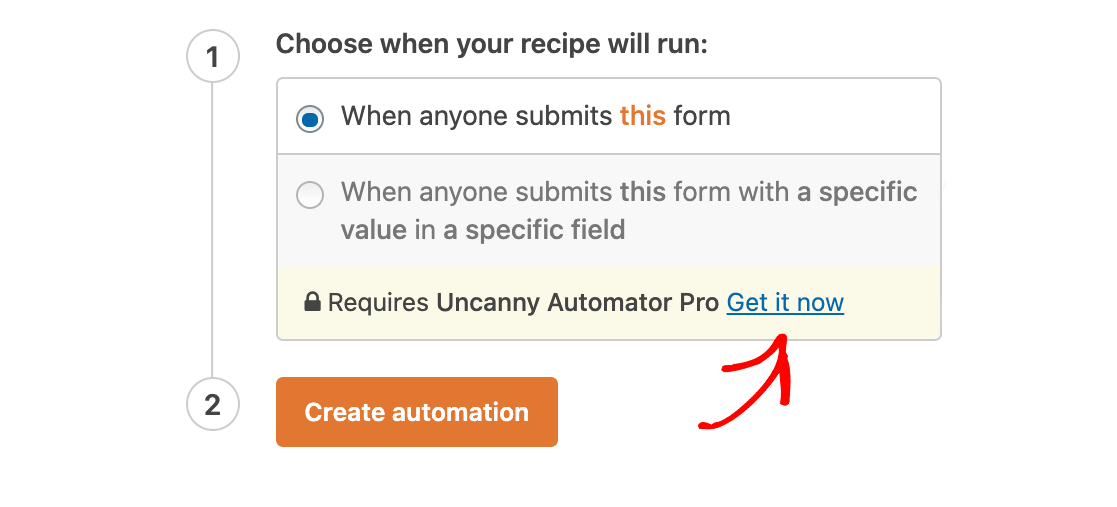
This will take you to the Uncanny Automator Pricing page, where you can purchase your paid license. Then simply install it like any other plugin.
Note: For help installing Uncanny Automator, see WPBeginner’s tutorial on installing WordPress plugins.
Creating an Uncanny Automator Recipe
Once Uncanny Automator and WPForms are up and running on your site, you can create a new recipe for any form. Open the one you wish to automate in the form builder, then go to Marketing » Uncanny Automator.
Here, select which trigger you want to use. The options are:
- When anyone submits this form: The action you specify will automatically run any time a user submits the form you’re currently editing.
- When anyone submits this form with a specific value in a specific field: Your desired action will run automatically when a user enters a certain input into your chosen field in this form.
Make your selection, then click on Create automation.
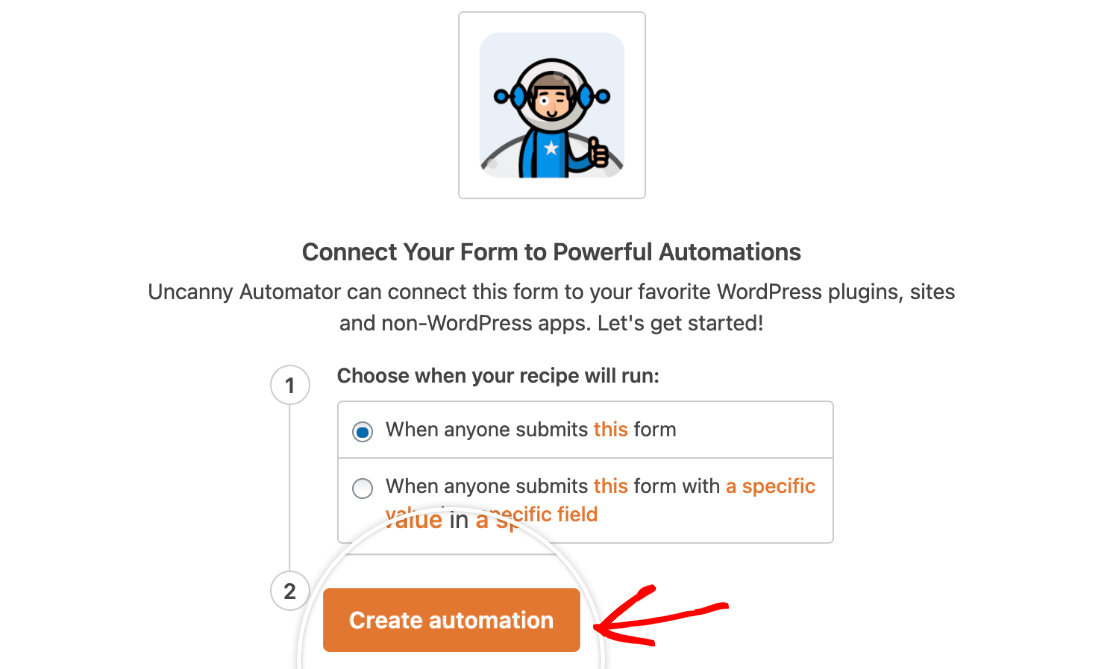
Note: If you are using the free version of Uncanny Automator, be sure to connect the plugin to your Uncanny Automator account before you proceed. This will ensure you have access to all the free integrations.
If you need help connecting your account, please see Uncanny Automator’s knowledge base for more details.
This will take you to the Uncanny Automator recipe creator (Automator » All recipes » Add New).
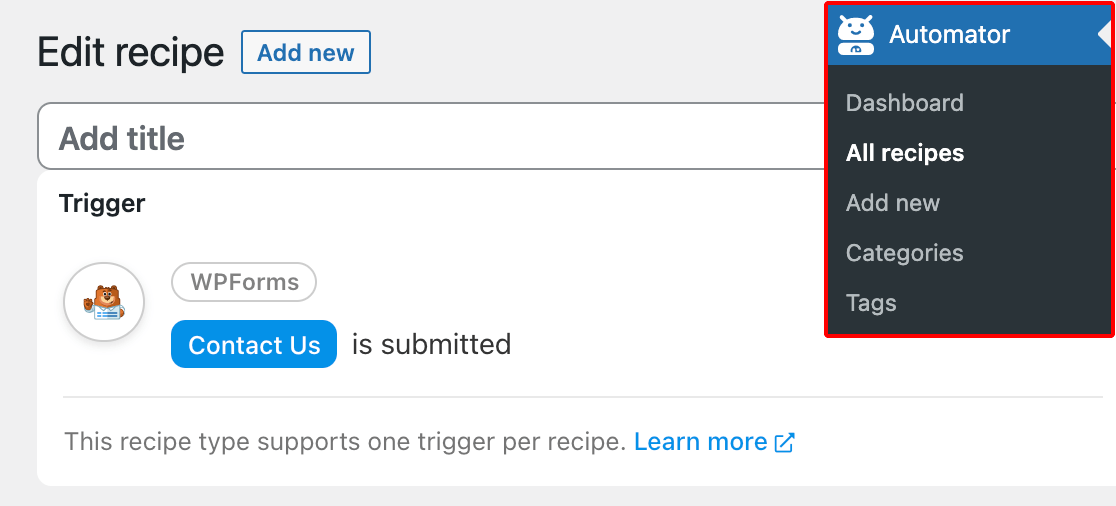
Here, title your recipe. You can add any name you like to help you recognize this connection when it’s listed in your admin dashboard.
Configuring Your Trigger
If you chose form submission as your trigger in the form builder, the Trigger section will already be filled out for you.
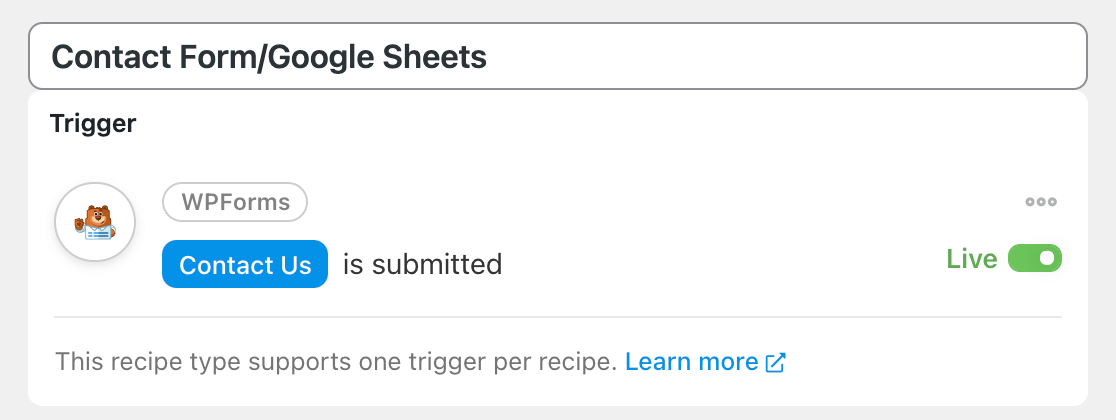
If you chose a specific value in a specific field as your trigger in the form builder, you’ll need to select the form and field you want to use. You’ll also need to enter the specific value you want users to have to submit in order for this recipe to run.
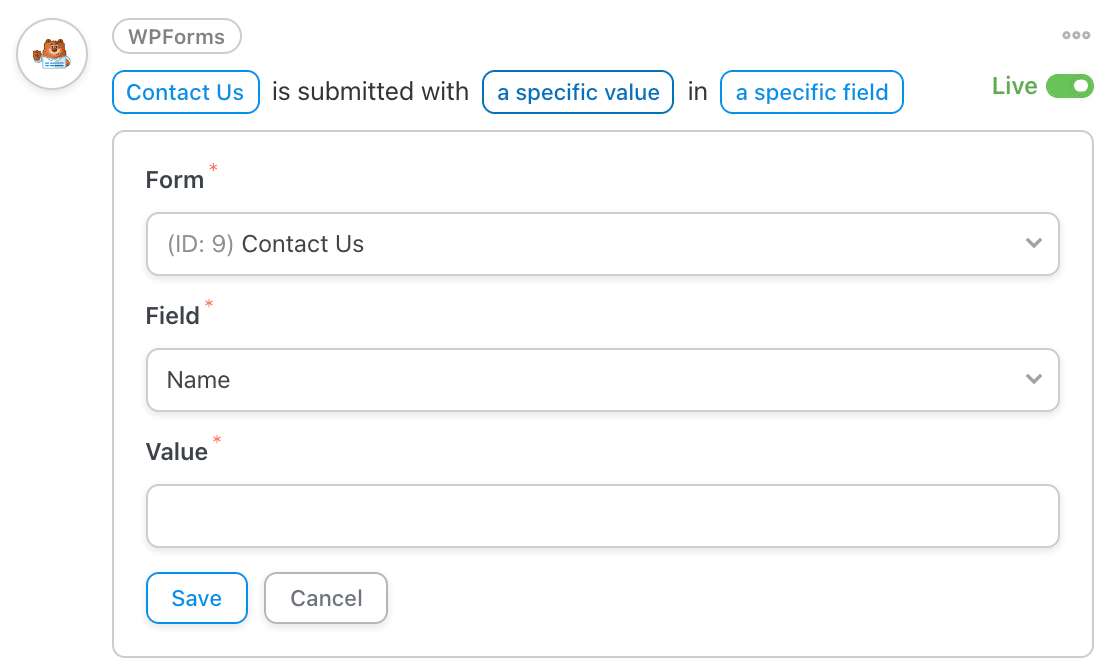
Be sure to save your trigger once you’re done making changes to it.
Setting Up Your Action
In the Actions section, click on Add Action to get started.

You’ll then be able to select from the available apps, services, and plugins Uncanny Automator enables you to connect WPForms to. For our example, we’ll use Google Sheets.
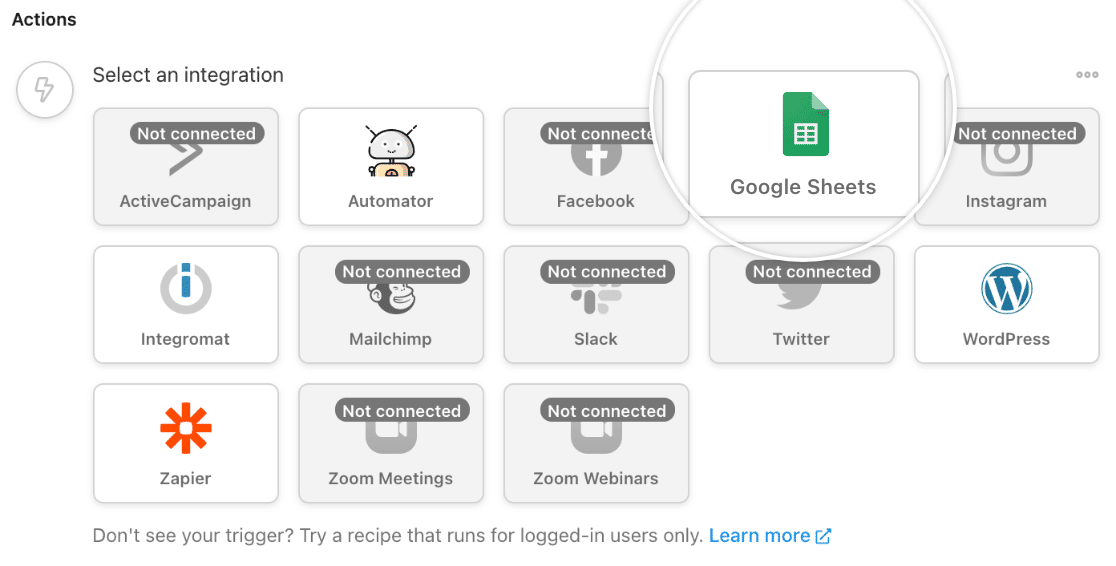
Note: Some actions require you to set up an integration in your Uncanny Automator account before you can finish creating your recipe. See Uncanny Automator’s knowledge base for tutorials on how to set up each third-party integration.
Once you’ve selected the platform you want to connect to, you can choose an action from the list provided. For Google Sheets, the only option is Create a row in a Google Sheet.
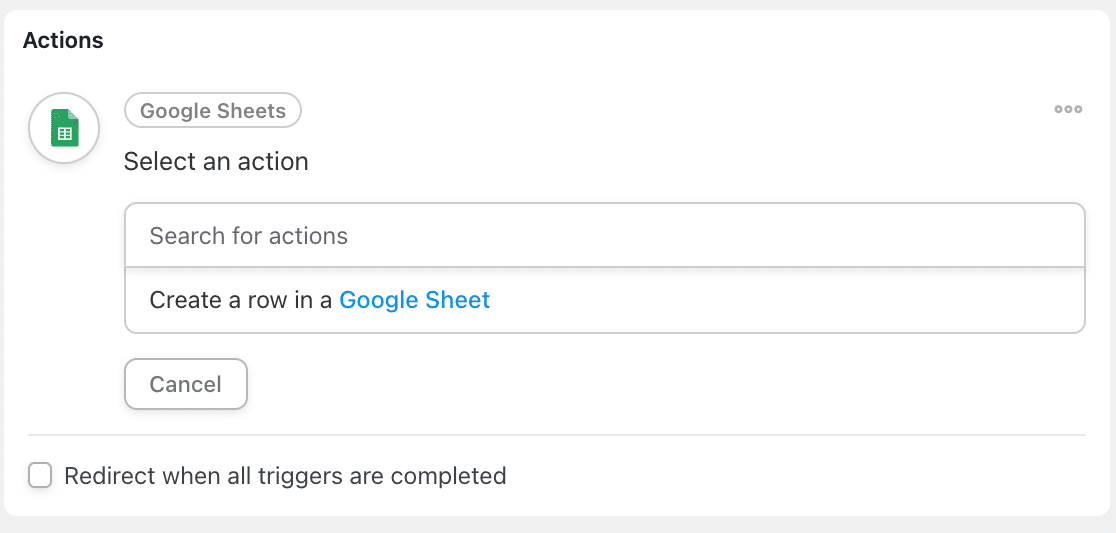
This will reveal several fields based on the integration and action you’ve chosen. For our Google Sheets example, we need to choose the drive, spreadsheet, and worksheet we want to send data to.
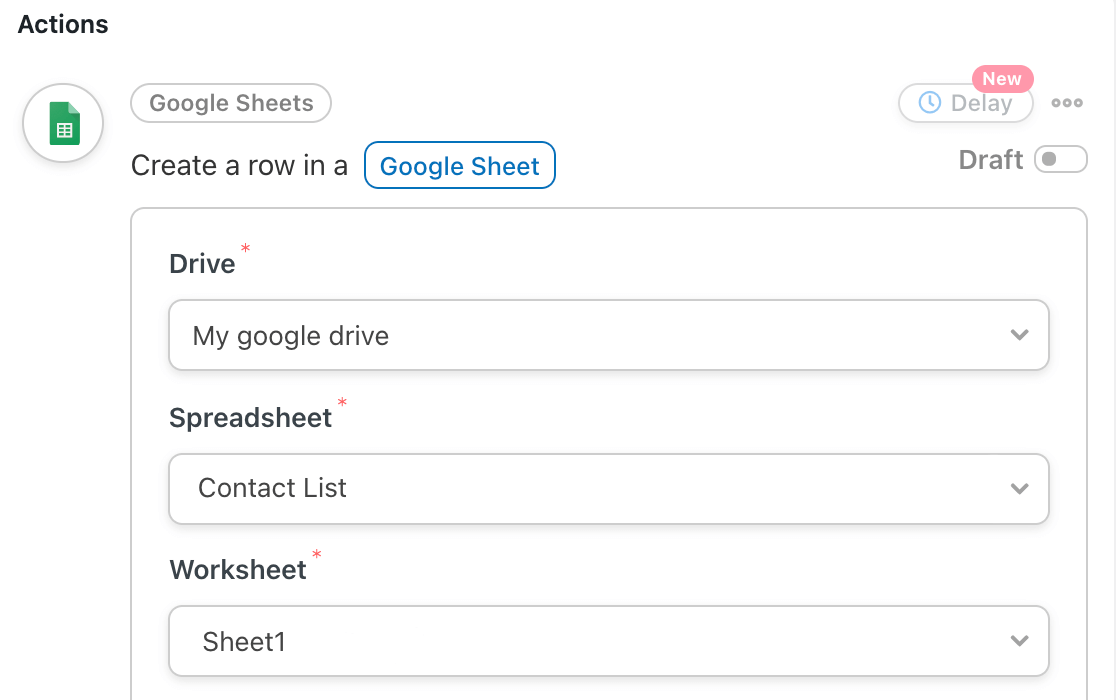
Then we need to connect fields from our form to columns in our spreadsheet. We’ll add users’ names to the first column and their email addresses to the second column.
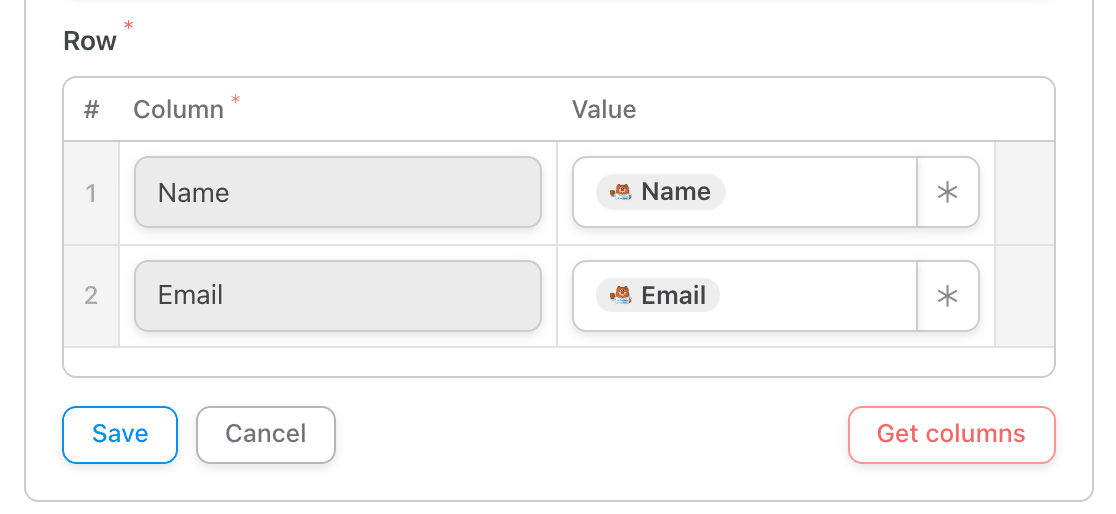
When you’re done configuring your action, make sure to click the Save button.
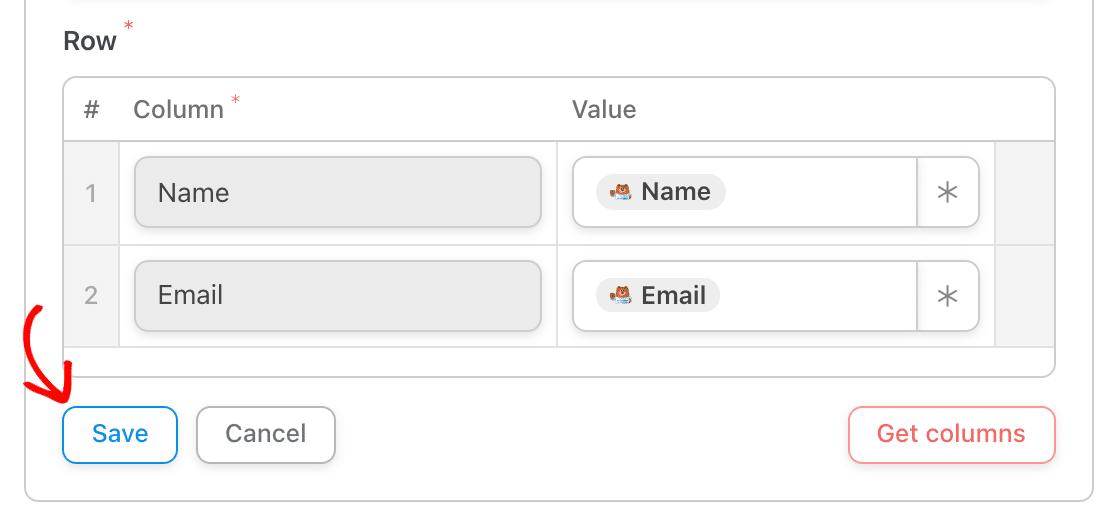
You can click on Add Action again and repeat these steps to set up multiple actions for a single trigger.
Making Your Uncanny Automator Recipe Live
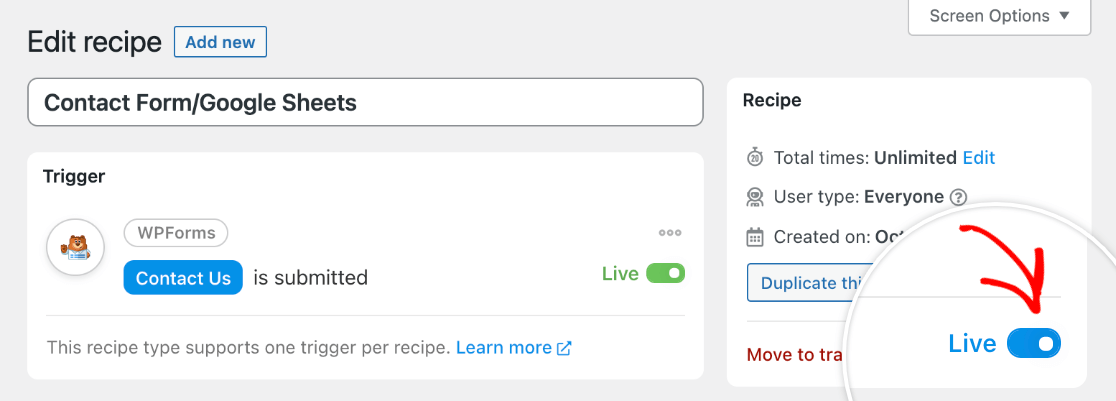
Once you’ve configured your trigger and action, change your recipe from Draft to Live mode using the toggle in the top right portion of the recipe creation screen.
Additionally, make sure your trigger and action(s) are live using the toggles on the right side of each section.
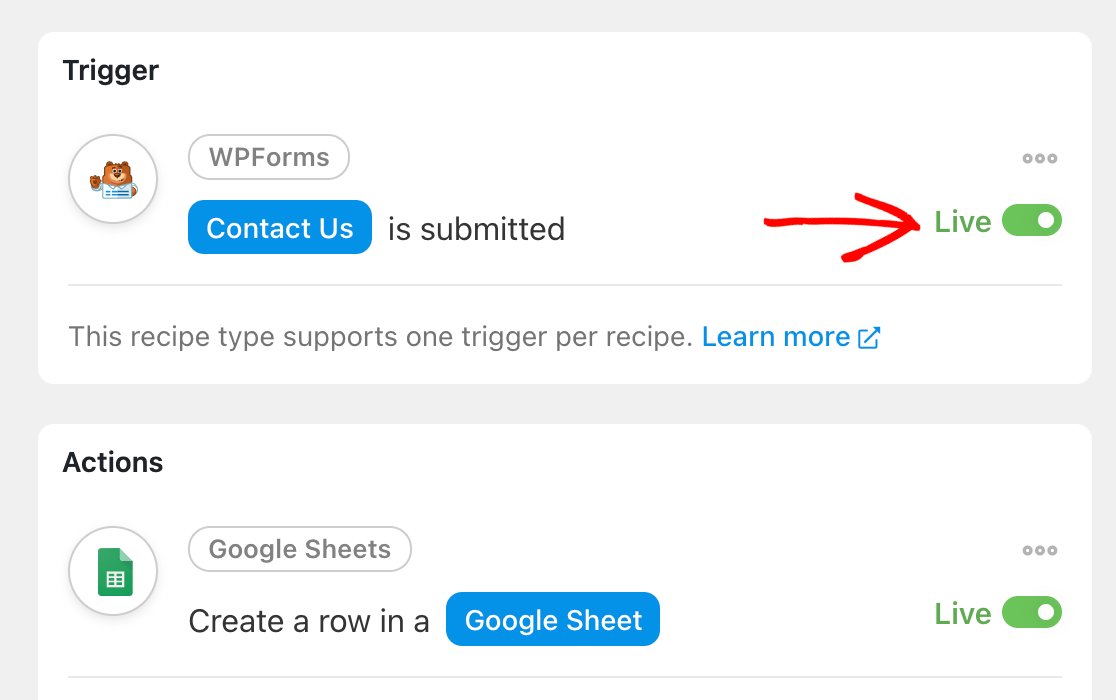
Your recipe should now run automatically whenever a user triggers it. We recommend testing your form to make sure it works as expected.
That’s it! Now you know how to automate actions based on form submissions or field values with Uncanny Automator.
Next, would you like to learn more about how to automatically add users to your mailing lists? Check out our marketing addons, including Mailchimp, Brevo (Sendinblue), Campaign Monitor, and more.
