AI Summary
Would you like to use the WordPress classic editor to publish your WPForms? Our form builder works seamlessly no matter which page editor you use, and you can easily add forms to your pages in the classic editor with the click of a button.
This tutorial will show you how to create your first form and publish it using the classic editor in WordPress.
Note: This tutorial assumes that you are using an older version of WordPress (version 4.9.18 or older) or that you have the Classic Editor plugin installed on your site.
If you’re using WordPress 5.0 or later and do not have the Classic Editor plugin installed, see our guide to creating your first form with the block editor.
For more information on how to disable the block editor and use the classic editor instead, check out WPBeginner’s tutorial.
Before you create your first form, you’ll need to have already installed WPForms. We also recommend that you go ahead and verify your license key, too.
Adding a New Form
To begin, you’ll need to log in to your WordPress admin area. Here, click on WPForms in the admin sidebar to go to the Forms Overview page. Then click on the Add New button at the top of the screen to open the form builder.

In the Setup page of the Form Builder, you may choose to enter a title for your form in the Name Your Form input field. This is useful for identifying this form on the backend of your site.

If you leave this field empty, your form will take the name of the template you choose.
Below the Name Your Form field, you’ll find our library of form templates. You can use the categories or the search bar on the left to find the one best suited to your needs.
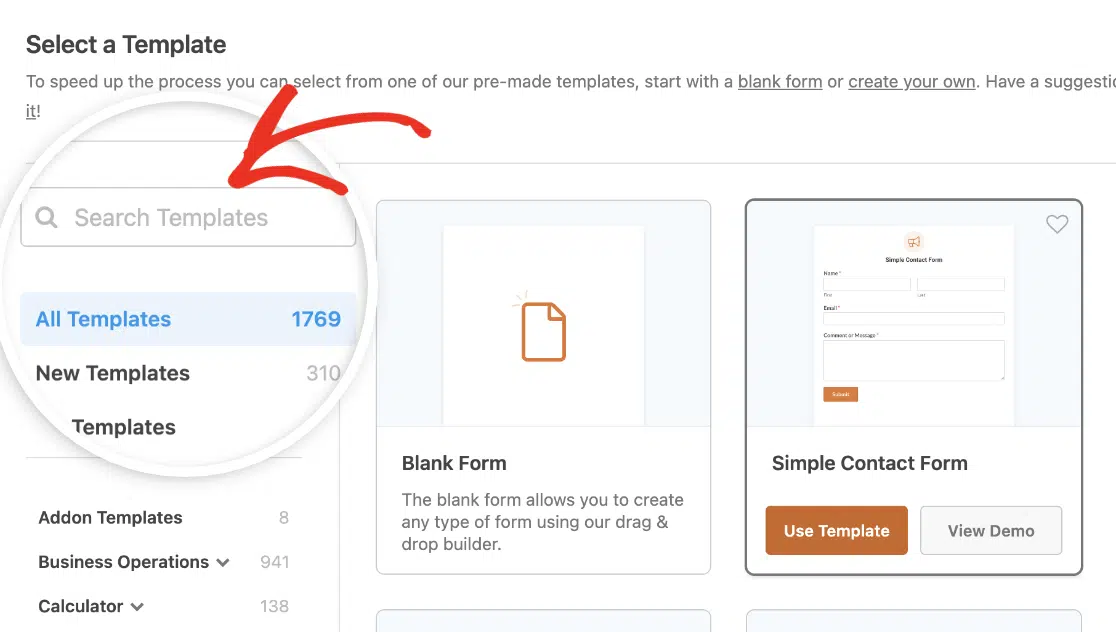
Click on the Use Template button for the one you’d like to open in the form builder.
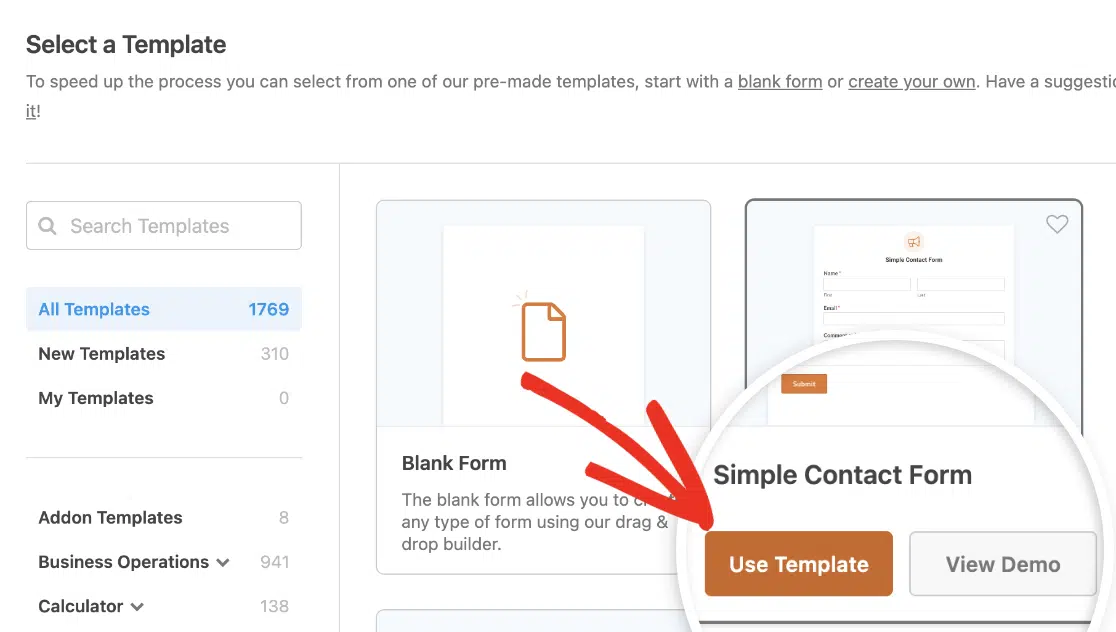
Note: The form in this tutorial uses the Simple Contact Form template. For more details on choosing, applying, and customizing templates, check out our complete guide to templates in WPForms.
Keep in mind that every template is completely customizable. If you can’t find one that entirely meets your requirements, you can always adjust it in the form builder.
If you’d prefer to build your form entirely from scratch, select the Create Blank Form option to proceed.

Customizing Your Form
Once you’ve selected a form template, the Form Builder will take you to the Fields section.
On the left side of the screen, you’ll see the fields available to you according to your license type. To the right, you’ll see a preview of your form so far.

To add a field to your form, you can click on it or drag and drop it from the left panel directly into the form preview area.

Once you’ve added a field to your form, you can customize various settings for it.
Accessing Field Options
Field options allow you to configure the details and settings of each field, such as their labels and descriptions.
To view and edit the options available for a field, click on it in the preview area. The field options will then appear in the panel on the left, where you can make any desired changes.

Note: Want more details on all the field options you can modify in the form builder? See our complete guide to field options for additional information.
Once you’re done editing the field options, click the Save button at the top of the form builder to keep your changes.

Editing Form Settings
The form builder also gives you the chance to customize several settings that apply to your entire form.
To configure these options, click on the Settings tab on the left side of the Form Builder.
 There will be several sections on this screen that may vary depending on which addons you’ve installed. For this tutorial, we’ll focus on the three basic types of settings: General, Notifications, and Confirmations.
In the General section, you can change your form’s name and description. You can also customize the submit button and turn spam protection on or off.

Form notifications are automatic emails that are sent out when users submit forms. In the Notifications section, you can configure the settings according to your preferences.

Note: Looking for more guidance on how to create email notifications for form submissions? Check out our email notifications tutorial for all the details.
Form confirmations let users know that they’ve successfully submitted a form and provide more information and options to users.

Note: For more details on confirmations settings, check out our tutorial on setting up form confirmations.
Once you’re done setting up your form, click on the Save button at the top of the builder.
Displaying Forms on Your Site
There are several different ways to add forms to your site. Here we’ll look at how to display forms on a page or in a widget area.
Embedding Your Form on a WordPress Page
To add your form to a page using the classic editor in WordPress, you’ll need to use a shortcode. You can use the Embed Tool that’s built into the form builder to guide you through this process, or you can add the shortcode using the WPForms Add Form button in the classic editor.
Below, we’ll show you how both of these options work.
Using the Form Builder Embed Tool
From the form builder, you can add your form to a page by clicking on the Embed button at the top of the screen.

This will open a popup window. Here, you’ll choose whether you want to create a new page for this form or if you want to add it to an existing one.

Adding a Form to an Existing Page
If you click Select Existing Page, the popup will display a dropdown from which you can select the page you want to add your form to. Then click the Let’s Go! button.

This will open the page you selected in the classic editor. You should see a prompt guiding you to click on the Add Form button above the text area.

When you click on it, a popup window will appear. From the dropdown, select the form you want to add to your page.

You may also select the Show form name and Show form description checkboxes to display these features if you want to. Click on Add Form to insert the required shortcode.

You’ll then see the form’s shortcode in the editor. Make sure to update your page once you’re done.

Creating a New Page for Your Form
If you choose Create New Page in the Embed Tool, a field will appear for you to add a title to your new page. Once you’ve done so, click Let’s Go!

This will open the classic editor. The shortcode for your form will be added to the page automatically.

By default, the title and description values are set to false. This means that your form’s title and description (which you can change in the General settings in the form builder) will not be shown on the frontend.
If you would like to show the title or description, change the corresponding value in the shortcode to true.

Then click on the Publish button to the right of the editor to make the page and your form live.

Using the Classic Editor Add Form Button
At any time, you can open a page in the classic editor and add a form to it using the Add Form button in the toolbar above the text area.

Click this button to open the popup window, then use the dropdown menu to select the form you want to publish.

Check the Show form name and Show form description boxes if you wish, then select Add Form.

Finally, update or publish your page to make your form visible on the frontend of your site.
Adding Your Form to a Widget
Note: The steps below assume you’re using the Classic Widgets plugin. If you do not have this plugin installed and activated on your site, please see our guide on how to add a form to a block widget.
A WordPress widget is a small block of content on your site that performs a specific function. They’re often used to add text, links, or other features to areas such as your sidebar or footer.
Note: Want to learn more about WordPress widgets? See WPBeginner’s complete guide to this topic for additional details.
You can add your forms to any widget area that your WordPress theme supports. First, go to Appearance » Widgets in your admin area.

Here, look under Available Widgets for the WPForms widget.

Then drag and drop the WPForms widget into the widget area you want to display it in.

You can enter a title for your widget if you like. Then select the form you want to display from the dropdown. If you want to show the form title or description in the widget, you may also check the relevant boxes.

Once your widget is set up the way you’d like, click the Save button. On the frontend, a WPForms widget in your footer might look something like this:

That’s it! Now you know how to create your first form with WPForms and publish it using the WordPress classic editor.
Next, we recommend testing your form to make sure it’s working the way you expect. See our detailed testing checklist to help ensure that your form looks and functions just how you’d like.