AI Summary
Would you like to prevent spam from being sent through your WordPress forms? Many anti-spam options are available, and it can be hard to know which one(s) to choose.
In this tutorial, we’ll walk you through the anti-spam options available in WPForms.

Requirements: The Akismet, reCAPTCHA, hCaptcha, and Cloudflare Turnstile integrations are available with any version of WPForms, including WPForms Lite. The Custom Captcha feature is available with any paid license.
Accessing Spam Protection and Security Settings
WPForms has its own spam protection and security settings that you can access directly in the form builder.
To get started, you’ll first need to create a new form or edit an existing one to access the form builder.
Once you’ve opened the form builder, head to Settings » Spam Protection and Security.
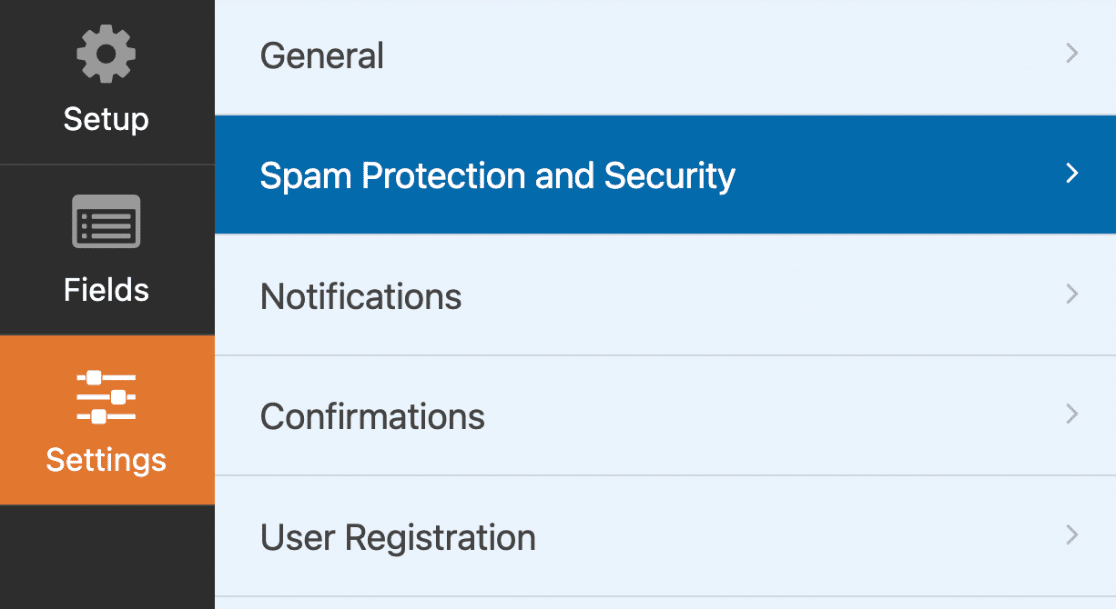
Here is where you’ll find most of the configuration options for preventing spam in your form entries.

Throughout this tutorial, we’ll cover how to configure the available anti-spam options.
Enabling Modern Anti-Spam Protection
Note: For the modern anti-spam protection to function properly, JavaScript must be enabled on your site.
WPForms has a built-in modern anti-spam protection that prevents spam submissions on your WordPress forms.
This modern approach is based on the Honeypot technique and uses a multi-layer solution to enhance spam detection and prevention. Ensuring only real users can submit forms on your website.
Under Settings » Spam Protection and Security, you’ll find the toggle to update this setting.
The Enable modern anti-spam protection option should be toggled on by default, but you can check it here.

With this setting enabled, your form will not submit if a bot triggers the anti-spam protections.
Enabling Akismet Anti-Spam Protection
Akismet anti-spam protection helps keep spammers from submitting WordPress forms. Using smart algorithms, Akismet stops form entries identified as spam from being saved. These algorithms adapt based on user-reported spam, automatically flagging similar content as spam over time.
For a step-by-step guide to using Akismet with WPForms, refer to our tutorial on setting up Akismet anti-spam protection.
Enabling Spam Entry Storage
WPForms lets you choose whether to block spam entries completely or store them in your database. This allows you to review spam submissions and easily recover false-positive entries.
The Store spam entries in the database option is enabled by default, but you can update it based on your preference.

Entries identified as spam will be stored in the Spam section on the form’s Entries page.
Note: For a detailed guide to spam entry management, see our tutorial on viewing and managing spam entries.
Enabling Minimum Time to Submit
WPForms provides the option to set a minimum time before users can submit your form. Setting a minimum time to submit a form helps to reduce bot submissions on your WordPress forms.
The Enable minimum time to submit option is enabled by default with a minimum time to submit of 2 seconds. However, you can update the minimum time to any value you like.

To do so, enter a value in the Minimum time to submit field. This value is in seconds and would apply to users filling out the form.

If a user attempts to submit the form before the minimum time you configured, they’ll see an error message prompting them to wait a little longer before submitting the form.

Adding a CAPTCHA to Your Forms
CAPTCHAs are automated tests that check that users are real people and not spambots. There are four different CAPTCHA options you can add to your forms for additional protection beyond the built-in option WPForms provides.
We’ve created separate tutorials to guide you through each method, so you can select the one that best suits your needs.
- reCAPTCHA: Strengthen your form’s security using Google’s reCAPTCHA service.
- hCaptcha: Add an extra layer of protection with the hCaptcha alternative.
- Cloudflare Turnstile: Secure your forms by integrating them with Cloudflare Turnstile.
- Custom Captcha: Create a custom captcha solution tailored to your specific requirements.
Simply click on any of the preferred methods above to explore each option and learn how to add them to your forms.
Adding Spam Filters
Under the Filtering section of your Spam Protection and Security settings, there are 2 different filters you can enable to prevent users from submitting your form.
Here you’ll see an option for enabling a country filter and another for enabling a keyword filter.

For details on how to set up these filters, see our guide to adding spam filters in WPForms.
Creating an Allowlist or Denylist
Another effective method to safeguard your forms from spam is by using an allowlist or denylist. This approach limits form submissions based on the email addresses of users. If a user’s email address doesn’t comply with your list’s rules, they will be unable to submit the form.
For detailed instructions on these spam protection methods, refer to our full tutorial on setting up an email allowlist or denylist.
Note: In addition to using an allowlist or denylist, you have the option to prevent specific IP addresses from submitting forms using a custom PHP snippet from the WPForms code snippets library. For detailed information on how to set this up, refer to our developer documentation.
Frequently Asked Questions
Below, we’ve answered the top questions we get about spam protection in WPForms.
There’s an option in my settings to enable an anti-spam honeypot. How does that work?
Our anti-spam honeypot was included for any forms created prior to our 1.6.2 release. However, forms created after that update will only use our modern anti-spam protection option.
That’s it! Now you know how to prevent spam in your forms.
Next, would you like to edit entries submitted through your forms? Be sure to check out our tutorial on editing entries in WPForms for more details.