AI Summary
Would you like to prevent spam from being sent through your WordPress forms? Using Akismet anti-spam protection with WPForms is a simple and effective way to filter out spam from your form entries.
This tutorial will show you how to set up Akismet anti-spam protection in WPForms.
Before getting started, make sure you’ve installed and activated WPForms on your WordPress site.
1. Installing the Akismet Spam Protection Plugin
Some WordPress installations come with the Akismet Spam Protection plugin preinstalled. However, it isn’t activated by default. If you already have the plugin installed, be sure to activate it.
If you don’t have the plugin installed on your WordPress site, you’ll need to install and activate it.

2. Setting Up an Akismet Account
Once you’ve installed and activated the plugin, you’ll be redirected to the Akismet settings in Settings » Akismet Anti-Spam.

From here, you’ll need to set up an Akismet account to obtain an API key. If you already have an API key, feel free to skip this step. If you don’t have an API key, click the Set up your Akismet account button to get one.

This will take you to the Akismet pricing page, where you can select your preferred account tier. This integration will work with the Personal account that Akismet offers for free. However, feel free to choose whichever plan fits your needs.
For our example, we’ll sign up for the free account by clicking the Get Personal button.

After that, Akismet will redirect you to the signup page.
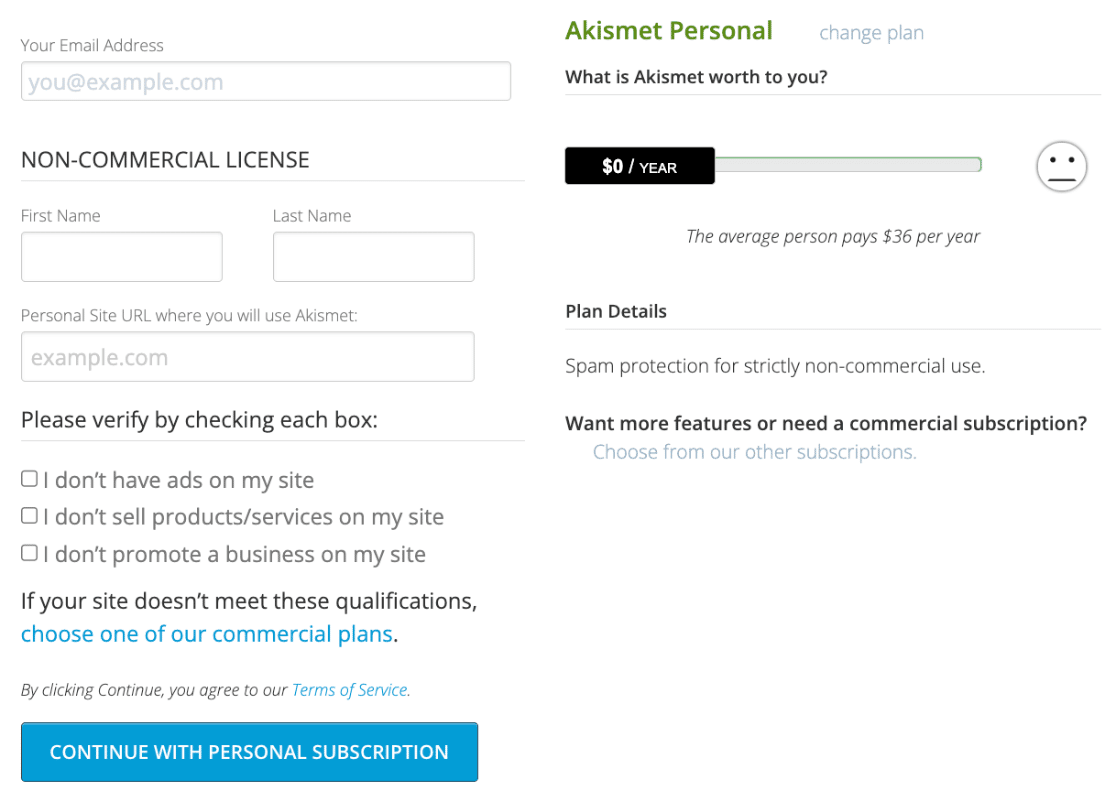
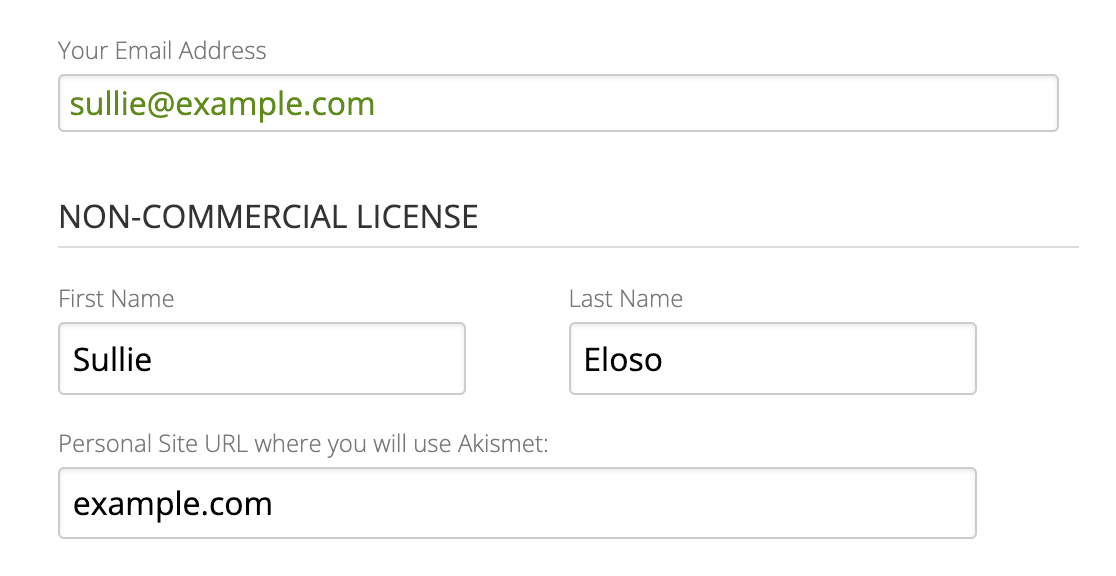
Go ahead and enter your email address, name, and URL for the WordPress site you’ll be using Akismet on.
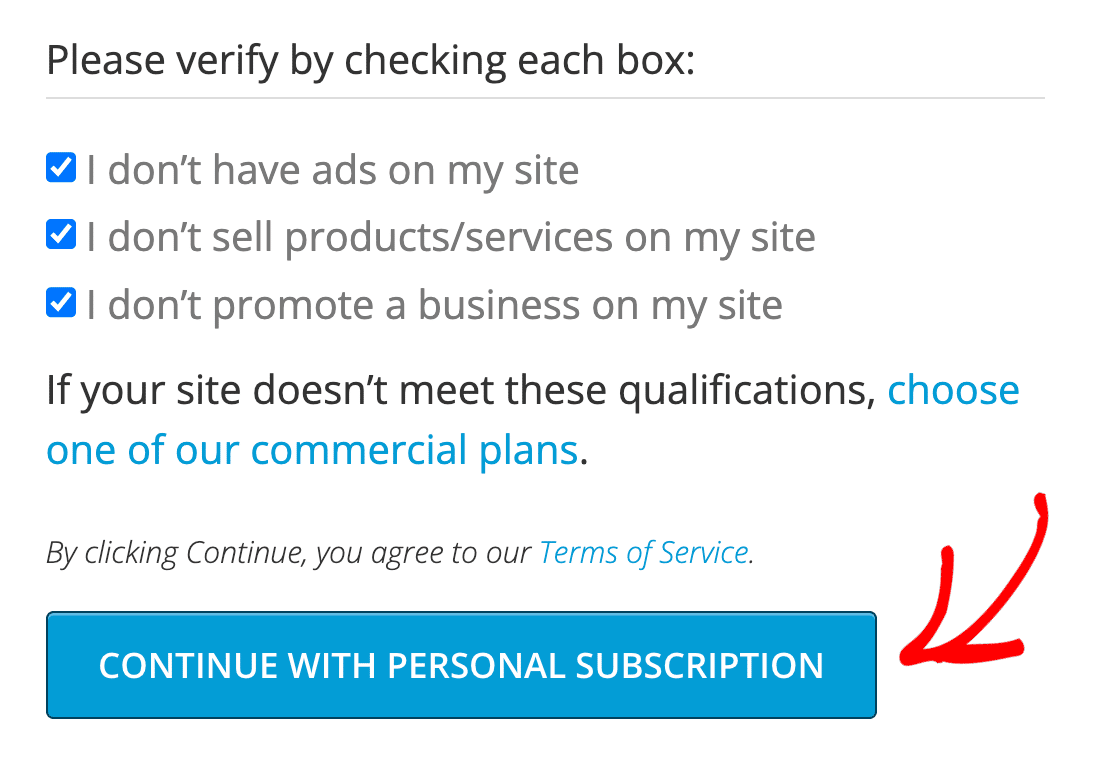
Then, be sure to check the boxes next to each qualification and click the continue with personal subscription button.
3. Adding Your Akismet API Key
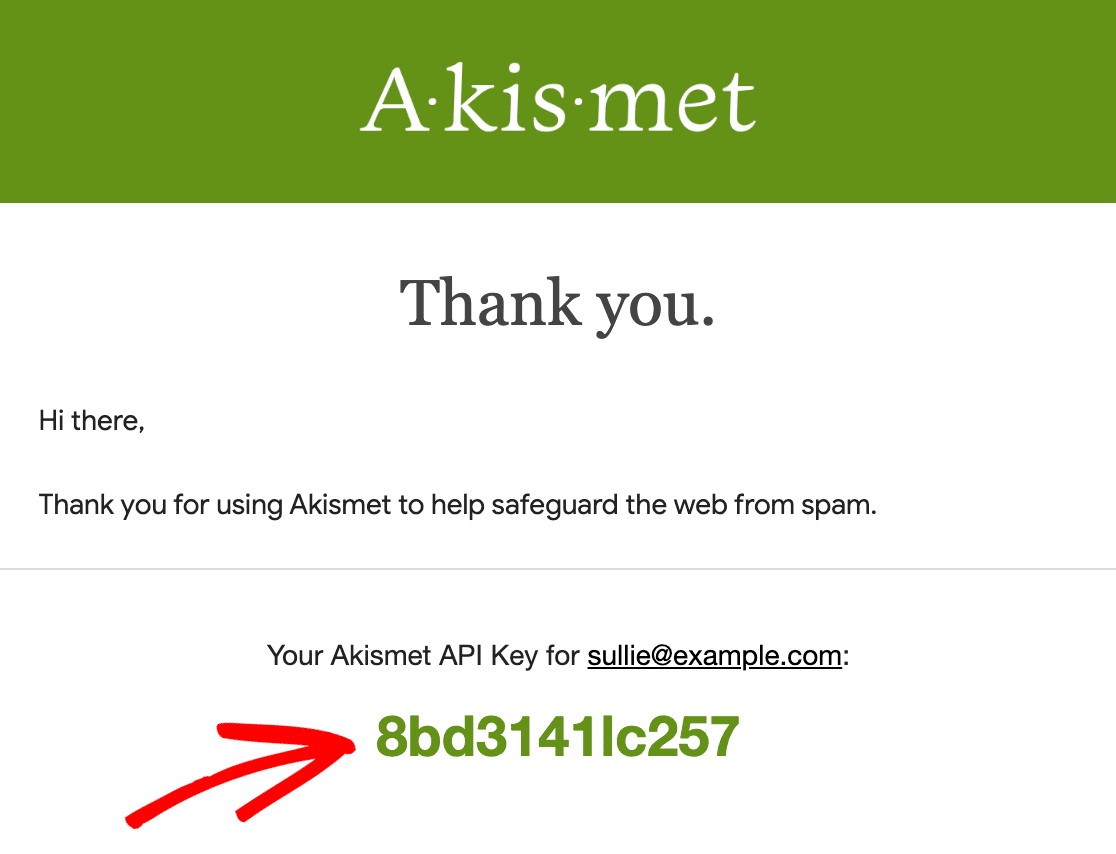
After successfully creating an account, Akismet will send you an email containing your API key. Go ahead and copy your Akismet API key from the email.
Then, head back to your Akismet Spam Protection settings in the WordPress dashboard and click Manually enter an API key.

On the next page, paste your API key into the field provided and click Connect with API key.

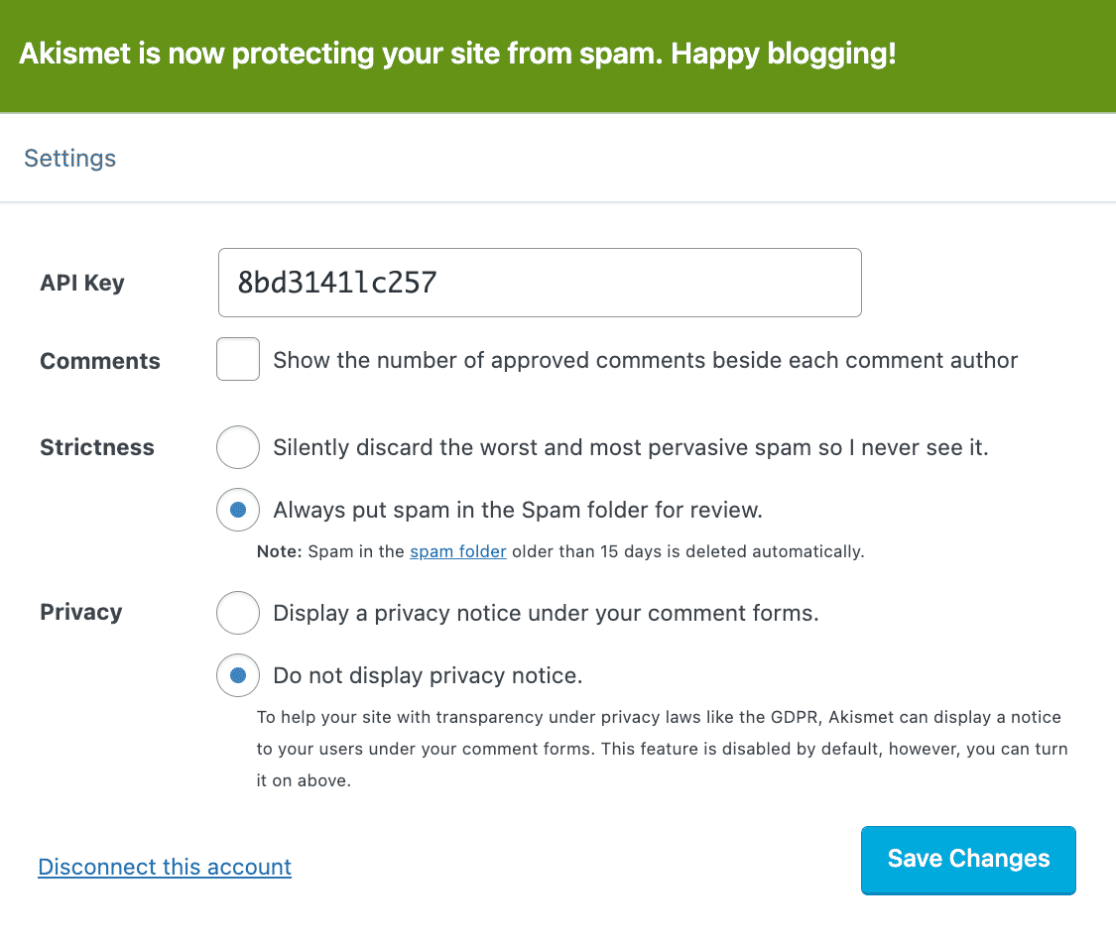
A success message will appear at the top of the next screen, along with additional Akismet settings. Although it’s not required, feel free to customize your settings as you see fit.
4. Enabling Akismet in WPForms
Now that you’ve set up the Akismet Spam Protection plugin, it’s time to add Akismet anti-spam protection to your form.
To start, you’ll need to create a new form or edit an existing one to access the form builder.
Once you’ve opened the form builder, navigate to Settings » Spam Protection and Security.

You’ll need to toggle on the Enable Akismet anti-spam protection option on the right side panel.

WPForms lets you choose whether to block spam entries completely or store them in your database.
If you toggle the Store spam entries in the database option to the on position, Akismet will save these spam submissions for your review rather than blocking them. This option does not prevent the submission of spam, but instead collects spam entries for your reference.
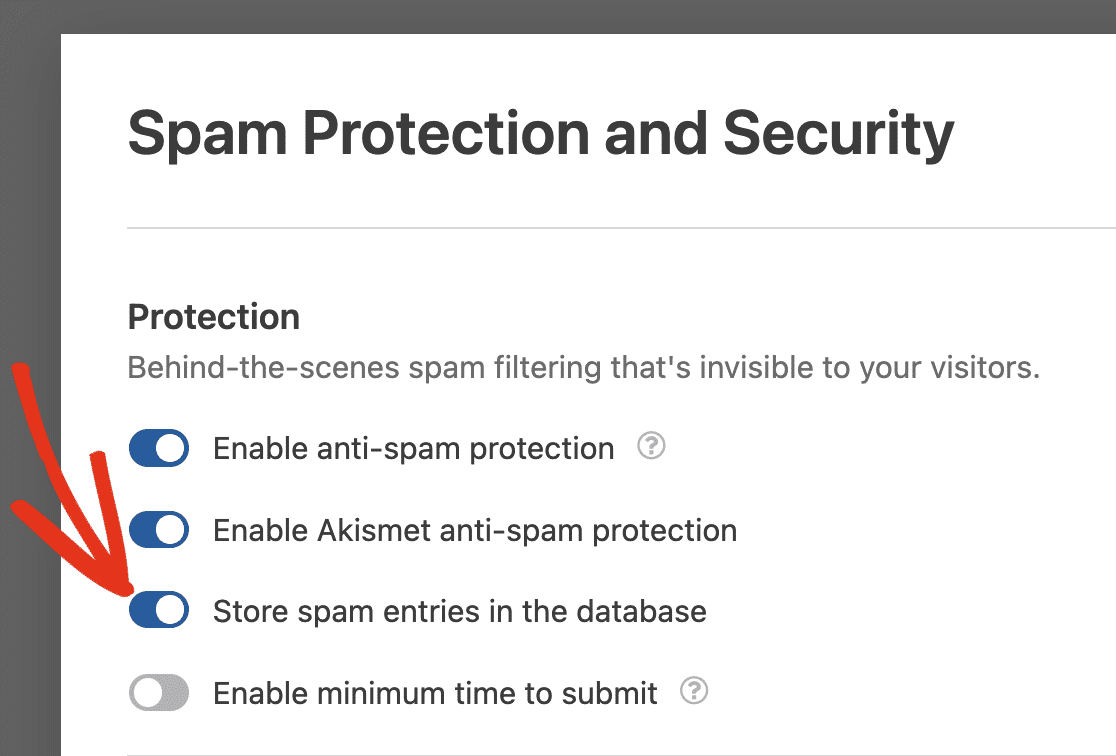
If you decide not to store spam entries by toggling the Store spam entries in the database option to the off position, Akismet will actively block these submissions, preventing them from entering your database.

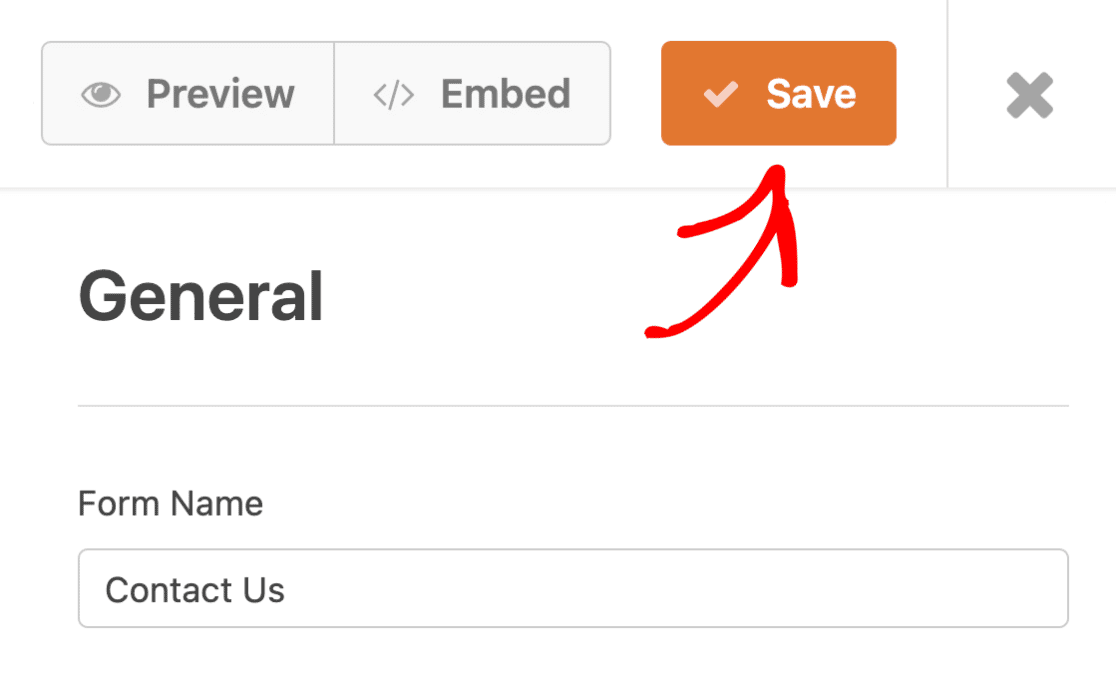
Finally, be sure to click the Save button to apply the changes.
With Akismet anti-spam protection enabled, your form entries will not be saved if Akismet detects them as spam.
5. Testing a Form With Akismet Enabled
Now that you’ve successfully added Akismet anti-spam protection to your form, it’s time to confirm that it’s working correctly.
To do this, first, you’ll need to preview your form on the frontend of your site.
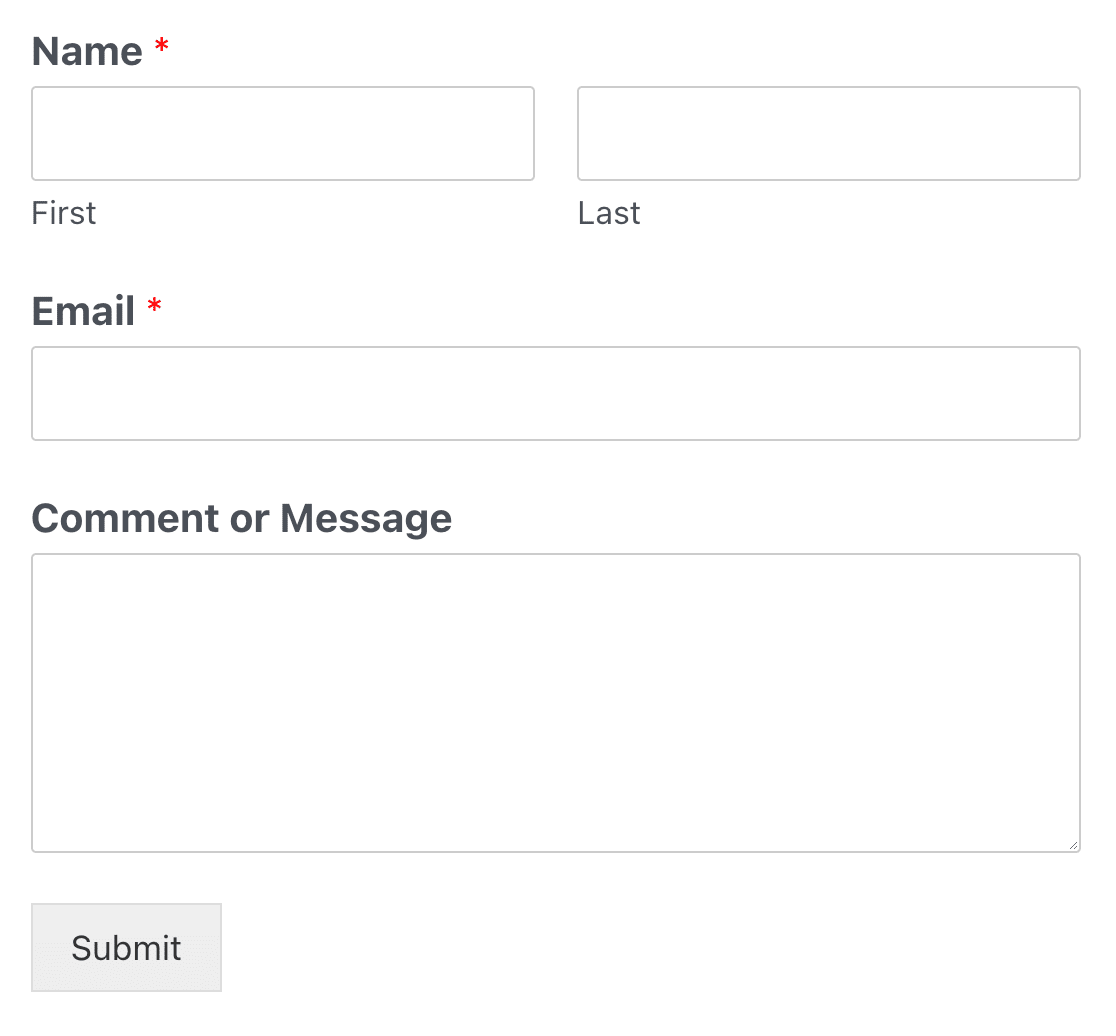
Then, go ahead and add one of Akismet’s spam triggers to a corresponding field in your form. Here are the spam triggers that Akismet has available for testing:
- Name: spam-test-123
- Email: [email protected]
- Comment Body: akismet-guaranteed-spam
As an example, we’ll add all three spam triggers and click the Submit button to test our form.

If Akismet is working correctly, it will detect the spam triggers and prevent your form from submitting. You’ll also see a notice at the top of the form that reads “Anti-spam verification failed, please try again later.”

6. Viewing Spam Entries
Enabling spam entry storage allows you to review spam submissions from your Entries page. There is also an option to recover entries that may have been mistakenly flagged as spam by Akismet.

For a detailed guide, please see our tutorial on viewing and managing spam entries.
That’s it! Now you know how to set up Akismet anti-spam protection in WPForms.
Next, would you like to learn about more ways to prevent spam? Be sure to check out our guide to preventing spam in WPForms for more helpful tips.