Would you like to filter spam entries in your forms by blocking submissions from certain countries? Or perhaps you want to filter out submissions that contain prohibited words or phrases? WPForms includes customizable spam filters to help you prevent suspicious entries from being submitted.
In this tutorial, we’ll show you how to create country and keyword filters to prevent spam entries.
Accessing Spam Protection and Security Settings
The spam filter options are located in the form builder’s Spam Protection and Security settings. To access them, create a new form or edit and existing one to open the form builder.
Then go to Settings » Spam Protection and Security.
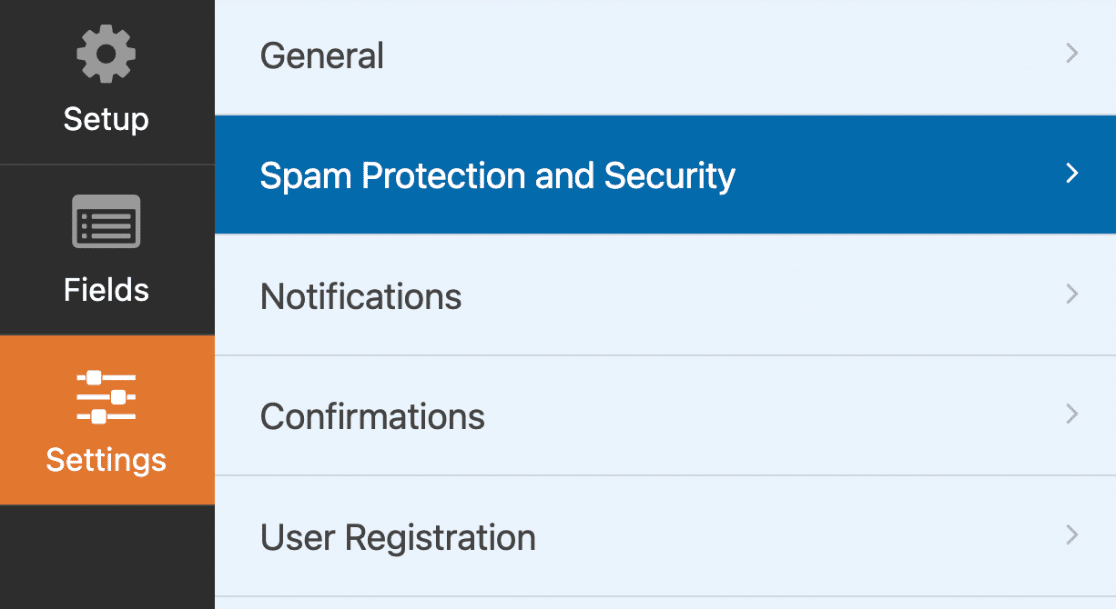
You’ll find the country and keyword filters under Filtering.
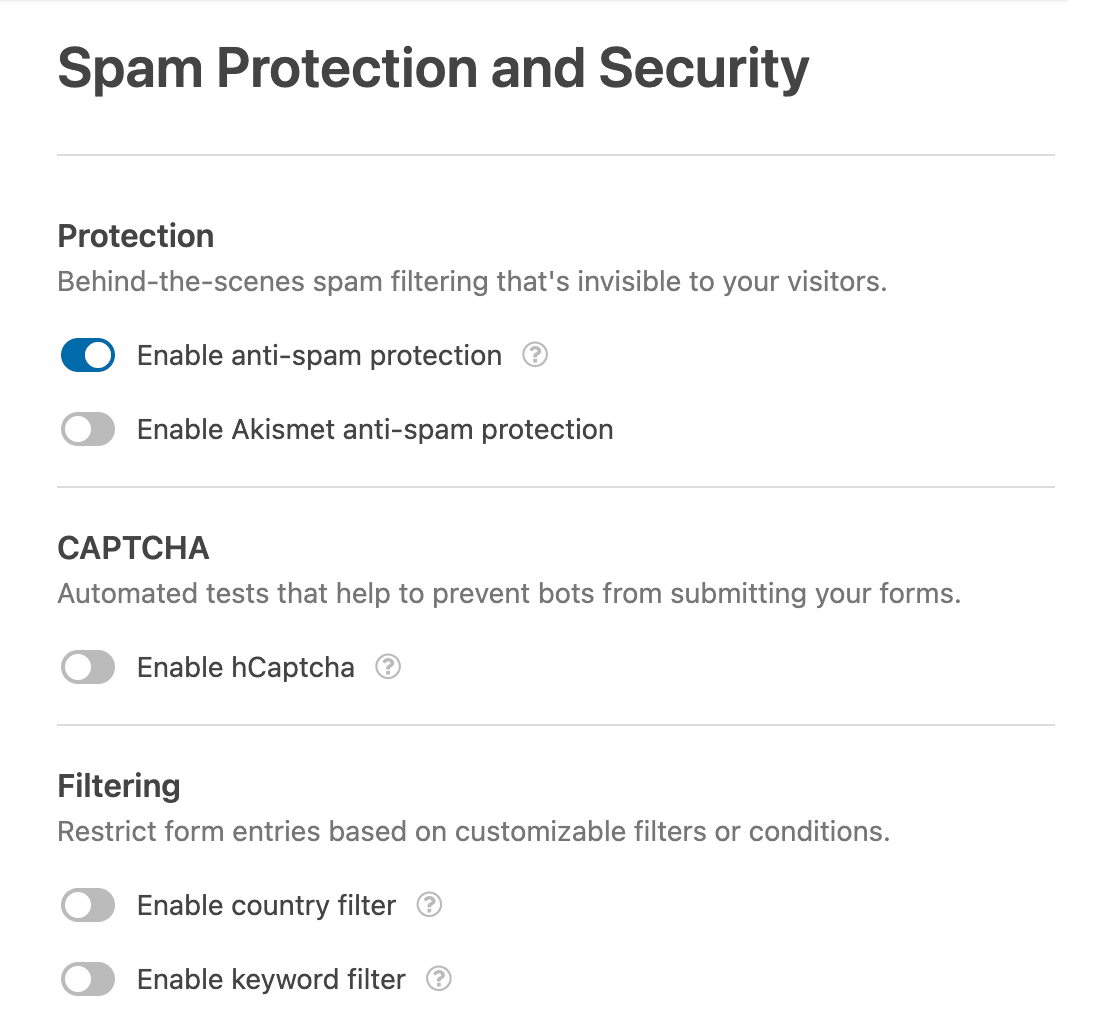
Adding a Country Filter
Using a country filter is a simple and effective way to allow or deny form submissions from specific countries.
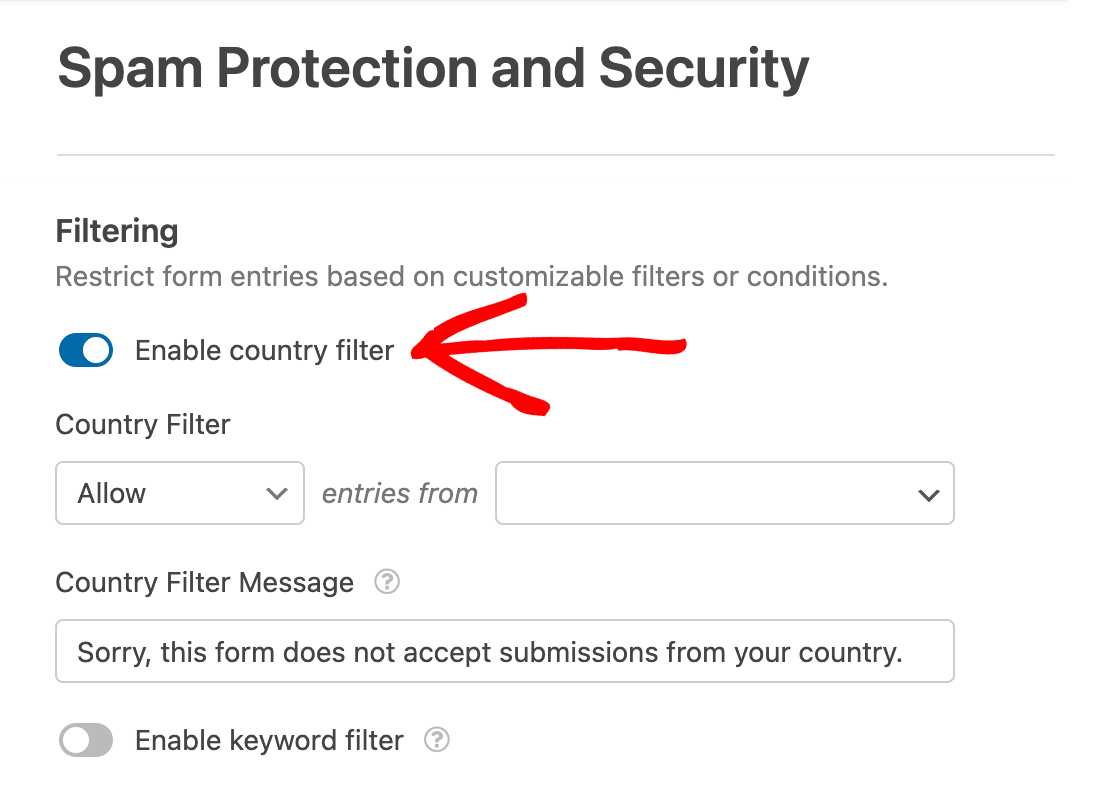
To enable this feature from the form builder, head to Settings » Security and Spam Protection and toggle on the Enable country filter option.
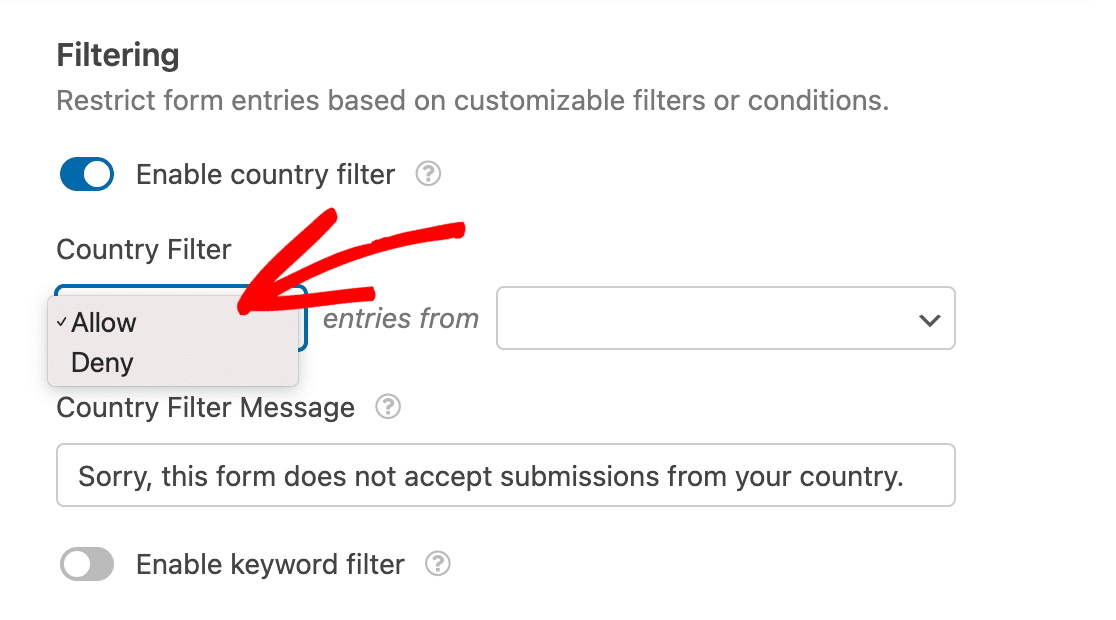
Next, click the dropdown menu under Country Filter and select Allow if you’d like to permit users from specific countries to submit your form. If you’d like to block users from specific countries from submitting your form, select Deny.
Then, click the other dropdown and select the countries you’d like to allow or deny entries from.
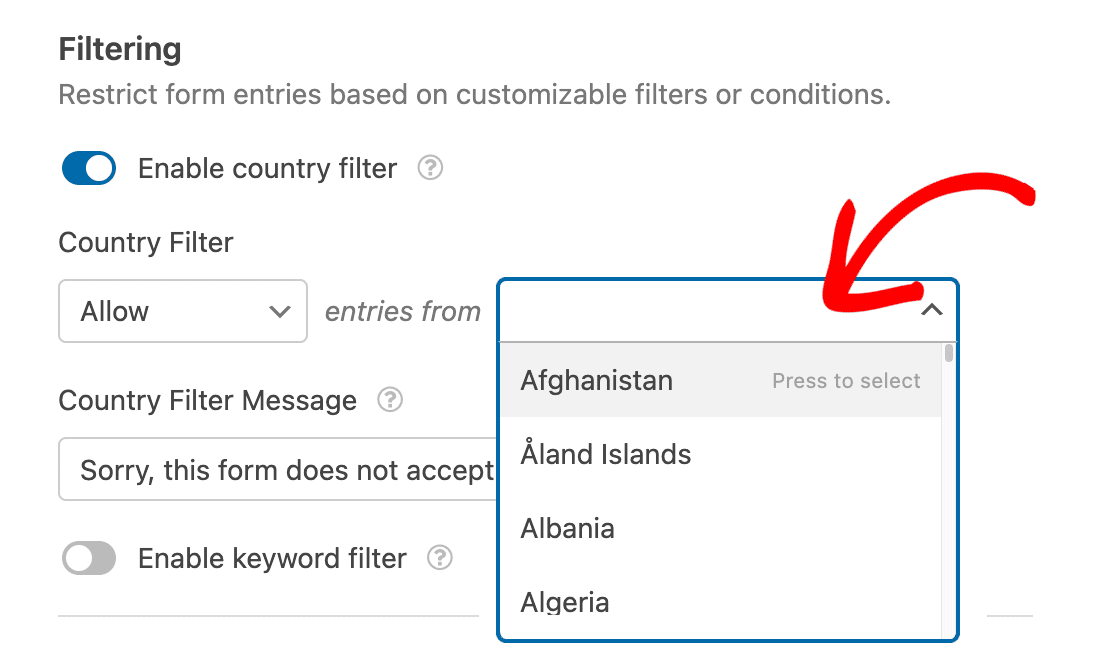
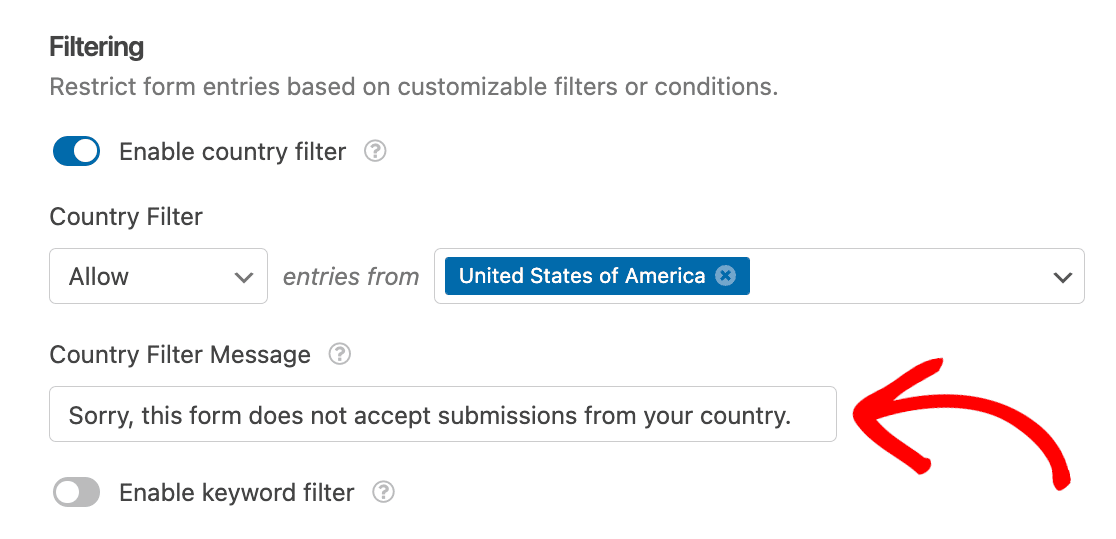
For our example, we’ll choose to Allow entries from United States of America only.

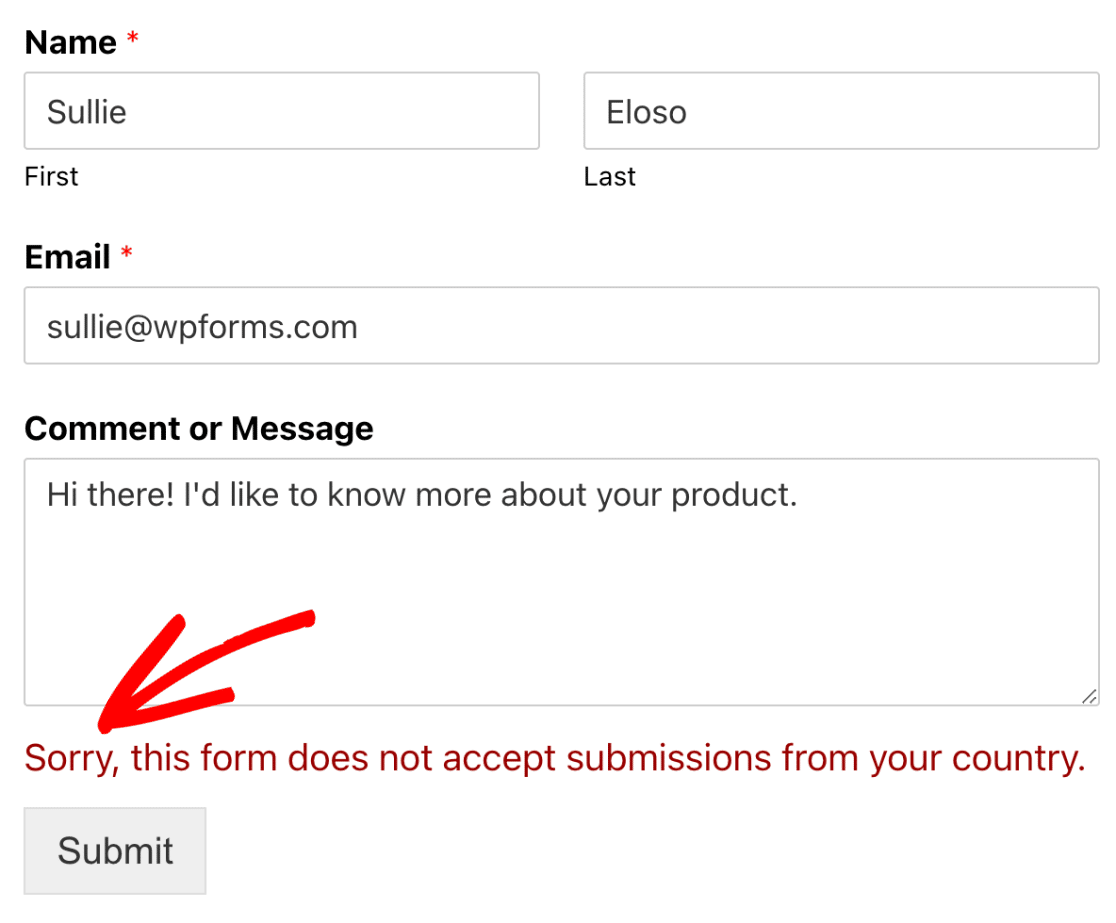
Now if a user attempts to submit our form from outside of our selected country, the form will fail to submit. They’ll also see a default message that reads, “Sorry, this form does not accept submissions from your country.”
If you’d like to change the message shown to the denied user, you can add your custom message to the field under Country Filter Message.
Once you’ve added a country filter, be sure to save your form to apply the changes.
Adding a Keyword Filter
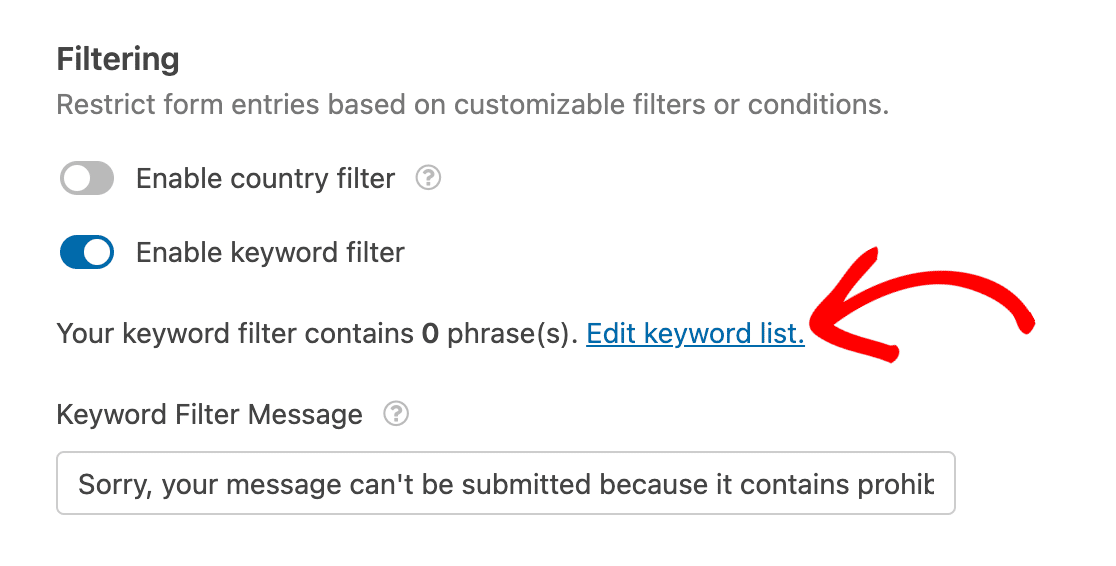
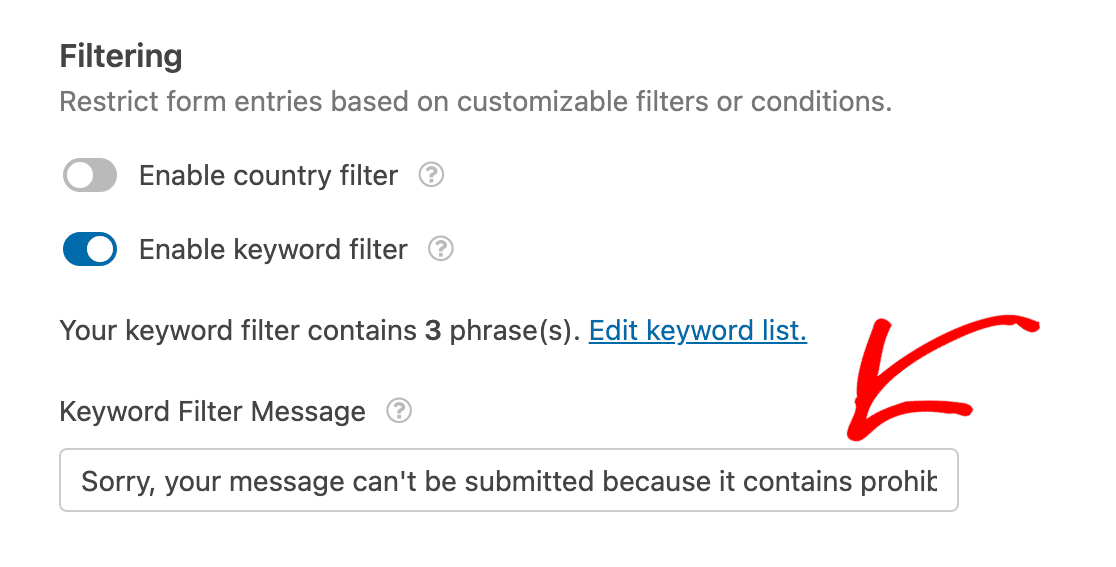
Using a keyword filter is an easy way to manage inputs for all fields in your forms. To start, toggle the Enable keyword filter option to the on position.
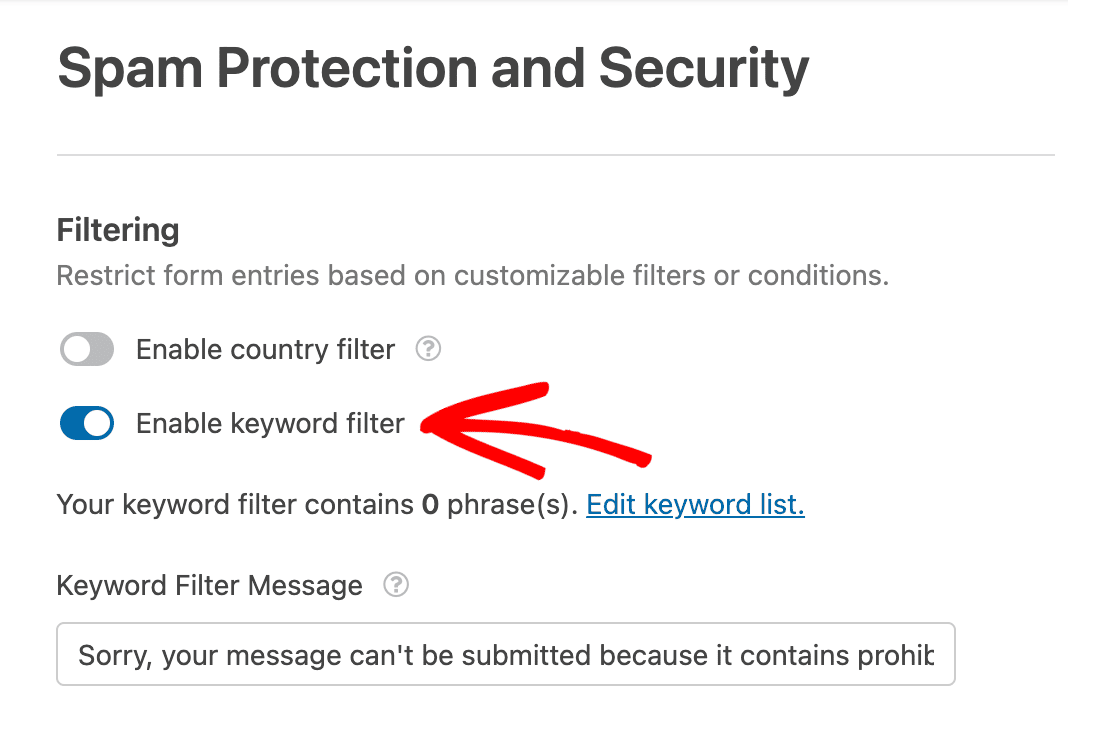
Next, click Edit keyword list to open your list of keywords.
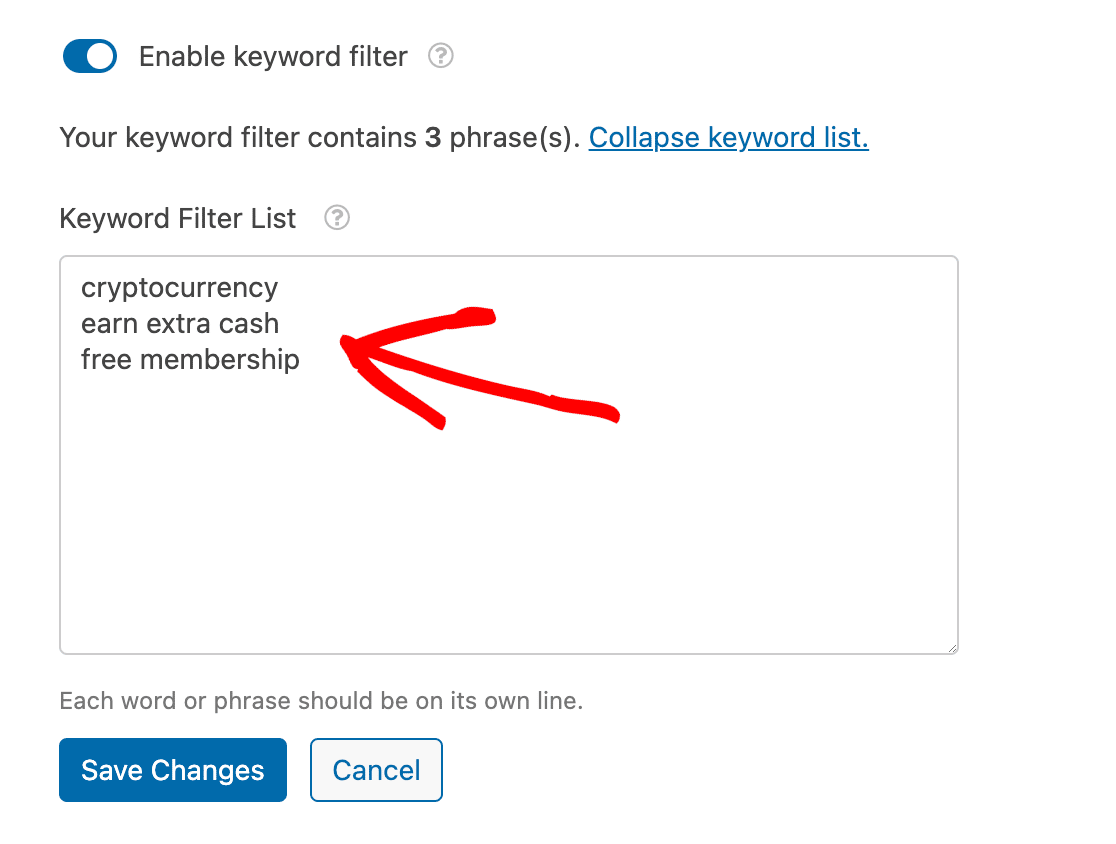
You’ll then see a text box labeled Keyword Filter List. To add words or phrases to your list, simply type them in the text box. If you add more than one word or phrase, be sure to type each one on its own line.
Note: Because the keyword filter is case-insensitive, it doesn’t detect any difference between lowercase or uppercase letters.
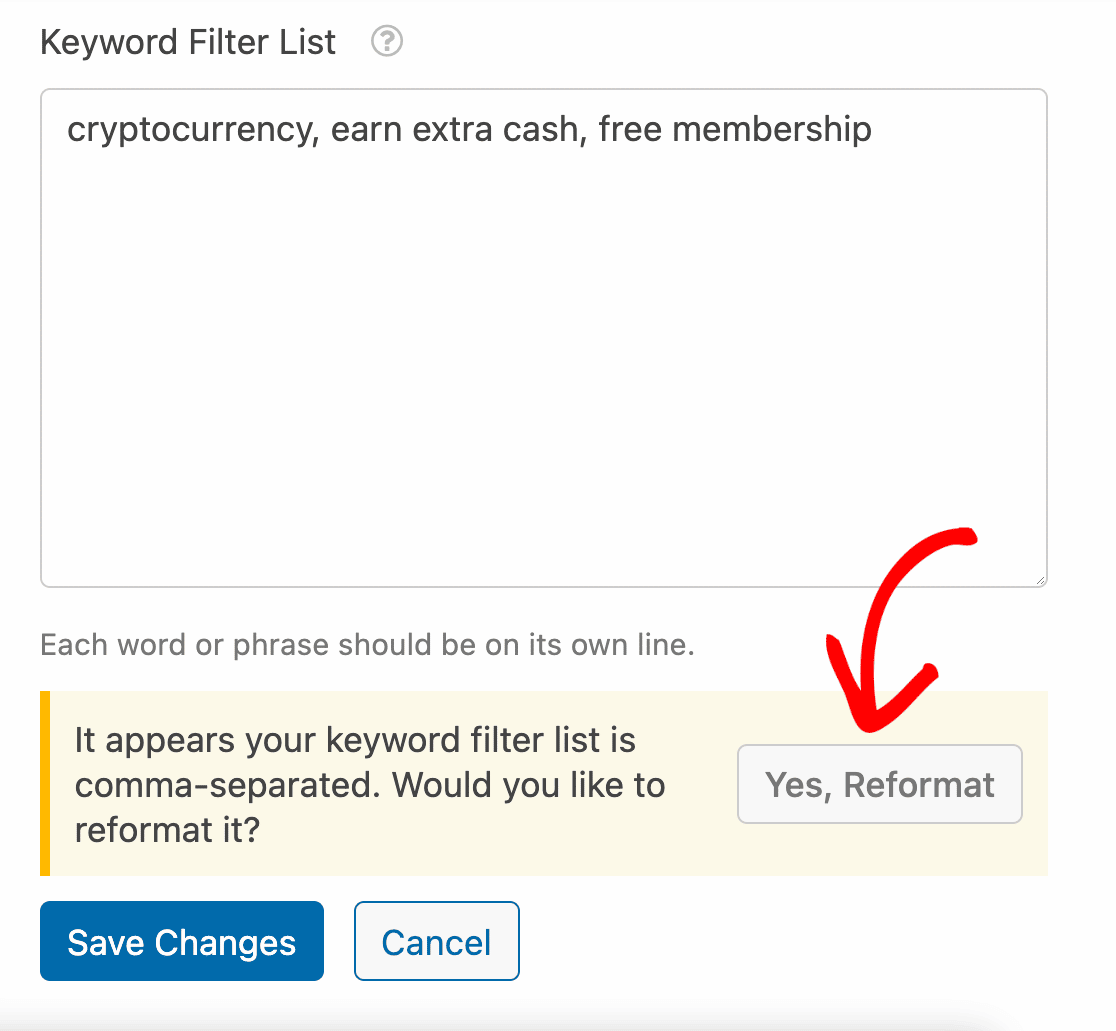
If you use commas to separate the words or phrases in your keyword list instead of placing each on its own line, you’ll likely see a prompt to reformat your list. Reformatting your list helps the filter detect the specific words and phrases that you want to block in your forms.
If you wish to reformat, simply click the Yes, Reformat button.
After reformatting your list, the commas will be removed, and the words and phrases will appear on their own line. This can be particularly helpful if you’re copying a list from a CSV file since commas often separate CSV file values by default.
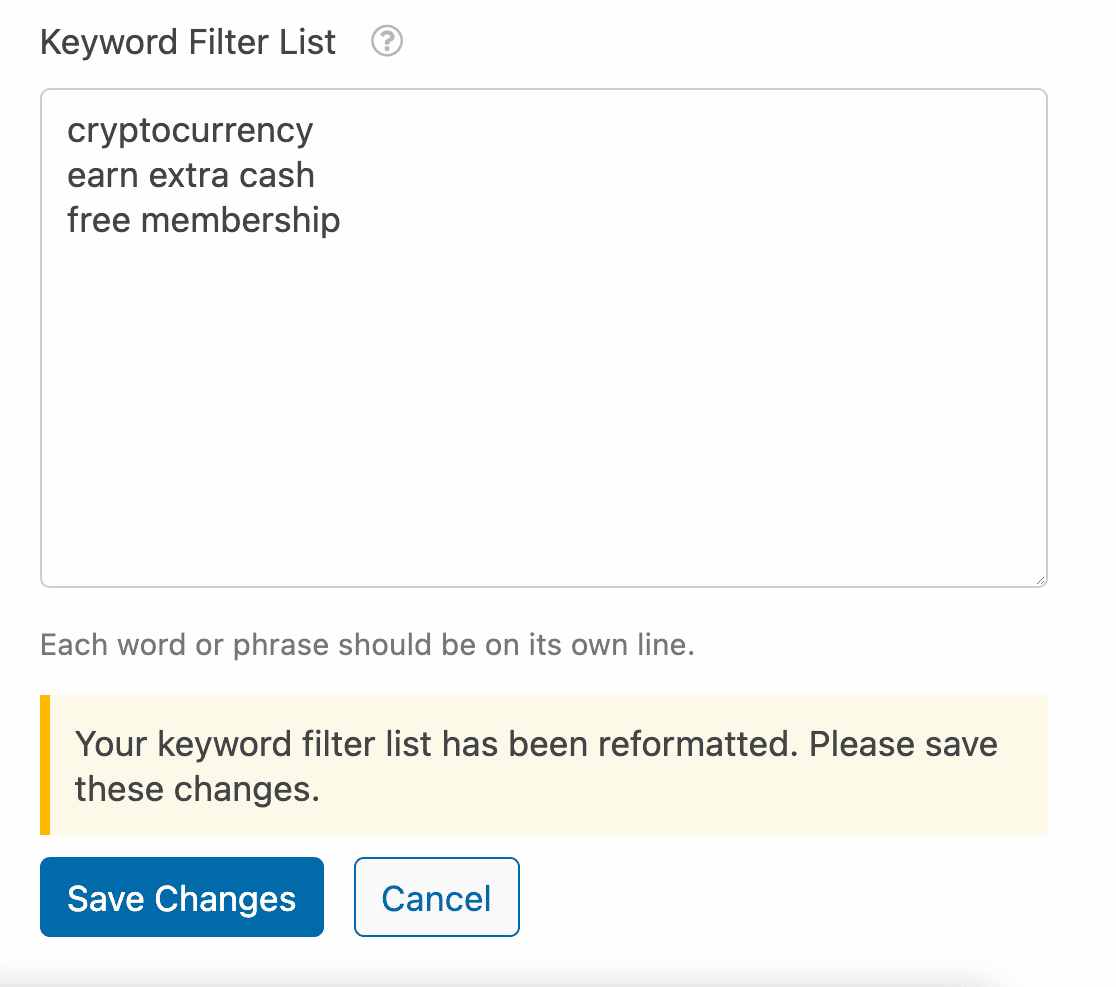
Once you’ve added your keywords, click Save Changes to update your list of blocked keywords.
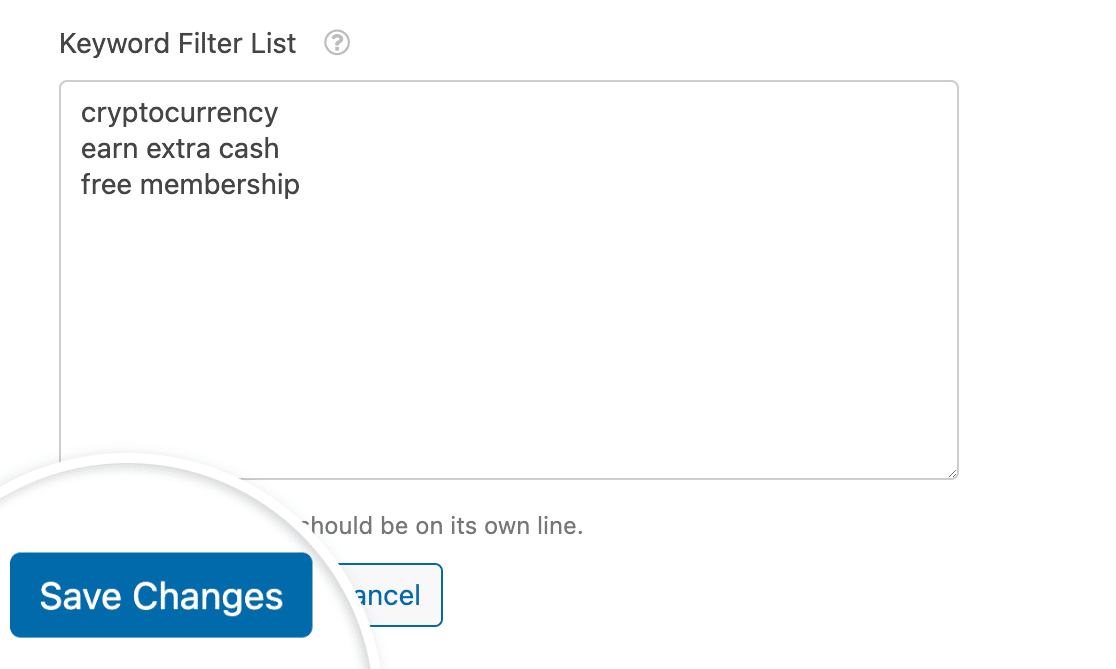
Note: The words and phrases added to your Keyword Filter List will apply to all forms on your site that you’ve created with WPForms.
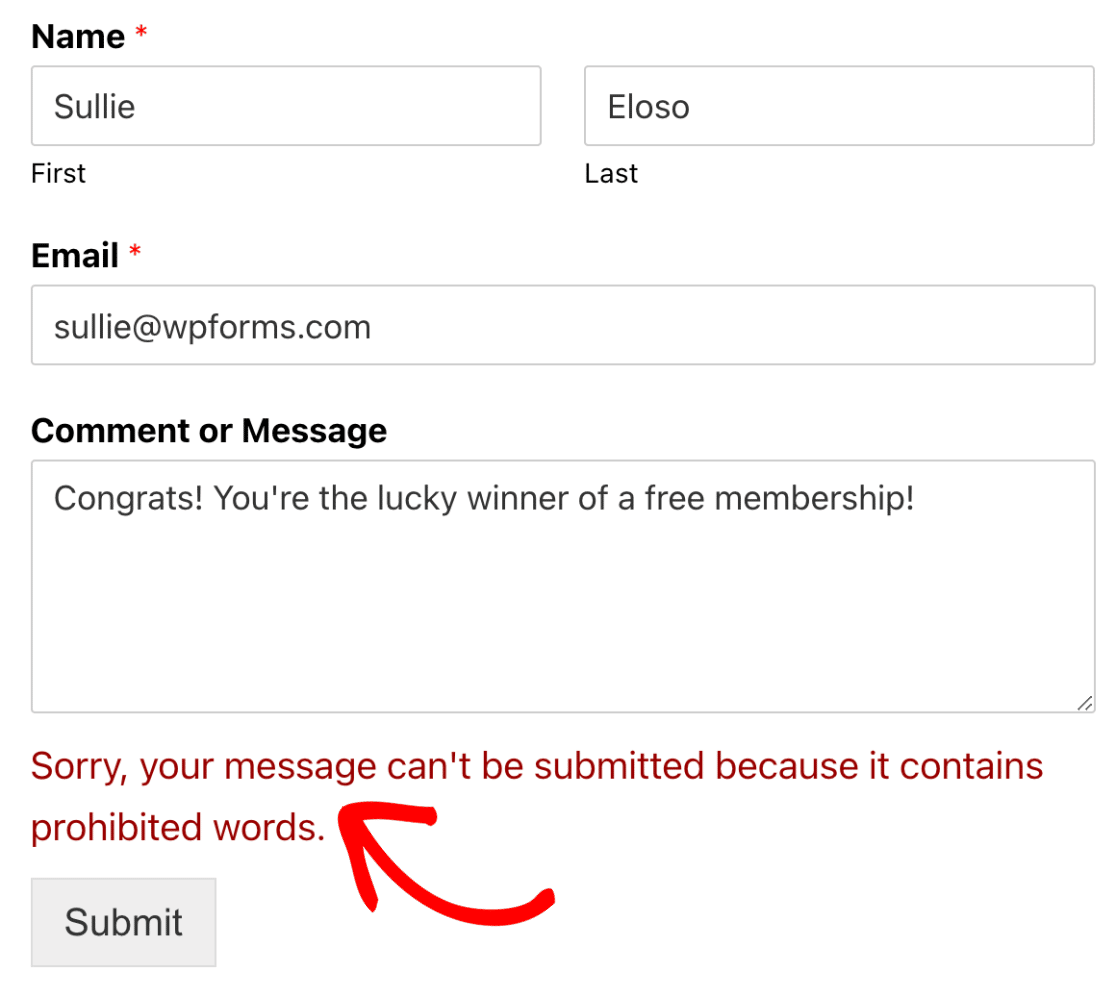
Now when a user attempts to submit your form with one of the blocked keywords, the form will fail to submit. The user will also see a default message that reads, “Sorry, your message can’t be submitted because it contains prohibited words.”
To change the message that’s displayed to the denied user, replace the text in the Keyword Filter Message field with your preferred message.
Once you’ve set up your keyword filter, be sure to save your form.
Note: To further enhance your form’s security by preventing domain names from being submitted in text fields, see our developer documentation for instructions on blocking specific domains.
That’s it! Now you know how to add spam filters to your forms in WPForms.
Next, want to learn about other spam protection options? Check out our complete guide to WPForms spam protection for more details.
