AI Summary
Would you like to connect your WordPress forms to your Salesforce account? With the WPForms Salesforce addon, you can automatically add new leads to your contacts when users submit your forms.
This tutorial will show you how to install and use the Salesforce addon with WPForms.
Requirements: To use the Salesforce addon, you’ll need to ensure that:
- You have an Elite license
- You installed the latest version of WPForms to meet the minimum required version for the Salesforce addon
- Your site loads over SSL (HTTPS). Check out WPBeginner’s guide to using HTTPS for more information
- Your edition of Salesforce supports API access
Installing the Salesforce Addon
Before getting started, you’ll first need to make sure that WPForms is installed and activated on your WordPress site.
Once you’ve verified your WPForms license, you’ll be able to quickly install and activate the Salesforce addon.
Creating a New App in Salesforce
If you haven’t created a Salesforce account already, go ahead and do so now.
In order to connect WPForms with Salesforce, you need to create an app within your Salesforce account.
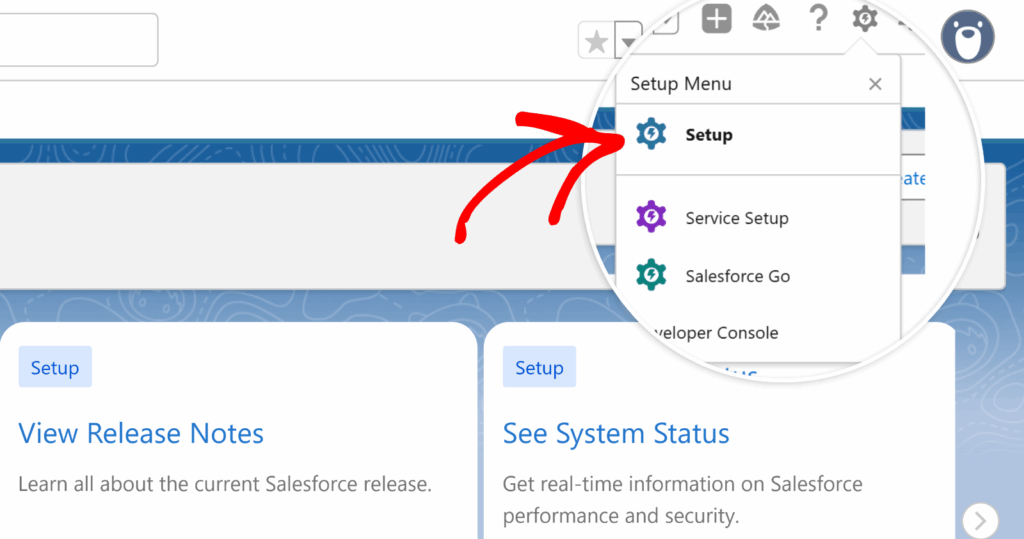
When you’ve logged in, click on the gear icon in the top right corner of the screen, then select the Setup option.
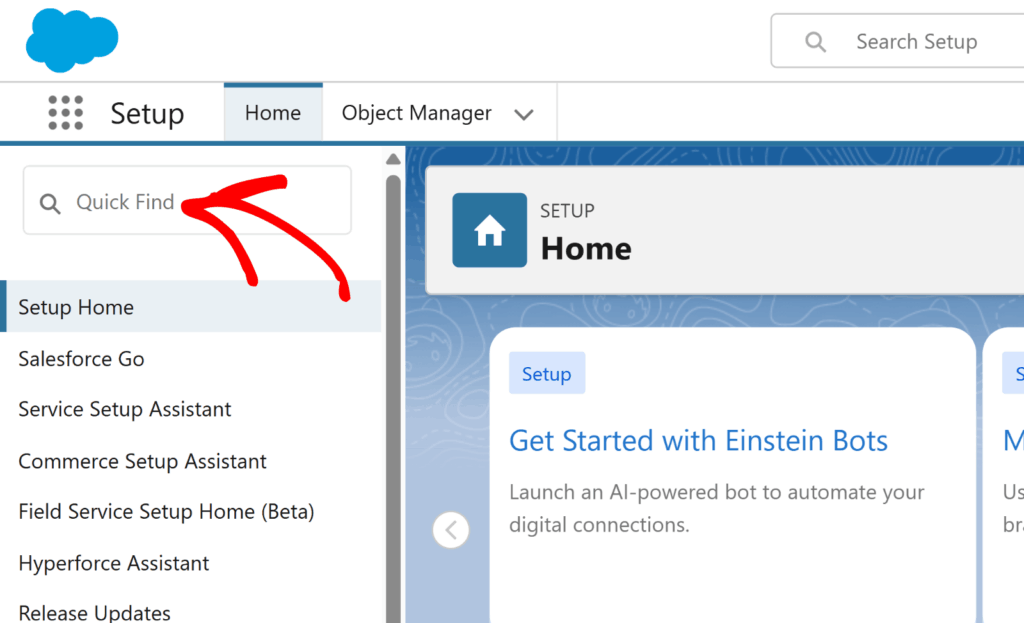
From here, you can use the Quick Find search bar in the lefthand sidebar to search for “Apps.”
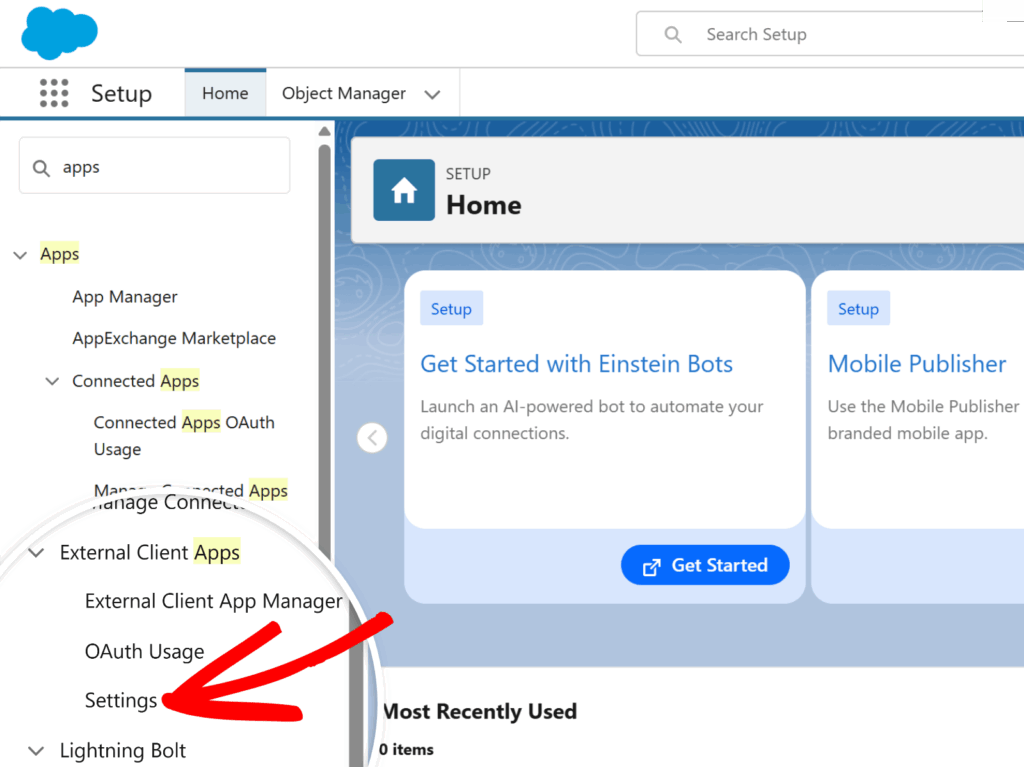
In the options that populate in the lefthand sidebar, select Apps » External Client Apps » Settings.
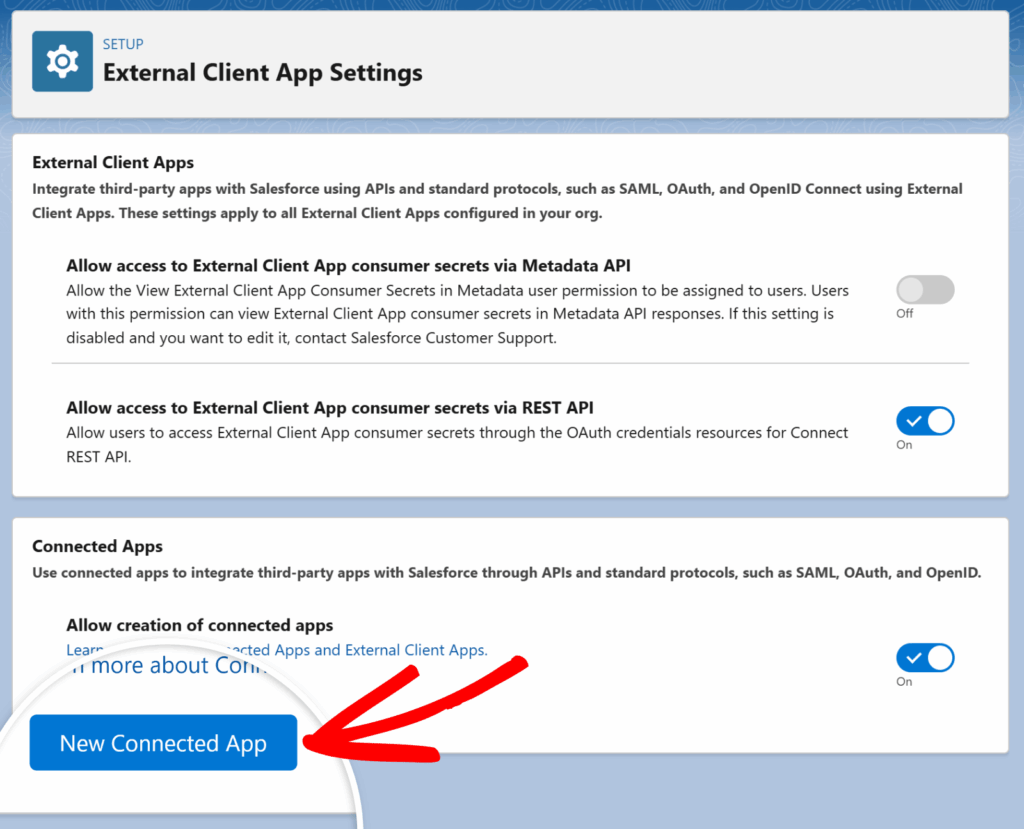
This will show all your connected apps. From here, click on the New Connected App button.
This will open a list of options that you’ll need to fill out. Fields highlighted with red are required. You can see a description of each field below:
- Connected App Name: A nickname for your app, which your users in Salesforce will see. This can be anything you’d like.
- API Name: This field will automatically default to the Connected App Name, but you can change it to whatever you’d like. If you plan on using custom code for your integration, your developer(s) will need this API name for customization.
- Contact Email: The contact email of the person creating the app.
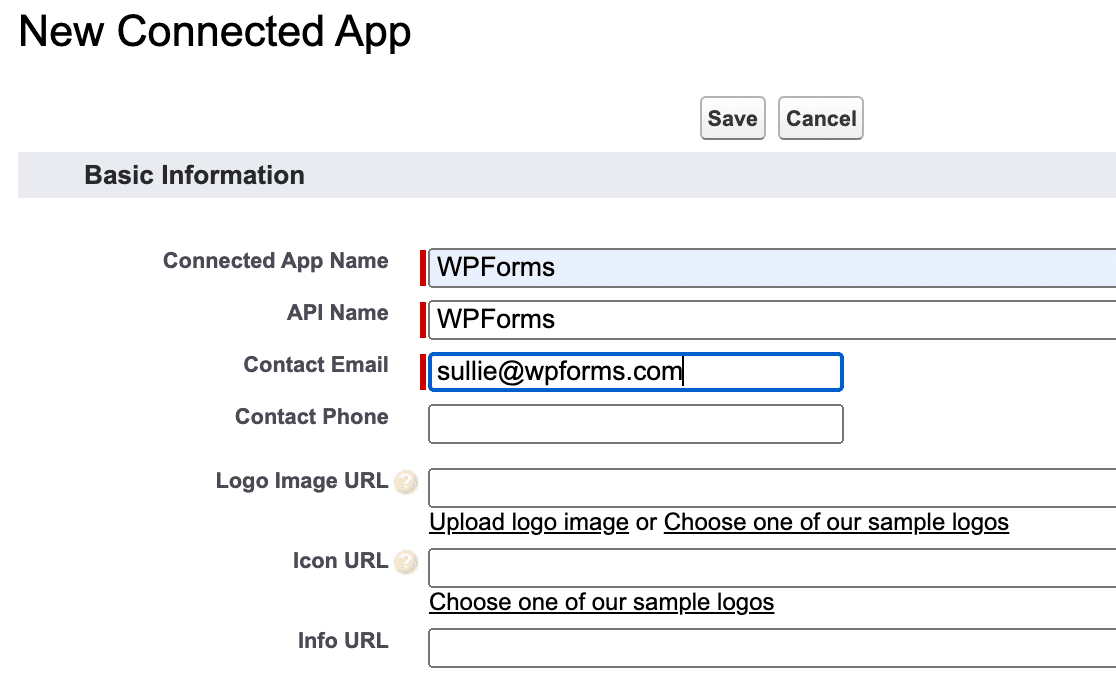
Next, you’ll need to check the Enable OAuth Settings option to configure your app’s permissions.

This will open up more fields you’ll need to complete to finish setting up your app, with the required fields marked in red.
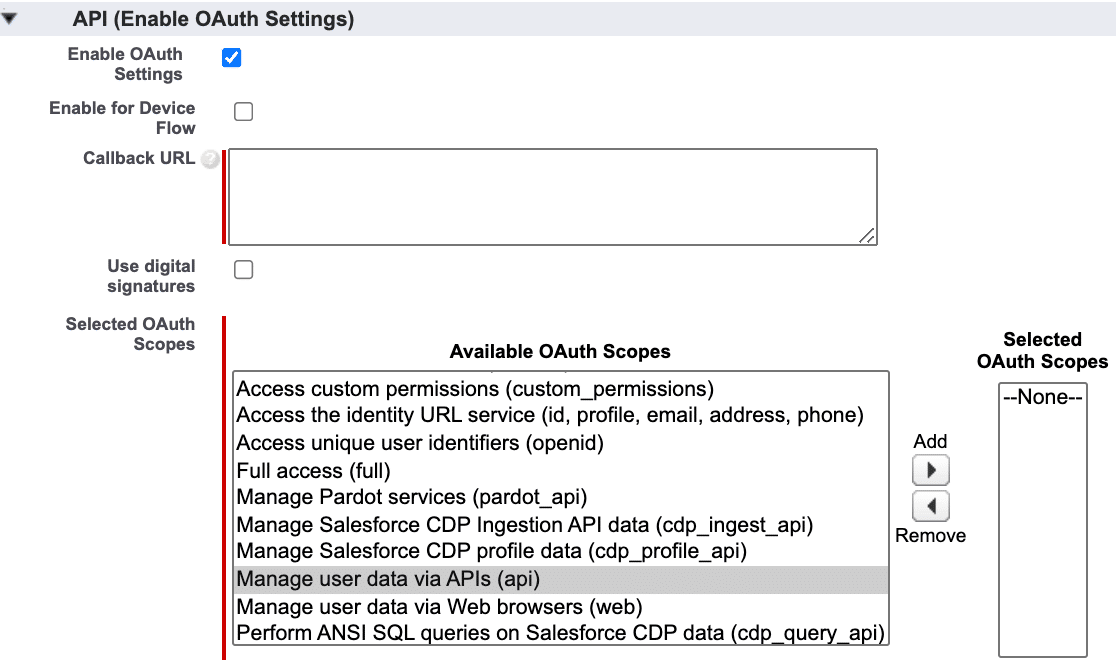
We’ve gone over each of these settings in detail below.
Callback URL
The Callback URL is the URL that you’ll be redirected to after you’ve allowed authorization for your connected app (which we’ll cover later on). To find your Callback URL, open up your WordPress dashboard in a new browser tab or window.
Then, navigate to WPForms » Settings » Integrations and click on the Salesforce integration.
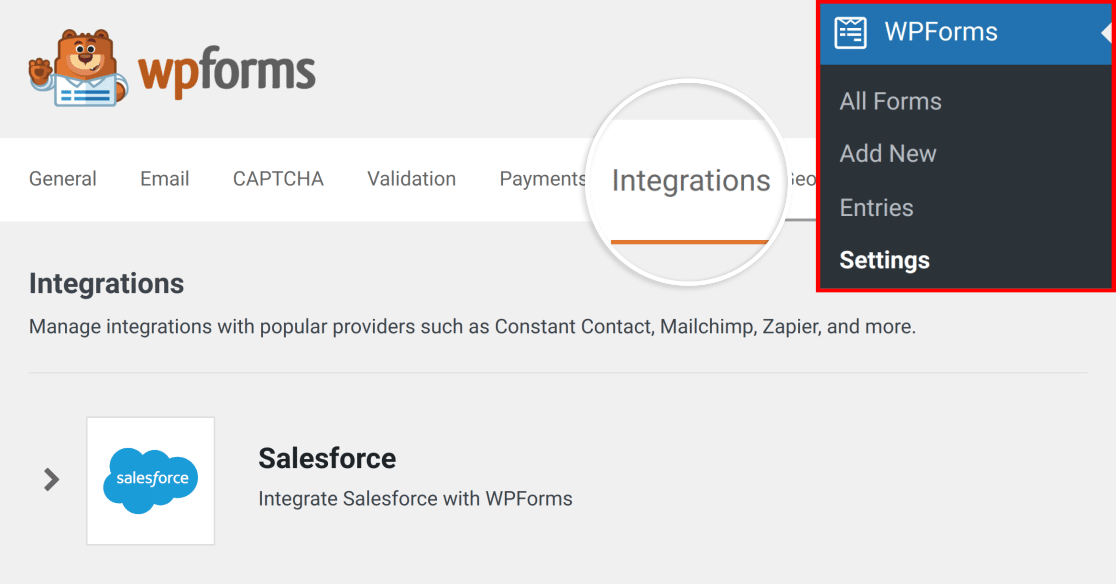
This will expand to show an Add New Account button.
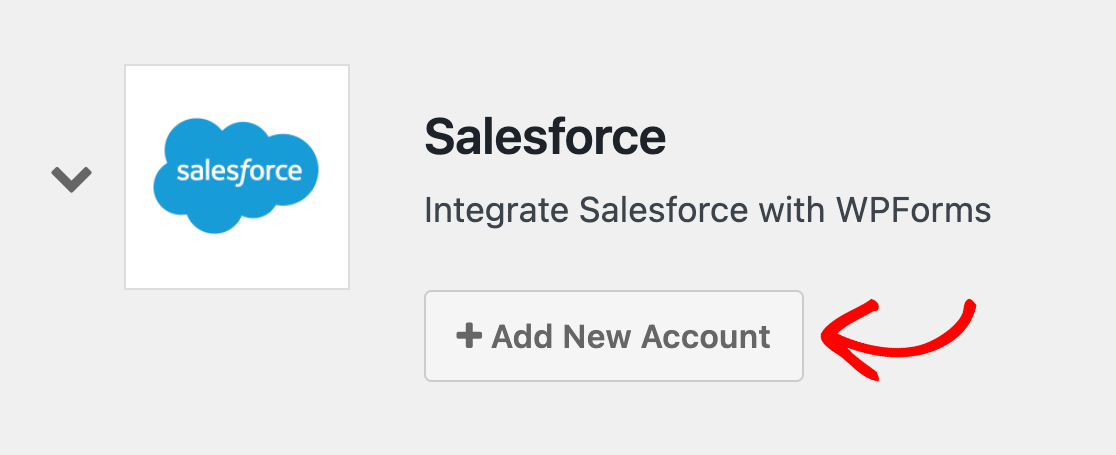
Click this button to reveal the integration settings, including your site’s Callback URL.
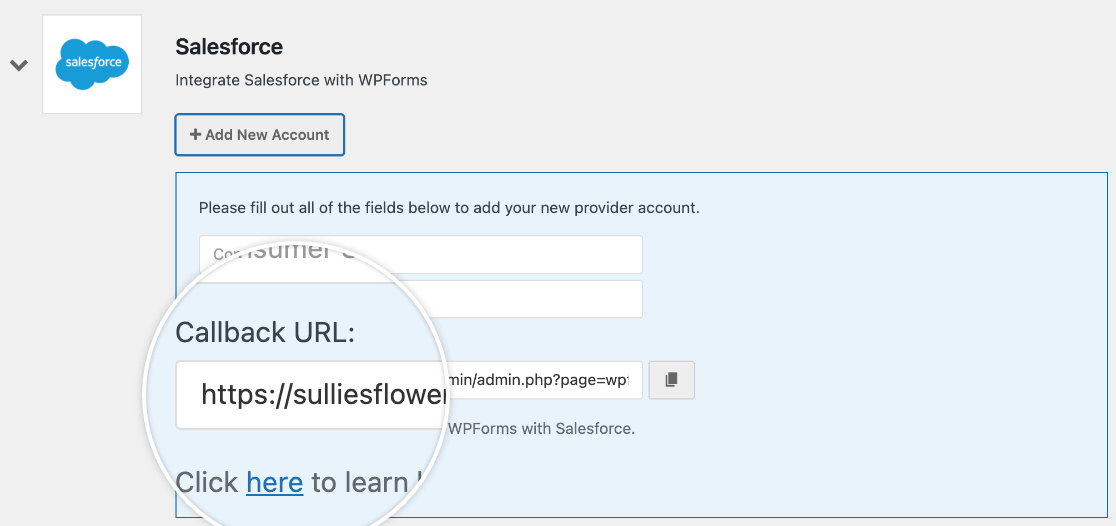
Copy the Callback URL and leave this browser tab or window open, as you’ll need to return to it later on.
Once you’ve copied your Callback URL, navigate back to your Salesforce app settings and paste it into the Callback URL field.

Selected OAuth Scopes
The Selected OAuth Scopes tell Salesforce what permissions your app should have. WPForms only needs two permissions: Manage user data via APIs (api) and Perform requests at any time (refresh_token, offline_access).
You can add these permissions by selecting each of them from the column on the left, then clicking the Add button.

Once you’ve added these permissions, scroll down and uncheck the option that reads, Require Proof Key for Code Exchange (PKCE) Extension for Supported Authorization Flows.

After that, scroll to the bottom of the page and click the Save button to complete the custom app setup process.
If you’ve configured your app correctly, Salesforce should redirect you to a page with a notice that reads, Changes can take up to 10 minutes to take effect. Deleting a parent org also deletes all connected apps with OAuth settings enabled.

At this point, it’s recommended that you wait the full 10 minutes before moving on to the next step. This will ensure that your app has time to take effect in Salesforce and help you avoid potential errors in the connection process.
After the 10-minute waiting period, click the Continue button to view your API information.
Connecting Salesforce to WPForms
Once you’ve opened up your API information, you’ll need to copy your Consumer Key and Consumer Secret in order to connect Salesforce with WPForms. To do so, click the Manage Consumer Details button under API (Enable OAuth Settings).
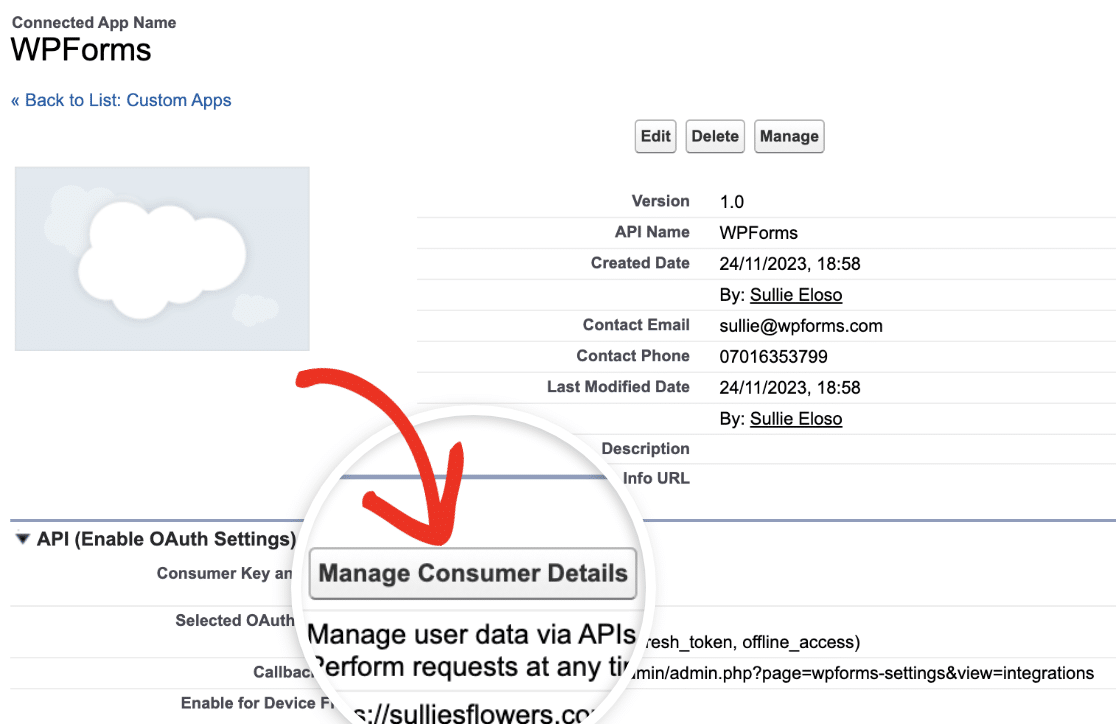
Consumer Key
You can find your Consumer Key directly under the Consumer Details section.

Go ahead and copy this information, then navigate back to your WPForms settings. Here, you’ll need to paste your Consumer Key into the Consumer Key field.
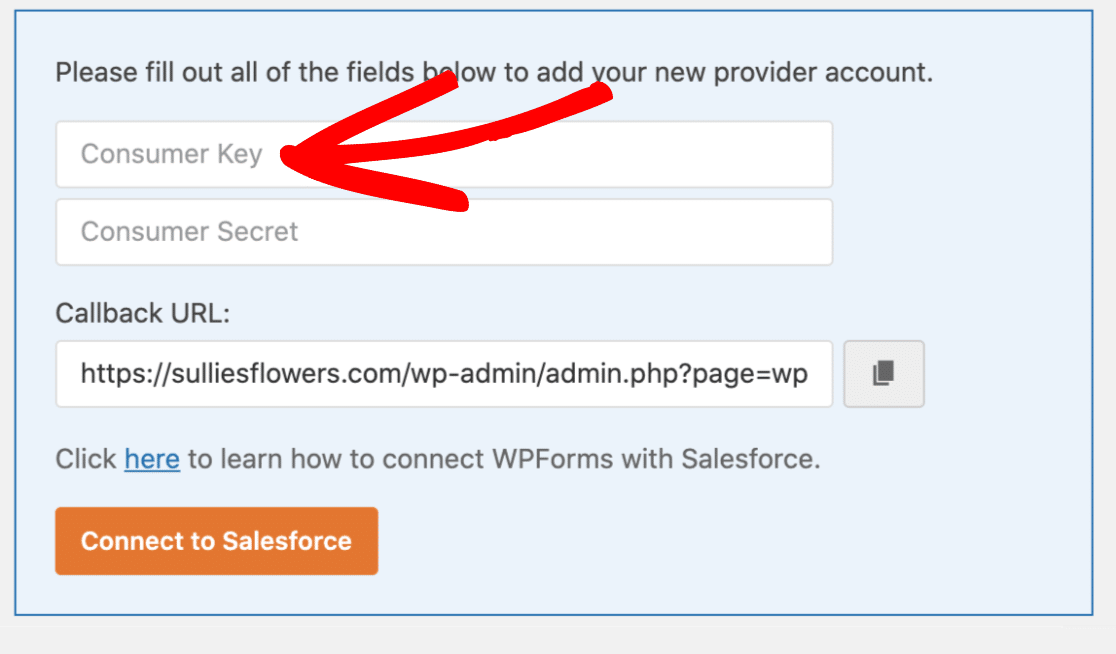
Consumer Secret
Click the Copy button next to Consumer Secret to copy your API secret.

After that, return to your WordPress admin dashboard and paste it into your WPForms settings in the Consumer Secret field.
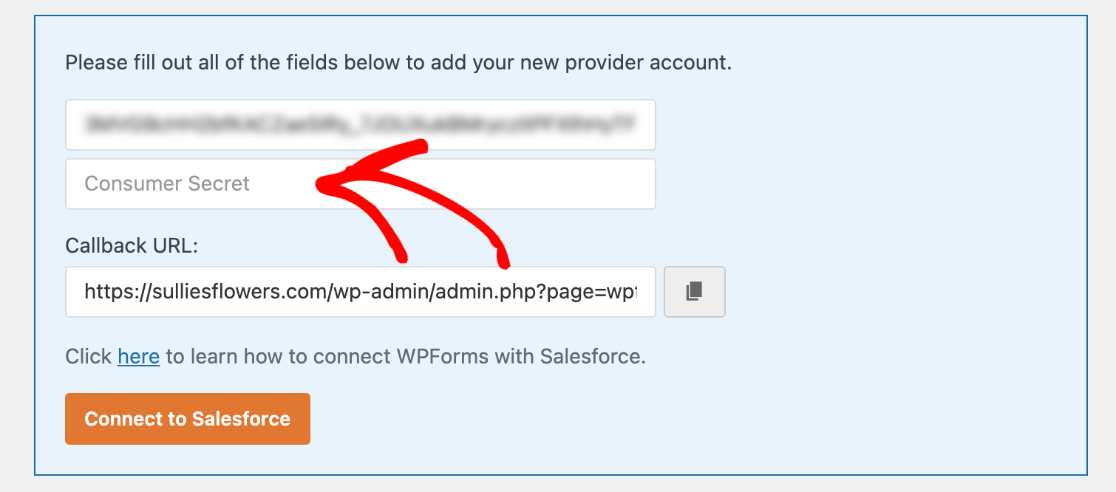
Once you’ve added both your Consumer Key and Consumer Secret, click the Connect to Salesforce button.
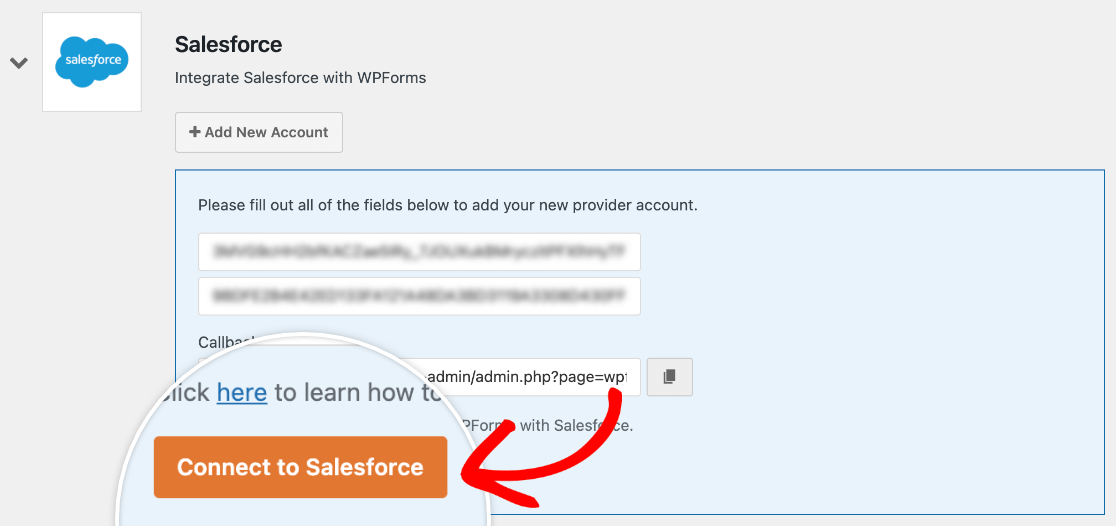
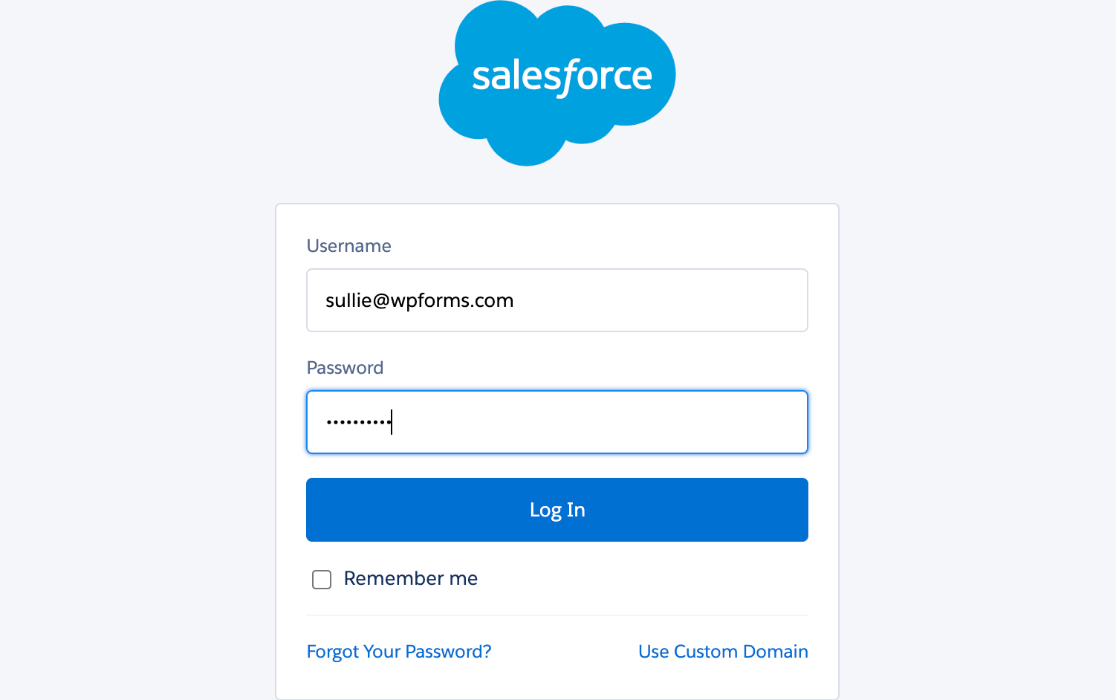
This will redirect you to the Salesforce login page, where you’ll need to enter your username and password.
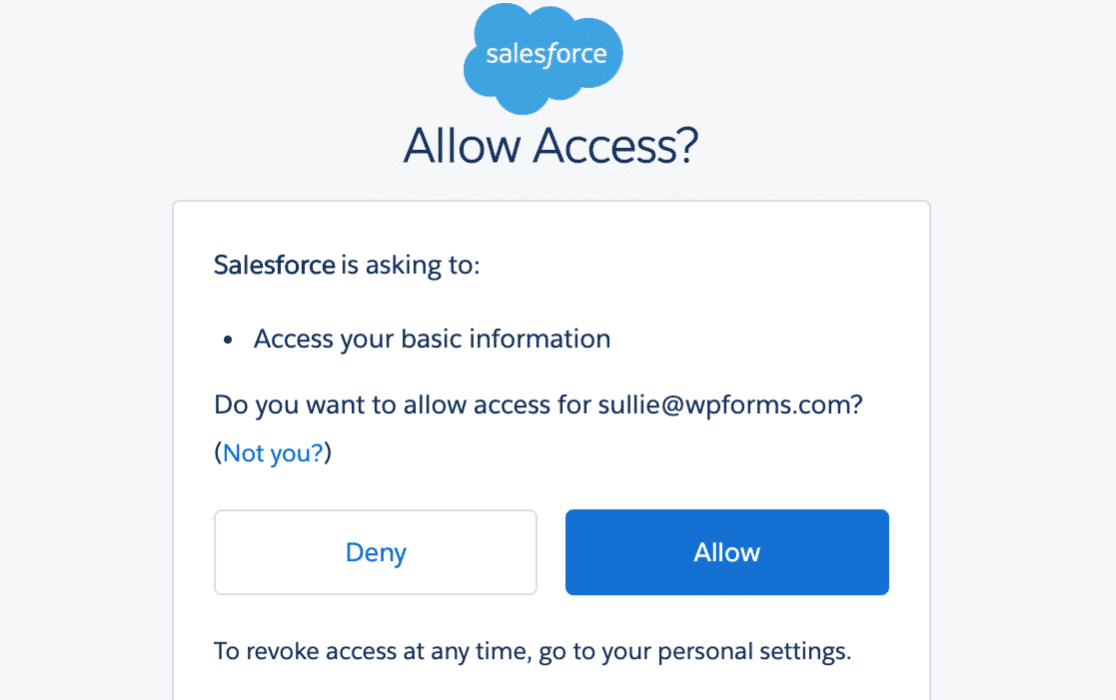
Then, Salesforce will ask you if you’d like to allow access to your account. Go ahead and click the Allow button to finish the setup process.
Once you’ve allowed WPForms to access your Salesforce account, you should be redirected back to your integrations settings, where you’ll see a banner at the top of the screen letting you know the connection was successful.

Adding Salesforce Integration to a Form
After you’ve linked your Salesforce account to WPForms, you’re ready to connect it with your forms. To get started, you’ll need to create a new form or edit an existing one.
After opening the form builder, you can add a new Salesforce connection under Marketing » Salesforce. From here, you’ll need to click the blue Add New Connection button.
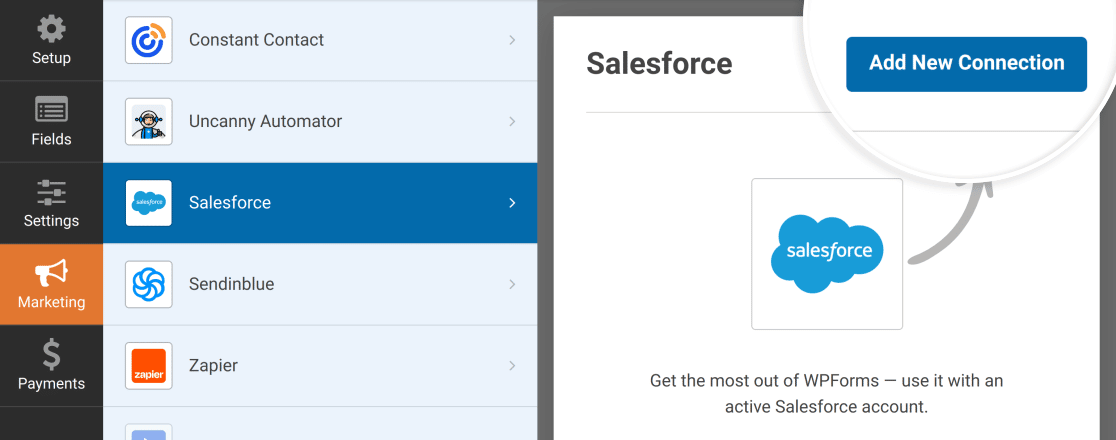
This will open an overlay where you can add a name for your connection. Your users won’t ever see this label. It’s simply meant to help you keep track of multiple connections.
For our example, we’ll name the connection Add New Contact.
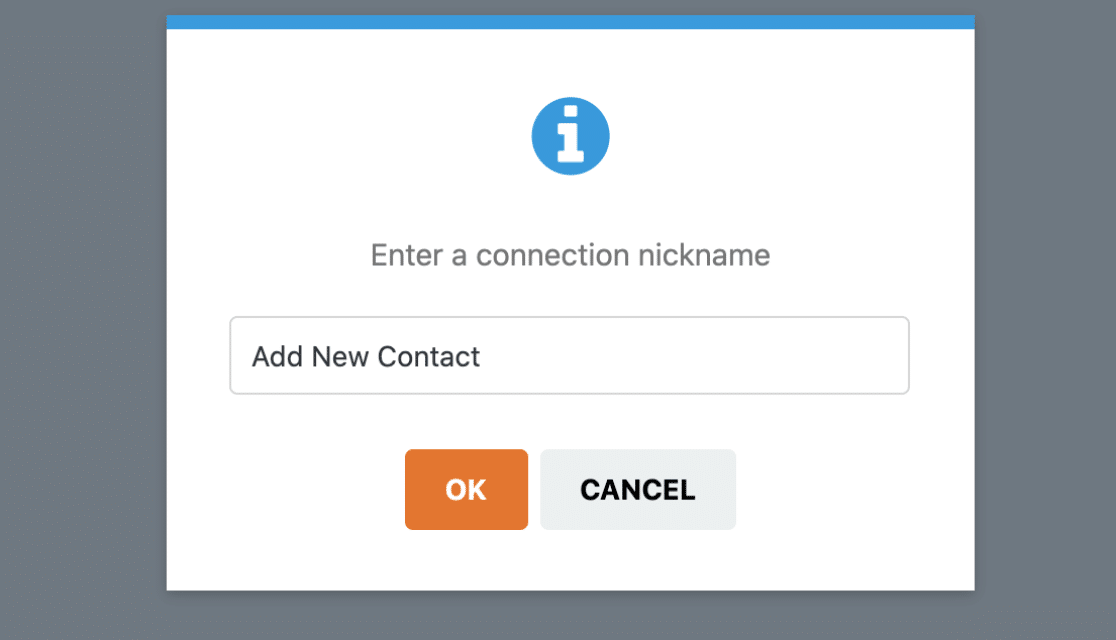
Click the OK button to save your connection, and two settings should become visible:
- Select Account: Choose the Salesforce account you’d like to send form data to from this dropdown.
- Select Salesforce Object: Select the type of data you want to send from this form to Salesforce.
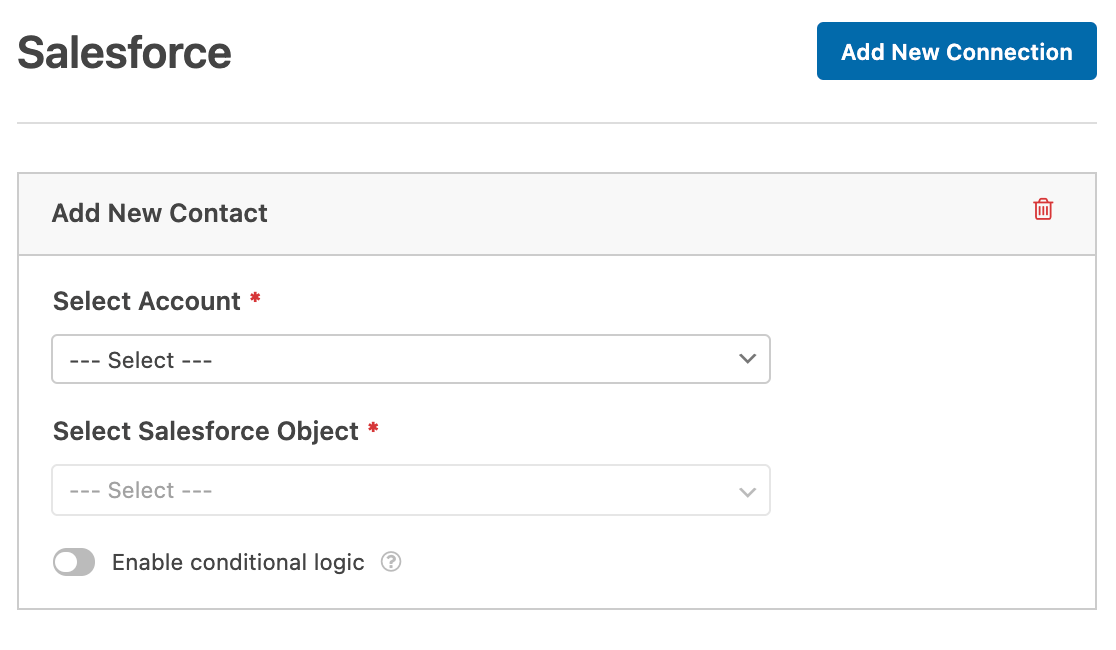
For our example, we’ll choose the account we connected in the earlier steps of this tutorial from the Select Account dropdown. Then we’ll set the Salesforce Object to Contact so that each submission of our form will add a new contact in Salesforce.
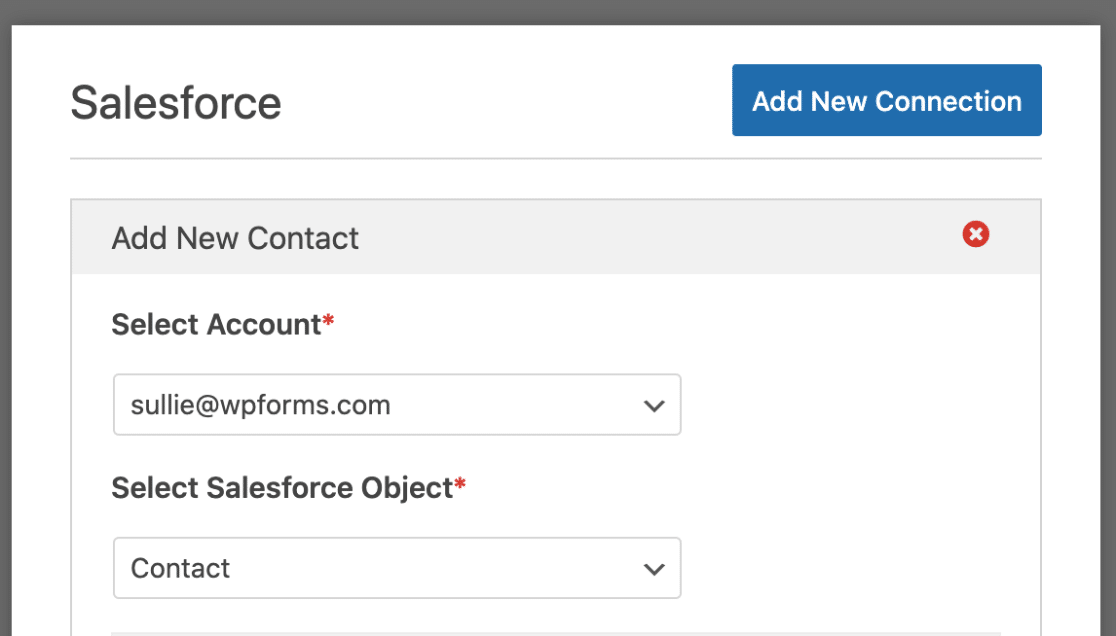
Once you’ve selected a Salesforce Object, more configuration options will appear.
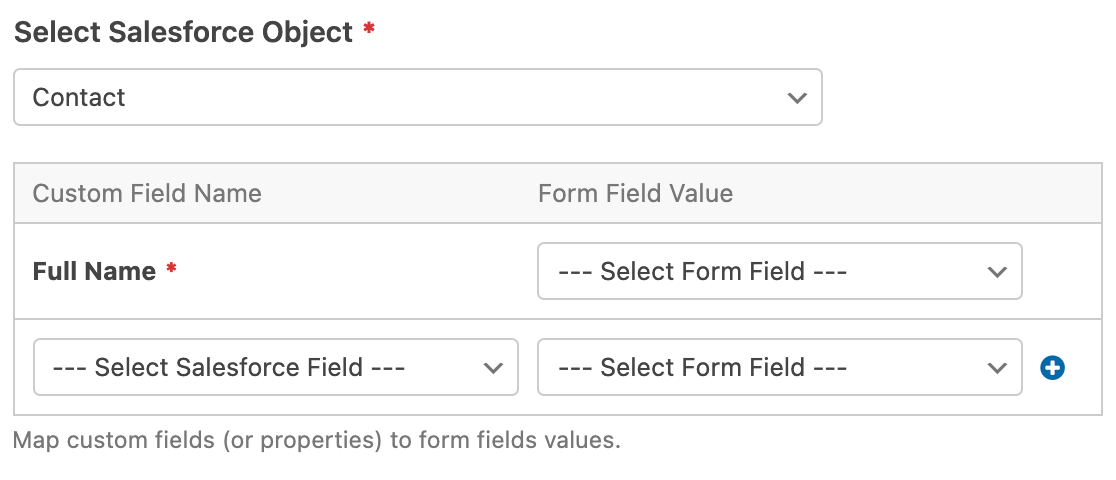
- Custom Field Name: These are specific fields within Salesforce that you’d like to map your WPForms fields to. For our example, we’ll use the default Full Name field and add the Email field as well.
- Form Field Value: These are the fields in your form that you want to pull data from into Salesforce. For our example, we’ll map Full Name to the Name field in our form and map Email to our Email field.

If you’d like to add more custom fields to your integration, you can click the plus (+) button.

After you’ve configured all of your settings, be sure to save your form.
Testing Your Forms
Once you’ve set up your form, it’s a good idea to test it out on the frontend of your site. To do this without publishing the form to a live page, you can use the form preview option in WPForms or create a private page or post.
Here’s an example of some data you might use in your test entry:
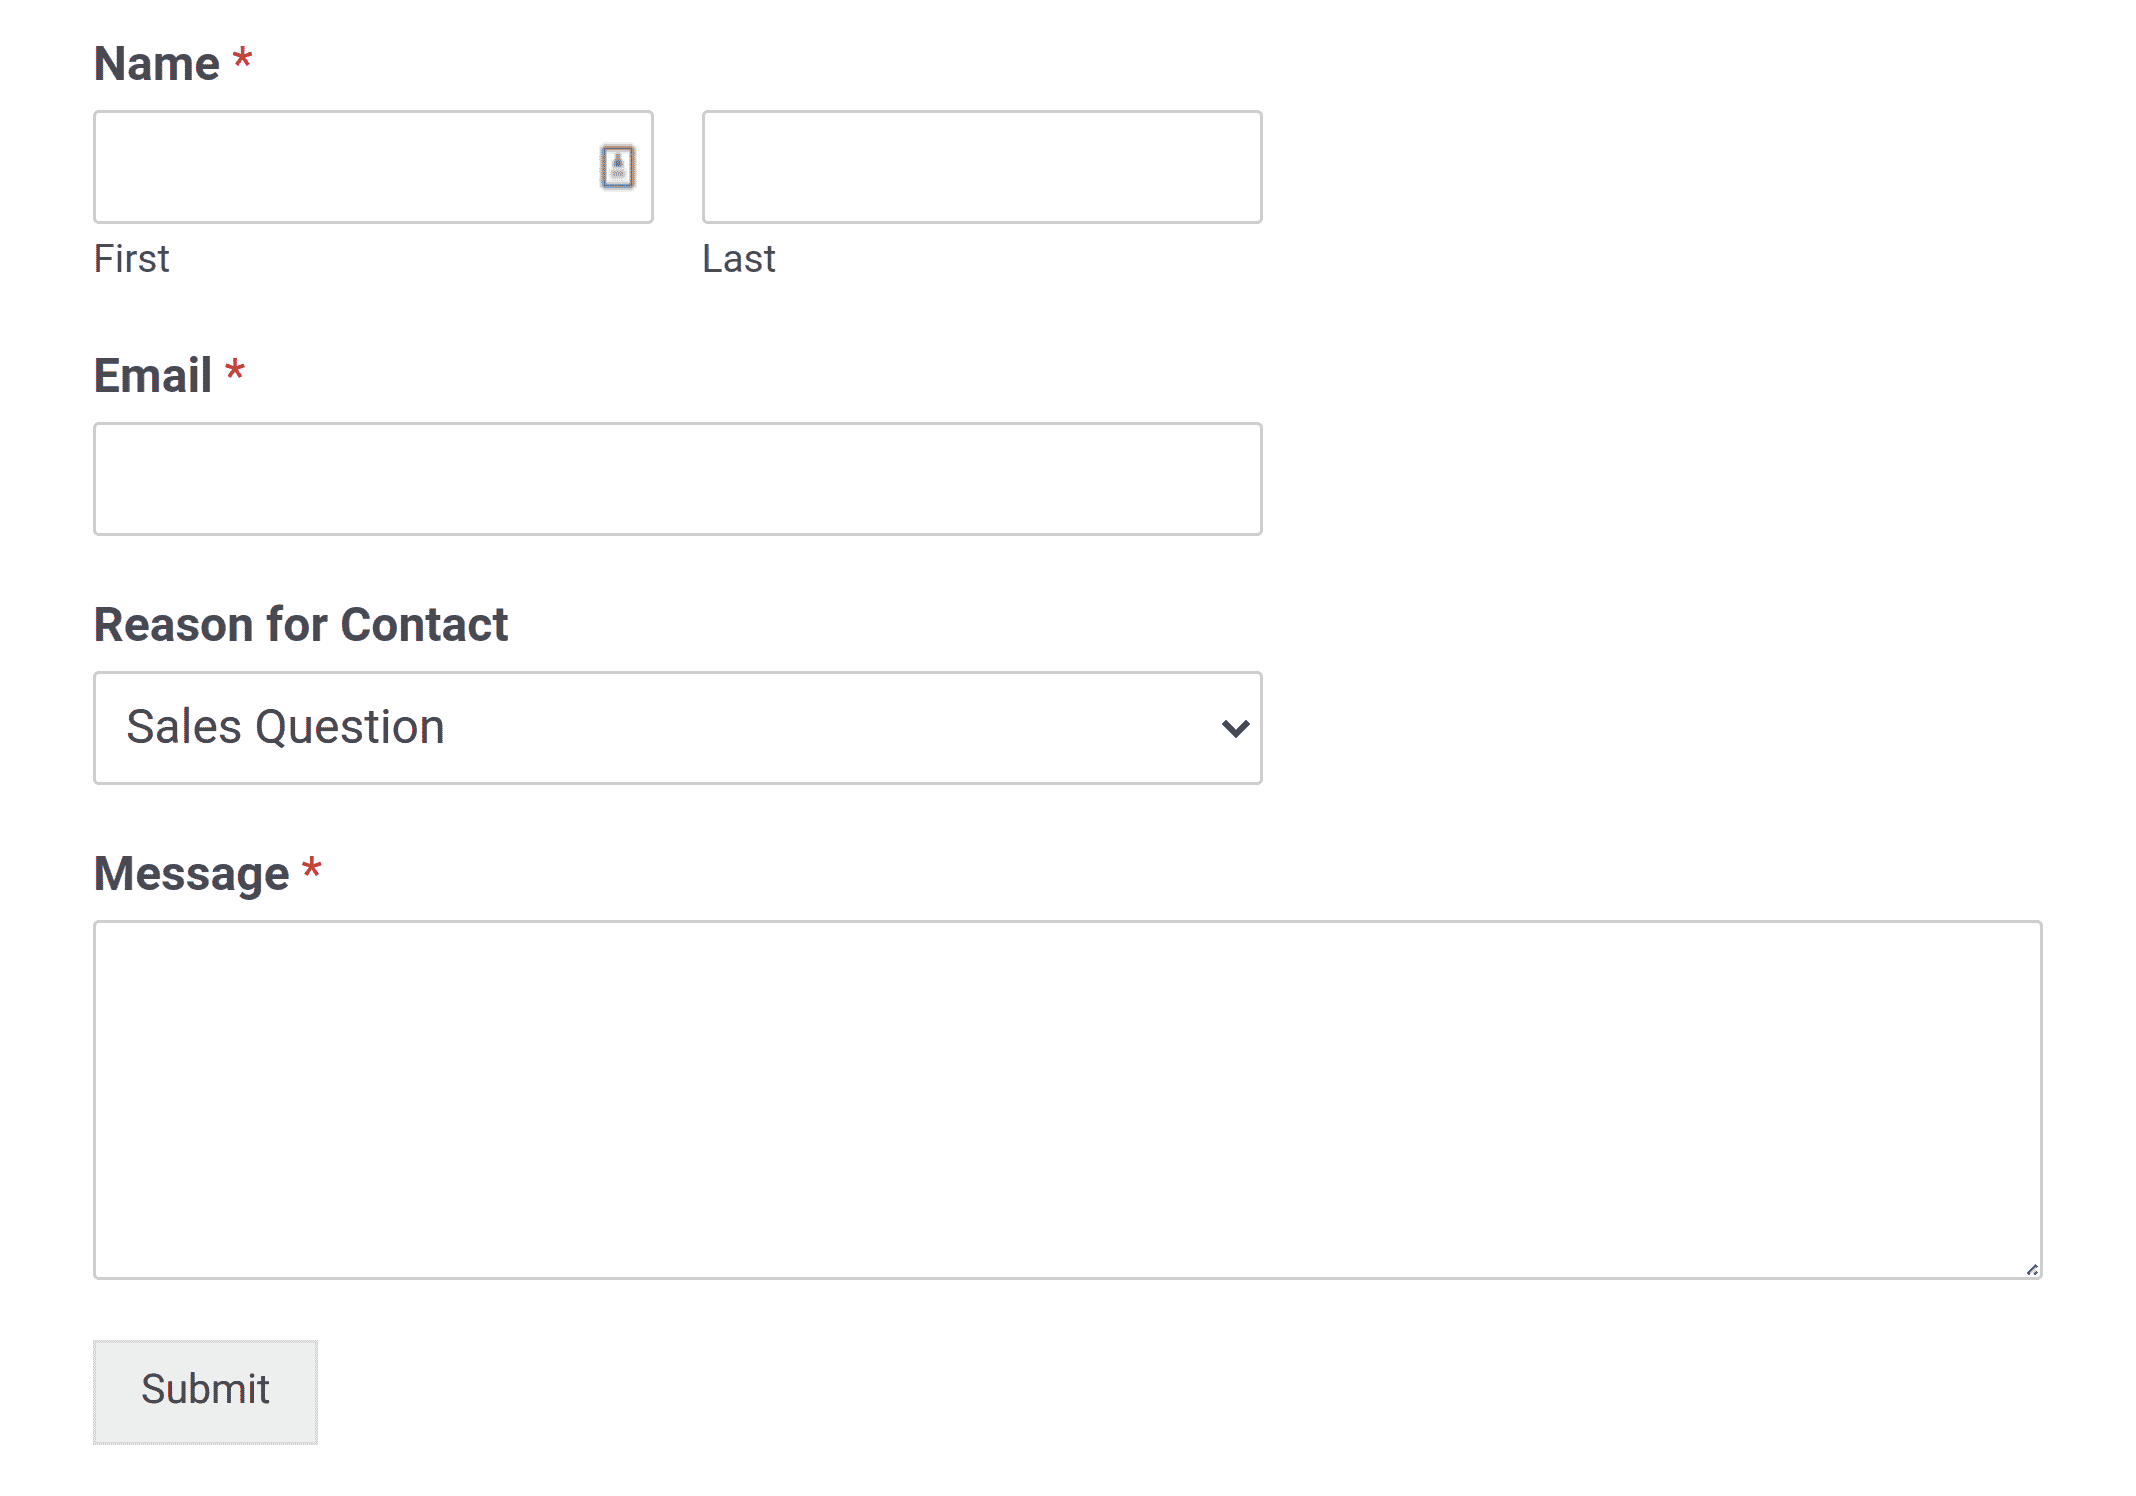
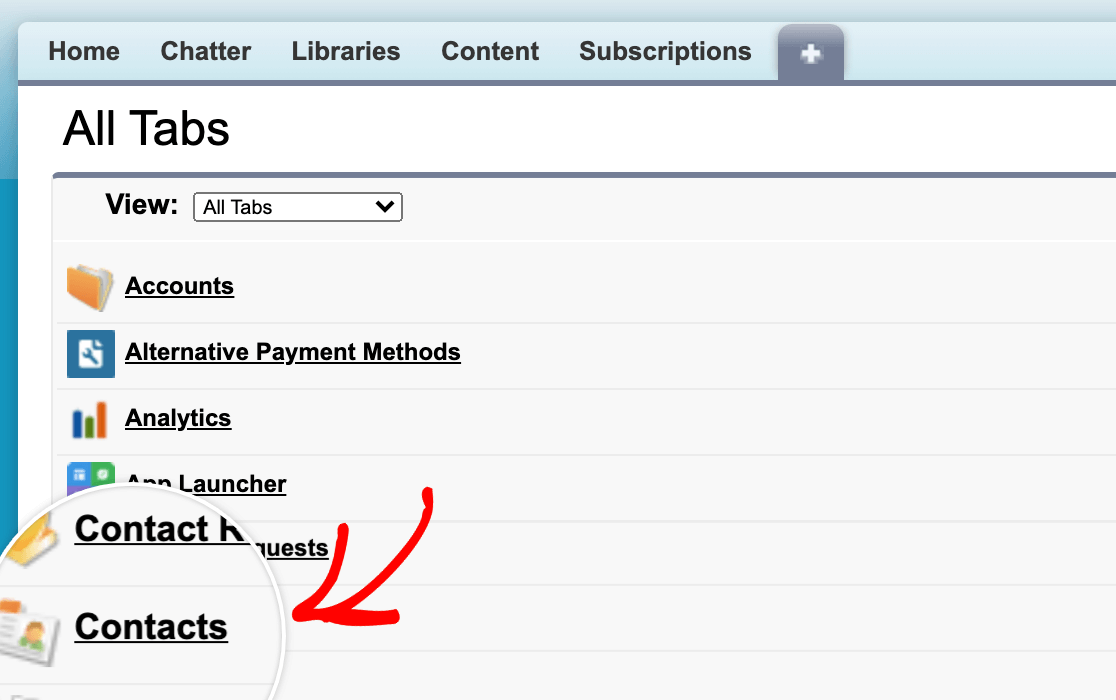
After submitting your test entry, head over to your Salesforce account and navigate to the plus (+) button at the top of the screen to open up a full list of available tabs. For our example, we’ll click on Contacts to view the new contact we’ve created.
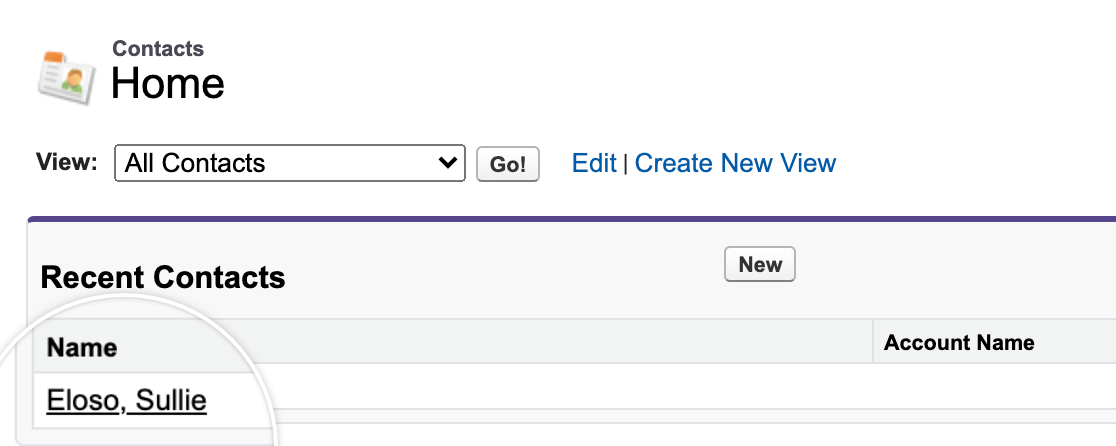
To see the details of our submission, we’ll click on the contact’s name to open up their profile.
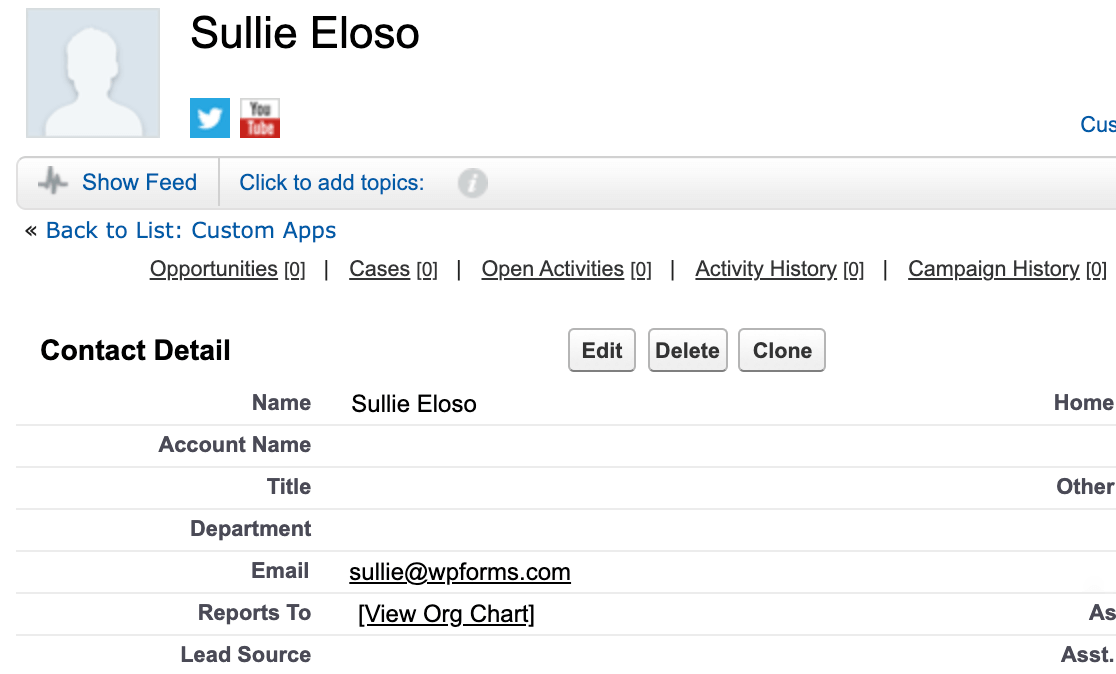
This will show the full details of the contact, where we can check that all of our submission’s mapped fields have correctly passed through to Salesforce.
Frequently Asked Questions
Below, we’ve discussed some of the most common questions we receive about the Salesforce addon.
How do I find out whether I can use my edition of Salesforce with WPForms?
Currently, Salesforce only provides API support for the Enterprise, Unlimited, Performance, and Developer editions. If your edition doesn’t have API support, please reach out to Salesforce’s team for more details on how to change your edition.
Note: API support is available to Salesforce Professional customers at an additional cost. For more information, go to the Salesforce pricing page and click on Connect Sales info to any app.
When connecting WPForms to Salesforce, I get redirected to a page with the error error=invalid_client_id&error_description=client%20identifier%20invalid. How do I fix this?
This means there has been some issue in the setup process (either not waiting the full 10 minutes after creating your app, incorrect OAuth settings, or incorrectly copied keys).
To fix this, you’ll need to double-check that you’ve enabled the correct OAuth settings for your app in Salesforce and copied your API keys correctly.
If you haven’t waited the full 10 minutes after creating your app before attempting a connection, you’ll need to refresh the page after the waiting period and try again.
Why are there no instructions for creating the app in Salesforce Classic?
Salesforce no longer allows users to create connected apps in the Classic Experience. All app creation steps must now be completed using the Lightning Experience, which is also the default interface for most users.
If you’re using Salesforce Classic, we recommend switching to Lightning to complete the integration setup.
How can I resend failed submissions to Salesforce?
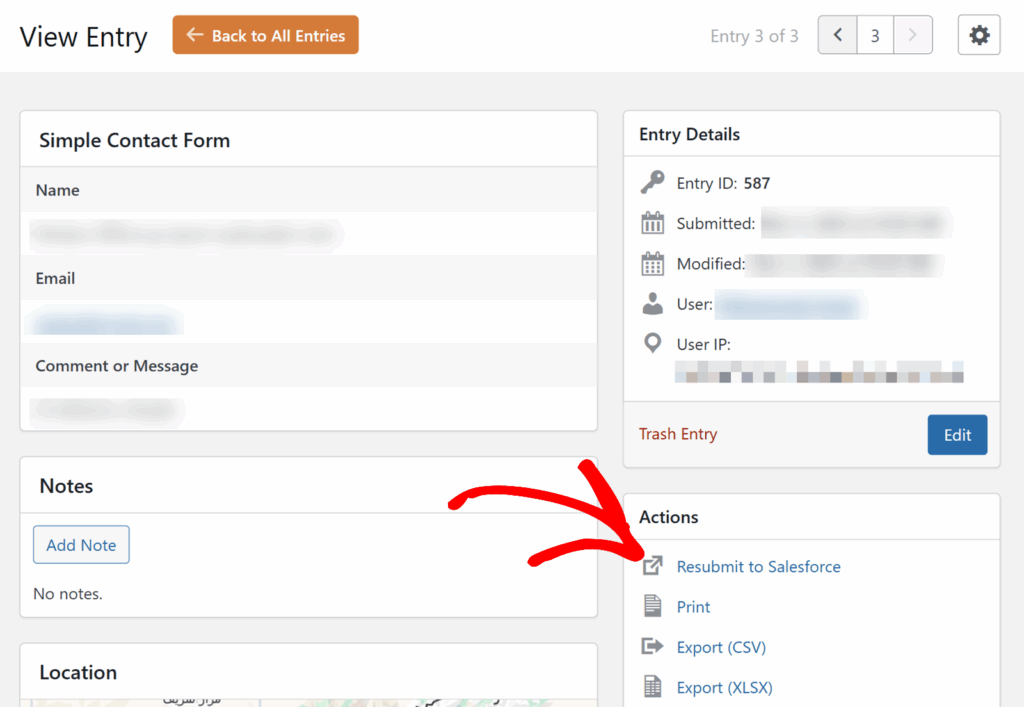
If a form submission fails to send data to Salesforce (for example, due to a temporary connection issue or API error), you can now resend it directly from the Single Entry page in your WPForms dashboard.
To do this, open your form’s entry under WPForms » Entries, and then click to view the individual entry. Once in the single entries page, click on the Resubmit to Salesforce option under the Actions section.
That’s it! Now you can install and use the Salesforce addon with WPForms.
Next, would you like to process Authorize.Net payments through your forms? Be sure to check out our guide on how to set up and use the Authorize.Net addon for more details.

