AI Summary
Want to automatically grow your Campaign Monitor mailing lists when users submit your forms? With the Campaign Monitor addon for WPForms, you can easily create a new subscriber each time a user submits a form on your WordPress site.
This tutorial will show you how to install and use the Campaign Monitor addon for WPForms.
Requirements:
- You will need a Plus license level or higher to access the Campaign Monitor addon
- Ensure that you’ve installed the latest version of WPForms to meet the minimum required version for the Campaign Monitor addon
Before you get started, be sure to install and activate the WPForms plugin. Then verify your license and install and activate the Campaign Monitor addon.
1. Connecting Your Campaign Monitor Account to WPForms
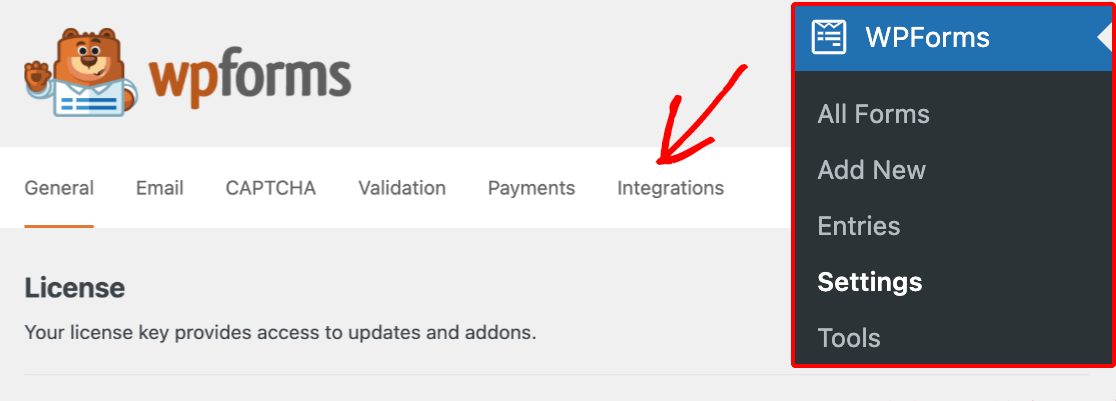
Once the Campaign Monitor addon is installed, the next step is to integrate your site with your Campaign Monitor account. To do so, you’ll need to go to WPForms » Settings and click on the Integrations tab.
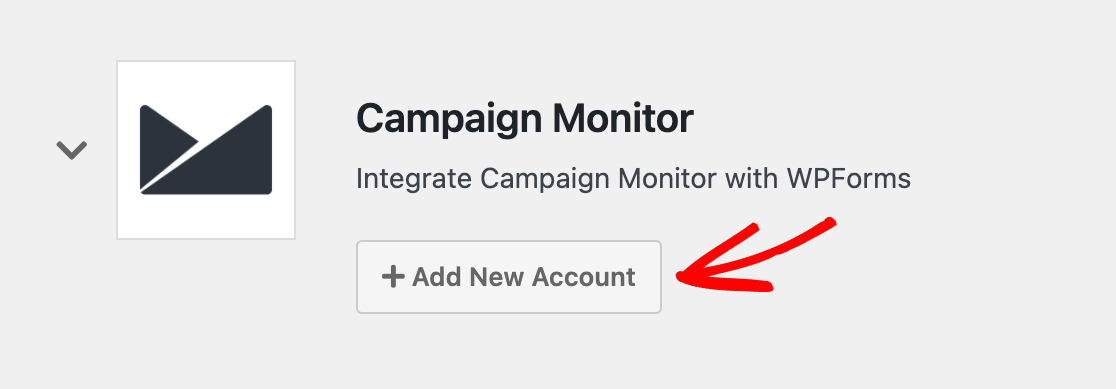
On the next screen, expand the Campaign Monitor section, then click Add New Account.
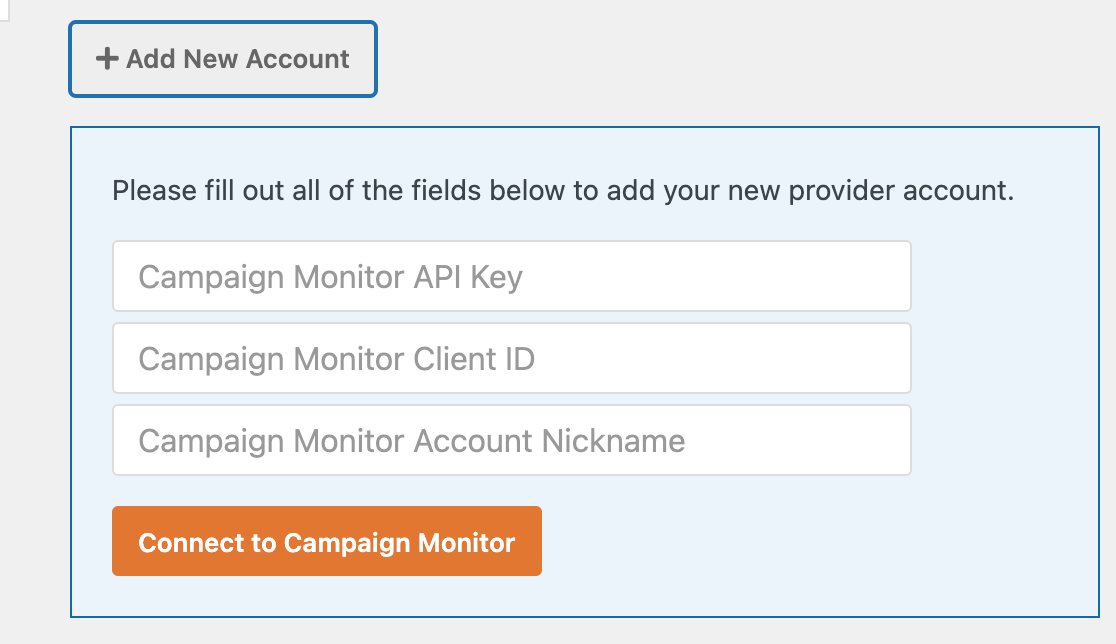
This will reveal fields for your Campaign Monitor API key, Client ID, and account nickname.
To locate the details you need for these fields, log in to your Campaign Monitor account. We recommend opening this in a new browser tab or window as you’ll need to flip back to your WordPress site again soon.
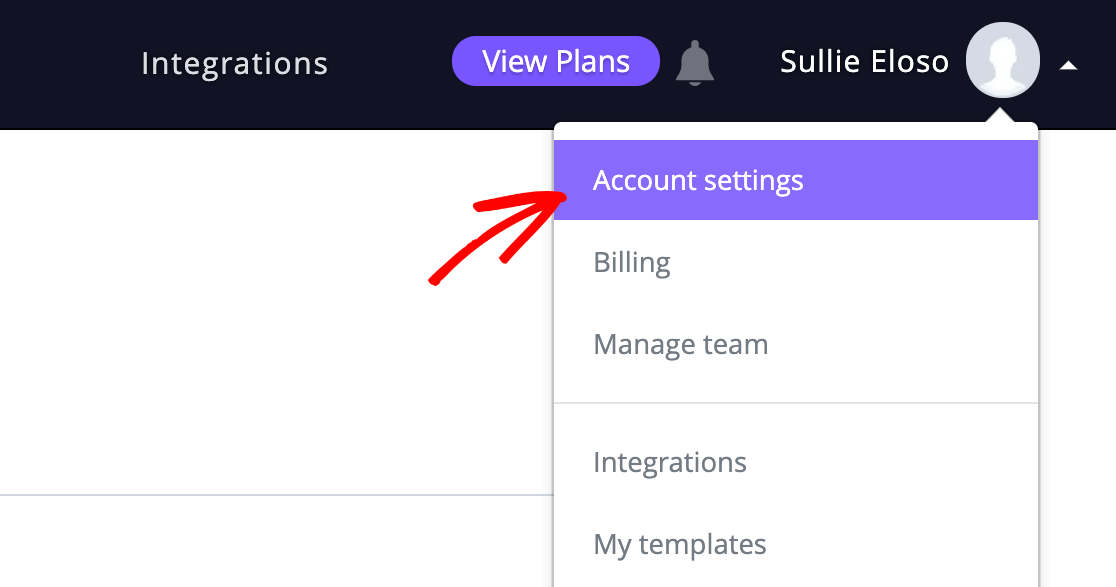
After logging in to Campaign Monitor, hover over your profile name in the upper right corner to view the menu. Then click Account Settings.
From the list on the following page, select API Keys.

On the API Keys page, click Generate API Key to view your key.

Note: If you’ve previously created an API key in your Campaign Monitor account, you can use your existing key to connect WPForms to Campaign Monitor.
Click on Show API Key on the API Keys screen in your Campaign Monitor account and copy your credentials as described below.
Copy your API key, return to your WPForms settings, and paste it into the Campaign Monitor API Key field. Then copy the Client ID from your Campaign Monitor account and paste it into the Campaign Monitor Client ID field.
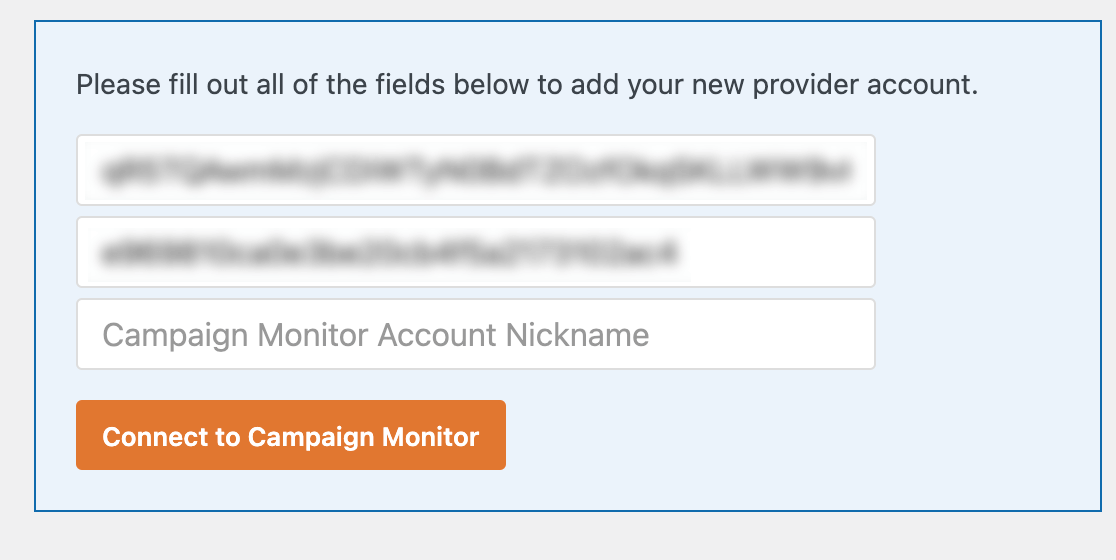
For the Campaign Monitor Account Nickname, enter any name you’d like. It’s for internal reference only and will be helpful if you later add an additional Campaign Monitor account.
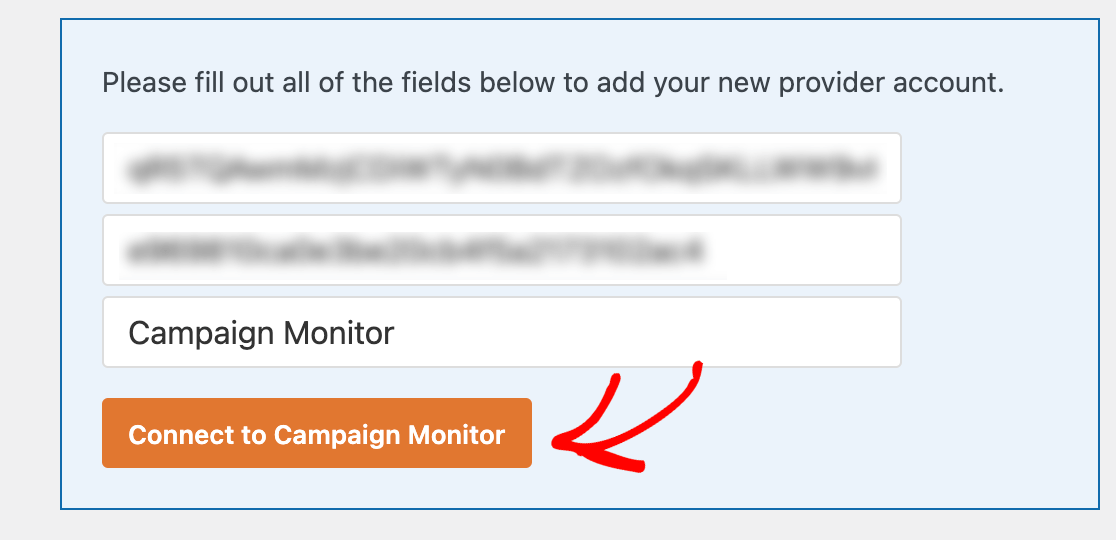
When you’re ready, click on the Connect to Campaign Monitor button to continue.
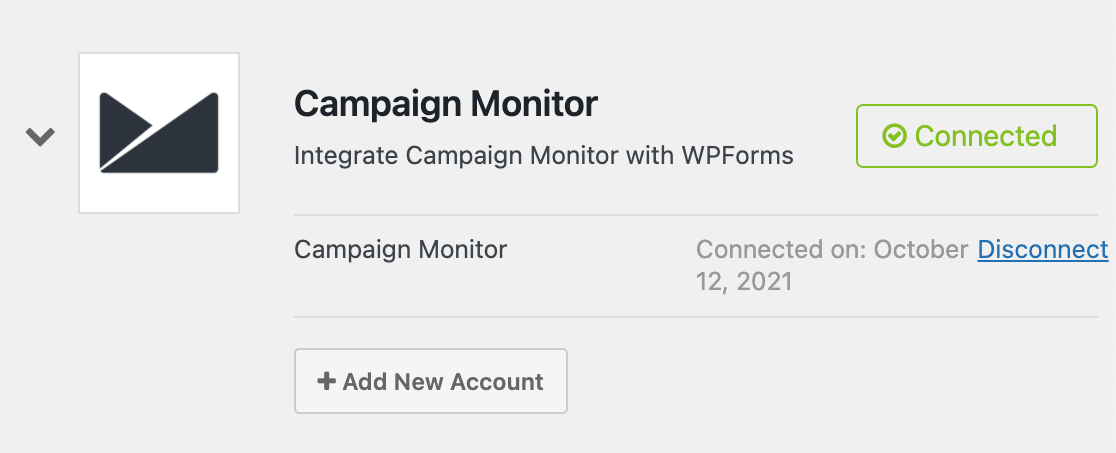
Once WPForms has successfully connected to your Campaign Monitor account, it will show a green Connected status next to your Campaign Monitor integration in your settings.
2. Adding Campaign Monitor Integration to Your Forms
Next, you’ll need to connect Campaign Monitor to a specific form to send user data to your Campaign Monitor account. First, create a new form or edit an existing one to open the form builder.
Then go to Marketing » Campaign Monitor and click on the Add New Connection button.
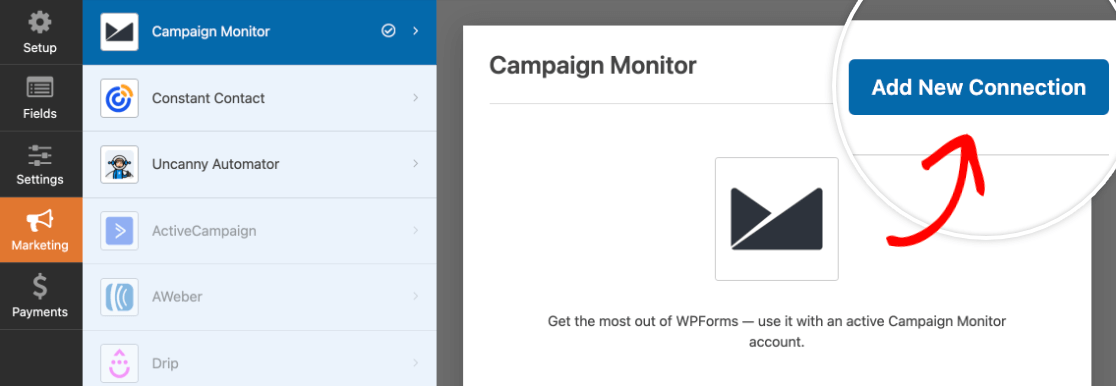
This will open an overlay where you can provide a nickname for this connection. You can use any nickname you like, as this is for internal reference only.
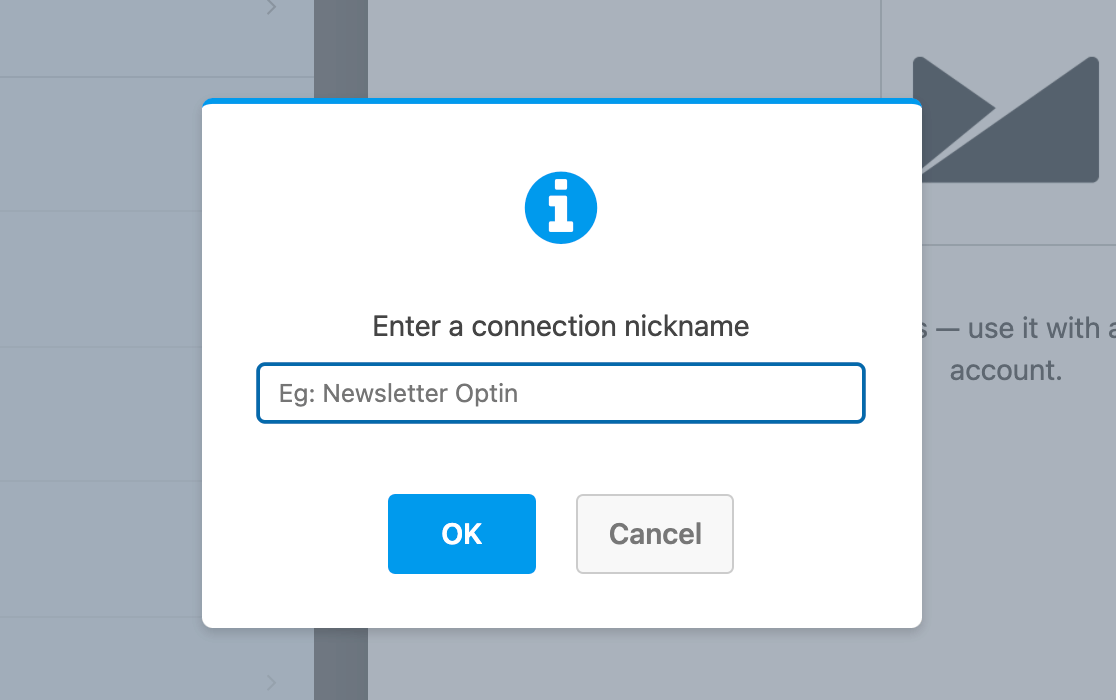
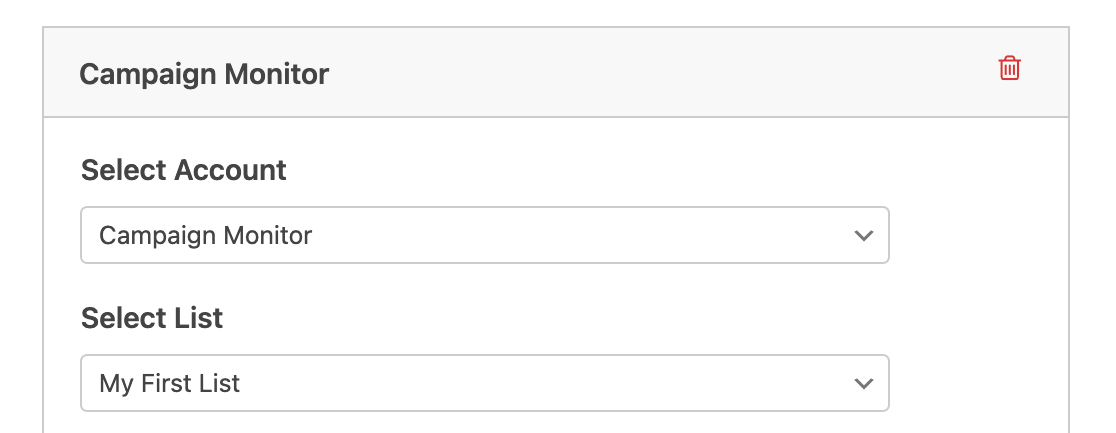
Once the connection is created, choose the account you connected in your WPForms settings from the Select Account dropdown.
Then you can connect this form to a specific list from your Campaign Monitor account using the Select List dropdown.
Note: Mailing lists are managed in Campaign Monitor. For more details on how to create and use mailing lists, see Campaign Monitor’s documentation.
Next, the fields available within your Campaign Monitor mailing list will be listed. In order to send data to these fields, you’ll need to select the corresponding form fields from the dropdowns.

Note: In order for subscribers to be sent to your Campaign Monitor list, be sure to connect the Email field.
Make sure to save your form once you’ve finished connecting it to Campaign Monitor.
3. Enabling Conditional Logic (Optional)
Conditional logic lets you set rules for events based on users’ selections in their form entries.
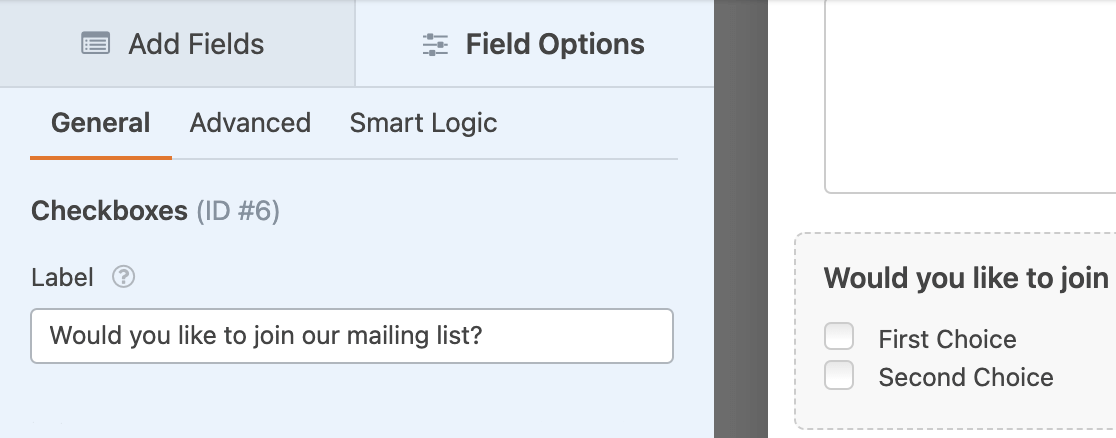
As an example, we’ll use conditional logic to let users choose if they want to be added to our Campaign Monitor email list. First, we’ll add a Checkboxes field to our form and change the label to, “Would you like to join our mailing list?”
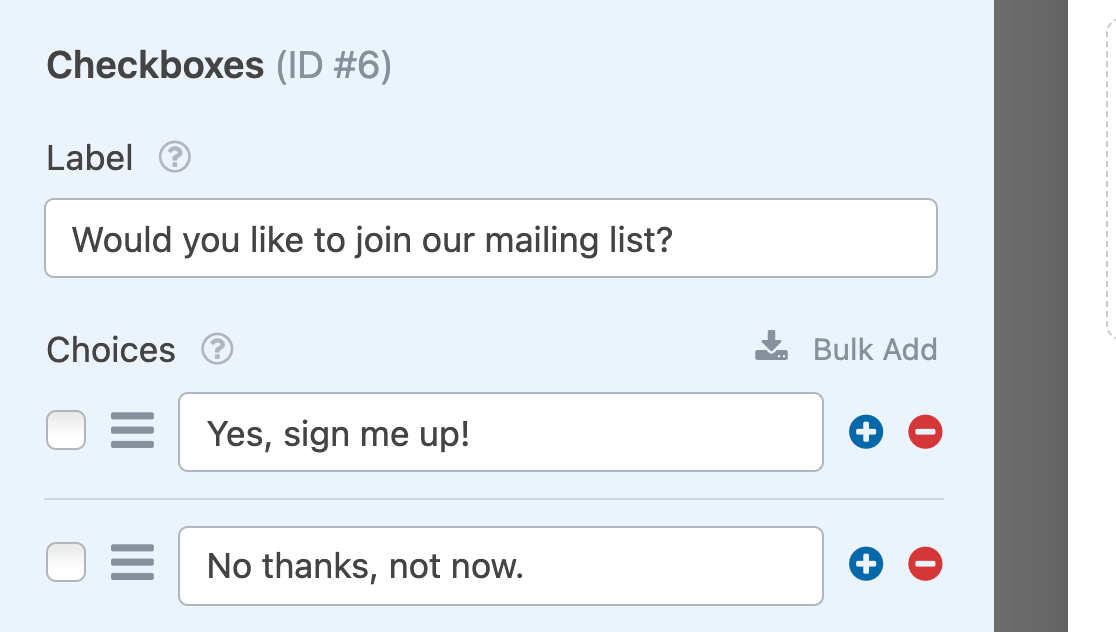
We’ll add 2 choices to the Checkboxes field and label them, “Yes, sign me up!” and “No thanks, not now.”
Then we’ll go back to Marketing » Campaign Monitor and toggle on the Enable Conditional Logic option.
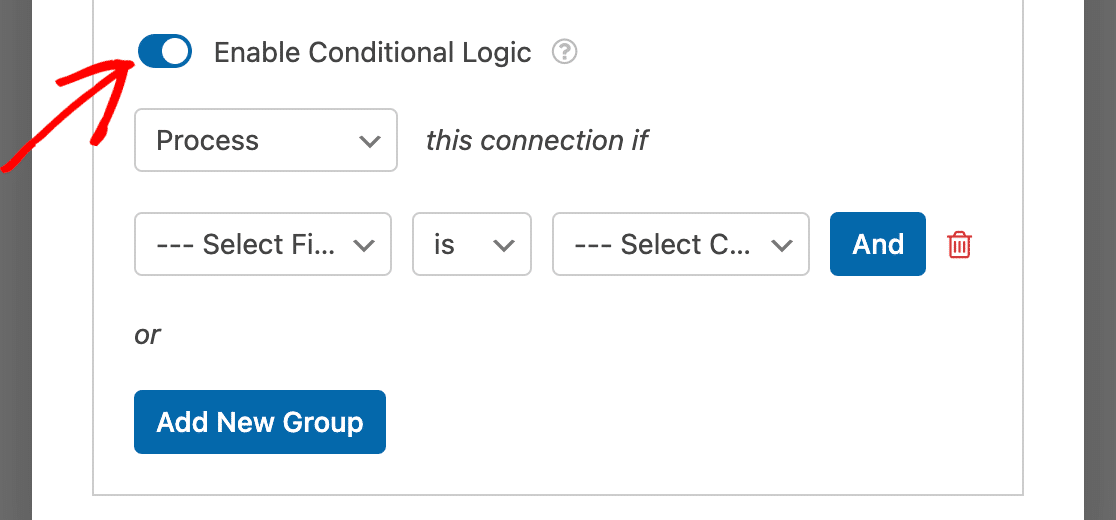
Finally, we’ll set up our conditional logic rule to read, “Process this connection if Would you like to join our mailing list? is Yes, sign me up!“

Once we save our form, users will only be added to our Campaign Monitor mailing list if they select the choice labeled “Yes, sign me up!” from the Checkboxes field.
That’s it! You can now grow your Campaign Monitor mailing list with each form submission.
Next, would you like to offer incentives to potential subscribers? Be sure to check out our article on lead magnets to find out how to offer downloadable content in exchange for subscribing to your mailing list.

