AI Summary
Do you want to add user or site data to your form notifications and other form settings automatically? Smart Tags in WPForms let you instantly include user information, site details, and custom data in your form notifications and settings.
This tutorial will show you how to use Smart Tags in WPForms.
What Is a Smart Tag?
A Smart Tag is a bit of code that you can use to insert relevant information into your form notifications settings or as field default values. Smart Tags use curly brackets and look something like this:
{smart_tag}
When typed into a supported field, they are shown in a visual format, as a blue label with the tag name.
For example, a widely used Smart Tag is {admin_email} (Site Administrator Email), which is added by default to the Send To Email Address field in the form notifications settings. It automatically fills in the email address of the site administrator from your site’s WordPress settings.
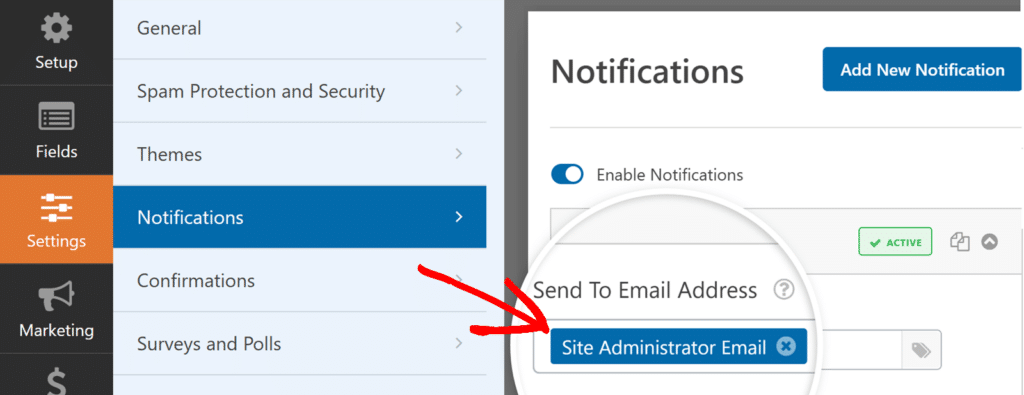
Adding Smart Tags to Your Forms
You can use Smart Tags when configuring notifications settings, setting up field options in the form builder, or adding a form description.
Notifications Settings
To access the notifications settings for your form, open the form builder and go to Settings » Notifications. To see a list of the Smart Tags that are applicable for a particular field, click the Smart Tags icon on the right side of each field.

Then, to add a Smart Tag to the field, click on it in the list.
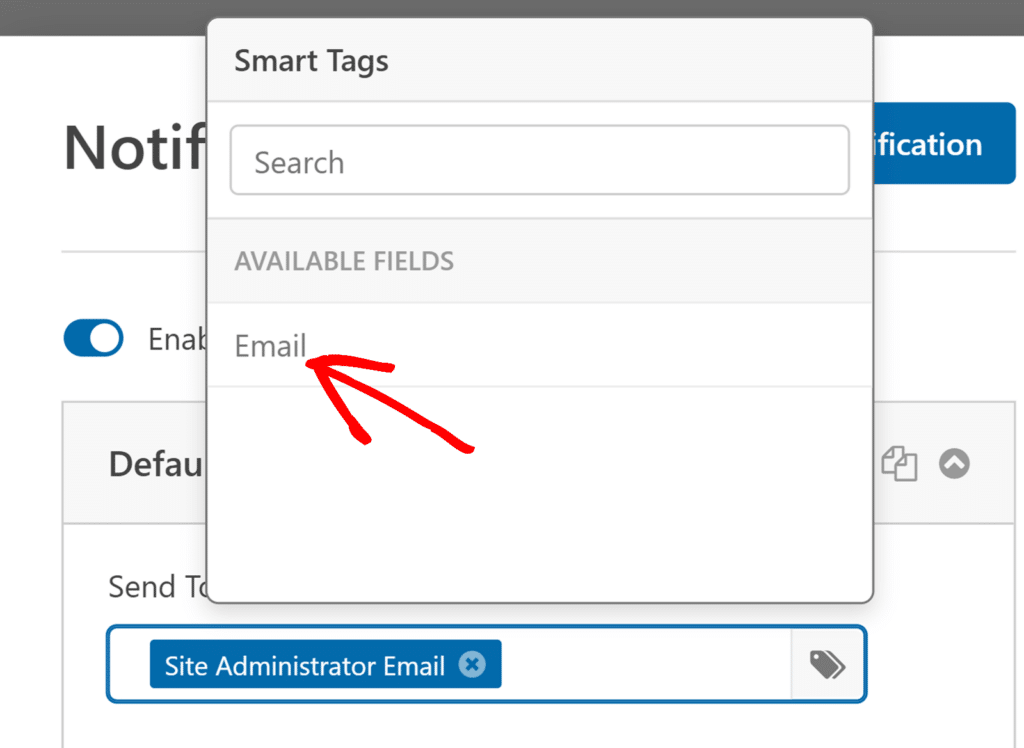
The relevant information will be added to the email notification after a user submits their entry.
Default Field Values
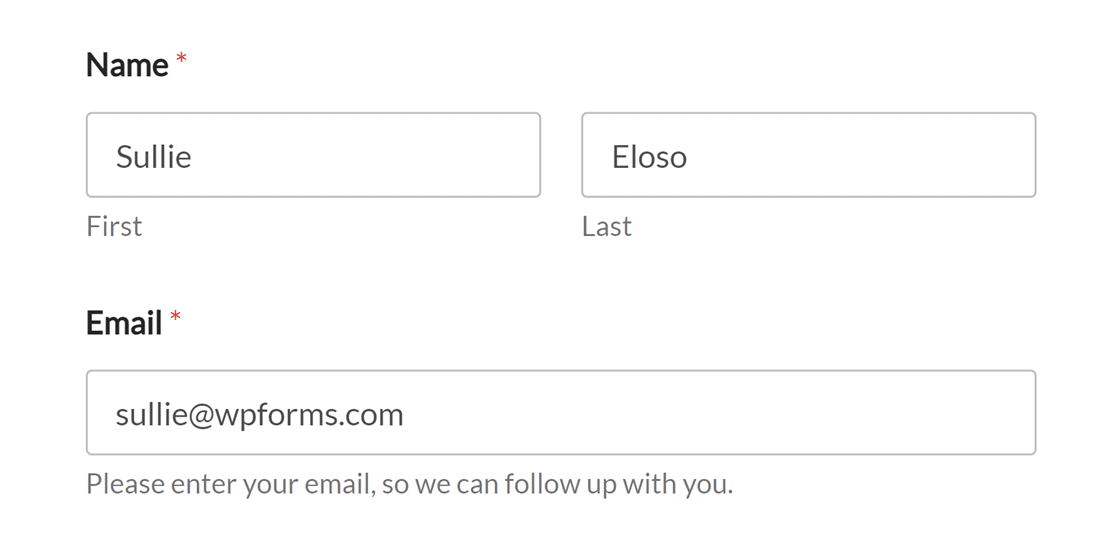
When editing some fields in your forms, you can add Smart Tags as default values. To do so, open your form builder and click on a field to open its Field Options panel.
From here, click on the Advanced tab and find the Default Value field. Then, click on the Smart Tags icon.
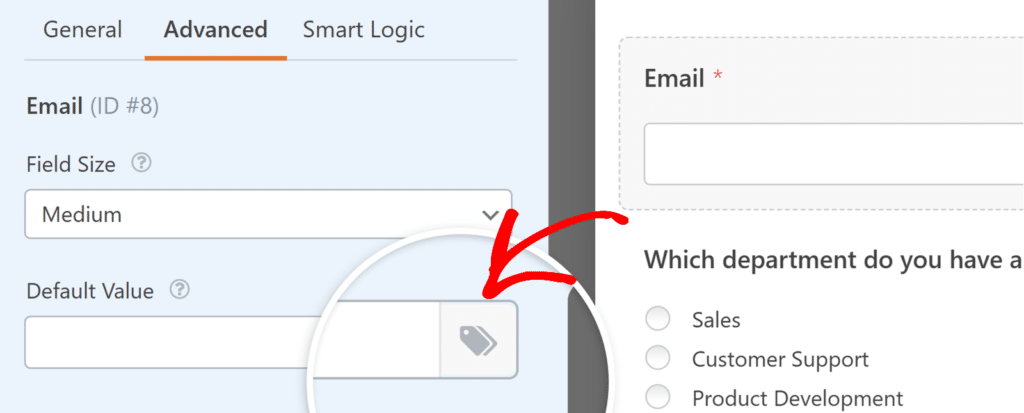
This will show a list of all the available Smart Tags for this field. Click on one to add it as the default value for the field.
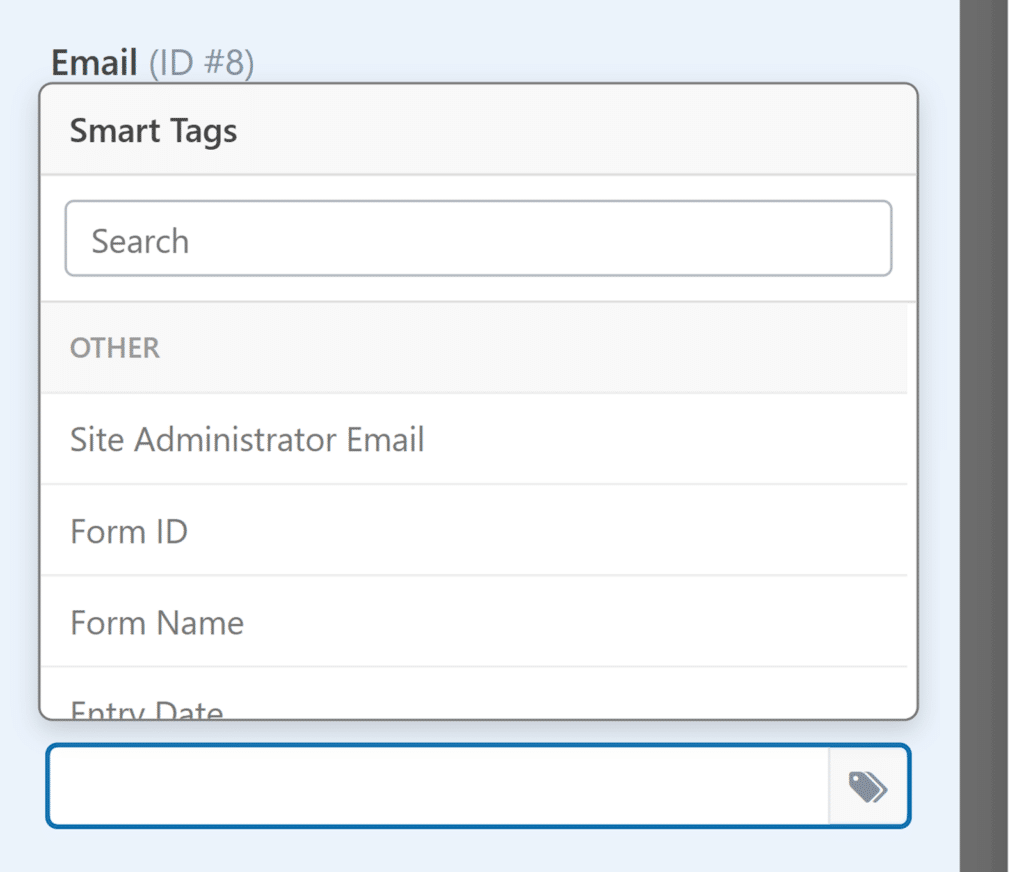
When typing a Smart Tag directly into the field, it will convert into a visual tag format, similar to how it’s shown in Notifications.
On the frontend, the field will be pre-filled with the relevant information from the Smart Tag.
Form Descriptions
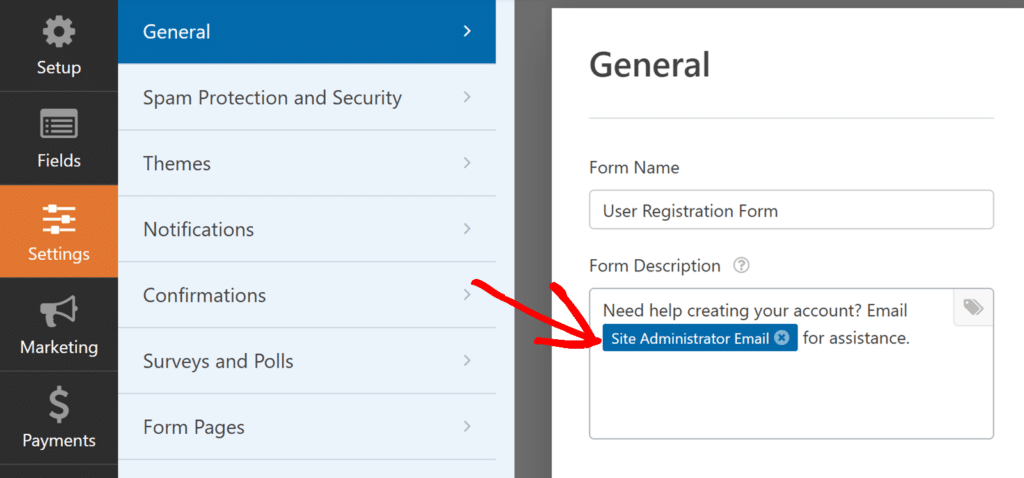
You can use Smart Tags to include custom details in your form descriptions. When the form loads on the frontend, the Smart Tag will be replaced with the relevant data.
For example, you could add the administrator’s email address to the form description using the {admin_email} Smart Tag. It will appear as a labeled visual tag (Site Administrator Email) in the builder.
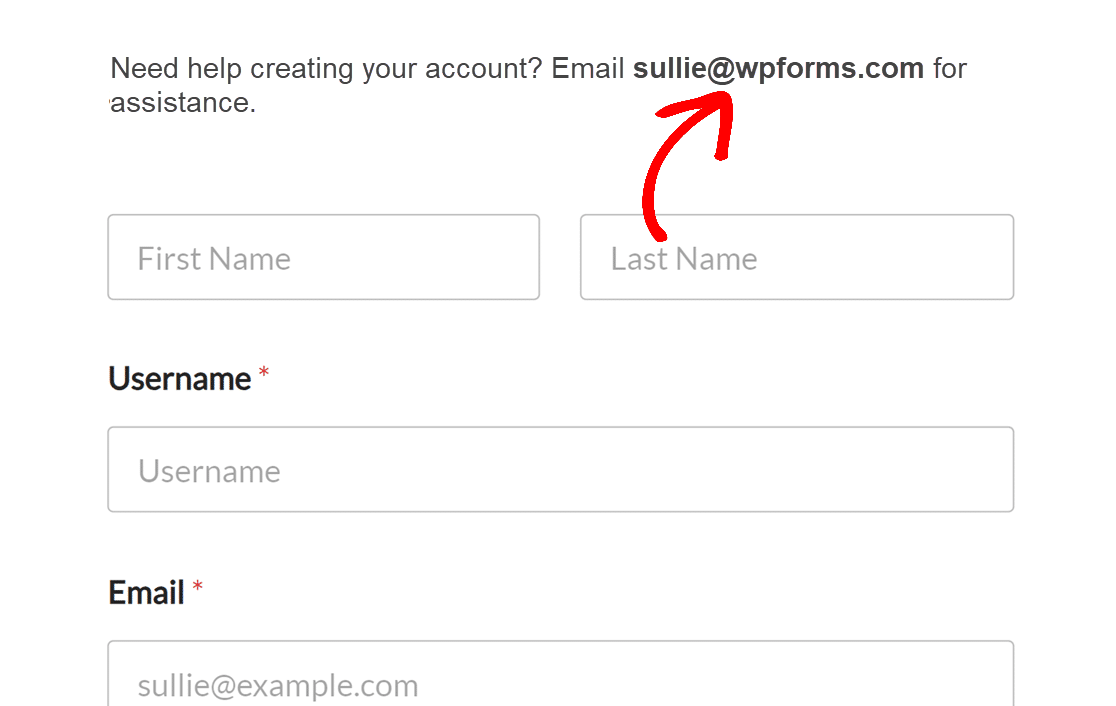
When the form is displayed on your site, the Smart Tag will be replaced with the site’s administrator email address.
Smart Tags Available in WPForms
Below is a list of the Smart Tags available in WPForms. See our guides to unlocking hidden user data with Smart Tags and displaying subfield input with Smart Tags, as well as our Smart Tag usage examples for further guidance on how to implement them.
- Basic Smart Tags
{admin_email}{field_id="#"}{field_html_id="#"}{field_value_id="#"}{all_fields}{entry_id}{entry_details_url}{form_id}{form_name}{page_title}{page_url}{page_id}{date format="m/d/Y"}{unique_value}{url_referer}{resume_link}{order_summary}
- Unlock Hidden User Data
{user_ip}{entry_geolocation}{user_id}{query_var key=""}{entry_user_journey}
- Author Details
{author_id}{author_display}{author_email}
- User Management
{user_display}{user_full_name}{user_first_name}{user_last_name}{user_email}{user_meta}{url_login}{url_logout}{url_register}{url_lost_password}
- User Registration
{site_name}{user_registration_login}{user_registration_email}{user_registration_password}{url_user_activation}{url_manage_activations}{user_registration_password_reset}
Frequently Asked Questions
Below, we’ll address some of the top questions we see about using Smart Tags:
Can I create a Smart Tag for my site’s URL to use in notifications and confirmations?
Yes, you can create a custom Smart Tag for your site’s URL to easily include it in email notifications or confirmation messages. For detailed guidance on how to set this up, refer to our developer documentation for more information.
That’s it! You’ve just learned how to use Smart Tags in WPForms.
Next, want to see some different ways to use Smart Tags in your forms? Check out our extensive Smart Tag examples for ideas on how to use this feature.

