Would you like to learn more about your site’s users by collecting information in the background when they submit your forms? WPForms Smart Tags can help you gather user data through your forms without requiring users to fill out more fields.
In this guide, we’ll show you how to use Smart Tags to unlock hidden user data.
In This Article
For more information on Smart Tags and how to use them, please see our guide to using Smart Tags.
Hidden User Data Smart Tags
The following Smart Tags can help you gather more information about your users without having to ask for it by adding more fields to your forms:
{user_ip}{entry_geolocation}{user_id}{query_var key=""}{entry_user_journey}
This data can be used for a variety of purposes, from enhancing your marketing strategy to keeping user data anonymous.
Next, we’ll discuss how to use each of these Smart Tags to collect user data.
Viewing the User’s IP Address
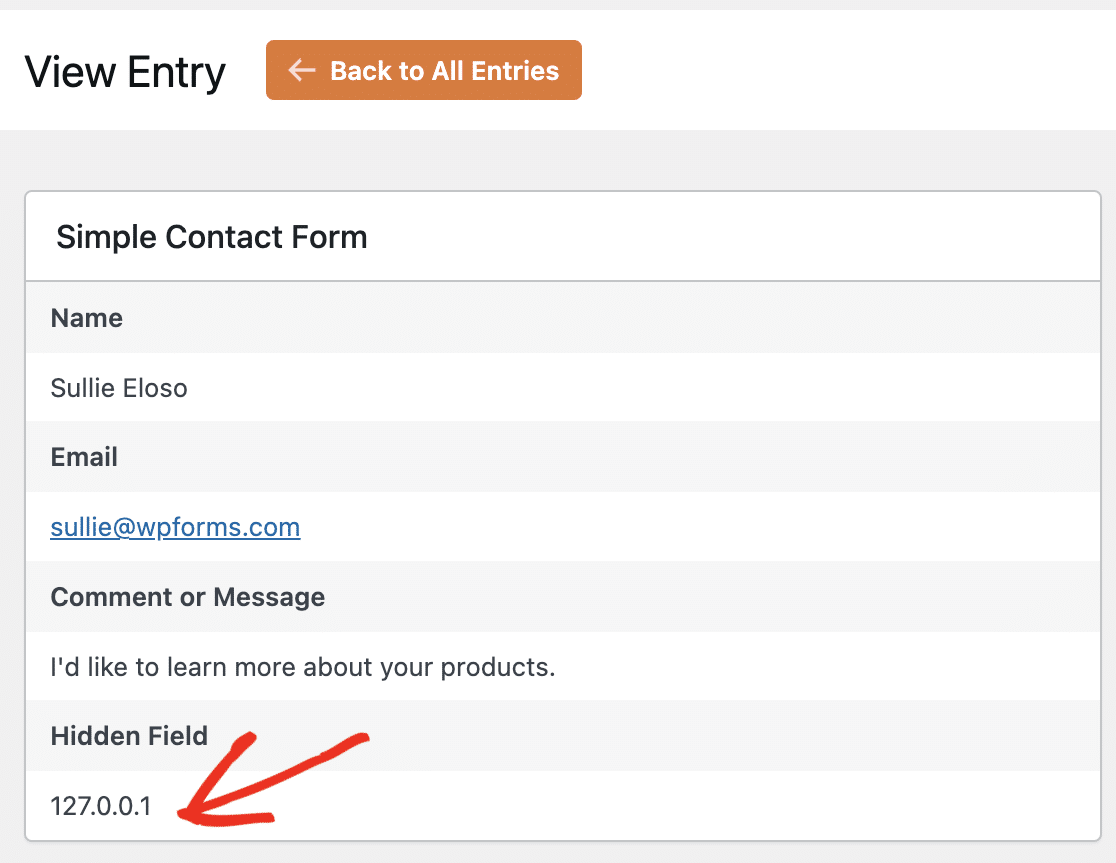
Each computer connected to the internet has a unique address. The {user_ip} Smart Tag allows you to see the unique IP address of each user who submits your form.

If you’d like to know the IP address of anyone who fills out your forms, you can use this Smart Tag in the Email Message section of your form’s notifications settings, or as the default value of a Hidden Field.
Viewing the User’s Location
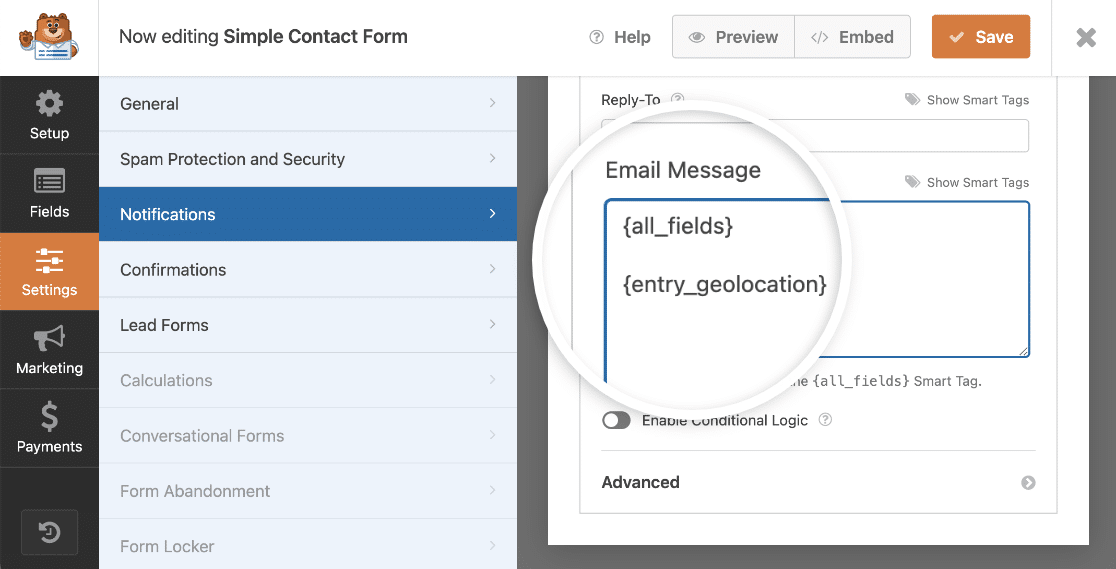
The {entry_geolocation} Smart Tag allows you to see information for the approximate locations of your users.

Note: The {entry_geolocation} Smart Tag requires our Geolocation addon. Check out our tutorial on how to install and use the Geolocation addon for more details.
You can add this Smart Tag to the Email Message field of a notification as a quick reference for where the user is located. This can be particularly helpful if you need to know their time zone for a phone call.
Viewing the User ID for Logged-In Users
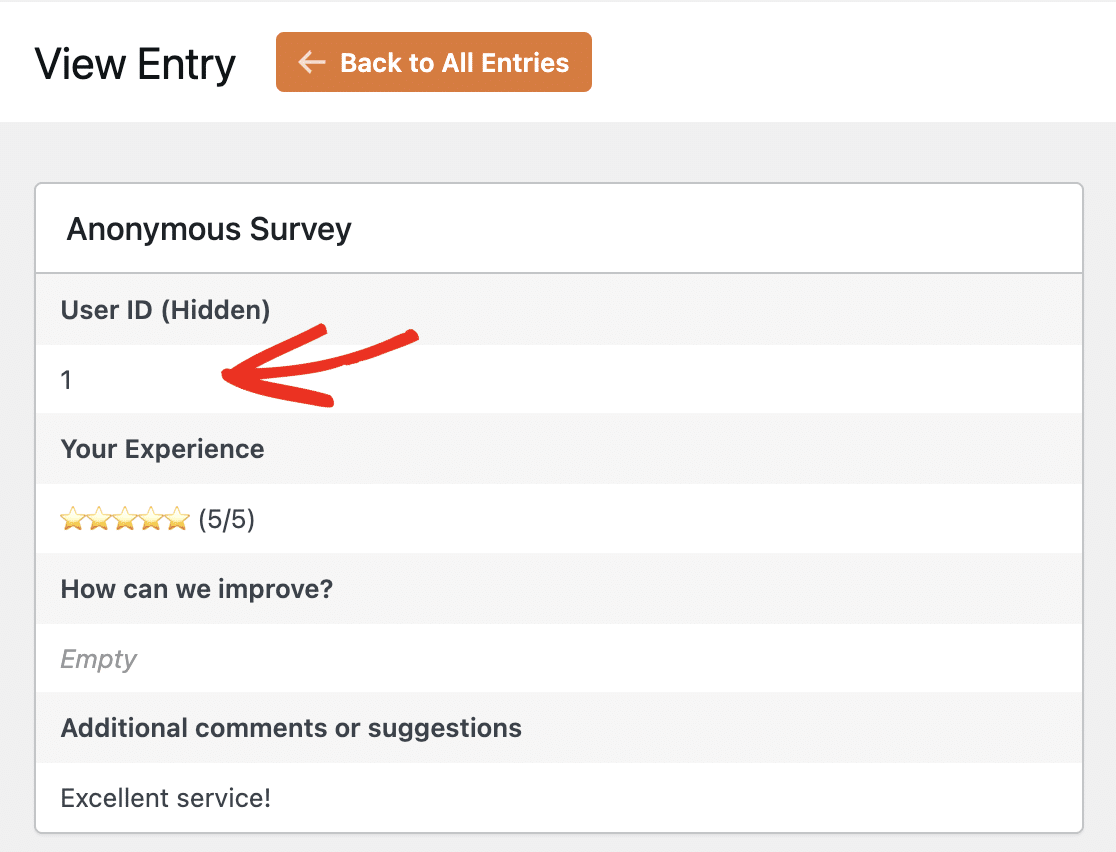
Every registered user on your WordPress site is assigned an ID number. The {user_id} Smart Tag allows you to see the User ID when a logged-in user submits your form.

This Smart Tag can be helpful if you’re creating an anonymous survey form for your logged-in users. It enables you to track unique submissions without you having to ask users for their names.
Auto-Filling Fields Based on a Link
The {query_var key=""} Smart Tag enables you to automatically fill in a field based on the link the user clicked on to access the form. This Smart Tag is also known as Query String Variable.
Query strings require a little extra setup. You can read our guide on how to use query strings for more details and step-by-step instructions.
Viewing the User Journey
The {entry_user_journey} Smart Tag is used to display the pathway a user took before opening and submitting your form. This can be useful for understanding how users navigate your website and find your forms.
Note: You’ll need to install and activate the User Journey addon before you can use the {entry_user_journey} Smart Tag.
Displaying the URL Users Access Your Form From
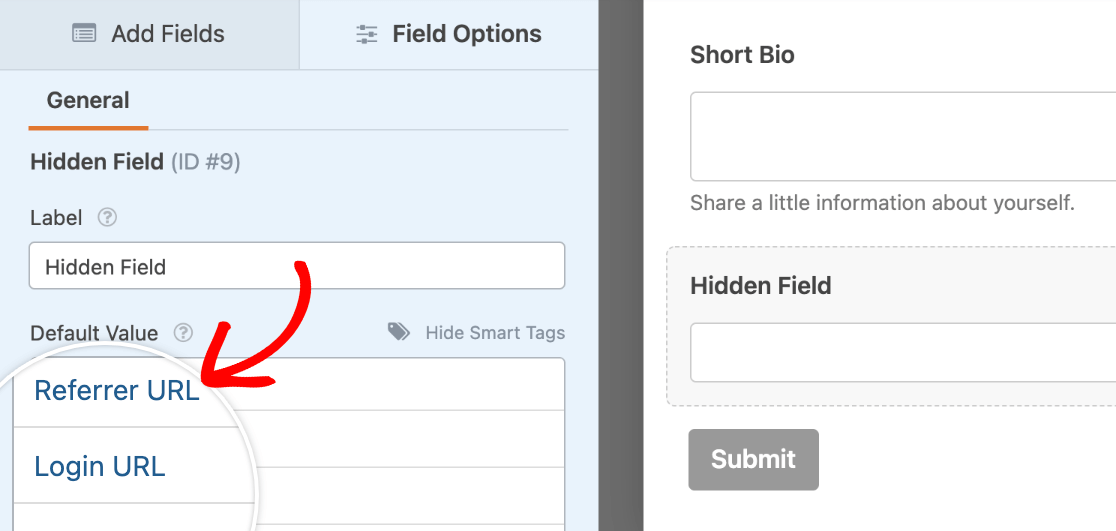
The {url_referer} Smart Tag will insert the address of the page that referred the user to the current page.
It can be useful as a default value for a Hidden Field in your form, which will be invisible to your users but displayed in your entries.

For example, if a user went from your site’s home page to your contact page, and then filled out your contact form there, this Smart Tag would display the URL of your home page as the value of your Hidden Field.
Note: Using the {url_referer} Smart Tag in your email notifications will insert the URL of the page from which the form was submitted, not the page that referred the user to the form. Unless you’d like to see this information in your notification emails, we recommend using this Smart Tag in a Hidden Field as described above instead.
That’s it! Now you know different ways to unlock hidden user data in your forms.
Next, want to see more examples of how you can use Smart Tags in WPForms? Check out our Smart Tag usage examples for more ideas on making the most of this feature.
