Would you like to use Smart Tags to display the contents of a subfield, such as the user’s first name or a single line from an Address field? This method can be useful for personalizing email notifications or highlighting details from an entry.
In this guide, we’ll show you how to display input from a subfield using Smart Tags in WPForms.
In This Article
- Showing Only the First or Last Name
- Displaying Individual Lines from an Address Field
- Showing Only the Time Value from a Date / Time Field
- Displaying Only the Quantity from a Single Item or Dropdown Items Field
- Displaying Only the Amount from a Single Item or Dropdown Items Field
- Displaying Raw Value from Payment Fields
For more information on Smart Tags and how to use them, please see our guide to using Smart Tags.
Note: It’s possible to pull additional information into the form fields and settings by using a custom Smart Tag. For more details and examples, check out our guide on how to create your own Smart Tag.
Showing Only the First or Last Name
If you’d like to pull a subfield of your form’s Name field, you can use the {field_id} Smart Tag with a vertical slash to display this information.
For example, to pull only the first name from your form, you would use the {field_id="#|first"} Smart Tag.

Below is the full list of available options for the Name field:
- First Name:
{field_id="#|first"} - Middle Name:
{field_id="#|middle"} - Last Name:
{field_id="#|last"}
This can be useful for creating personalized messages in your email notifications or confirmations that feel more conversational than using the full name.
Displaying Individual Lines from an Address Field
You can also use the {field_id} Smart Tag followed by a vertical slash (|) to show individual lines from your form’s Address field.
For example, if you only wanted to show the street entered by a user, you would use the Smart Tag {field_id="#|address1"}.
The available Smart Tag options for the Address field are:
- Line 1:
{field_id="#|address1"} - Line 2:
{field_id="#|address2"} - City:
{field_id="#|city"} - State/Region:
{field_id="#|state"} - Zip Code/Postal Code:
{field_id="#|postal"}
If you primarily serve local customers, you may want to use these Smart Tag variations to auto-fill subfields with your business’ city, state, and zip code. You can also use these details for personalized messages about local opportunities or events.
Showing Only the Time Value from a Date / Time Field
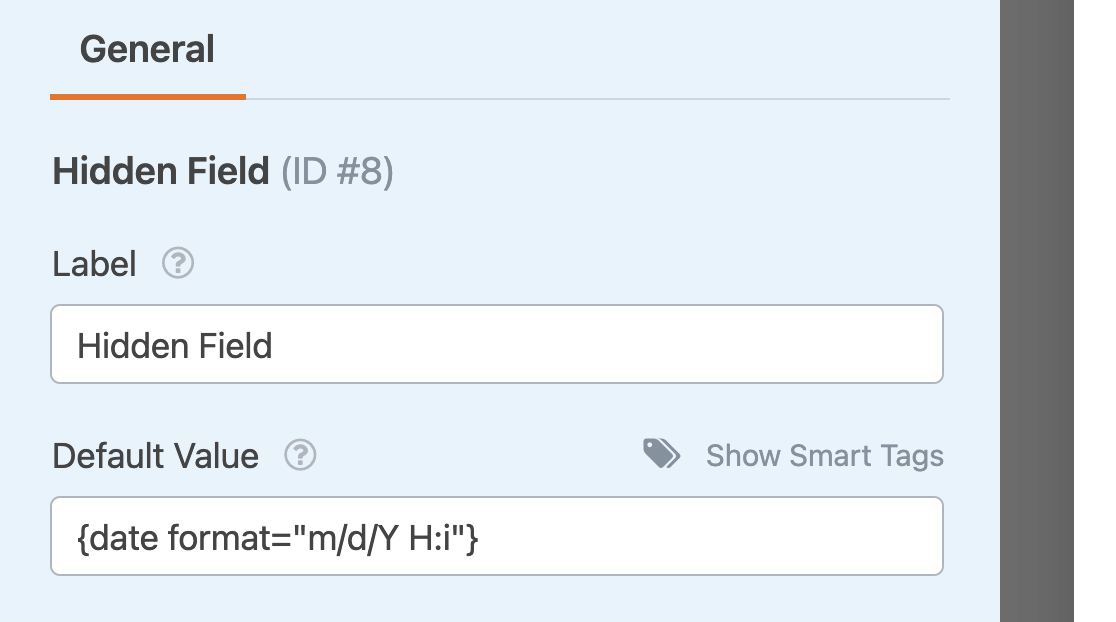
You can pull time data from your forms by adding the H:i suffix to the {date} Smart Tag.

If you’re looking to separate the time from the date, you can use {field_id="#|time"} for the time and {field_id="#|date"} for the date.
Displaying Only the Quantity from a Single Item or Dropdown Items Field
If you want to isolate the quantity a customer has selected for a specific product, you can use {field_id="#|quantity"} to show the number of items ordered separate from the product name.
This Smart Tag is compatible with the Single Item and Dropdown Items payment fields in WPForms.
Displaying Only the Amount from a Single Item or Dropdown Items Field
If you need to display only the numerical value of a payment field without the product name, you can use {field_id="#|amount"}. This will display the total amount associated with the selected items.
This Smart Tag is compatible with the Single Item and Dropdown Items payment fields in WPForms.
Displaying Raw Value from Payment Fields
The {field_value_id} Smart Tag pulls the raw value that a user has added or selected to a specific payment field in your form. When used in an email notification, it will show an unformatted version of the content.
Note: This Smart Tag is only recommended for developers and advanced users.
This is useful if you’re looking to do some custom development using the values submitted to your forms’ payment fields.
Like the {field_html_id} Smart Tag, you can enter the {field_value_id} Smart Tag directly into the body of your email notification.
Note: If you’re looking to customize the values that are returned by this Smart Tag, check out our developer documentation for more information.
That’s it! Now you know how to use Smart Tags to display information from subfields in WPForms.
Next, want to see examples of how to use common Smart Tags in WPForms? Check out our Smart Tag usage examples for more ideas on how to use this feature in your forms.
