AI Summary
Would you like to automatically grow your mailing list any time your form is submitted? With the WPForms ActiveCampaign integration, you can easily send data from your form submissions to your ActiveCampaign account.
This tutorial will show you how to install and set up the ActiveCampaign addon for WPForms.
Requirements:
- You will need an Elite license to access the ActiveCampaign addon
- Ensure that you’ve installed the latest version of WPForms to meet the minimum required version for the ActiveCampaign addon
1. Installing and Setting Up the ActiveCampaign Addon
First, be sure to install and activate WPForms on your WordPress site. Then, once your license is verified, you’ll be able to quickly install and activate the ActiveCampaign addon.
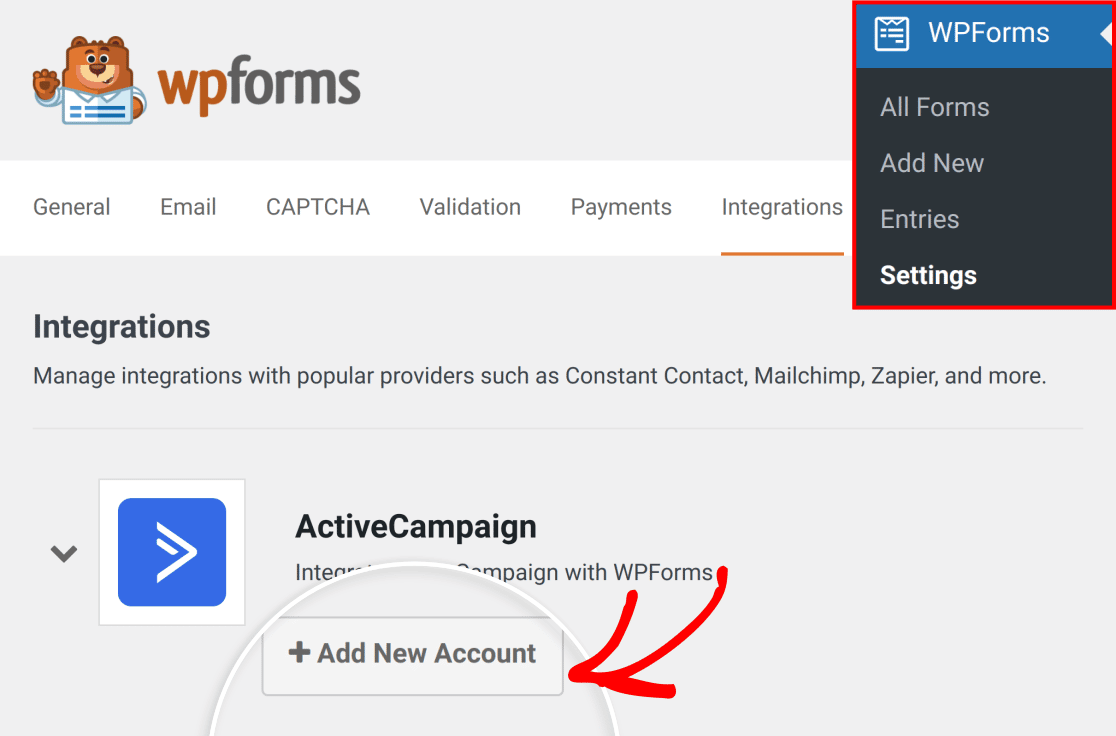
After you install the ActiveCampaign addon, the next step is to connect your ActiveCampaign account to your site. To do so, you’ll need to go to WPForms » Settings and click on the Integrations tab.
Then click the ActiveCampaign section to expand it, and click the + Add New Account button to see more details.
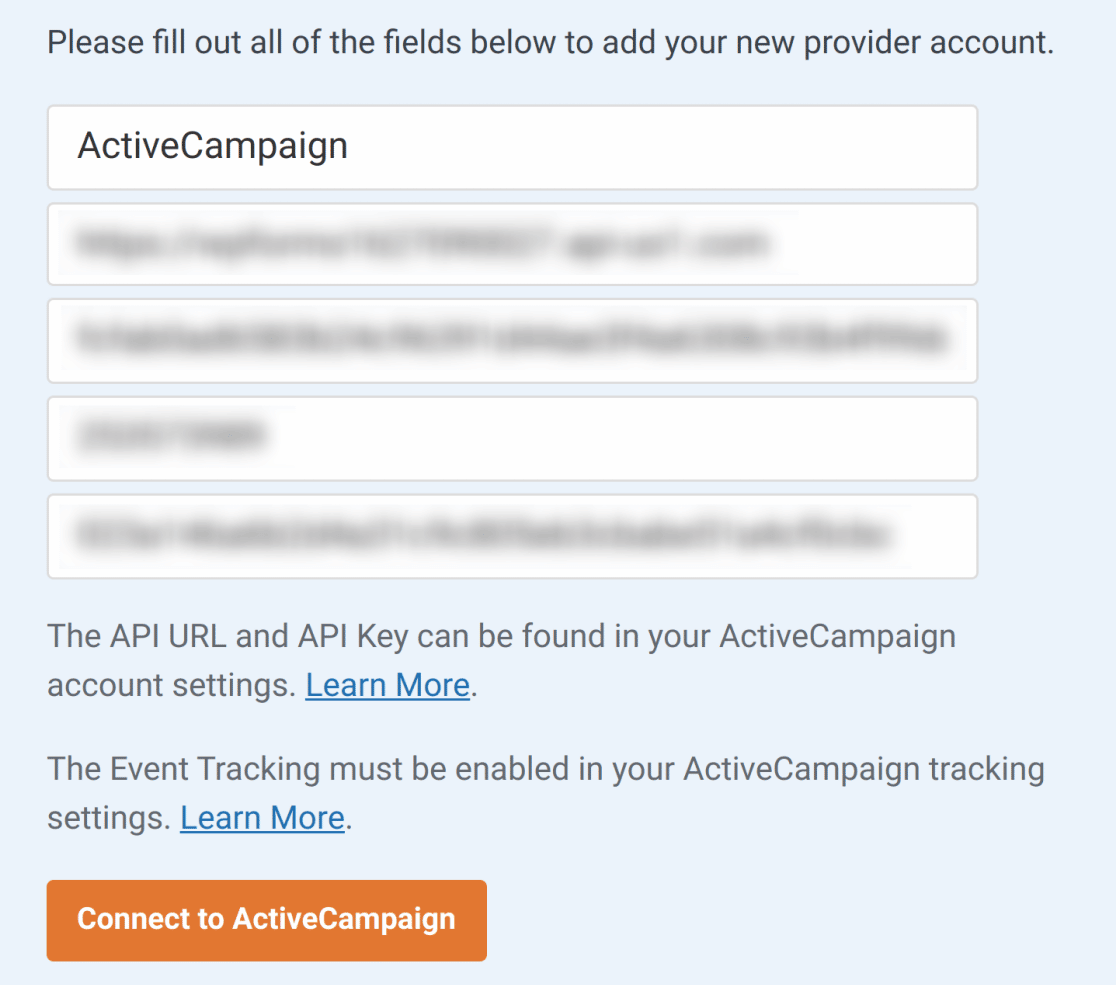
A list of additional fields should then appear.
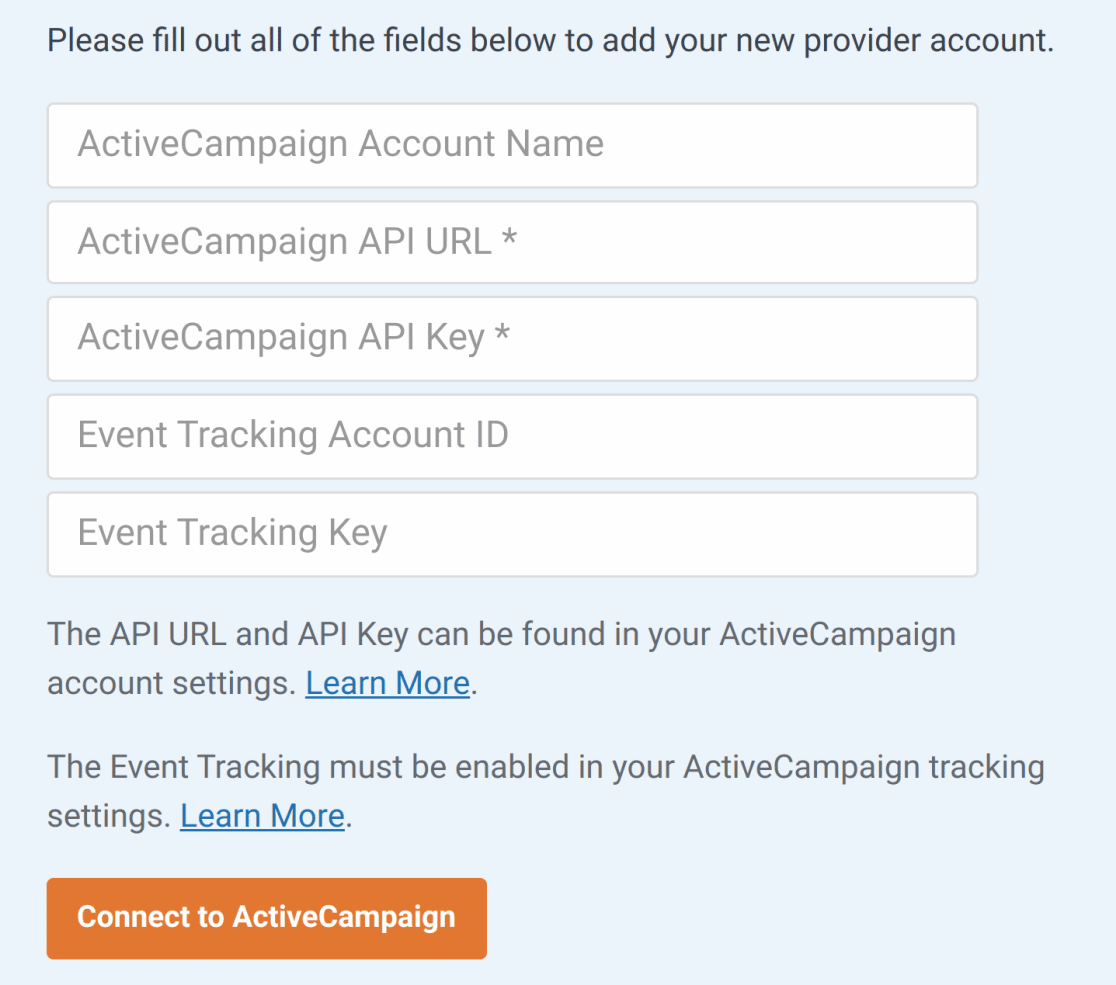
Below, we’ll share exactly how to complete each of these settings.
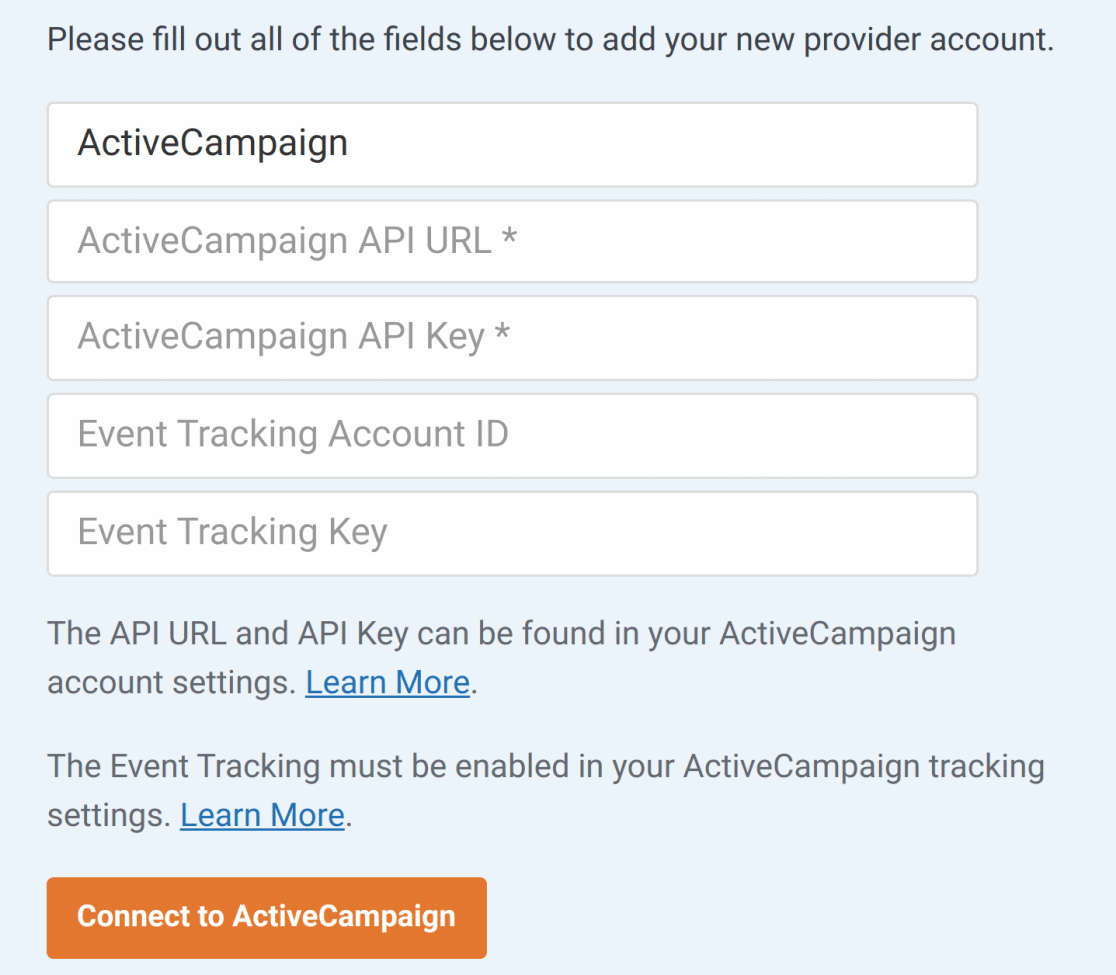
ActiveCampaign Account Name
In this field, you can add any name you’d like. It’s for your internal use only and will be helpful if you add more than one ActiveCampaign account to your site.
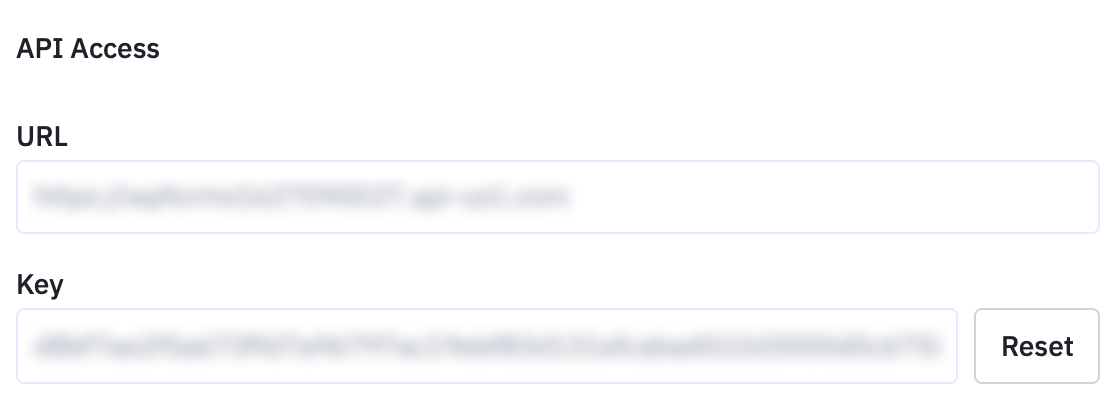
ActiveCampaign API URL and Key
Each ActiveCampaign account has its own unique API values. To locate yours, you’ll first need to log in to your ActiveCampaign account.
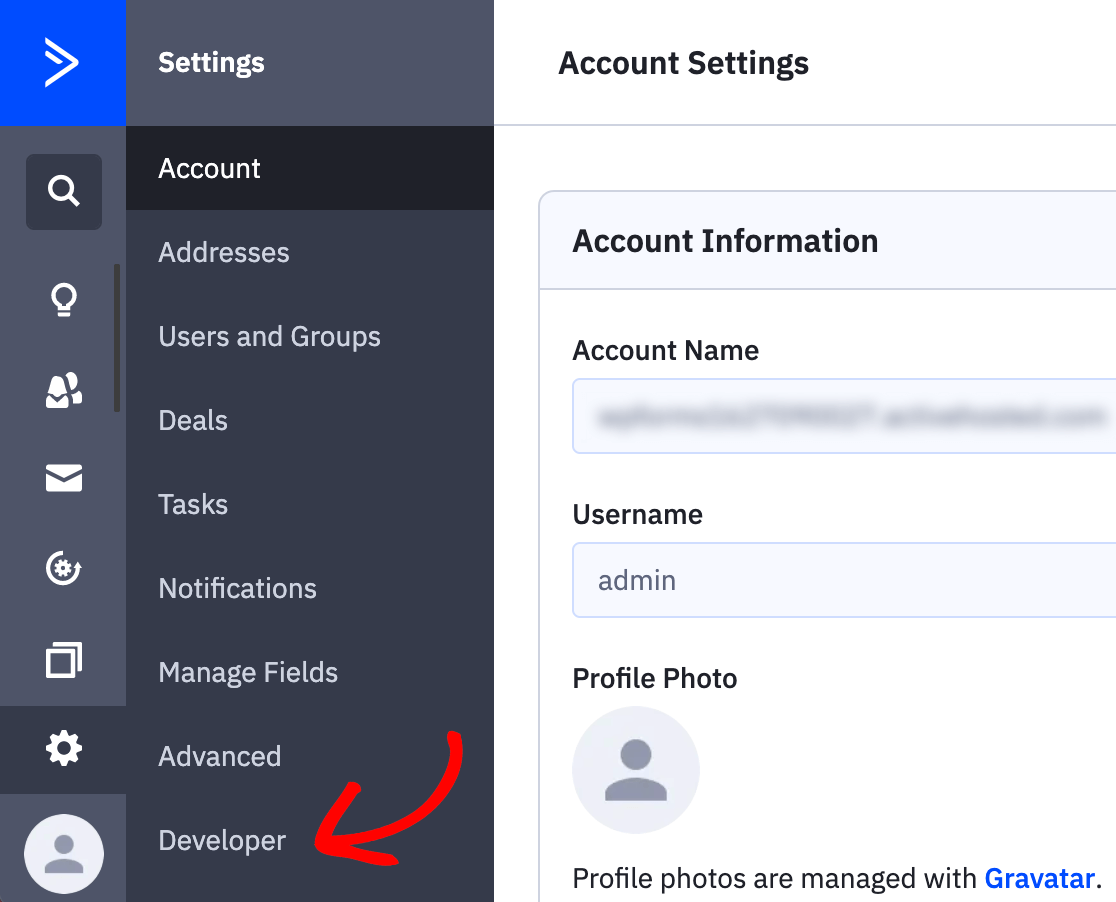
After logging in to your account, click on Settings near the bottom of the left sidebar.
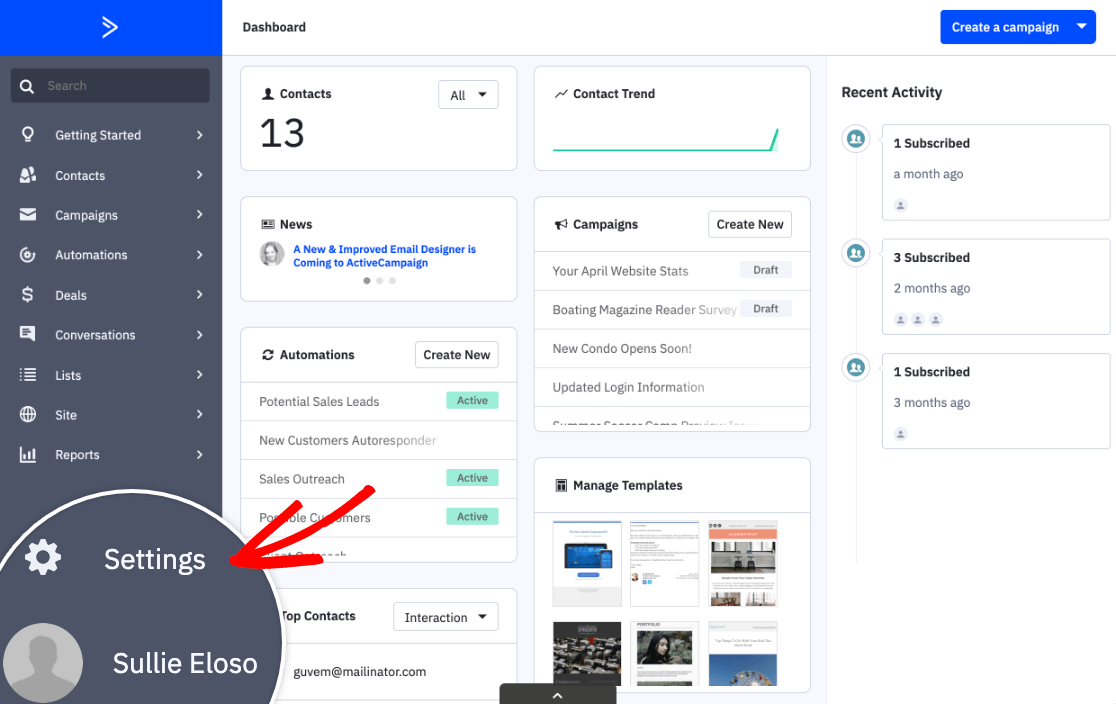
An additional menu should appear in the sidebar. Here, click on Developer.
On the next screen, copy both the URL and Key values into your WPForms settings.
Event Tracking Account ID and Key
Using Event Tracking is completely optional. However, if you’d like to use Event Tracking, you’ll need to copy a couple of values from your ActiveCampaign account.
Note: For more details on using this feature, check out ActiveCampaign’s Event Tracking overview.
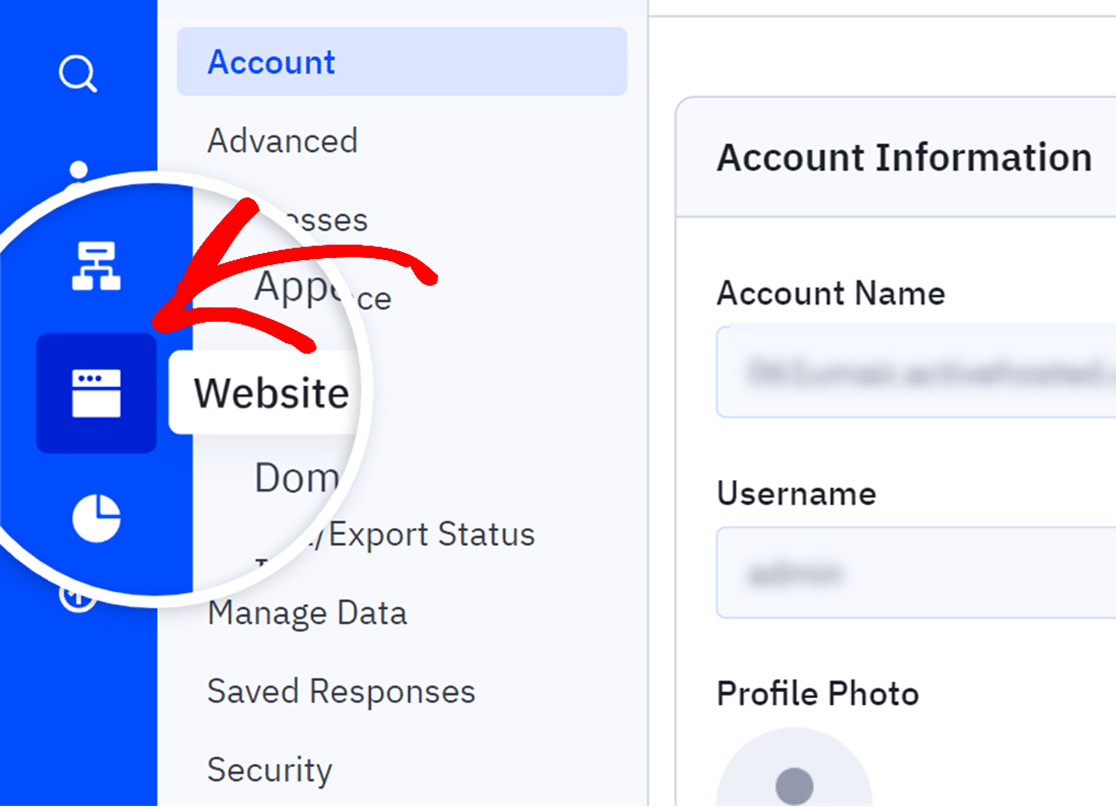
To do this, click on Website from the left sidebar.
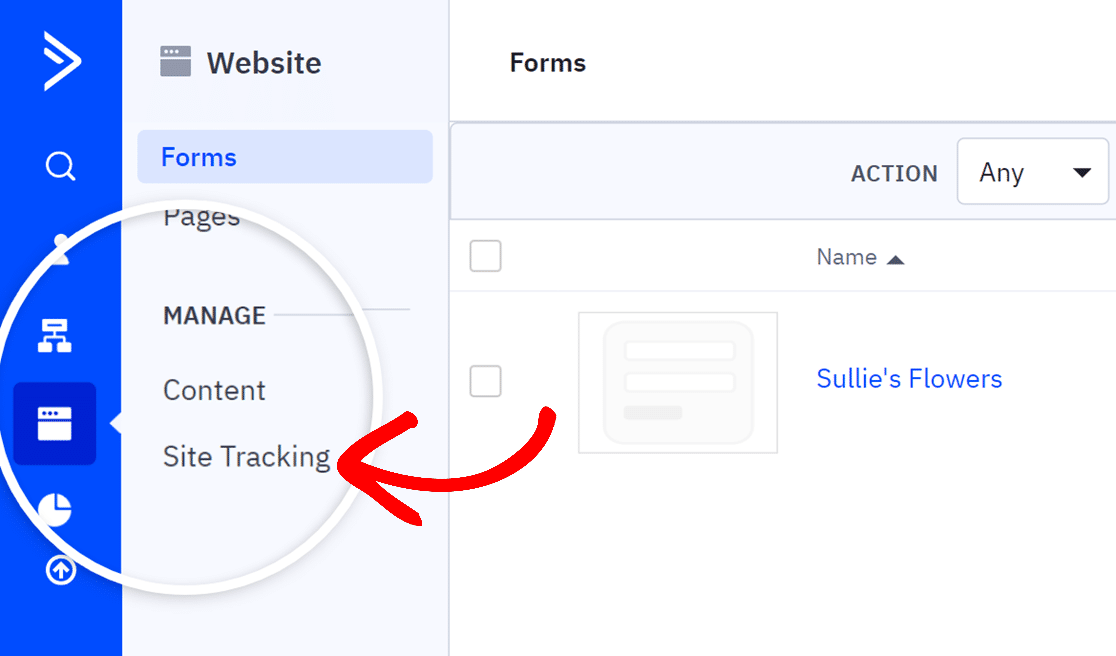
Next, in the additional menu that appears, click on the Site Tracking option.
Towards the bottom of this page, look for the Event Tracking section. Here, switch the Status toggle to ON.
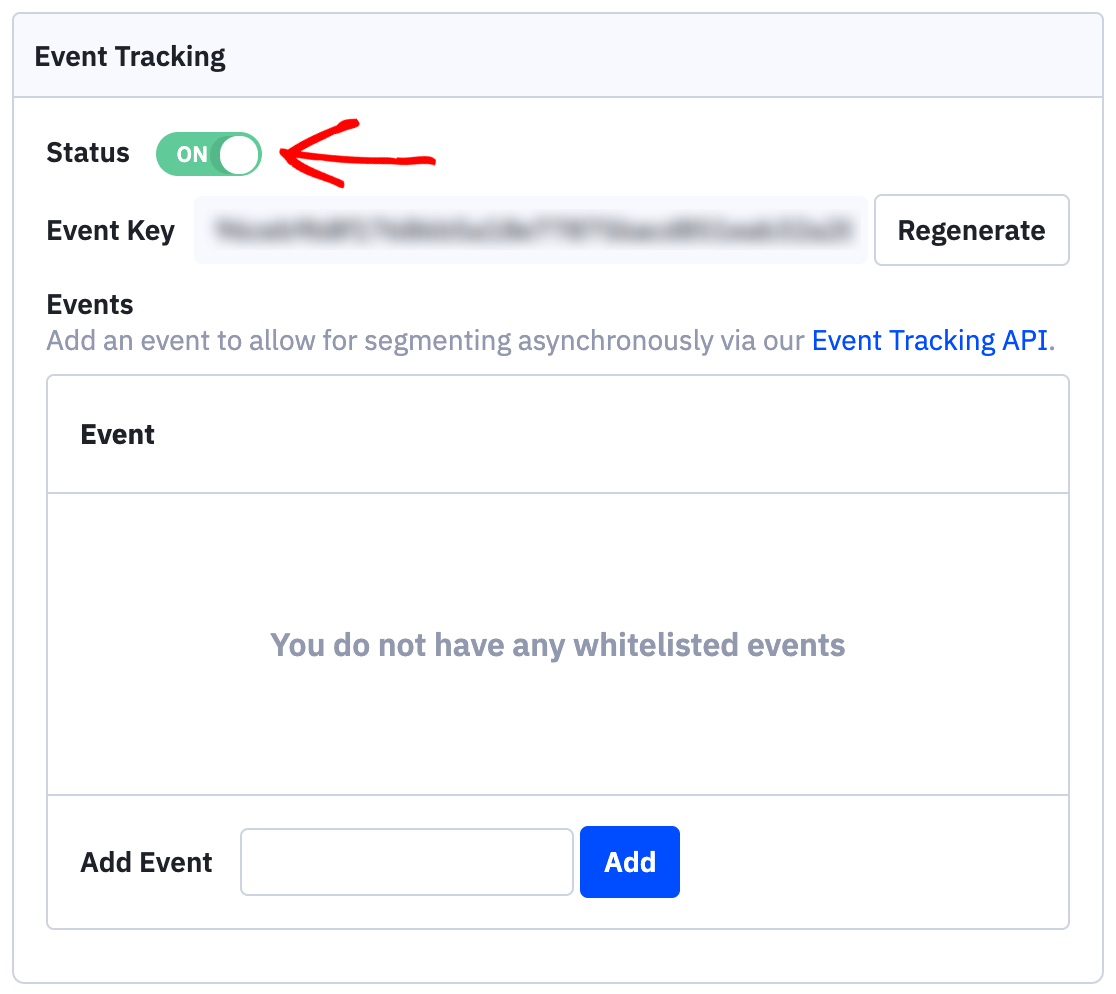
In the additional details that appear, copy the Event Key and paste it into the Event Tracking Key field in your WPForms settings.
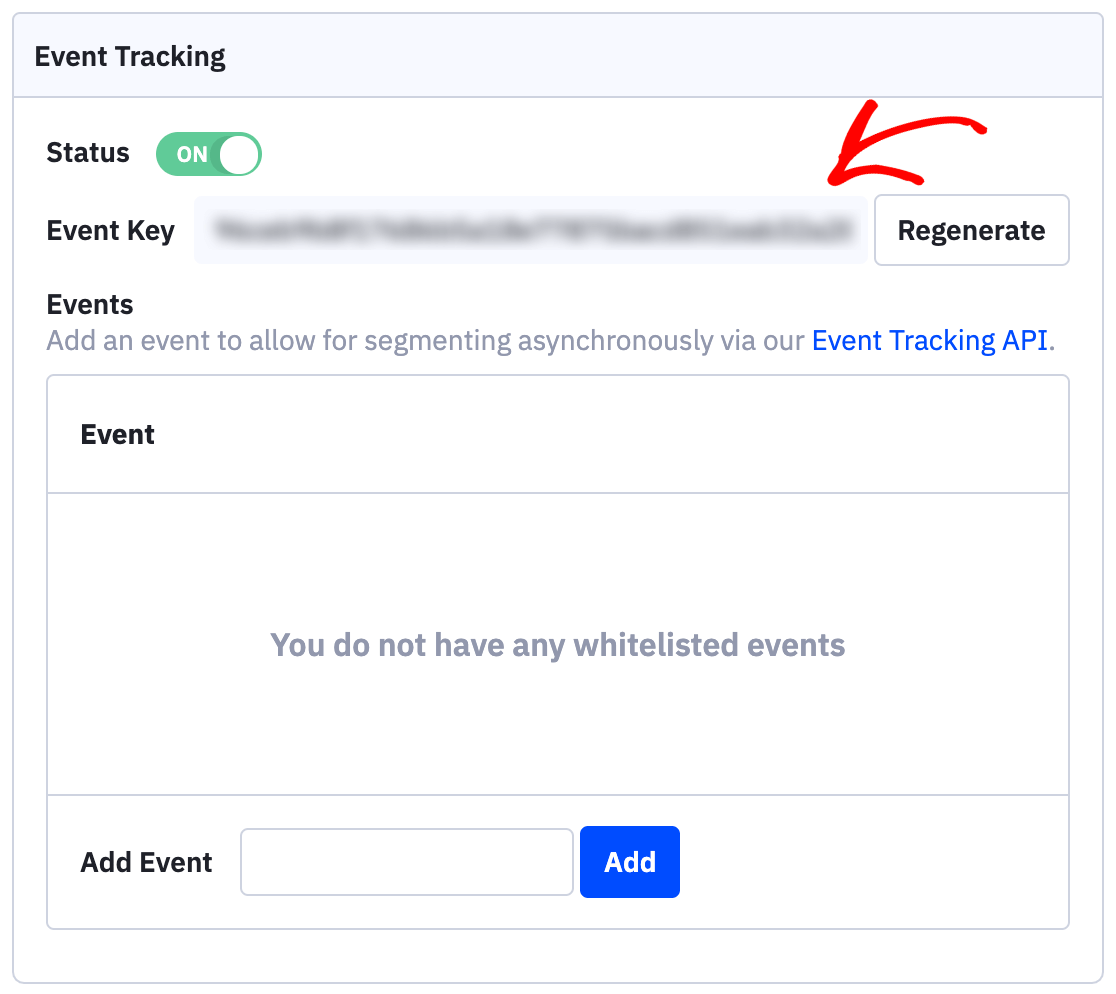
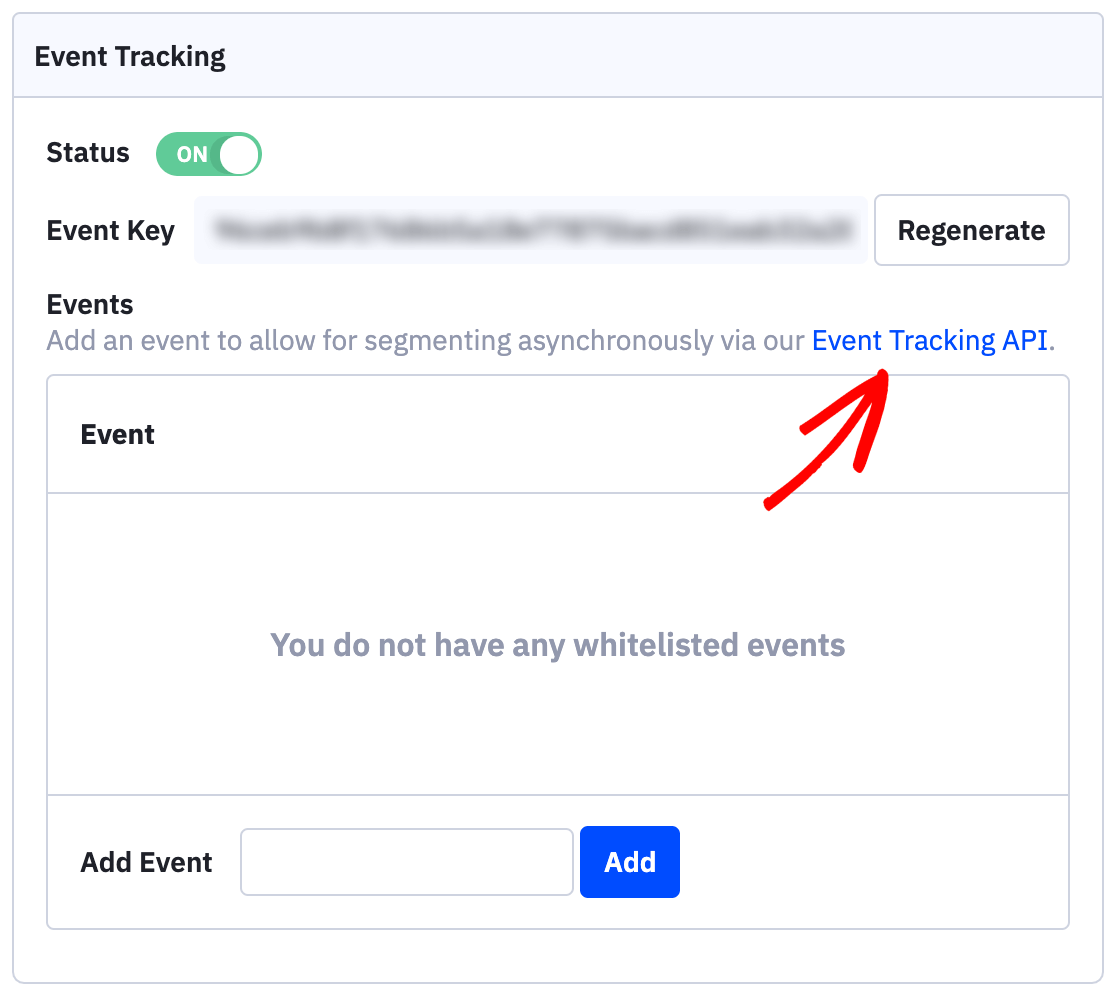
Next, you’ll need to click the Event Tracking API link.
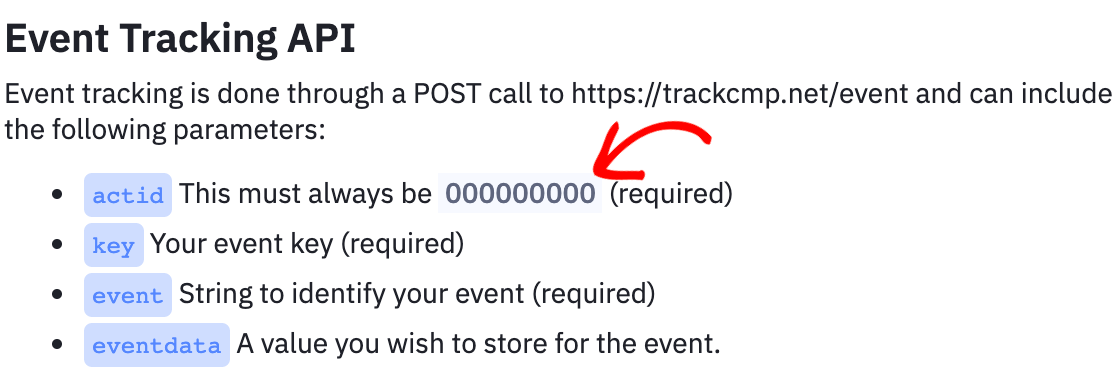
An overlay will appear with details on the Event Tracking API. In the actid bullet point, you should see some text that looks something like this:
This must always be 00000000 (required)
Within this text, copy only the numbers. Then paste this value into the Event Tracking Account ID field in your WPForms settings.
When you’ve filled out all the fields in your WPForms integrations settings, click the Connect to ActiveCampaign button to save the connection.
Once these fields are saved, you should see a green box that says Connected next to the ActiveCampaign section.

2. Adding ActiveCampaign Integration to Forms
When your ActiveCampaign account is connected to WPForms, the next step is to add this integration to your forms. To get started, create a new form or edit an existing one to open the form builder.
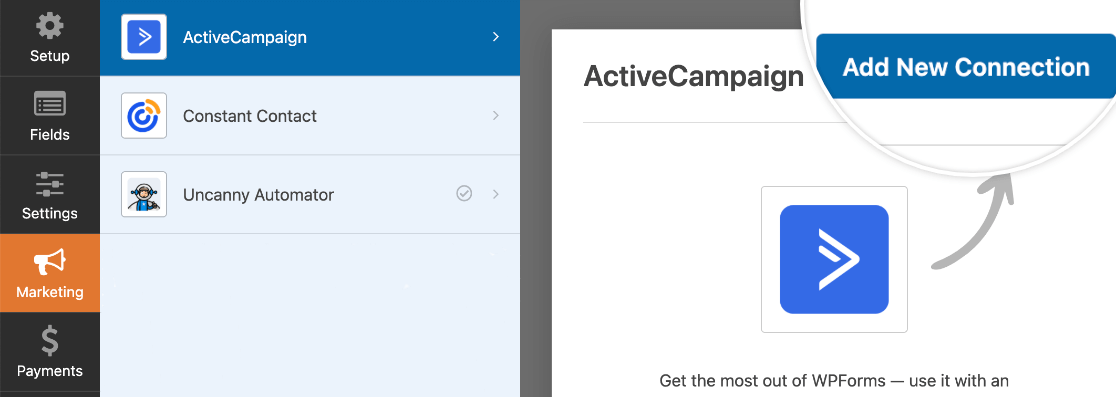
After you’ve customized your form’s fields and settings, go to Marketing » ActiveCampaign and click the Add New Connection button.
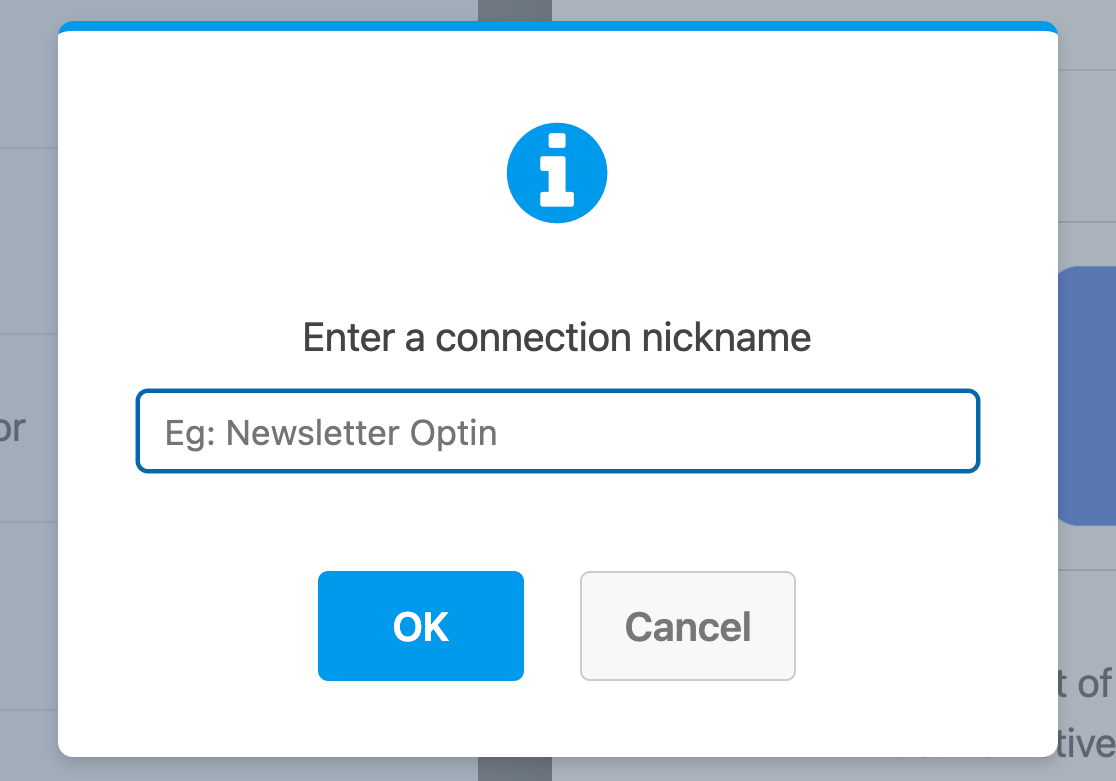
An overlay will then appear. Here, you’ll need to enter a nickname for your connection. This is useful if you plan to connect this form to more than one mailing list. However, it’s only for your internal reference, and your users will never see it.
After you name the connection, additional settings will appear.
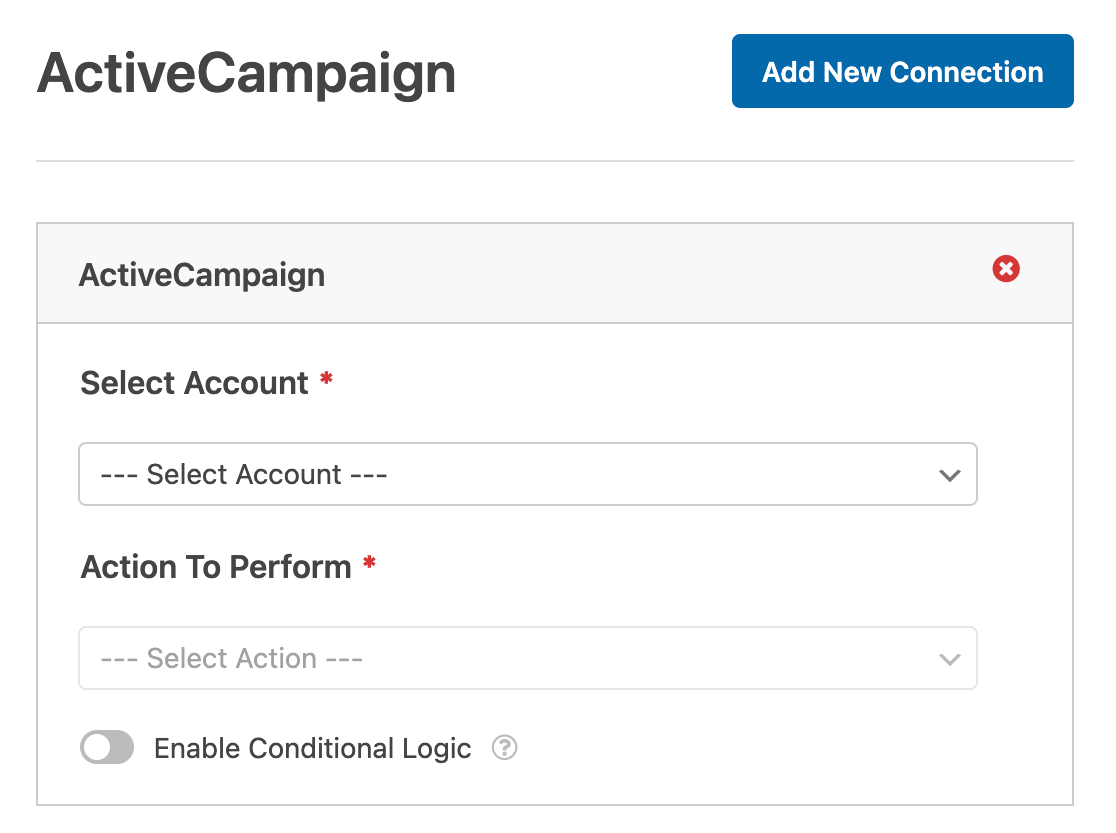
- Select Account: Choose from any of the ActiveCampaign accounts you’ve connected in your WPForms integrations settings.
- Action to Perform: Select the action you want to take when a user fills out this form. The option selected here will also determine which additional settings are displayed.
We’ve covered each of the available actions and their related options in more detail below.
Subscriber: Create or Update
This action will add a new subscriber to an ActiveCampaign list or allow you to update an existing subscriber.
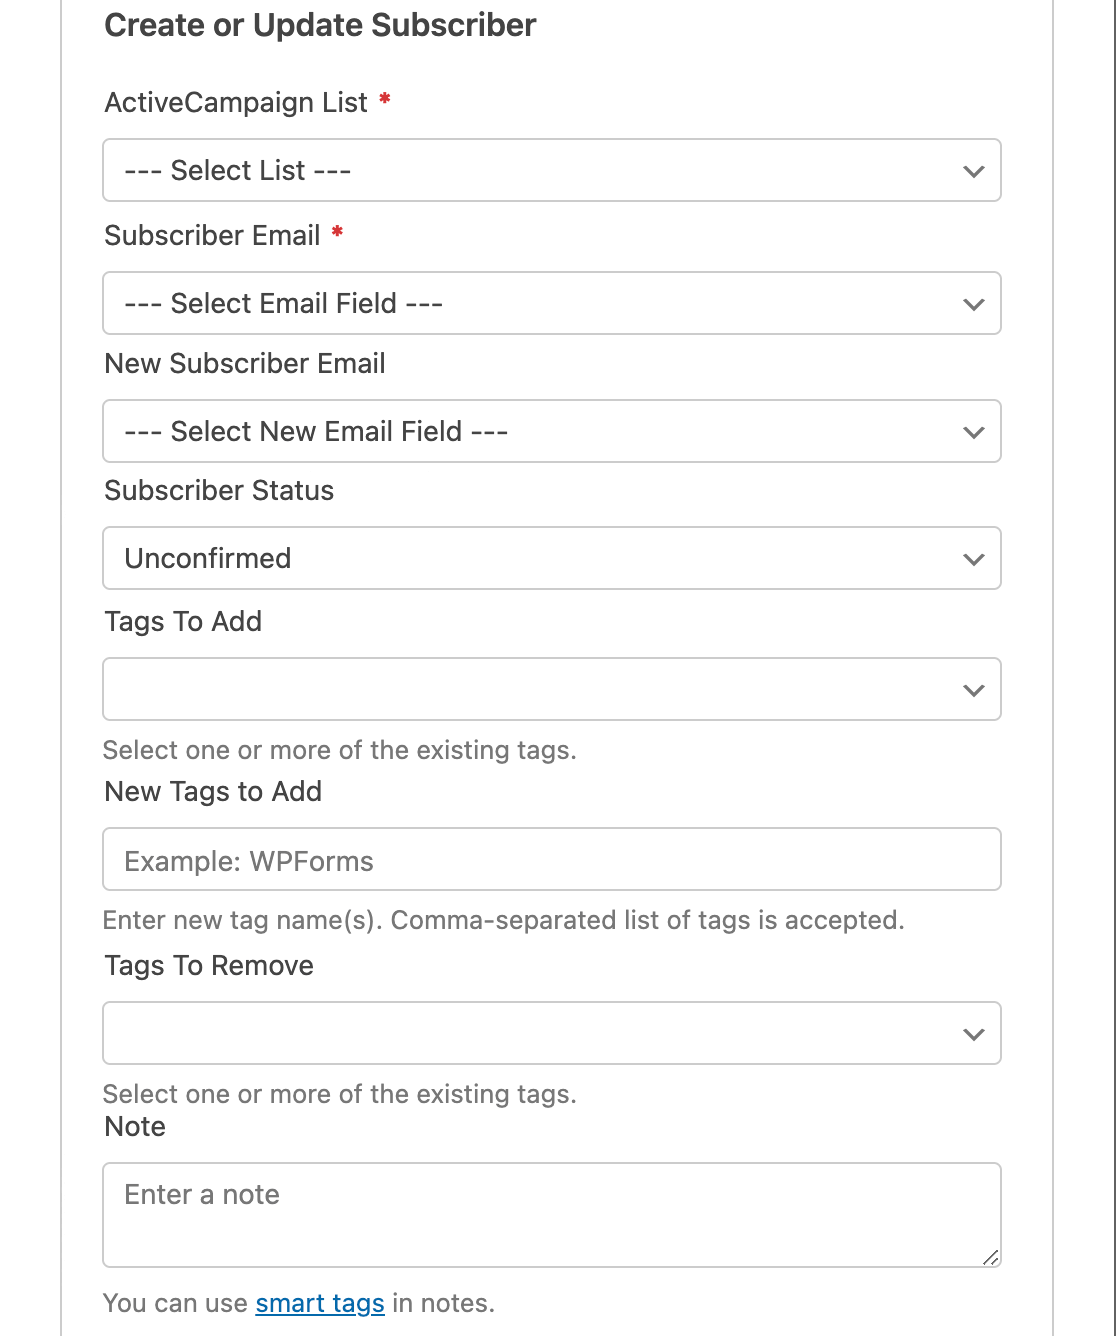
Below is a list of all the options available for this action. Items marked with an asterisk (*) are required:
- ActiveCampaign List*: Choose from your available mailing lists. If you don’t have one yet, check out ActiveCampaign’s documentation on how to create a list.
- Subscriber Email*: Choose an Email field from your form. If you’re updating an existing subscriber, then this should be their old email address.
- New Subscriber Email: Choose the Email field from your form that includes the updated email address. Only use this setting if updating an existing subscriber.
- Subscriber Status: This status will be automatically assigned to all subscribers from this form. For more details, please see ActiveCampaign’s tutorial on status options.
- Tags To Add: Add any tag(s) from your ActiveCampaign account to this subscriber. Please see ActiveCampaign’s tutorial for more details on using tags.
- Tags To Delete: Remove any default tags, or (if updating an existing subscriber) remove specific existing tags.
- Note: Automatically add a note to the subscriber.
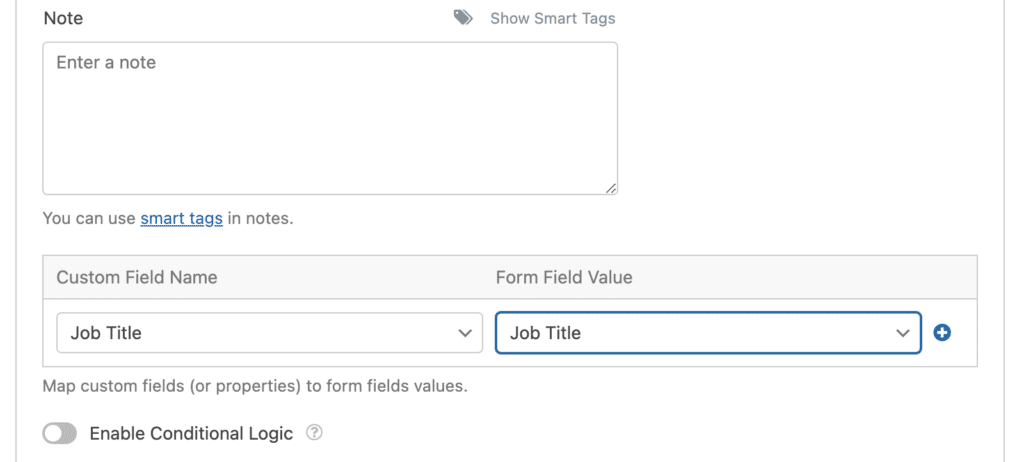
- Custom Fields: Mapping fields in your ActiveCampaign account to fields on your form. For example, you can map the Job Title custom field ActiveCampaign provides to the corresponding field on your form.
Subscriber: Unsubscribe
This action will allow your subscribers to remove themselves from your ActiveCampaign list. However, their user record will still be available within your ActiveCampaign account.
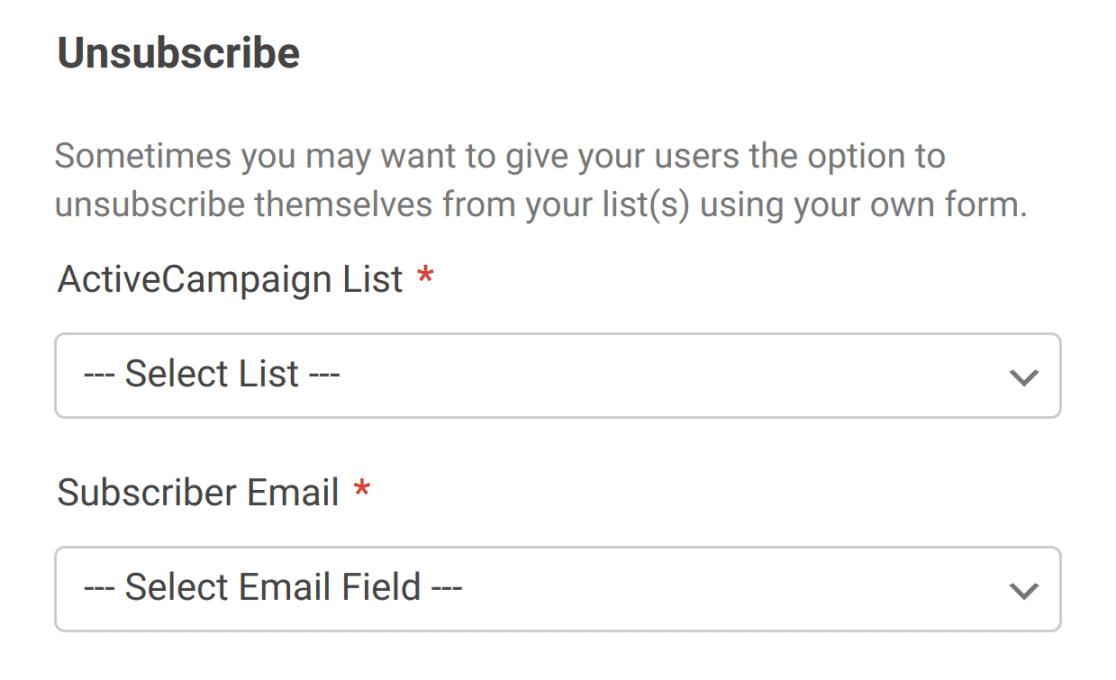
For this action, you’ll only need to select which ActiveCampaign list you want to remove users from, and the Email field that will contain the address that needs to be removed.
Subscriber: Delete
You should only use this action if your form is specifically intended to allow subscribers to delete themselves completely from your ActiveCampaign account.
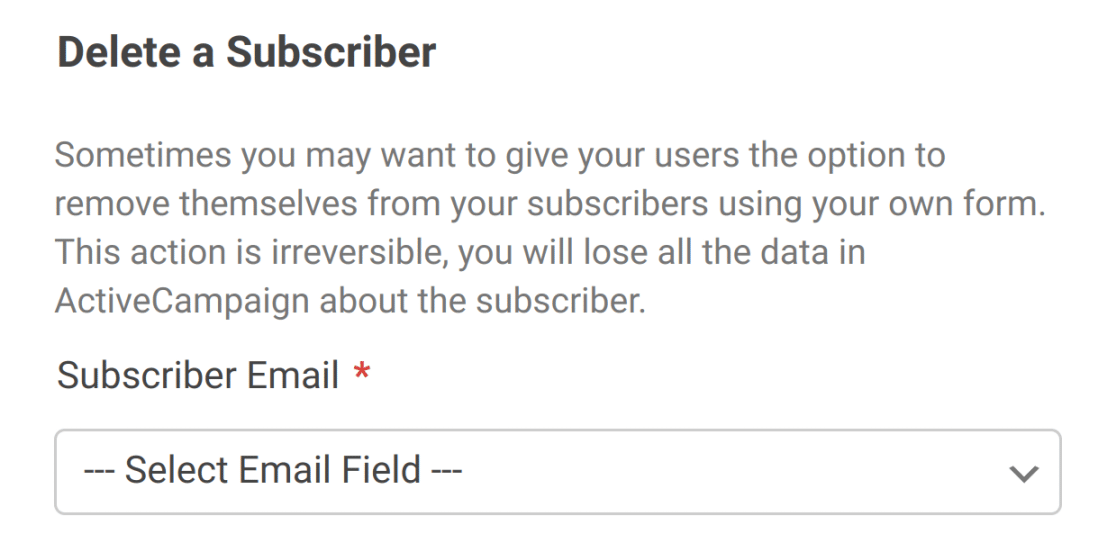
To set up this action, just select the Email field from your form.
Note: If you’re setting up this option to help comply with the GDPR, be sure to disable entry storage for this form in the form builder under Settings » General. This will allow you to avoid storing additional records related to the user.
Event Tracking
Event Tracking allows you to record data about the behavior of your contacts. For example, you may want to trigger an automation within your ActiveCampaign account for any user who submits a specific form.
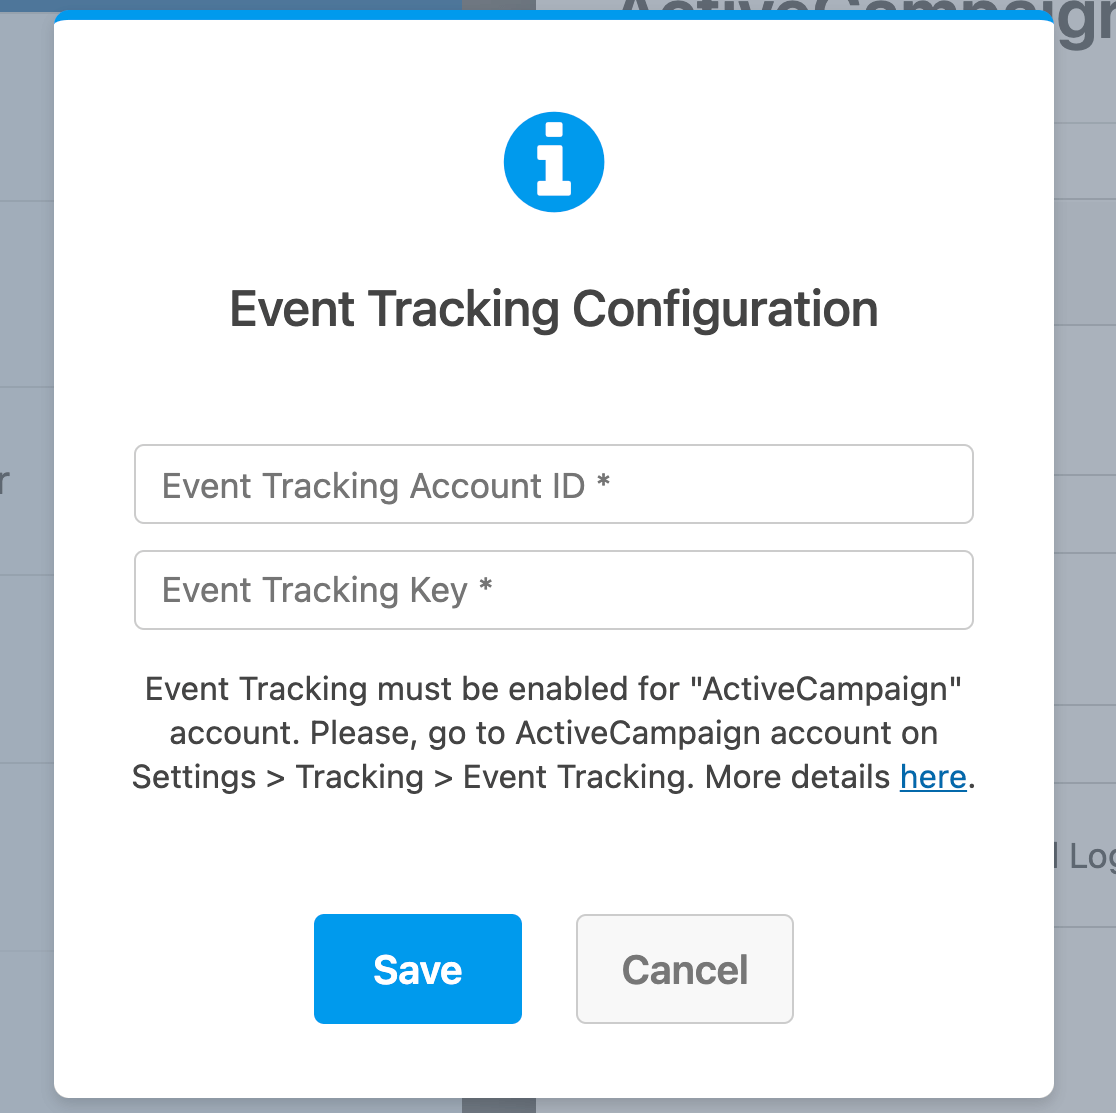
You will need to set up event tracking for your ActiveCampaign integration in order to select this action. If you didn’t set it up earlier, choose Event Tracking from the Action to Perform dropdown. This will open a popup window in the form builder where you can enter your Event Tracking Account ID and Key.
Then, the rest of the available options for this action will appear.
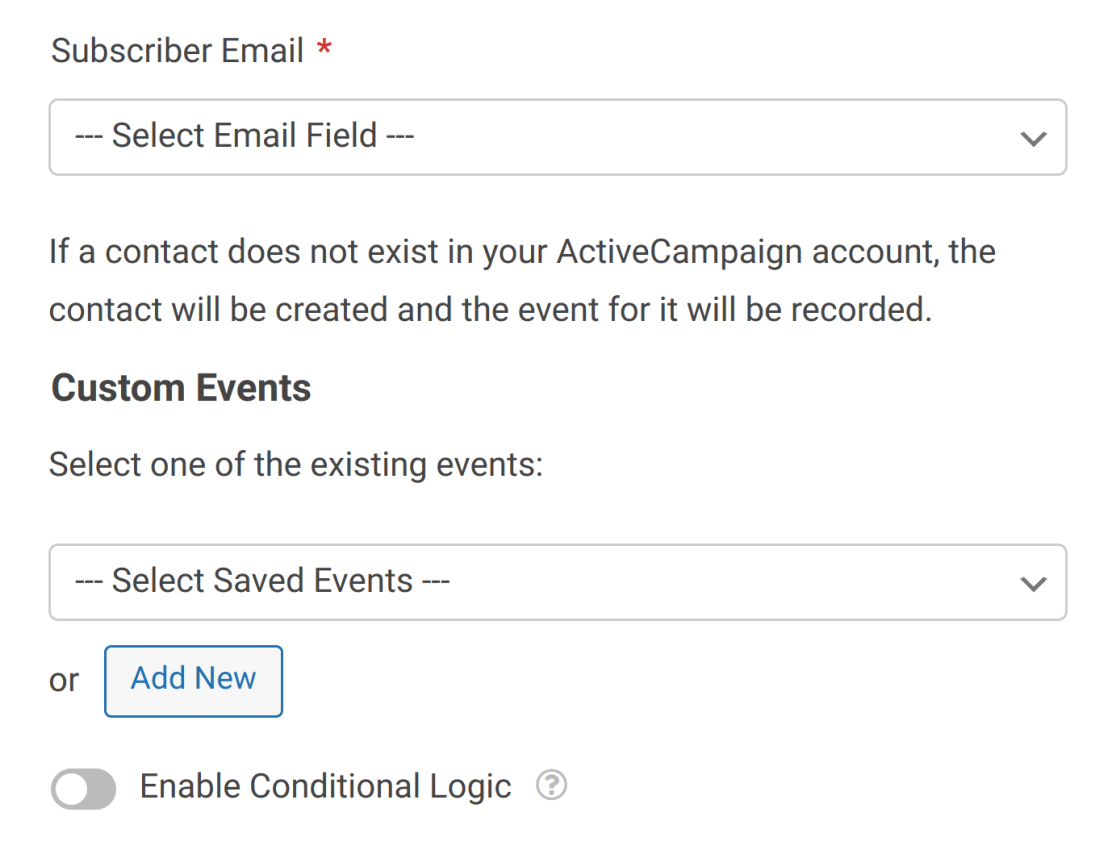
Choose your form’s Email field from the first dropdown, then select the event you want to track from the second. You can click the Add New button to create more events to track.
3. Setting Up Conditional Logic for ActiveCampaign (Optional)
Conditional logic lets you automatically change certain aspects of your form depending on users’ selections or input.
As an example, we’ll show you how to use conditional logic to let users choose if they’d like to be added to your ActiveCampaign mailing list.
To set this up, you’ll first need to add a Checkboxes field to your form. For our example, we’ll add a single choice and label it, “Please keep me updated with weekly newsletters.”

Next, you’ll need to configure your conditional logic. At the bottom of your ActiveCampaign settings, toggle on the option labeled Enable Conditional Logic.

Finally, you’ll need to use the dropdowns that appear to set up your conditional logic rule. For this example, ours will read Process this connection if Newsletter Signup is Please keep me updated with weekly newsletters.

Note: Need help setting up your conditional logic rule? Our beginner’s tutorial on using conditional logic in WPForms has all the details.
Save your form, and your conditional logic will be all set.
That’s it! You can now set up ActiveCampaign integration with any form on your site.
Next, would you like to generate more leads and drive more sales for your business? Be sure to check out our tutorial on creating popup forms with WPForms and OptinMonster to learn how.

