AI Summary
Would you like to restrict which email addresses can be used in your WordPress forms? With the built-in Allowlist and Denylist options in WPForms, you can create rules around which email addresses are allowed in your forms.
This tutorial will show you how to use the Allowlist and Denylist options for email restriction in WPForms.
In This Article
Before getting started, you’ll first need to make sure that WPForms is installed and activated on your WordPress site. Once you’ve installed WPForms, you’ll either need to create a new form or edit an existing one.
Choosing Between a Denylist or Allowlist
Once you’ve opened the form builder, be sure to add an Email field to it if you haven’t already. Then, click on the Email field in the builder’s preview area to open its Field Options panel.
This panel allows you to customize your field, including configuring your allowlist or denylist.
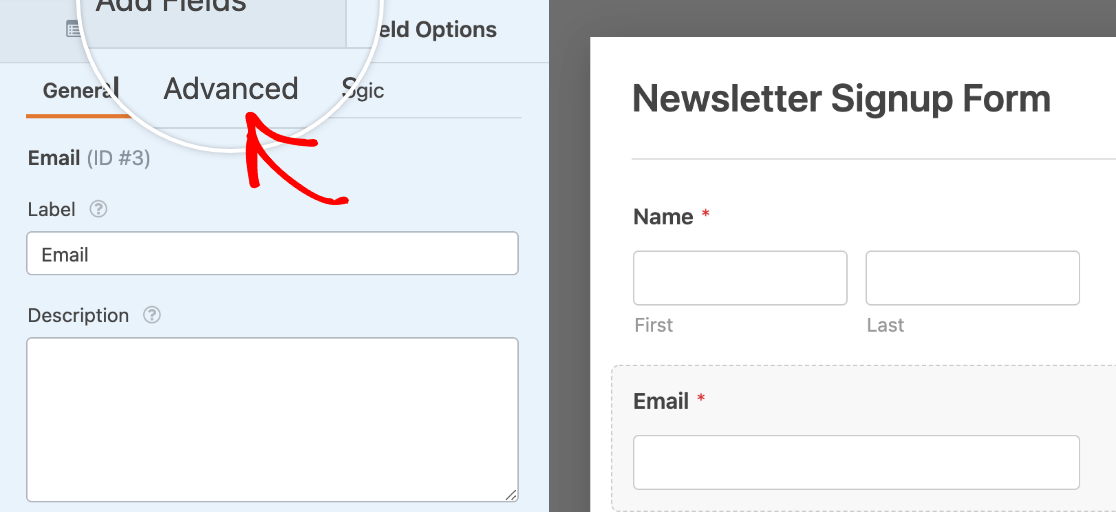
Within the Field Options panel, click on the Advanced tab to open up more configuration options.
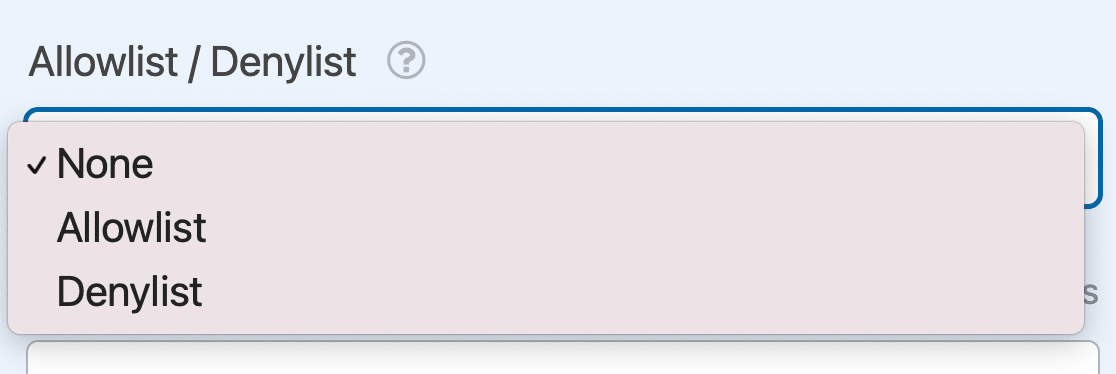
Here, you should see a dropdown labeled Allowlist / Denylist. From this dropdown, you’ll need to select the type of restriction you want to set up. The options include:
- None: No restrictions are placed on emails entered in this field (aside from standard email format requirements). This is the default setting.
- Allowlist: Choose this option if you’d like to set up rules around which email addresses are accepted in this field.
- Denylist: Choose this option if you’d like to set up rules around which email addresses are not allowed in this field.
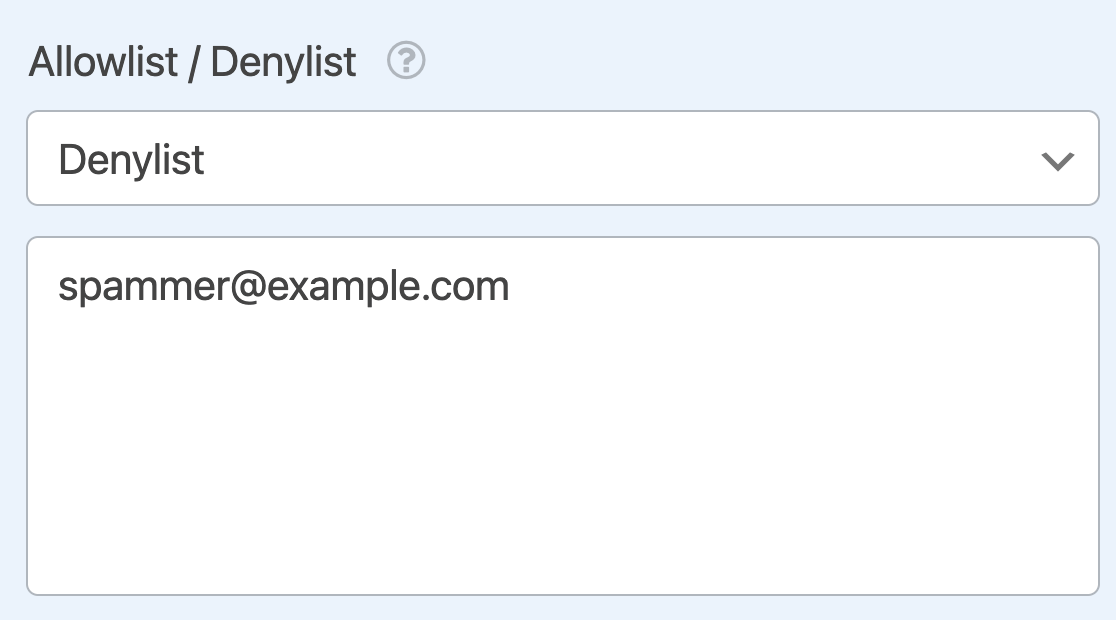
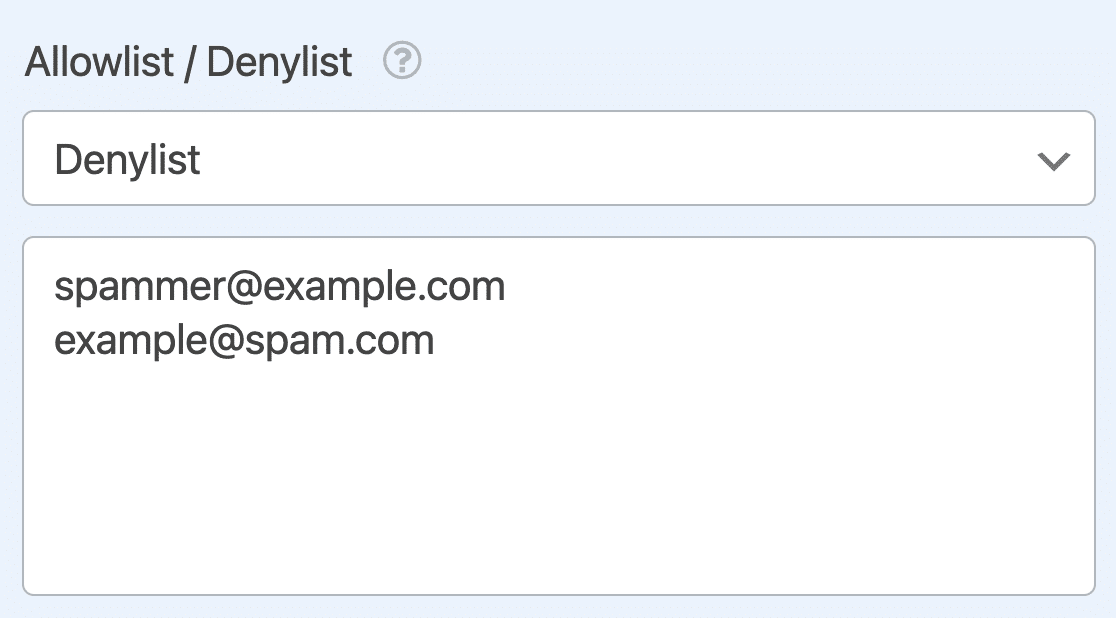
As an example, let’s say we’ve had a history of unwelcome submissions from the email address [email protected]. Since we want to prevent any other forms from being submitted with this email address, we’ll set Allowlist / Denylist to Denylist. This option will block specific email addresses from being used in the form.
Choosing either Denylist or Allowlist will cause a box to appear where you can enter your rules. We’ll go into more detail about these below.
Adding Email Denylist or Allowlist Rules
Now that you’ve selected which type of list you want to set up, you’ll need to add some rules. These “rules” are simply a list of emails you want to accept or deny.
Denying or Allowing Specific Email Addresses
In our denylist example, we want to prevent [email protected] from being used in form submissions. So, we’ll go ahead and enter that email address into the box under Allowlist / Denylist and save our form.
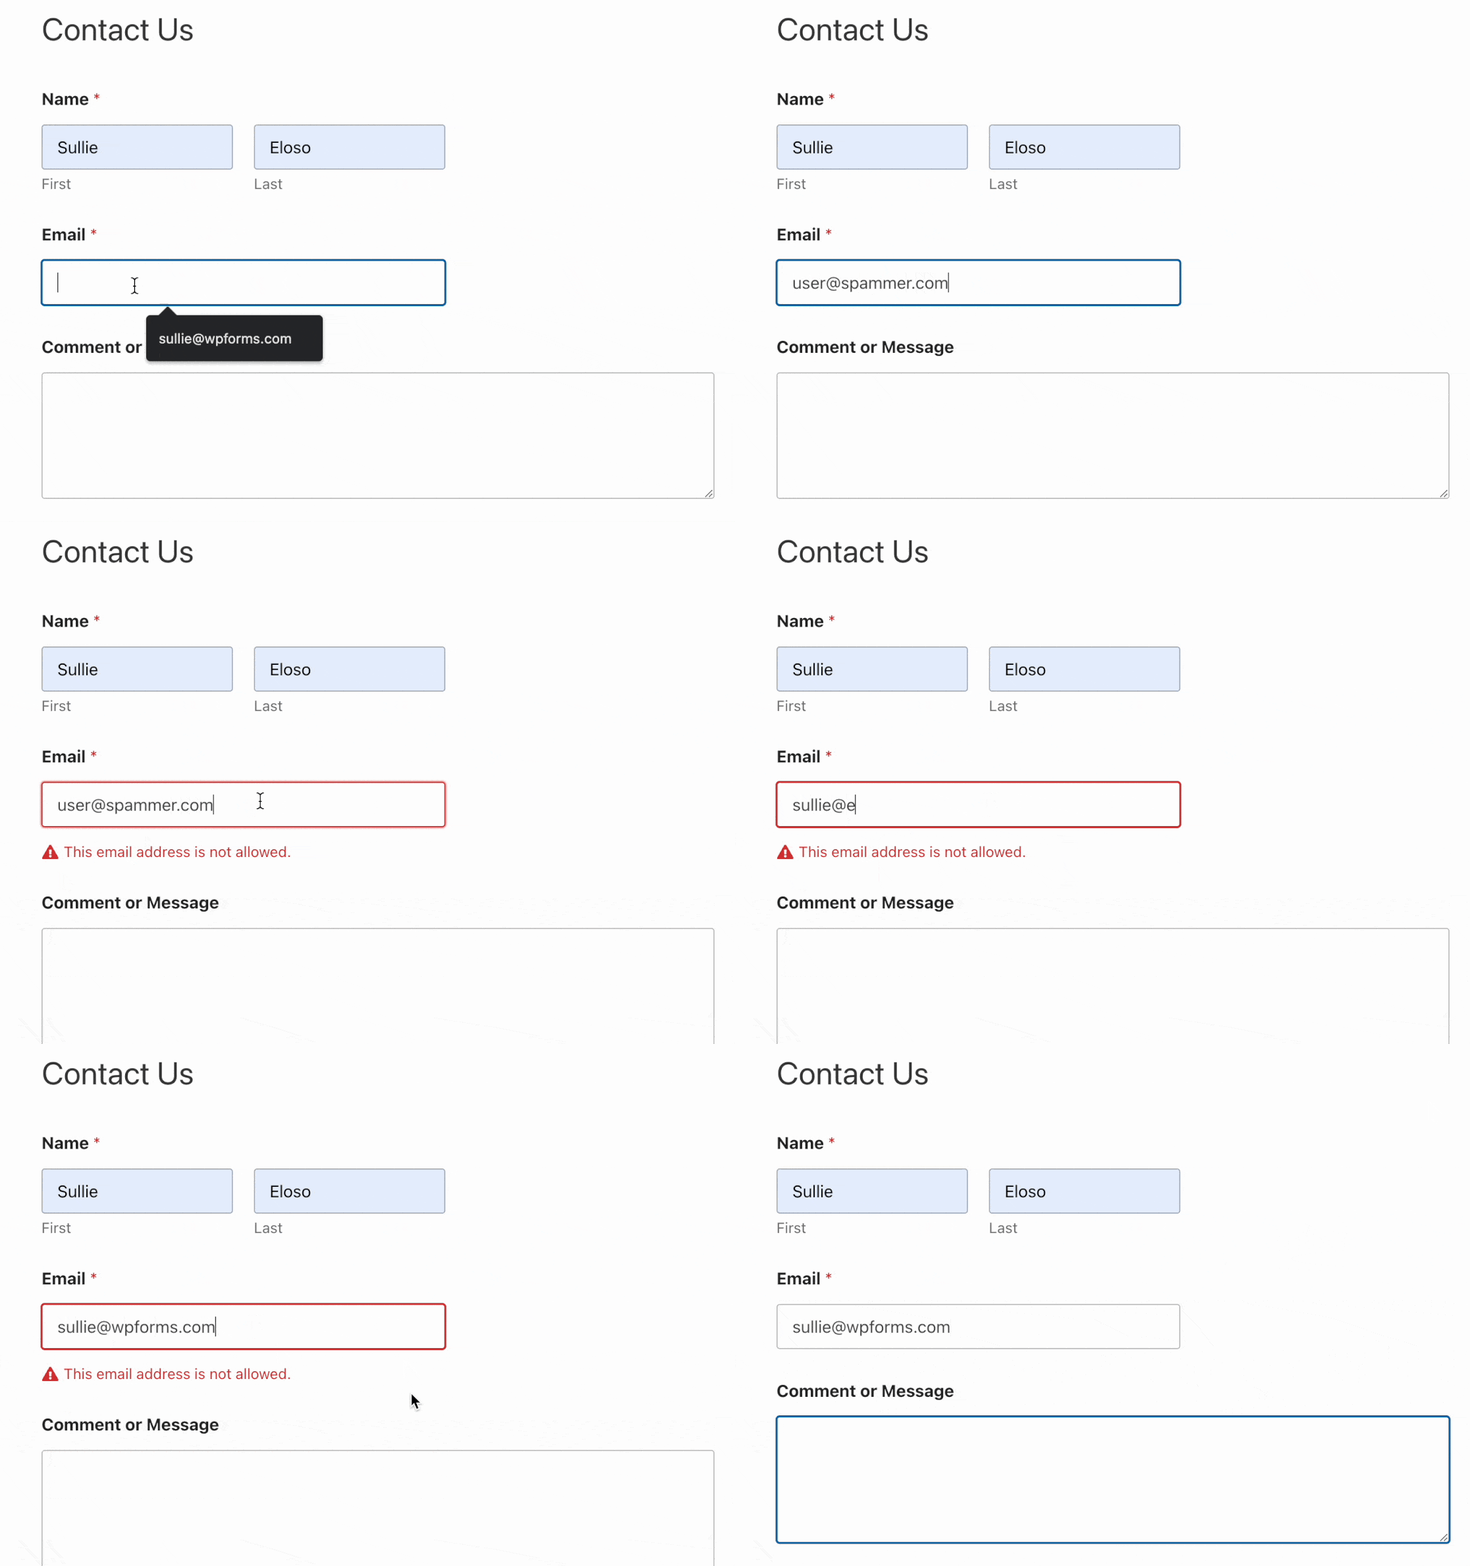
Once we save our changes, any attempt by a user to enter that email address in the form will result in a validation error stating, “This email address is not allowed.”

Note: If you’d like to edit the text for this error, please check out our tutorial on adjusting validation messages.
If you’d like to block more than one email address, enter each of them on their own line in the denylist in the Email field’s options.
Denying or Allowing Groups of Emails (More General Rules)
Denylists and allowlists can be more flexible than just specific email addresses. You can also use these options to create broader rules.
As an example, we’ll set up an allowlist that only accepts emails for our company’s wpforms.com domain. After setting the Allowlist / Denylist dropdown to Allowlist in the field options, we’ll enter *@wpforms.com into the rule box.
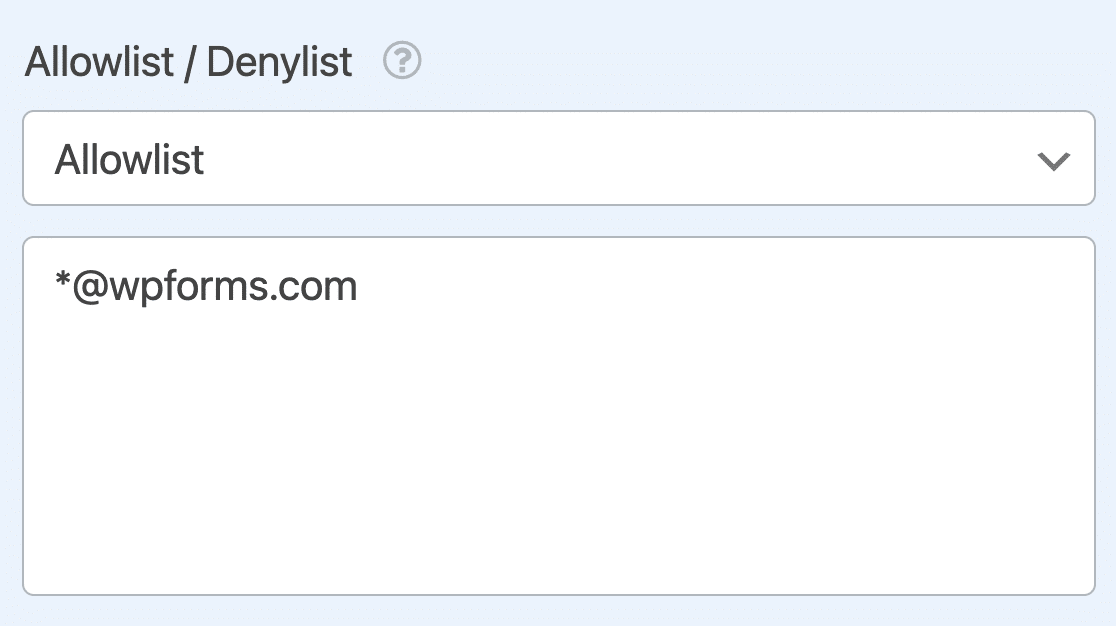
The asterisk (*) acts as a wildcard. This means that any email address will be accepted as long as it ends in @wpforms.com (e.g., [email protected], [email protected], etc.).
You can add a list of rules like this if you’d like, or you can add a mix of broader wildcard rules and specific email addresses. Just be sure to add each on its own line. Here’s a live preview showing how the Allowist/Denylist feature works in WPForms.
Note: You can add filters to allow or deny form entries from specific countries in the Spam Protection and Security settings. To learn more about this and keyword filtering, check our spam prevention guide.
Frequently Asked Questions
These are some of the top questions we receive about creating allowlists and denylists for email addresses in WPForms.
Can I prevent users from submitting an email based on its Top Level Domain (e.g., .com or .org)?
Absolutely! To allow or deny an email address based on the Top Level Domain (TLD), just add the wildcard symbol (*) followed by the domain type in your allowlist or denylist rules.
For example, if you wanted to block all email addresses ending in .com, you’d add *.com to your denylist rules.
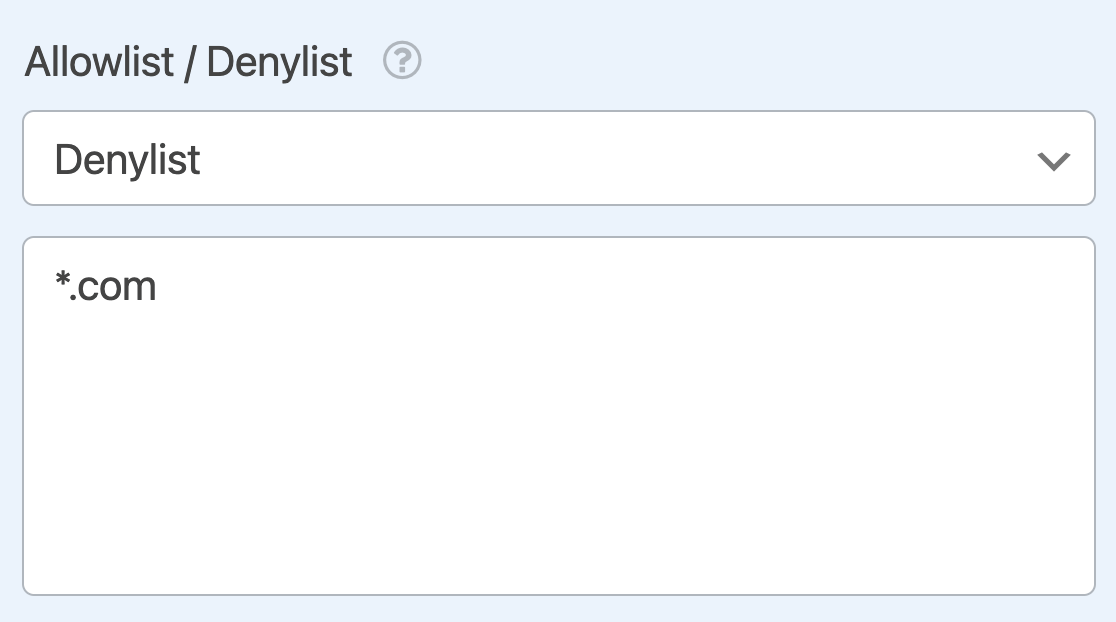
You can add as many rules to block emails from certain TLDs as you want, as long as they’re each on their own line in the field provided.
Can I allow or deny email addresses based on country-specific domains?
Yes, you can block or accept email addresses based on country-specific domains just like you can with TLDs.
Simply use the wildcard symbol followed by the country-specific domain in your rules, as in *.us or *.ca.
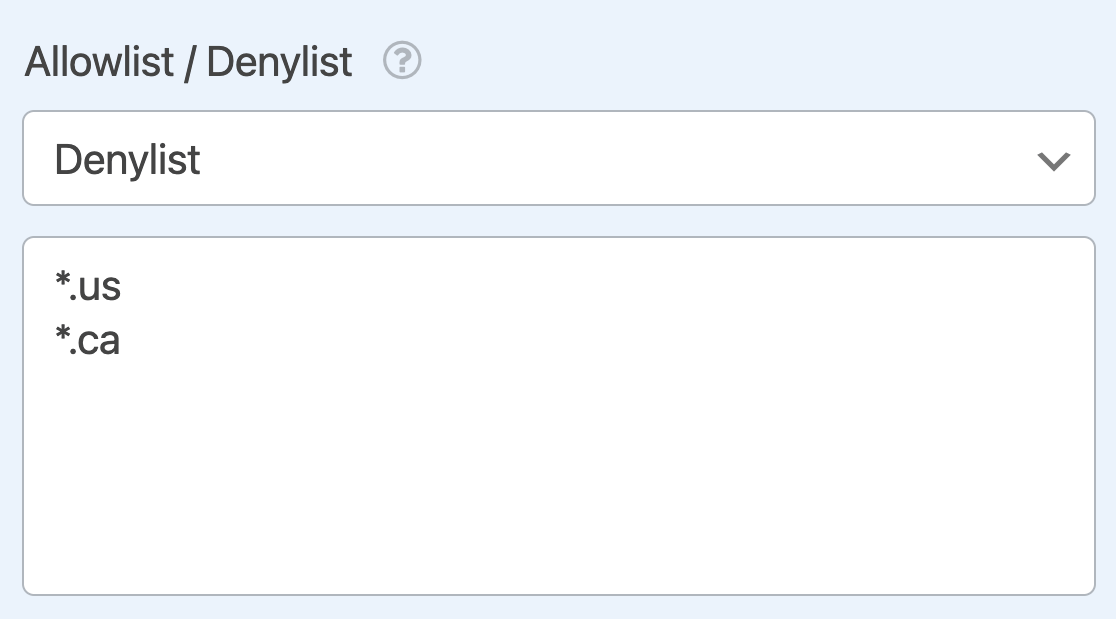
Again, you can add as many country-specific domain rules as you like, but they must each be on their own line.
As an alternative approach to blocking form submissions from specific countries, check out how to enable a country filter for your forms.
That’s it! You now know how to create allowlists and denylists for email addresses in your WordPress forms.
Next, would you like to prevent users from submitting multiple entries? Be sure to check out our tutorial on how to use the Form Locker addon for more details.
