AI Summary
Would you like to add a date and time stamp to your WordPress forms? Keeping track of when entries are submitted can help you get a better understanding of when your forms are most active.
This tutorial will show you how to add a date and time stamp in WPForms.
In This Article

Checking Built-In Date and Time Stamps
There are several built-in ways that WPForms keeps track of when entries are submitted: within your Entries Overview page, within each of your individual entries, and through exporting entries. We’ll go over each of these options below:
Entries Overview
By default, every entry in your Entries Overview will save the date and time it was submitted.
To view this information, first navigate to WPForms » Entries. Then, click on the name of the form you’d like to view entry data for.
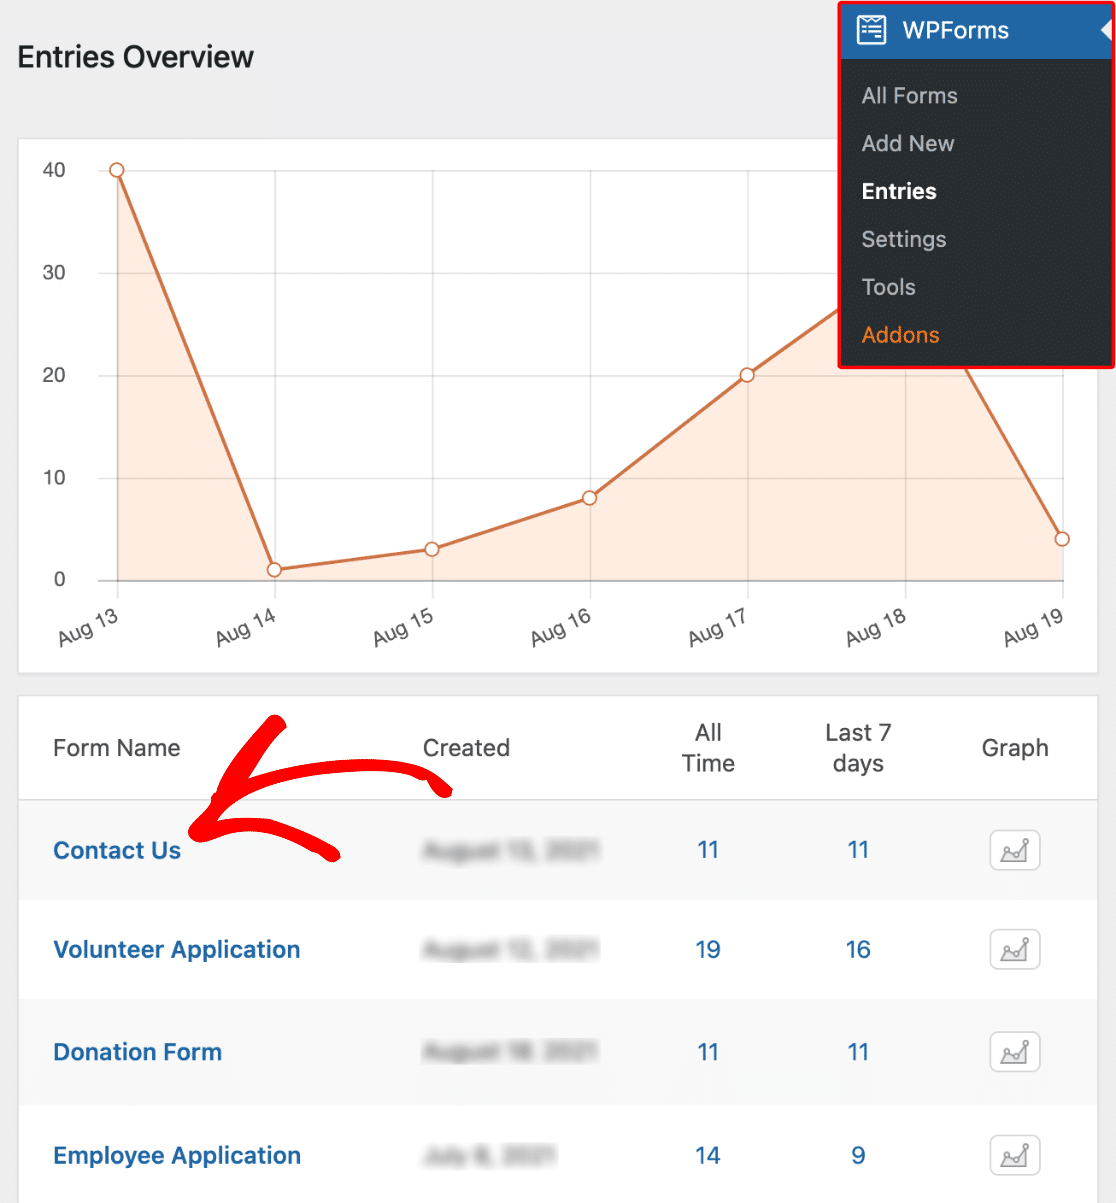
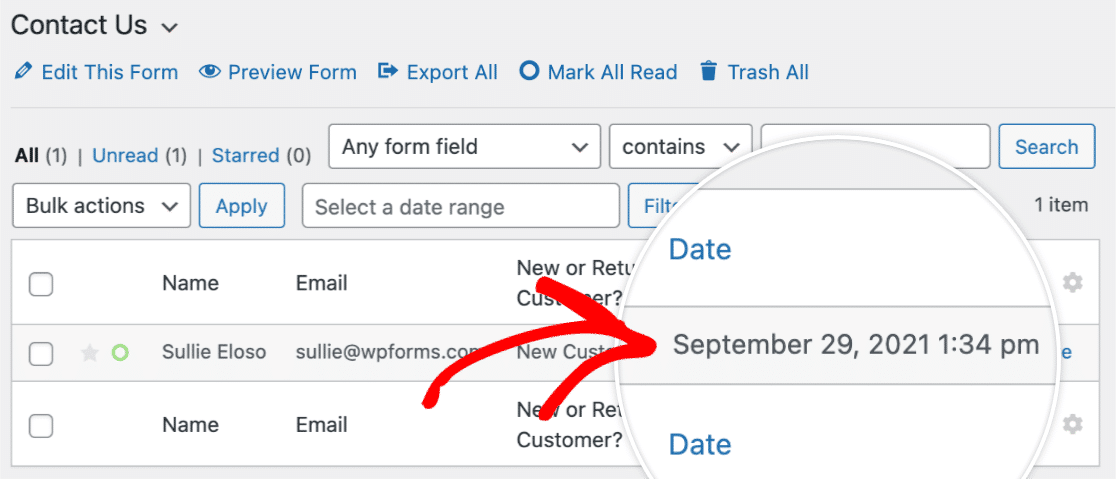
Once you’ve opened this up, you’ll be able to see the submission date and time for every submission.
Individual Entries
By default, each individual entry will store the date and time that it was submitted.
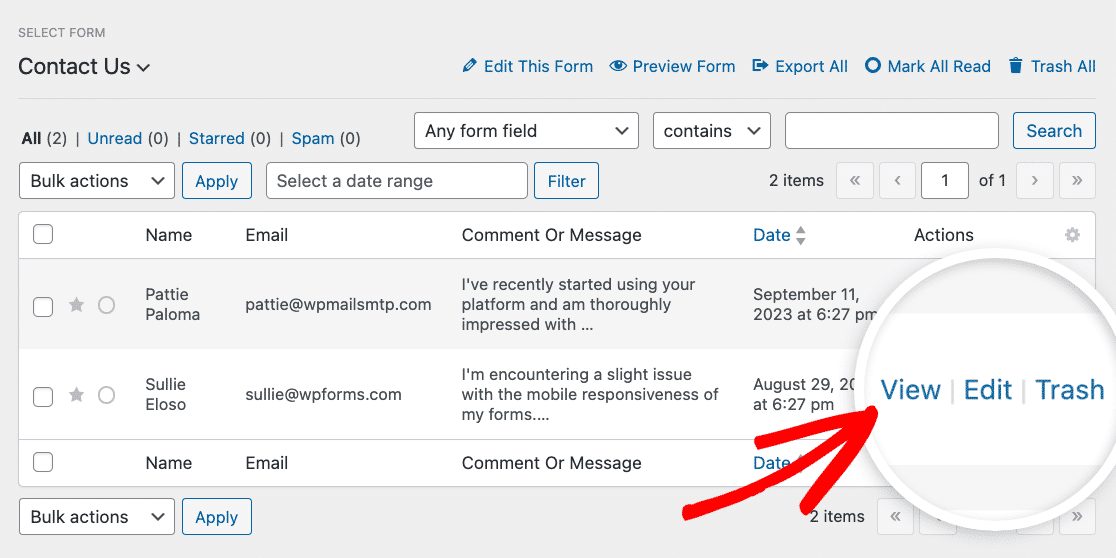
You can view the data for an individual entry by clicking the View button from the entry overview.
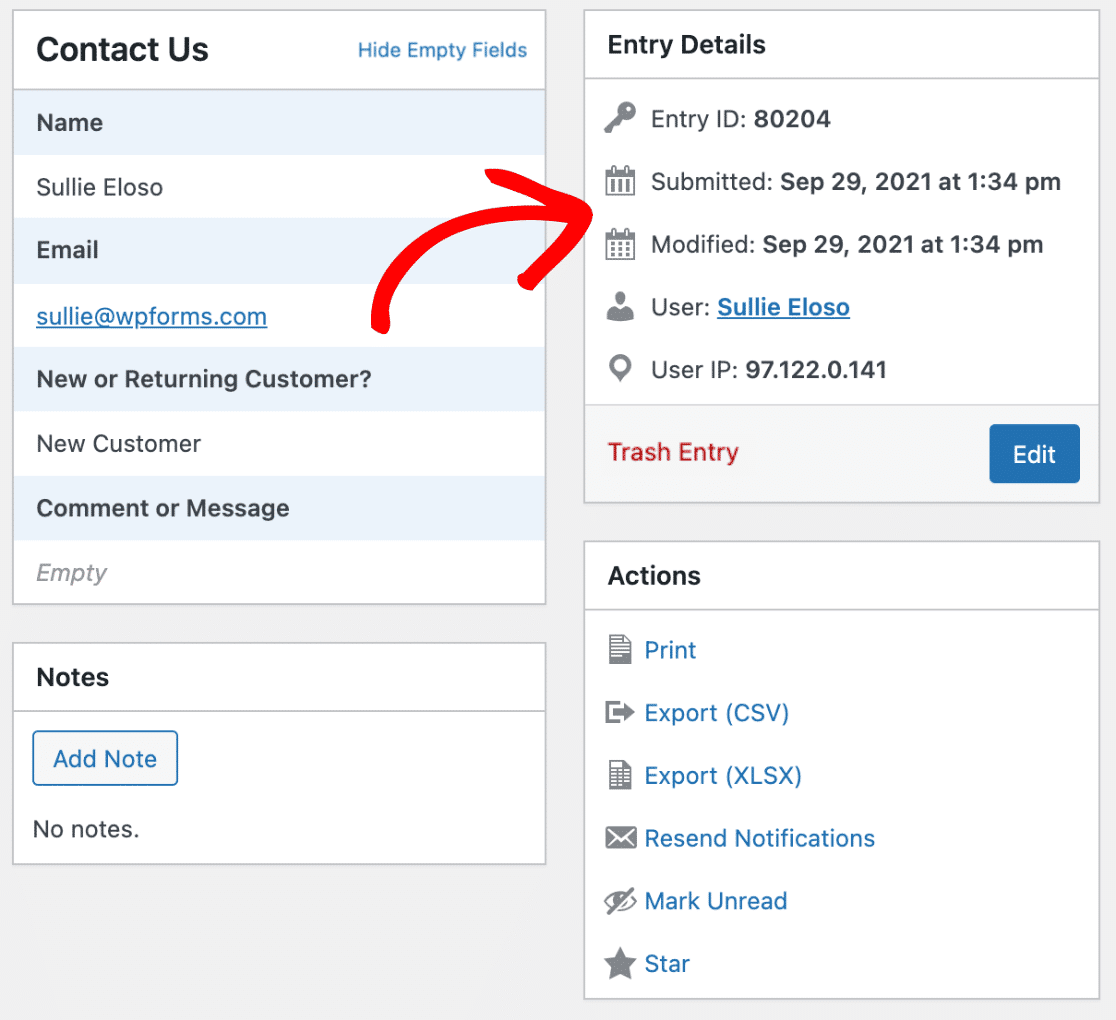
From there, you can view a submission’s date and time data in the Entry Details box.
Exporting Entries
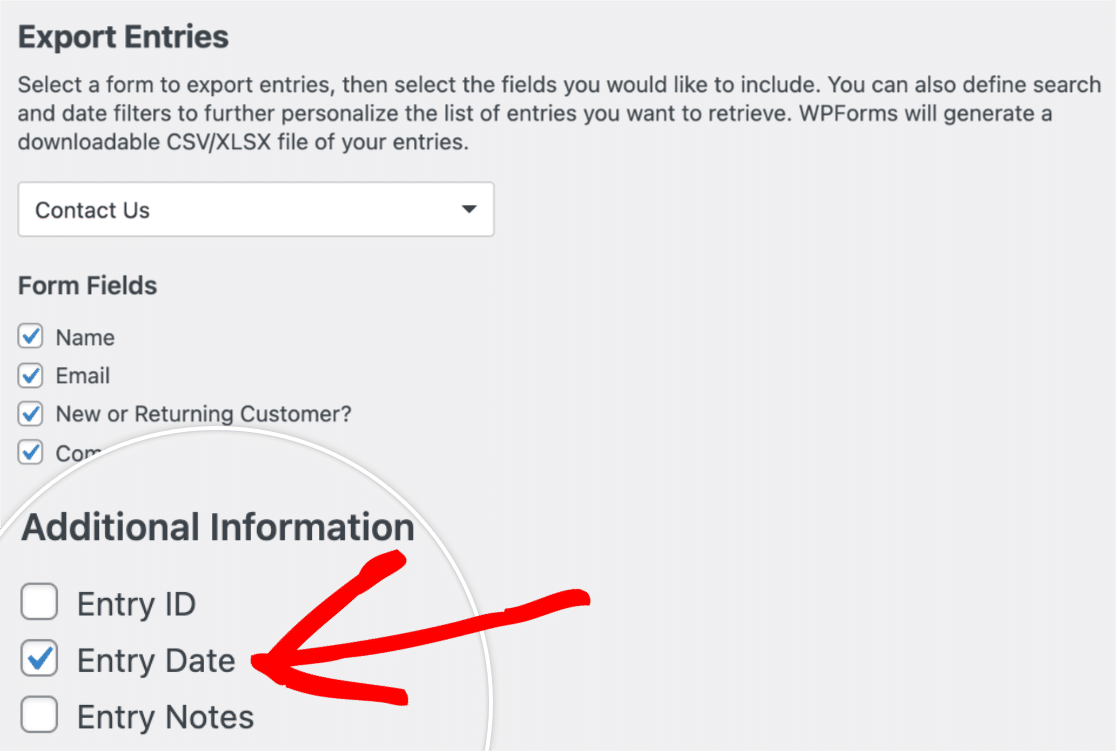
You can also include a date stamp when exporting your entries.
After selecting which form’s entries you’d like to export, you can add entry date information under the Additional Information section.
Adding Additional Date and Time Stamps
You can add additional date and time stamps through the use of a Hidden Field, or by configuring the form notification settings. We’ll go over each of these options below:
Hidden Field
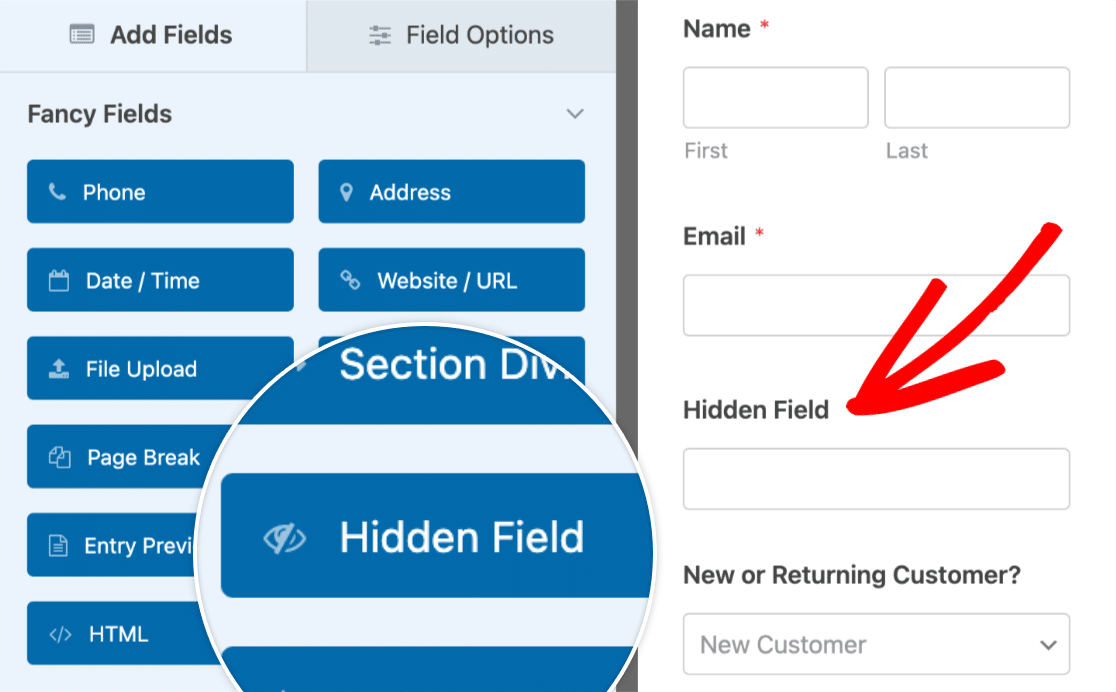
Using a Hidden Field is a quick and easy way to capture the date an entry was submitted. To do this, you’ll first need to add a Hidden Field to your form. Then, click on the field to open up its settings.
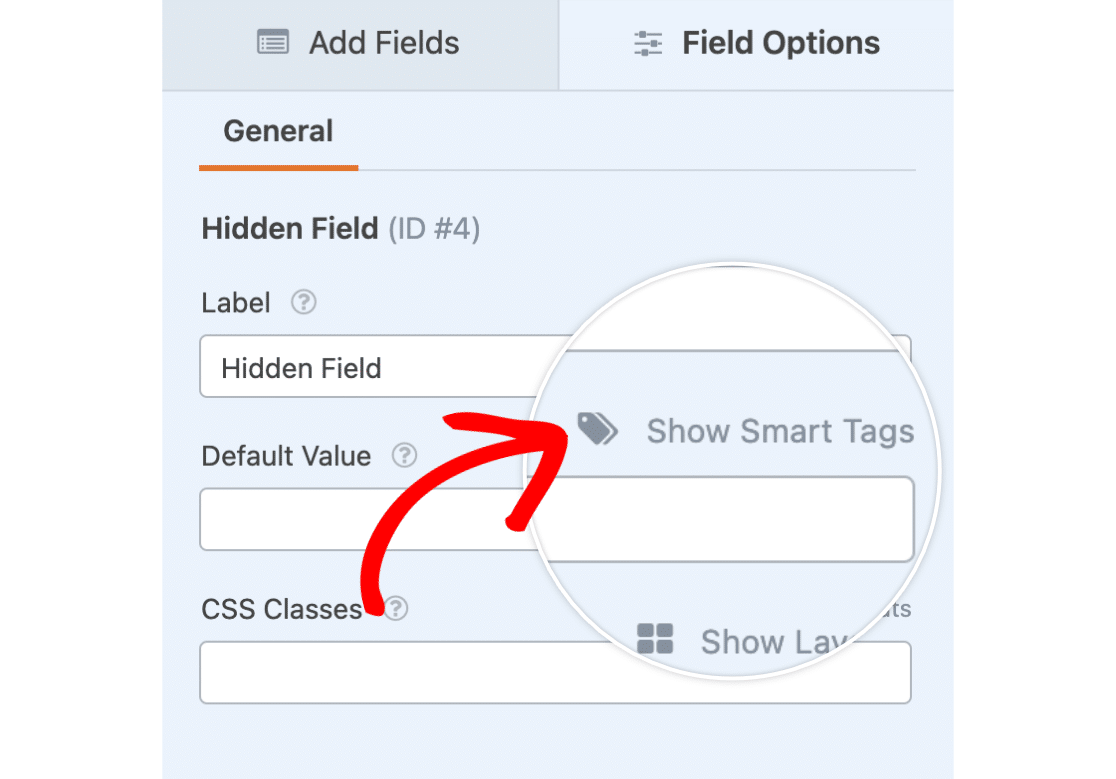
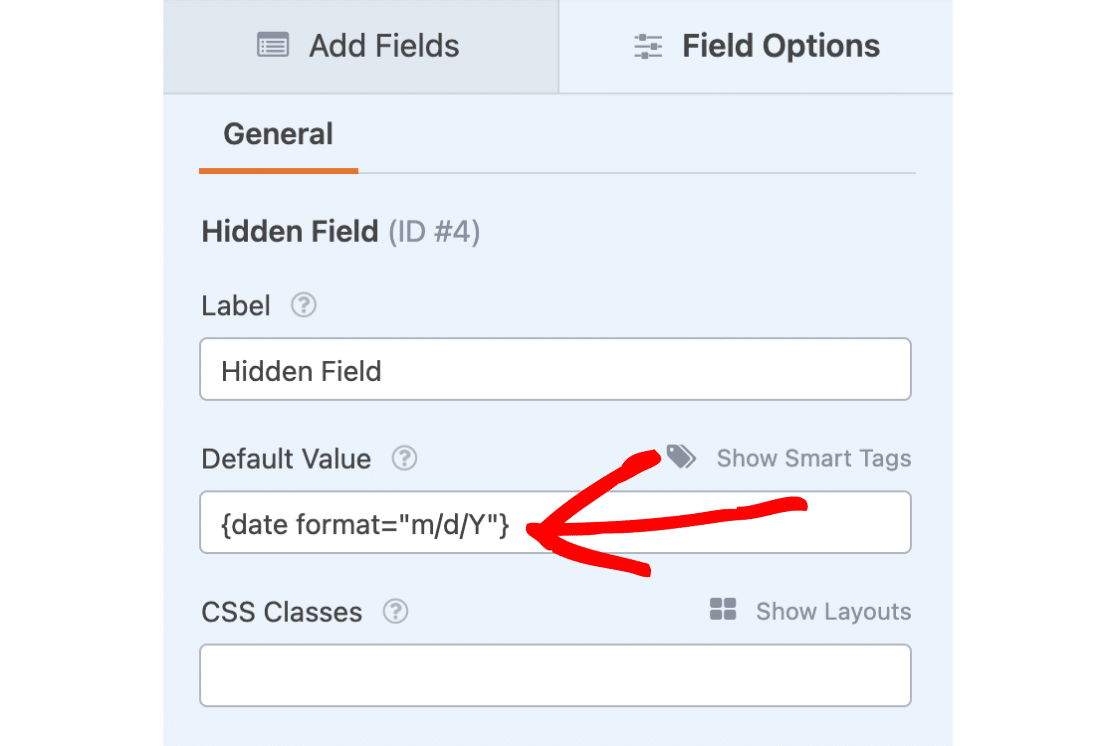
Then, next to the Default Value field, click on Show Smart Tags.
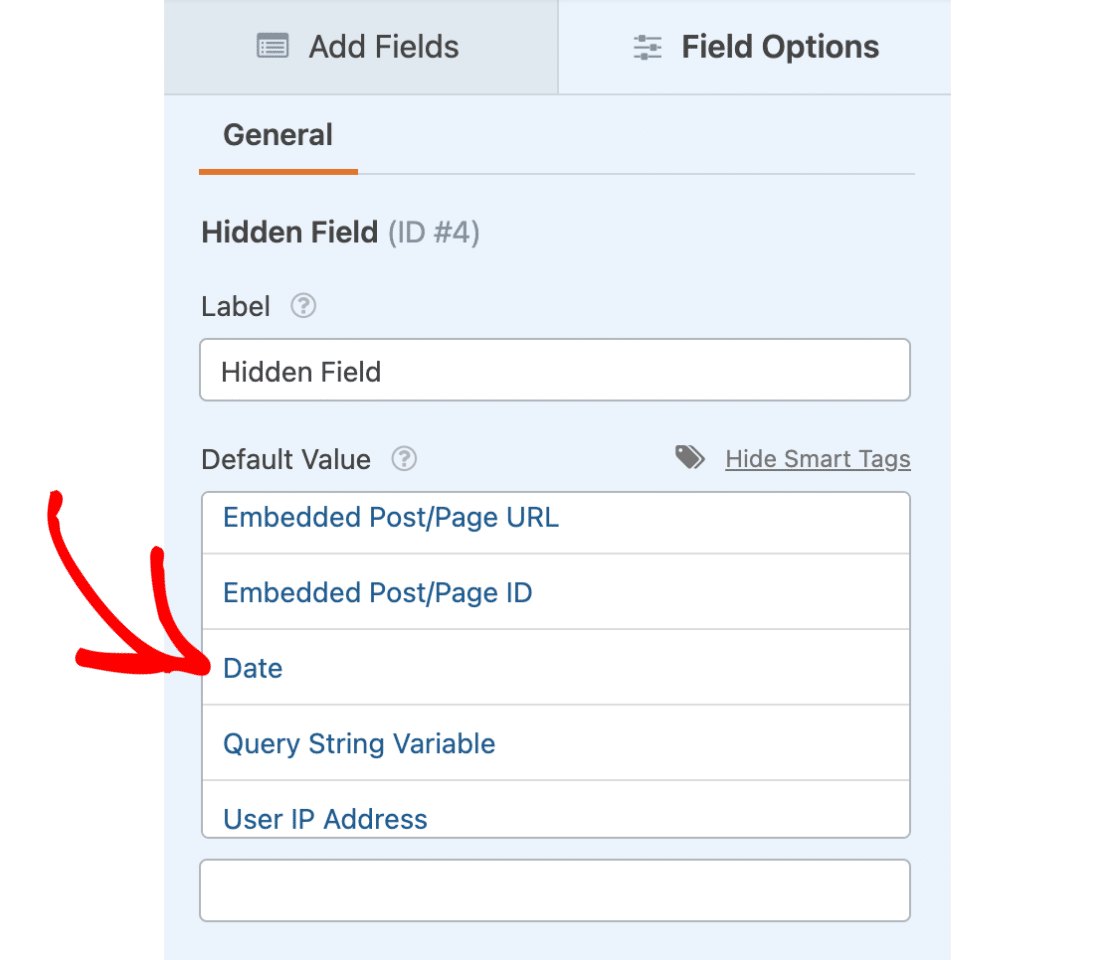
This will open up a list of possible Smart Tags you can add to this field. Select the Date Smart Tag to add it to your Hidden Field.
The Date Smart Tag will now appear in the Default Value field in the following format: {date format="m/d/Y"}.
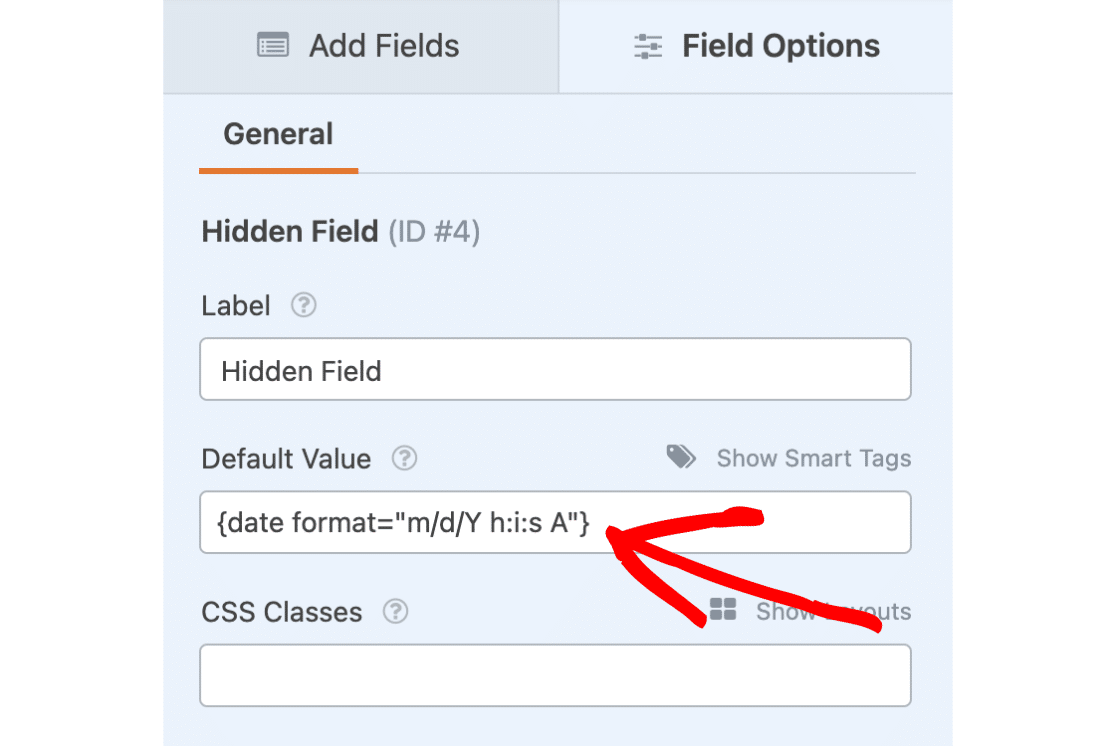
If you’d like to also include a time stamp, you can change the {date format="m/d/Y"} Smart Tag to the following format: {date format="m/d/Y h:i:s A"}.
Note: If you’d like to use alternative PHP parameters, refer to our developer guide on using PHP date and time formats in WPForms.
Once you’ve added this, you can view the submission date and time information in your entries area. This information is also included in your email notifications by default.
Note: If you were already using the form on your site before adding the Hidden Field, only future entries will include date information in the Hidden Field.
Notification Settings
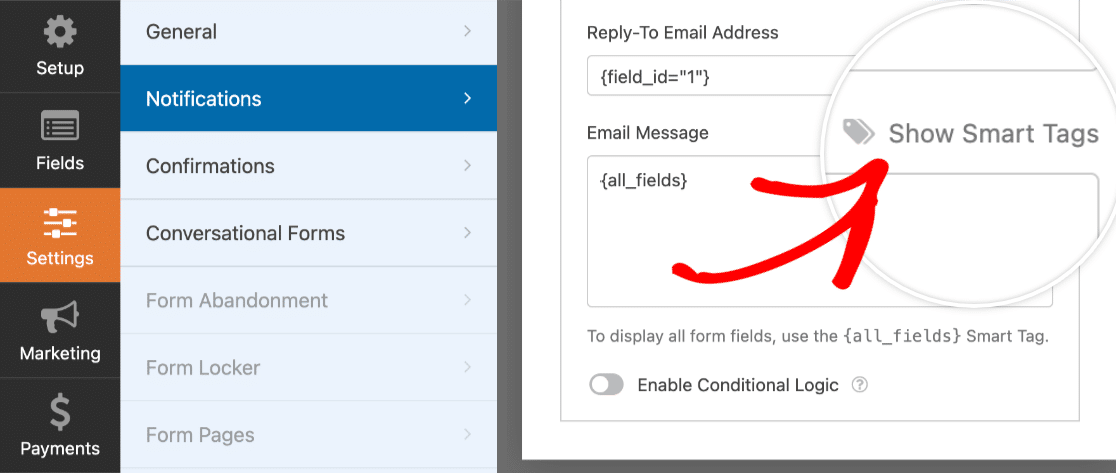
You can also add a date stamp directly into your email notifications. To set this up, click on the Show Smart Tags option above the message body.
Then, click the Date Smart Tag to add it to your email notification.
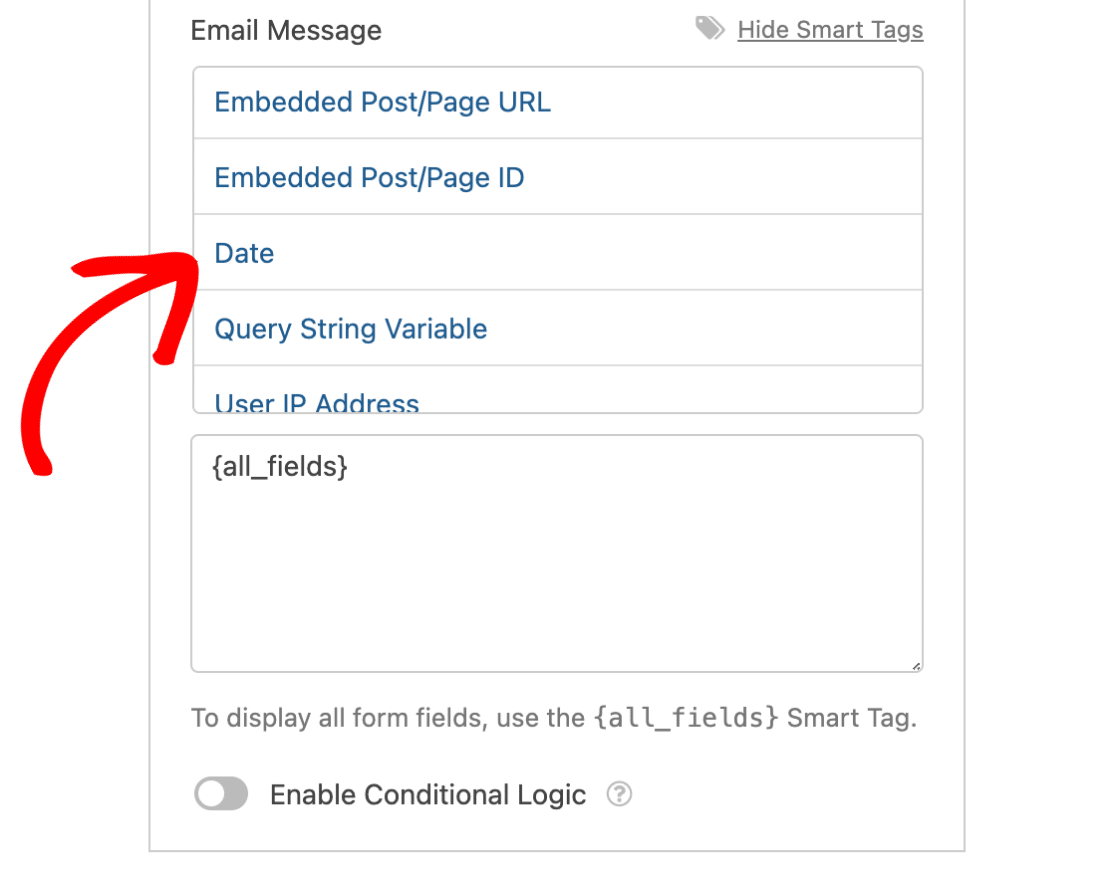
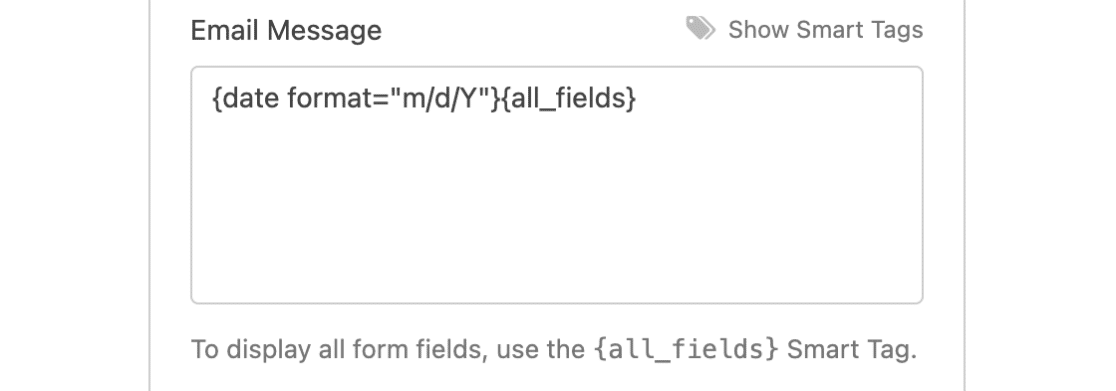
Once you’ve added it to the email notification, you’ll see the {date format="m/d/Y"} Smart Tag next to {all_fields}.
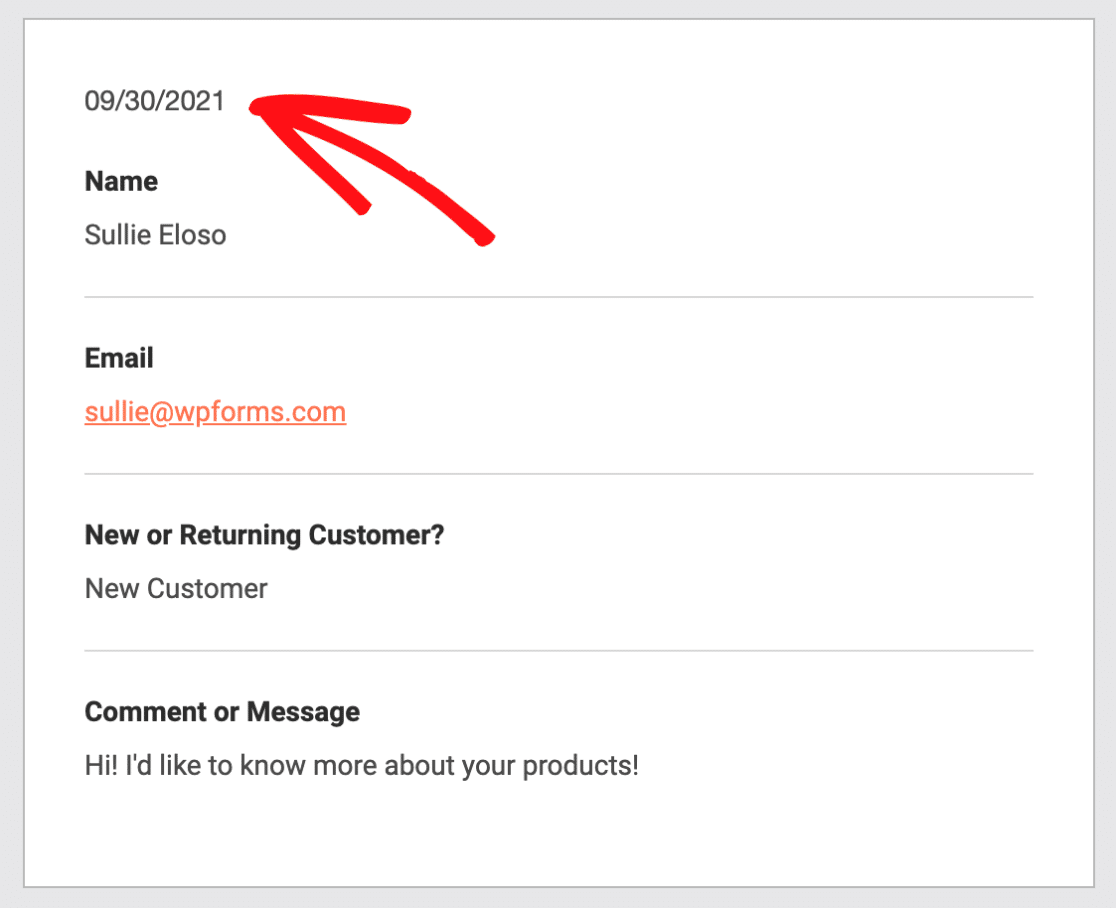
Here’s an example of how your email notification might look with the Date Smart Tag added:
That’s it! We hope this helped to familiarize you with some of the ways to add a date and time stamp to WPForms.
Next, would you like to export your forms from your current site and import them to another? Be sure to check out our guide on importing and exporting your WordPress forms.