AI Summary
Would you like to automatically create Google Calendar events from your WordPress form submissions? The WPForms Google Calendar addon makes it simple to send event details from your forms directly to your Google account without needing any third-party connectors.
In this guide, we’ll show you how to install and set up the Google Calendar addon with WPForms.
Requirements:
- You will need a Pro license level or higher to access the Google Calendar addon
- Ensure that you’ve installed WPForms version 1.9.7 or higher to meet the minimum required version for the Google Calendar addon.
Before you get started, be sure WPForms is installed and activated on your WordPress site, and that you’ve verified your license. Then, go ahead and install and activate the Google Calendar addon.
Connecting WPForms to Google Calendar
After installing the Google Calendar addon, you’ll need to connect WPForms to your Google account.
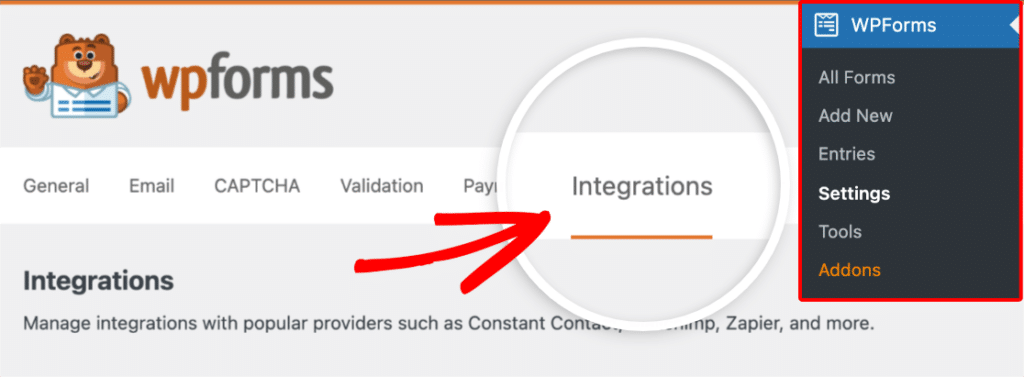
From the WordPress dashboard, go to WPForms » Settings and click on the Integrations tab.
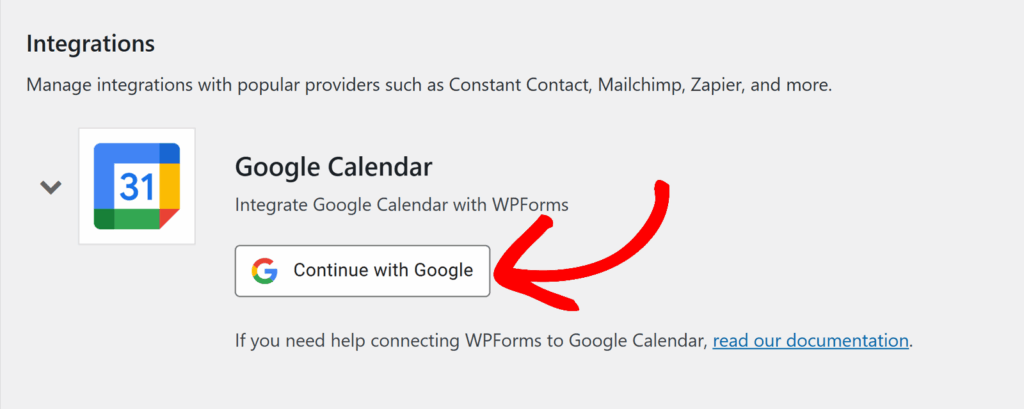
Next, click on the Google Calendar integration to expand its settings and click the Continue with Google button to connect WPForms to your Google account.
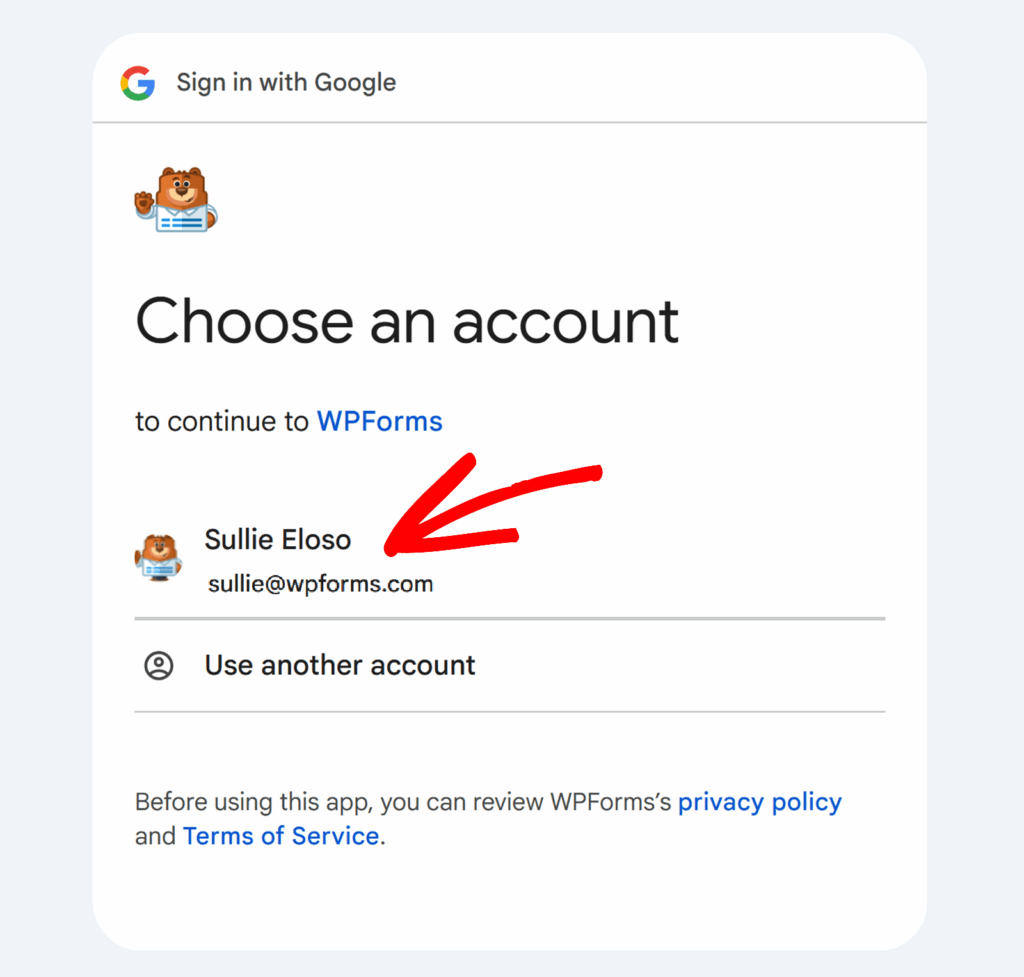
You’ll then be redirected to a Google authentication page where you’ll need to select a Google account to use with WPForms.
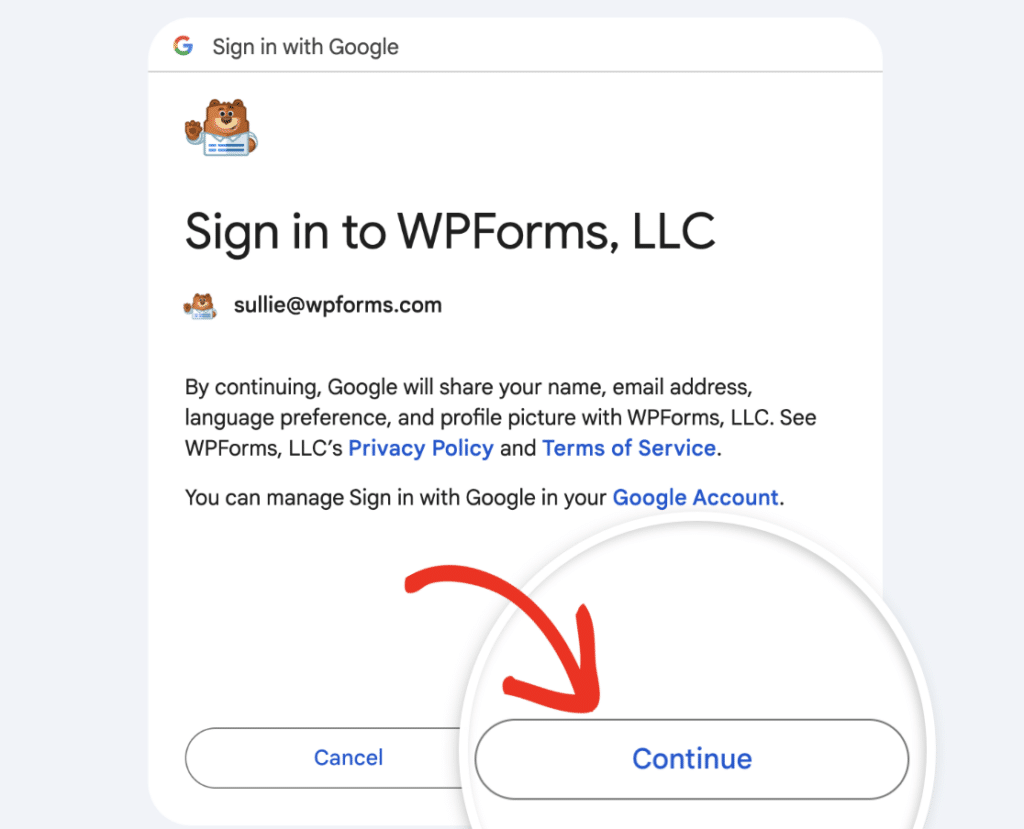
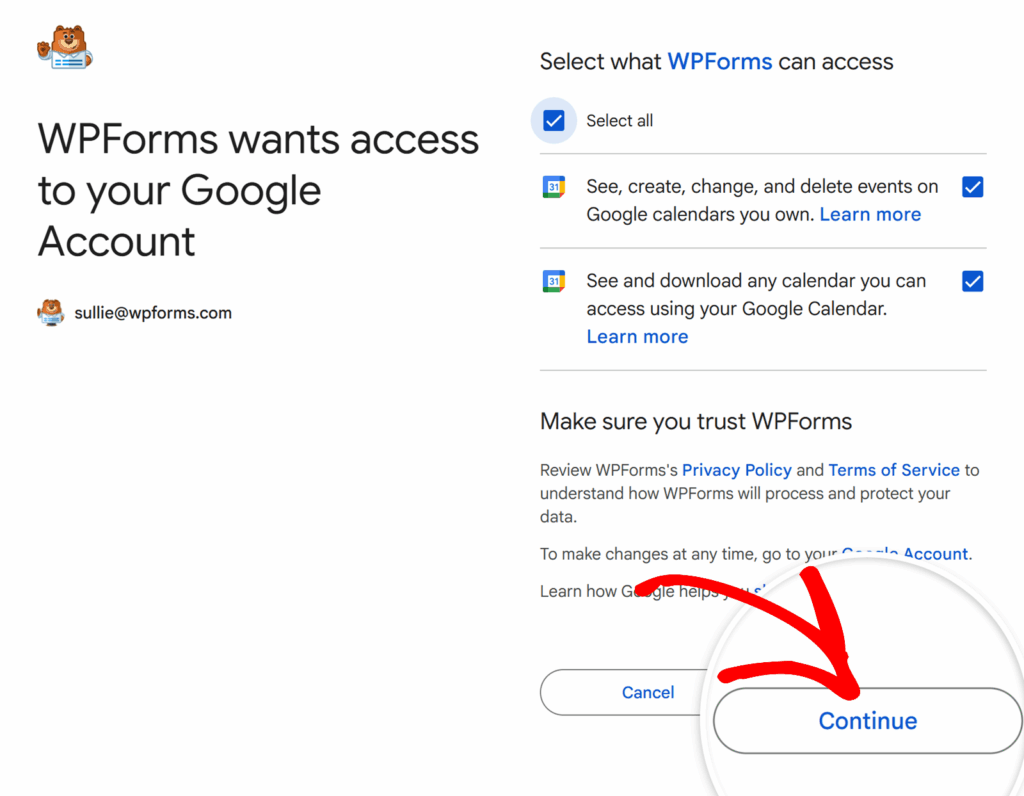
Once you’ve selected a Google account, click the Continue button to sign in and connect your account.
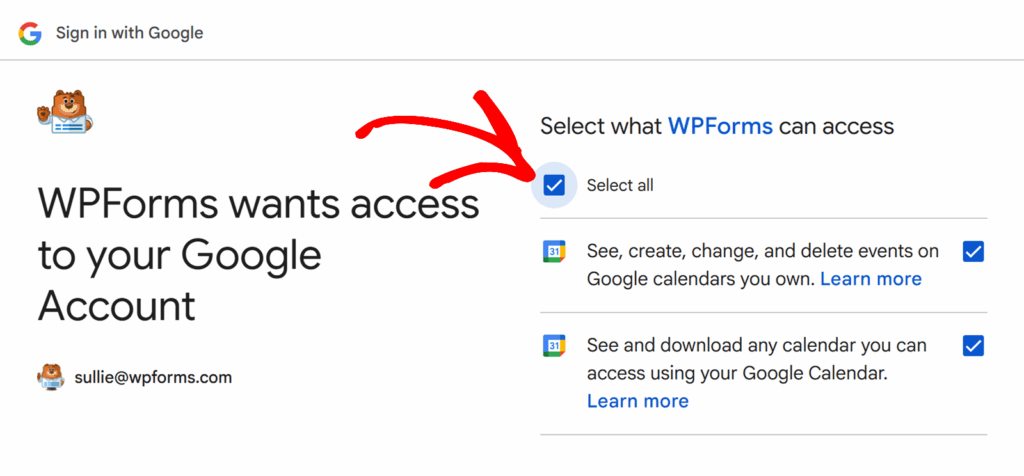
After signing in, you’ll see a screen where WPForms is requesting access to your Google Calendar account.
On this screen, check the box next to Select all.
Then, click the Continue button to grant access.
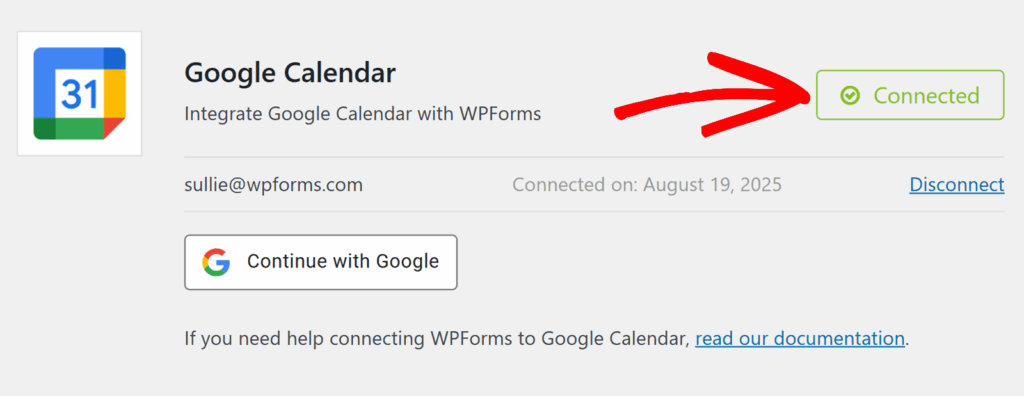
Once access is granted, you’ll be redirected back to WPForms » Settings » Integrations, where you should see a green Connected status next to your Google Calendar account.
Adding a Google Calendar Integration to Your Form
Once your Google Calendar account is connected, you can link it to a form.
To get started, create a new form or edit an existing one to open the form builder.
Once you’ve accessed the form builder, go to Settings » Google Calendar and click the Add New Connection button.
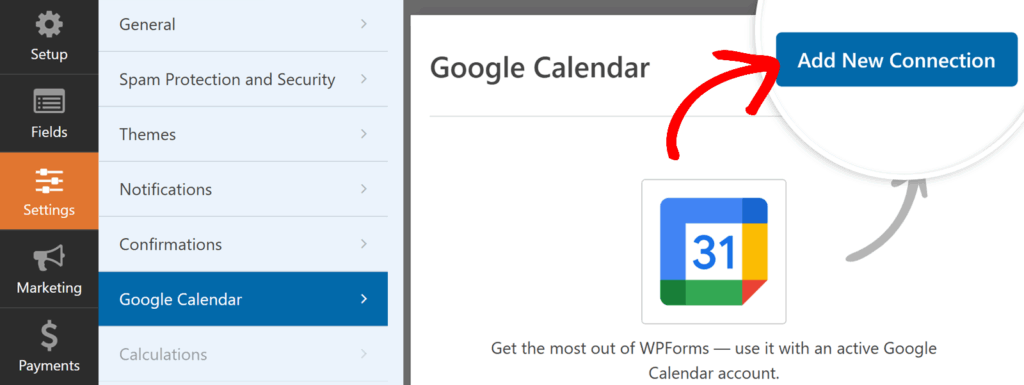
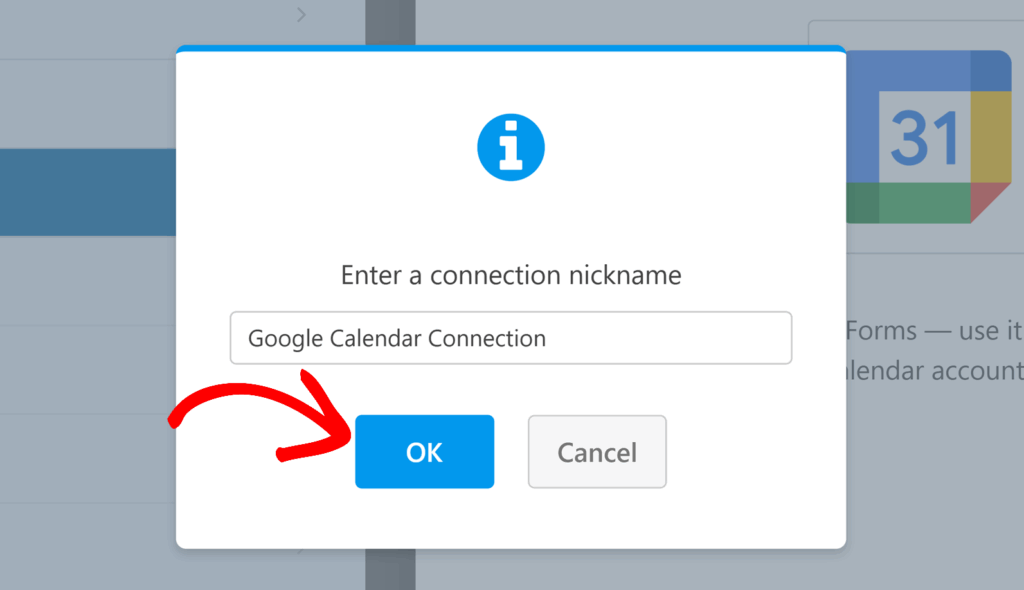
A popup will appear asking you to enter a connection nickname. This is for your internal reference only and won’t be visible to users. After entering the nickname, click OK.
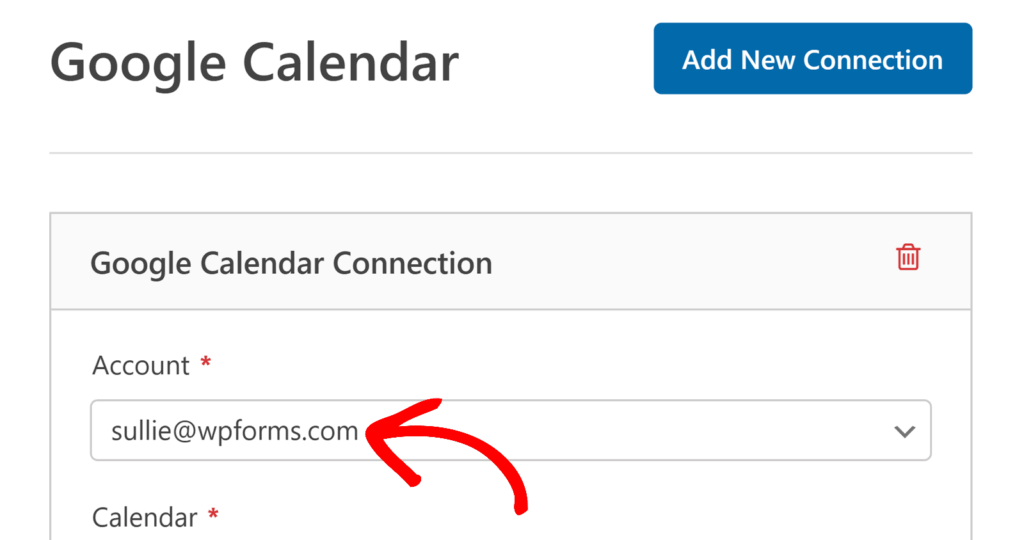
Next, you’ll see an Account dropdown. Select the Google Calendar account you want to use for this connection. If you’ve connected multiple Google accounts, they will all be listed here.
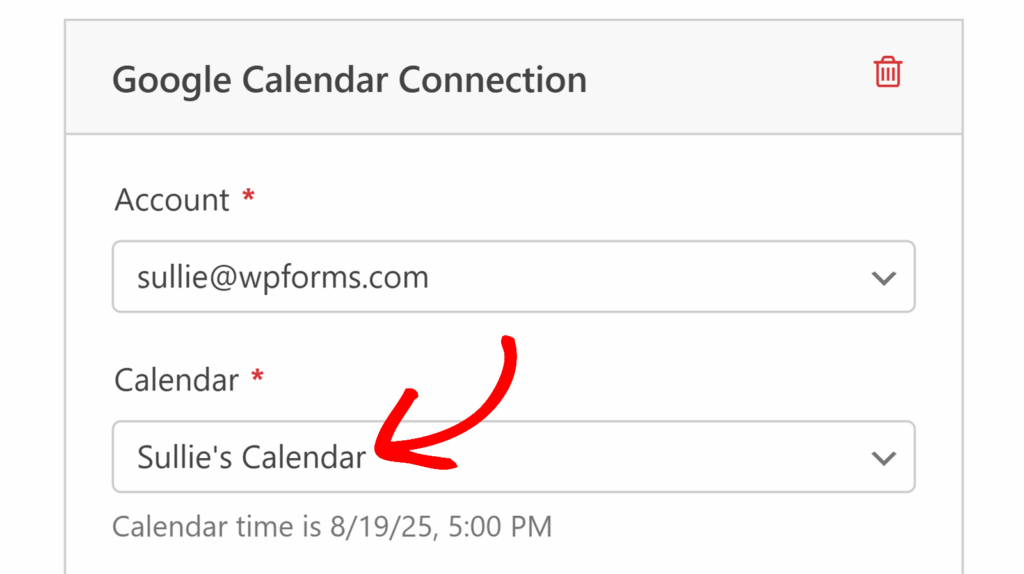
Once the account is selected, the Calendar dropdown will appear. Use this to choose the specific Google Calendar where events will be created.
After you’ve chosen both the account and the calendar, additional settings will appear for mapping your event details.
Configuring Event Details
Now that your account and calendar are selected, additional settings will appear for mapping your event details. We’ll go over each option below so you can set them up exactly how you need.
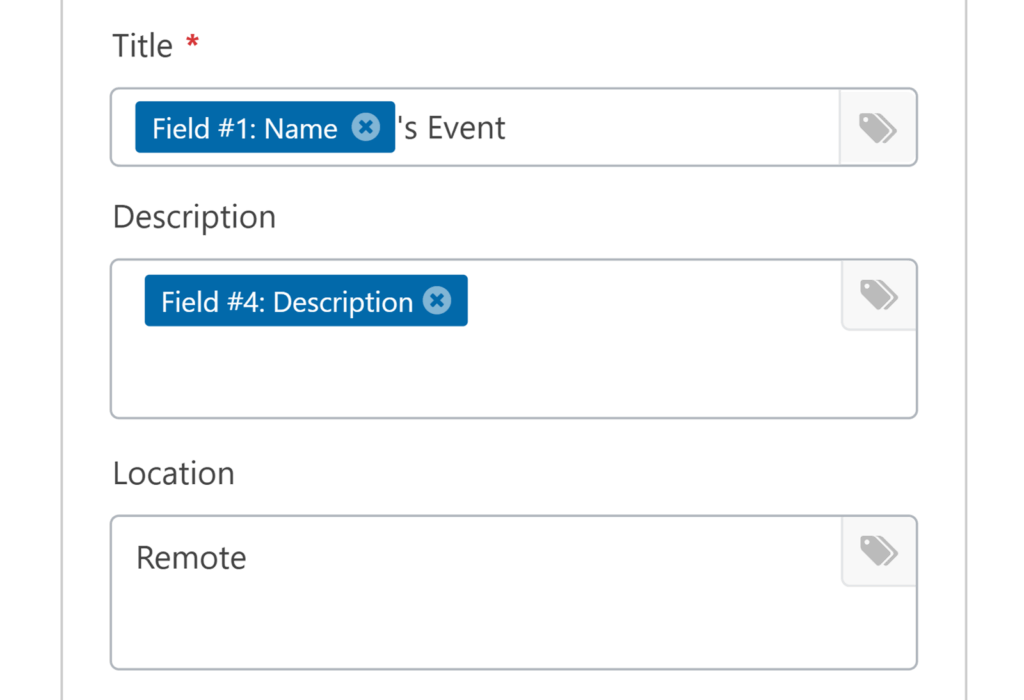
Title
Enter the title for the event. You can type it directly or use smart tags to pull information from form fields. Click the smart tag icon in the field to add a tag, such as the submitter’s name or a custom value.
Description
Add more details about the event. This can also use smart tags to include content from form fields, such as a Paragraph Text field for notes or instructions.
Location
Specify where the event will take place. This could be a physical address or a note like “Remote”. Smart tags are supported here as well.
Guests
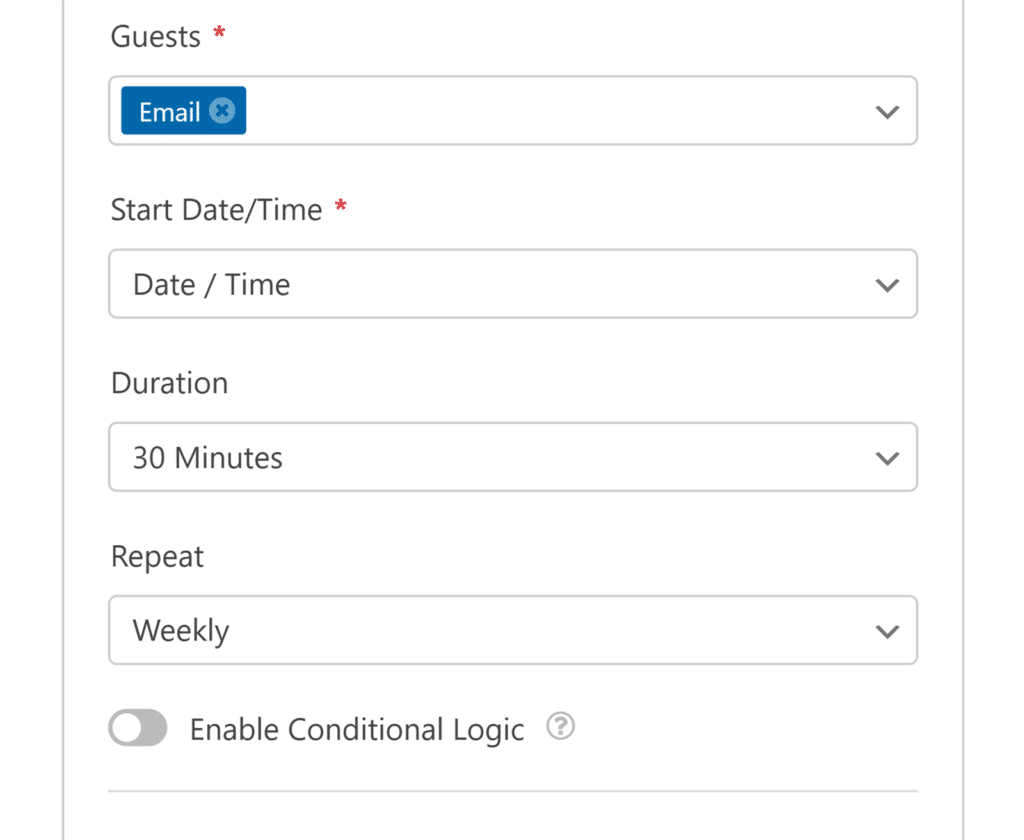
Select an Email field from your form to invite guests automatically. If your form has multiple Email fields, all will appear in this dropdown.
Start Date/Time
Map this to a Date/Time field from your form so Google Calendar knows when to schedule the event.
Duration
Choose how long the event will last, from 15 minutes up to 12 hours. If you select User Defined, the form submitter can set their own end time. This option requires mapping a second Date/Time field for the event’s end time.
Repeat
If you want the event to recur, choose a repeat option such as daily, every weekday, weekly, or monthly.
Setting Permissions
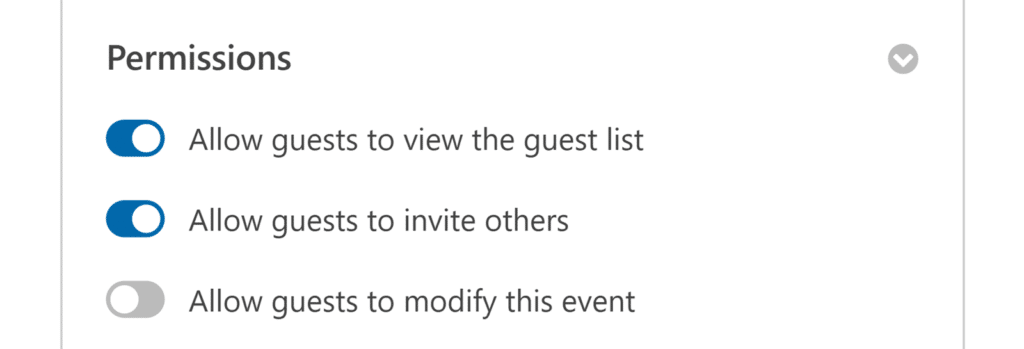
In the Permissions section, you can control what your invited guests are allowed to do with the event. Here are the available permission options:
- Allow guests to view the guest list: Lets guests see the names and details of other attendees.
- Allow guests to invite others: Gives guests permission to send invitations to additional people.
- Allow guests to modify this event: Allows guests to change event details. Enabling this option will automatically turn on the first two permissions, as they are required for guests to make modifications.
Finally, be sure to save any changes and test your form before displaying it on your site.
Setting Up Conditional Logic (Optional)
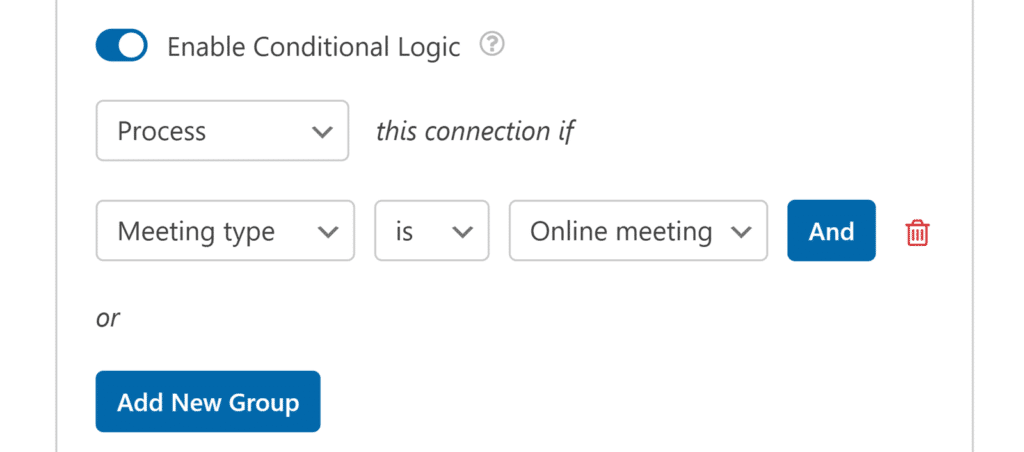
Conditional logic allows you to control when the Google Calendar integration runs based on users’ form selections. For example, you might only want to create an event if a user selects a specific event type from a dropdown or checks a certain box to confirm their attendance.
To use conditional logic with the Google Calendar addon, turn on the Enable Conditional Logic option and create your conditional logic rule.
That’s it! You now know how to connect WPForms to Google Calendar and automatically create events from your form entries.
Next, you might want to learn how to customize the Date/Time field to give your users more control over scheduling.
