AI Summary
Want to learn about the different ways to showcase the forms you’ve created on your WordPress site? WPForms can easily be integrated into any aspect of your website.
This tutorial will show you different ways to display forms created with WPForms on a WordPress site.
In This Article
Note: The steps below are for WordPress version 5 or newer. If you are using an older version of WordPress, please see our tutorial on working with forms in the WordPress Classic Editor.

Before getting started, make sure WPForms is installed and activated on your WordPress site and that you’ve verified your license.
This tutorial will focus on how to display forms on your site within a page or a widget.
Embedding Your Form on a WordPress Page
There are two different ways to embed your forms on a WordPress page. You can use the built-in embed wizard in the form builder or add your form to a page manually with the block editor.
Embedding a Form with the WPForms Embed Wizard
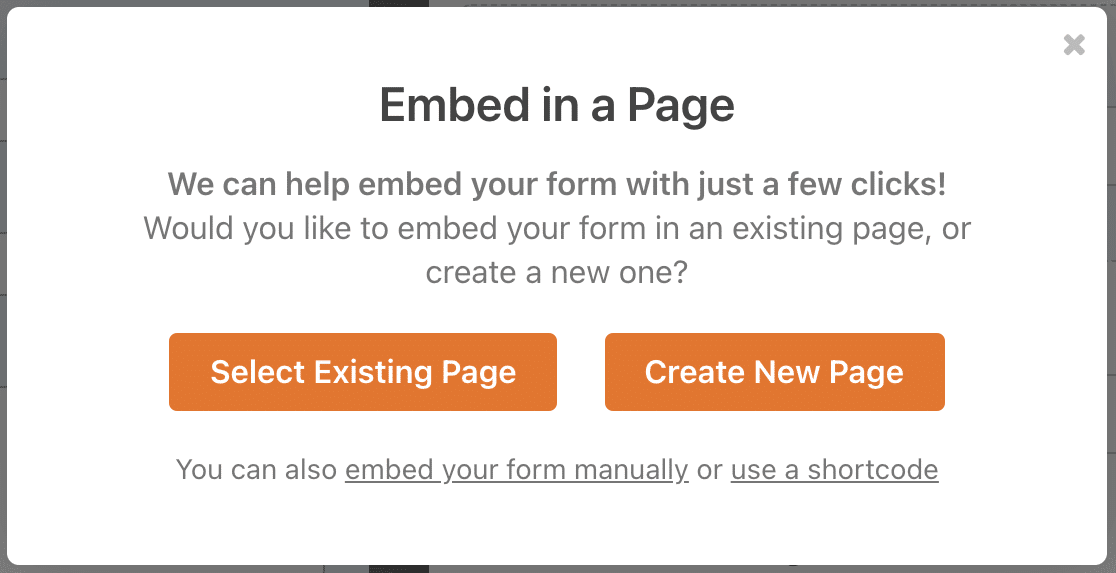
To start, you’ll need to create a new form or edit an existing one to access the form builder. Once you’ve finished customizing your form, you can use the Embed Wizard right from the form builder by clicking the Embed button.

From here, you’ll have the option to either create a new page to embed your form on, or to select an existing page to add your form to.
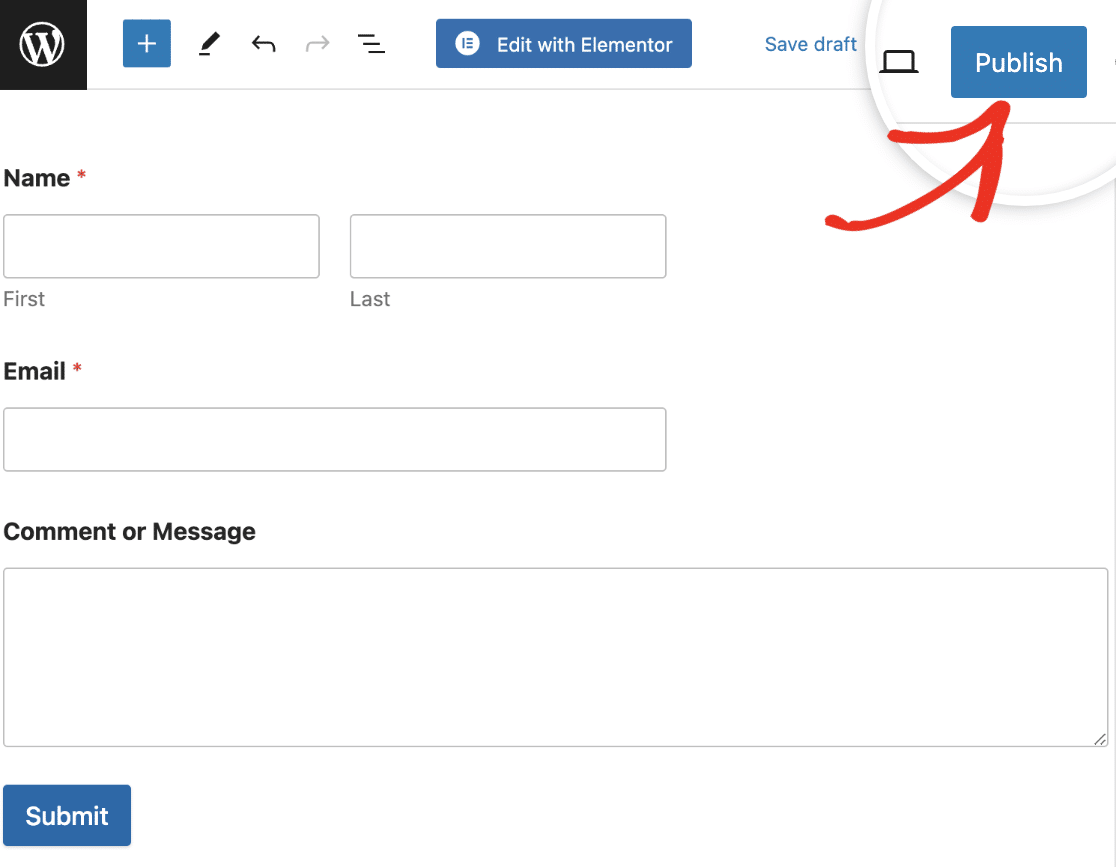
If you select the Create New Page option, you’ll be asked to enter a name for the page. Then click the Let’s Go button to continue.

After that, you’ll be redirected to the new page with the form embedded. When you’re ready, go ahead and click the Publish button to publish your form.
If you choose the Select Existing Page option, you’ll be asked to pick which page to embed your form on from the dropdown.
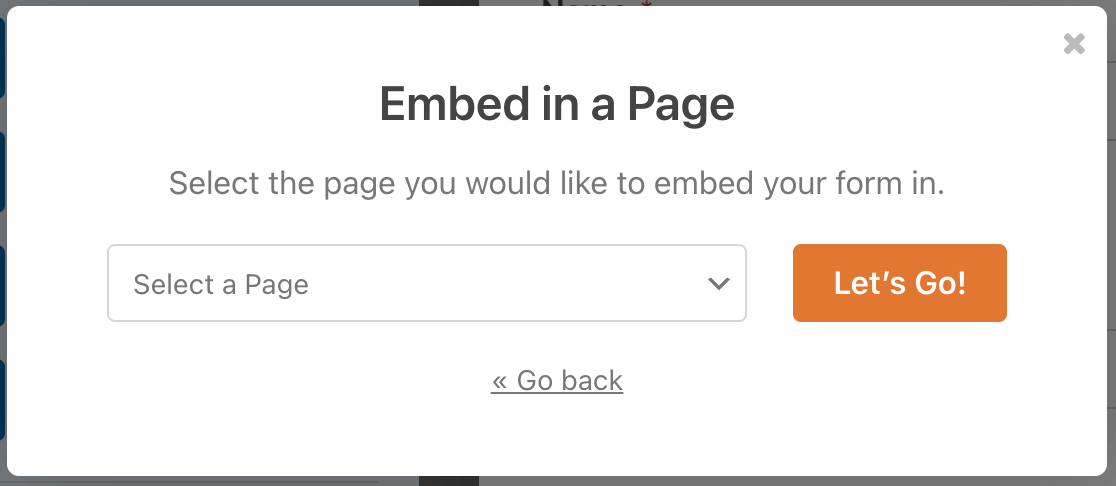
After selecting the page, click the Let’s Go button to be redirected to the block editor. In the block editor, you’ll need to add a new block to embed WPForms to the page.
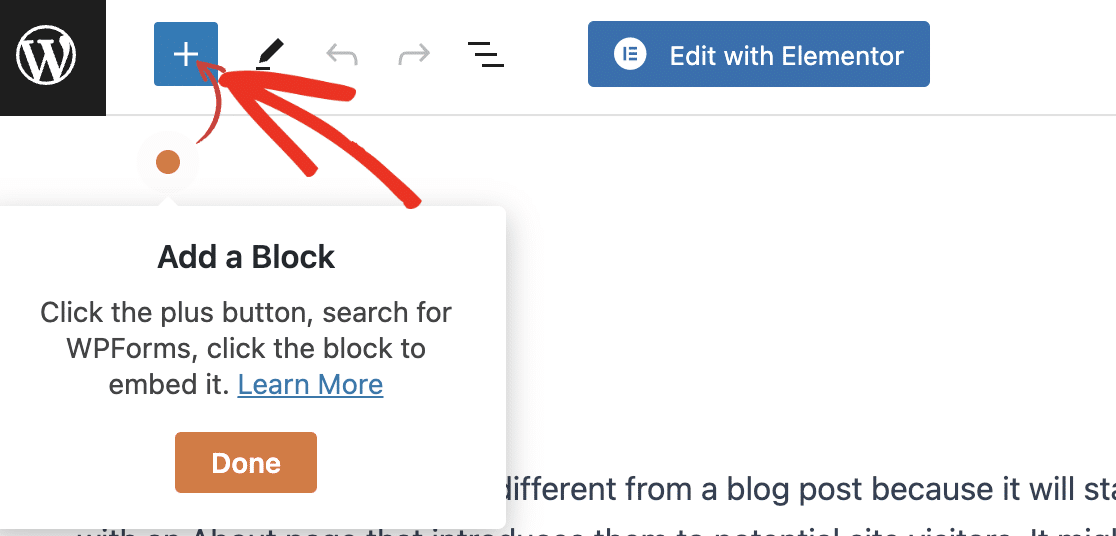
We’ll walk you through the steps in the next section.
Embedding a Form with the Block Editor
Once you’ve opened the page editor, you can add a new block by clicking the plus (+) icon in the upper left corner.

This will open a menu of block options. To locate the WPForms block, you can search for “WPForms” or scroll to the Widgets category. Then click the WPForms block.
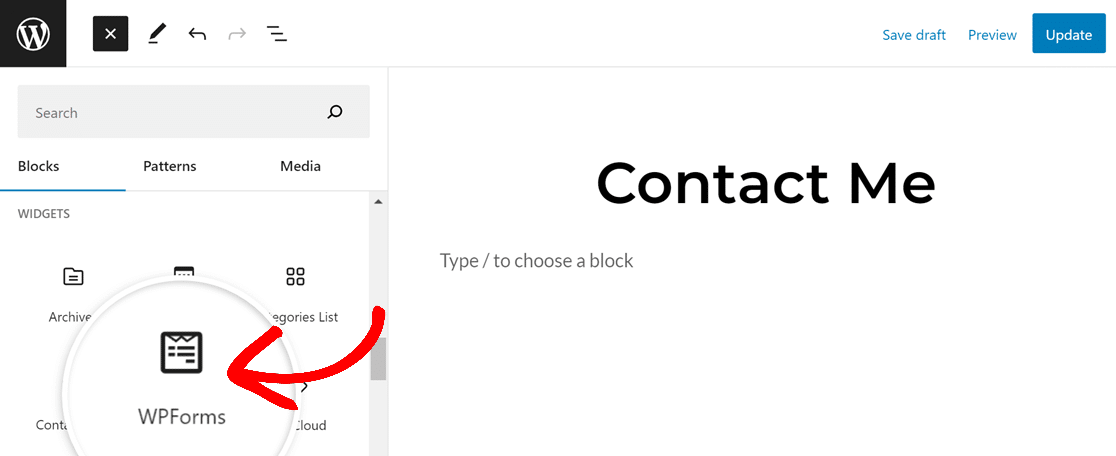
This will add the WPForms block to the page editor. Next, select the form you want to embed from the Select a Form dropdown.
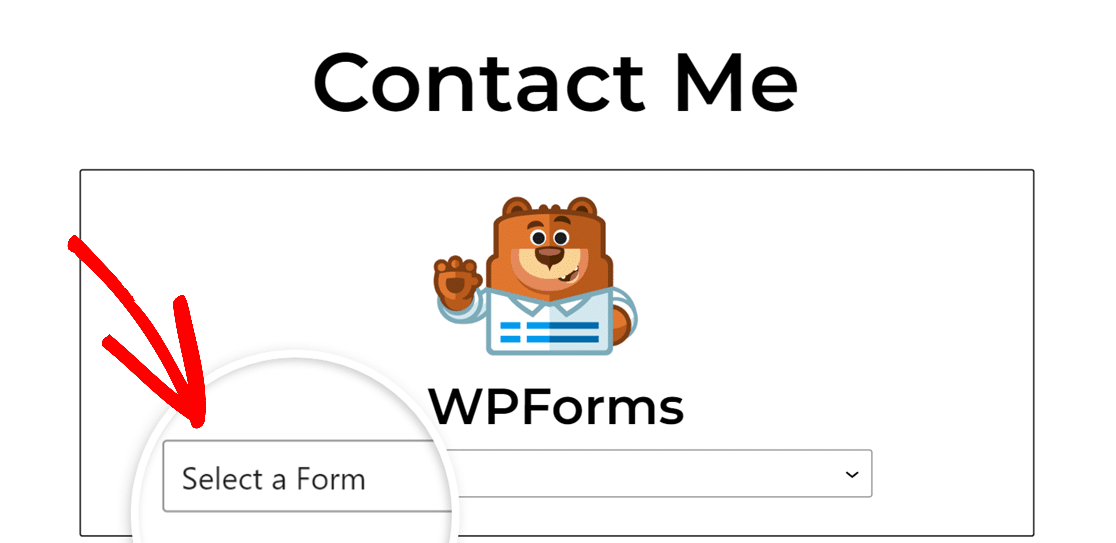
After you select a form title, the full form will display within the WPForms block. On the right sidebar menu, you’ll see additional customization settings. Within these block options, you can customize the following settings:
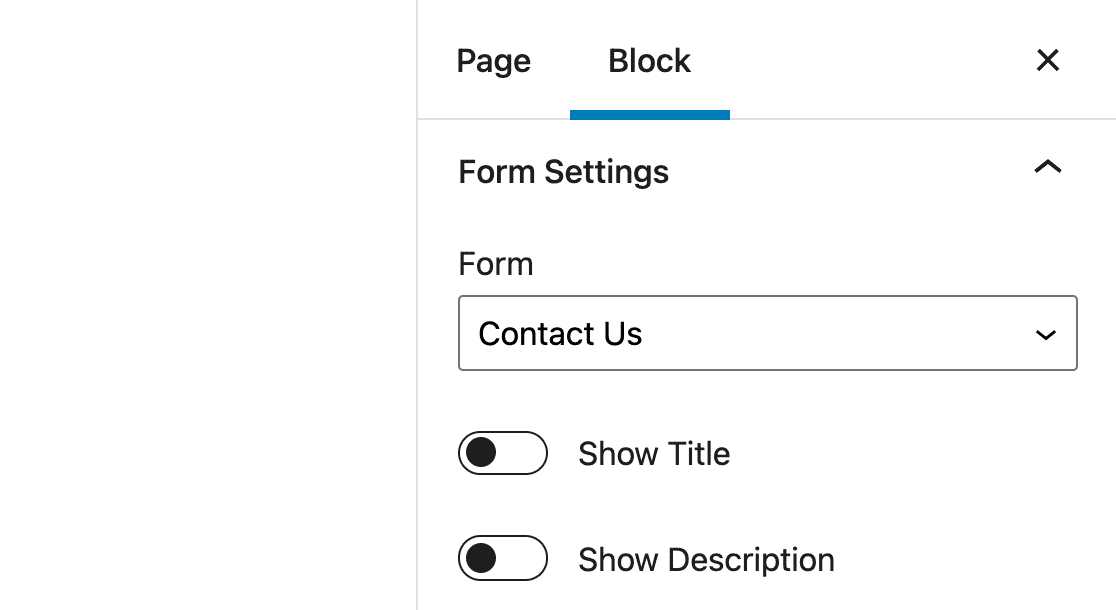
- Form: This setting allows you to choose a different form to display.
- Show Title and Show Description: With these options, you can hide or show additional form details.
- Form Styling Options: WPForms allows you to style your forms in the block editor without writing any CSS. To learn more, be sure to check our tutorial on styling your form in the block editor.
- Advanced: Here you can copy any customization you’ve applied to this form and reuse it on a different form. You’ll also be able to add CSS classes to your form. This option is recommended for advanced users only.
Once you’re happy with your form and its settings, publish the page and visit your website’s frontend to see your form in action. Here’s what our example would look like on a live site:
Embedding Your Form in a Widget
Note: These instructions are for the Block Widgets editor that shipped with WordPress 5.8. If you’re still using the Classic Widgets editor, please see our tutorial on using forms with the Classic Editor for steps to embed a form in a widget.
A WordPress widget is a small block of content on your site that performs a specific function. For instance, you can add the WPForms block to a widget area to embed a form in the sidebar or footer of your site.
Note: Want to learn more about WordPress widgets? Check out WPBeginner’s guide to using widgets.
To access your site’s widgets, navigate to Appearance » Widgets in the WordPress admin area. This will open the Widgets editing screen.
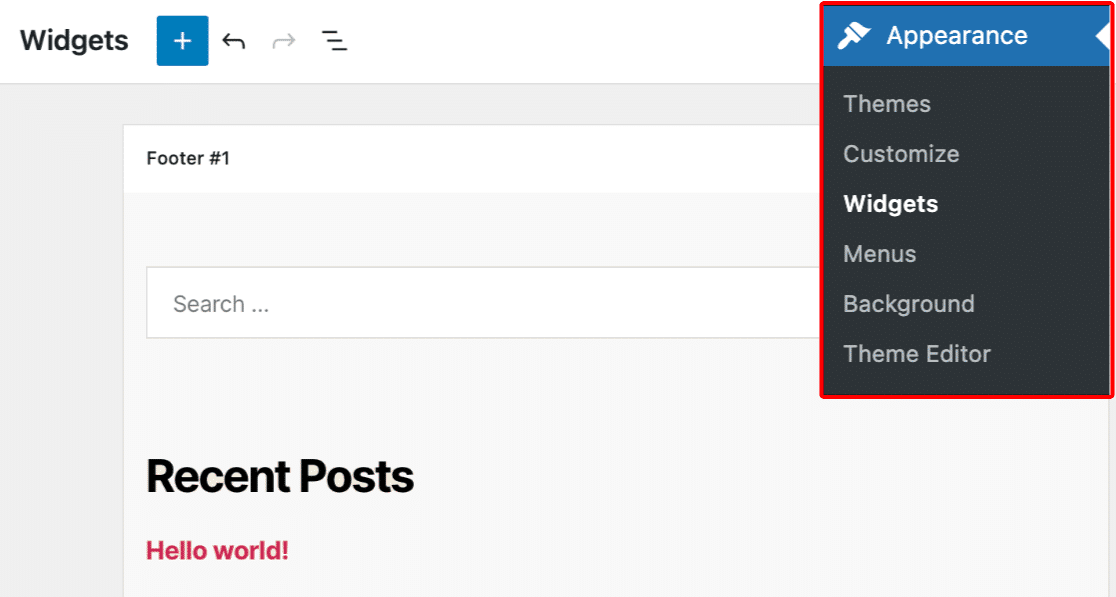
From here the process is very similar to embedding a form in a post or page. First, find the widget area you want to add your form to. Click on it to be sure you’re editing the right area.
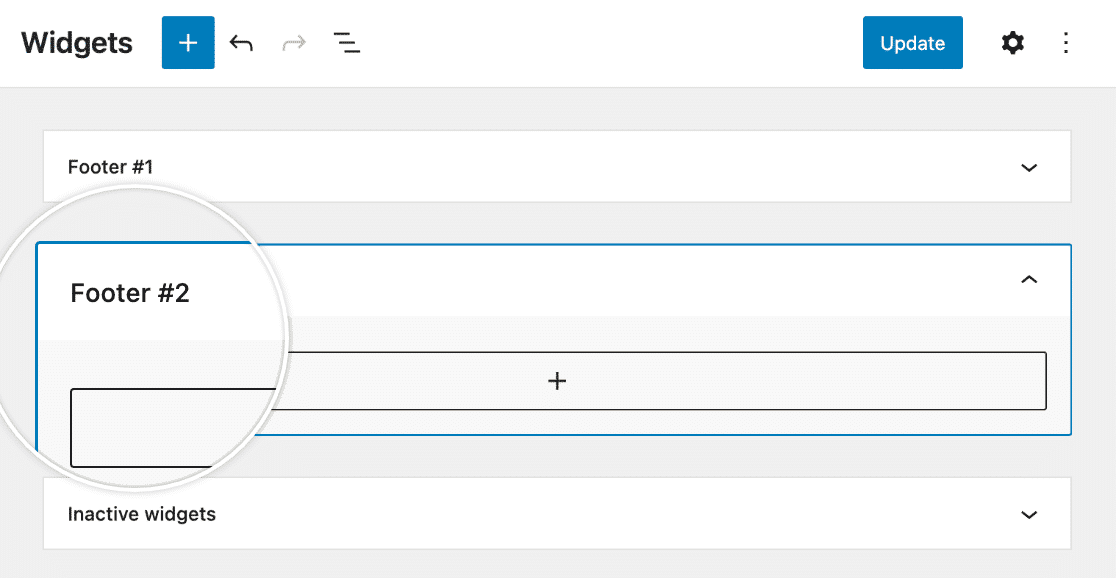
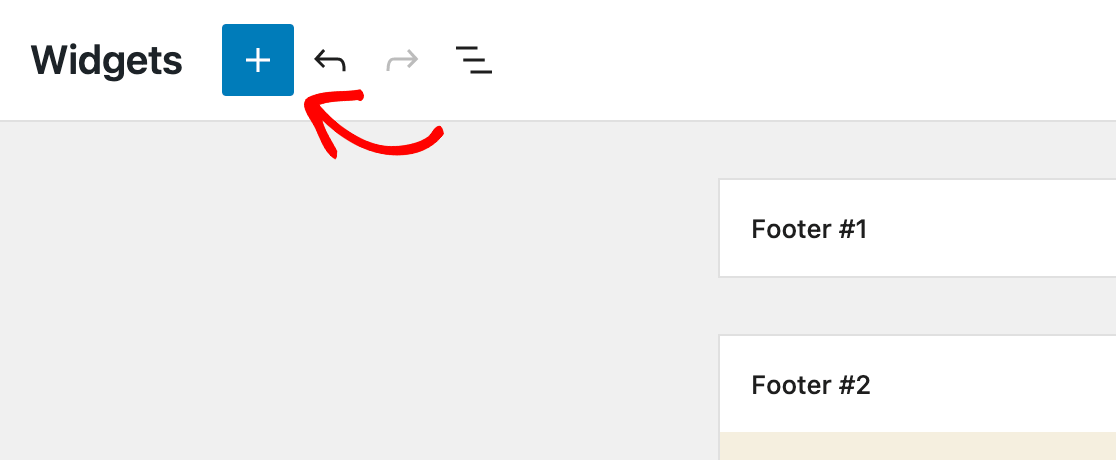
Then click on the blue plus (+) button in the top left corner of the editor.
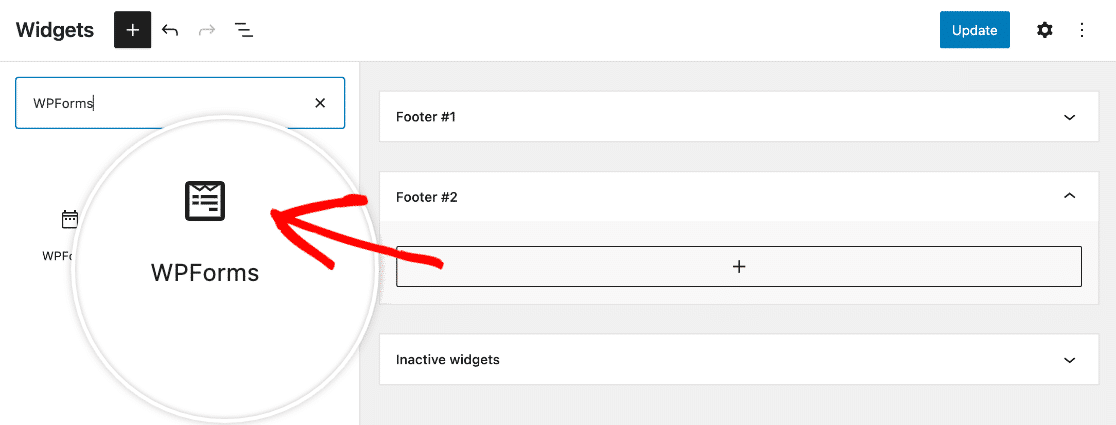
In the block library, search for “WPForms” or scroll to the Widgets section and click on the WPForms block.
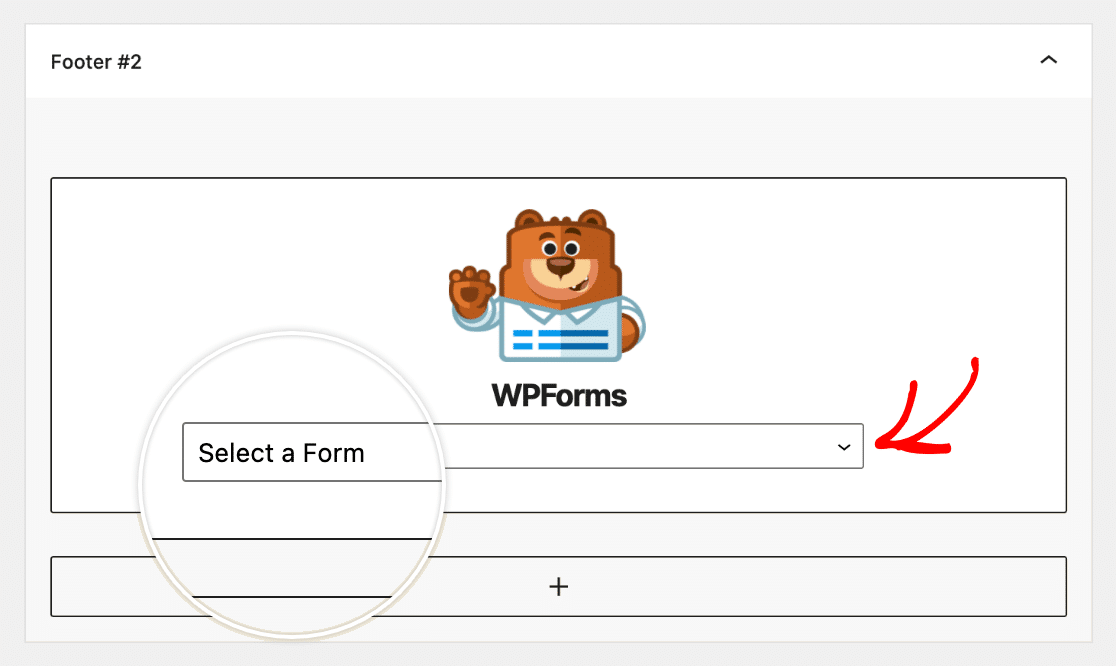
This will add the WPForms block to your selected widget area. You can drag and drop blocks to rearrange them as needed. Then choose the form you wish to display from the Select a Form dropdown.
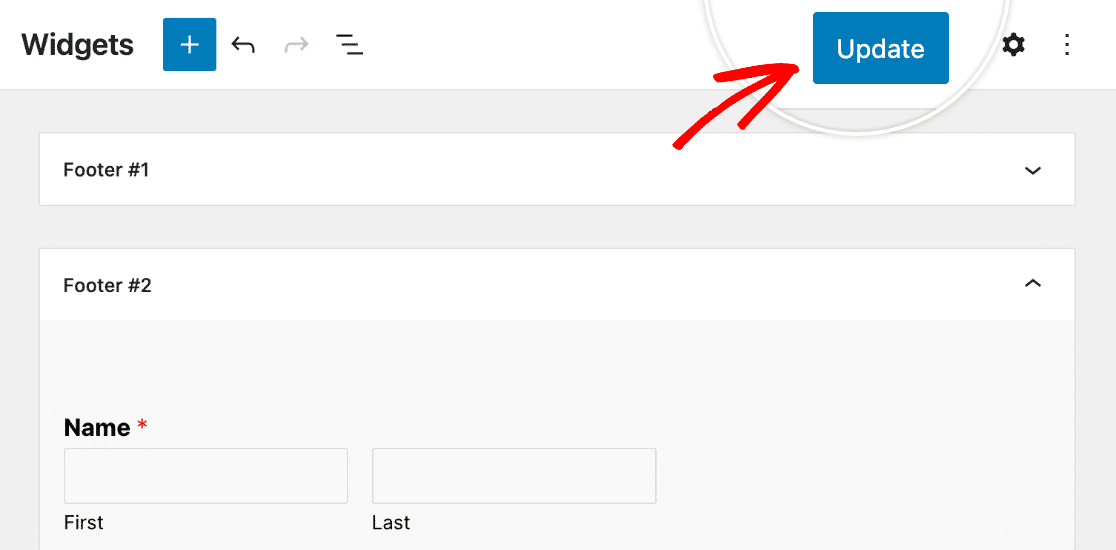
Be sure to click on the Update button in the top right corner of the Widgets editing screen to save your changes.
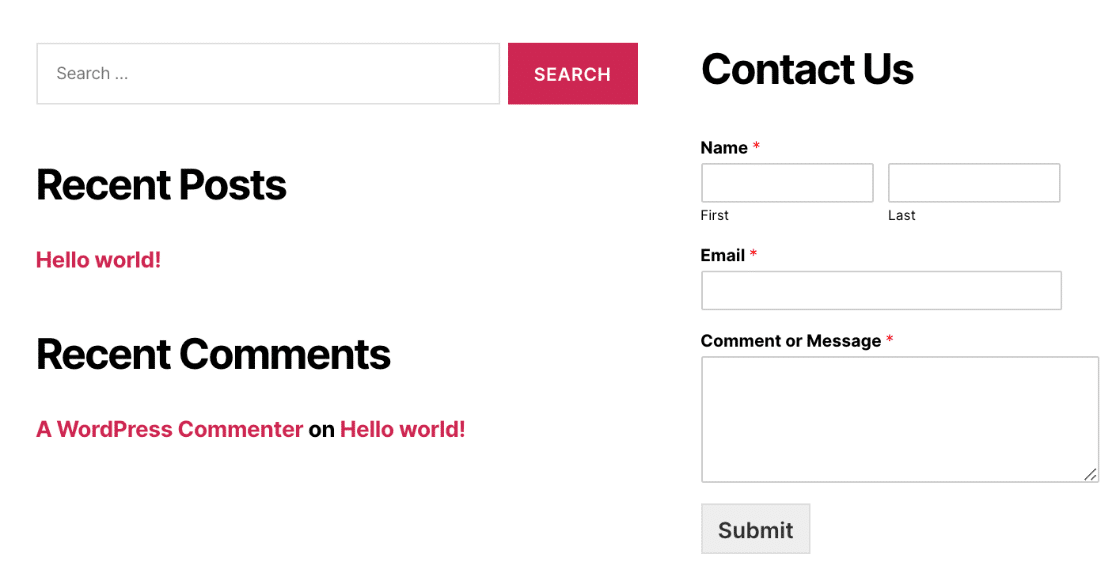
Here’s a sample of what a form would look like in the footer on a live site:
Frequently Asked Questions
Below, we’ve answered some top questions about creating your first form.
Can I embed the form to an Elementor page?
Yes, you can use the WPForms Elementor widget to easily add a form to your Elementor page. Once you’re in the Elementor builder, simply drag and drop the WPForms widget to your page.
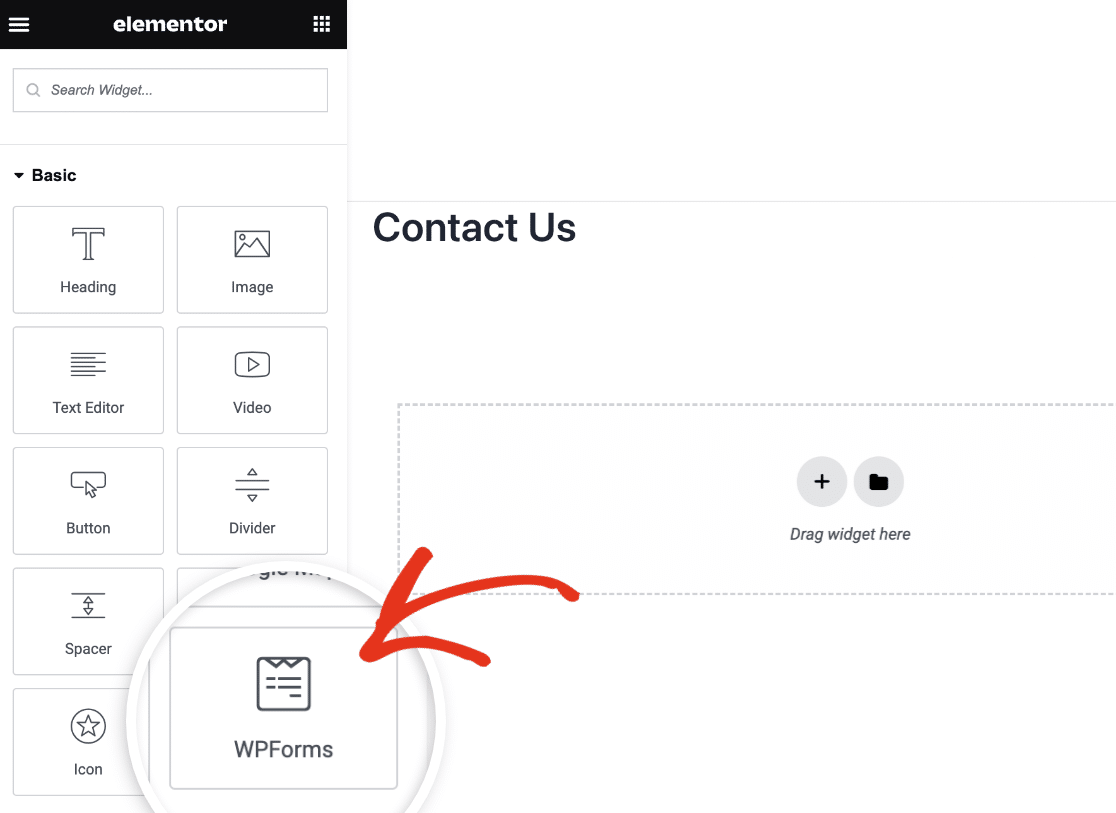
For a complete walkthrough, be sure to check our guide on adding WPForms to an Elementor page.
That’s it! Now you’ve learned the different ways to embed WPForms to your WordPress site.
Next, would you like to view entries submitted by users through your WordPress forms? Be sure to check our complete guide to managing entries in WPForms for a complete walkthrough.
