AI Summary
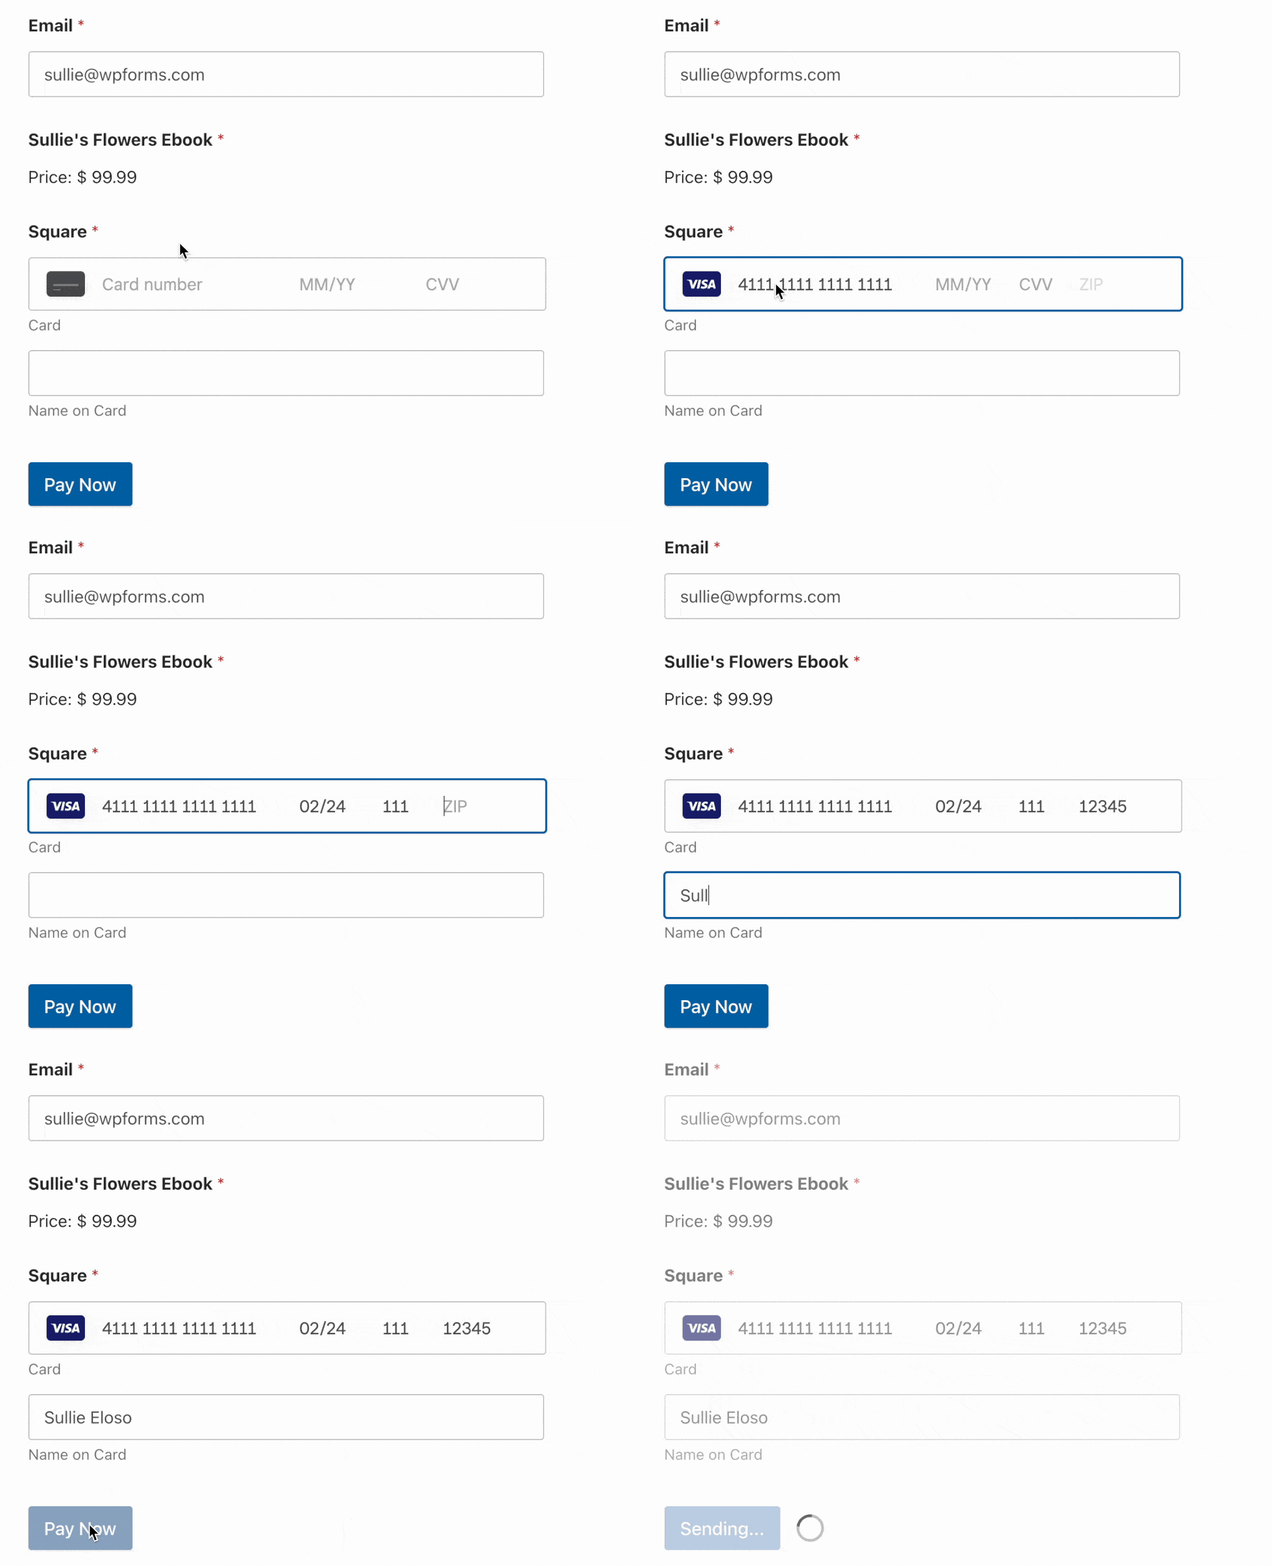
Would you like to run some test payments for your Square integration before publishing your payment form? By turning on Test Mode in your WPForms payments settings, you can easily try out Square payments on your site before making them available to your users.
This tutorial will show you how to test your Square payments in WPForms.
Requirements: Testing Square payments is available to all WPForms users. However, you’ll need a Pro license level or higher to access the Square Pro addon.
Also, Square requires your site to have SSL (HTTPS) enabled on the page where you’re adding a live payment form, as this allows you to securely send credit card data to Square. For more details, please see WPBeginner’s guide to adding SSL and HTTPS in WordPress.
Before you get started, be sure WPForms is installed and activated on your WordPress site and that you’ve verified your license.
Setting Up a Square Developer Account
First, you’ll need to create a free Square Developer account. This will enable you to set up a Sandbox Test Account and keep live transactions separate from test transactions.
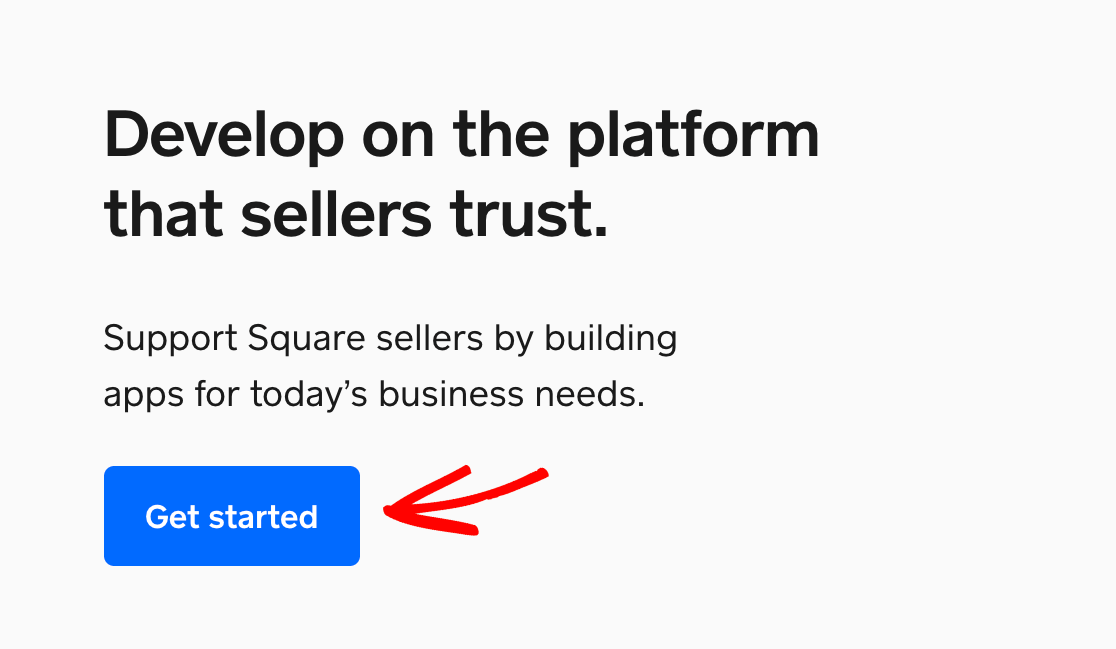
Head over to the Square Developer platform and click Get Started.
If you don’t have an existing Square account, create one here. You’ll be able to activate it later when you’re ready to start accepting live payments by following the instructions in the activation email sent to the address associated with your account.
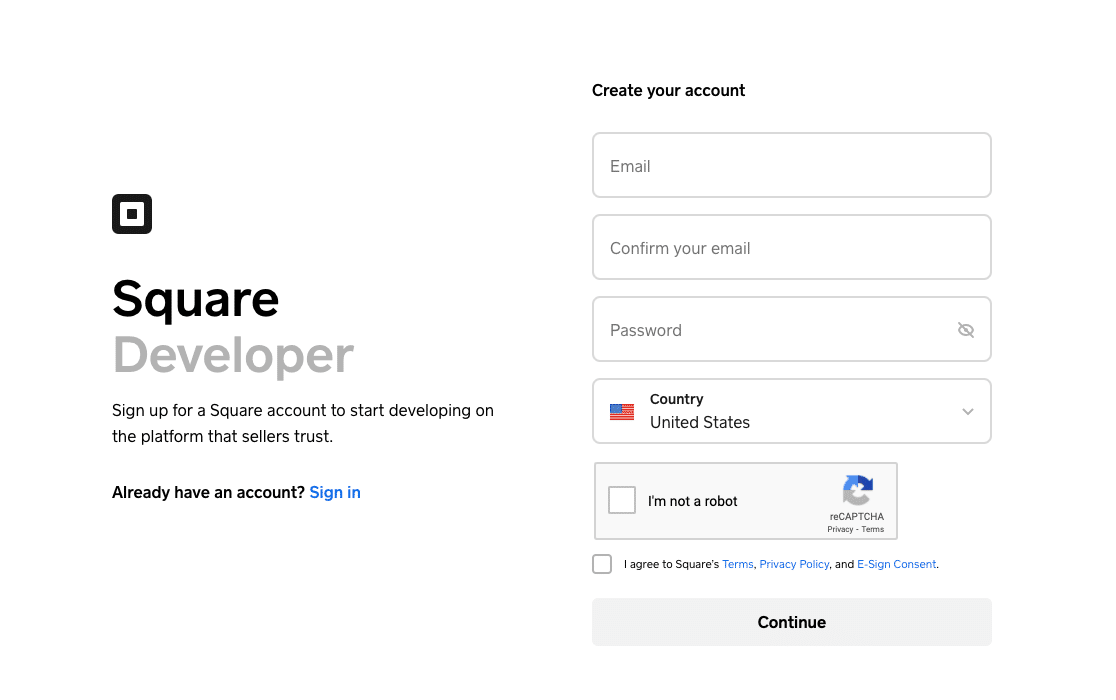
If you already have a Square Seller account, you can sign in to Square Developer using your existing credentials.
Once you’ve created your account or signed in, you’ll see the Square Developer Dashboard. To get started, click on the blue plus (+) button to create your first application.
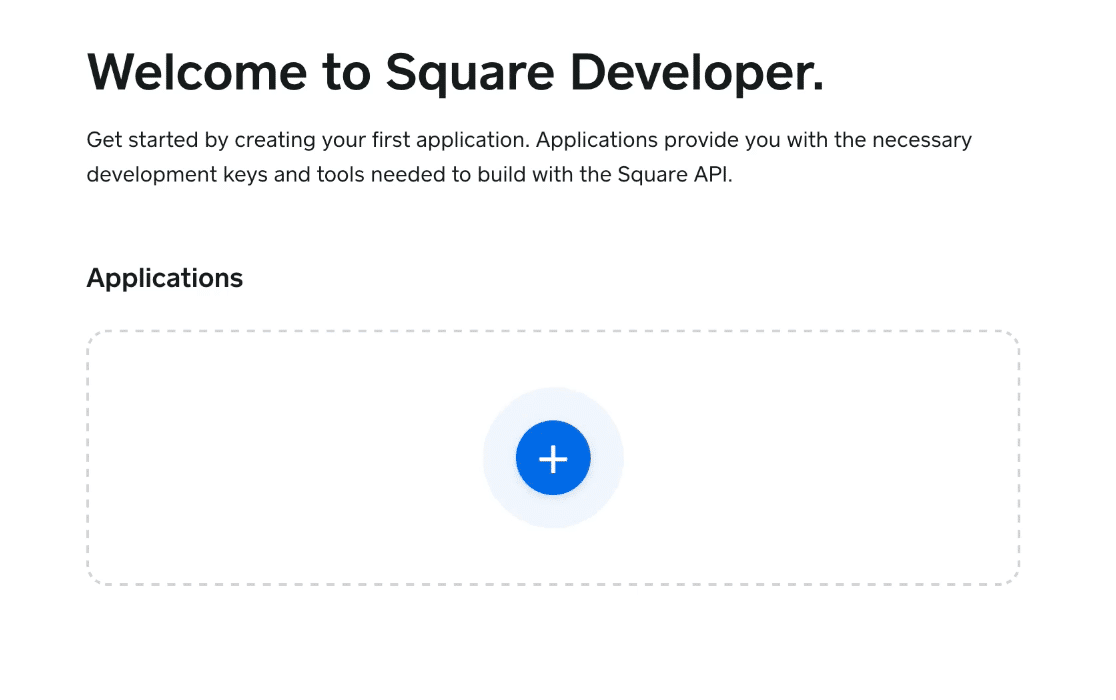
This will open a popup window where you can name this application (it’s for your reference only). Then click the Save button.
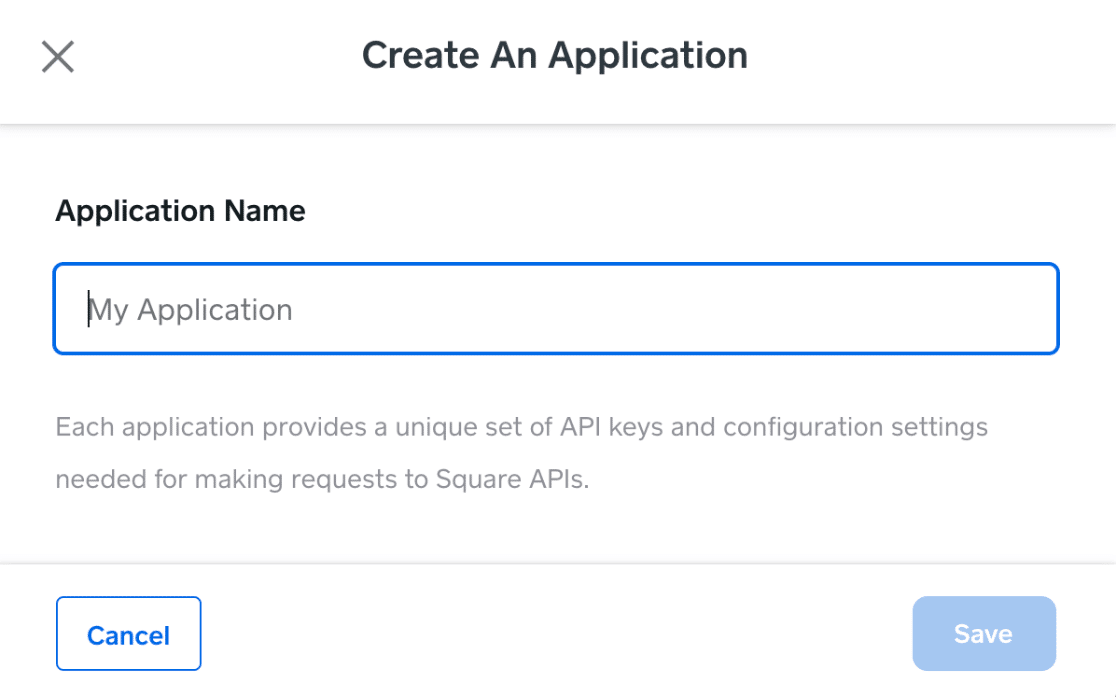
After you save your application, you will return to the Square Developer dashboard and see your new app listed under Applications.
Next, in the left sidebar, click Sandbox test accounts.
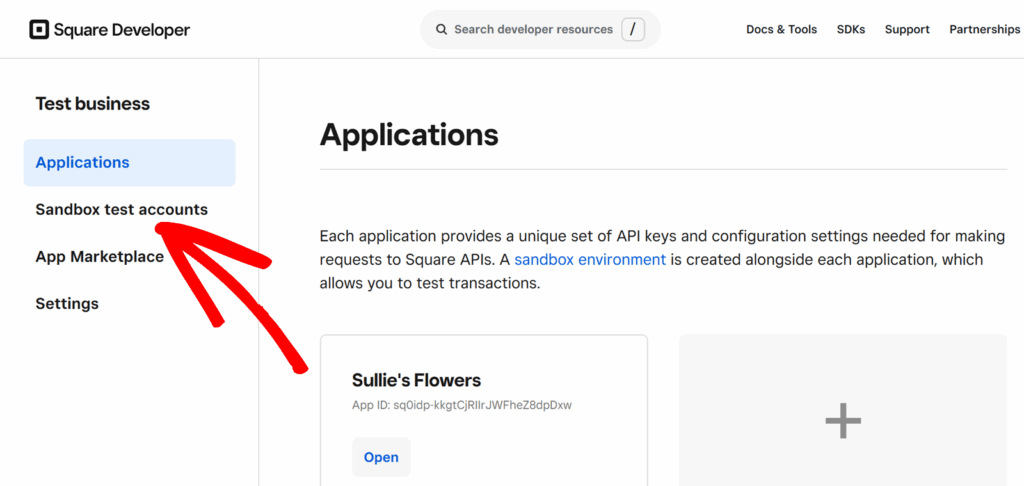
This will open the Sandbox Test Accounts page for your developer account, where Square creates a Default Test Account for you automatically.
Click on the Square Dashboard button for the Default Test Account to launch its dashboard.
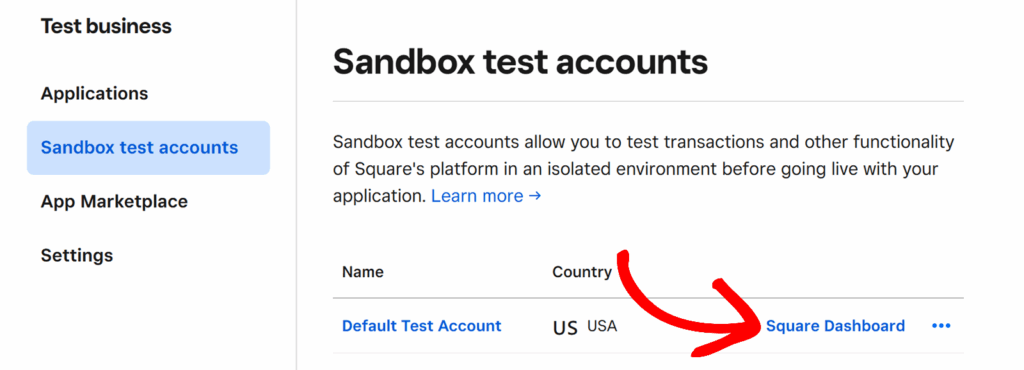
Note: For the purposes of this tutorial, we will be using the Default Test Account to test Square payments in WPForms. However, you can create as many different test accounts in the Square Developer dashboard as you like, and follow the steps below to test payments with any of them.
For details on testing payments for countries in the European Union, please see the FAQ section below.
This will open a screen that looks just like the Square Seller dashboard. Leave this page open and log in to your WordPress site in another browser tab.
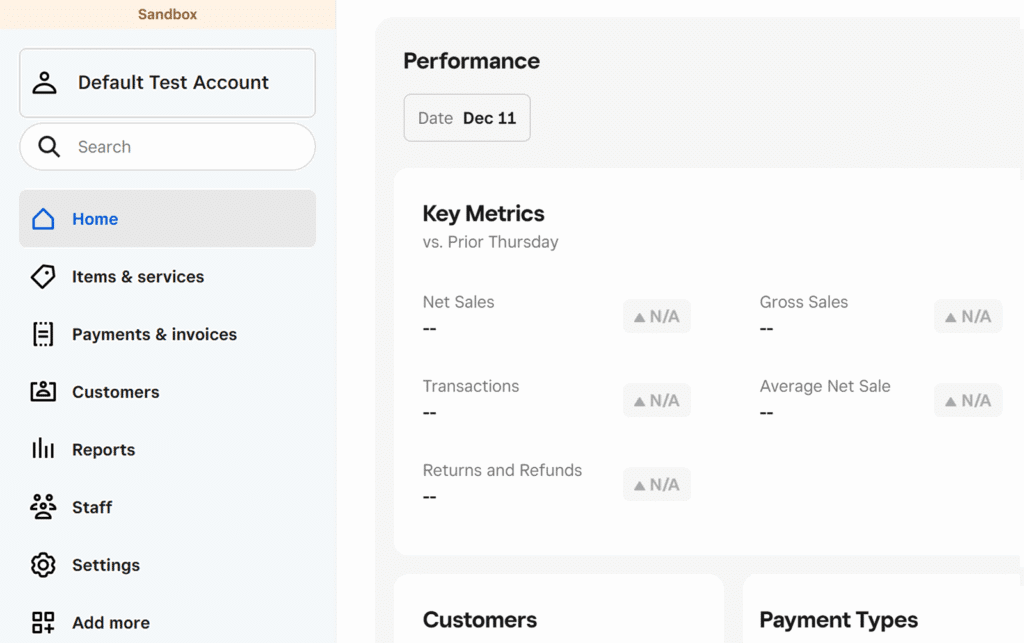
Note: You must launch your Sandbox Test Account in the Square Developer dashboard before you can connect it to WPForms to test payments. For more details, please see the FAQ section below.
Enabling Square Test Mode
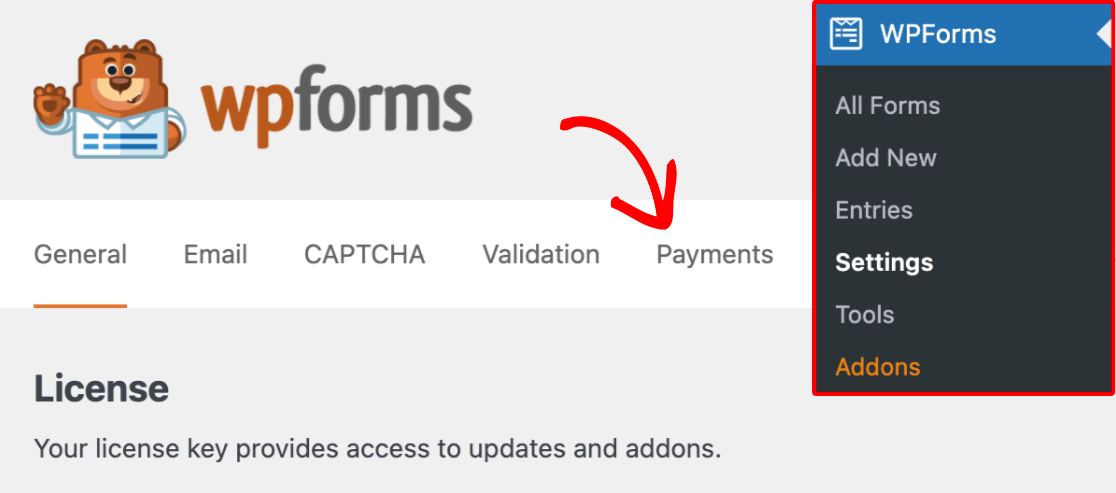
Next, you need to make sure that no real payments are processed in Square while you’re testing your form. To do so, go to WPForms » Settings in your WordPress dashboard and click on Payments.
Under Square, select the checkbox for Test Mode.
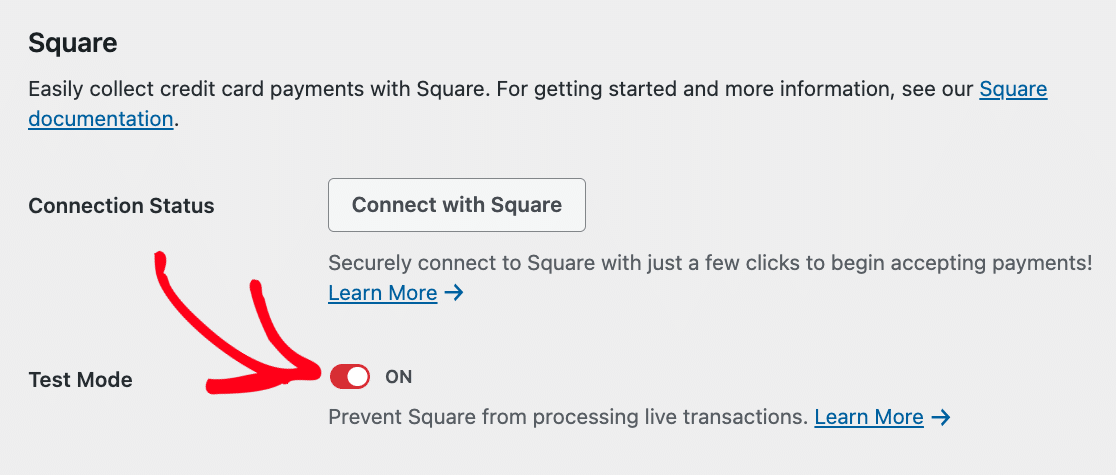
Note: For WPForms payment integrations, Test mode and Live mode are configured separately. If you’ve already set up Square for live transactions via WPForms, you’ll need to reconnect it in Test Mode.
Then click the Connect with Square button.

Note: If you didn’t launch your Sandbox Test Account’s dashboard before trying to connect it to WPForms, you’ll see an error message when you click the Connect to Square button in the WPForms payments settings.
Please see the FAQ section below for more details.
This will bring you to a screen where you’ll need to log in to your Square account.
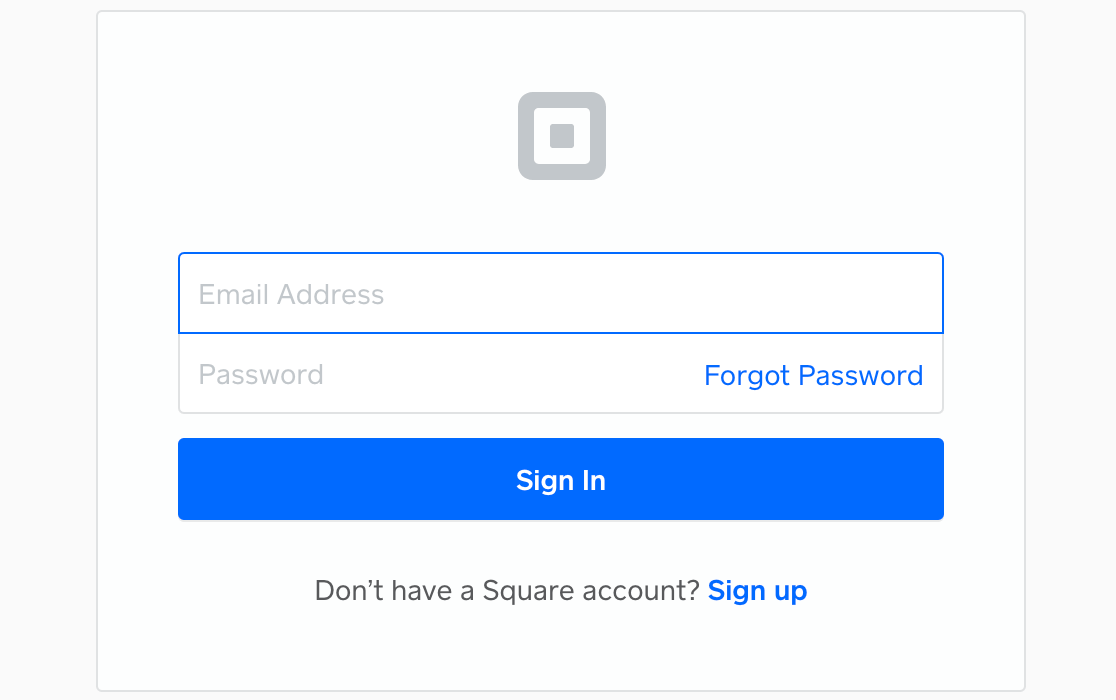
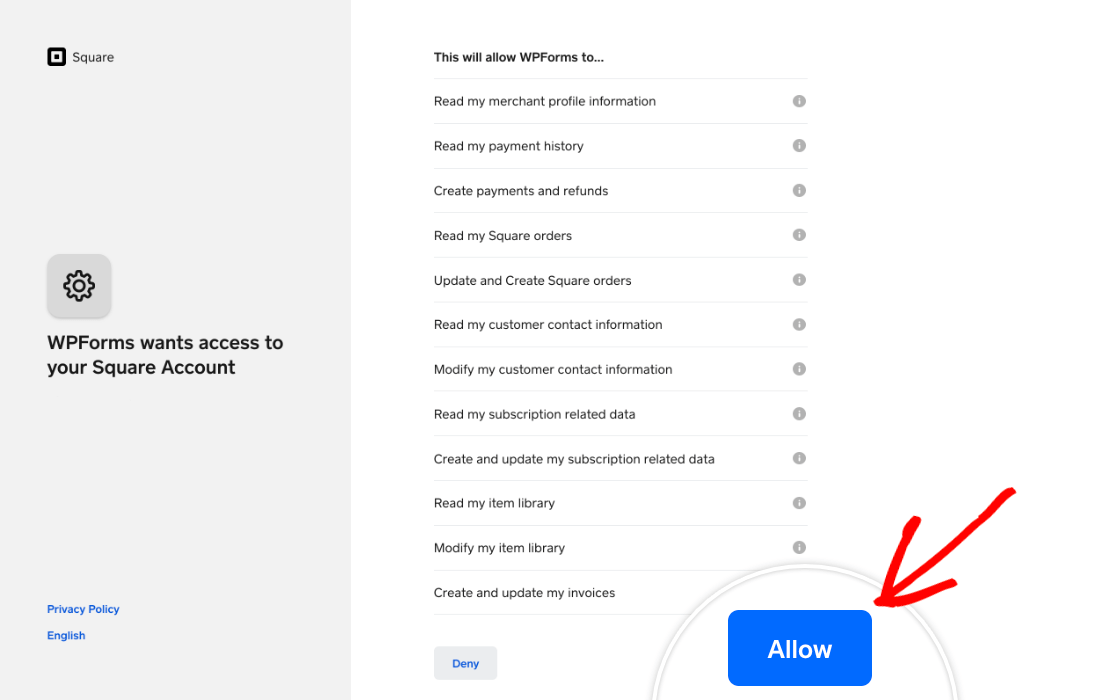
Once you’ve logged in, Square will ask you to grant permission for WPForms to access certain information in your Square account. Click on the Allow button to continue.
This will return you to your WPForms settings. If the connection was successful, you should see a green checkmark next to Connection Status, and a notice that your Square account is connected in Sandbox mode.

Creating a Form to Test Square Payments
Once your Square Developer account and WPForms settings are ready to go, you’ll need a form you can use to test Square payments. Create a new form or edit an existing one to open the form builder.
You can customize this form however you like, but make sure to include a Square field. You can click on this field on the left side of the builder or drag and drop it into the preview area to add it to your form.
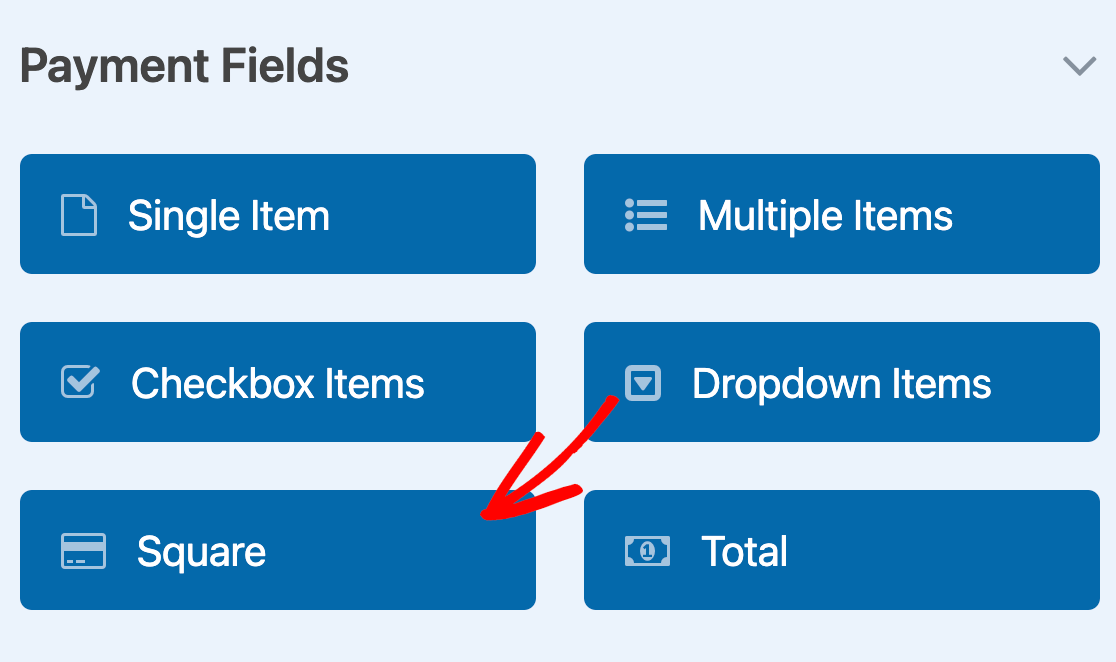
The Square field will enable you to enter test credit card information to make sure payments are working as expected.
Enabling Square Payments in Your Form
You’ll also need to enable Square payments for the form you’ll be testing. In the form builder, go to Payments » Square. Then toggle the Enable one-time payments option to the on position.
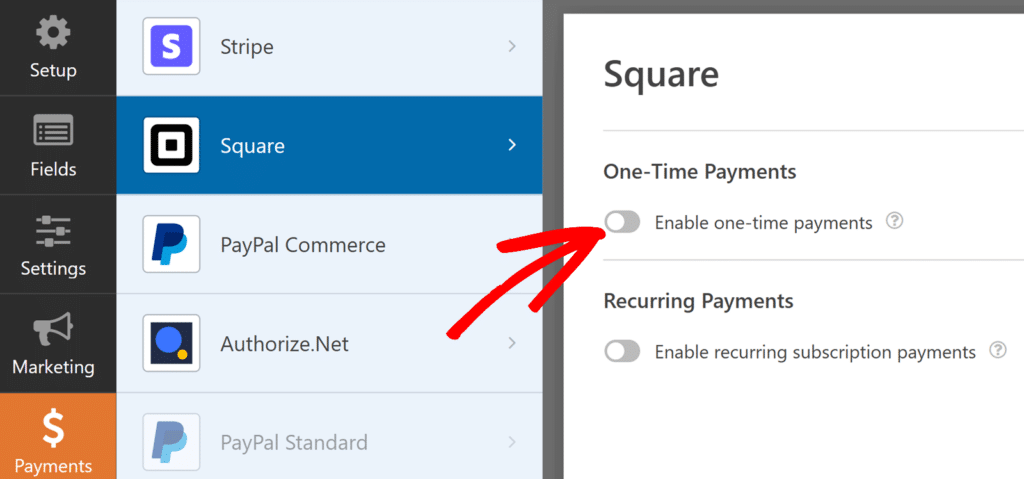
This will reveal a handful of additional settings. Enter a Payment Description to help you identify this transaction in your Square Developer dashboard later.

The rest of the settings are optional. We’ve covered them in more detail in our tutorial on enabling live Square transactions in WPForms.
Configure the other options if you’d like, then save your form.
Publishing Your Form and Performing the Test
Once your form is ready, you can test Square payments on the frontend of your site. To do so without publishing your form to a live page, you can use the form preview option in WPForms or create a private page or post.
Then simply submit a test entry for your form using one of Square’s sets of test credit card details.
Viewing Test Transactions in WPForms
To view and manage all test transactions and their details, simply go to WPForms » Payments and turn on the Test Data option.
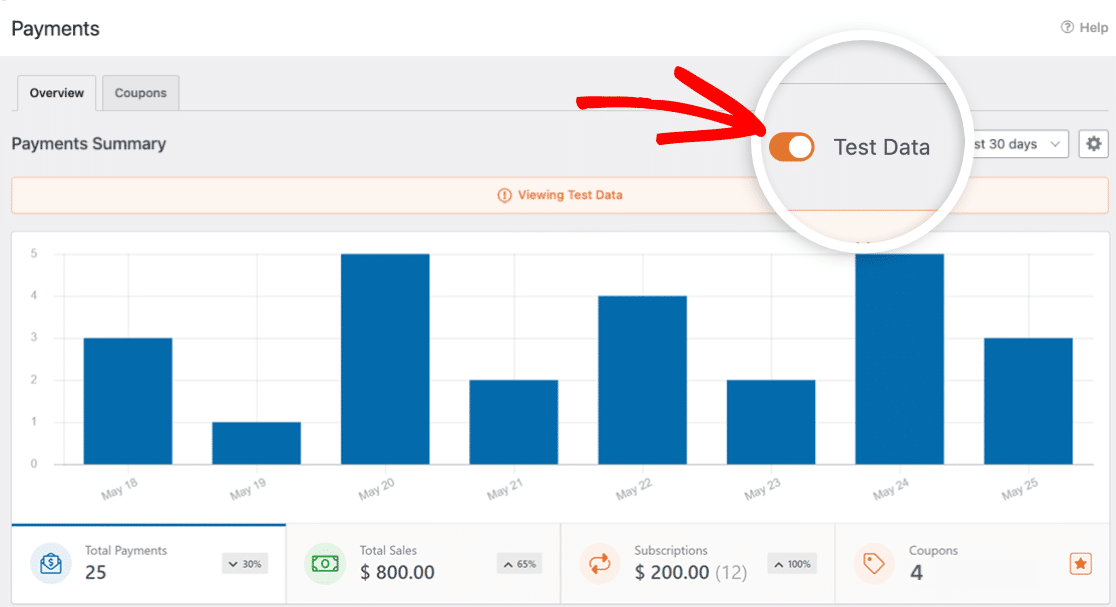
For full details on viewing test and live payment information, understanding transaction trends, adjusting for different currencies, and more, check out our guide to viewing and managing payments.
Note: Looking to offer discounts to your customers through coupon codes? Check out our Coupons addon tutorial for all the details.
Viewing Test Transactions in Your Square Account
After you submit your test payment, you can view the transaction in your Square account by clicking on the Transaction ID in your test entry or logging in to Square Developer.
In your Square Developer account, click on the Square Dashboard button for the Default Test Account to launch its dashboard.

Then go to Payments & invoices » Transactions from the the menu on the left.
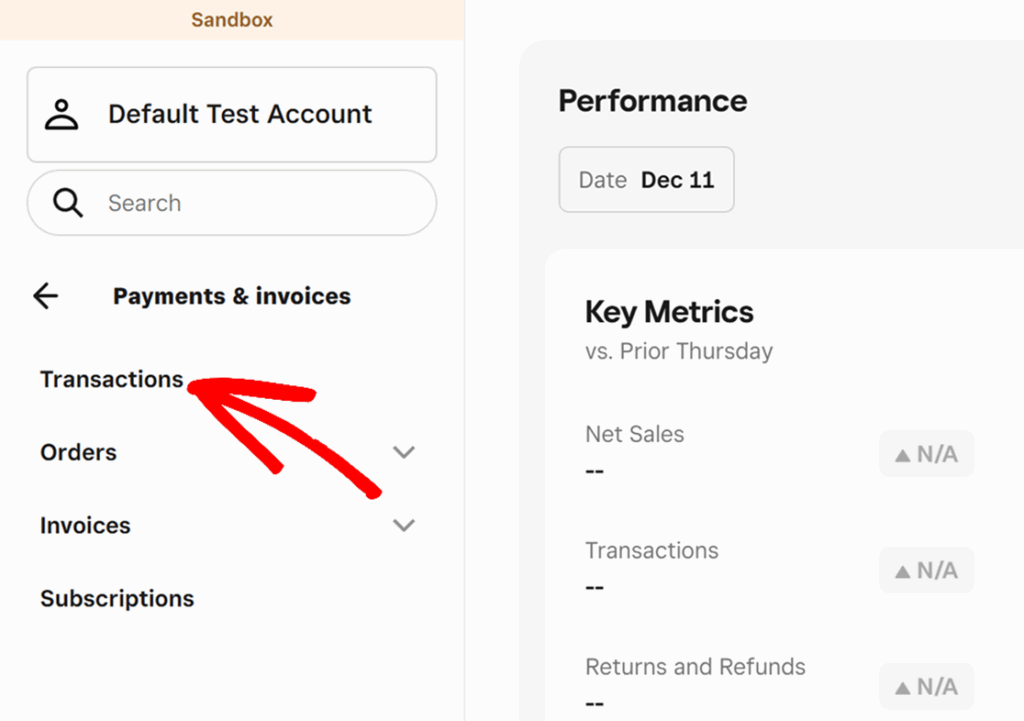
You should see your test transaction listed on the following screen.
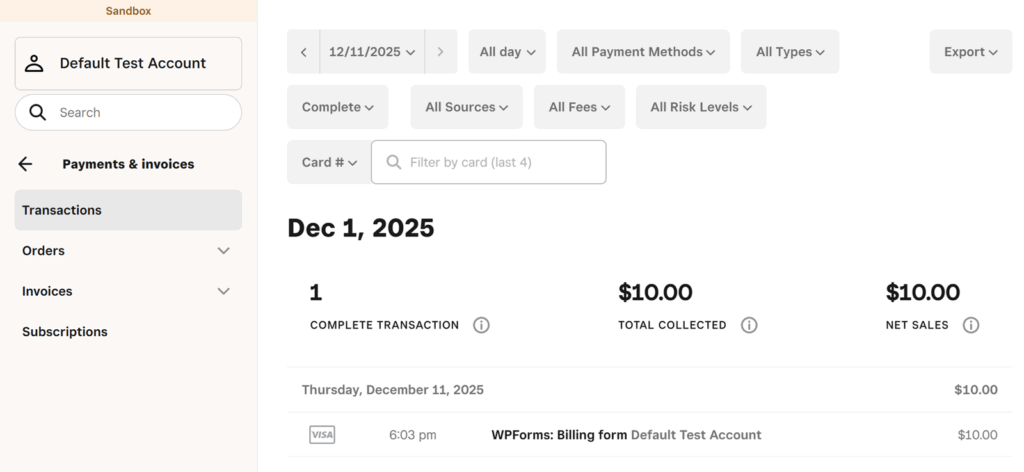
Note: When you’re done testing Square payments, remember to disconnect your test account in WPForms » Settings » Payments, turn off Test Mode, and connect your live Seller account so you can process users’ transactions.
Frequently Asked Questions
Below, we’ve answered some of the top questions about testing Square payments in WPForms.
When I try to connect to my Square account in Test Mode, I see an error. How do I fix it?
When trying to connect your Square Developer account to WPForms in Test Mode, you may see an error that reads, “Error: To start the Oauth flow for a sandbox account, first launch the seller test account from the Developer Dashboard.”
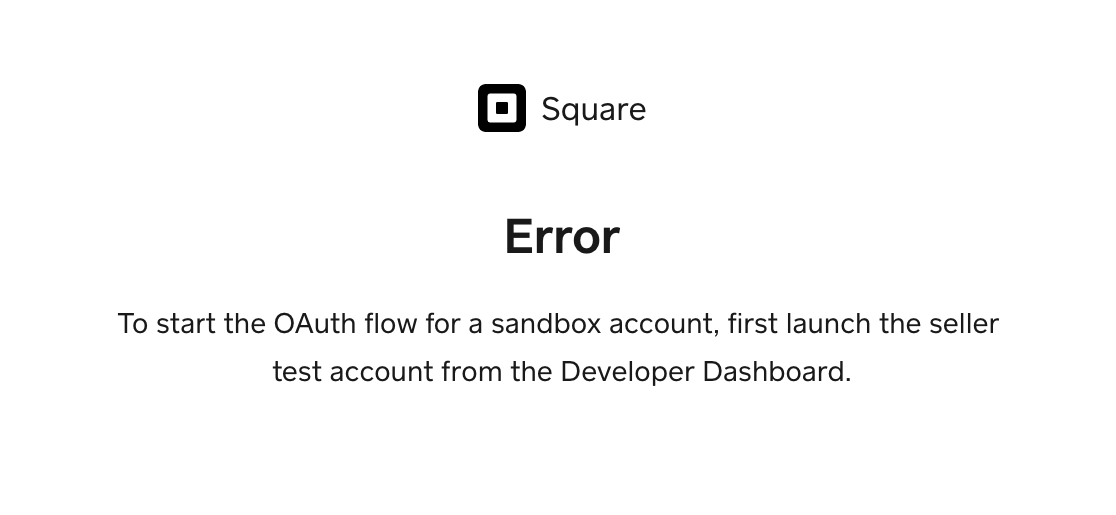
To fix this, open your Square Developer account. For the Sandbox Test Account that you would like to use, click on the Square Dashboard button.

This should launch the test account and open a sandbox dashboard like this one.

Once this page is open, go back to your WPForms settings and click Connect with Square again.
Can I test EU credit card verification for Square payments made through my forms?
Yes, you can test EU credit card verification for Square payments in WPForms.
To do so, you need to set up a European Sandbox Test Account in your Square Developer dashboard. Under your existing Sandbox Test Account(s), click on New sandbox test account.
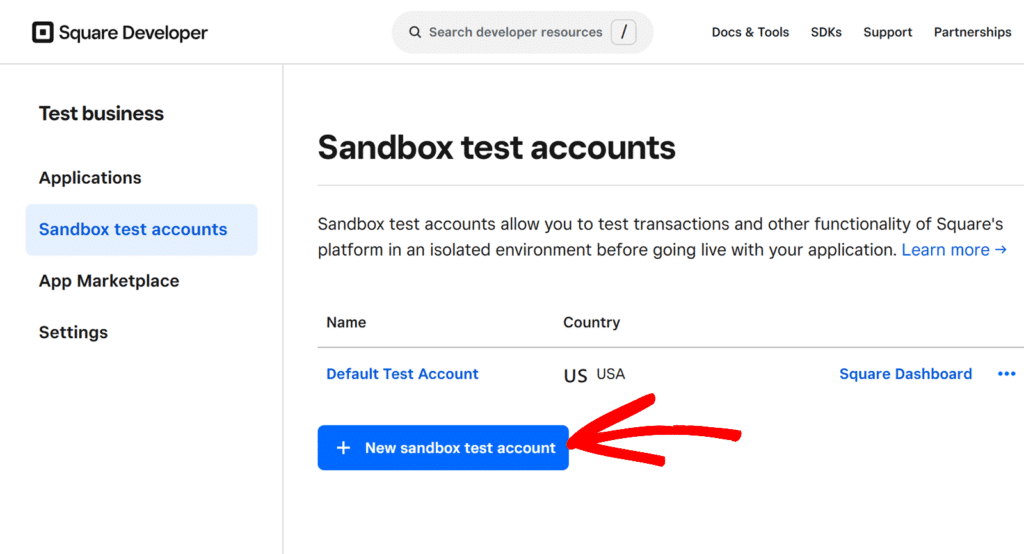
In the popup window that appears, name this Sandbox Test Account and select an EU country (Ireland or Spain) from the dropdown.
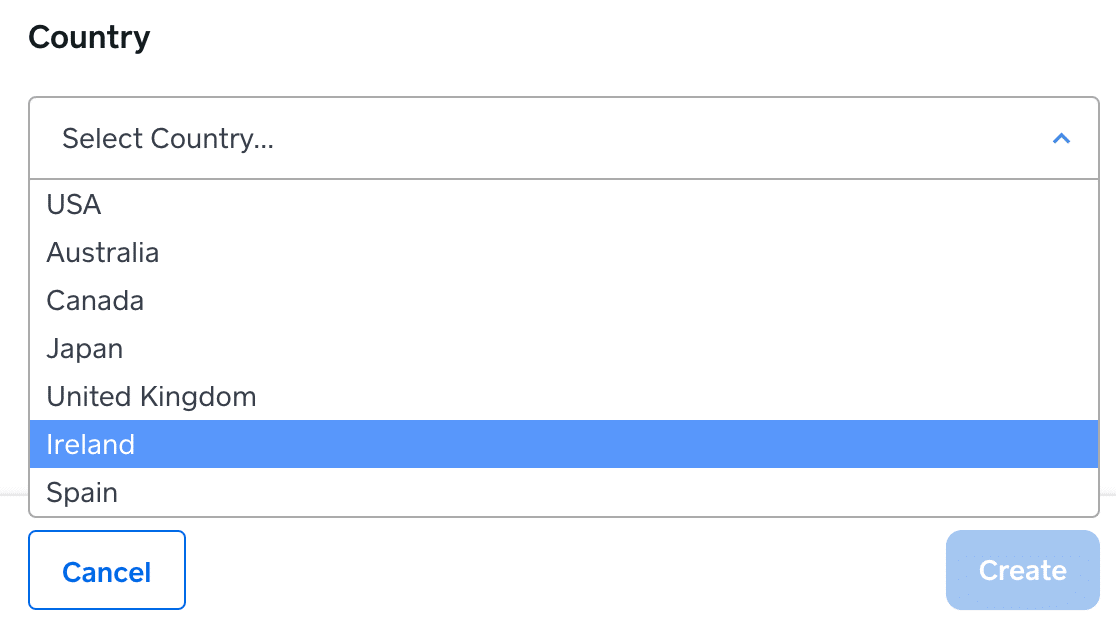
You may then connect this test account to WPForms by following the steps above. When testing payments in your form, use one of the EU credit cards from Square’s list of testing payment details.
Then, when you submit the form, a popup window should appear asking for the additional verification code.
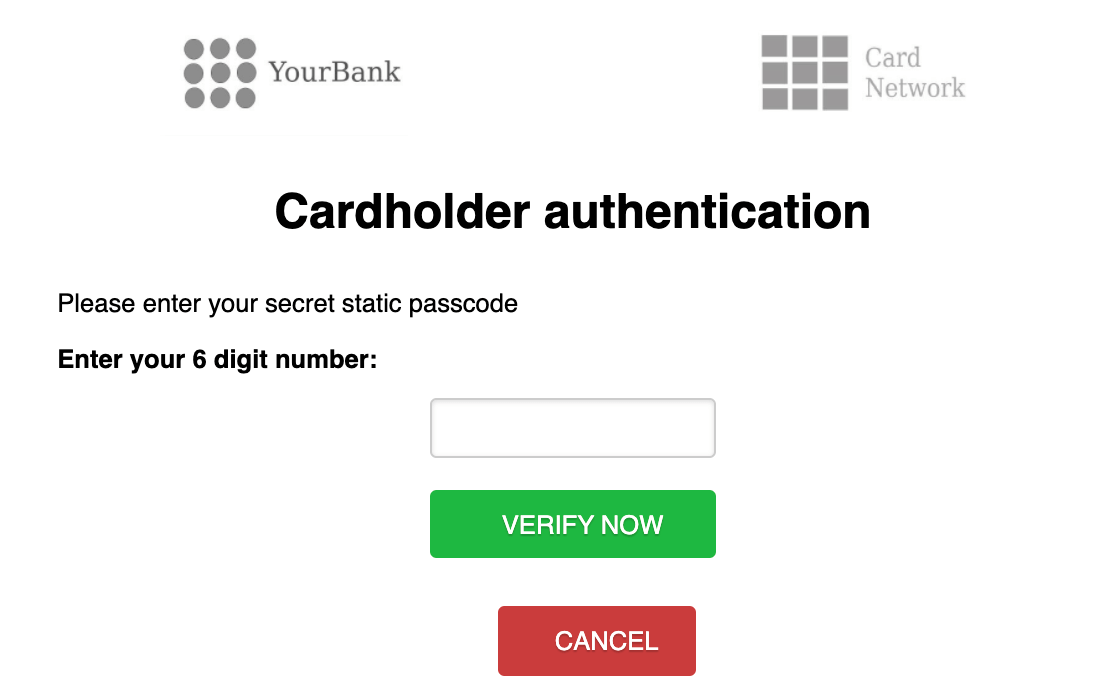
Enter the test code provided by Square to complete the test payment.
Why do I see the error ‘Tokenization of the payment card failed’ when sending a test payment?
Tokenization of payment card error occurs if you try to send a test payment using real credit card details. When this happens, the token required to process the test payment will be invalid. To fix this error, ensure you’re using one of Square’s sandbox credit cards for your test payment.
That’s it! Now you know how to test Square payments in WPForms.
Next, don’t forget to carry out a full form test before you publish it on your site. Our complete form testing checklist walks you through the process step by step.
