AI Summary
Would you like to customize the Address field to better fit your website’s needs? The Address field can be an important part of your form but the default settings aren’t always one-size fits all.
This guide will go over how to easily customize the Address field in your forms.
Editing Field Label and Description
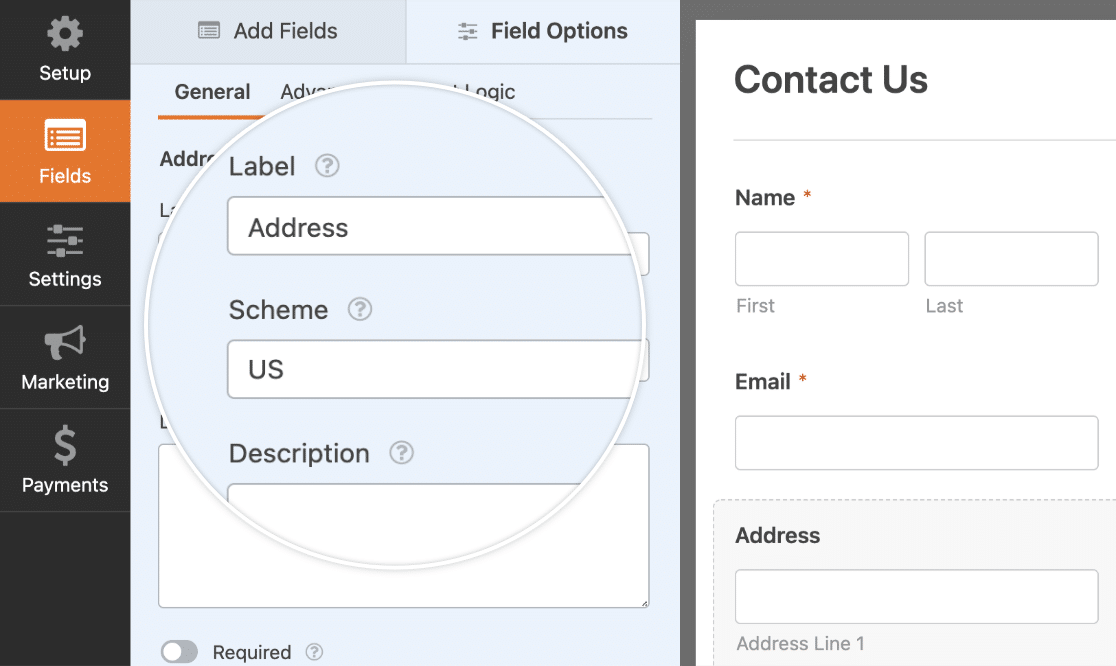
The form builder gives you the option of editing both the Address field’s label and description. To do this, select the Address field and click on either the Label or Description field to begin editing.
Hiding Field Label and Sub-Labels
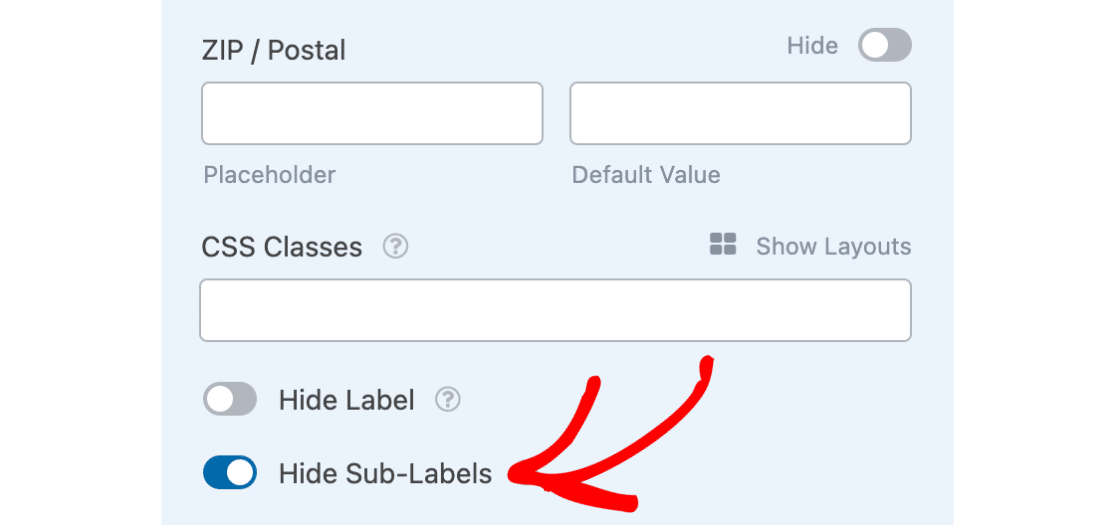
Some fields, like the Address field, have both Labels and Sub-Labels. Labels are used for the overall field, whereas Sub-Labels are used for smaller fields nested inside, like City, State, and Zip/Postal Code.
You can choose to hide the default Sub-Labels under each input field. To find this option, go to the Advanced tab and select Hide Sub-Labels.
Choosing an Address Scheme
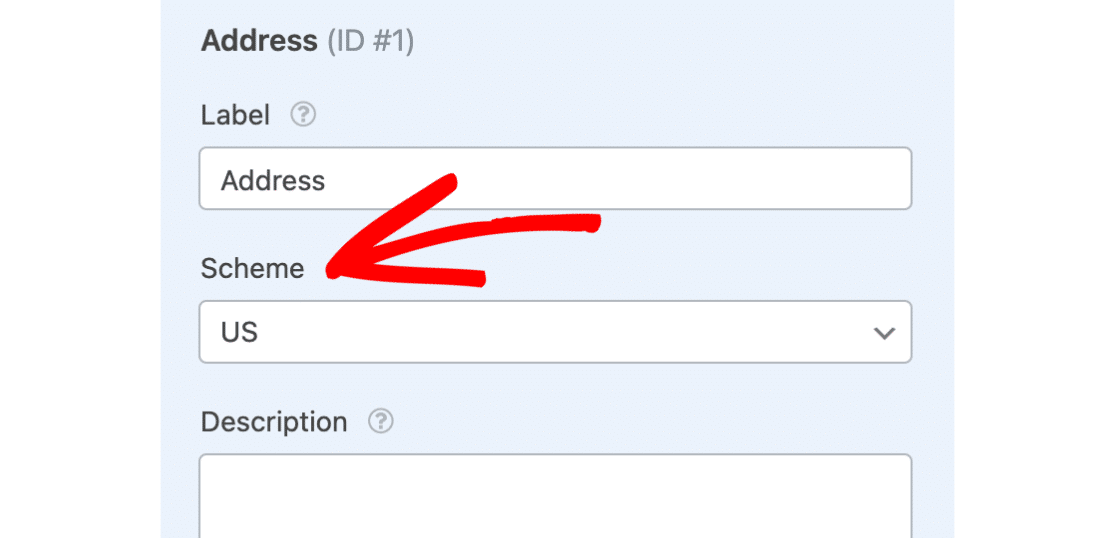
The Address field’s Scheme determines the format for the field and currently offers two options: US and International. To change this, click on the Scheme dropdown field and select the option that fits best.
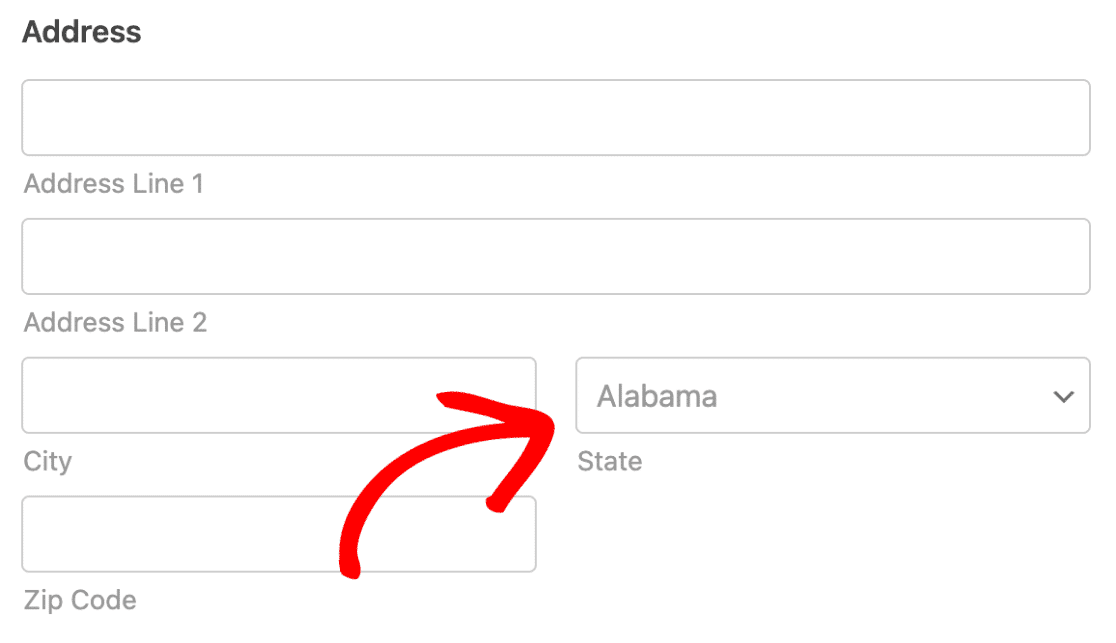
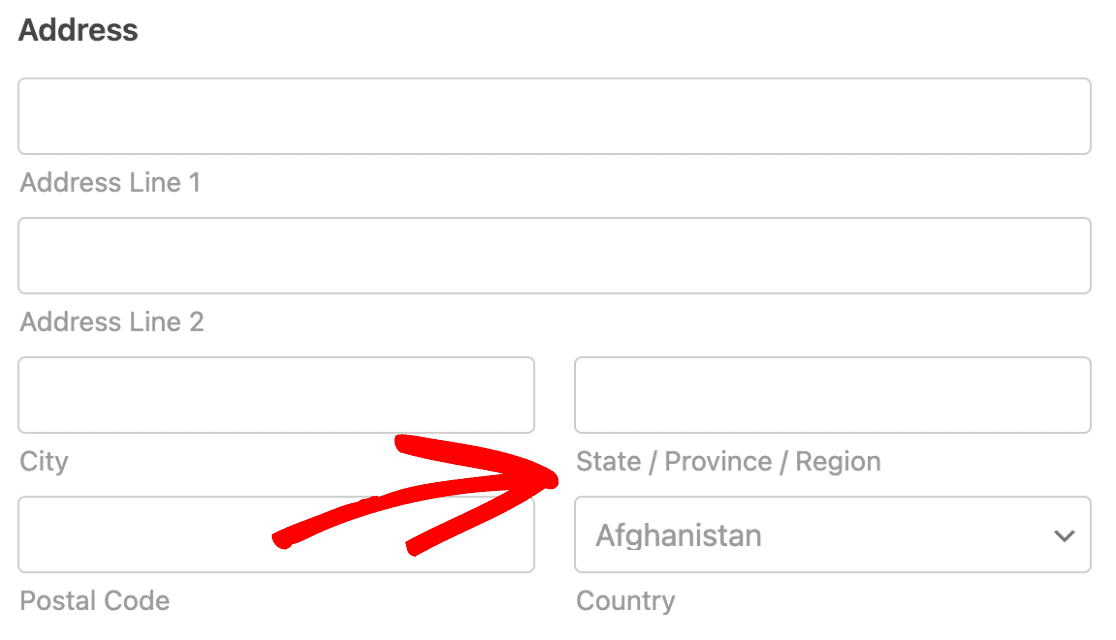
If US is selected, a user will see a dropdown list of states they can choose from.
If International is selected, they’ll instead have a list of countries to choose from and can manually enter their Province/State/Region.
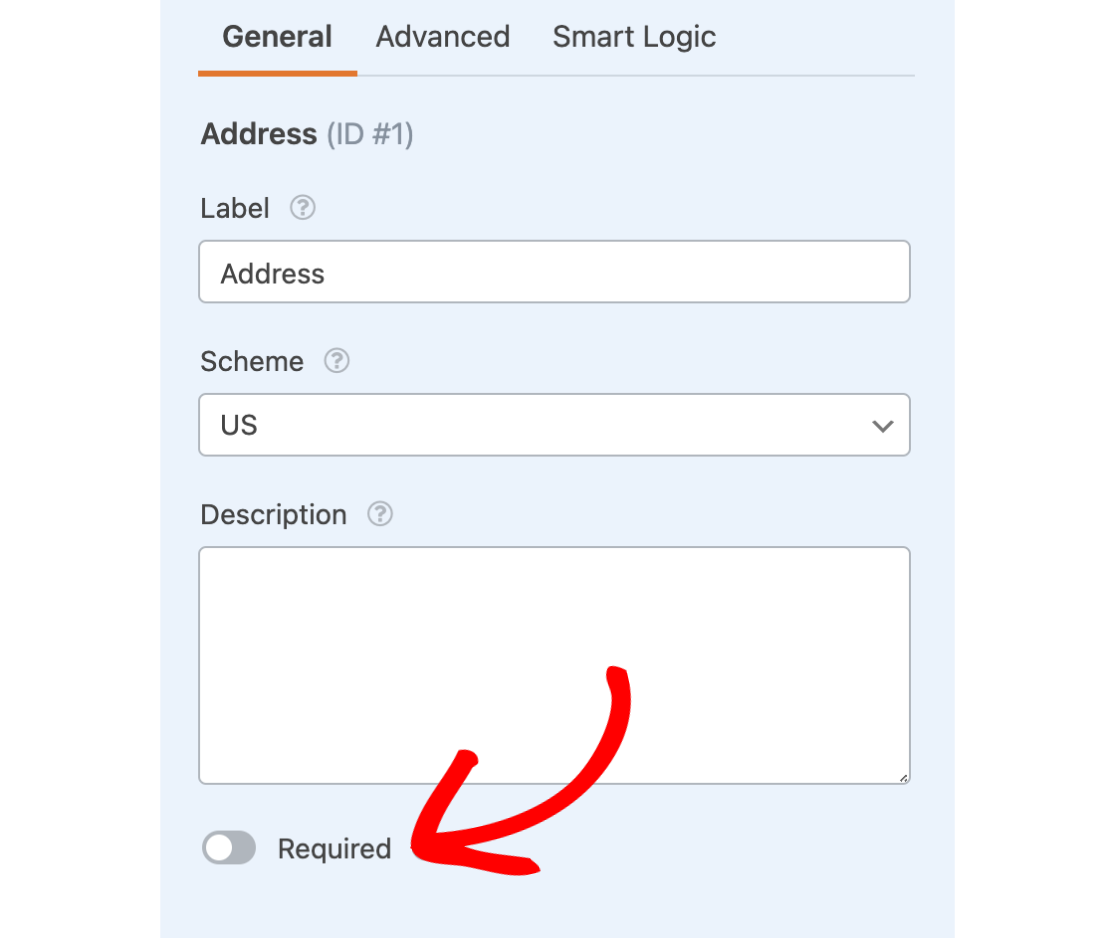
Required Field
The Required option will force users to completely fill out the Address field. If selected, the form will not submit or the user will not be able to go on to the next page if it’s a multi-page form.
Adding Placeholder Text or Default Values
You can help your users fill out the form by adding either placeholder text or default values. Placeholders can be used as an example to show users what information needs to be entered in the field. Default values can be used to automatically fill in a field for a user.
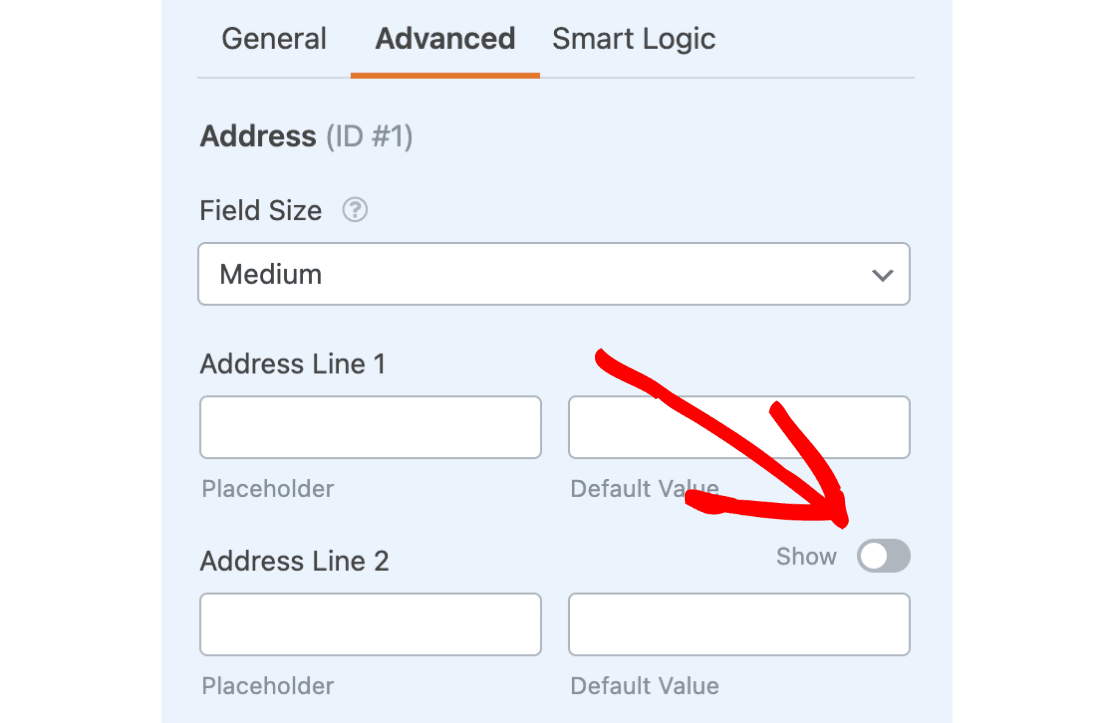
Hiding Extra Sub-Fields
If your form doesn’t require sub-fields like Address Line 2, you can hide these extra sub-fields by changing the Show toggle switch to Hide for each field in the form builder.
Enabling Address Autocomplete
To use the address autocomplete feature, you’ll first need to install and activate the Geolocation addon.
Requirements: You will need a Pro license level or higher to access the Geolocation addon.
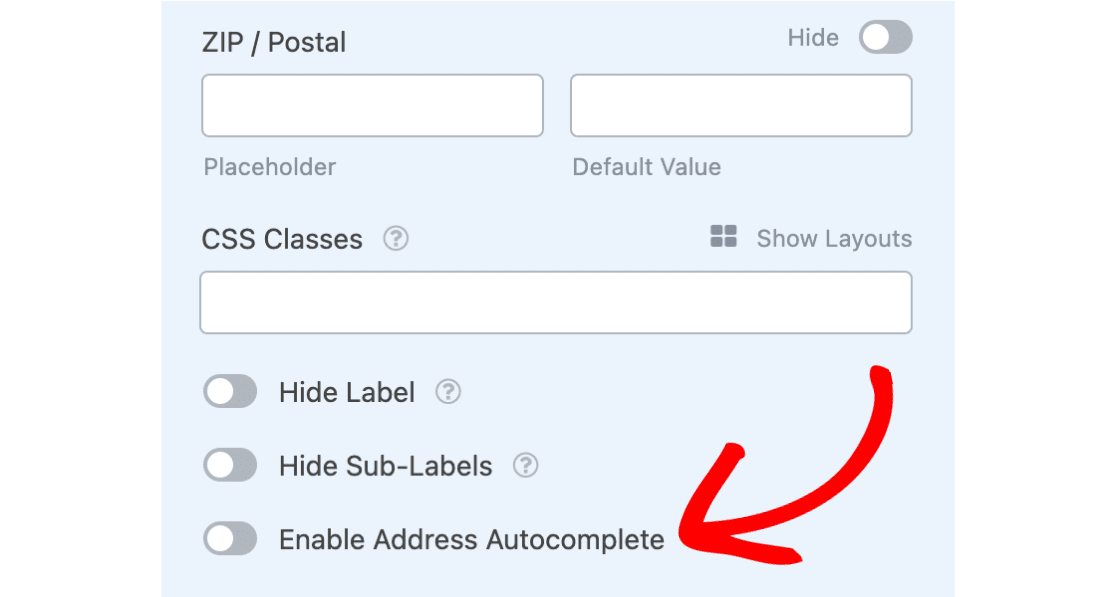
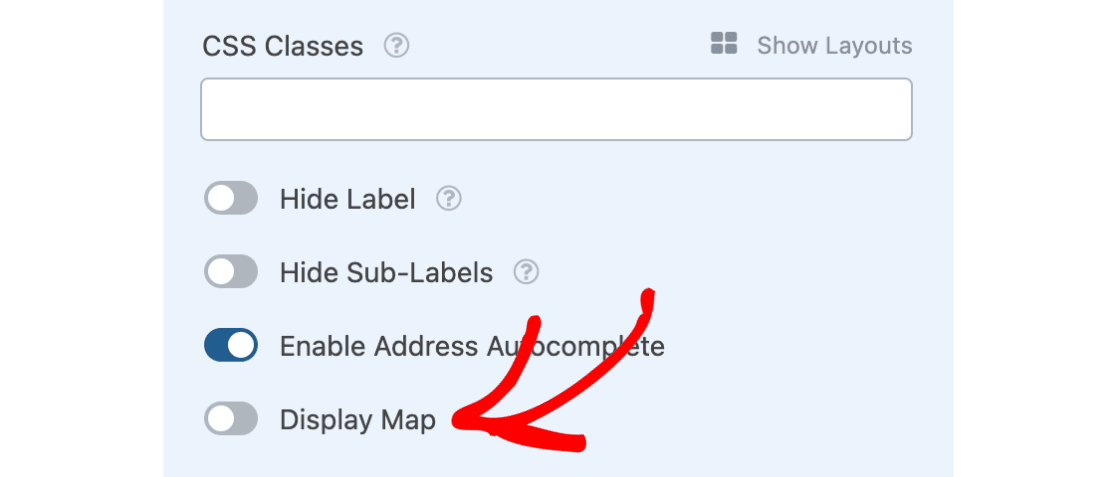
Then, under the Advanced tab, you can turn on the address autocomplete feature by selecting the Enable Address Autocomplete option.
If you’d like, you can also choose to display an interactive map on the frontend of your forms by selecting the Display Map option.
Once you’ve got everything set up, be sure to save your form.
That’s it! You can now customize your Address field options in WPForms.
Next, would you like to customize the rest of your form fields? Be sure to check out our tutorial on customizing form field options for details and lots of examples.
