AI Summary
Do you want to use WPForms to add users to your Constant Contact mailing lists? With our Constant Contact integration, you can enable users to join your subscriber lists by submitting a form on your website.
This tutorial will show you how to add subscribers to your Constant Contact mailing lists via a newsletter signup form.
Before you dive into the tutorial below, you’ll need to install and activate WPForms on your WordPress site. Also, if you don’t already have a Constant Contact account, be sure to create one before you proceed.
Configuring the Constant Contact Integration
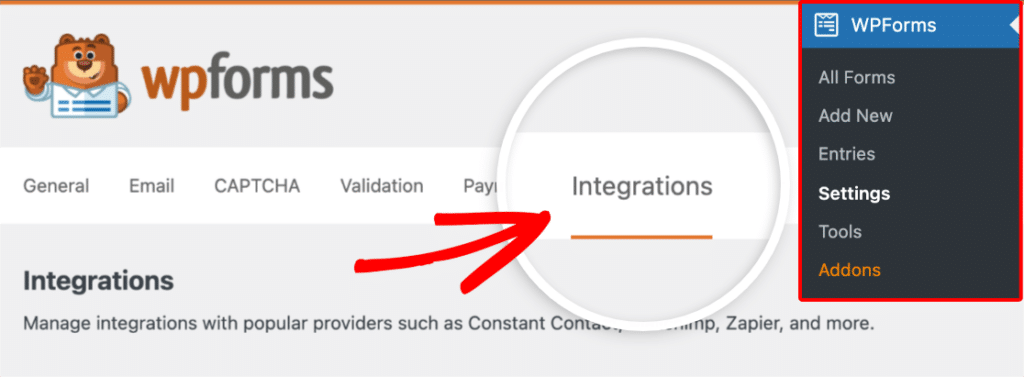
The first step is to integrate WPForms with your Constant Contact account. To do this from the WordPress dashboard, you’ll need to go to WPForms » Settings and click on the Integrations tab.
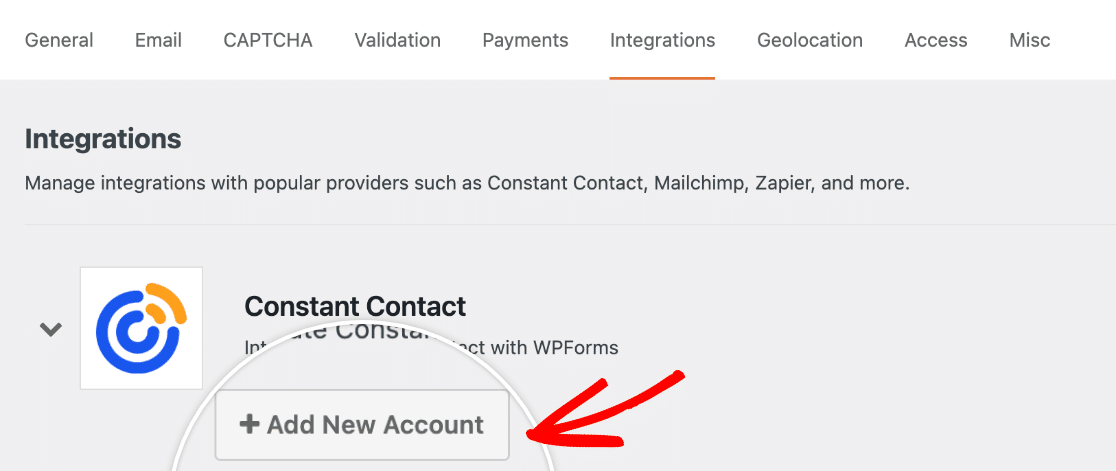
Then, click on the Constant Contact section to expand its settings. Then click on the Add New Account button.
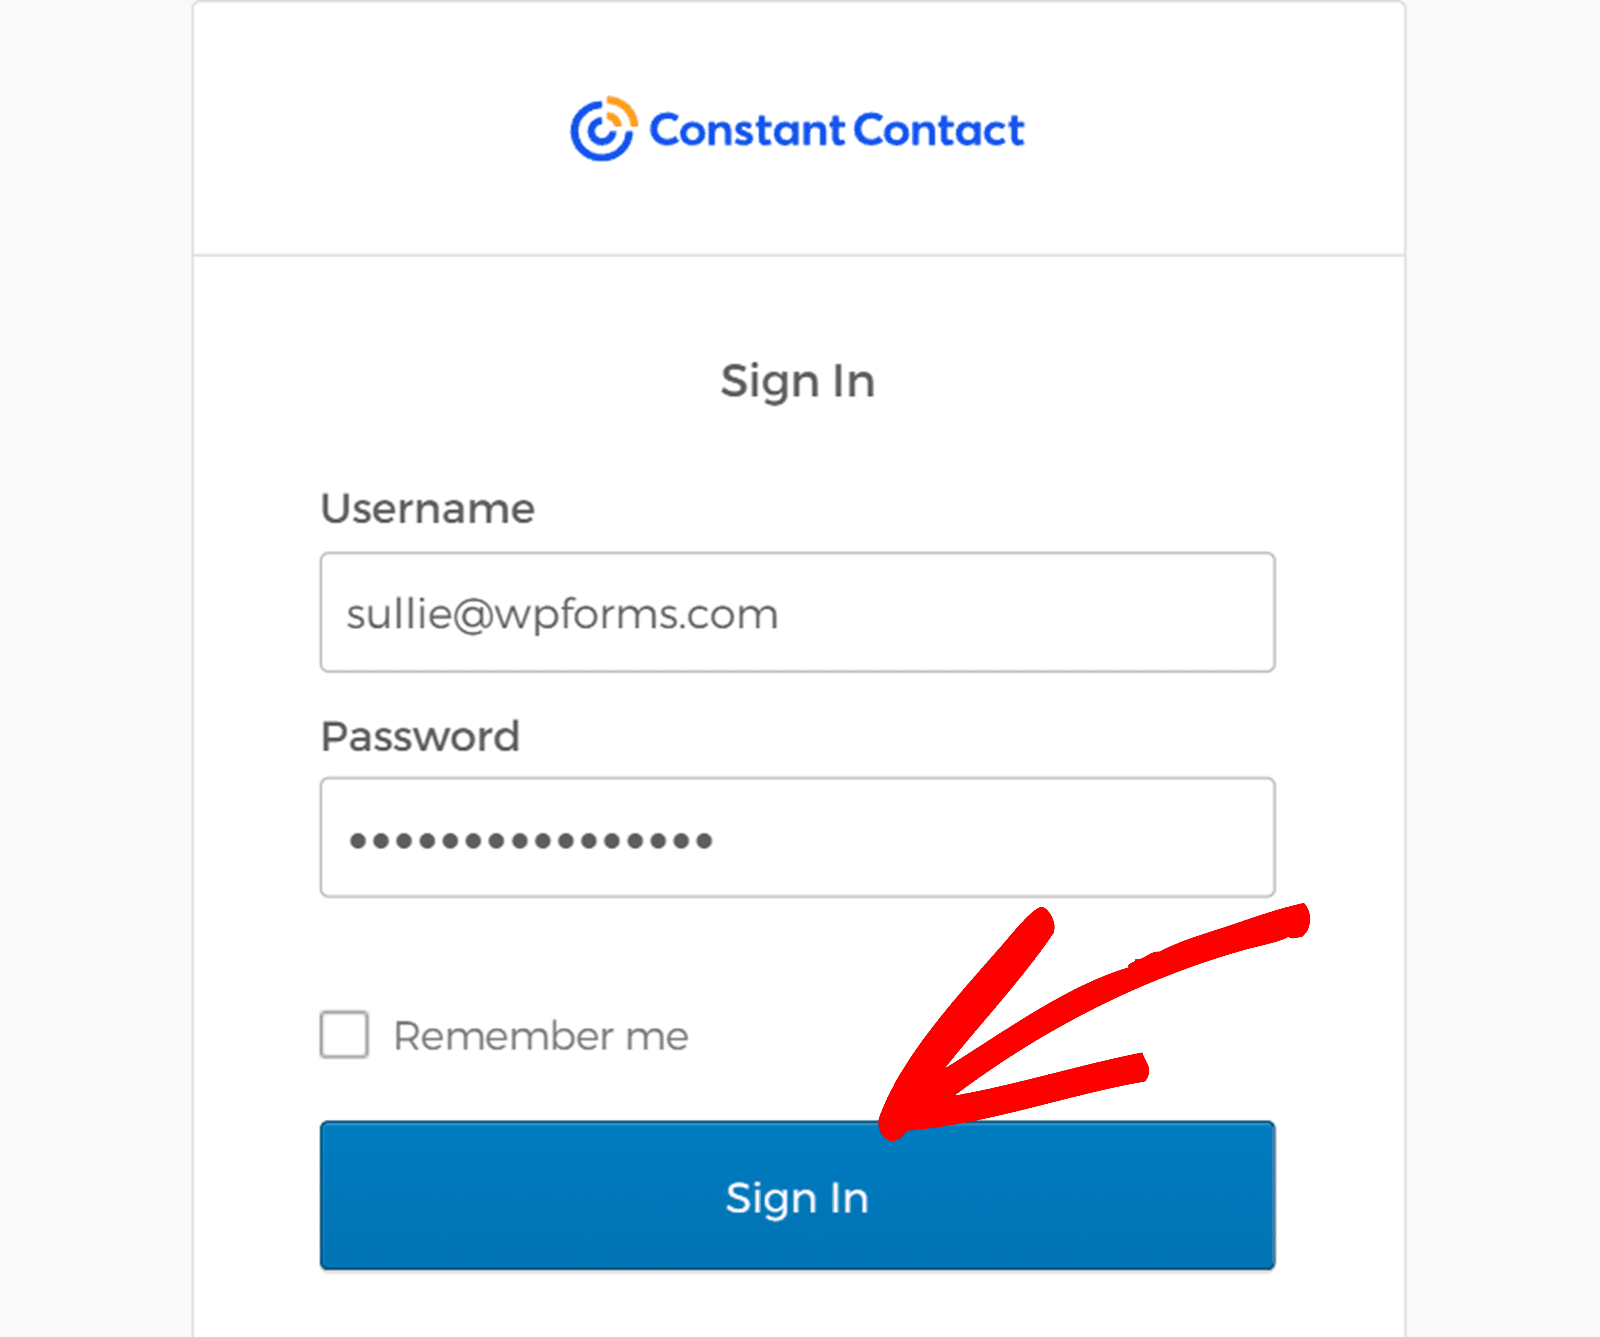
This will open a login screen for Constant Contact in a new popup window. Enter your username and password, then click Sign In to connect your account.
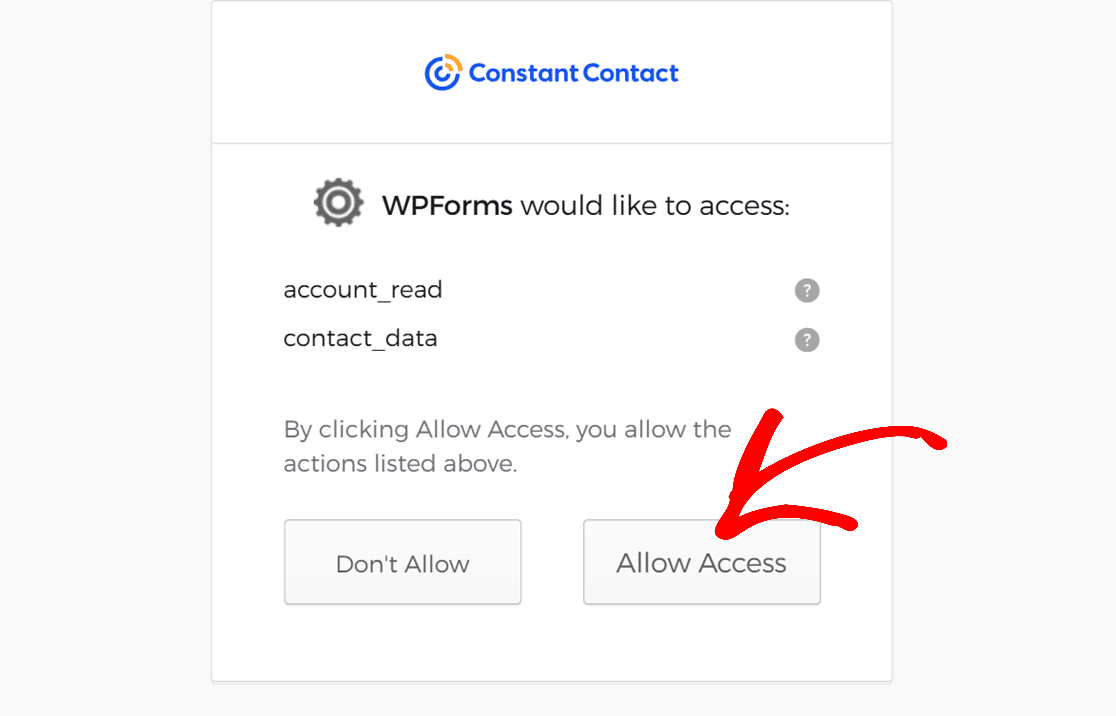
After signing in, click Allow Access to grant WPForms access to your Constant Contact account.
After granting permission, you’ll be redirected back to WPForms » Settings » Integrations, where you should see the green Connected status along with your connection details.

Adding a Constant Contact Integration To Your Form
The next step is to add a Constant Contact integration to specific forms on your site. To do this, you’ll need to create a new form or edit an existing one to open the form builder.
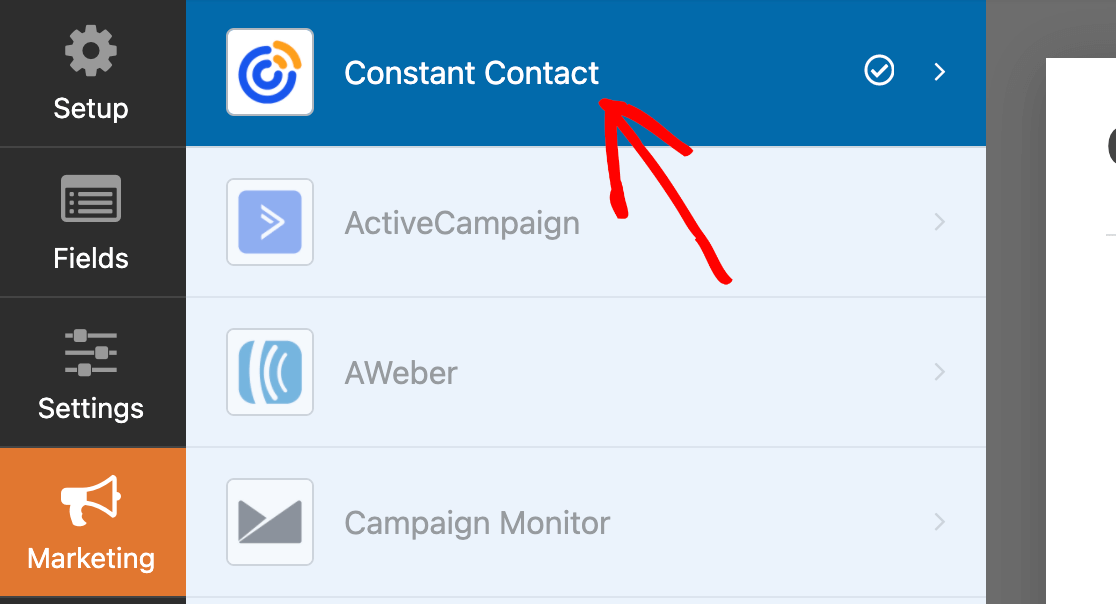
Once you’ve customized your form’s fields, configured its settings, and are happy with how it looks, go to Marketing » Constant Contact.
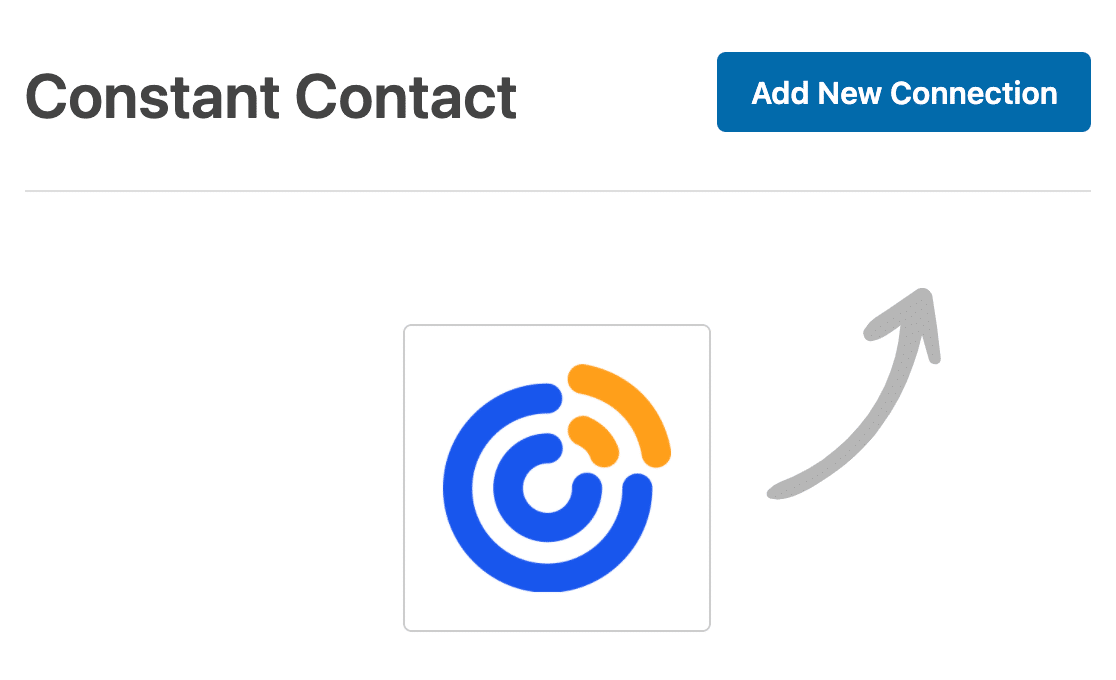
Then click on Add New Connection.
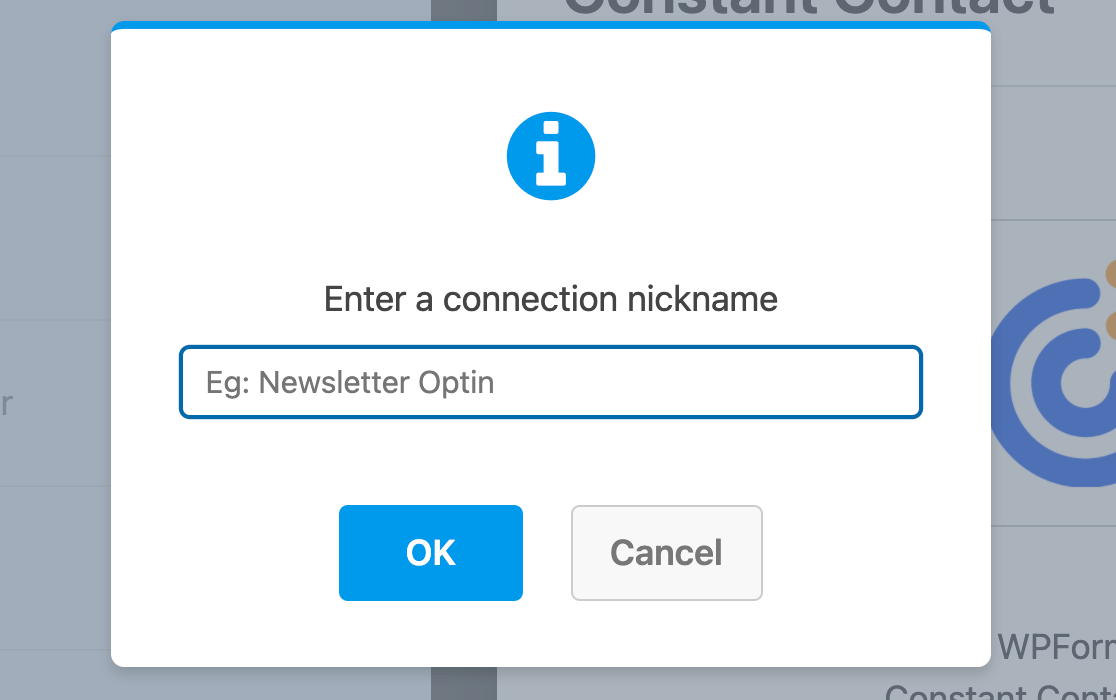
This will cause an overlay to appear. Here, enter a nickname for the connection you’re creating. Once again, this is just for internal reference and organization purposes. Your users will never see it.
After naming the connection, you’ll need to select an account and choose an action to perform when someone submits your form.
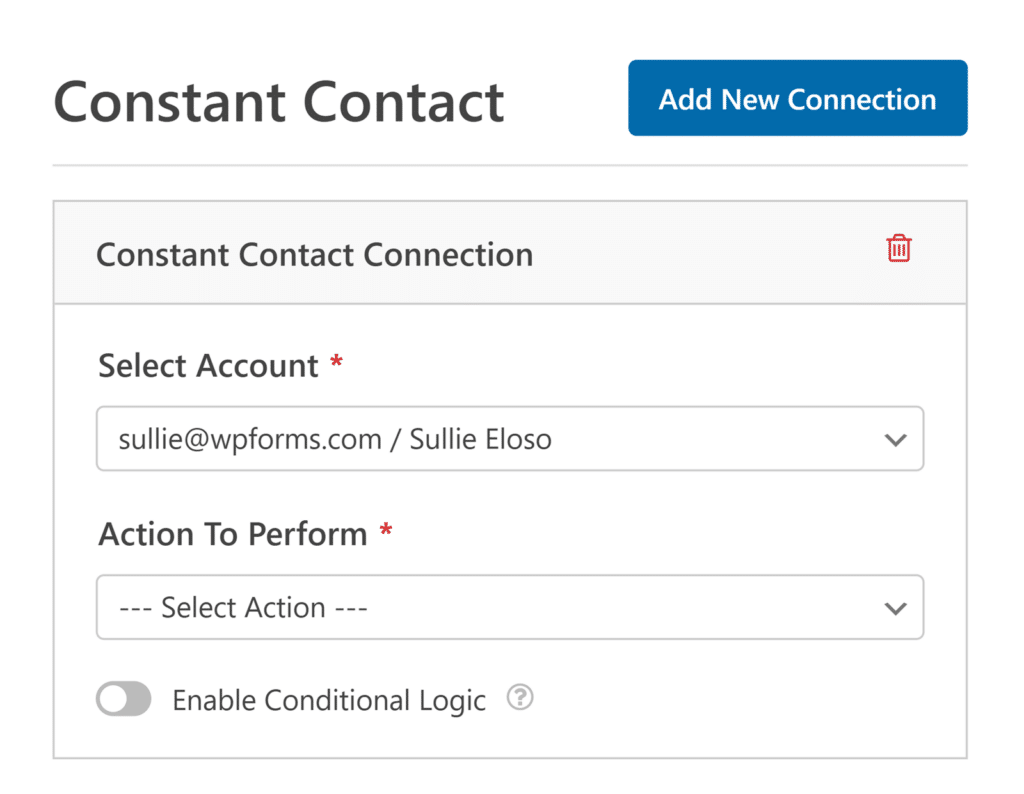
- Select Account: Choose from any of the Constant Contact accounts you’ve connected.
- Action To Perform: Select the action you want to execute when a user fills out this form. The option selected here will also determine which additional settings are displayed.
We’ll cover each of the available actions, and their related options, in more detail below:
Subscribe
This action allows you to add new subscribers to your Constant Contact mailing lists when the form is submitted.
Once you’ve selected Subscribe as the action to perform, additional configuration settings will appear.
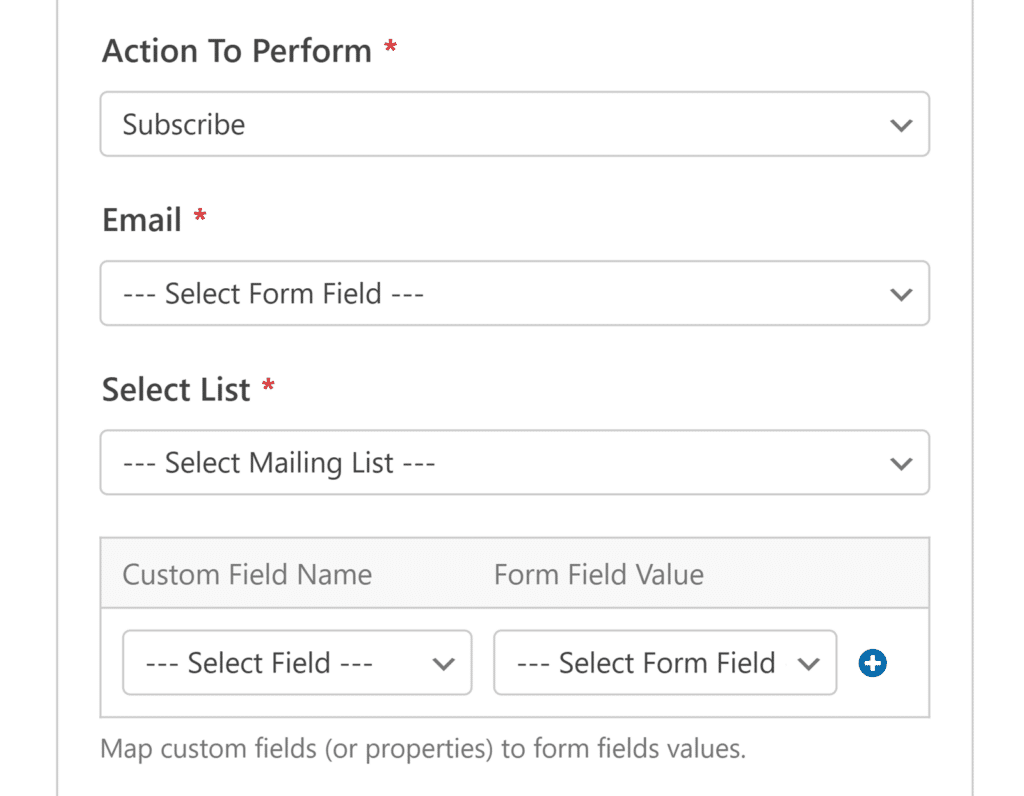
- Email: Choose an Email field from your form. This is required and will be used as the subscriber’s email address.
- Select List: Choose which Constant Contact mailing list you want to add subscribers to.
You can also map additional form fields to Constant Contact custom fields:
- Custom Field Name: Select a custom field from your Constant Contact account
- Form Field Value: Choose the corresponding field from your form
Unsubscribe
This action allows you to remove subscribers from your Constant Contact mailing lists when the form is submitted.
Once you’ve selected Unsubscribe as the action to perform, additional configuration settings will appear.
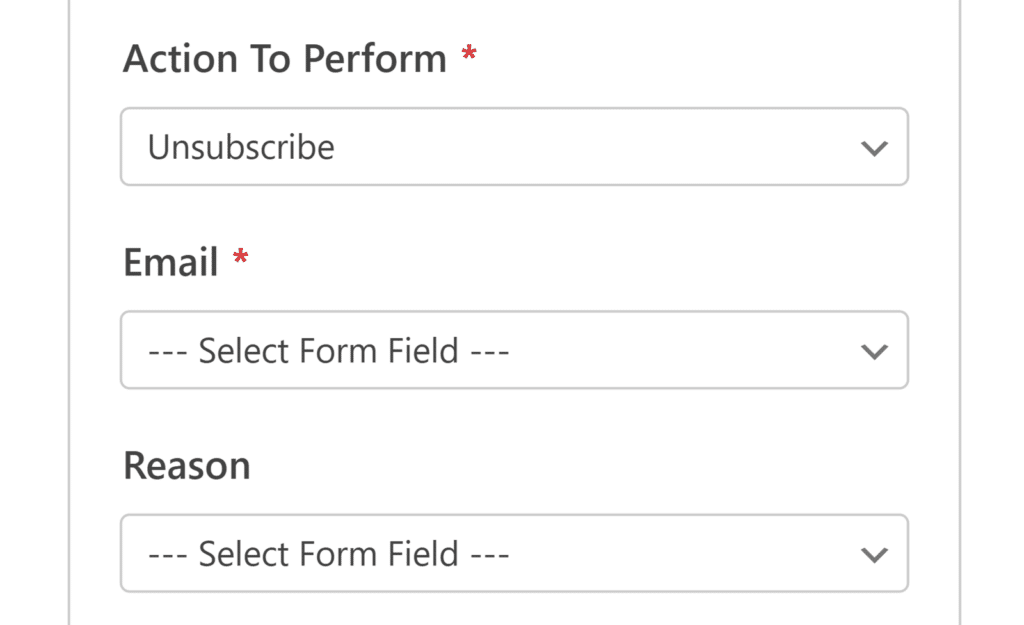
- Email: Choose an Email field from your form. This is required and will be used to identify which subscriber to remove.
- Reason: Select a form field that contains the reason for unsubscribing. While optional, this can help you track why users choose to unsubscribe.
Delete Subscriber
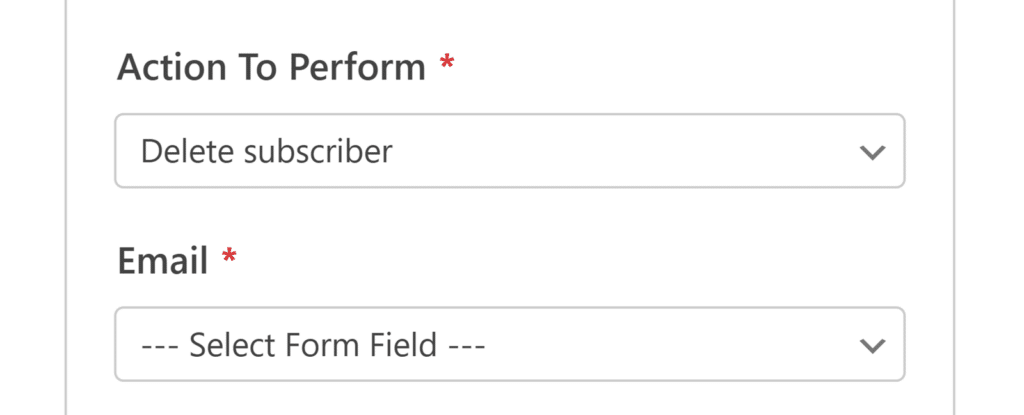
This action lets you permanently remove subscribers from your Constant Contact account when the form is submitted.
When you select Delete Subscriber as the action to perform, you’ll see this setting:
- Email: Choose an Email field from your form. This is required and will be used to identify which subscriber to permanently delete from your Constant Contact account.
Once you’re done configuring your form’s Constant Contact connection, click Save at the top of the form builder.

Setting Up Conditional Logic (Optional)
Conditional logic allows you to set rules for events based on users’ selections or input in their form entries. For example, you could use conditional logic to allow users to choose if they’d like to join your mailing list.
To use conditional logic with Constant Contact, turn on the Enable Conditional Logic option and create your conditional logic rule.

Frequently Asked Questions
These are some of the most common questions we receive about using the Constant Contact integration.
Why do I see a message about migrating my existing forms to a new version of Constant Contact?

This message appears because Constant Contact has updated their API to a newer version (v3) that WPForms now uses.
To migrate your forms, click on the words click here in the text that reads “Please click here to start the migration”.

After the page has refreshed, click the Reconnect Account button. You’ll see a popup window where you’ll need to enter your Constant Contact password.
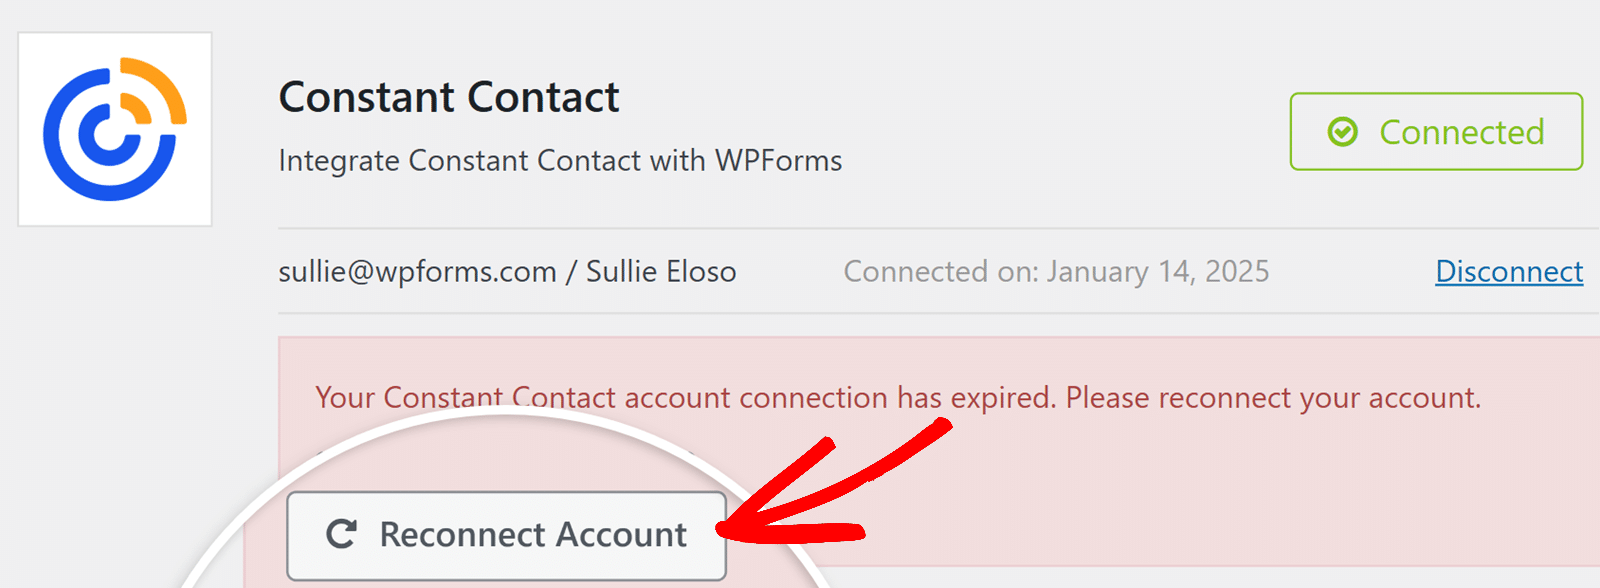
Once you’ve signed in, your forms will be migrated to use the new integration.
That’s it! You’re now able to successfully create a newsletter signup form with Constant Contact.
Next, would you like to add extra protection against spam to your forms? Check out our tutorial on how to add reCAPTCHA to your forms.
