AI Summary
Would you like to access the URL of files uploaded through your form? You might need this URL to pass to a CRM, use in a cURL function, or display images in confirmation messages.
This tutorial will show you how to retrieve the File Upload field URL using PHP.
Setting Up the Form
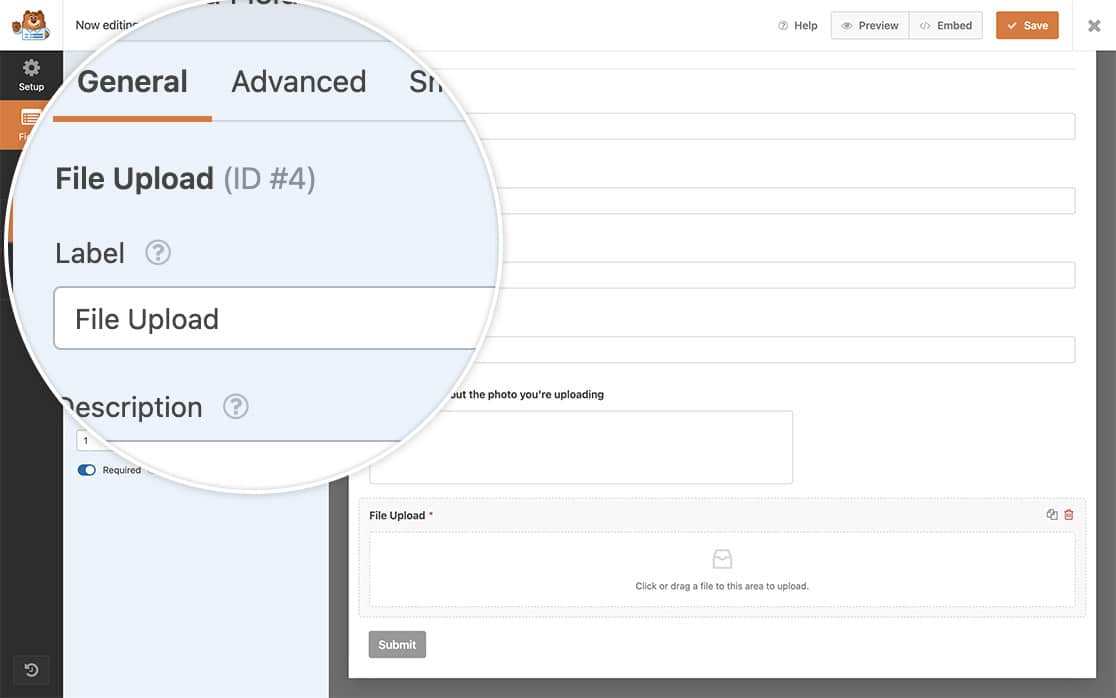
To begin, we’ll create a new form and add our form fields. Add a File Upload field to your form – this is where users will upload their files.
If you need help creating your form, please review our form creation documentation.

Getting the File URL
Next, you’ll need to add the following code snippet that will retrieve the file URL. For help adding code snippets to your site, check out our guide on adding custom code snippets.
This snippet works by:
- Checking for your specific form ID (1000 in this example)
- Getting the URL from the File Upload field (ID 10 in this example)
- Displaying the URL in the confirmation message
You’ll need to update line 10 with your form ID and line 15 with your File Upload field ID. If you need help finding these IDs, please review this tutorial on locating form and field IDs.
Adding CSS to reduce the image size
This is an optional step, however, if you don’t want to display the image size at full width, we suggest adding a small CSS snippet to your site to reduce this.
For help with where to add CSS snippets, check out this tutorial.
.image_container {
    max-width: 50%;
    margin: 0 auto;
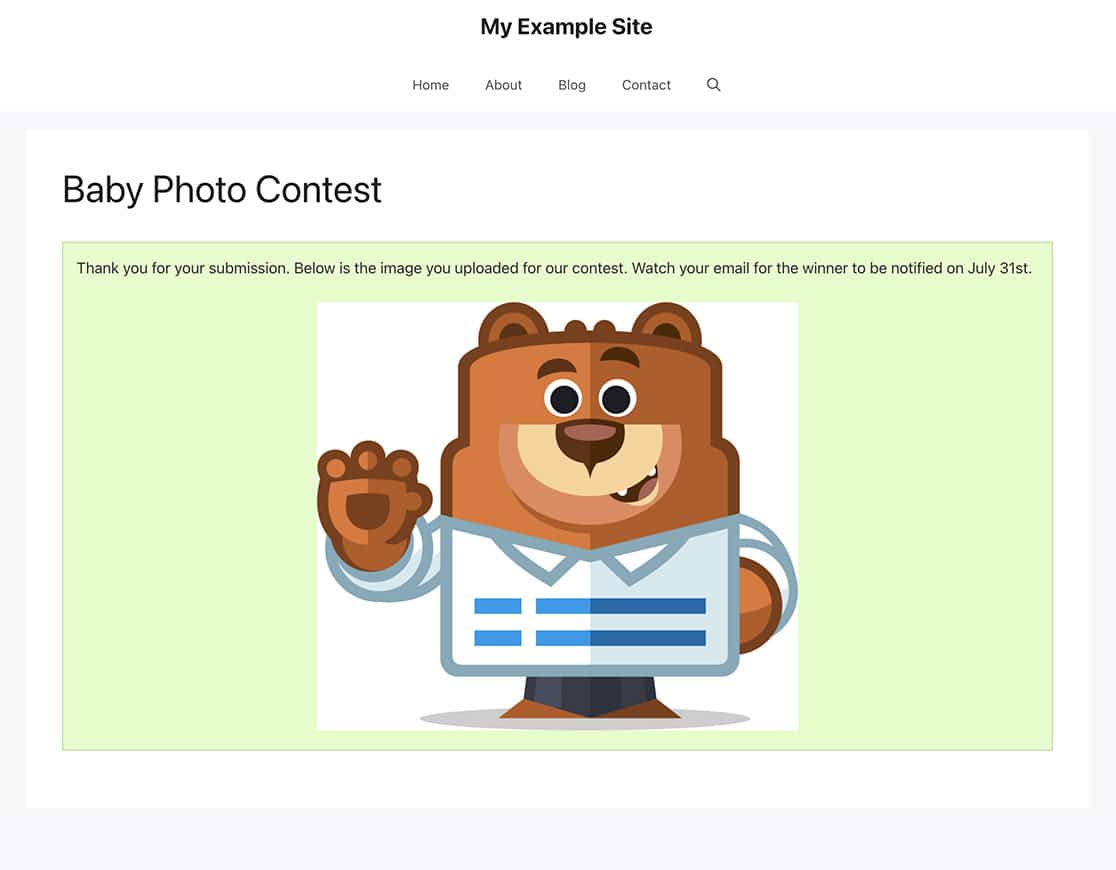
Now when the form is completed, your visitors will see their image under the confirmation message.

FAQ
Q: Can I send this URL to Salesforce?
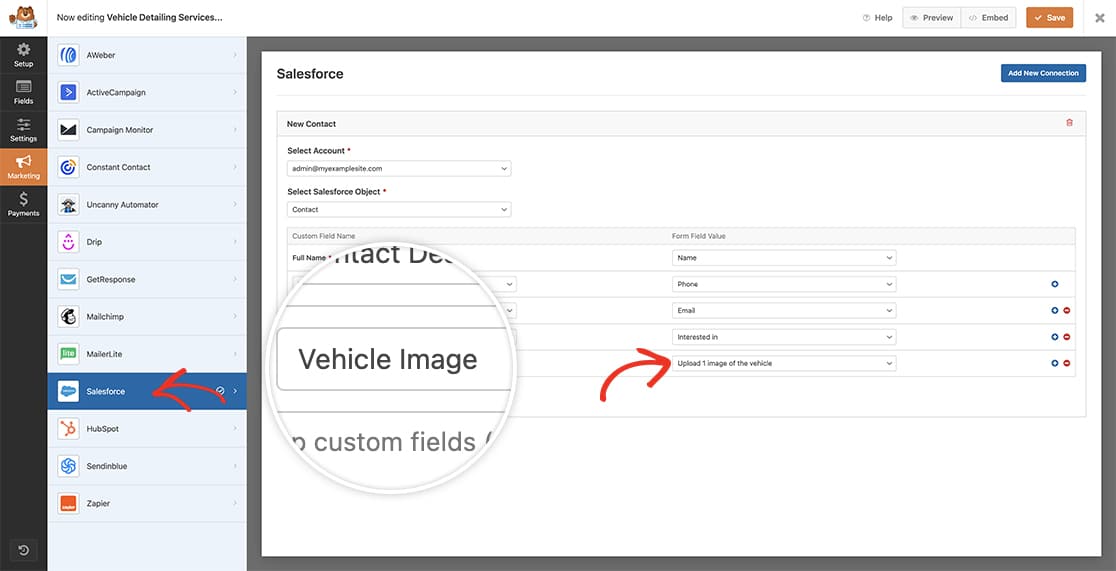
A: Absolutely! And there’s no code snippet required for this. Just create your custom field in Salesforce by following their documentation. Once you’ve added the custom field, you can just edit your form and in the Marketing tab under Salesforce, just map the fields over and the URL will be sent to Salesforce with no code necessary.

Please remember this will only be used for 1 file upload.
And that’s it! You’ve successfully saved the URL of the file uploaded through your form. Would you like to hide the image choices on your email notifications? Take a look at our article on How to Hide Image Choices in Notification Emails.
