AI Summary
Want to keep your WordPress forms organized? Using form tags in WPForms is a simple and intuitive way to identify, categorize, and manage your forms.
This tutorial will show you how to use tags in WPForms.
Before getting started, you’ll first need to make sure WPForms is installed and activated on your WordPress site. Then, be sure to create a form if you haven’t already.
Viewing Your Forms
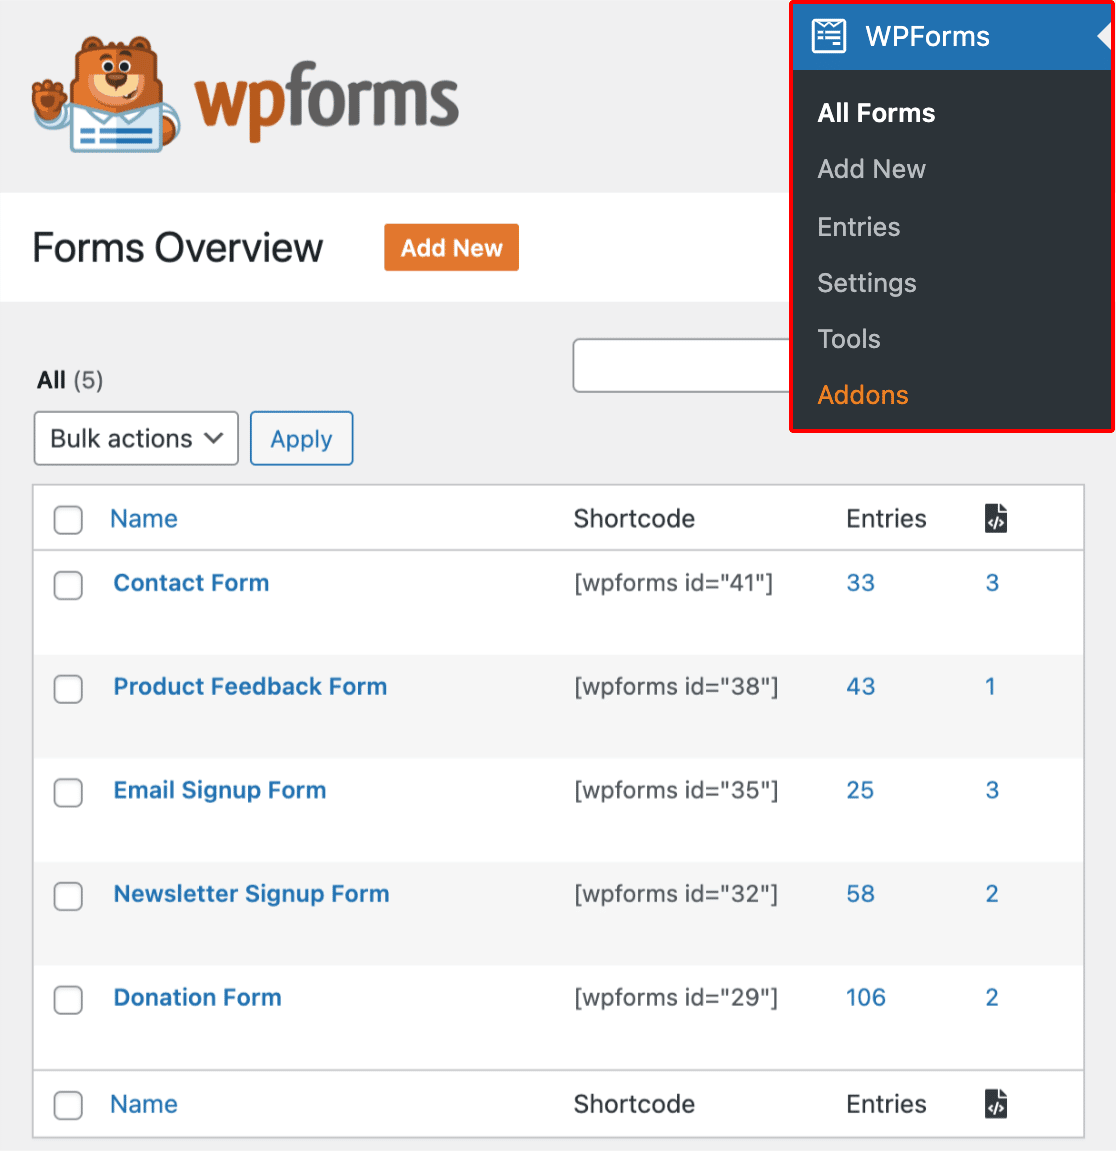
WPForms makes it easy to view all your forms in the WordPress admin area. To view them, click WPForms » All Forms in the WordPress side menu. This will take you to the Forms Overview page where you can view and manage all the forms you’ve created.
In the following section, we’ll cover how to enable form tags.
Enabling Form Tags
Once you’ve accessed the Forms Overview page, click the Settings icon to view all available options.
To enable form tags and include this column in the table, check the box next to Tags.

After selecting the Tags option, go ahead and click the Save Changes button to save the changes.

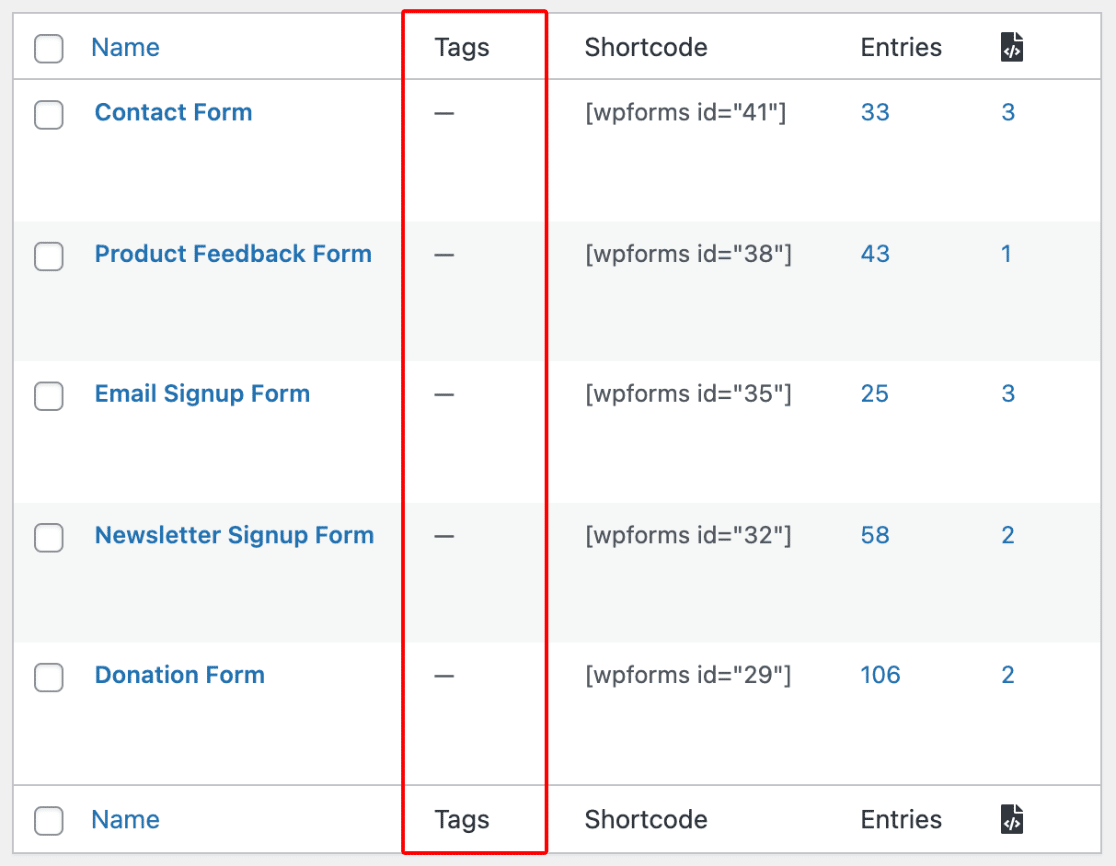
Once you’ve enabled form tags, a Tags column will be added to the Forms Overview table.
In the next section, we’ll cover how to add tags to your forms.
Adding Tags to Your Forms
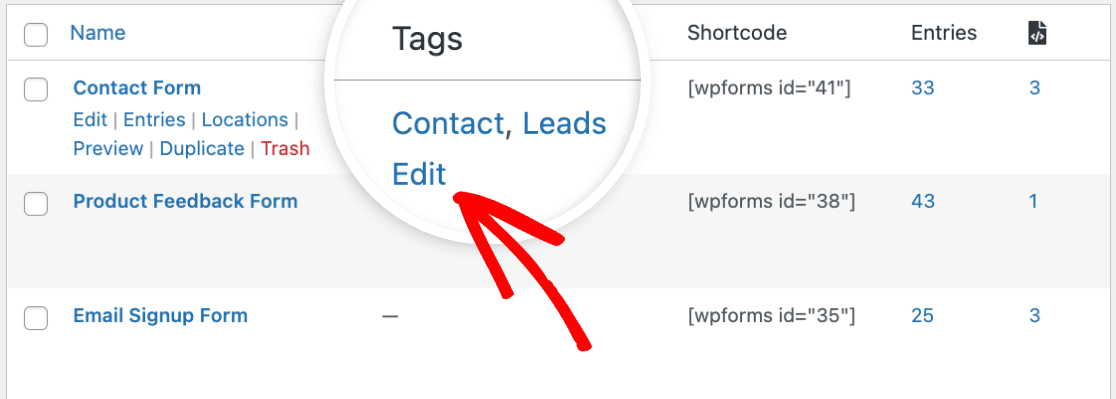
To add a tag to a form, hover over the form in the table, then click the Edit link in the Tags column.

Next, click on the dropdown menu that appears and enter your desired name for the tag. For example, we’ll name our tag “Contact.”
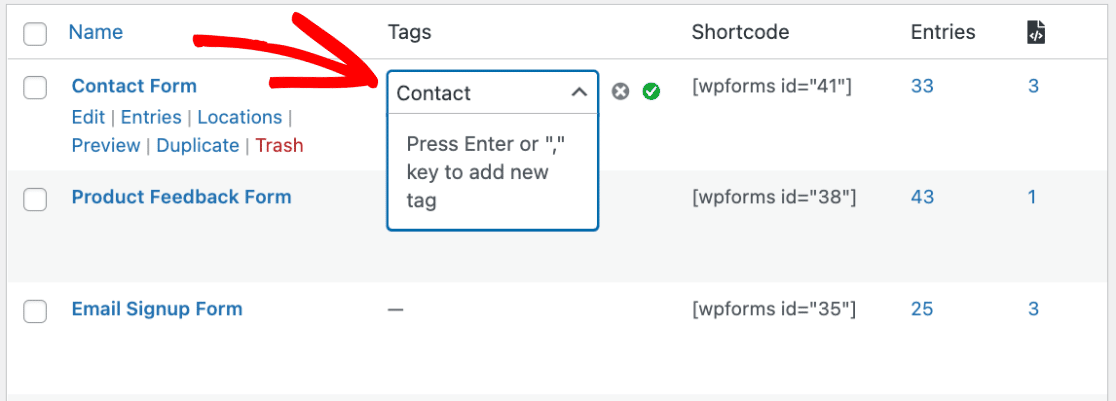
After you’ve added a name for your tag, press the Enter or comma (,) key on your keyboard to temporarily store the tag. Pressing either of these keys also moves the cursor to the next line, allowing you to add additional tags to a form.
For our example, we’ll go ahead and add a second tag to our form titled “Leads.” Then, we’ll press the Enter or comma (,) key once more to store the tag.
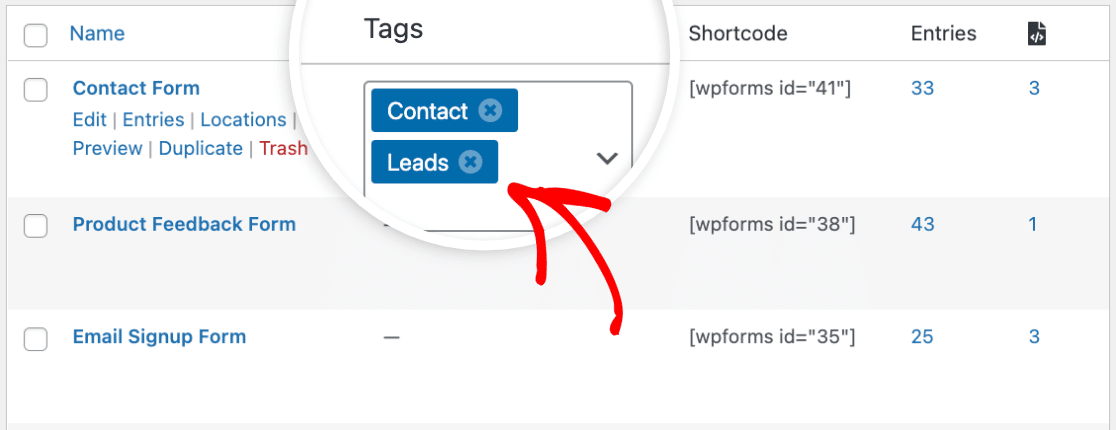
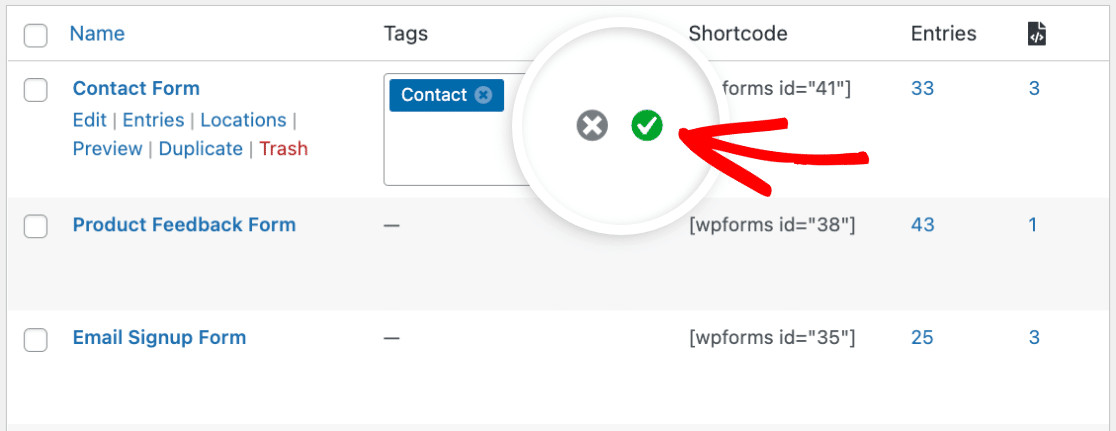
Once you’ve added a tag or multiple tags to your form, you’ll need to click the green checkmark to permanently save the changes.
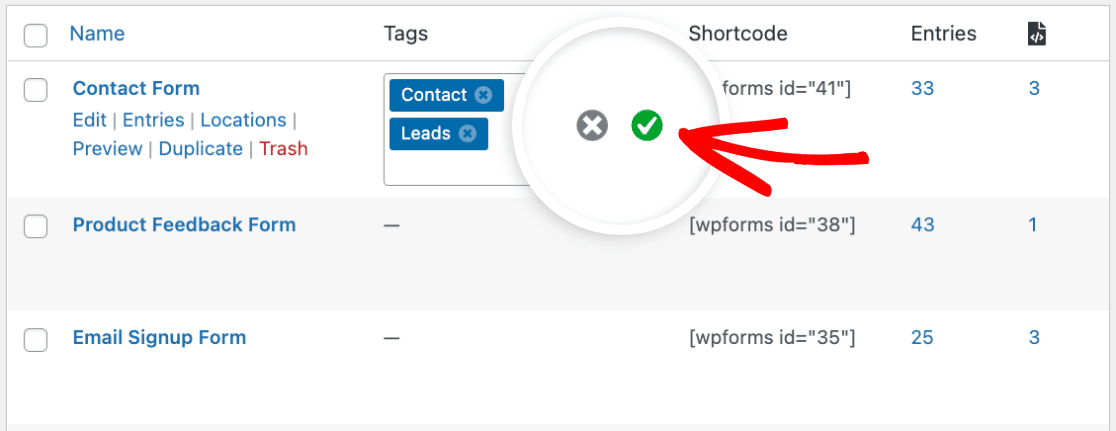
If you prefer not to save the tags and would like to exit the tag editor, click the X icon to cancel.
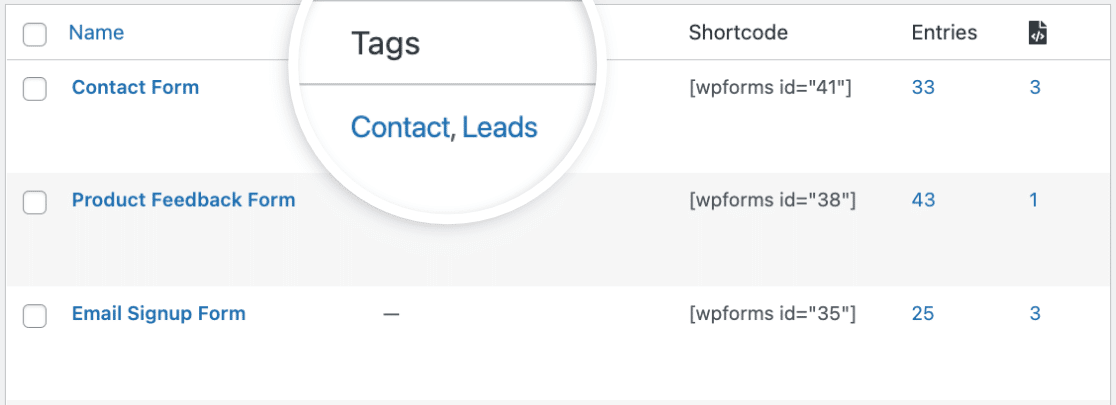
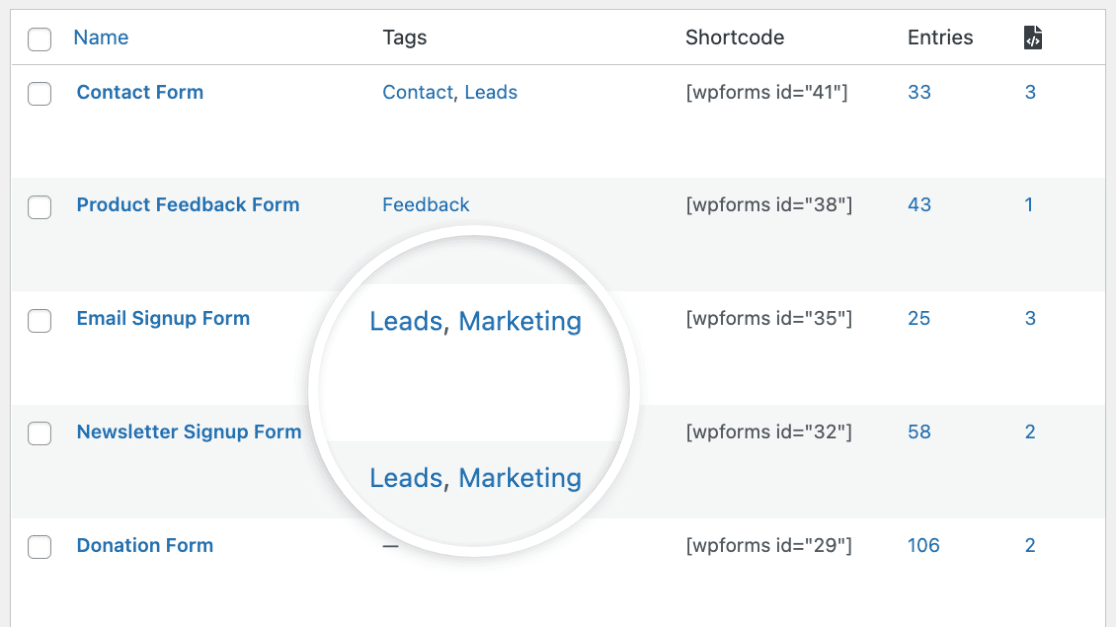
All tags you’ve added to your forms will now appear in the Tags column of the Forms Overview table.
Next, we’ll show you how to manage your form tags.
Managing Form Tags
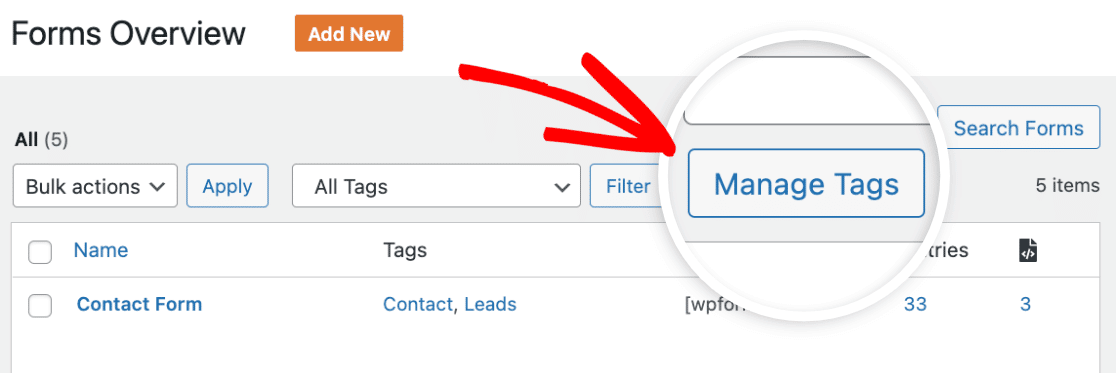
When you add at least one tag to any of your forms, a Manage Tags button will appear at the top of the Forms Overview table. Go ahead and click this button to manage all tags you’ve added to your forms.
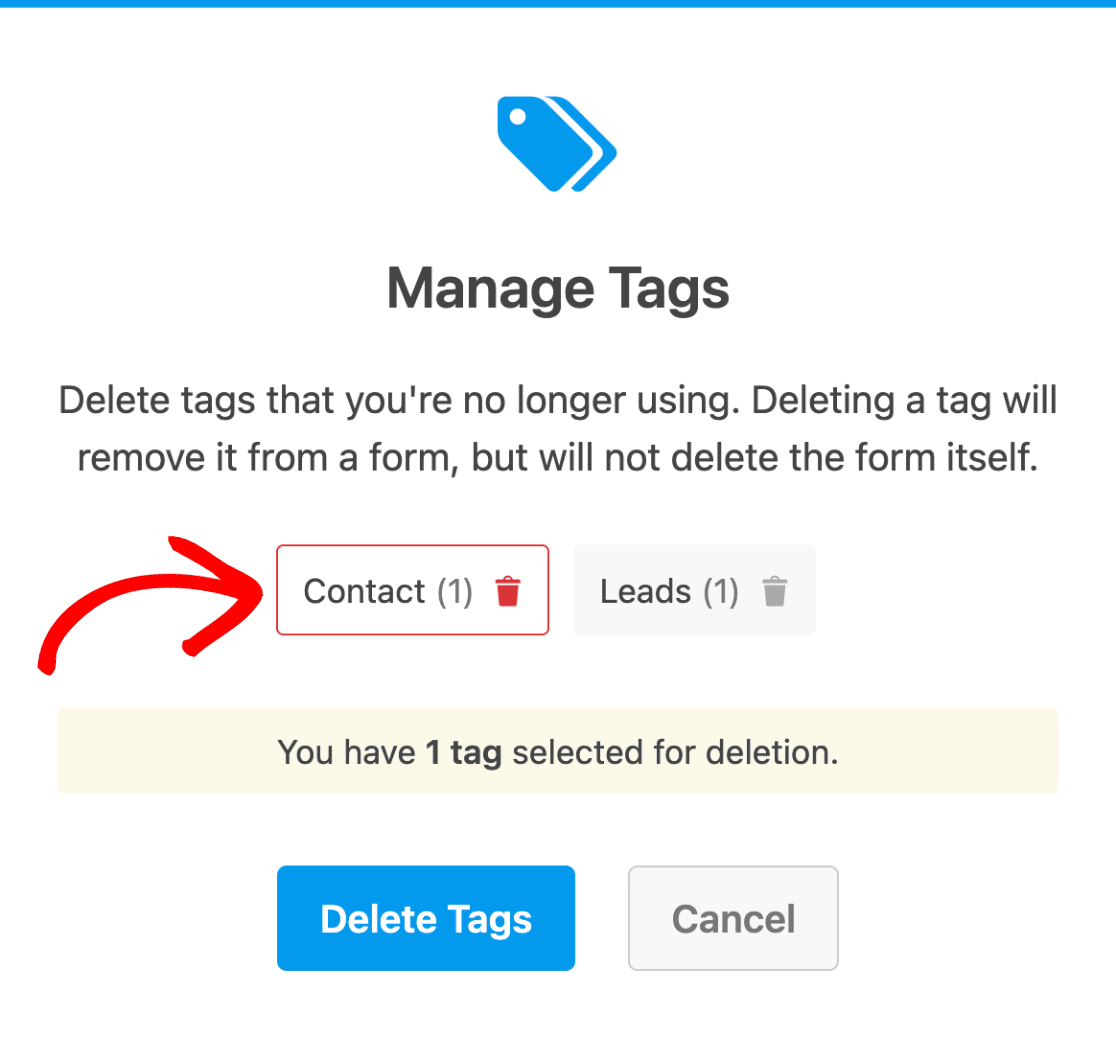
After clicking the Manage Tags button, a modal window will appear where you have the option to delete tags you’re no longer using.
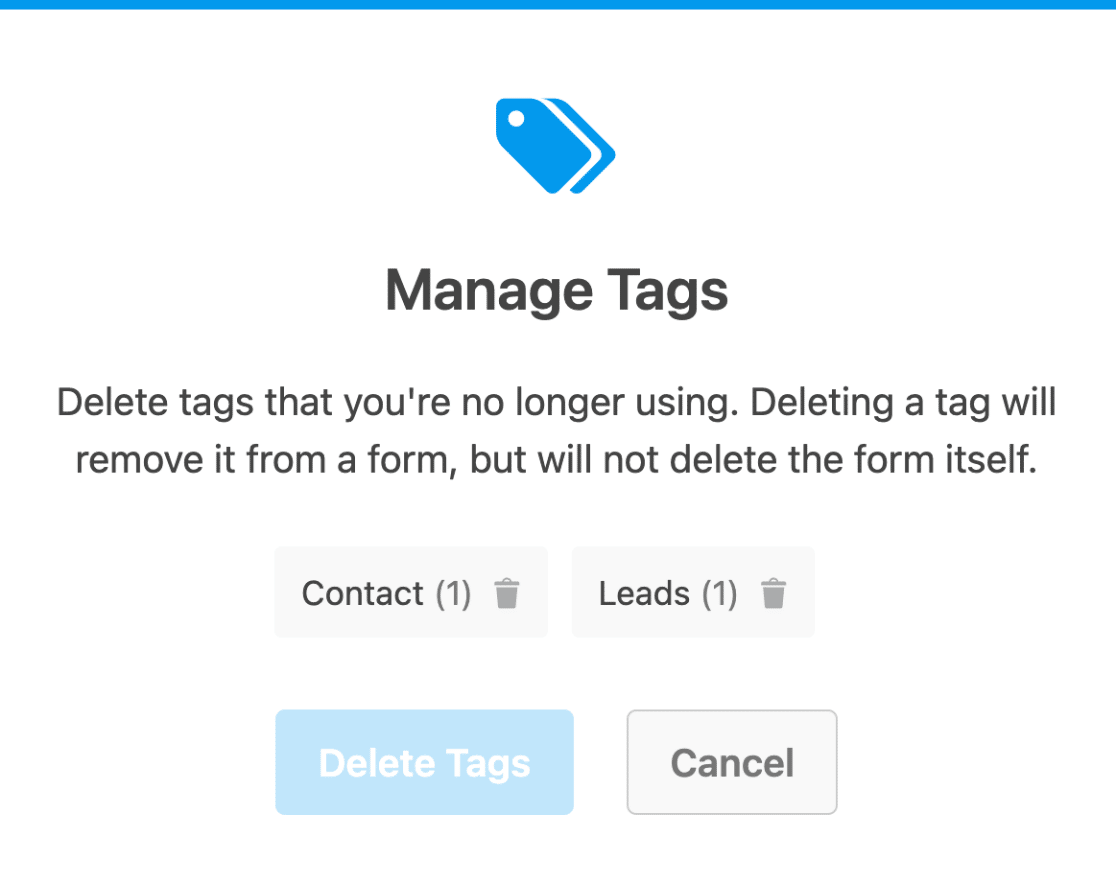
In the modal, you can click on the tag(s) you’d like to select for deletion.
When you’re ready to delete the tag(s) go ahead and click the Delete Tags button.
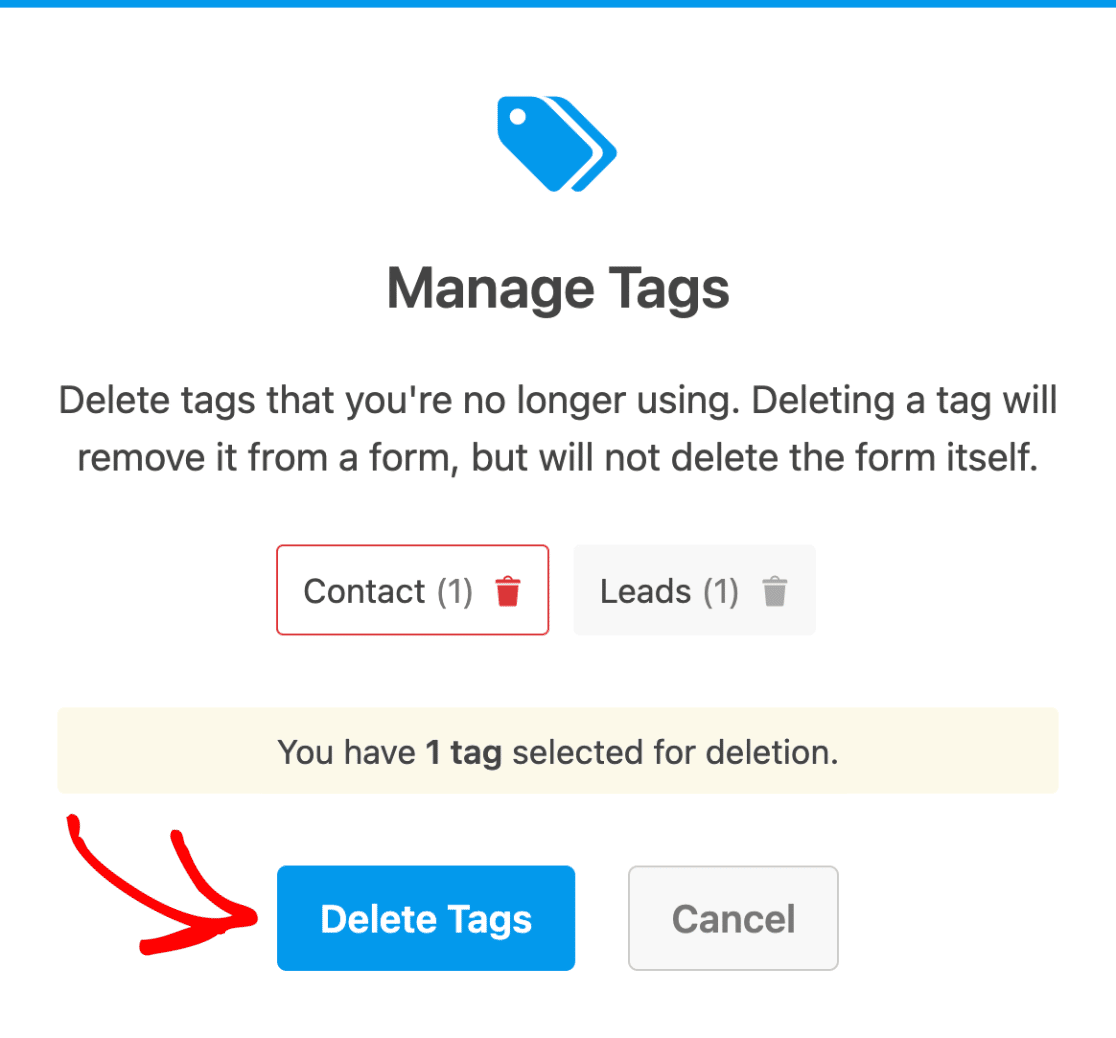
Note: Deleting a tag will remove it from all forms that are using the tag but will not delete the forms themselves.
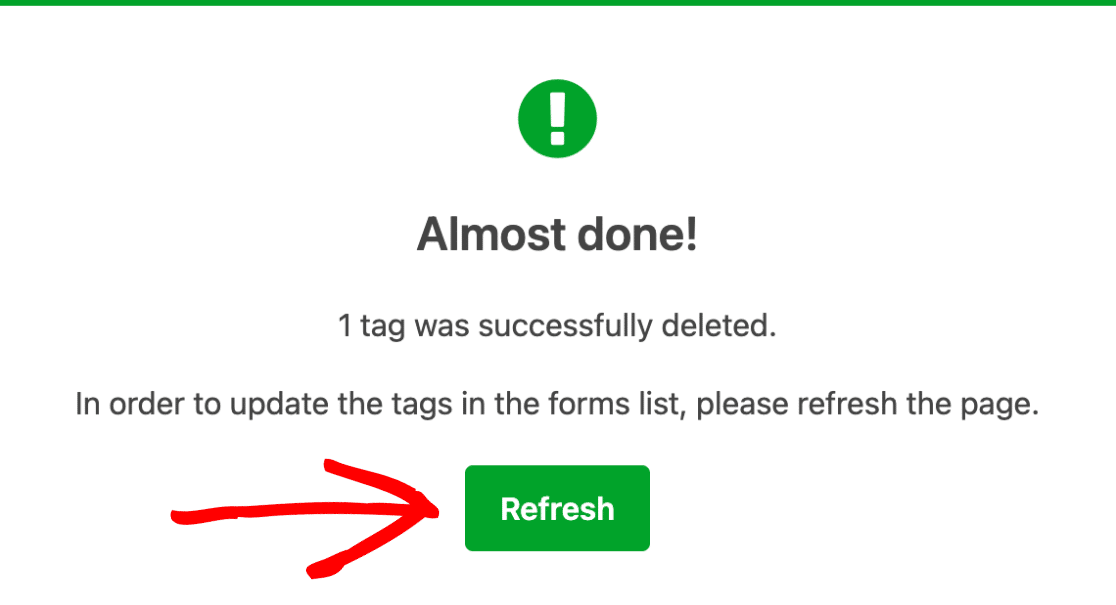
After you’ve deleted your selected tag(s), a new modal window will appear confirming the deletion. However, to update the tags in the Forms Overview table you’ll need to click the Refresh button.
Removing Tags From a Form
If you’d like to remove a tag from a single form, hover over the form in the Forms Overview table and click the Edit link under the Tags column.
Now you’ll see the tag editor with a list of tags you’ve added to the form. To remove a tag from the form, go ahead and click the X icon located next to the name of the tag.
Note: This will only remove the tag from the selected form and won’t remove it from other forms that are using the same tag.
Once you’ve removed the tag(s), click the green checkmark to save the changes.
Next, we’ll cover how you can edit tags for multiple forms at once.
Bulk Editing Form Tags
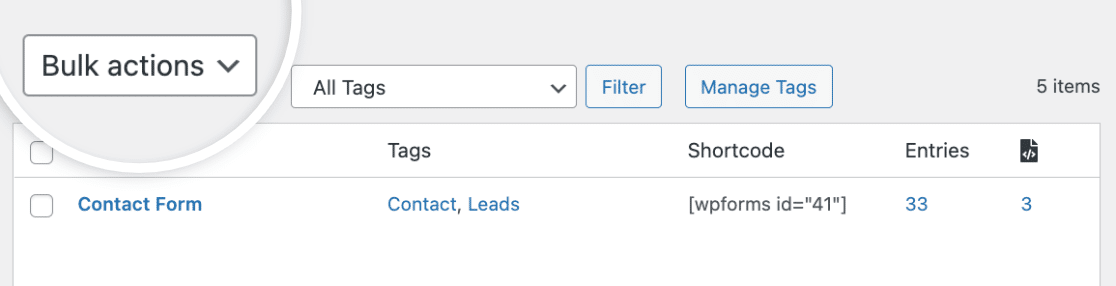
To edit tags for multiple forms at once, click the Bulk actions dropdown located at the top of the Forms Overview table.
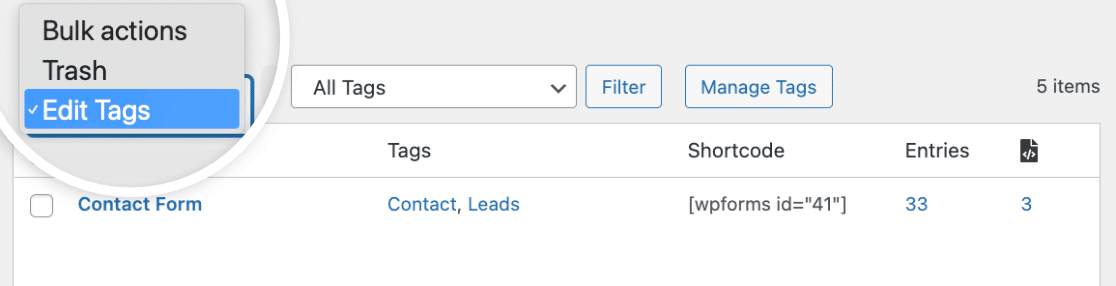
Then, select Edit Tags from the list of dropdown items.
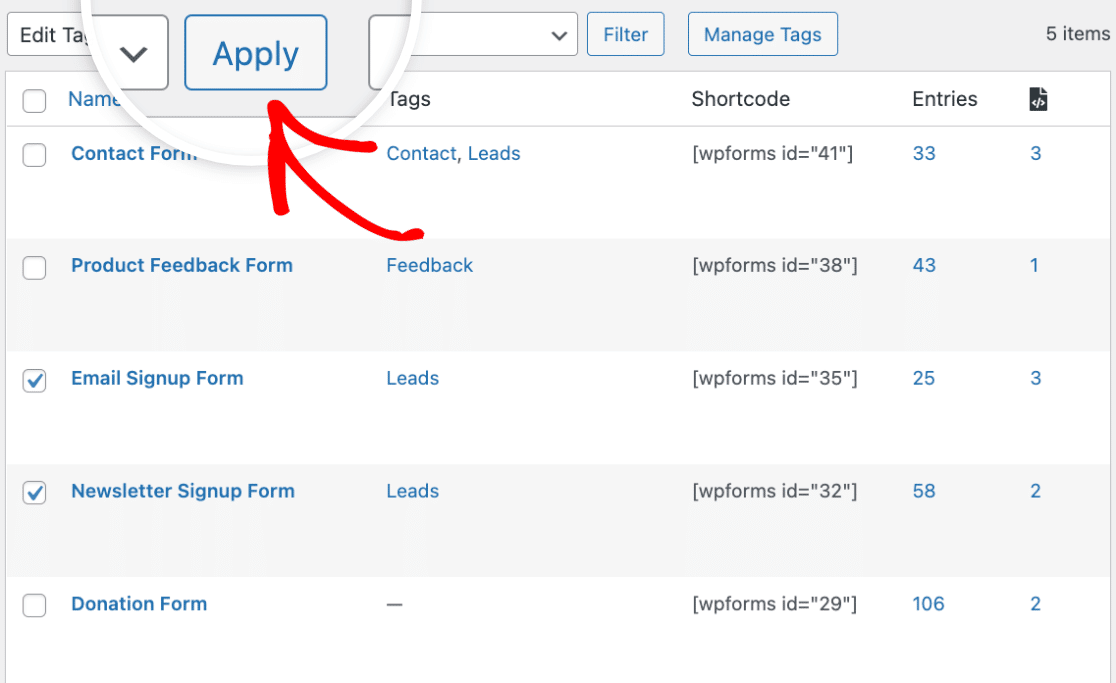
After that, check the box next to each form you’d like to include in your bulk edit.
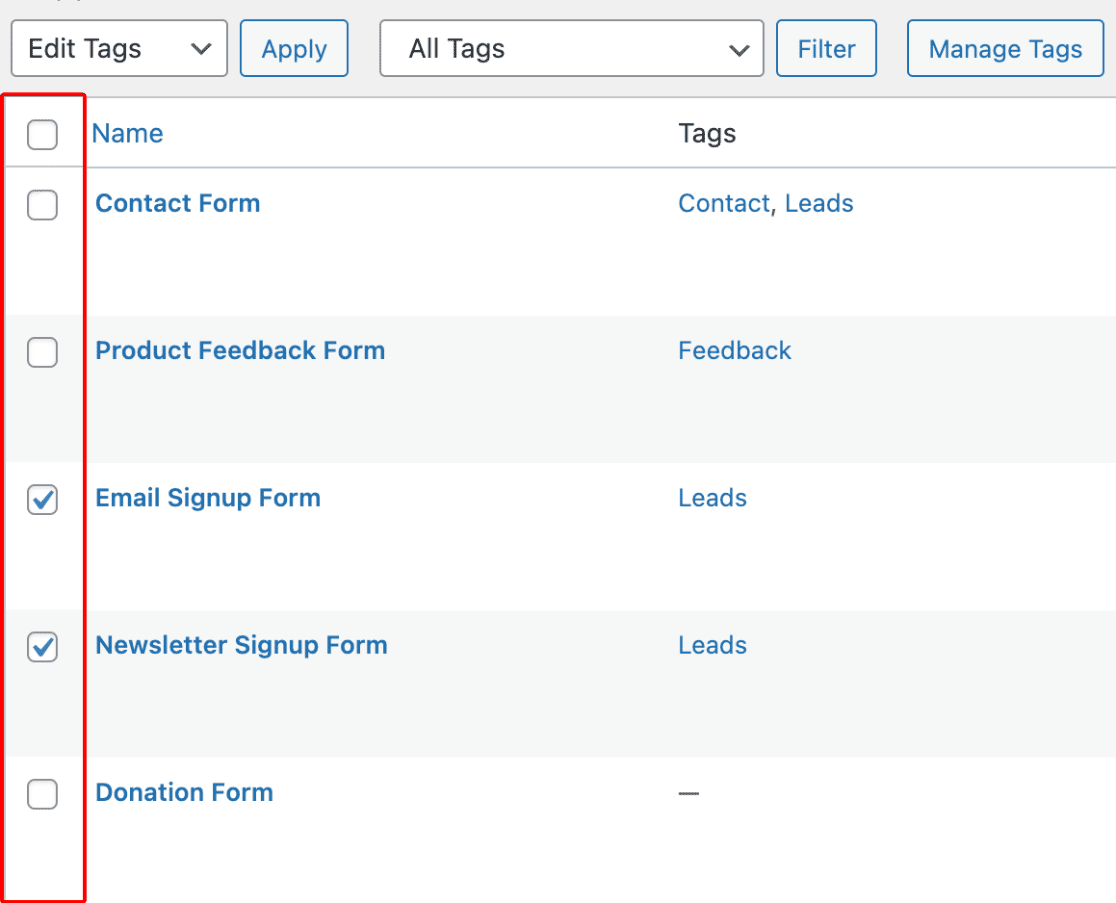
Next, click the Apply button to edit the tags for the forms you’ve selected.
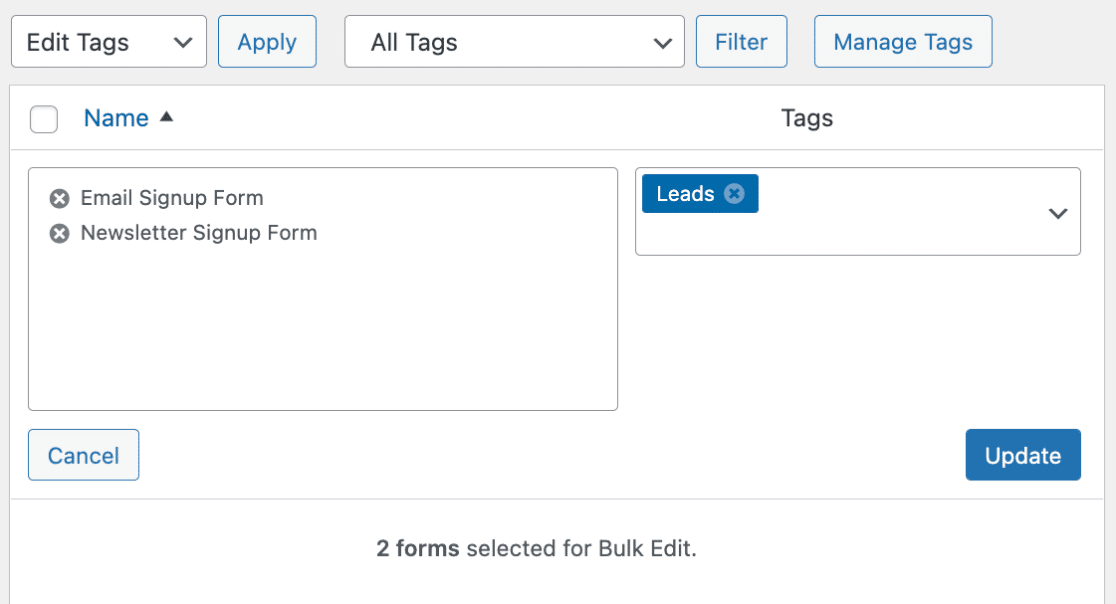
You’ll now see the bulk editor appear with your selected forms on the left side. On the right, you’ll see all the tags you’ve added to these forms.
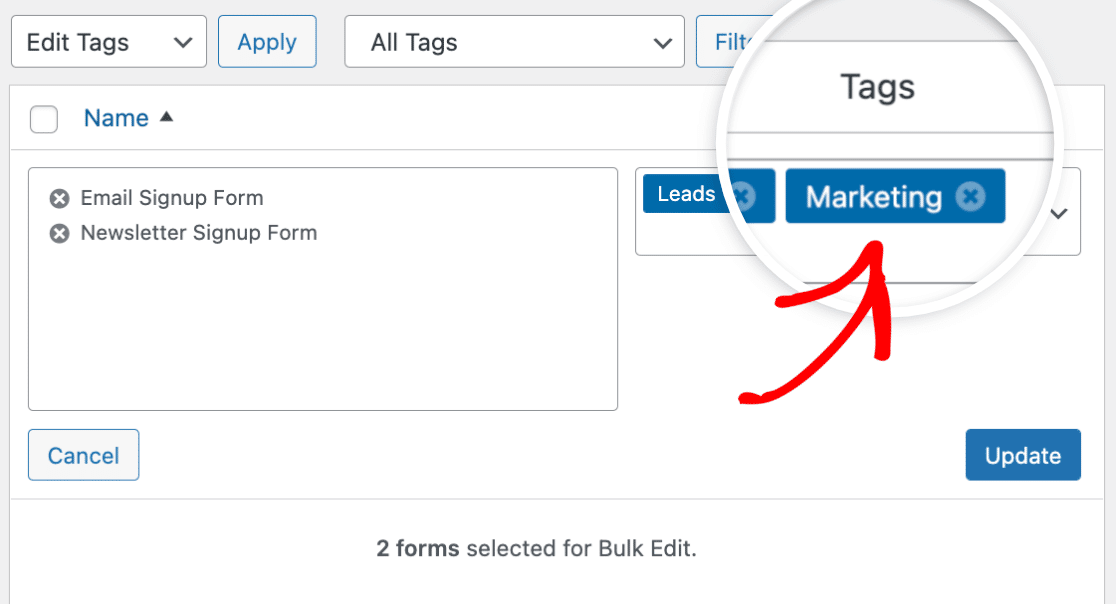
We’ll add a new tag to the 2 forms we’ve selected. To do this, click the dropdown under the Tags column and type the name of your tag. For this example, we’ll name our tag “Marketing.”
Once you’ve named the tag, be sure to press the Enter or comma (,) key on your keyboard to store the tag.
Then, click the Update button to apply the changes.
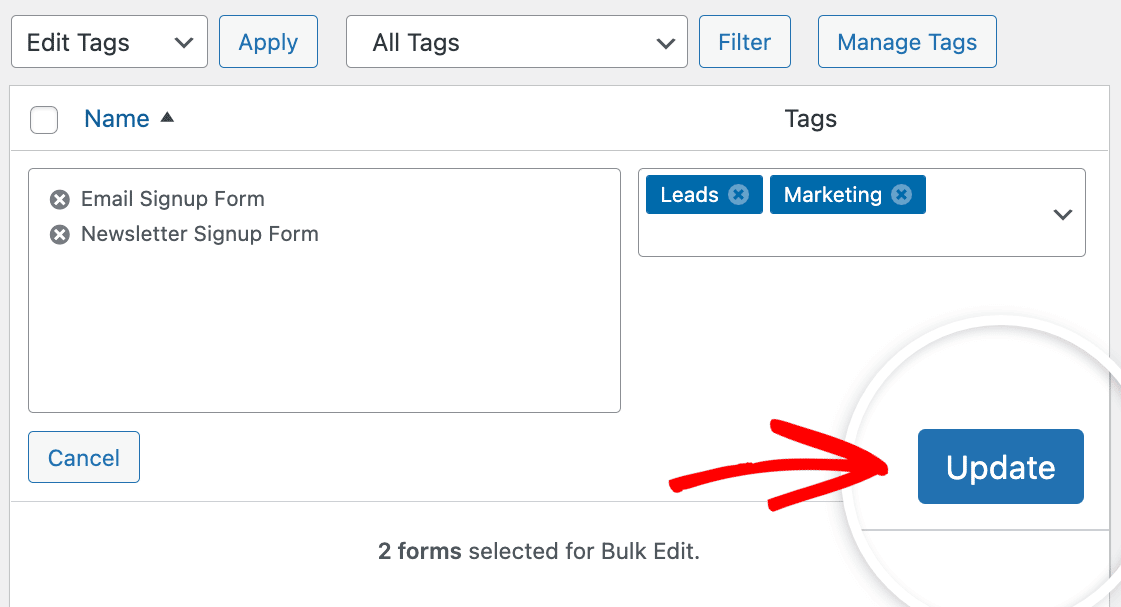
Now when you return to the Forms Overview page, you’ll see that the Marketing tag has been added to the 2 forms we selected for bulk editing.
In the next section, we’ll show you how to filter forms by tag so you can easily view all forms that contain a specific tag.
Filtering Forms by Tag
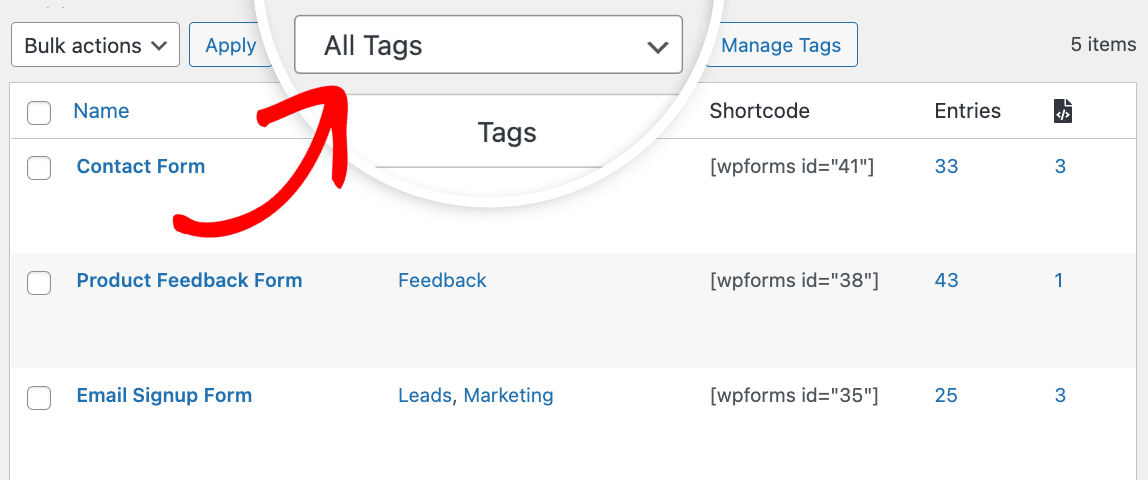
Using the filter option is an easy way to view all the forms you’ve added specific tags to. To do this, start by clicking the All Tags dropdown at the top of the Forms Overview table.
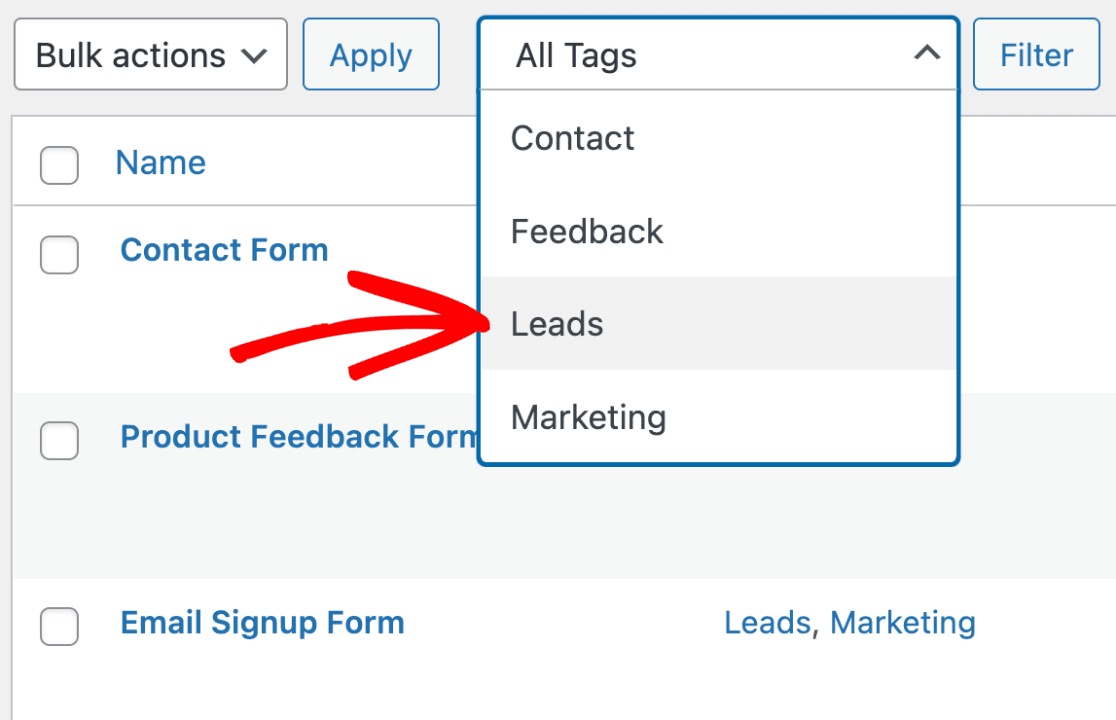
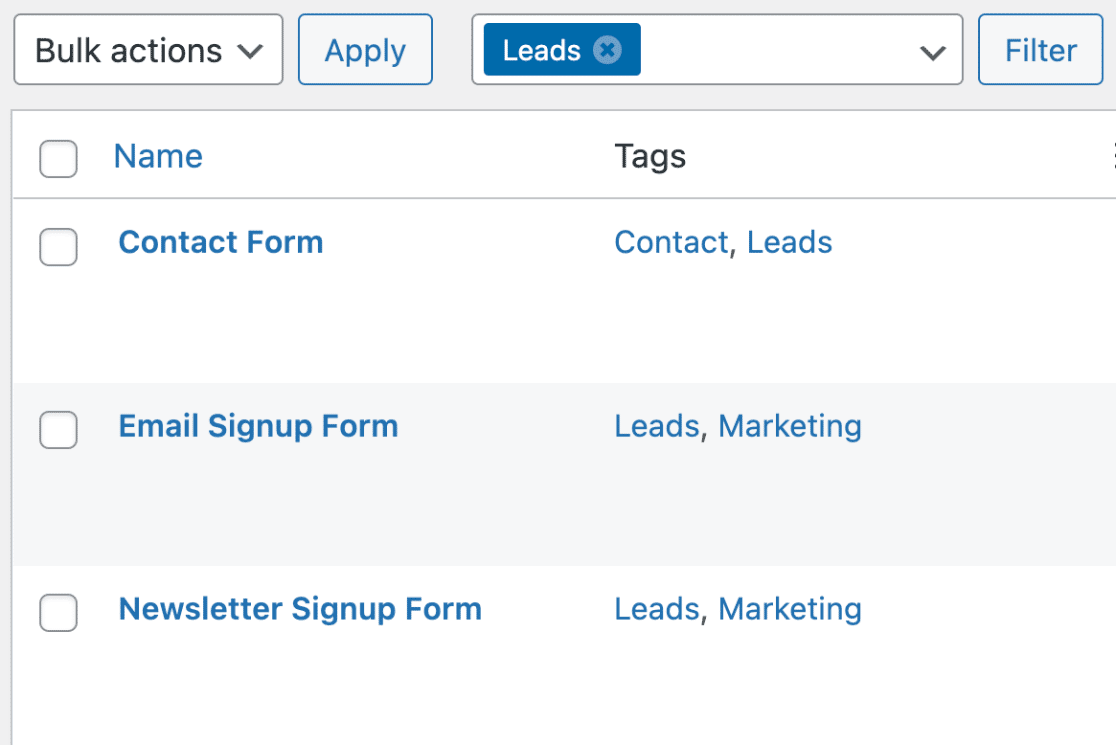
Then, select the tag(s) that you’d like to include in the filter. For our example, we’ll select our Leads tag.
Once you’ve selected 1 or more tags, click the Filter button to apply the filter.
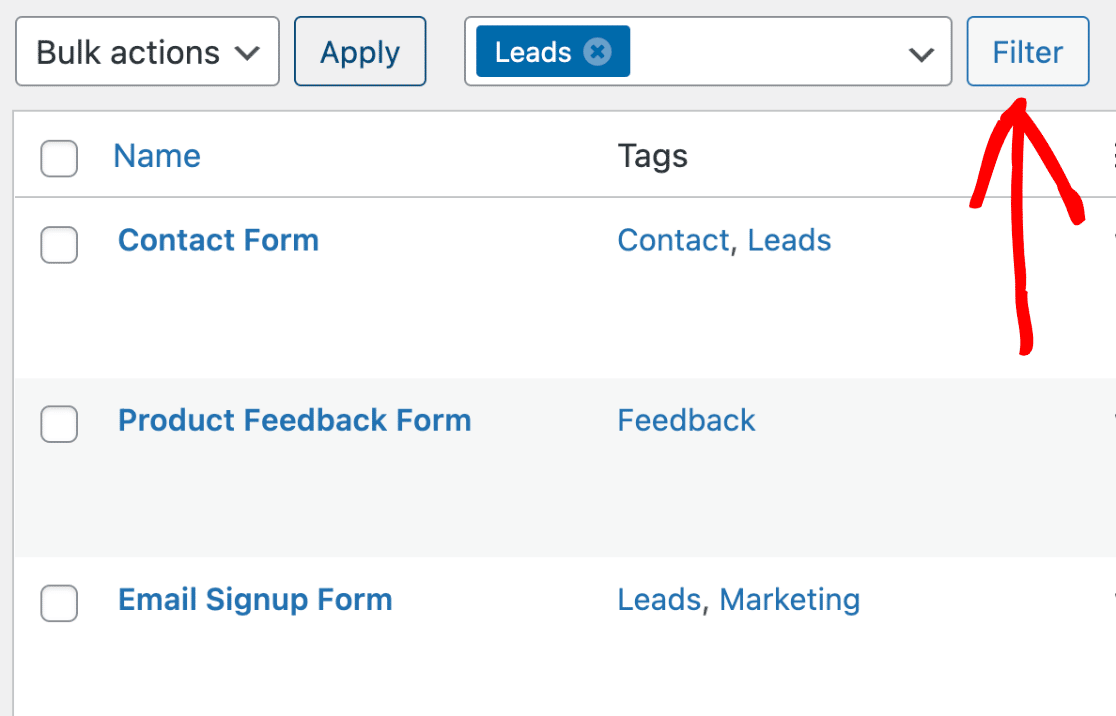
Now in the Forms Overview table, you’ll only see the forms that include the tag(s) you’ve applied to the filter. In our example, we’ll only see forms that include the Leads tag.
Next, we’ll cover how to edit tags directly from the form builder.
Editing Tags in the Form Builder
First, open the form builder for the form that you’d like to edit and go to Settings » General.

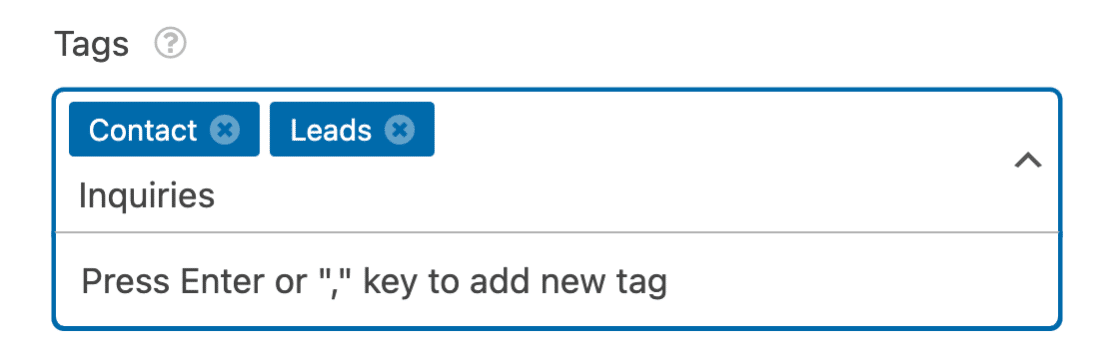
Then, scroll down to the Tags section. From here you can click on the X icon if you’d like to remove any of the tags that you’ve already added.
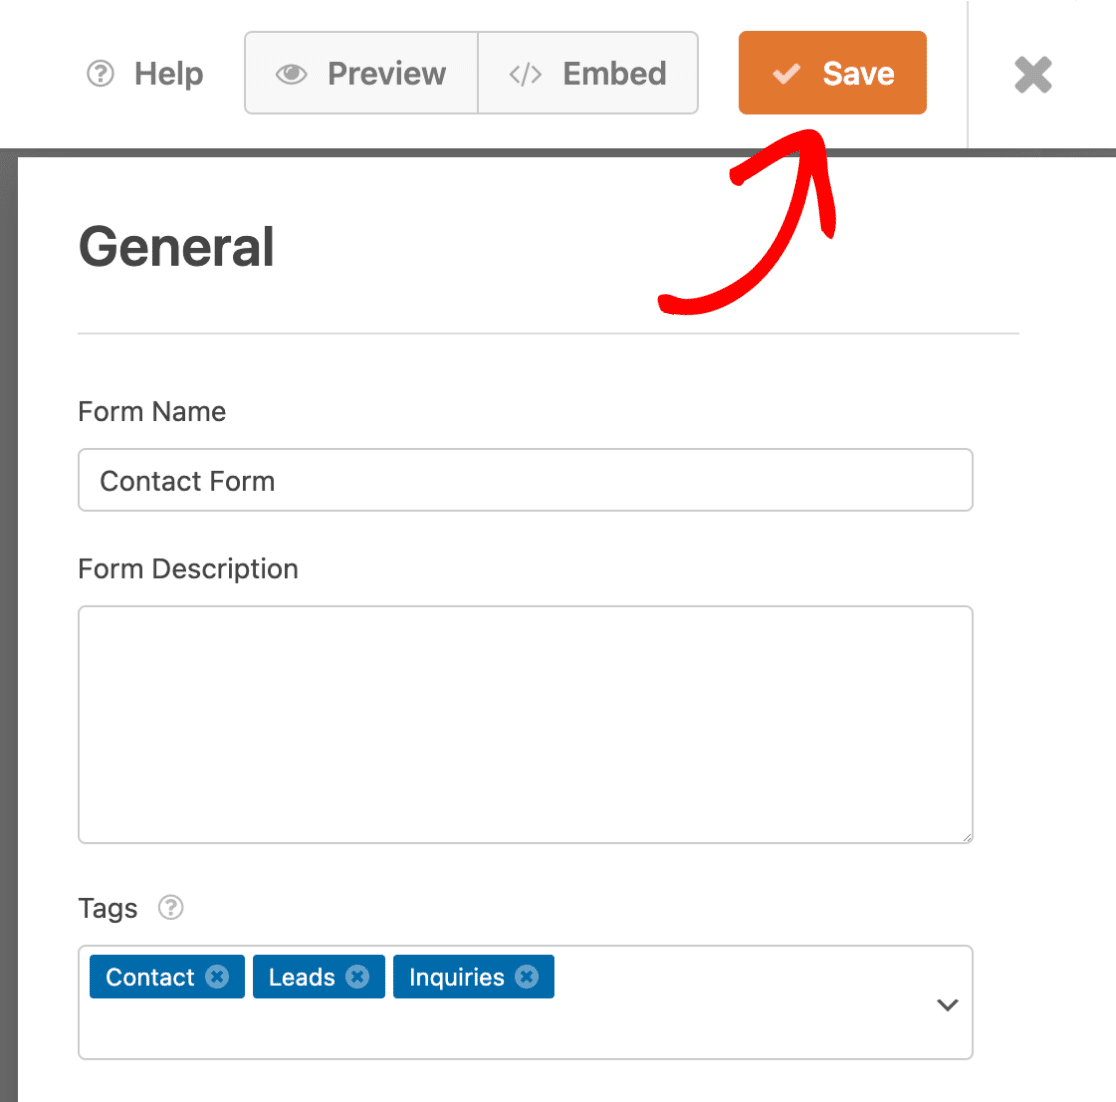
To add a new tag, type the tag name and press the Enter or comma (,) key on your keyboard to store the tag. For this example, we’ll add a new tag named “Inquiries.”
Once you’ve made any changes to the tags, be sure to click the Save button at the top of the form builder.
That’s it! Now you know how to use form tags in WPForms.
Next, would you like to see where WordPress forms are currently active on your site? Be sure to check out our tutorial on using the Form Locator in WPForms to learn how.