AI Summary
Are you ready to create your first form with WPForms? By following the step-by-step instructions in this walkthrough, you can easily publish your first form on your site.
This tutorial will show you how to create and publish your first form.
Before getting started, make sure you’ve installed and activated WPForms on your site.
Adding a New Form
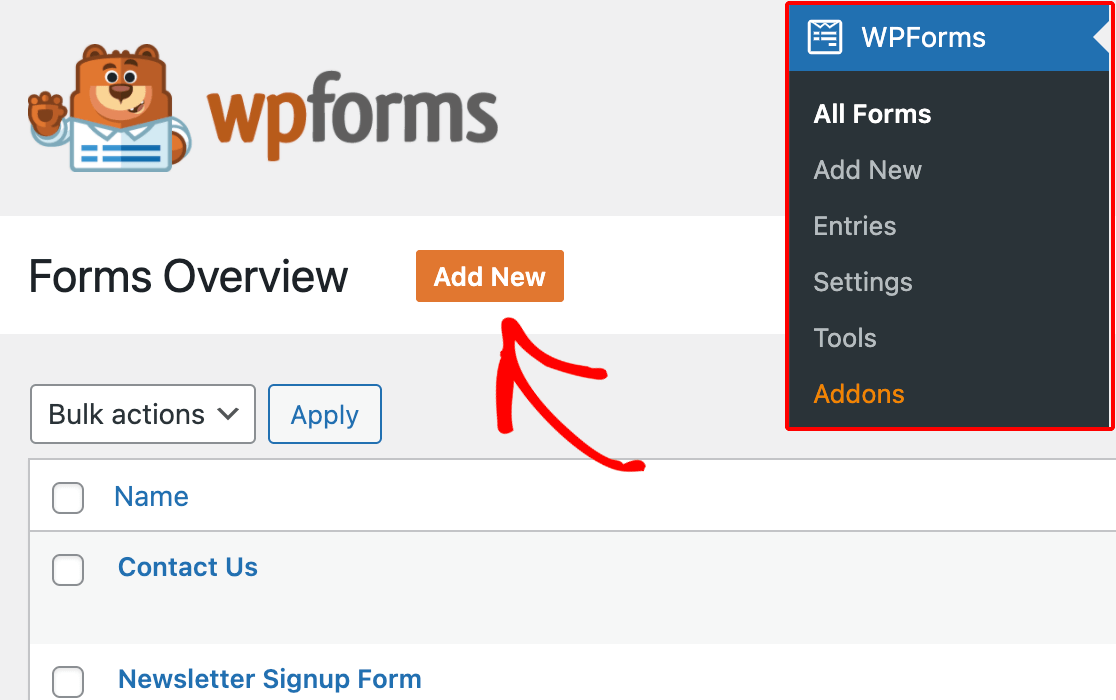
To begin, you’ll need to be logged into your WordPress admin area. Once there, click on WPForms in the admin sidebar to go to the Forms Overview page.
Then, to create a new form, click on the Add New button to launch the WPForms form builder.
In the Setup page of the form builder, you can enter a name for your form (such as “Contact Us”) in the Name Your Form input field.
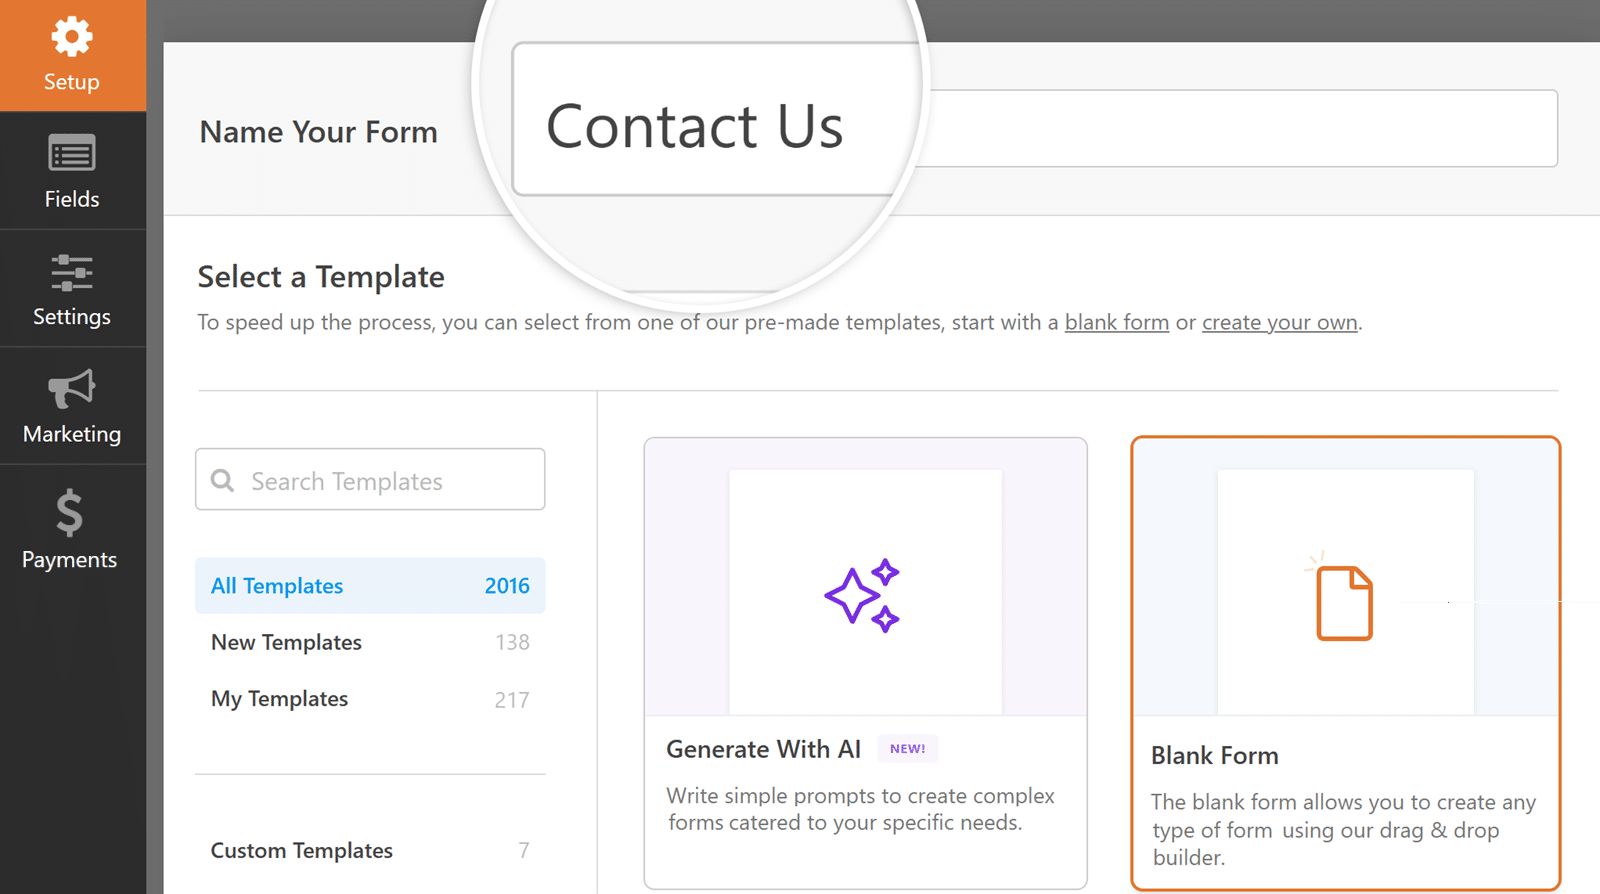
If you’d rather not enter a name, then the form name will default to the name of the template you choose.
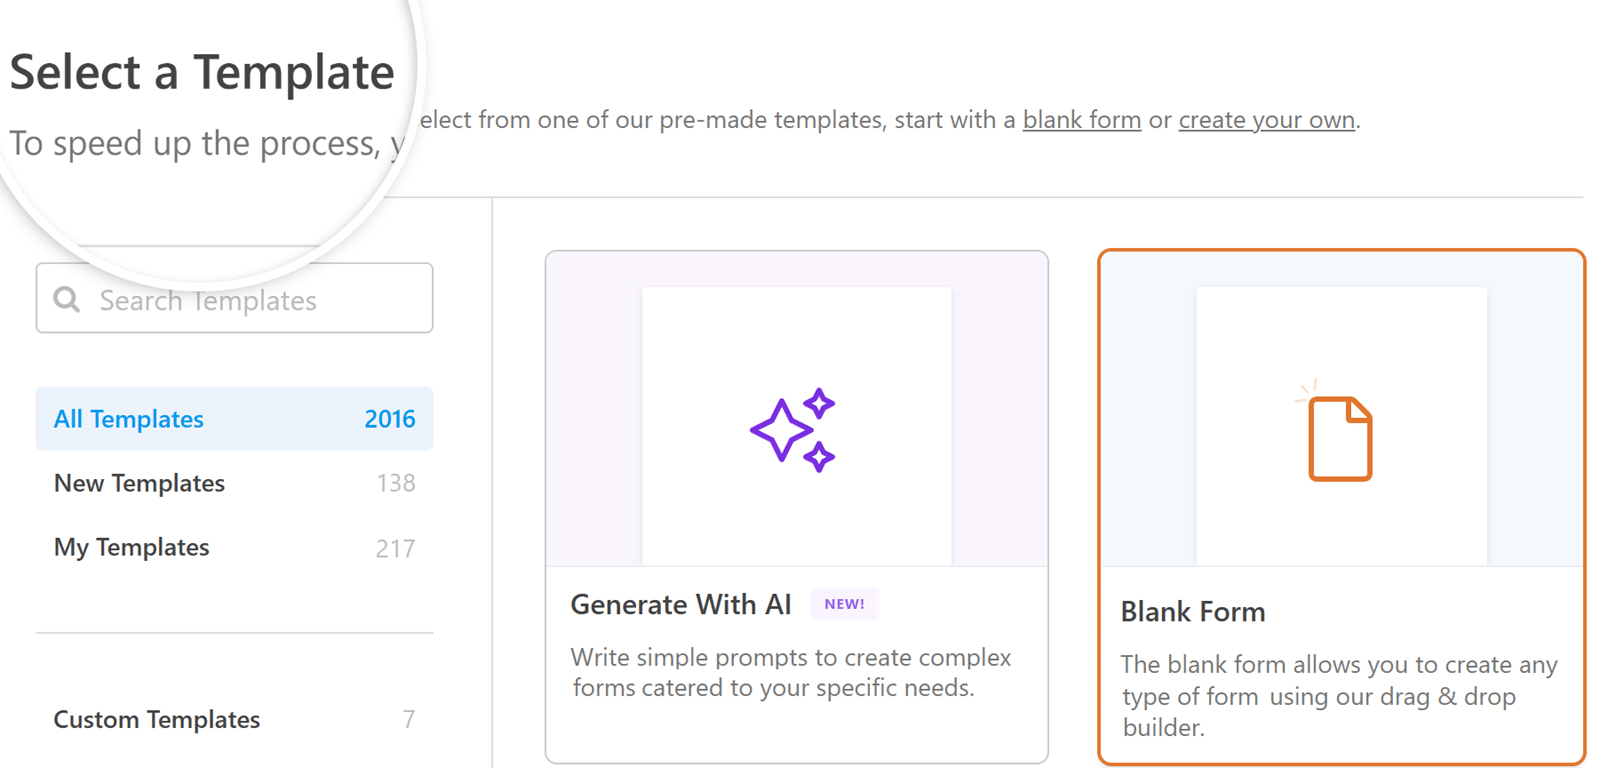
Below the Name Your Form field, you’ll find many form templates in the Select a Template section. These are pre-built templates of commonly used forms to help you get started quickly.
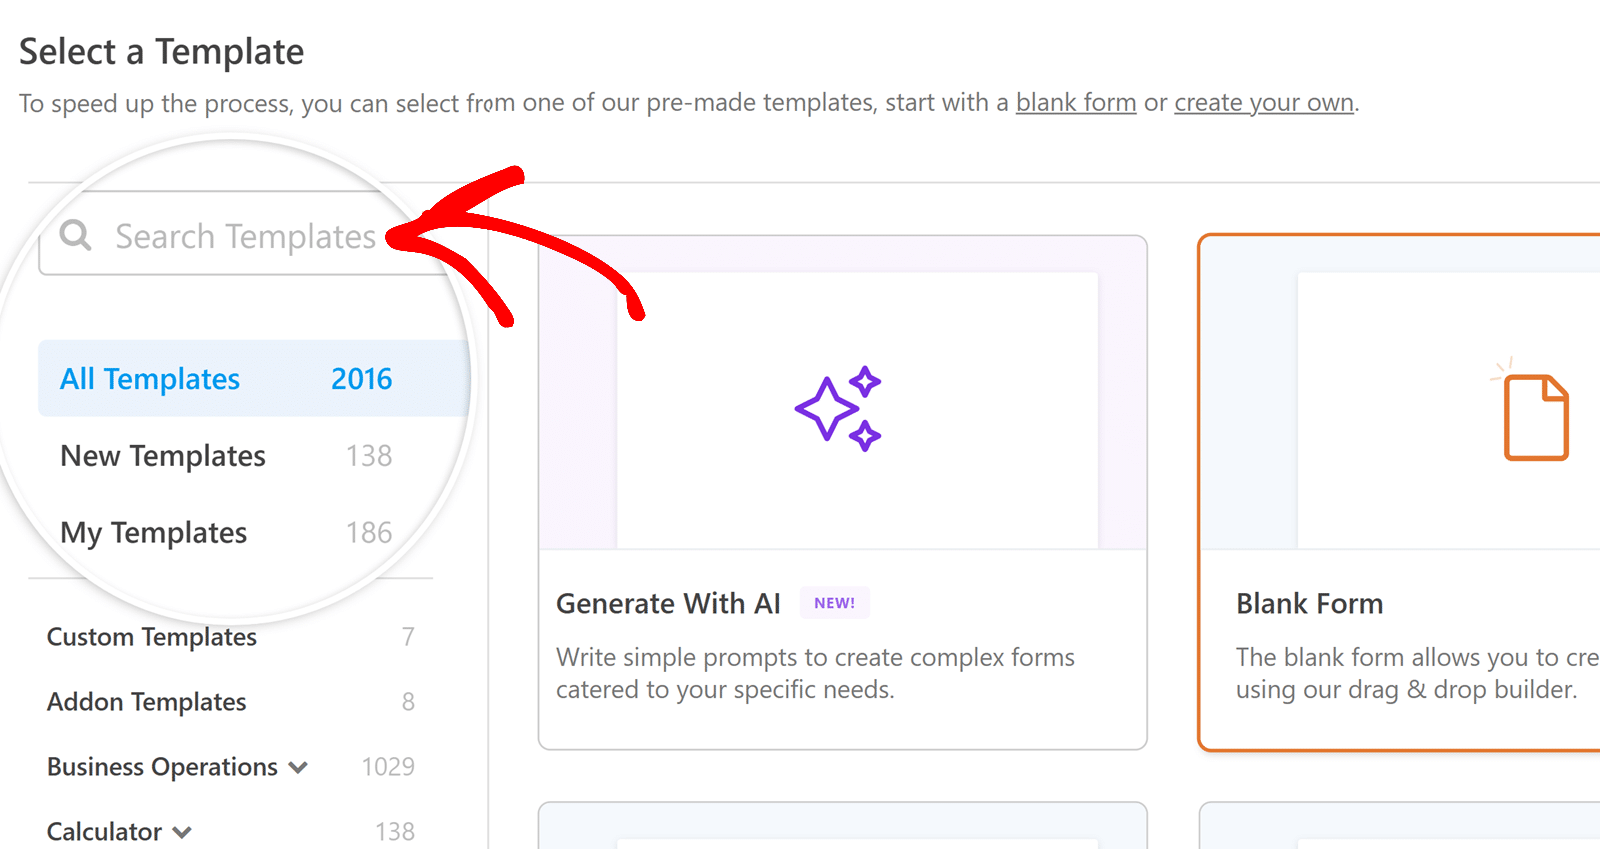
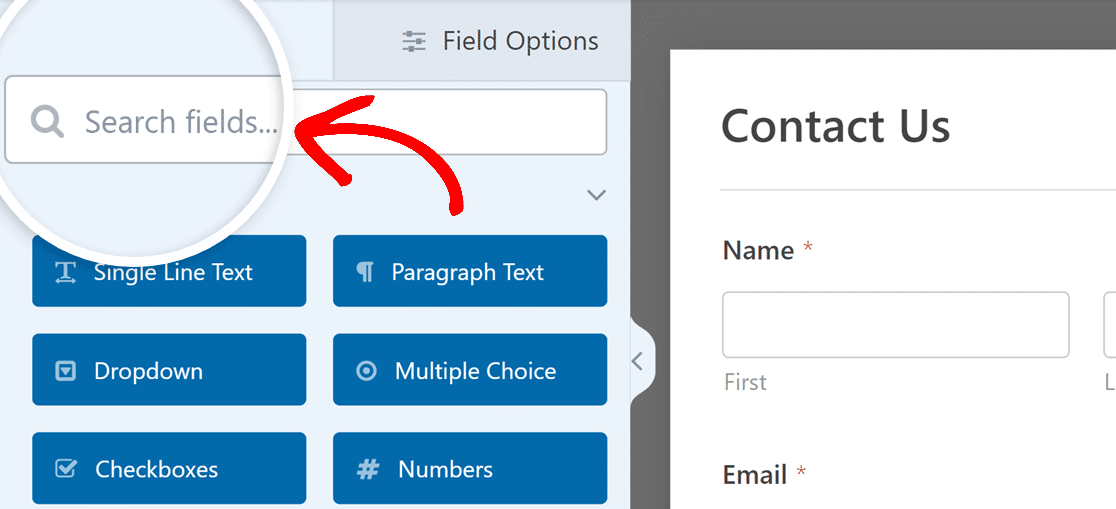
You can use the categories in the menu on the left or the search bar in the top left corner of the template library to search through the available options.
Once you find a template that suits your needs, hover over it and click the Use Template button.
Note: The form in this tutorial uses the Simple Contact Form template. You can preview it to see how it looks and functions before getting started.
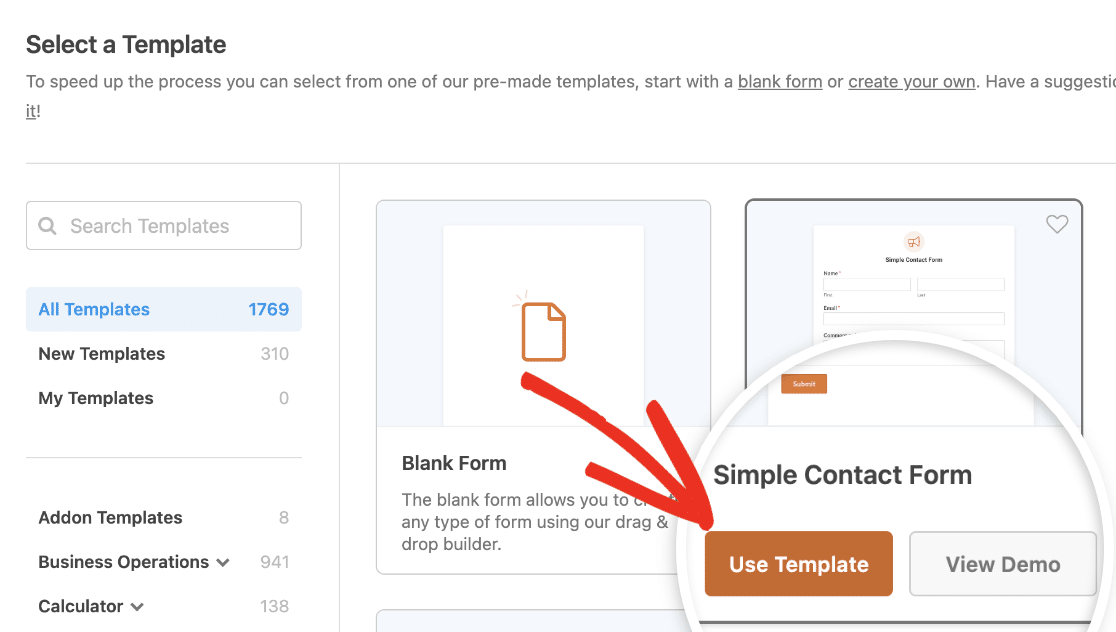
If you would prefer to build your form entirely from scratch, select the Blank Form template.

Using WPForms AI To Create Forms
If you’d prefer to quickly generate a form instead of building it from scratch, you can use WPForms’ AI form generator. By providing a simple description of your needs, WPForms AI can generate a customizable form for you.
To do so, go to WPForms » Add New. Once here, you’ll see the Generate With AI option.
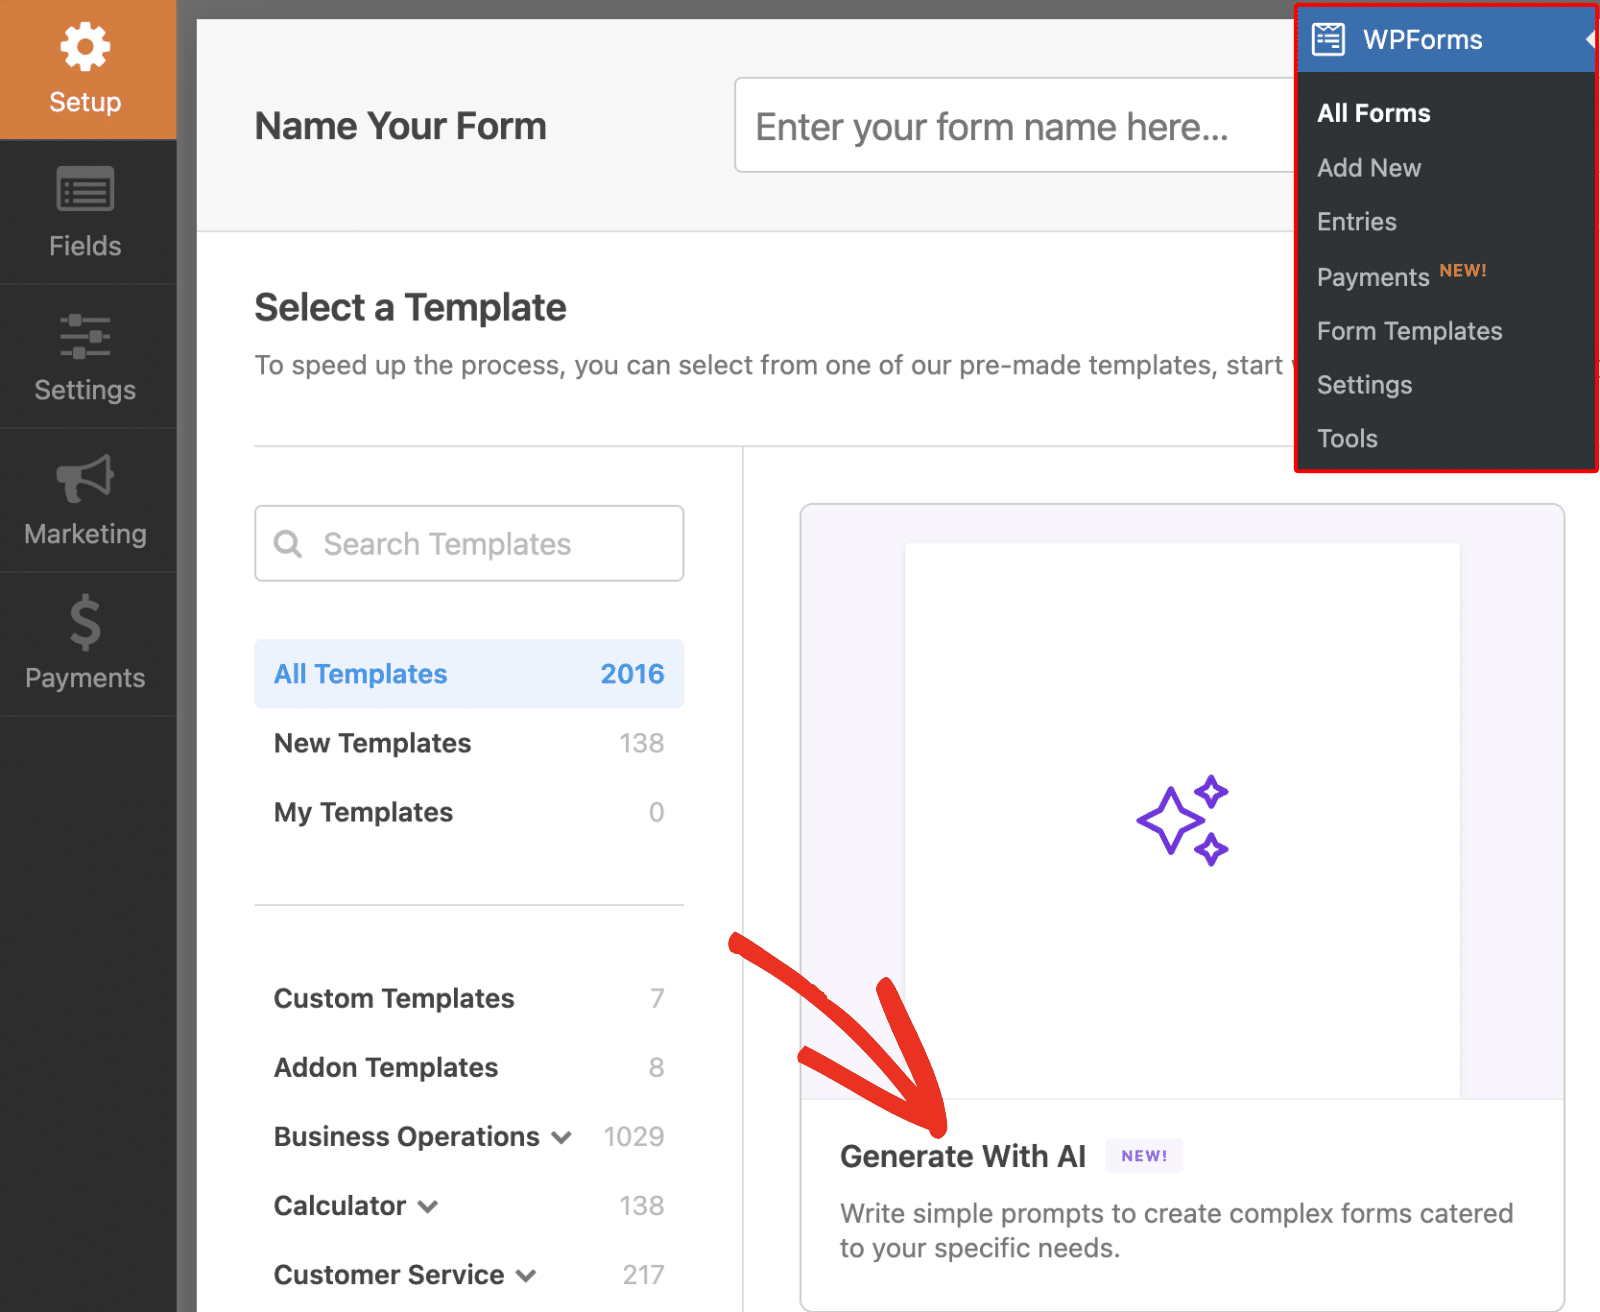
When you click this option, WPForms AI will help you create a form by following your text instructions. You can then customize the generated form using the form builder, just like any other WPForms template.
Note: For complete details on using WPForms AI to generate forms, see our guide on how to generate forms with WPForms AI.
Customizing Your Form
Once you’ve selected a form template, the form builder will take you to the Fields screen.
The left panel will show you the available fields. The ones you have access to will depend on your license level.
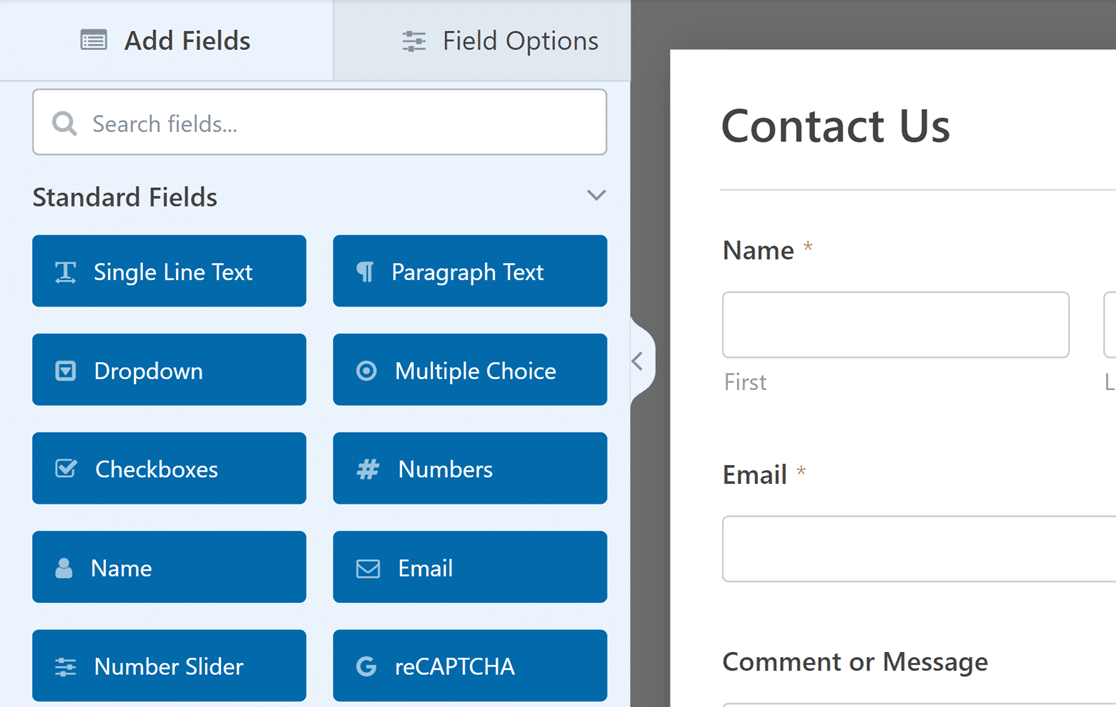
You can also use the search bar above the available fields to look for a specific field. Simply enter the field name or a related word, and the matching fields will show up.
Note: If you’d like more information on all the WPForms fields, be sure to check out our tutorial on how to choose the right form field.
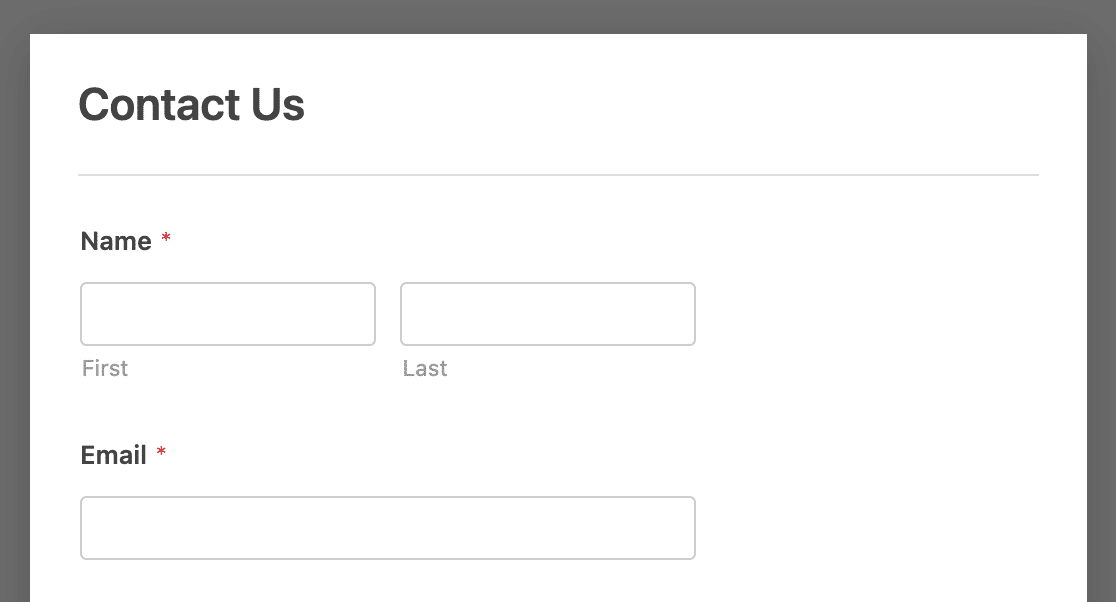
In the right panel, you will see an editable preview of your form.
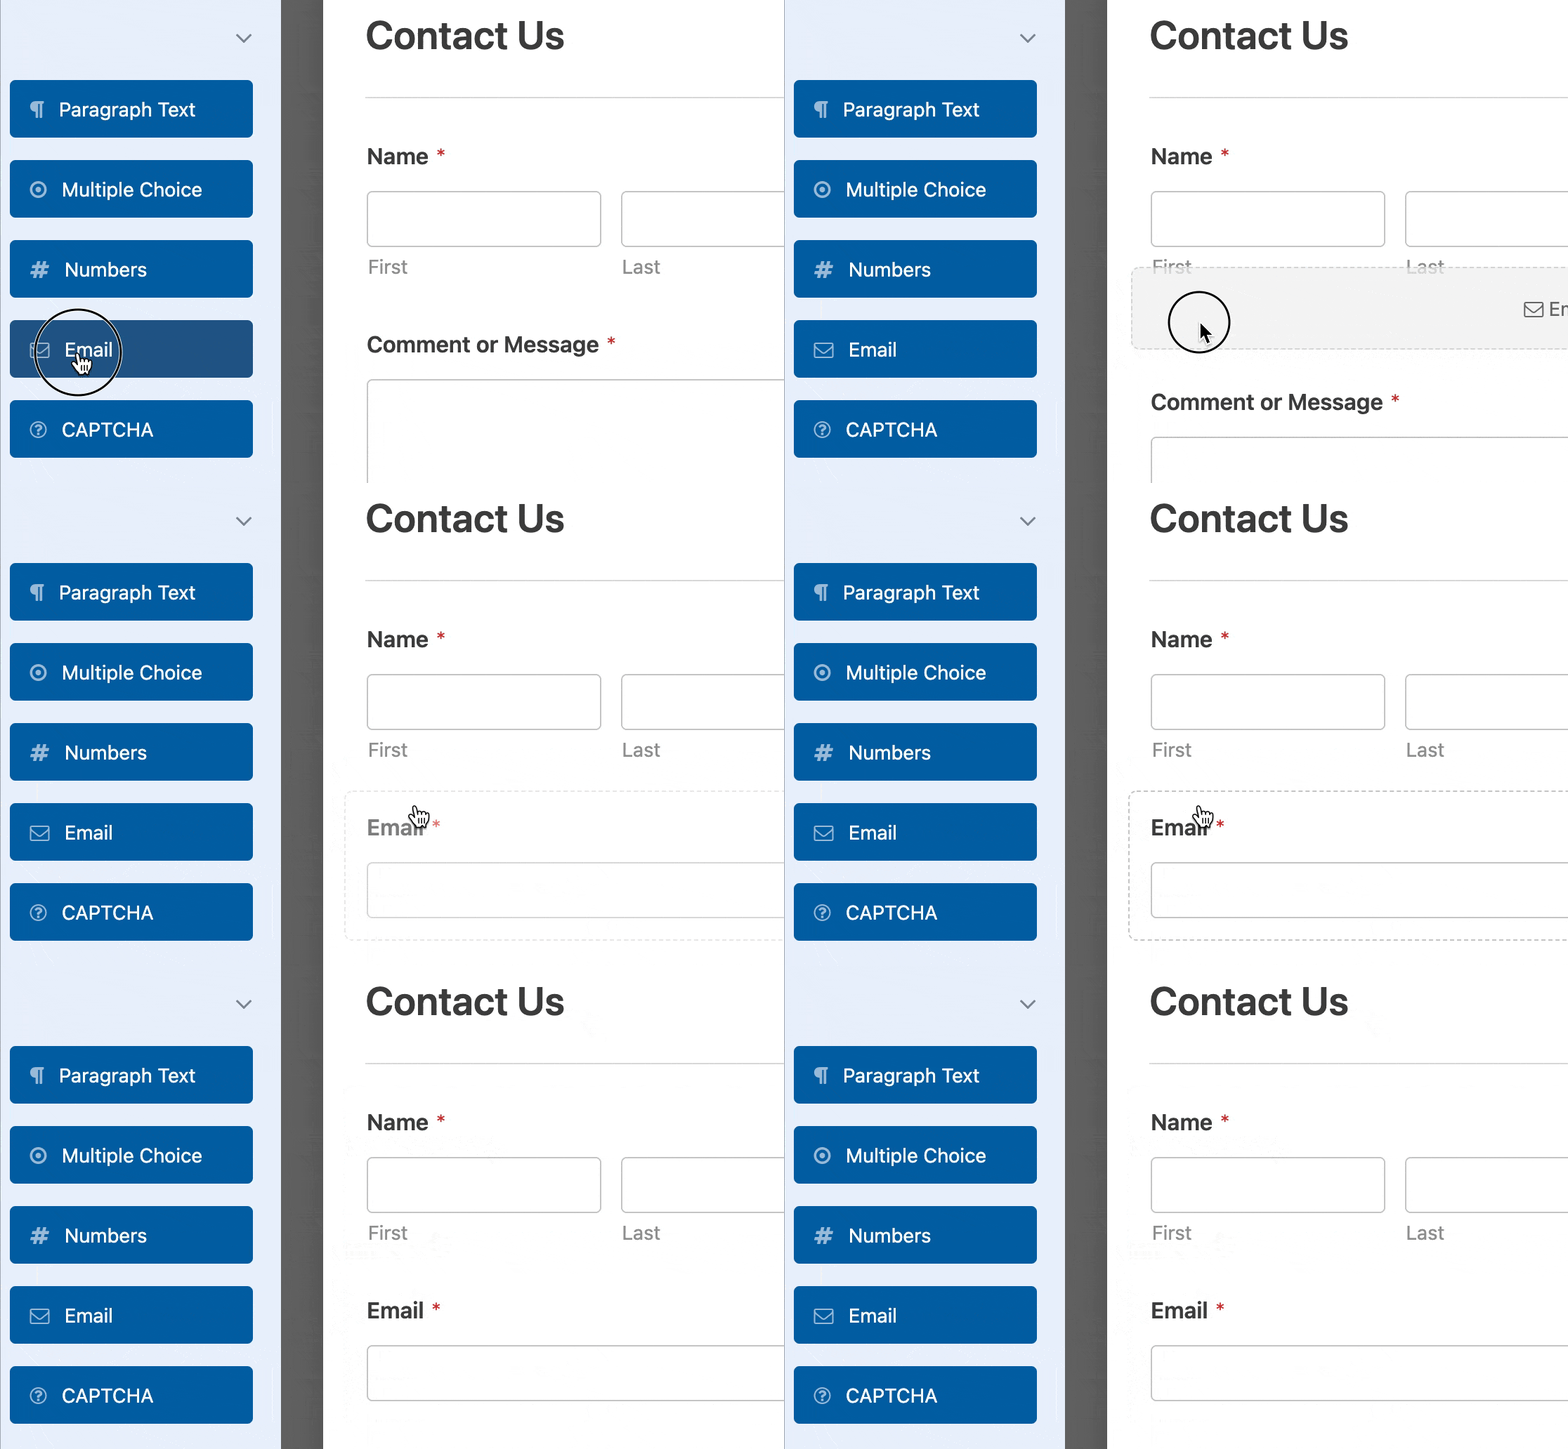
To add a field to your form, you can either click on it in the left-hand panel or drag and drop it directly into the form preview.
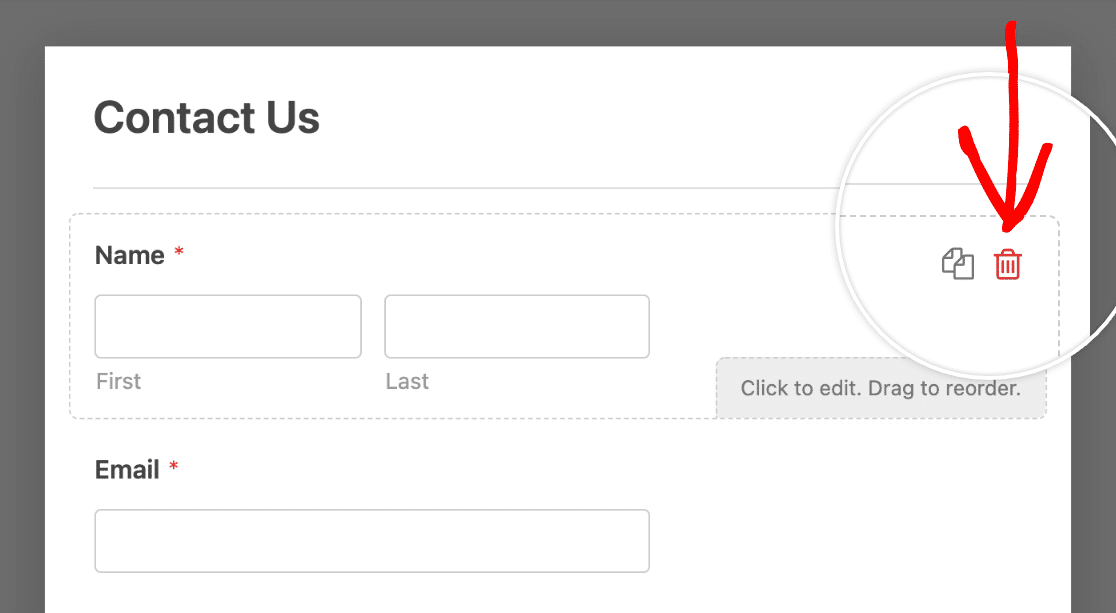
To delete a field from your form, you can hover over it and click the red trash can icon.
Accessing Field Options
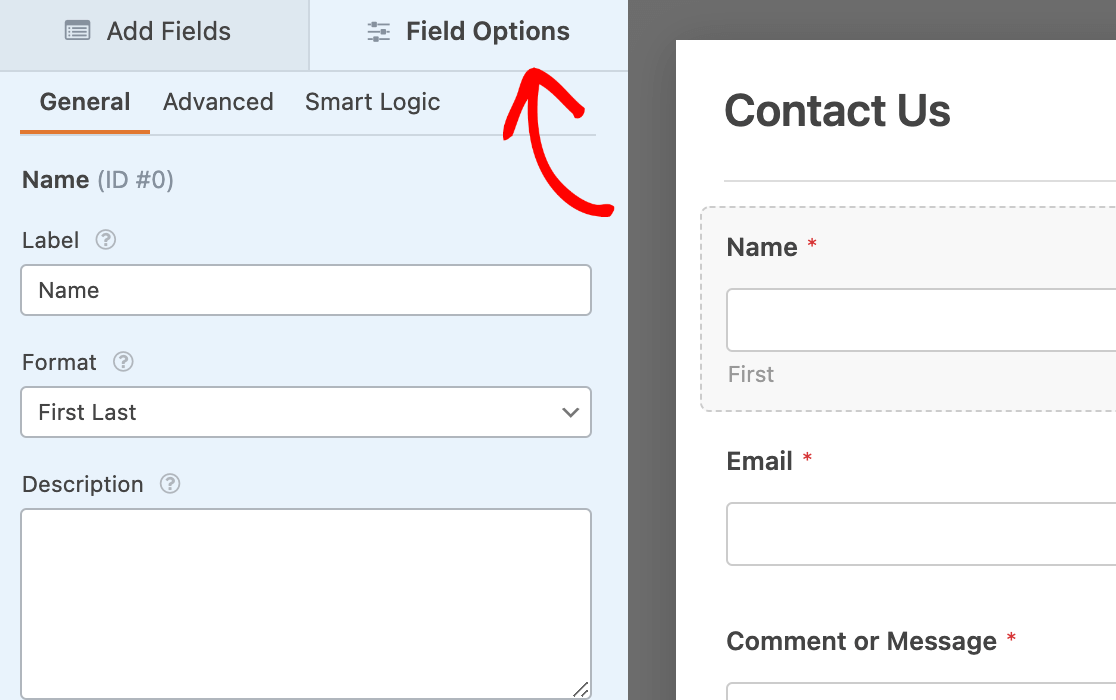
Field options enable you to configure the details and settings of each field, such as its label and description.
To view and edit the options available for a field, click on it in the preview panel. The field options will then appear in the left panel of the form builder.
Note: Want to learn more about customizing your forms’ fields? Check out our guide to WPForms’ field options.
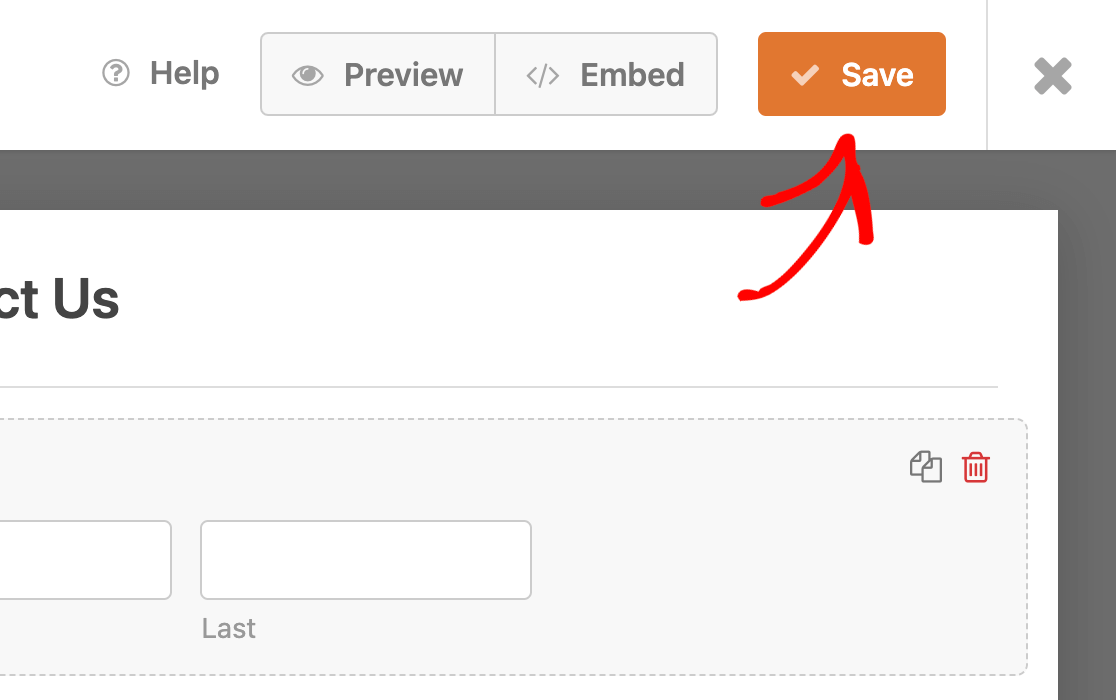
Once you’re done editing the field options, click the Save button to save your changes.
Getting Help While Creating Your Form
If at any point you feel the need for guidance during form creation, click on the option labeled Help at the top of the screen.
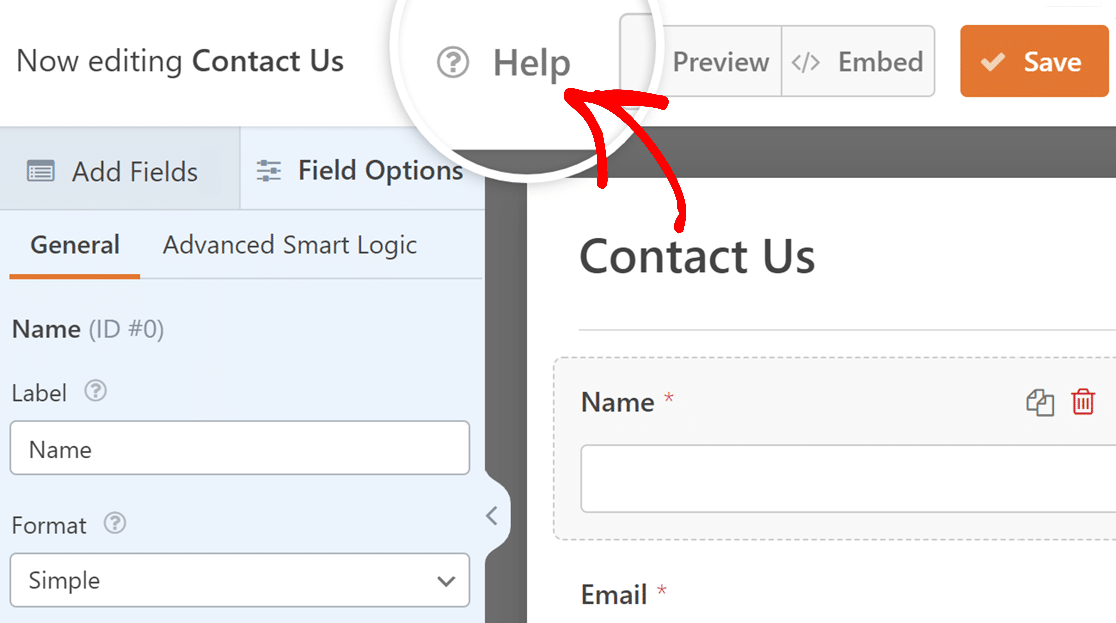
This opens up an overlay with contextualized documentation, providing information directly related to the field you’re working with or the section of the form builder you’re in.
Editing Form Settings
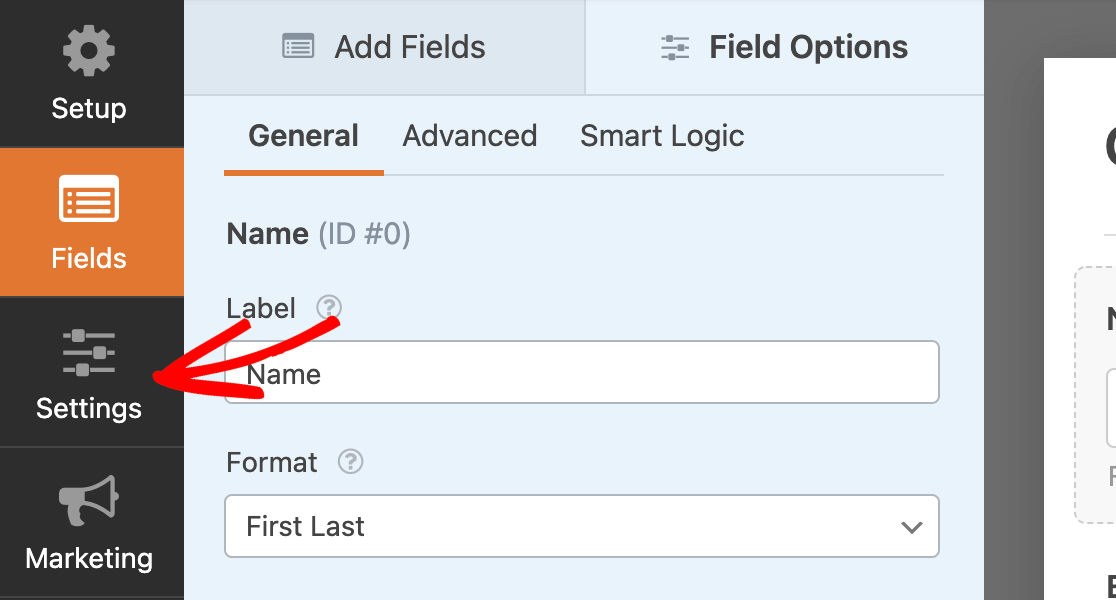
To access your form’s settings, click on the Settings tab on the left side of the form builder.
For this tutorial, we’ll focus on the first 4 settings available: General, Spam Protection and Security, Notifications, and Confirmations.
General
In this section, you can change the form name and description.
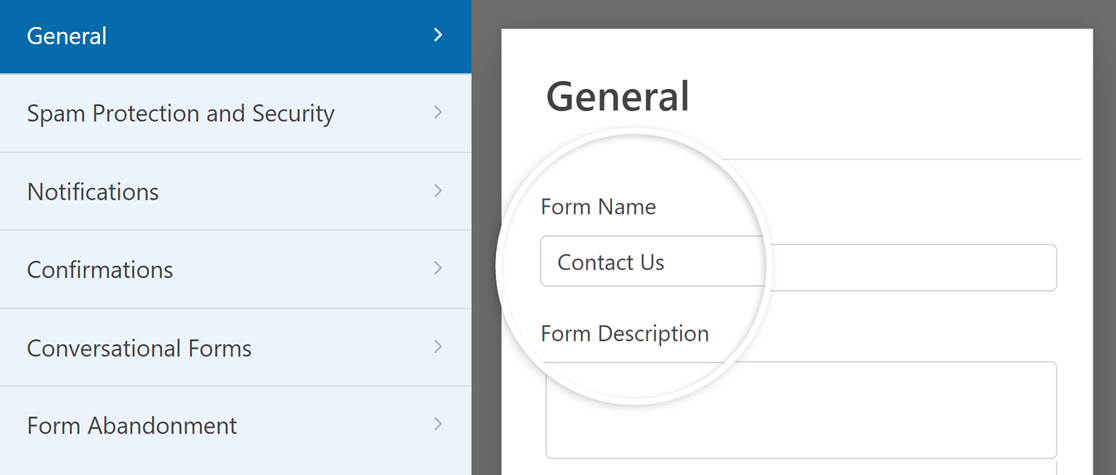
You can also add form tags and customize the submit button for your form.
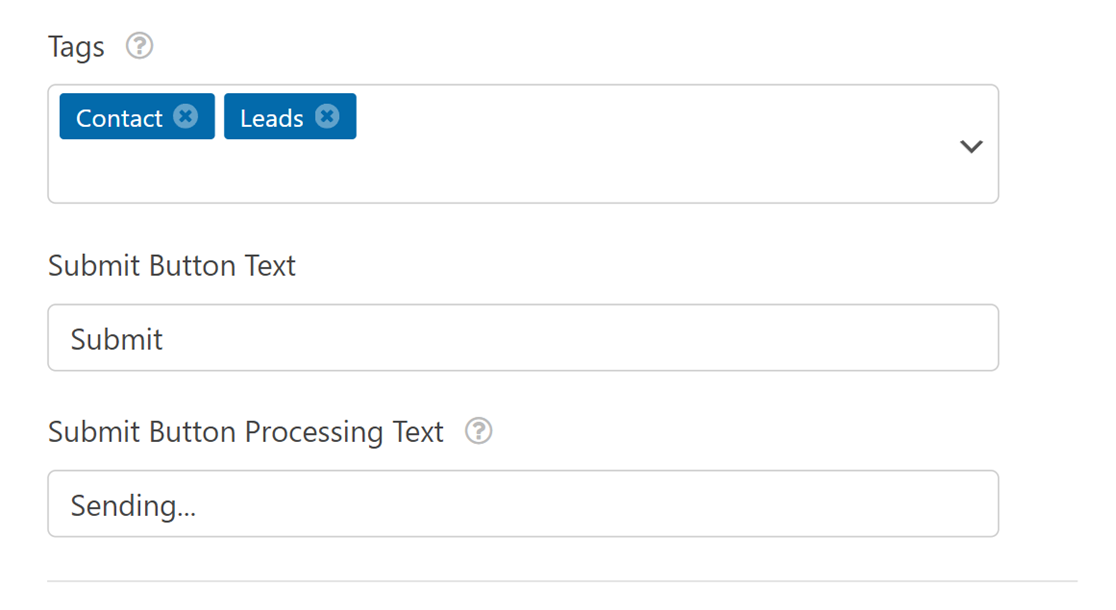
By expanding the Advanced section, you can also add custom CSS to your forms. We only recommend these settings for more experienced users.
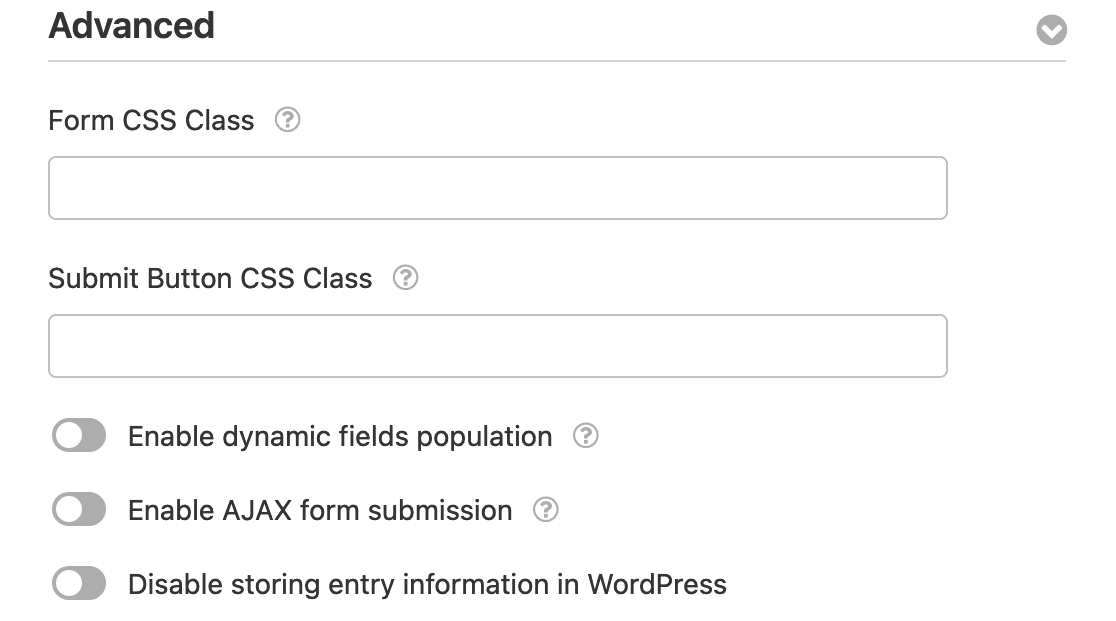
Note: Want to learn more about incorporating custom CSS into your forms? See our developer documentation for advanced tutorials and snippets.
Spam Protection and Security
This section helps keep your forms safe. It can quietly filter out spam and set limits on who can fill out forms. You can also add CAPTCHAs to make sure only real people fill out your form.
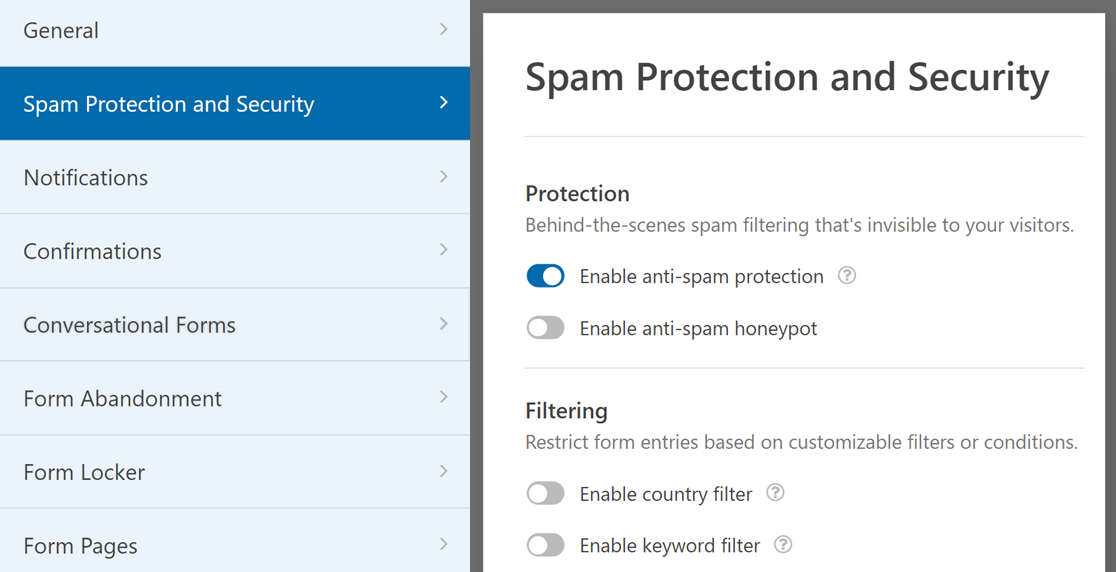
Note: If you’d like more details on spam prevention and security settings, check out our guide on how to prevent spam in WPForms.
Notifications
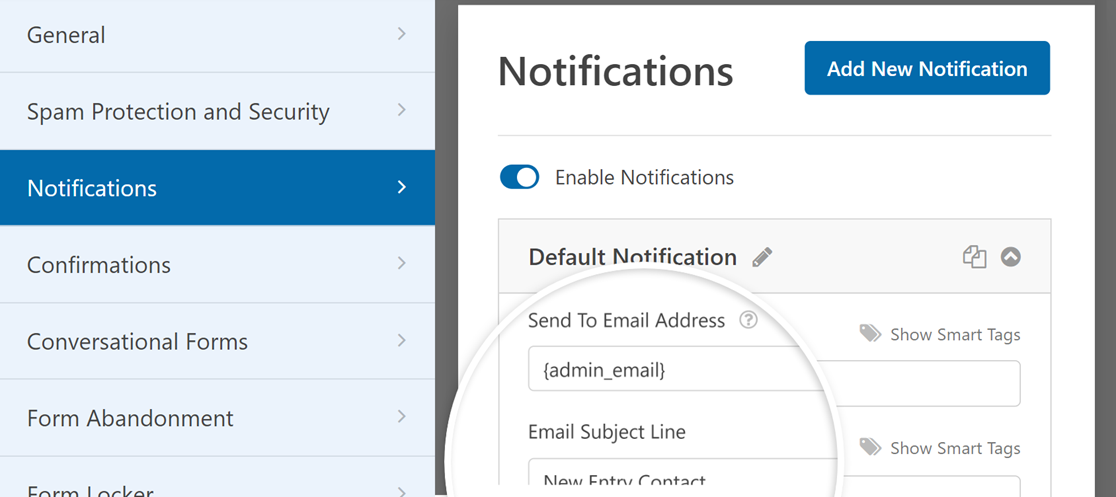
Form notifications are automated emails that are sent out when your users submit forms. In the Notifications settings, you can configure these emails according to your preferences.
The Send To Email Address field is where you’ll enter the email address(es) you want to receive the notifications. By default, it is set to your site’s admin email address. But you can update it to any address you want.
Note: You can add multiple email addresses to the Send To Email Address field. Just be sure to separate each email with a comma.
Note: If you’d like more details on configuring notification emails, be sure to check out our guide on how to set up form notifications in WPForms.
Confirmations
Form confirmations are ways to inform users that they have successfully submitted a form. You can also use them to provide more information or options to your users.
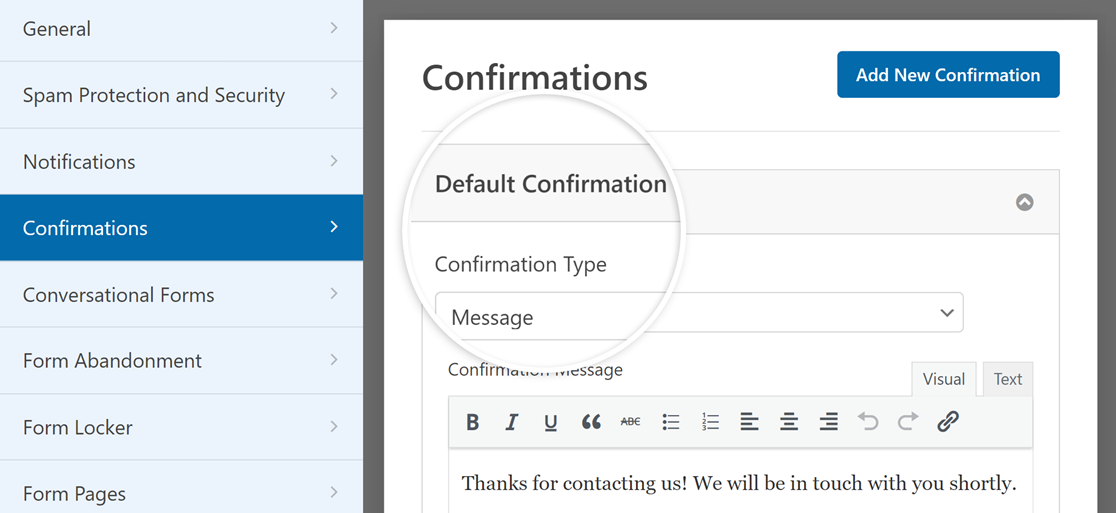
Note: If you’d like more details on WPForms’ Confirmations settings, check out our tutorial on setting up form confirmations.
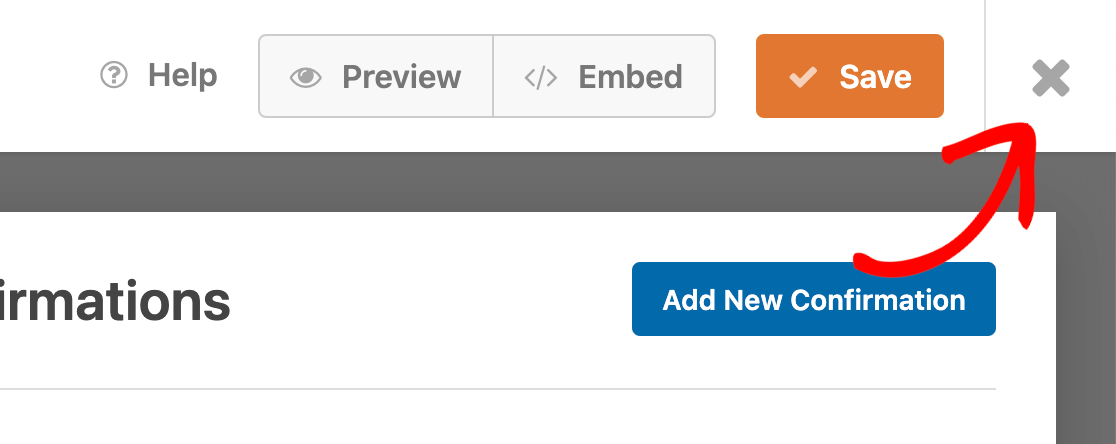
Once you’re done configuring your form’s settings, click on the Save button at the top of the screen to save your changes. You can click on the X button to exit the form builder.
Displaying Forms on Your Site
There are several different ways to add your forms to your site. If you’d like, you could embed it on a post or page on your site.
Once you’ve finished customizing your form, you can use the Embed Wizard right from the form builder by clicking the Embed button.

To learn more about embedding forms, be sure to check our tutorial on displaying forms in WordPress for more details.
That’s it! You now know how to create forms with WPForms.
Next, please be sure to test out your form. We’ve created a detailed testing checklist to help ensure that your form looks and works just how you’d like.

