AI Summary
Would you like to restrict what date and time options can be selected in your WordPress forms? For example, if your office is only open from 9am-5pm, Monday through Friday, then you might want to prevent visitors from making an appointment outside of those days and times.
This tutorial will show you how to limit options for the Date / Time field in WPForms.
Before getting started, you’ll first need to make sure WPForms is installed and activated on your WordPress site, and that you’ve verified your license. Then, you can create a new form or edit an existing one to access the form builder.
Adding a Date / Time Field
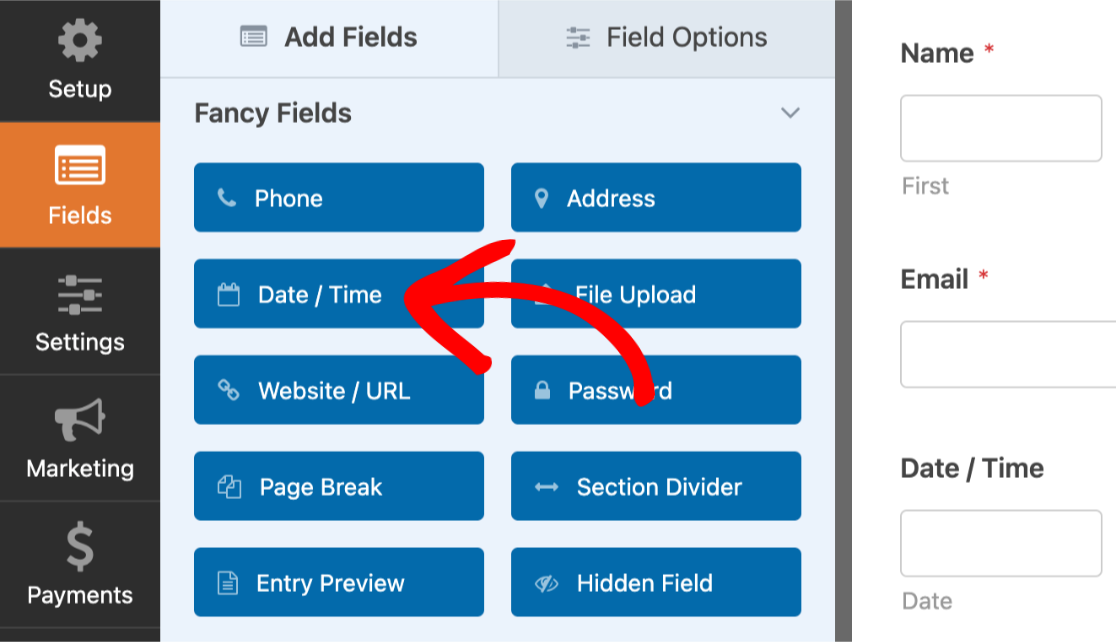
Once the form builder is open, look under the Fancy Fields section to find the Date / Time field. Simply click on it or drag and drop it into the preview area to add it to your form.
Limiting Available Dates and Times
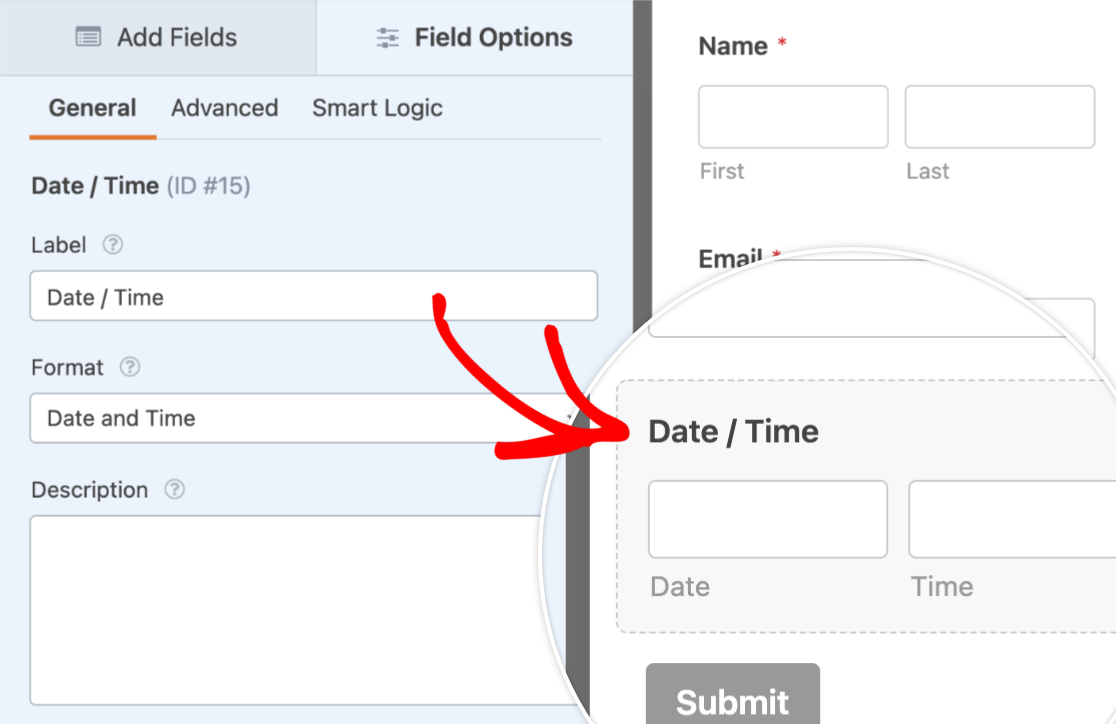
To select certain dates and times that your site visitors can choose in your forms, click on the Date / Time field in the preview area to open its Field Options.
Next, within the Field Options panel, click on the Advanced tab to open the field’s advanced options.
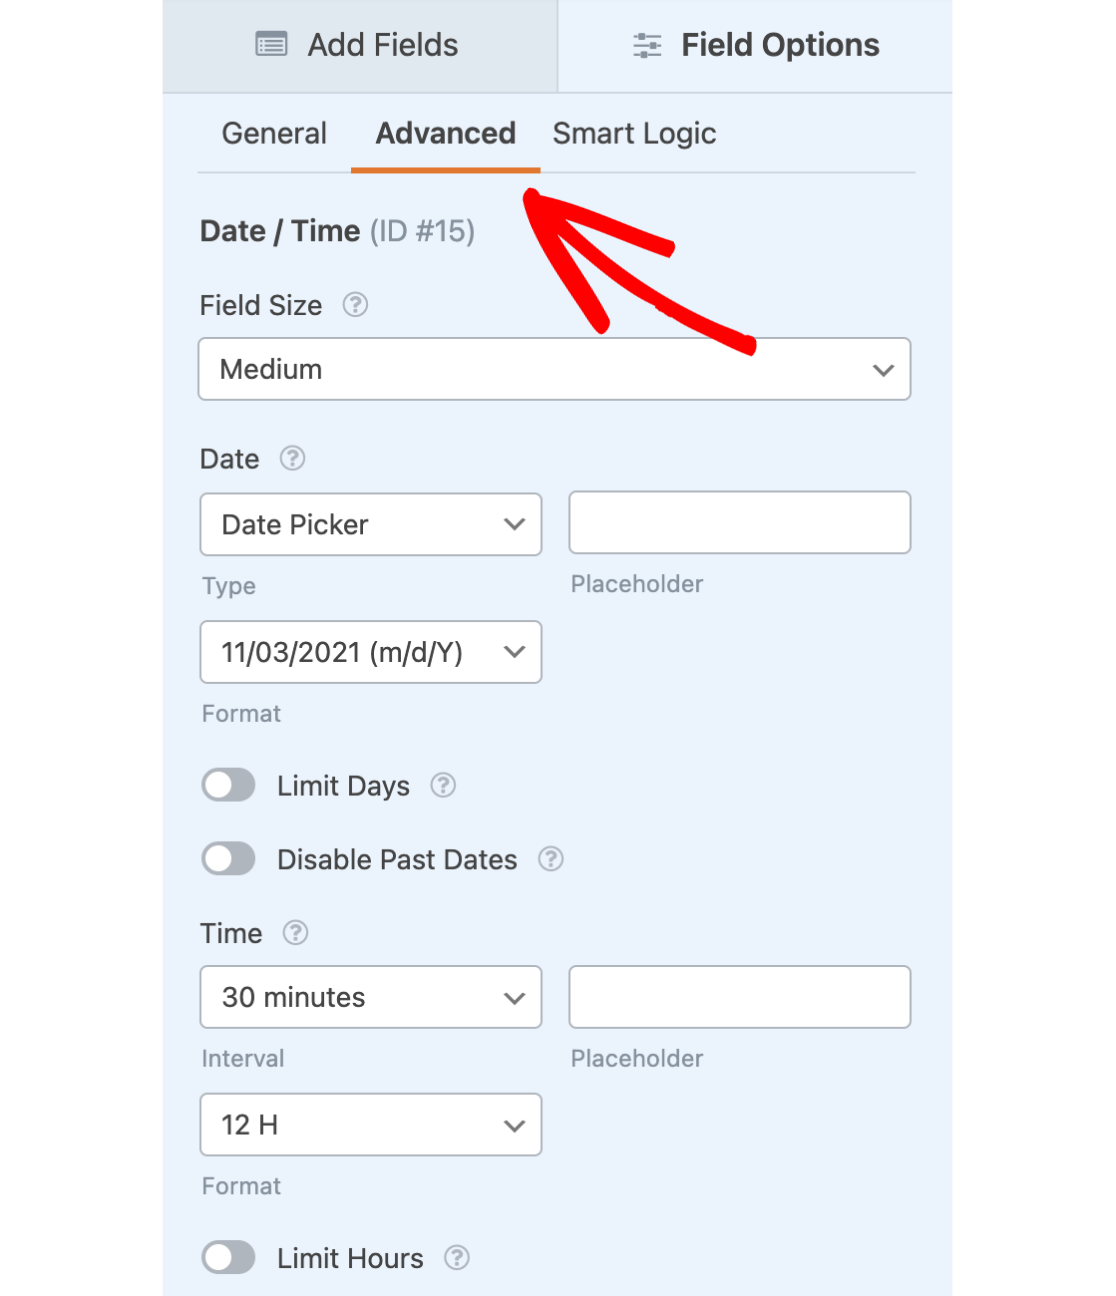
This will open up additional settings that you can customize, including options to Limit Days and Limit Hours. We’ll go over both of these options in the following sections.
Limiting the Date
In order to limit which days are available for your users to choose, you’ll need to select the Limit Days option.

This will open up a list of days that you can enable or disable within your forms. Be sure to check the boxes for the days you’d like to allow your users to choose, and leave any boxes unchecked for days you’d like to block from your users.

Disabling Past Dates
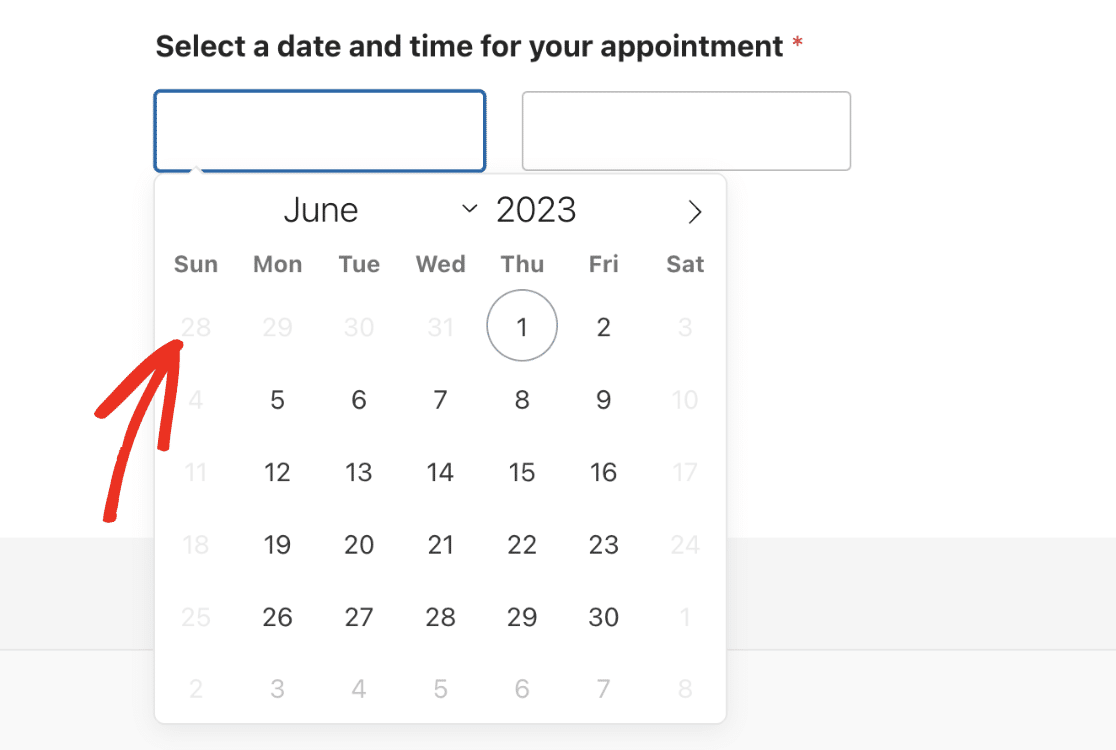
In addition to selecting which days of the week are available for your users to choose, you can also prevent them from selecting past dates within your forms. To do this, you’ll just need to select the Disable Past Dates option.

When dates are disabled, they will appear greyed out on the frontend of your site.
Limiting the Time
Similarly, you can limit which hours are available for your users to choose from within your forms. To do this, you’ll first need to select the Limit Hours option.

After this is enabled, you’ll see additional options for configuring the Start Time and End Time of your hours. For each of these settings, you can click the dropdown and select the hours you’d like shown to your site visitors.
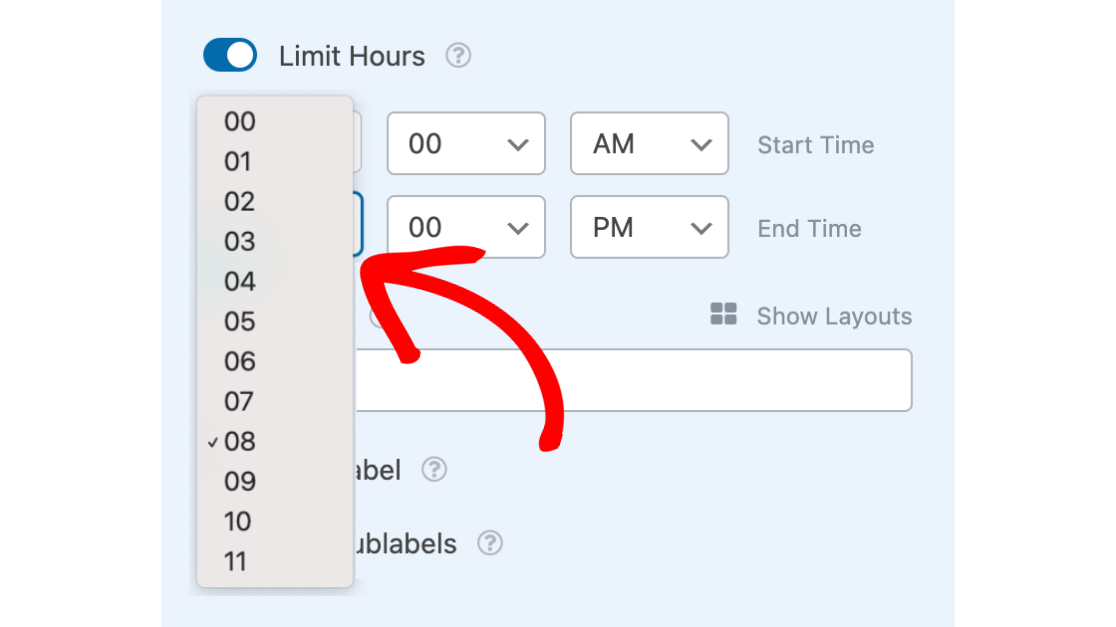
On the frontend of your site, all available times between the selected Start Time and End Time will be available for your users to choose from.
Frequently Asked Questions
These are answers to some top questions we receive about limiting the options for the Date / Time field.
How do I disable future dates when using the Date Picker option?
To disable future dates, you’ll need to add a custom code snippet to your WordPress site. Below is the snippet to add to your site.
If you need help with adding code snippets to your site, be sure to check our guide to learn how.
Can I limit the Date / Time field based on the input of another field?
If you have 2 Date / Time fields on your form, you can compare both dates to prevent users from selecting a date older than the one on the first Date / Time field. This can be useful when creating a form that allows users to specify their order and pickup date.
For more details, be sure to check our guide to learn how to compare 2 Date / Time fields.
That’s it! We just showed you how to limit the options for the Date / Time field in WPForms.
Next, would you like to change the appearance of the Date / Time field in your WordPress forms? Be sure to check out our tutorial on customizing the Date / Time field for more details.
