AI Summary
Are you experiencing issues on your site after updating WPForms? WPForms includes a library of code called Action Scheduler, which helps your site process large tasks. However, a small number of sites run into issues when Action Scheduler is first set up.
This guide will walk you through troubleshooting steps that are known to resolve common Action Scheduler issues.
In This Article
What is Action Scheduler?
Action Scheduler is a versatile library that is used to manage and schedule cron jobs in WordPress. It works by strategically scheduling certain action hooks to repeat or execute at a specific time in the future. By delaying or repeating hooks, Action Scheduler improves your site’s overall ability to process large tasks.
Many other popular WordPress plugins like WooCommerce and All in One SEO also rely on Action Scheduler to help execute actions more efficiently.
Note: For more specific details and helpful resources, be sure to check out Action Scheduler’s website.
How WPForms Uses Action Scheduler
WPForms uses Action Scheduler to help run larger tasks in the background without slowing down your site. These tasks are often time and resource-consuming.
For example, in your WPForms settings, you can choose to send emails asynchronously. This enables Action Scheduler to help your forms process email notifications separately from form confirmations, which may help speed up your form’s submission time.
Troubleshooting Common Action Scheduler Issues
Action Scheduler-related issues most commonly occur when setting this tool up for the first time. In most cases, this includes an error message saying, “There has been a critical error on your website.” Additionally, you might see something similar that mentions there’s a fatal error because the wp_actionscheduler_actions table doesn’t exist yet.
This error can be caused by a variety of factors in your site’s configuration. In the next section, we’ll go over the steps needed to help troubleshoot this issue.
Note: We release plugin updates regularly, and a past updated may have addressed the issue you’re seeing. Before continuing, be sure to update WPForms to the latest version.
1. Deactivating the WPForms Plugin
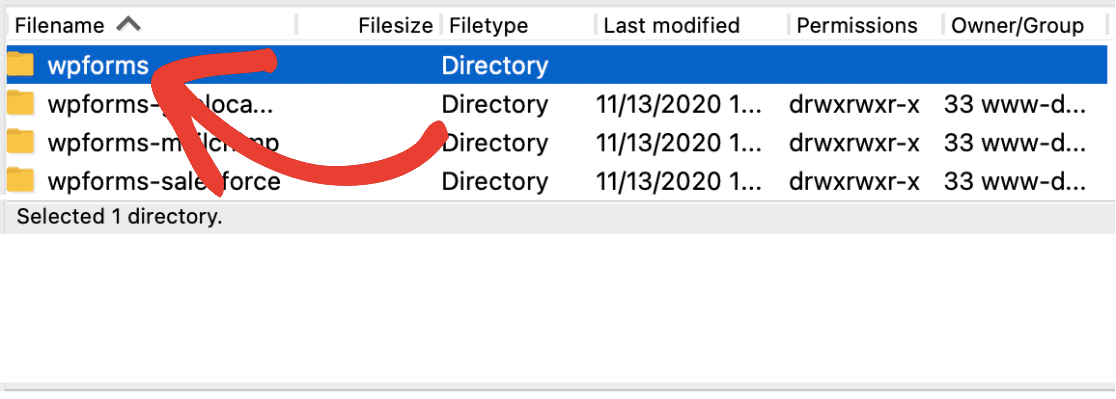
To get started, you’ll need to deactivate WPForms. Depending on your hosting provider’s options, you’ll be able to do this by accessing site files through either File Transfer Protocol (FTP) or cPanel.
Once you’ve opened your site files, navigate to /wp-content/plugins/. Within the plugins folder, you should see a folder named wpforms (or wpforms-lite if you’re using our free version).
You’ll need to rename this folder. To adjust the name in an FTP program like FileZilla, you’d do this by right-clicking on the folder name and then selecting Rename.

By changing the name, WordPress will automatically deactivate the plugin for you. For our example, we’ll simply add -zz to the end of the plugin name, changing it to wpforms-zz.

We’ll return to these site files later, so we recommend keeping this program open as you move on to the next steps.
2. Installing the Action Scheduler Plugin
After manually deactivating WPForms, go ahead and log into your WordPress site. The admin area should be working normally now.
The next step is to install the Action Scheduler plugin. This will help your site to resolve any setup issues so you can get things back on track.
You can install the plugin directly from the WordPress admin area of your site by going to Plugins » Add New and searching for “Action Scheduler.”
Alternatively, you can download the plugin from Action Scheduler’s page on WordPress.org.
The downloaded file should be named something like action-scheduler.3.4.0.zip, where the numbers match the version number.
Once you’ve downloaded this zipped file, you’ll need to install and activate it on your WordPress site.
3. Creating Action Scheduler Tables
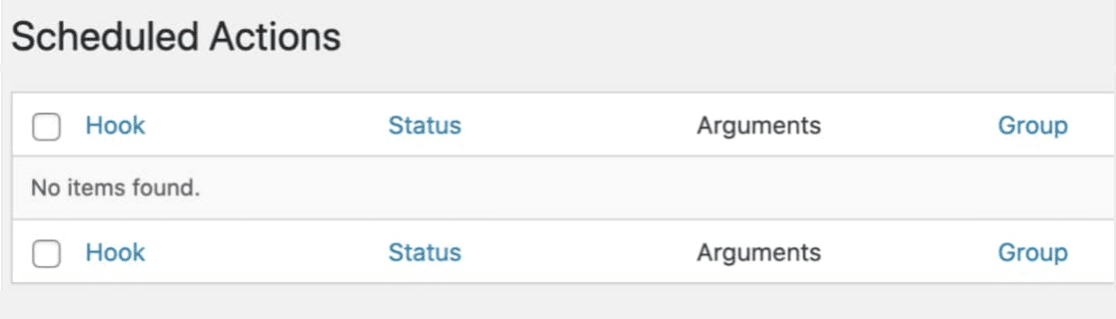
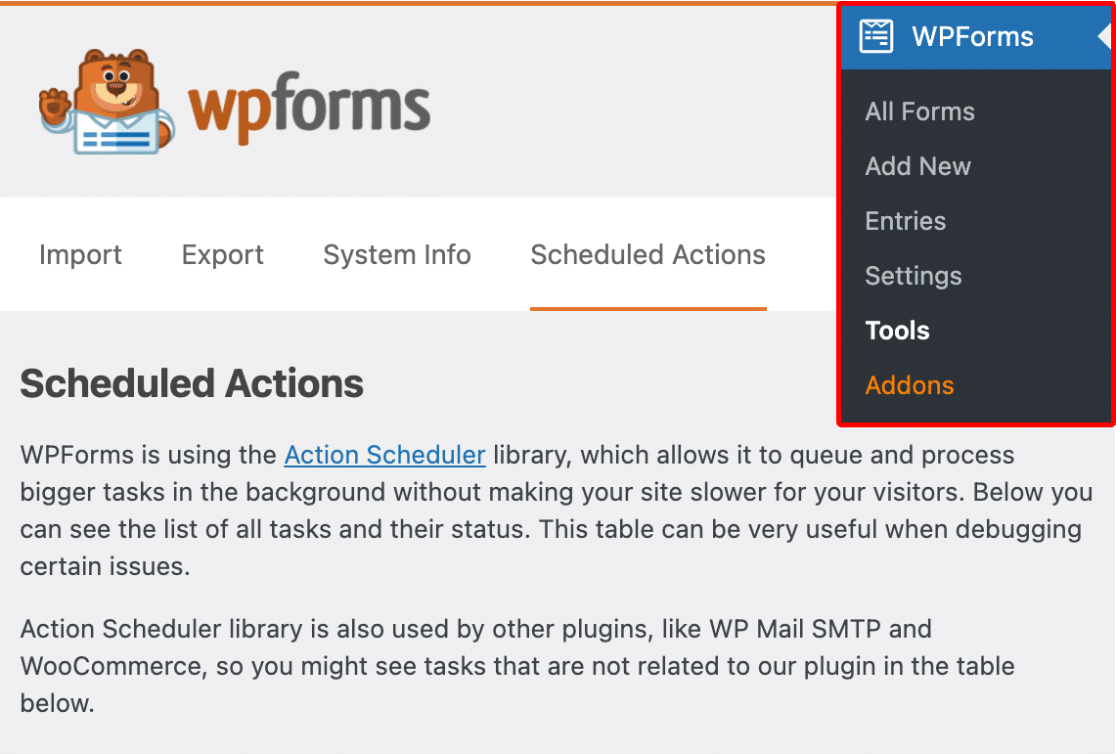
After installing the Action Scheduler plugin, go to the WordPress admin sidebar and navigate to Tools » Scheduled Actions.
Note: When plugins such as WPForms, WP Mail SMTP, and WooCommerce are activated on your site, the option to select Scheduled Actions from the WordPress admin sidebar may be hidden to prevent duplication. Please see our frequently asked questions section for more details.
From here, you should see two notices: “Action Scheduler migration in progress. The list of scheduled actions may be incomplete.” and “It appears one or more database tables were missing. Attempting to re-create the missing table(s).”

You’ll need to wait at least a few seconds so that Action Scheduler has time to run. Then, go ahead and refresh the page.
If the tables have been created successfully, then the notices mentioned above will no longer be visible after you refresh the page. This means that you’re ready to go on to the next step!
Note: If these notices do not disappear, then there are most likely server/database configuration issues preventing your site from working properly. Please contact your site’s hosting provider. You’ll need to ask them to check the site’s database logs to see what’s causing this issue.
4. Reactivating WPForms
You’re now ready to get WPForms back up and running on your site.
To do this, you’ll need to return to your site files. Then, change the plugin folder back to its original name (either wpforms or wpforms-lite, depending on which plugin version you’re using).
Now that you’ve restored the original name, you can switch back over to your WordPress admin area. From there, go to Plugins » All Plugins and make sure that WPForms is activated on your site.
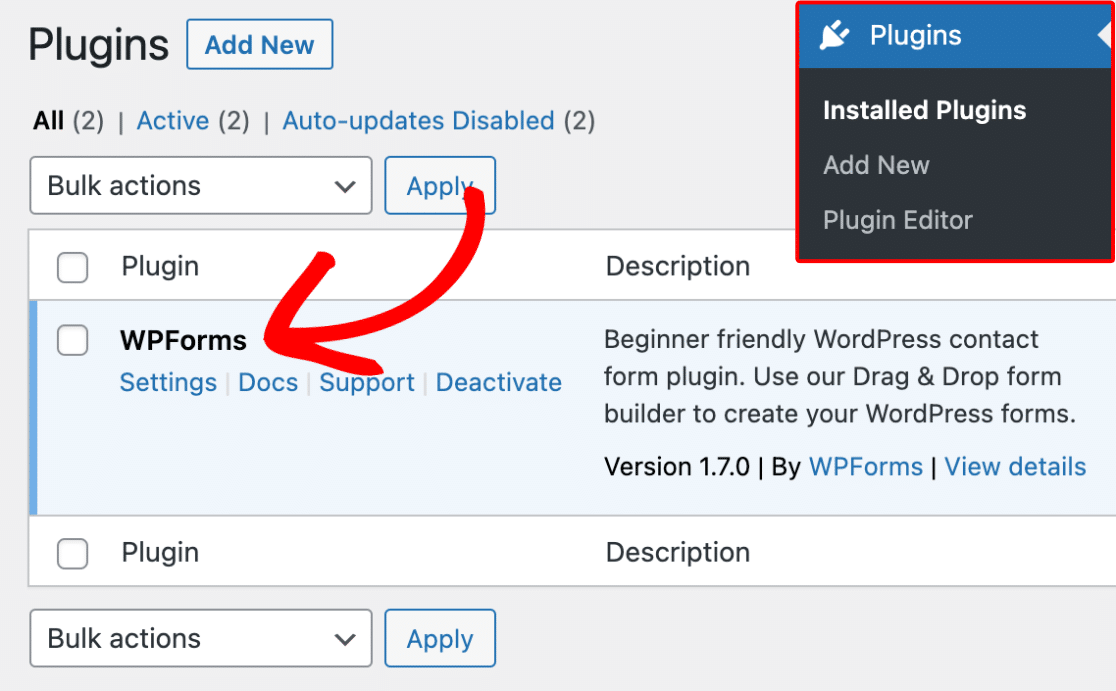
Once WPForms is active, be sure to deactivate the Action Scheduler plugin. After deactivating Action Scheduler, you can go ahead and delete this plugin from your site.
Frequently Asked Questions
Below, we’ve answered some of the top questions about troubleshooting Action Scheduler issues in WPForms.
If the error I’m receiving isn’t causing my entire site to go down, do I still need to go through the troubleshooting steps?
If you’re running into an Action Scheduler error, but still have access to your site’s backend, then most likely the Action Scheduler tables haven’t been created yet.
To resolve this issue, you can try automatically generating your Action Scheduler tables by navigating to WPForms » Tools » Scheduled Actions.
By navigating to this area, new Action Scheduler tables should automatically be created for you and the issue should be resolved. However, if this doesn’t do the trick, we recommend working through each of the troubleshooting steps outlined above.
There are a lot of Action Scheduler tasks, doesn’t this affect my site’s performance?
Action Scheduler checks every minute to see if there are any scheduled tasks (cron jobs) to run. However, it will only execute jobs if it finds them. Don’t worry, if no jobs are scheduled, Action Scheduler just uses a small number of resources.
Though we don’t recommend doing so, you can change when Action Scheduler runs its checks via the action_scheduler_run_schedule hook.
Changing it to a lower frequency leads to less frequent checks of the scheduled jobs, which can affect other site functions that use Action Scheduler. For example, asynchronous emails in WPForms won’t send as promptly and can be delayed by the new schedule.
How long are completed scheduled tasks stored in Action Scheduler?
By default, Action Scheduler will automatically remove completed tasks after thirty days. However, this time period can be changed with the action_scheduler_retention_period filter.
Here is a code snippet that decreases the retention period to one week:
Why can’t I see the Scheduled Actions option in the WordPress admin sidebar?
Some plugins that install the Action Scheduler library (such as the Action Scheduler plugin itself) add a Scheduled Actions option to the WordPress sidebar’s Tools menu. WPForms only hides this menu item if WooCommerce or the standalone Action Scheduler plugin is not active. This prevents duplicate menu items while ensuring access to the Action Scheduler tools page when needed.
Instead, once WPForms is activated, this option is provided in WPForms » Tools under the Scheduled Actions tab.

If you’d like to, you can still access the Scheduled Actions page using the WordPress Tools menu. This can be done by adding the following filter:
That’s it! If the steps above were successful, your WordPress site and Action Scheduler should now be working properly.
Next, would you like to keep a record of events that occur within your WordPress forms? Be sure to check out our guide on enabling activity logging for more details.