AI Summary
Would you like to require that users read and agree to your Terms of Service or Disclaimer before they are allowed to submit a form?
This tutorial will share two easy ways to create a required agreement checkbox.

Adding a Terms of Service Checkbox
To get started, you’ll need to either create a new form or edit an existing form.
Once the form builder is open and you’ve added the fields you’d like, we’ll add a Checkboxes field.
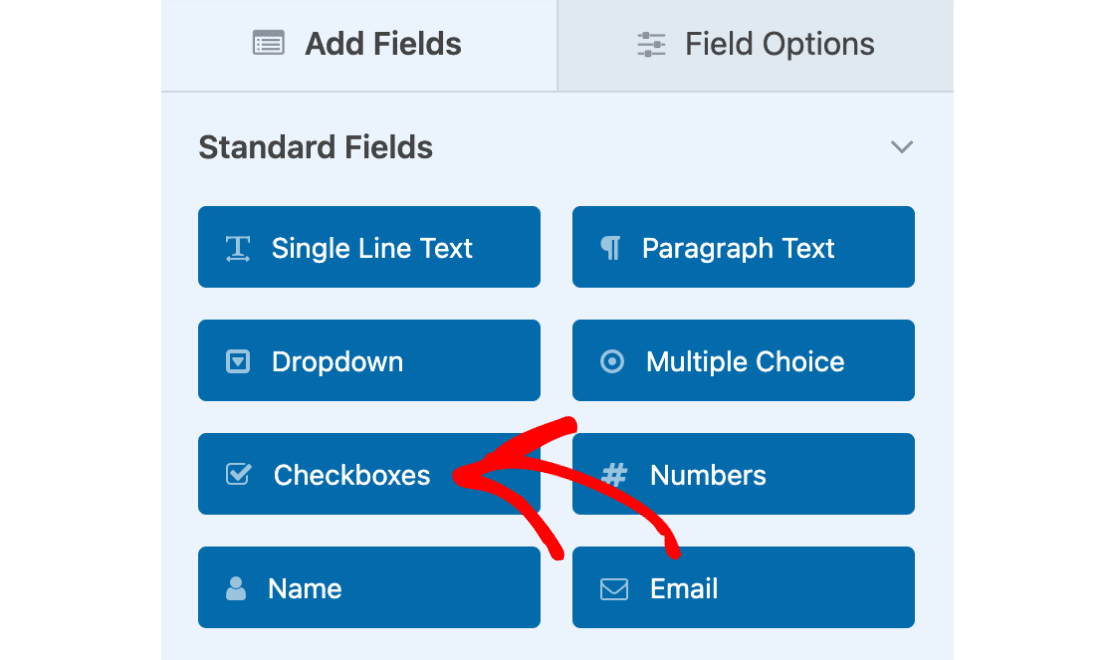
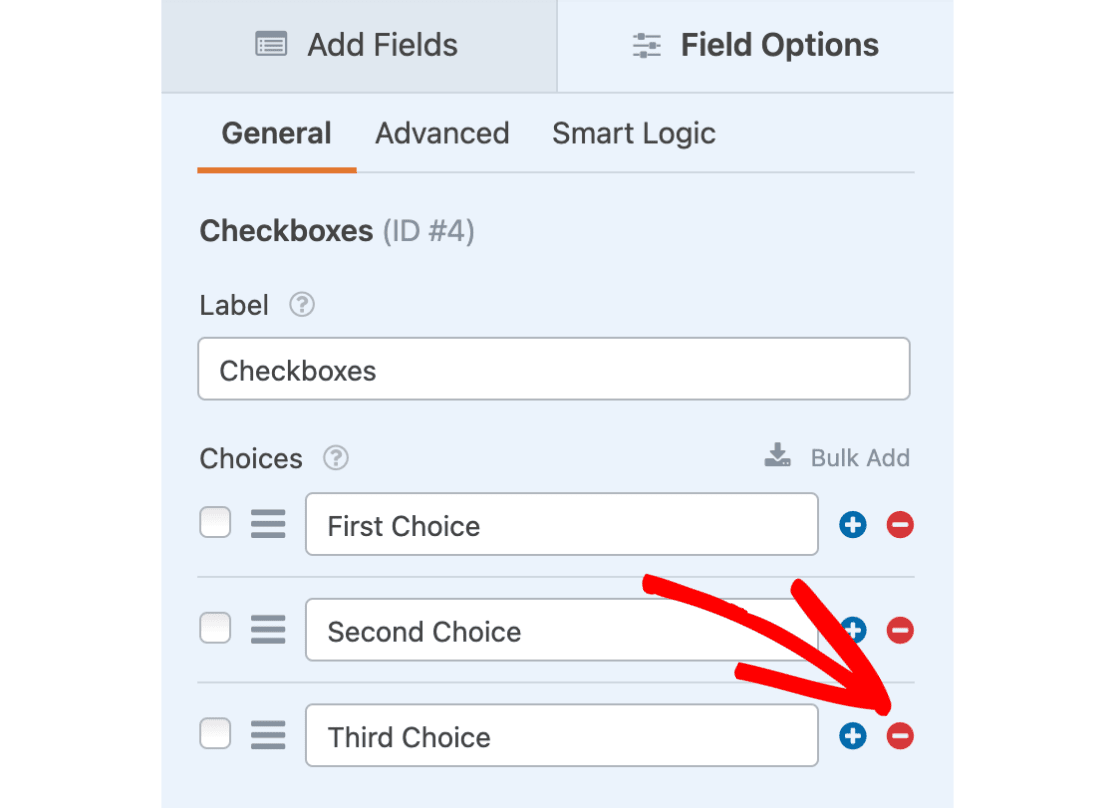
By default, this field will display three checkbox options. We only want one checkbox choice in our form, so we’ll remove the other two by clicking on the Checkboxes field to open the Field Options screen. Then we just need to click the minus buttons (-) to the right of each choice we want to remove.
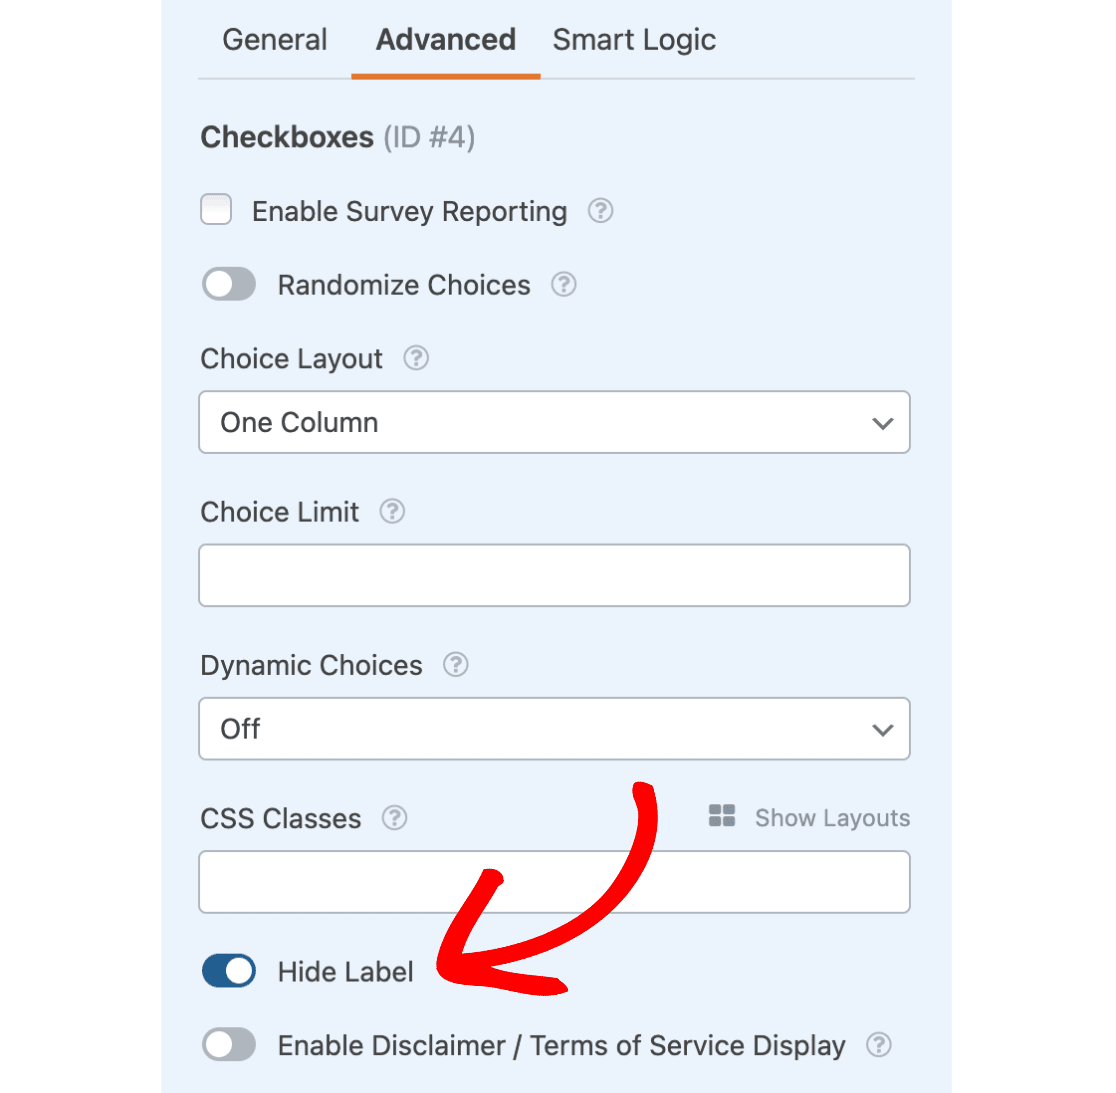
We also want to hide the Checkboxes field label. To do this, click on the Advanced tab and select the Hide Label option.
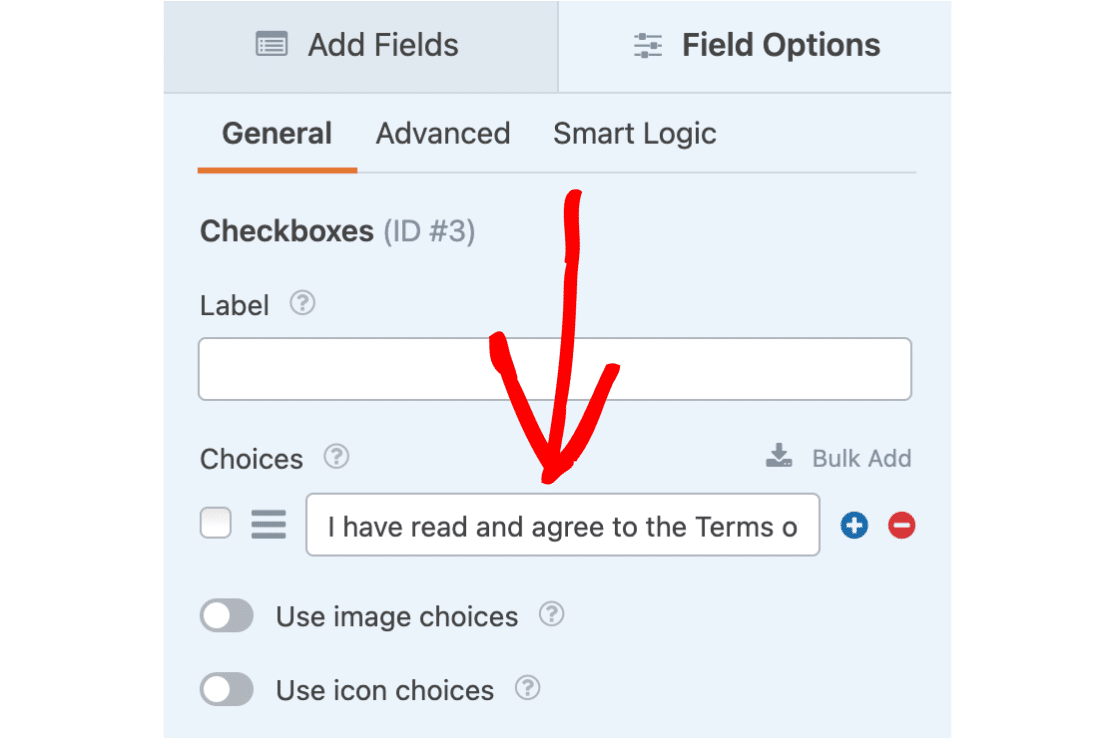
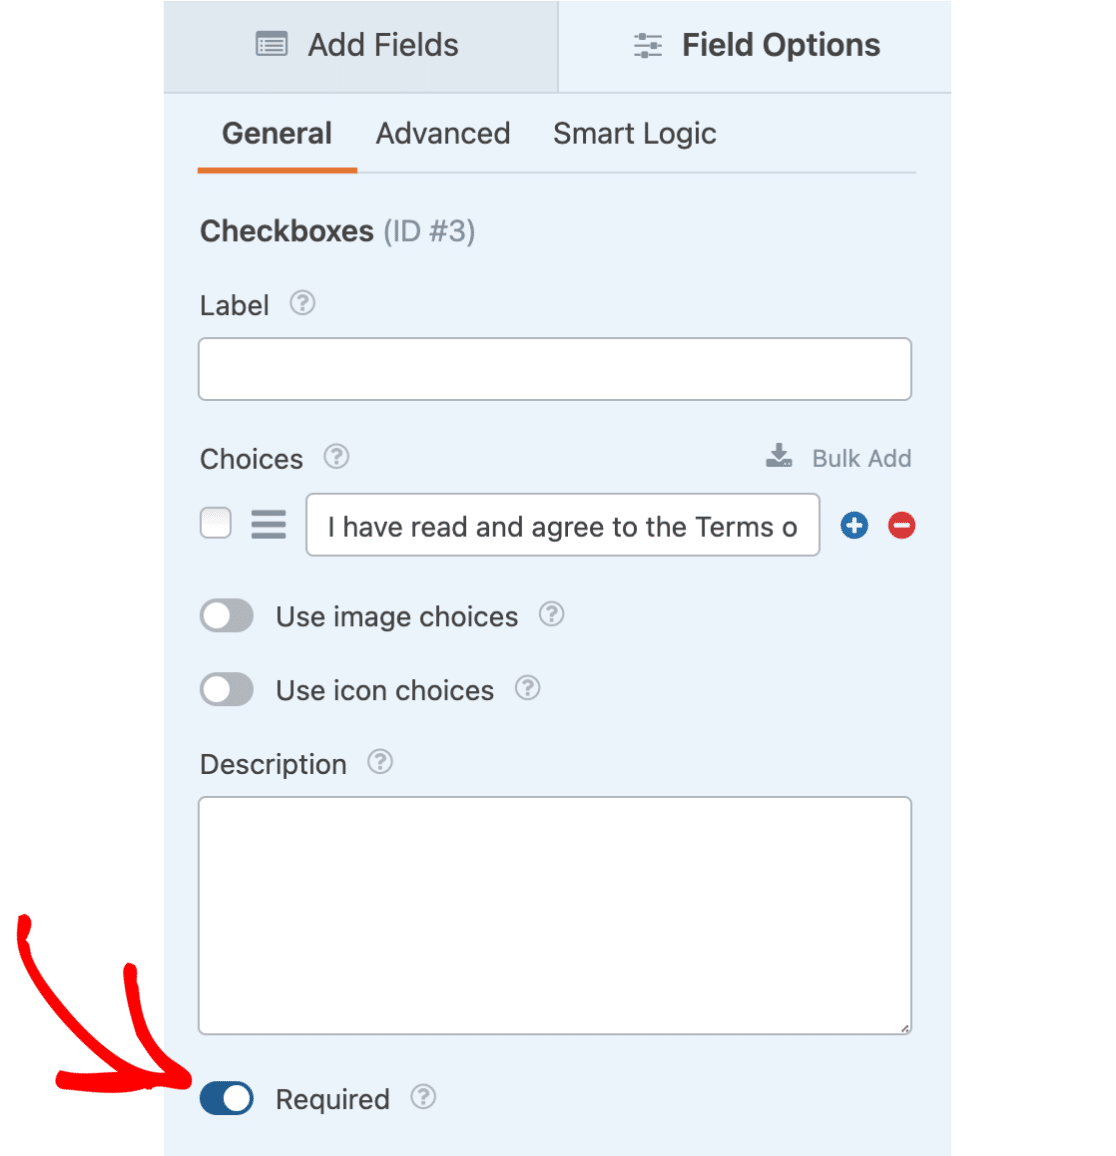
Next, we want to add descriptive text to our one checkbox option. For this example, we’ll use the text “I have read and agree to the Terms of Service”.
We’ll also mark this field as Required to ensure our users must check this box before proceeding.
Next, we’ll go over two different ways to add text to your Terms of Service.
The first option will create text that, when clicked, downloads a Terms of Service document. The second option will show you how to add your terms/disclaimer text directly to the form (no download needed), with special text formatting.
Adding a Link to a Separate Terms of Service Document
Now that we’ve got our checkbox and text ready to go, we need a document to link our text to. Either save and exit your form or open a new tab to go to your WordPress dashboard. Click on Media » Add New to upload your Terms of Service file to your WordPress Media Library.
If you either upload a new document or click on media you already uploaded, you’ll see a field for that item’s URL.
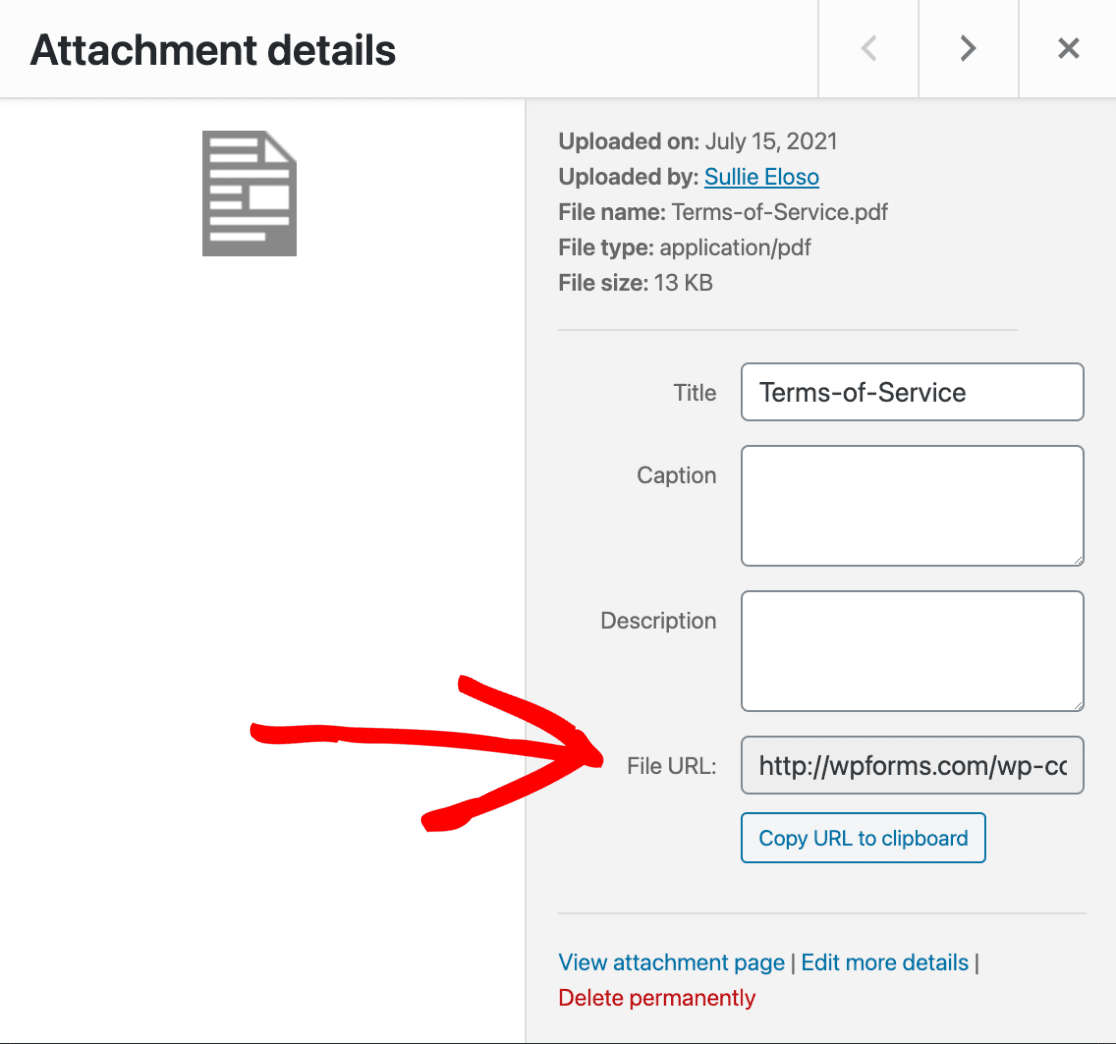
You’ll need to copy this URL and return to your form builder.
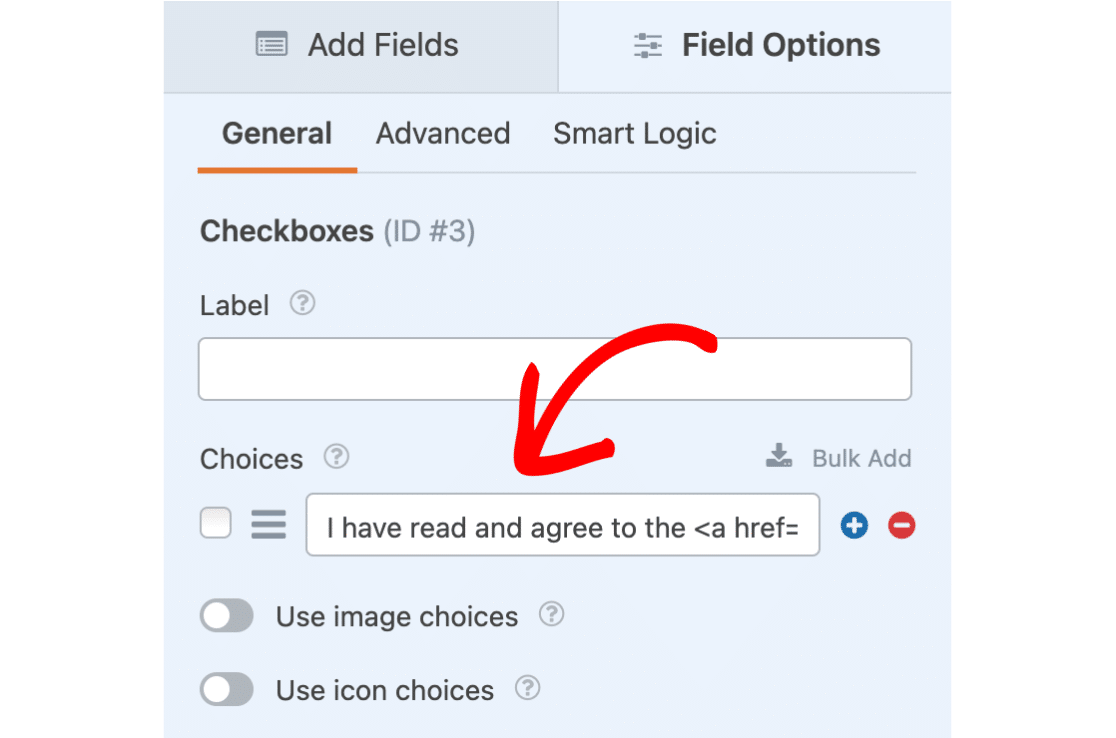
To create a link to this document, you’ll need to modify your choices text to include some basic HTML. For our example, we will only link the words “Terms of Service”:
I have read and agree to the <a href="https://example.com/wp-content/uploads/2024/07/Terms-of-Service.pdf">Terms of Service</a>
Be sure to add this HTML directly to the choices text field.
Most browsers will, by default, open this link in the same browser tab where the user is filling out our form. To force our Terms of Service document to open in a new browser tab or window, we’ll add target="_blank" inside of our a tag.
Here’s how our final HTML will look:
I have read and agree to the <a href="https://example.com/wp-content/uploads/2024/07/Terms-of-Service.pdf" target="_blank">Terms of Service</a>
If you check out the form preview on the right side of the builder, or embed your form and look at it on the frontend, you’ll notice that any text between the HTML tags will be seen as linked text.

Next, let’s take a look at how to add your Terms of Service text directly to the form, rather than linking to a separate document.
Adding Terms of Service Text Directly to a Form
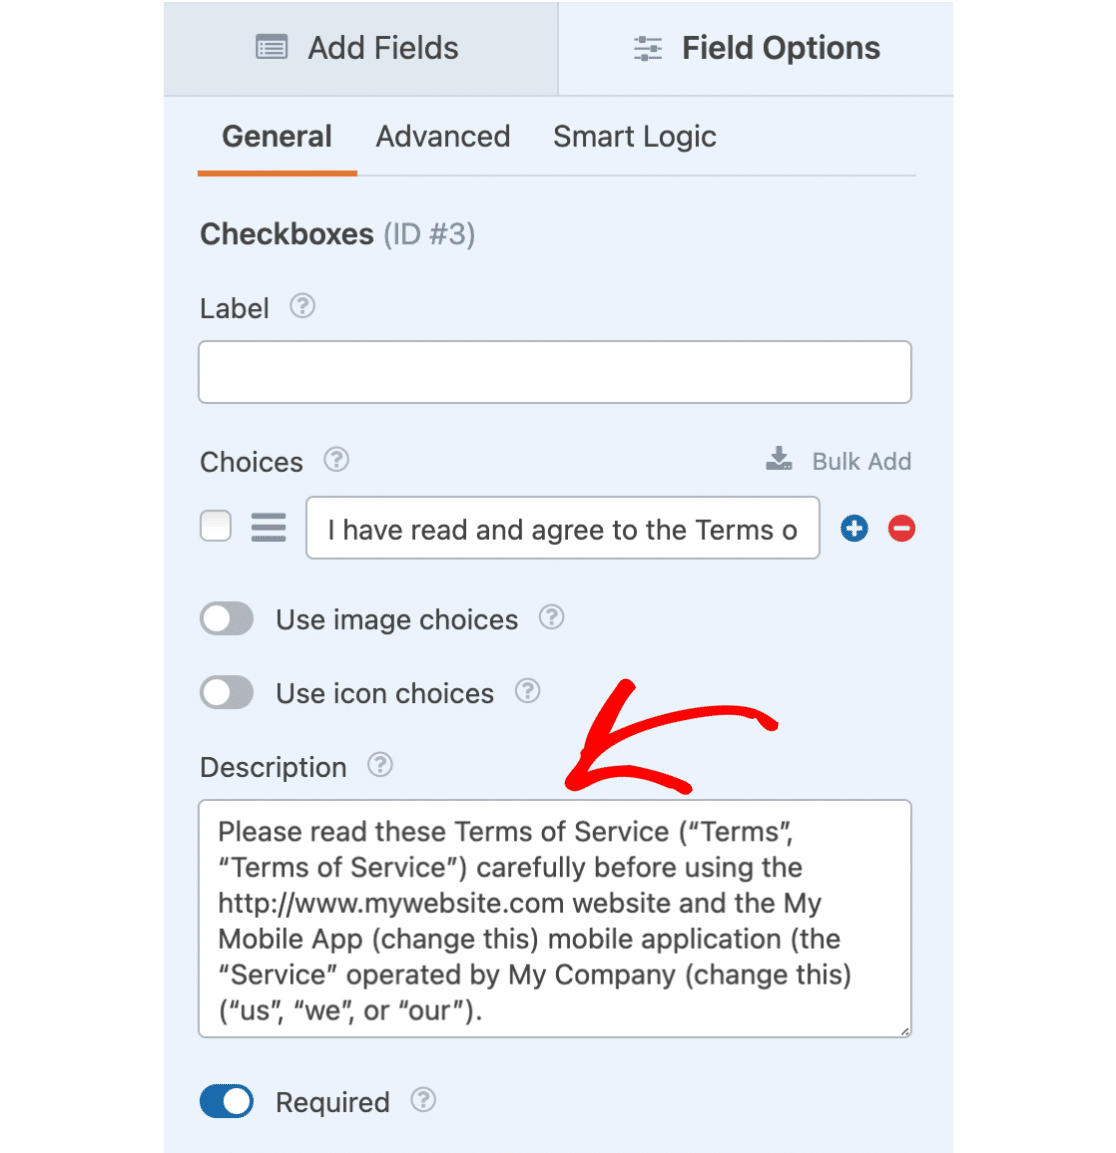
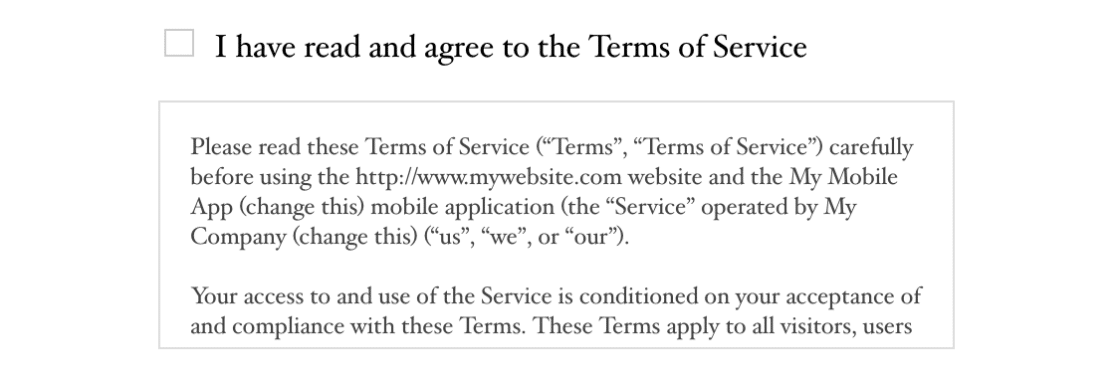
For this option, we’ll start by changing the checkbox text to “I have read and agree to the terms of service listed below.”
Then, you can add your terms or disclaimer text to the Description area. The Description area accepts regular text as well as HTML.
Once the description text is ready, we can add special formatting. To do this, you’ll need to open the Advanced section. Then you can select the option labeled Enable Disclaimer / Terms of Service Display.
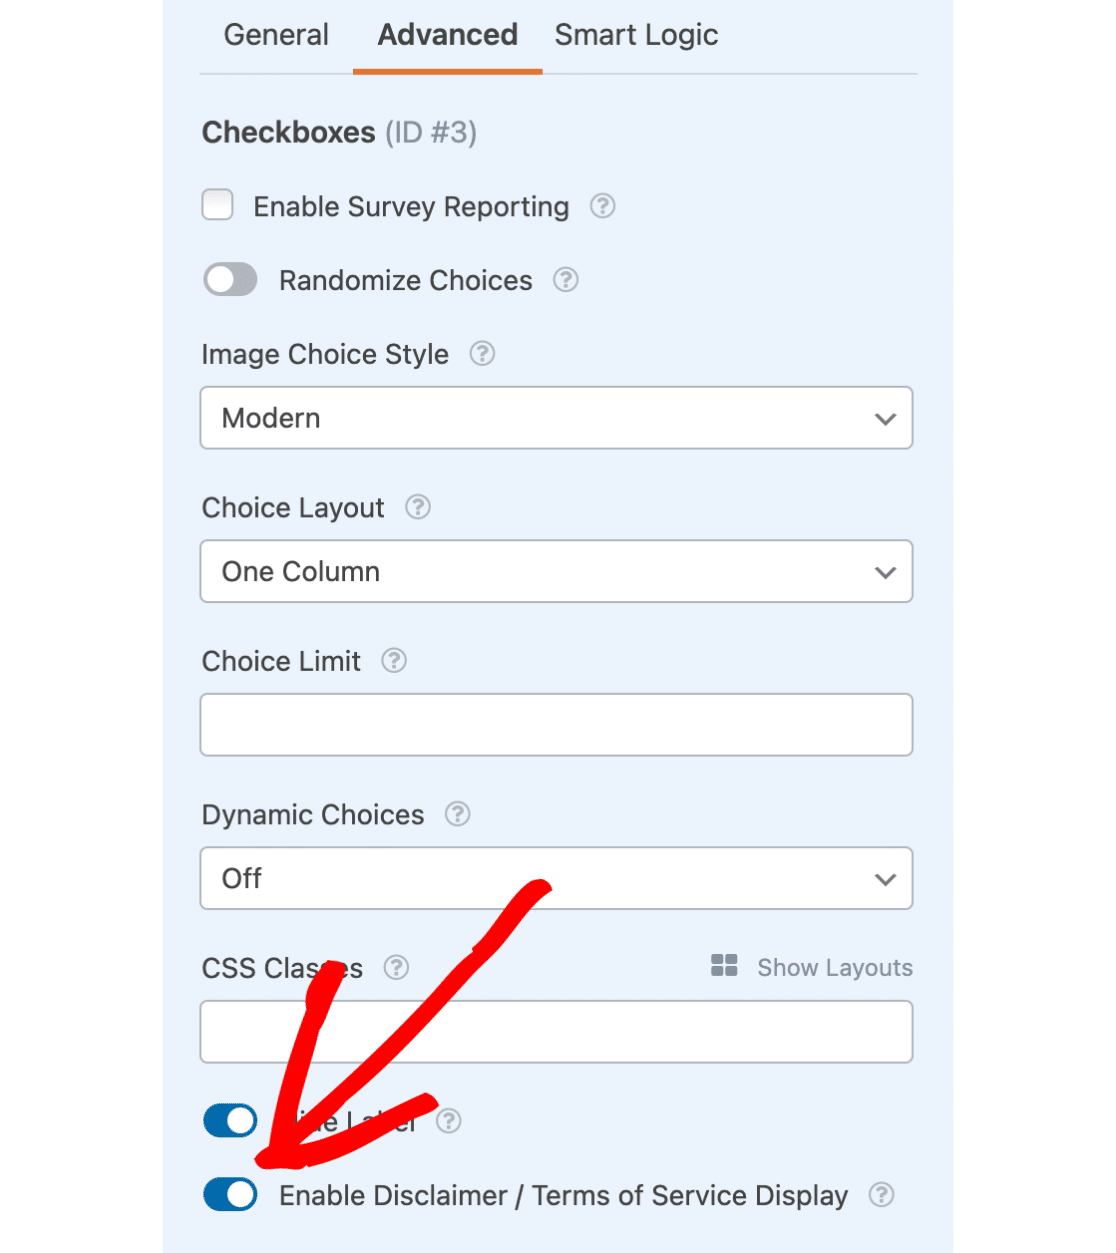
Once this option is checked, the description text will be placed into a specially formatted box with a vertical scroll bar.
That’s it! We hope this tutorial helped you to require users to agree your Terms of Service document before submitting a form.
Next, would you like to customize your form notification emails? Be sure to check out our tutorial on setting up automatic form emails for all the details.