AI Summary
Want to send out more than one notification when your form is submitted? By configuring multiple form notifications, you can tailor specific messages to different recipients, ensuring that the right people are alerted in real-time.
This tutorial will cover how to set up multiple form notifications with WPForms.
Before getting started, you’ll first need to make sure WPForms is installed and activated on your WordPress site. Then you can create a new form or edit an existing one to access the form builder.
Adding Multiple Form Notifications
WPForms makes it easy to create multiple email notifications for a form. Whether you’d like to send out unique emails to different recipients or set up conditional notifications based on users’ entry selections, multiple form notifications are a great way to make your emails feel more personalized.
Note: If you’re looking for information on how to get started with form notifications, be sure to check out our guide to setting up form notifications for all the details.
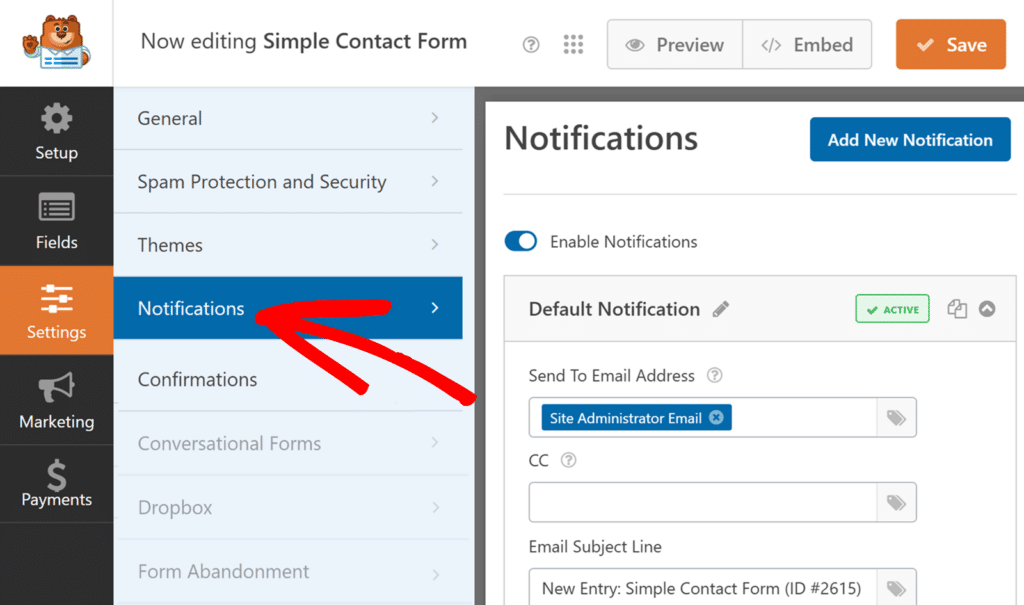
To add an additional notification email from the form builder, first navigate to the Settings » Notifications page.

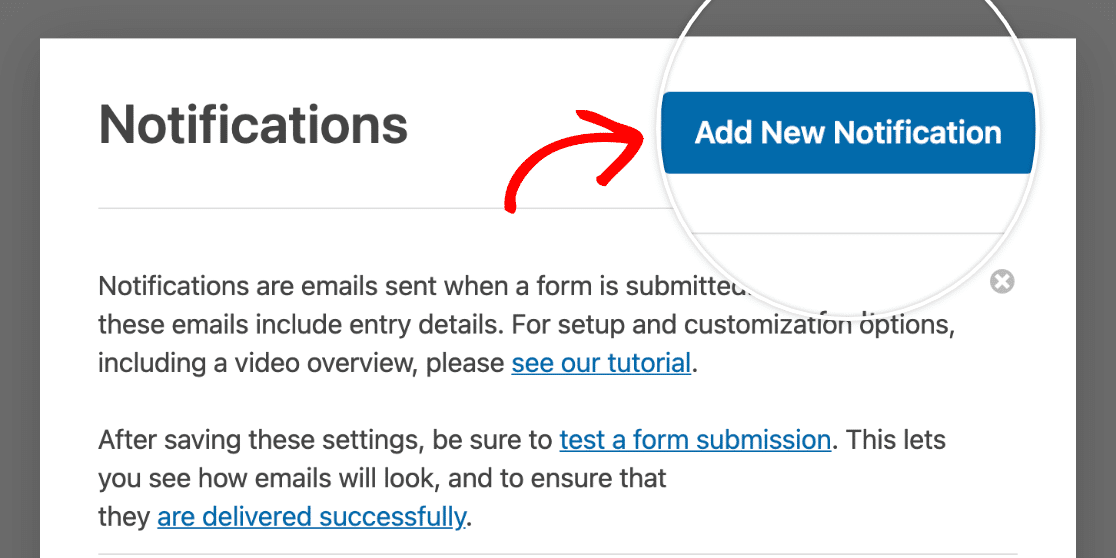
Then, click the Add New Notification button.

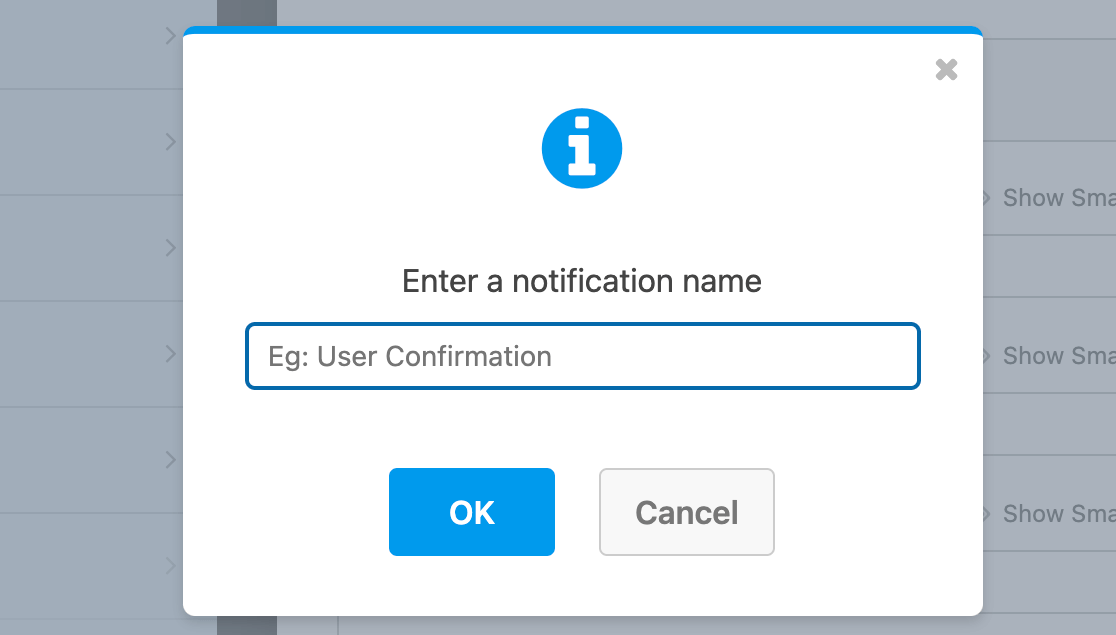
An overlay will then appear where you can name your new notification. Your users won’t see this name, so it can be anything you like. It’s meant to simply help you keep your notifications organized.

Each notification you create will appear in a list with several options for managing it.
Next to the notification name, you’ll also see a status badge labeled ACTIVE. Clicking this will deactivate the notification and change the label to DEACTIVATE. You can click it again to reactivate it whenever needed.
This is helpful when you’ve added multiple notifications and want to temporarily disable one without deleting it.

If you want to create a copy of an existing notification, click the clipboard icon to duplicate it.

If you decide later that you’d like to delete a notification, you can do that by clicking the trash icon.

Additionally, you can use the caret (^) to collapse the settings for a notification.

You can configure your new notification following the same steps as above. When you’re finished, click Save to store your changes.

That’s it! You now know how to add and manage multiple notifications for your forms.
Want to learn more about customizing email alerts? Be sure to check out our tutorial on setting up form notification emails.
