Do you want to send the email address to Square when a form is submitted? With WPForms’ Square addon, you can easily accomplish this by using a custom PHP snippet.
In this guide, we’ll show you how to send the email address to Square using WPForms.
Understanding Square Payments
When utilizing the Square addon, you can seamlessly map the Name, Email, and Address fields to Square. These details are securely stored within Square’s system but aren’t displayed within the transaction view.
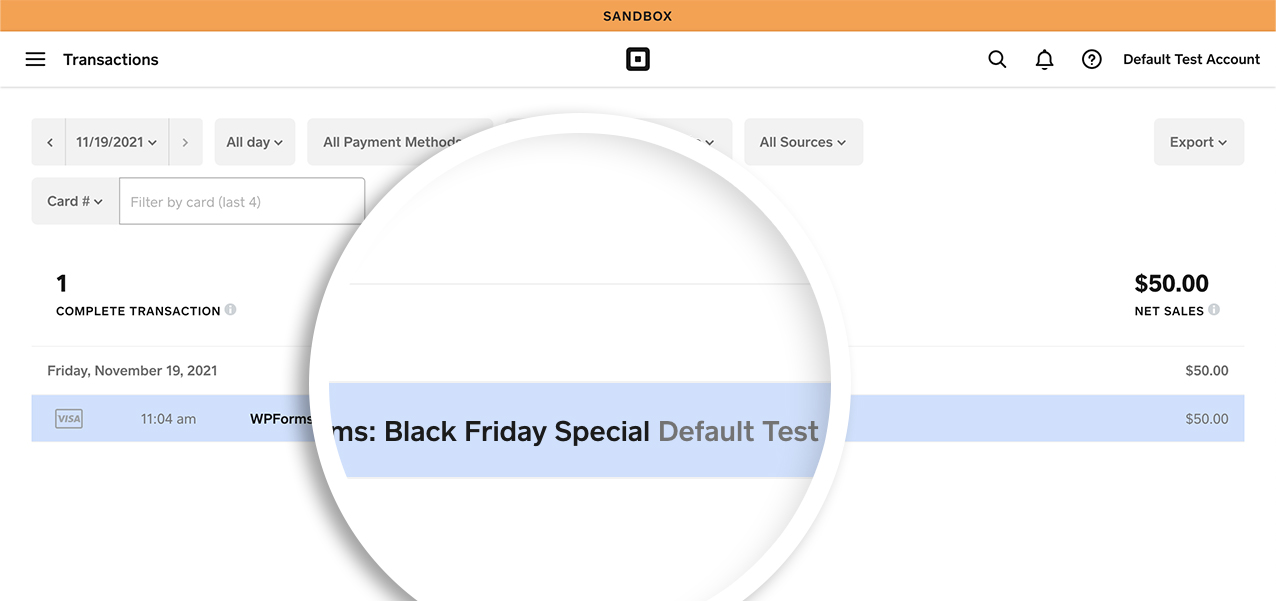
To display any form field data on the transaction detail page, you’ll need to implement a brief PHP snippet.
Creating Your Form
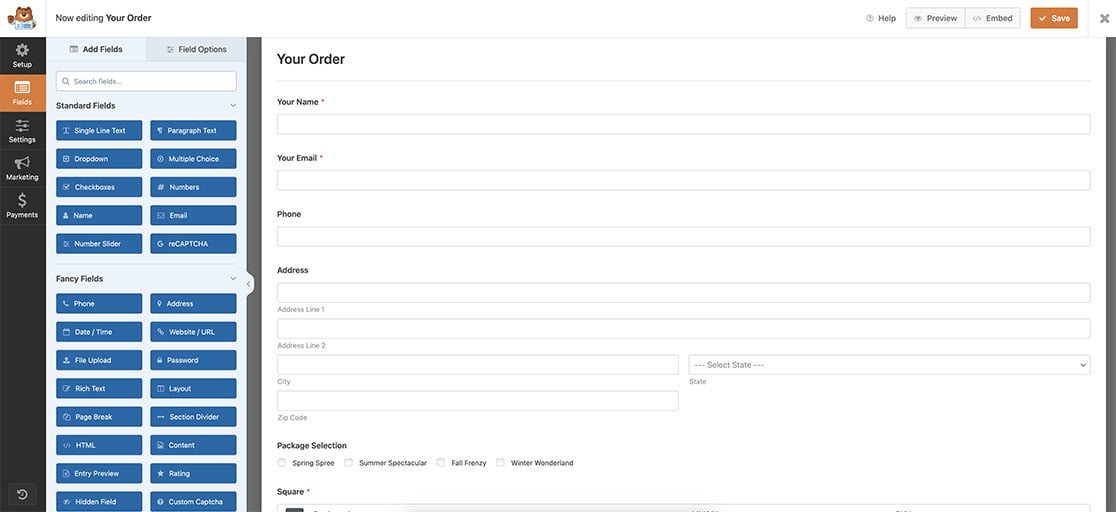
To get started, you’ll need to create a new payment form or edit an existing one that includes the Square form field. Make sure to add the necessary fields, including the Email field.
Enabling Square Payments
After configuring your fields and incorporating the Square form field, proceed to the Payments tab. Then, select Square to activate Square as the payment processing method.
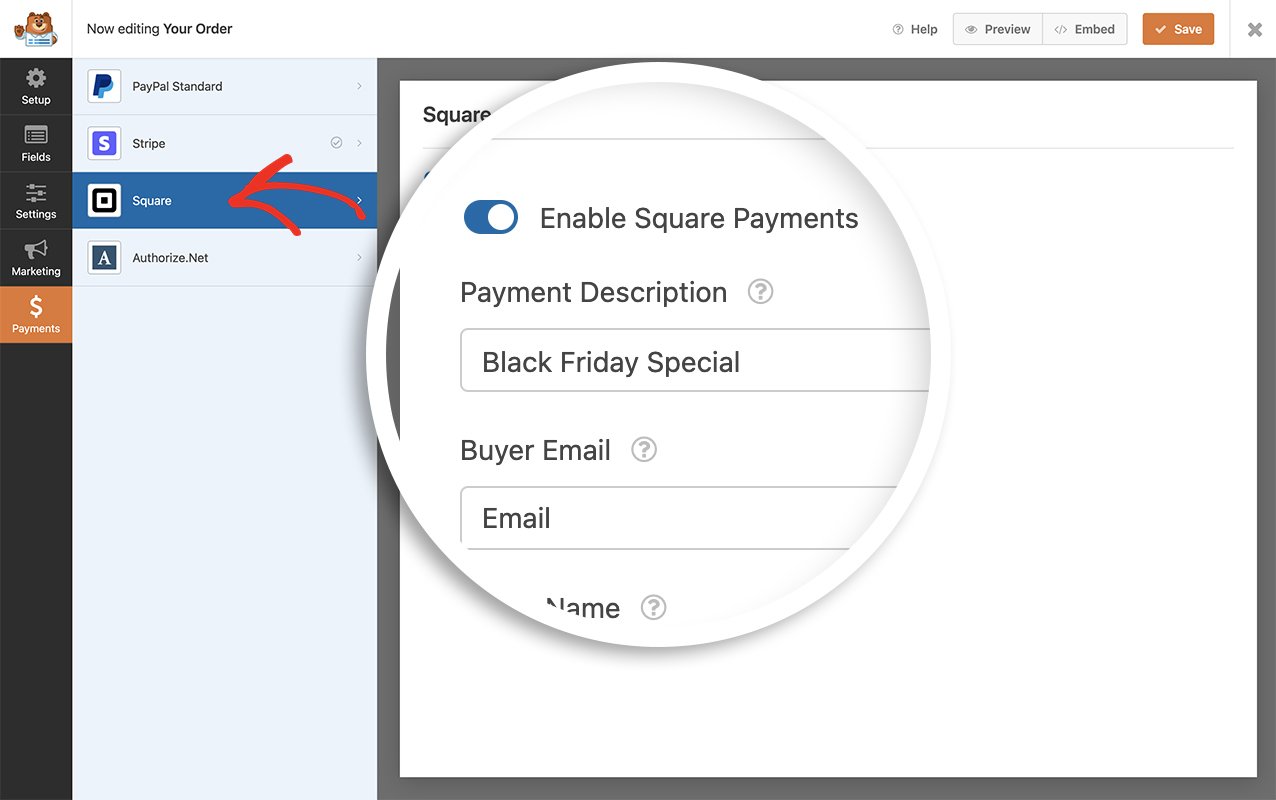
Note: For more details on setting up a form that accepts Square payments, see our Square addon tutorial.
Adding the Field ID to the Payment Description
Next, we’ll embed the field ID corresponding to the Email Address into the payment description that Square presents on the transaction details page.
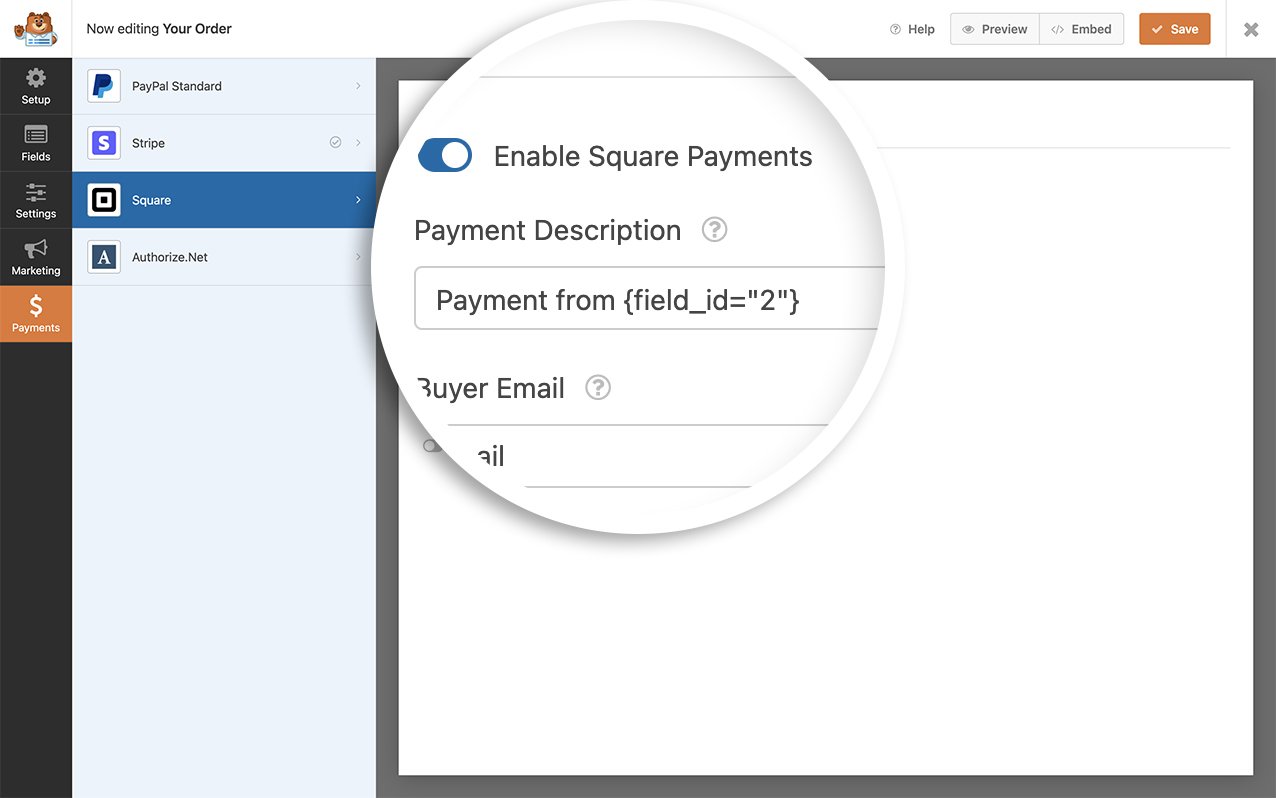
For our specific form, the Email Address field ID is 2. Consequently, in the Payment Description, we’ve modified this field to read as Payment from {field_id=”2″}. Should you prefer to display a different field from your form, such as the name instead of the email address, simply adjust the field ID number accordingly.
If you need assistance locating your field ID, please refer to this tutorial. Additionally, you have the flexibility to utilize any WPForms Smart Tag. For a comprehensive list of built-in Smart Tags, consult this documentation.
Adding the Snippet
By default, the payment description doesn’t support Smart Tags. To enable this functionality, you’ll need to add a code snippet. Simply copy and paste the following snippet into your website.
Note: If you require guidance on how to add code snippets to your site, please consult this tutorial for step-by-step instructions.
Note: Square’s API imposes restrictions on the maximum number of characters you can transmit. For instance, the note field will only accommodate a maximum of 500 characters.
In the provided code snippet, we’ve enabled the note field displayed on the transaction detail page to process WPForms Smart Tags.
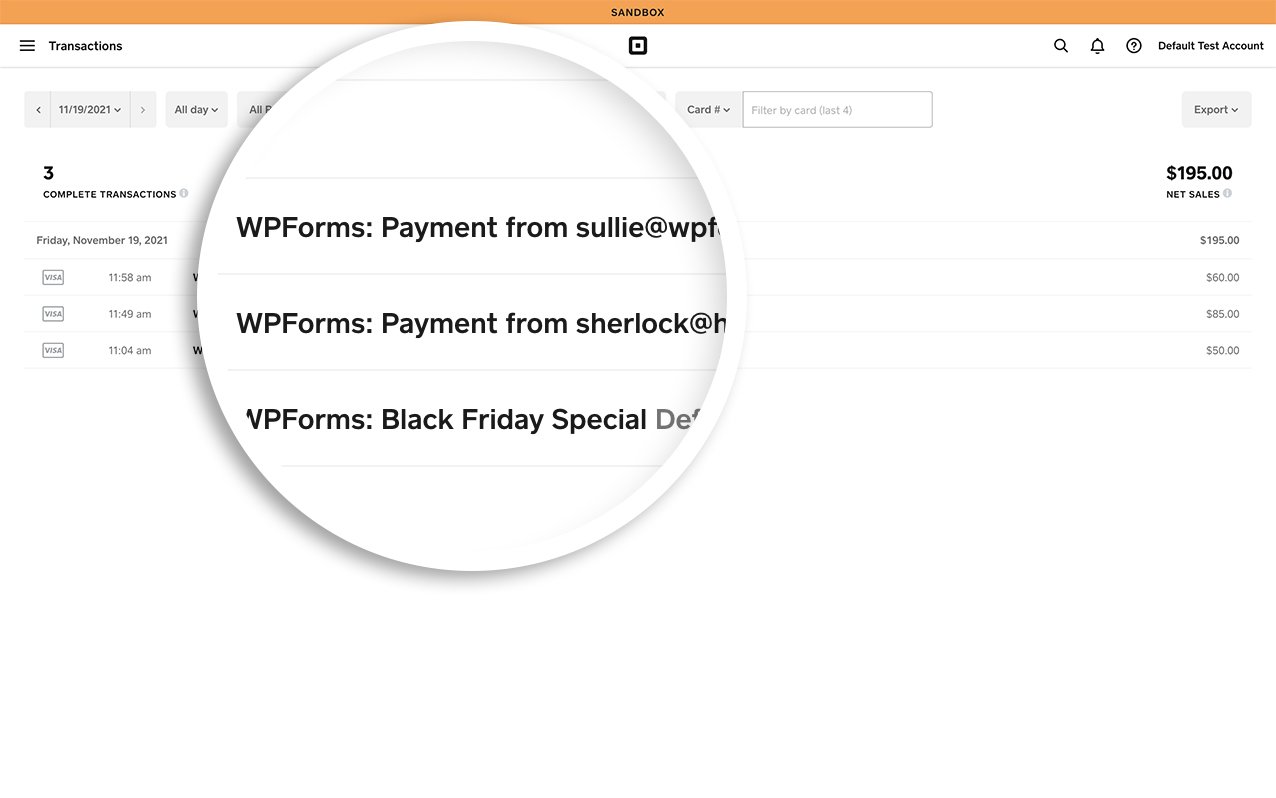
That’s it! You’ve now learned how to easily send the email address to Square inside the payment description.
Next, would you like to learn how to create custom Smart Tags? Check out our tutorial on how to create a custom Smart Tag.
