Introduction
Would you like to add a filterable field to your form that is for internal use only? Being able to quickly and easily filter through your entires can save a lot of time but you may not want this field to display on your form. In this tutorial, we’re going to show you exactly how easy it is to achieve this.
In our example, we’re going to be creating a lead generation form. Once the phone number has been verified, we want to be able to add a flag on the entry so it can be filtered out of reports later on.
Creating the lead generation form
Our first step will be to create our form and add our relevant fields to this form for our users to complete.
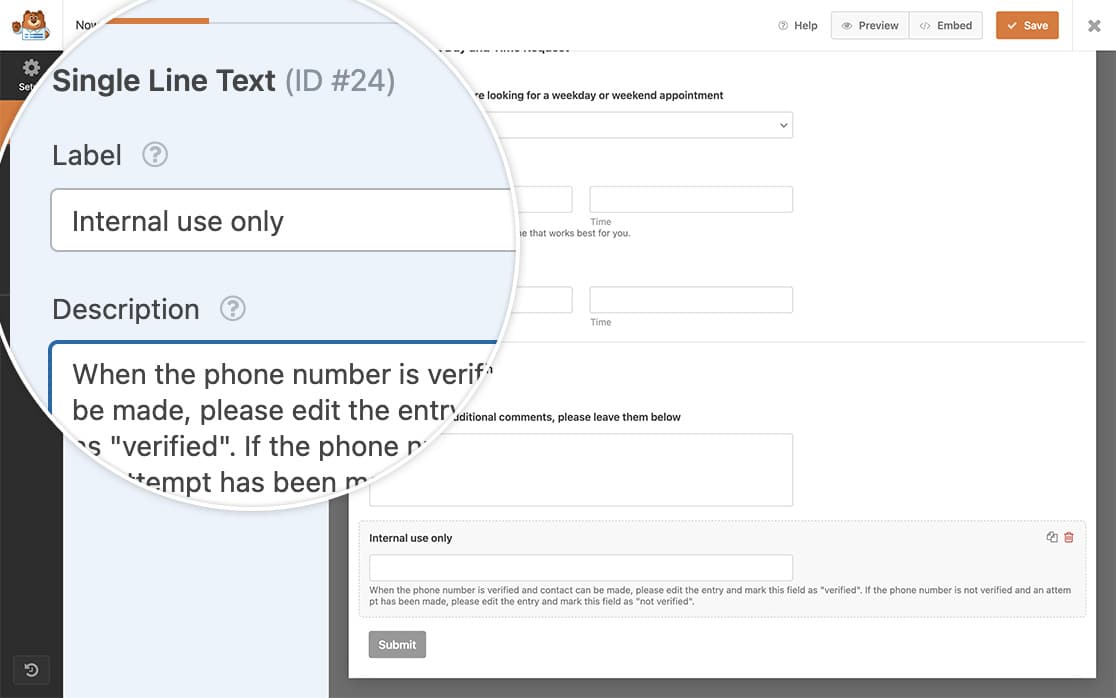
However, we also want to add a field that we’ll be able to put our flag in later if the phone number has been verified. To do this, we’re going to add a Single Line Text form field.
If you need any help in creating your form, please review this documentation.
Adding a CSS class to the filterable field
Since we want this field as an internal only field and we don’t want it to display on the form for our visitors, we’re going to add a CSS class to this field that we can use to hide this field with CSS in a later step.
To add a CSS class to the field, open the Advanced tab of the field from the form builder and add wpforms-field-hidden to the CSS Classes.
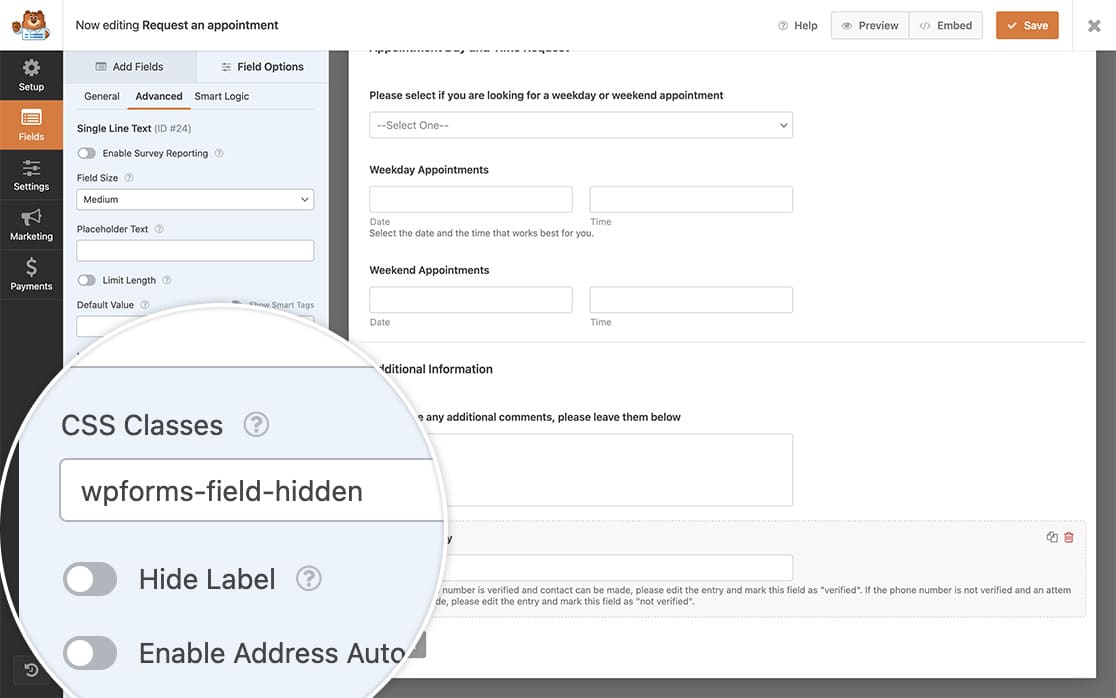
This CSS class name is a default class in WPForms, the CSS is already in place. Once you add the class, the CSS to display:none; on the field will be automatically applied.
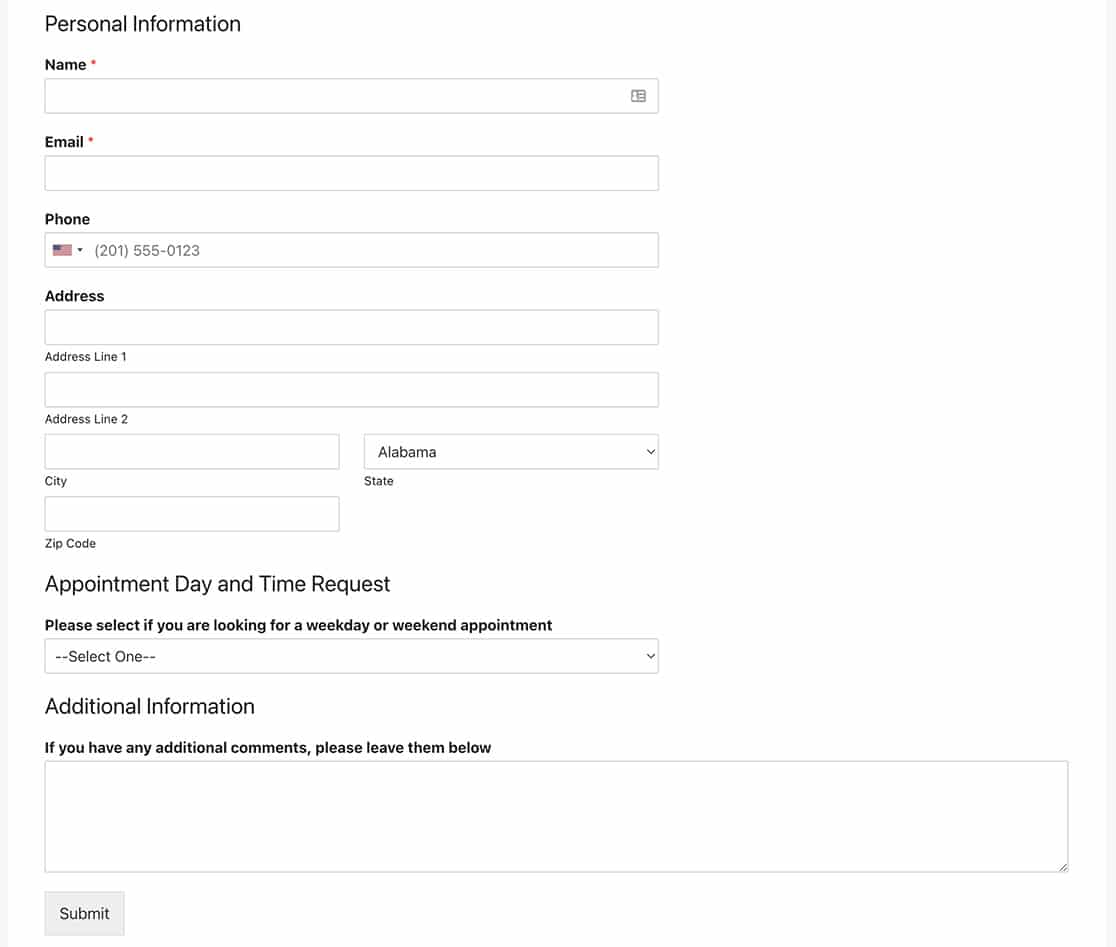
When our users visit the site, they won’t be able to see the internal use filterable field.
Creating the column view
For this step, we’re going to change the columns view for our entry screen. For more information on how to do this, please check out this documentation.
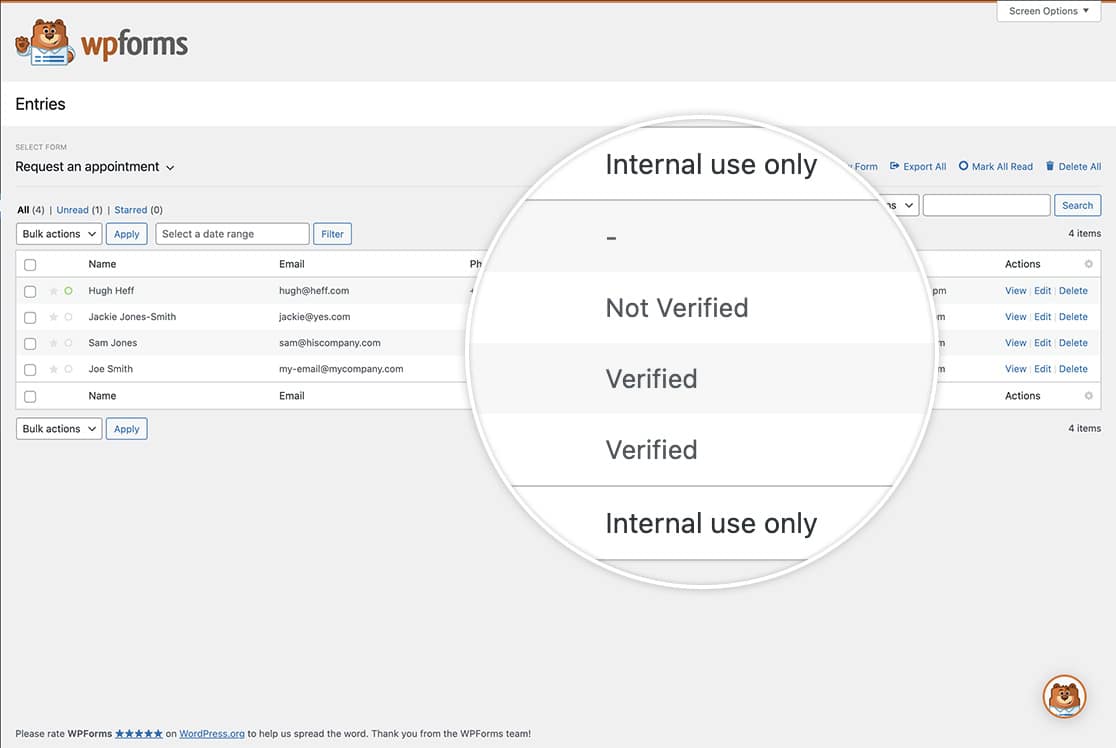
We want our internal field to show when you view the entry screen.
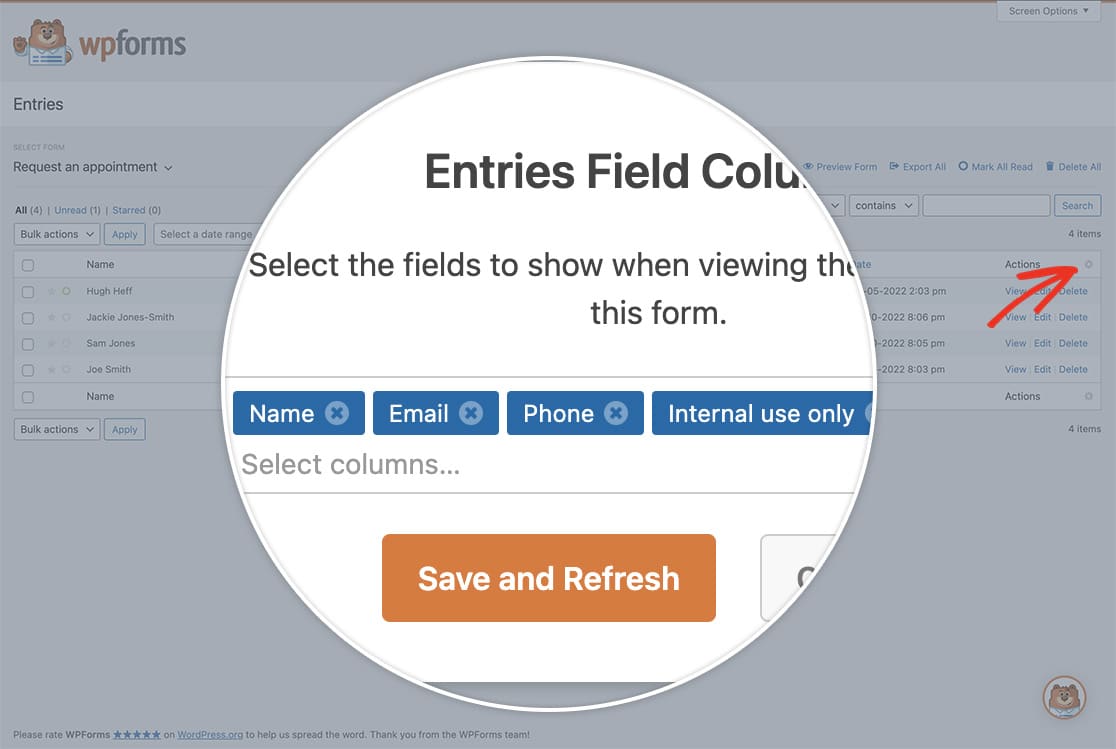
Now when you view the entries screen, you’ll see all of your entries for this form including the internal field that was added above.
Filtering the entries
Now when you are on the Entries screen of your form, you can easily filter through these entries.
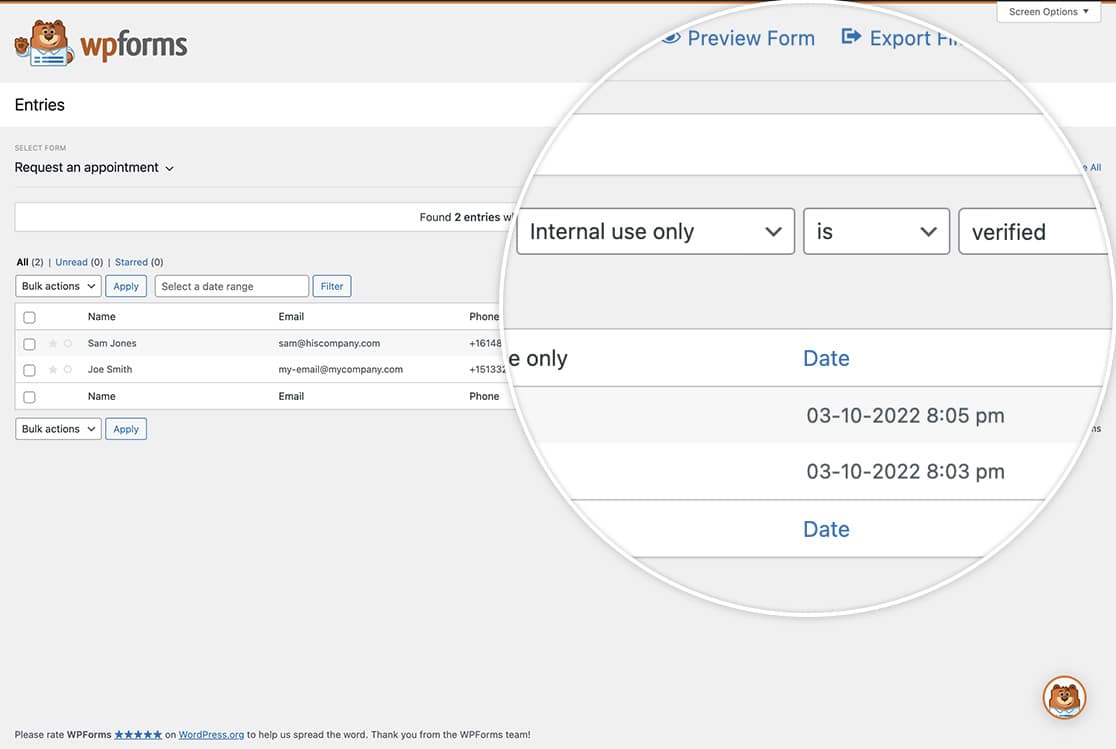
For more information on searching and filtering entries, you can check out this documentation.
Would you like to also use CSS to change the color of your submit button? Head over to our tutorial on How to Change the Submit Button Color.
