AI Summary
Would you like to choose which fields are displayed on your form’s main Entries page? By default, this screen will simply display the first three fields of your form. Customizing the Entries page columns allows you to quickly view the most important entry fields of each form.
In this tutorial, we’ll discuss how to choose which fields are displayed in the Entries page columns.

Before getting started, you’ll first need to make sure WPForms is installed and activated on your WordPress site and that you’ve verified your license. Then you can create a new form or edit an existing one to access the form builder.
You’ll need at least one entry to customize the columns on the Entries page. If you don’t have any yet, you can submit a test entry to follow this tutorial.
Customizing Columns for Form Entries
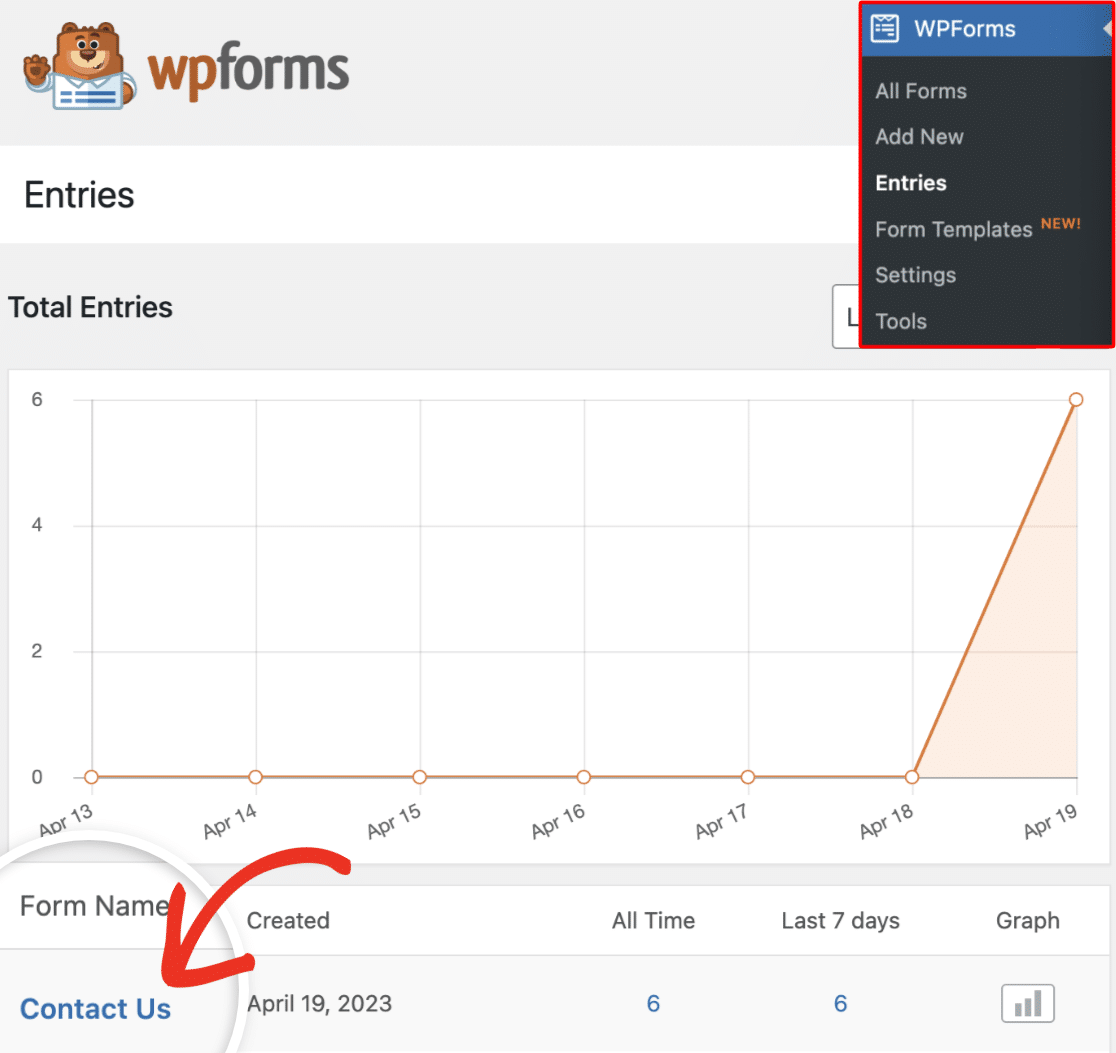
First, go to WPForms » Entries and select the title of the form you’d like to view entries for.
This will open the Entries page for that form. Next, click on the gear icon to the right of the current column titles.

From here, check the box next to the column(s) you’d like to add to display on the Entries page.

You can choose to display several different types of columns. The complete list of types are:
- Form Fields: Select any field from your form to display users’ input or selections for it in the entries table.
- Entry Meta: Display the key details about each form entry, such as the ID, any notes added, the submission date, and the user’s information.
When you’ve selected all the columns you’d like to display, click on the Save Changes button.

That’s it! You can now customize the columns shown on each Entries page for your forms.
Next, would you like to export your entries to a spreadsheet program like Excel? Be sure to check out our tutorial on how to export entry data to a CSV.