AI Summary
Would you like to boost customer engagement with customized email notifications for your WordPress site? With just a few steps, you can create personalized email notifications that leave a lasting impression on your audience.
This tutorial will show you how to customize your WPForms notification emails.
In This Article
Before getting started, you’ll need to create a new form or edit an existing one to access the form builder. Then, make sure to complete the basic form notification setup.
Accessing Email Customization Settings
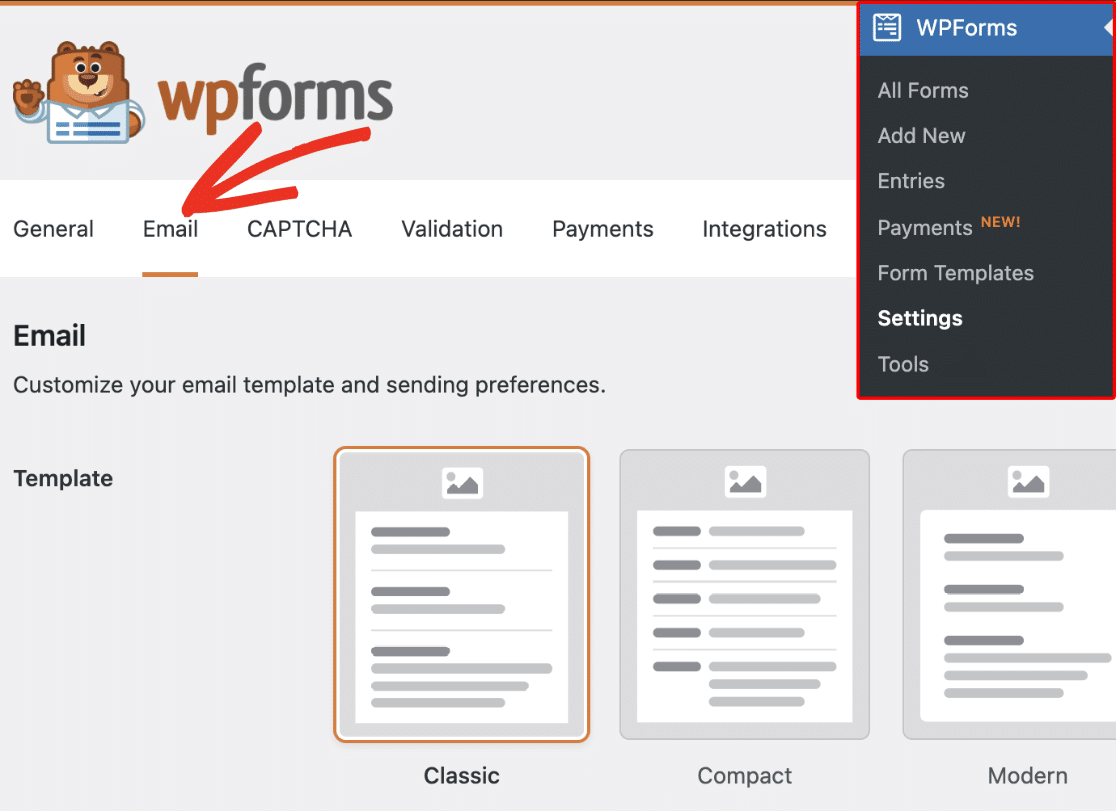
To customize your email notifications, you’ll first need to go to WPForms » Settings and click on the Email tab.
Customizing Email Notifications
After clicking on the Email tab, you’ll find all the settings that allow you to customize email notifications sent through WPForms. We’ll cover each of the customization options in the following sections.
Note: The settings in the following sections apply to all WPForms notification emails for your site, not just those for an individual form.
Choosing an Email Template
WPForms provides many templates that you can use to customize the look and feel of your notification emails.
In the Template section, you’ll find all the available templates WPForms supports. Each of the email templates has its unique style and features. Below, we’ve outlined the available templates.
- Classic
- Compact
- Modern
- Elegant
- Tech
- Plain Text
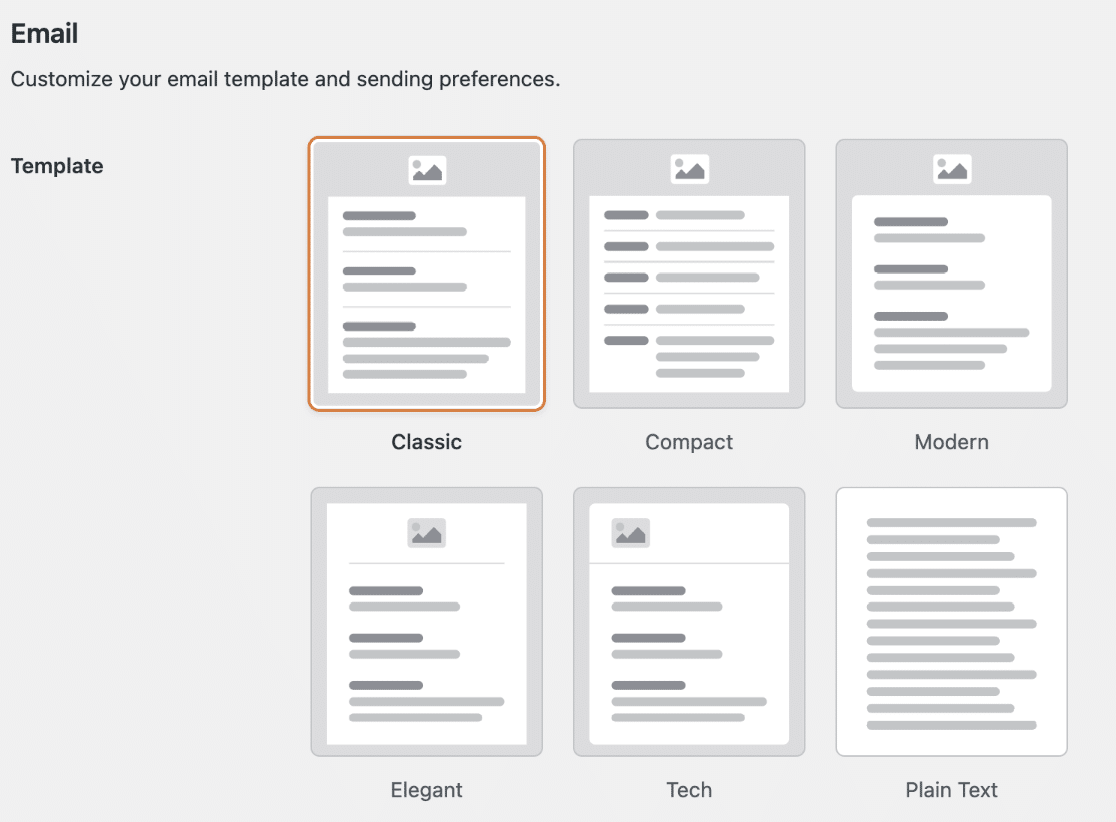
Note: You’ll need a valid WPForms license to use the Modern, Elegant, and Tech templates.
By default, all emails use the Classic format. But you can update the template and color scheme to match your brand styles.
Note: If you previously configured the HTML template before upgrading to WPForms version 1.8.5 or higher, you’ll see the Legacy template selected by default. This template doesn’t support some of the modern styling options like setting a color scheme or changing the font family. See our FAQ section for more details.
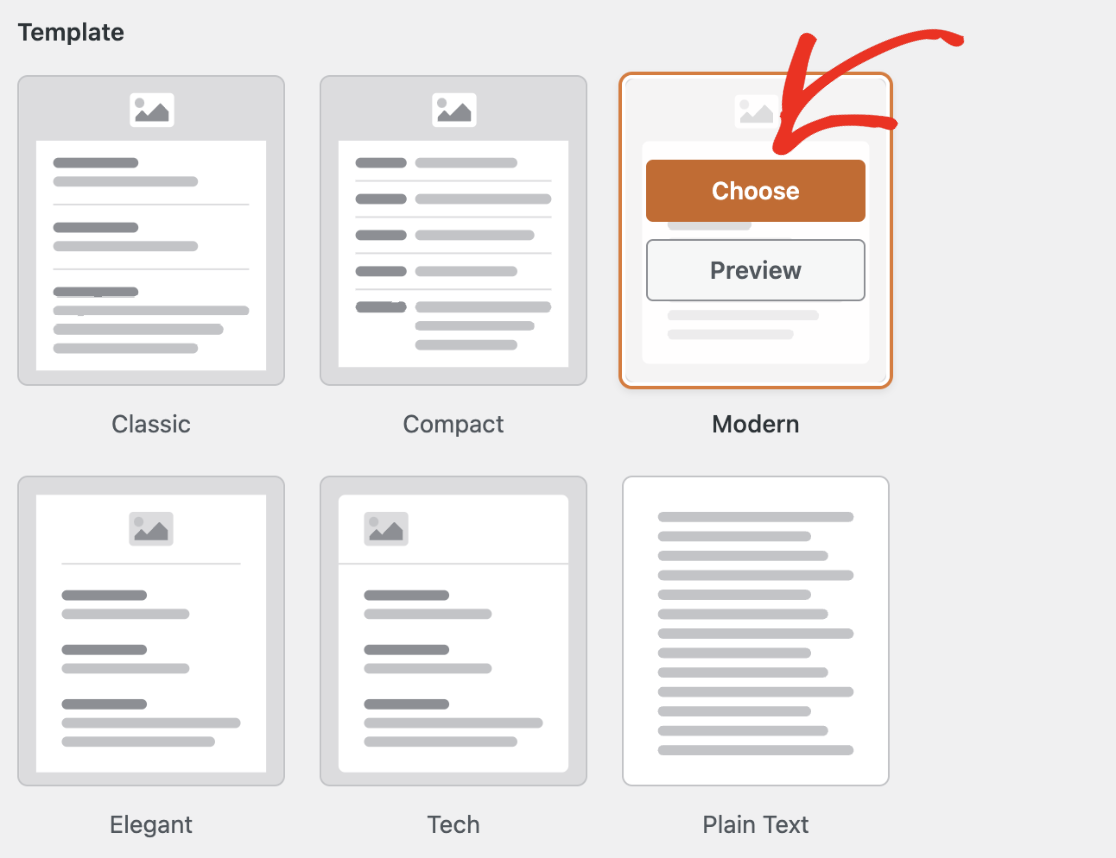
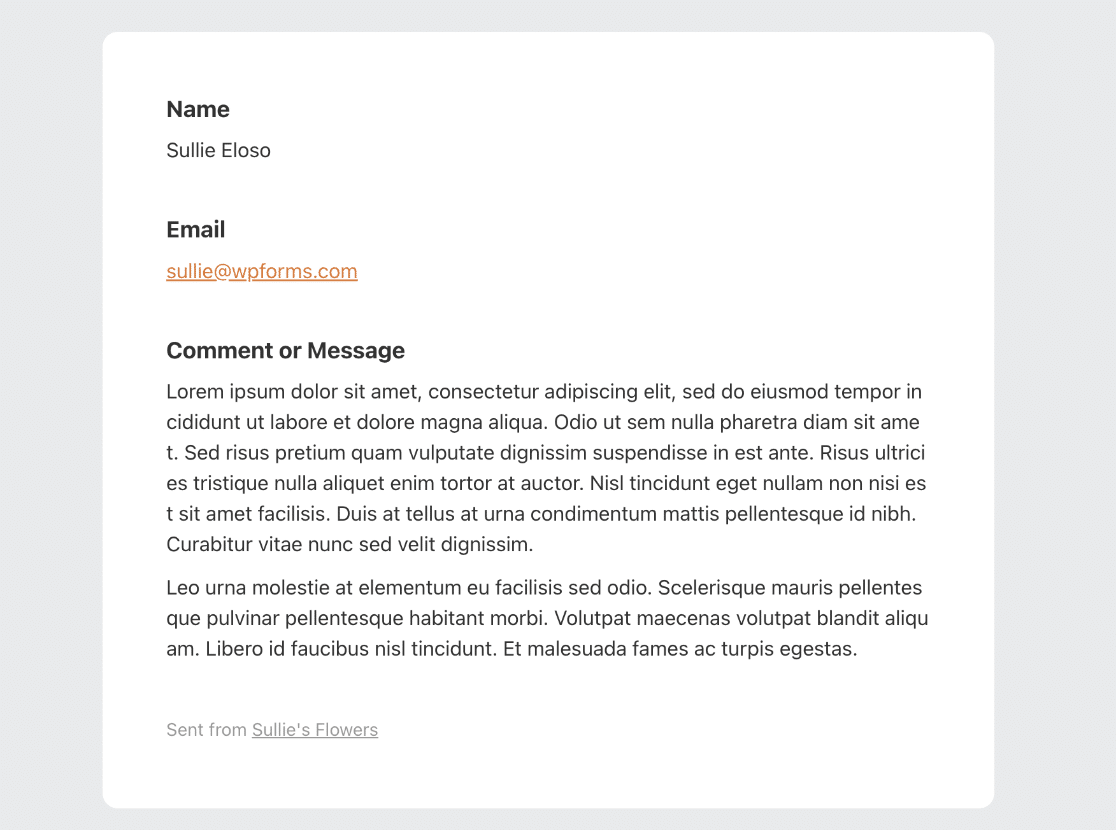
To select a template, simply hover over the template you want to use and click the Choose button. For this example, we’ll choose the Modern template, but you can choose anyone you like.
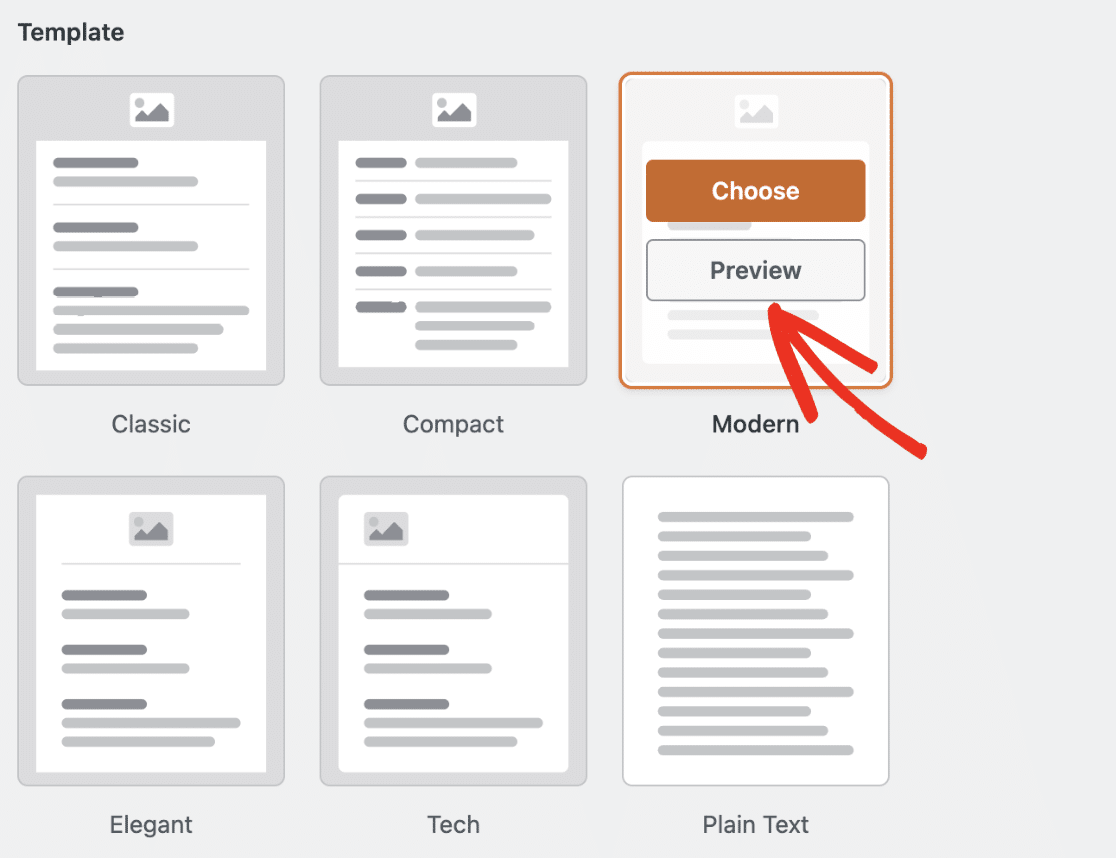
At any time, you can click on the Preview button to see how each of the templates would look in your user’s inbox.
Here’s an example of how the Modern email template looks.
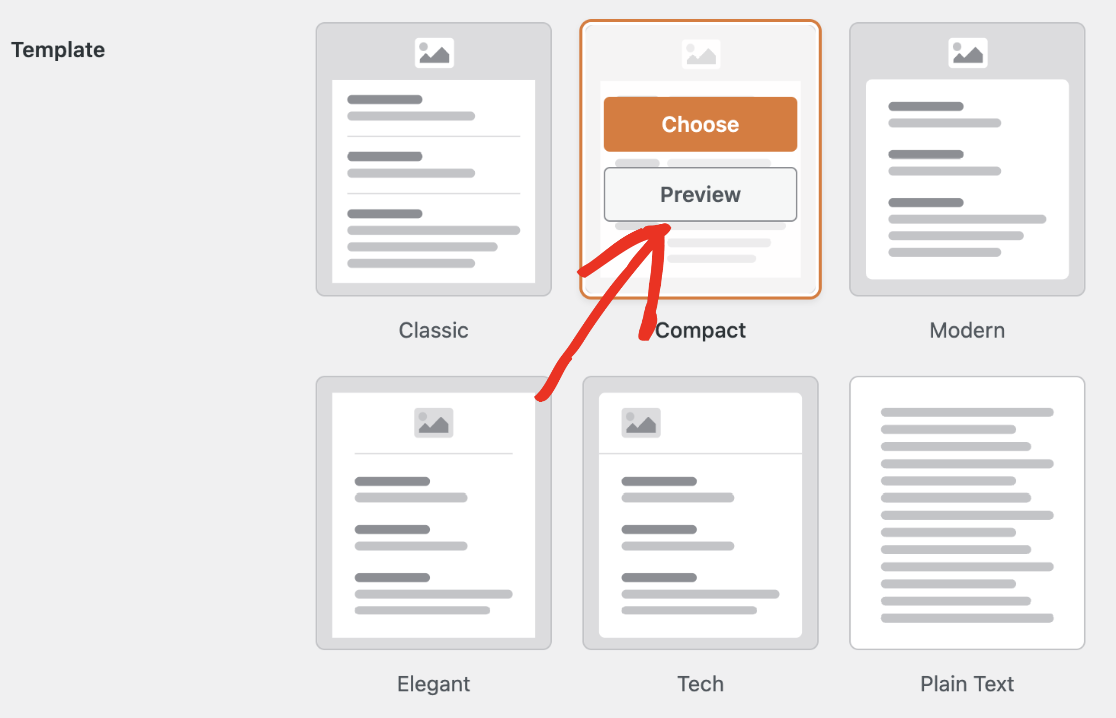
If you’d prefer to switch to compact notifications, select Compact from the Template section. Then hit Preview to see how it looks.
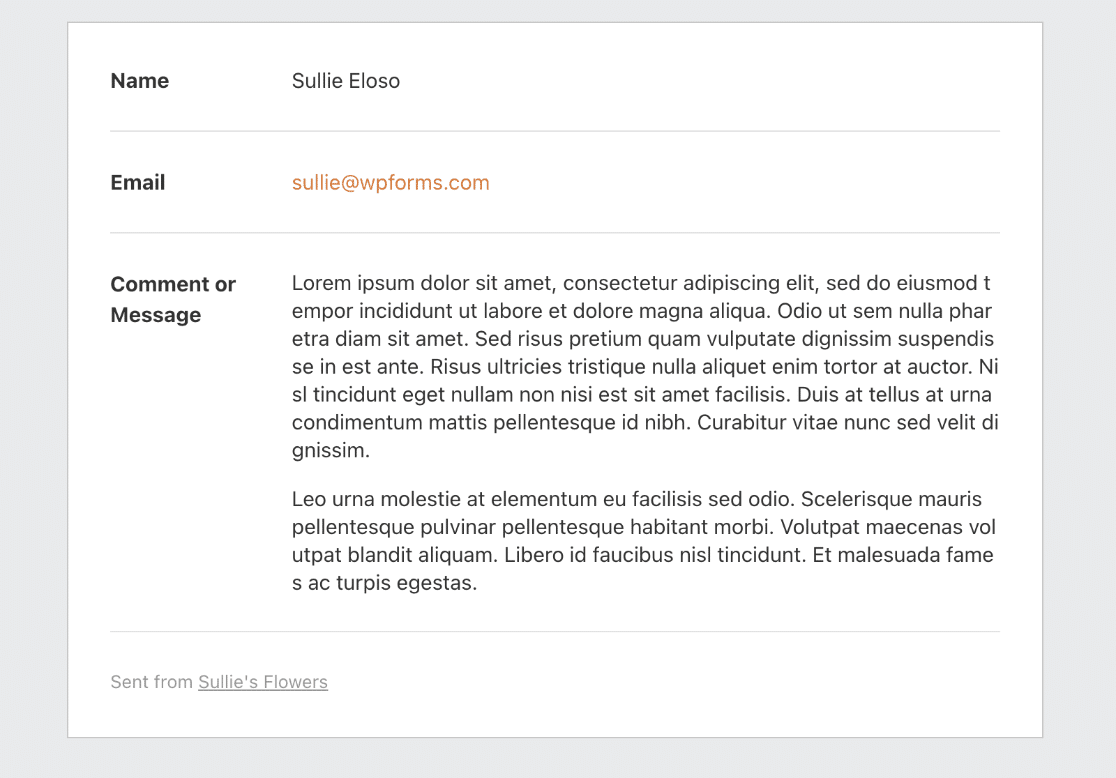
Here’s an example of how a compacted email would look.
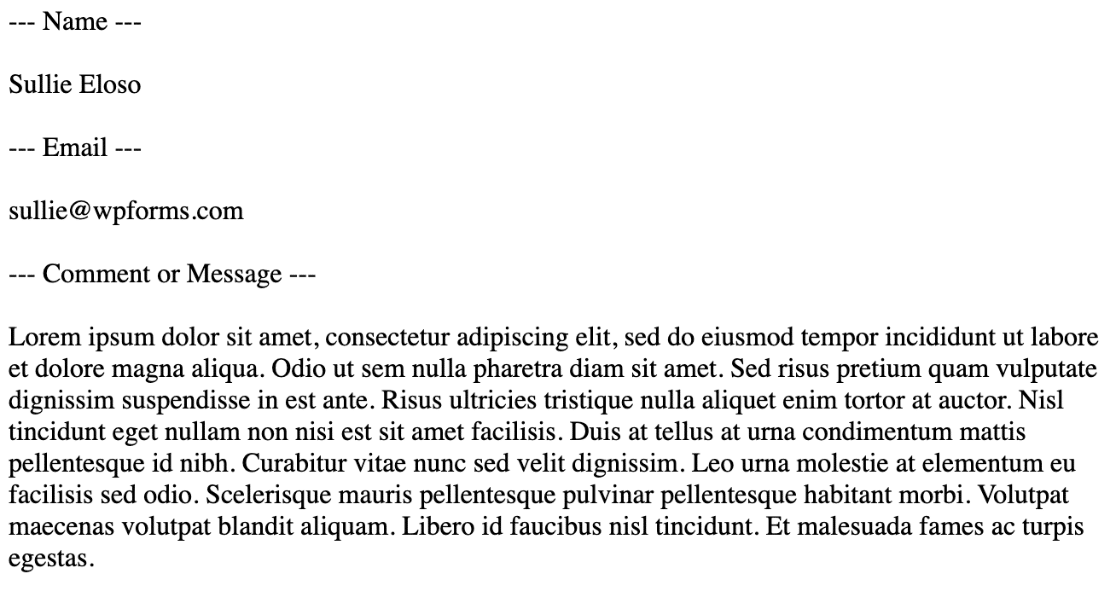
The Plain Text option removes all styles from the notification email. Here is how it looks when you preview the template.
Adjusting the Appearance Setting
WPForms lets you customize your email notifications with a Light or Dark theme to match your brand’s style. To change the visual theme of your emails, simply select the Light or Dark option from the Appearance section. This ensures your emails will look great and stay consistent with your brand in your users’ inboxes.

Once you choose your preferred appearance mode, you can set its own header image, unique color scheme, and typography for that mode, ensuring a cohesive and appealing look for your emails in both Light and Dark themes.
Note: Email appearance may vary based on your device’s dark mode setting. For accurate preview, ensure your device settings match your chosen appearance option.
Setting an Email Header Image
If you’d like to add a header image or logo to your notification emails, scroll to the Header Image section. Then click Upload Image to select your header image file.

For the best viewing experience on all screen sizes, we recommend using an image that’s 300 pixels wide and 100 pixels tall.
After uploading your image, you’ll see a dropdown to select the size of the image to use for your email notifications. The available sizes include Small, Medium, and Large. Selecting any of these sizes will adjust the image resolution to match your chosen size.
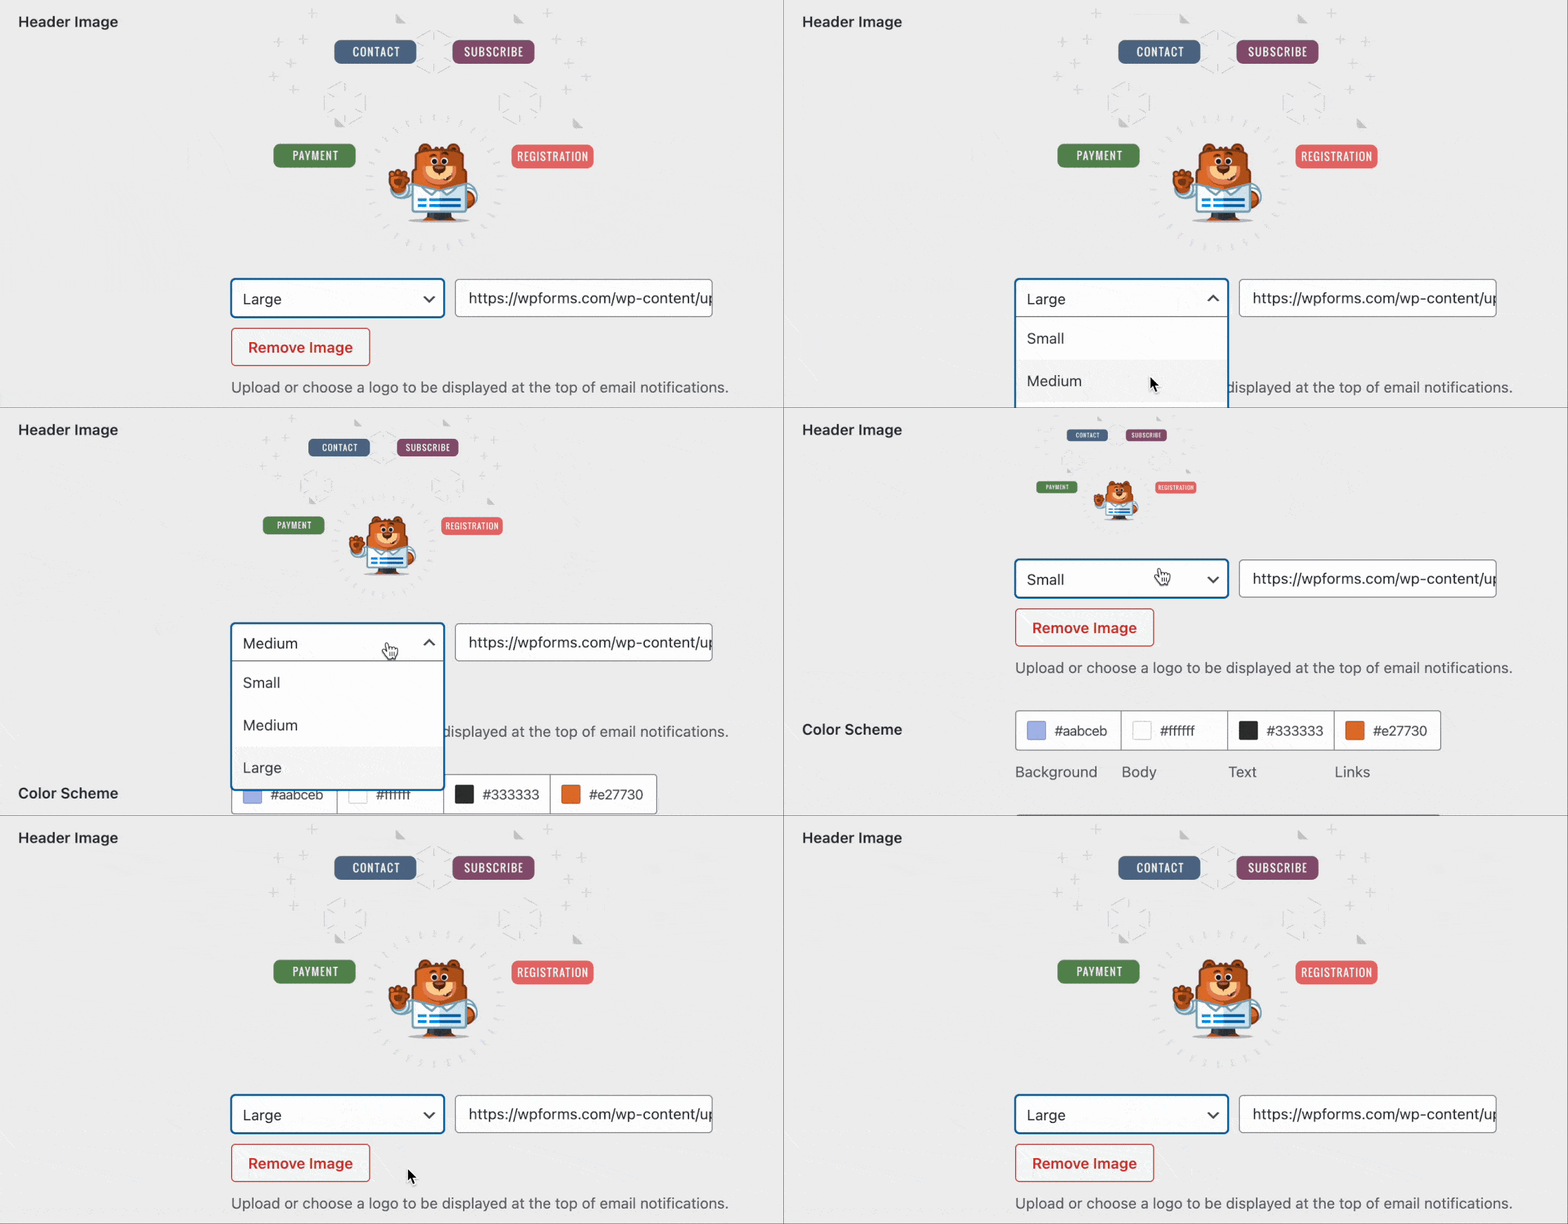
The image also adjusts to the user’s screen. This means if you’re viewing the notification email from a mobile device, it will adjust to suit the screen size.
For more details, check out our tutorial on adding a header image to notification emails.
Changing the Color Scheme
WPForms provides a Color Scheme section that allows you to customize the colors of elements on the notification email. Below we’ve explained all the available color schemes:

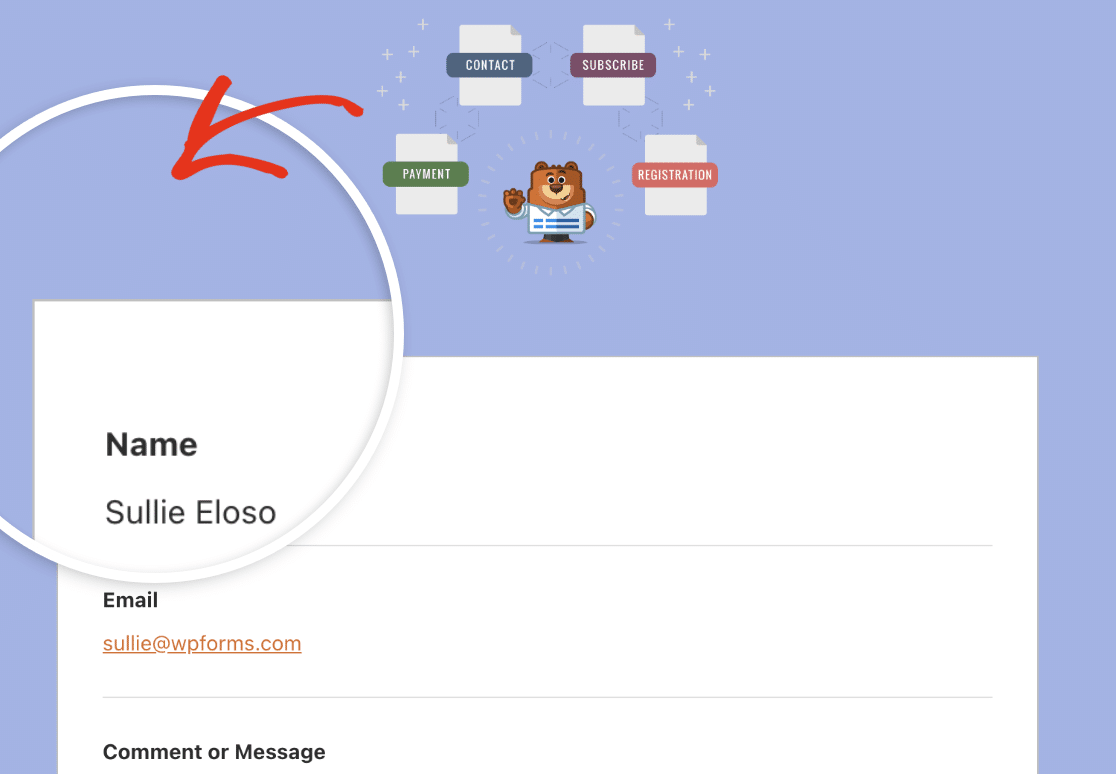
Background
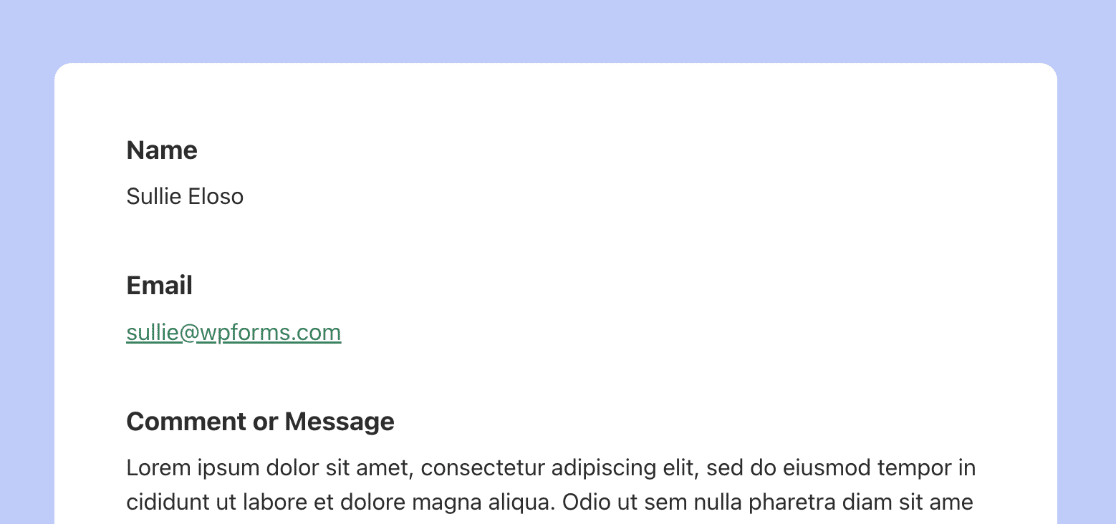
This color controls the outer appearance of the email template. Below is an example with a light blue background color.
Body
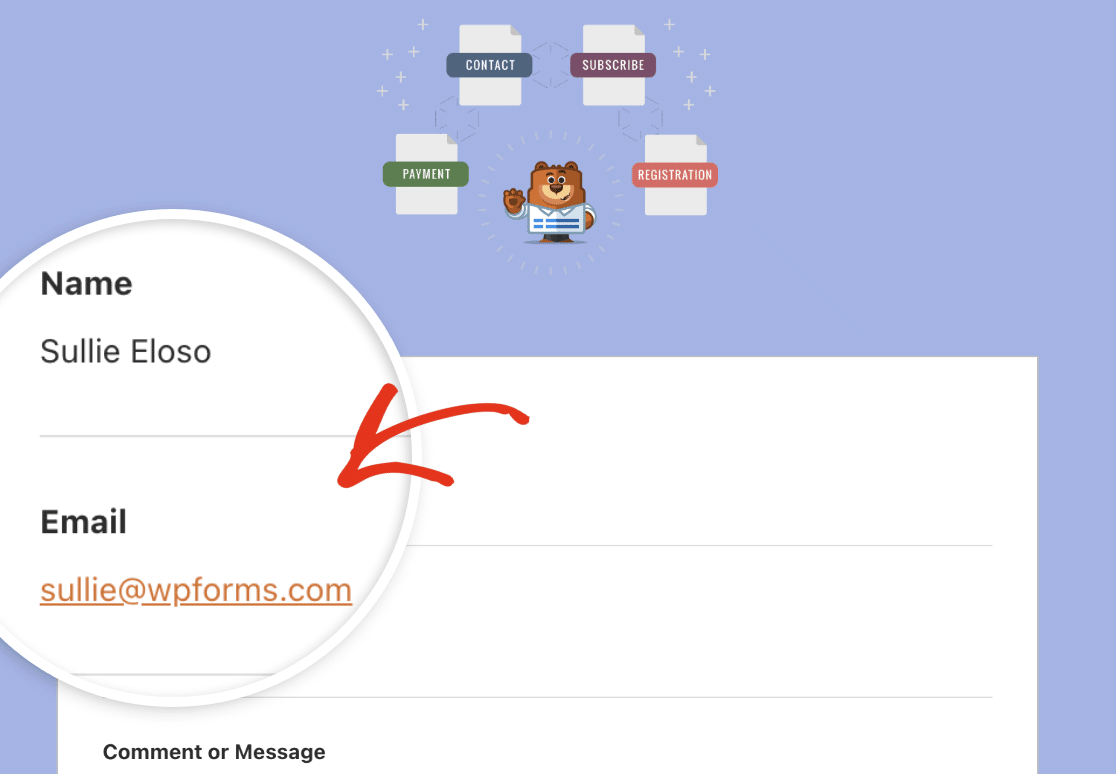
The body color controls the appearance of the email template container. This is the area where the actual notification email resides. Here is an example image with a white color scheme for the body container.
Text
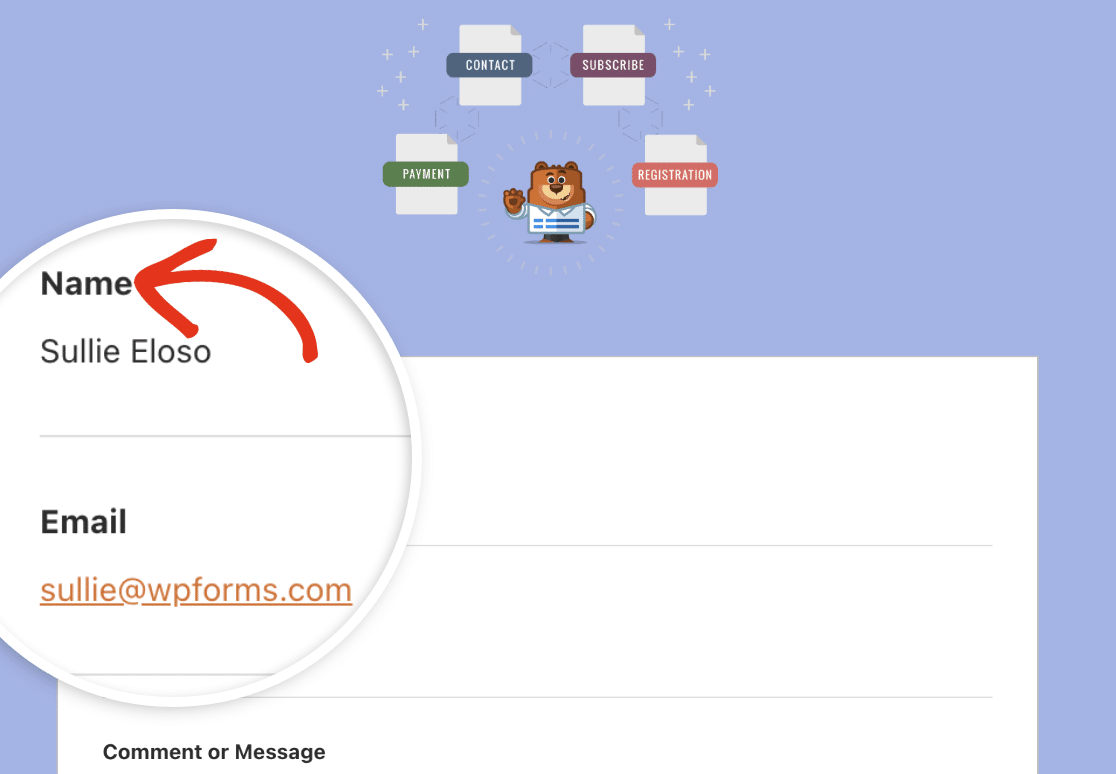
This is the color that will be used for all texts on the notification email. The default color scheme is a dark text color as seen in the image below.
Links
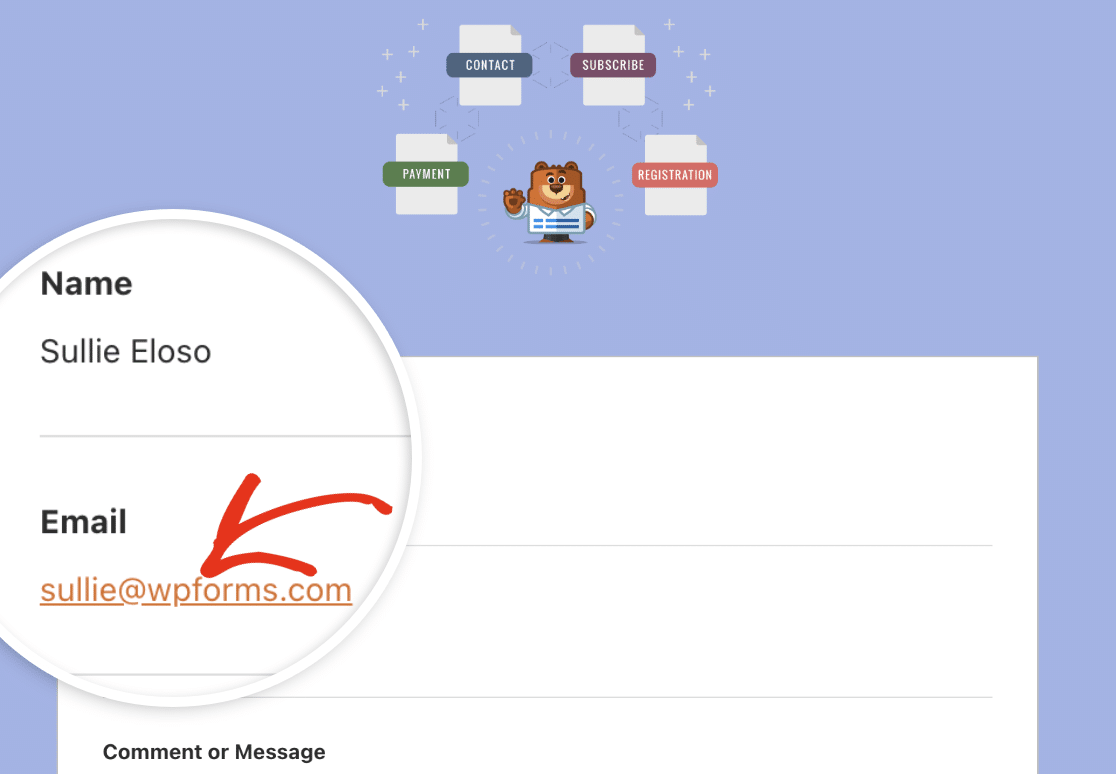
This is the color scheme for all links on the notification email. In the image below, the email address is a link that uses the default orange color for links.
To update any of the colors, you can either enter the HEX value into the color field or click on it to open the color picker.
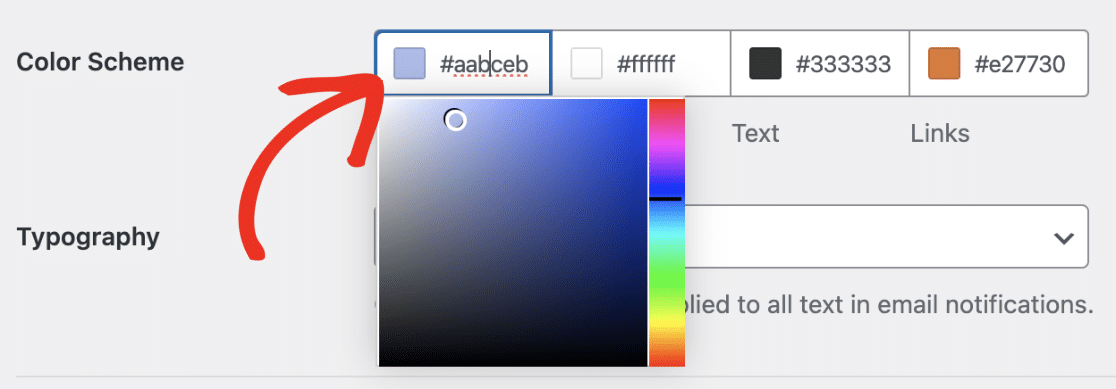
With the color picker, you can adjust the color to suit your taste.
Updating the Email Typography
Typography controls which font family will be used for notification emails from your site. WPForms currently supports Sans Serif and Serif fonts.

To update the font family of your email template, click the Typography dropdown and select the font you’d like to use.

Once you’re done customizing your email template, scroll down and click the Save Settings button to save your changes.

Previewing Your Email Template
After saving your changes, you can preview it to see how it would look on your user’s inbox. To do so, click the Preview Email Template link under the Typography dropdown.

This would open up a preview of your notification email template in a new browser tab. The preview will apply all the customizations you just configured.
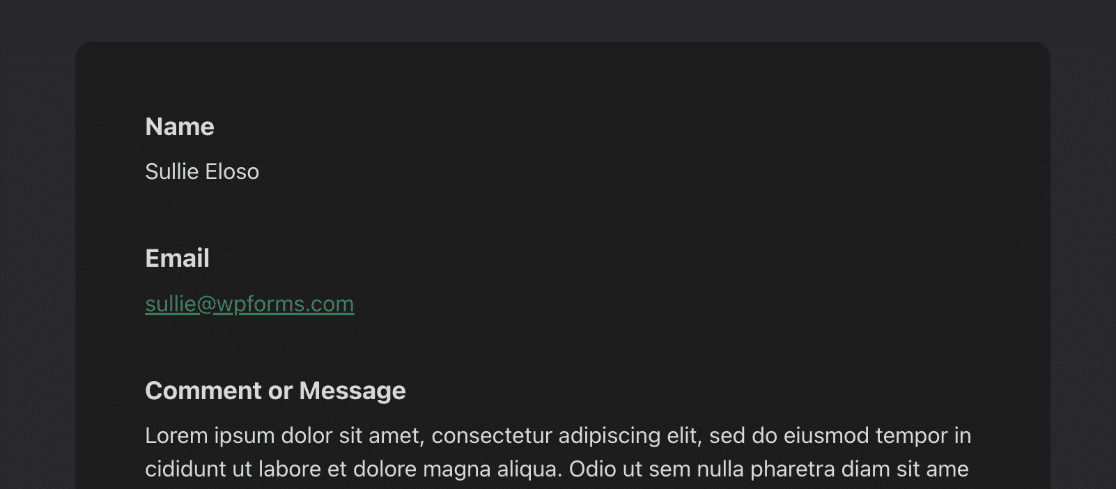
If the user’s device is configured to use dark mode, the notification email will automatically adjust to match the user’s device appearance.
Customizing Notifications for Individual Forms
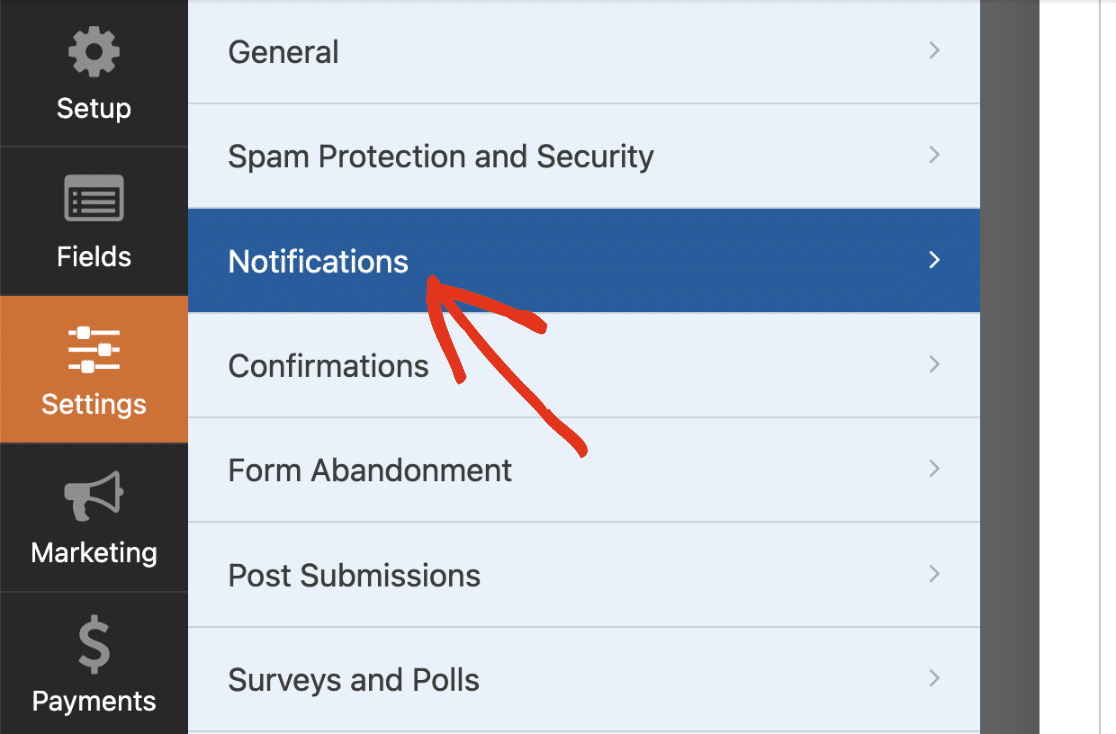
If you’d like, you can customize the email template for a specific form in the form builder. To do so, open the desired form and go to Settings » Notifications.
Next, scroll down and click on Advanced to access advanced settings. You should see an Email Template dropdown menu.
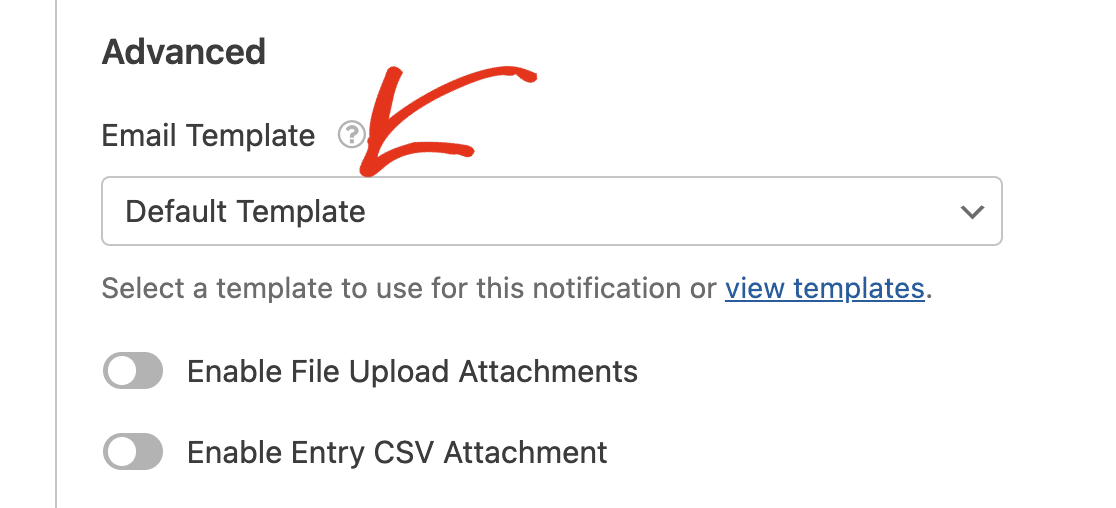
By default, this option is set to Default Template for all forms on your site. This means your forms will use the global settings you configured from the settings page.
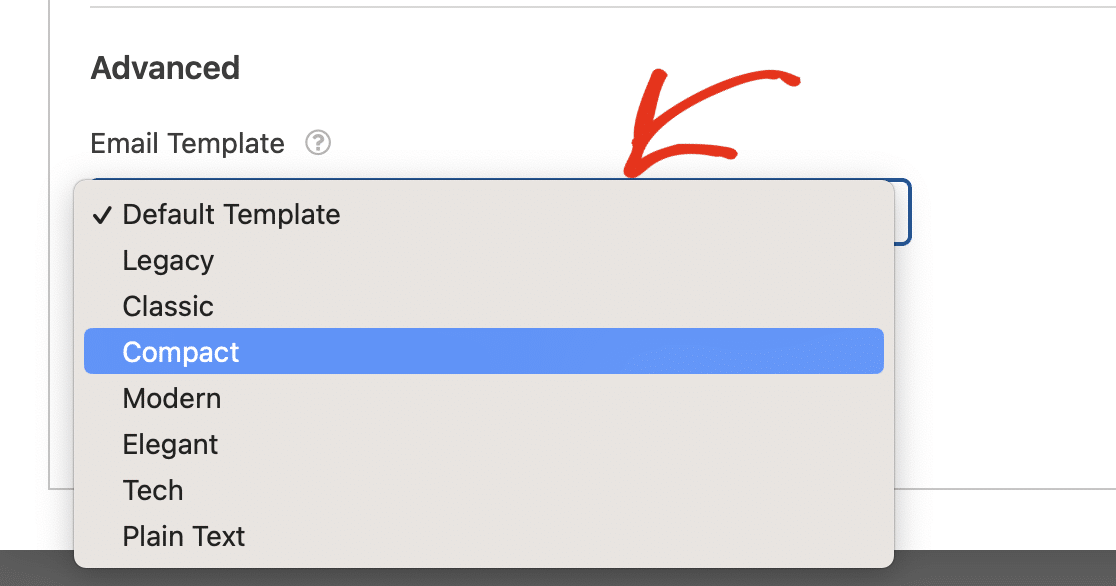
To override the default template, click on the Email Template dropdown and select the template you want to use.
Alternatively, you can click the view templates link to see all available templates.
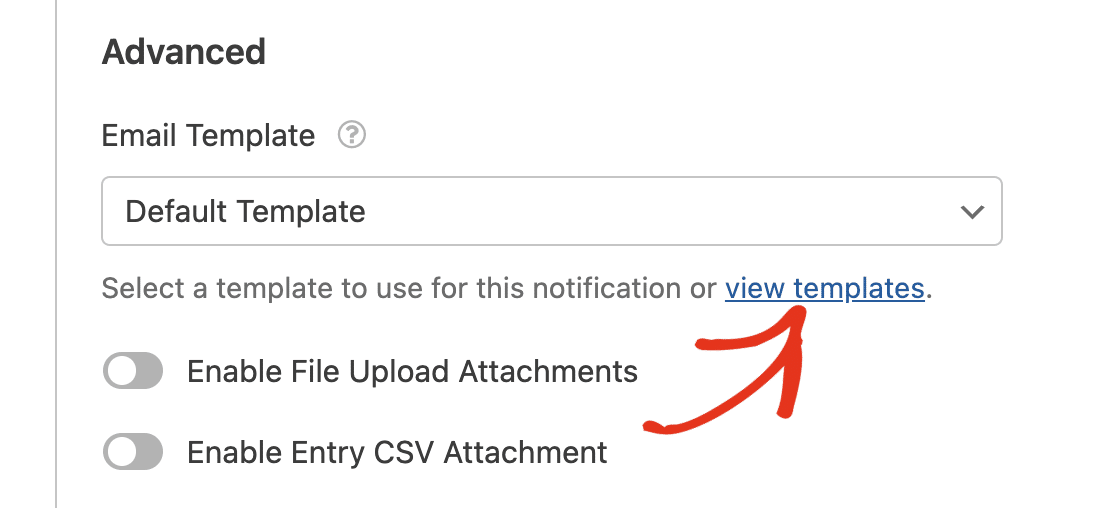
In the overlay that appears, select the one you want to use for the specific form.
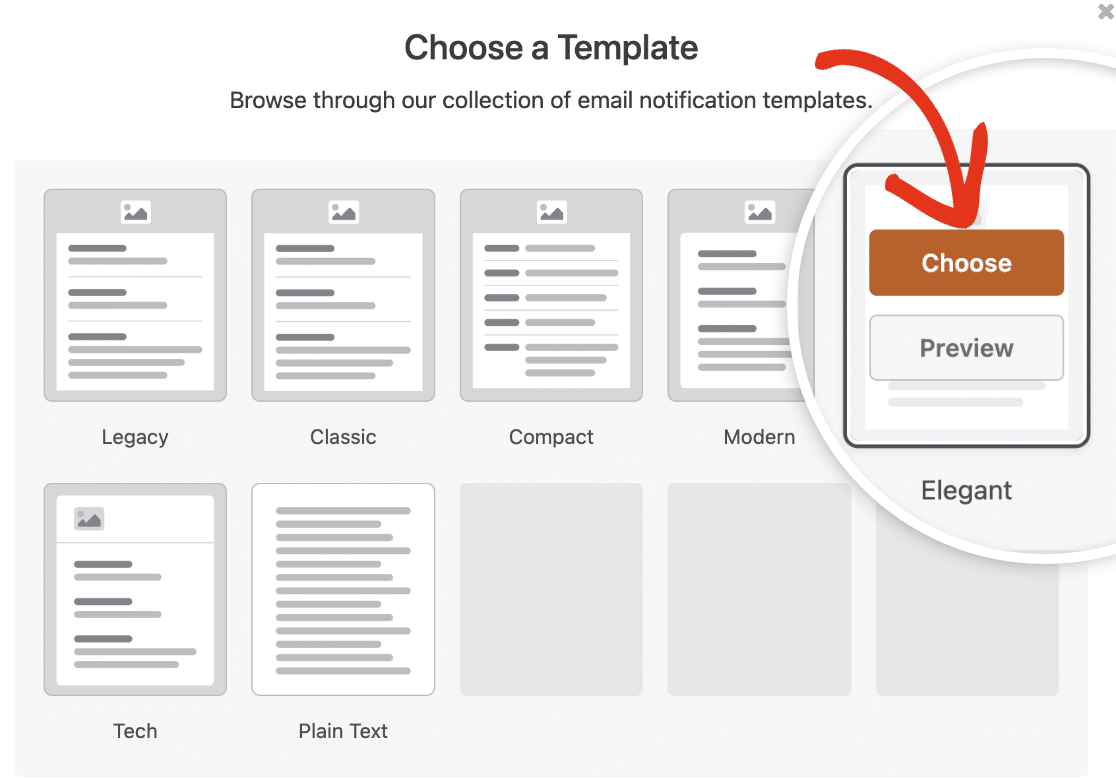
Once done, be sure to save your form to update the template.
Note: Choosing a template from the form builder will apply the template’s default styles. You won’t be able to customize the colors and typography of the template from the form builder.
Frequently Asked Questions
These are answers to some top questions about customizing notification email templates.
I’m not seeing the HTML Template. How can I include it in the email templates library?
If you were using the HTML template prior to updating to WPForms version 1.8.5 or higher, you’ll likely still have the HTML template available on your Email settings page. This template is named Legacy in the Template section.
If you’re not seeing the Legacy template, you can show it by adding a custom filter to your theme’s function.php file. Below is the code snippet to add to your site.
/** * This code snippet forces using the Legacy email template that was called the "HTML" in v1.8.4 and below. */ $settings = (array) get_option( 'wpforms_settings', [] ); $settings['email-template'] = 'default'; update_option( 'wpforms_settings', $settings );
Note: See our guide on adding custom PHP code for WPForms if you need additional guidance.
If you’re using the WPCode plugin, you can easily import the code above to your site. For more details, see our code snippets integration tutorial.
Because the HTML template is not supported by default in WPForms version 1.8.5 or higher, you won’t be able to apply some of the newer styling options to it.
You can still update the background color for your template. However, using the color scheme and typography settings isn’t supported on the Legacy template.
That’s it! Now you know how to customize your form notification emails.
Be sure to explore our other tutorials on form notifications to learn how you can get the most out of them.
