AI Summary
Would you like to choose which fields to show when viewing your form entries? Customizing the Entries page allows you to show the field that matters to you and choose the number of entries that will be displayed.
This tutorial will show you how to customize the rows and columns on the Entries page.
In This Article

Accessing the Entries Page
To get started, go to WPForms » Entries and select the form you’d like to view its entries.
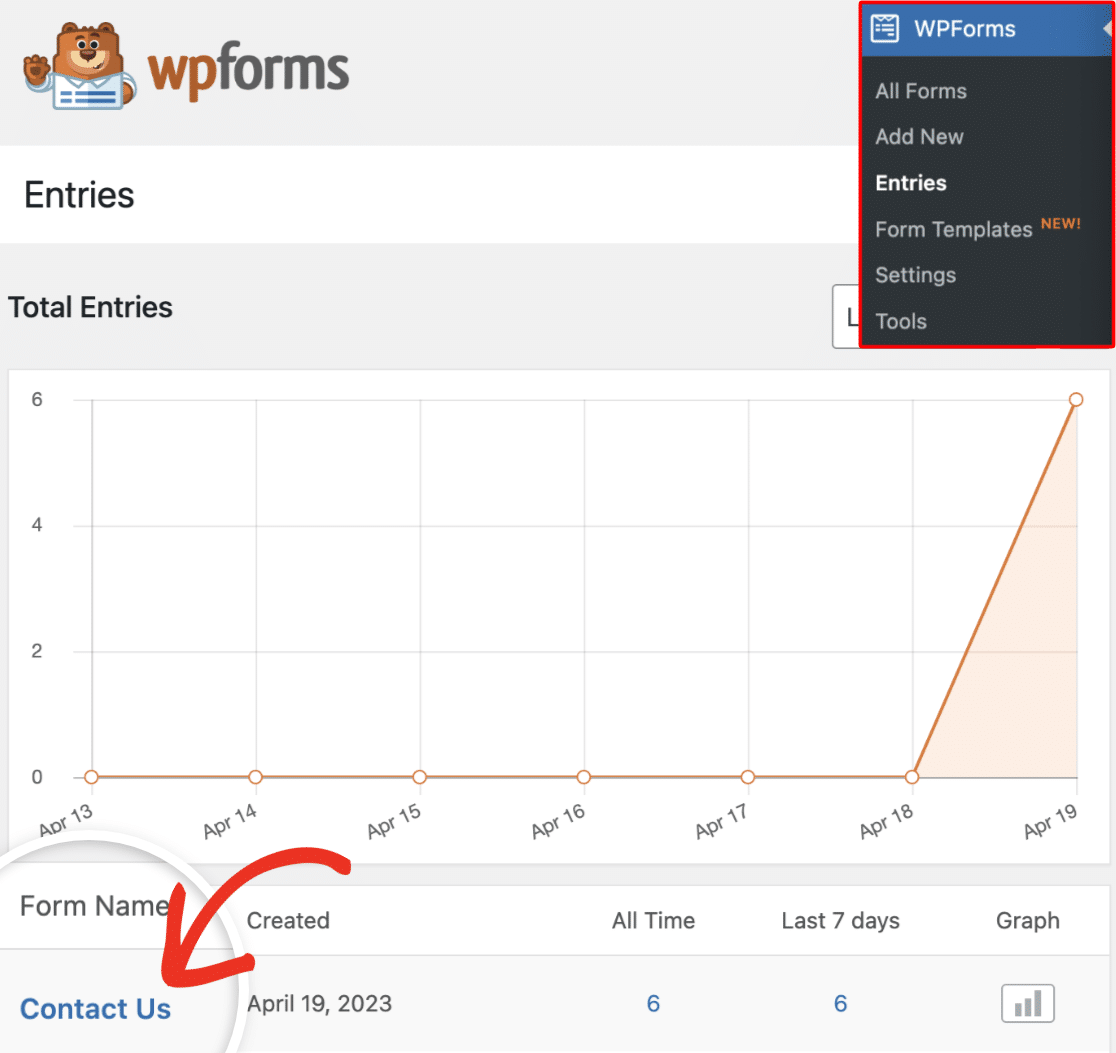
This will take you to the Entries page, where you can view all entries for the specific form you selected.
Customizing Rows and Columns
Here, we’ll show you how to customize the rows and columns on your entries page according to your preference.
Rows
To customize the number of rows displayed on the Entries page, click on the Screen Options tab in the top right corner.

In the dropdown tab, change the number in the Pagination field to the number of entries you’d like to display per page. Then click on the Apply button to save your changes.

Columns
By default, the Entries page will display the data for the first 3 fields of your form. Customizing this lets you quickly view each form’s most important field data.
To choose which fields are visible on the Entries page, click on the settings gear icon in the top right corner of your entries list.
![]()
You’ll see a list of available columns you can add to the entries table. Choose the columns you want to display from the Form Fields and Entry Meta sections.

After making your selection, click the Save Changes button to add the new columns.

Note: If you’d like more details on how to do this, be sure to check out our tutorial on customizing entry field columns.
Customizing the Individual Entry Page View
For further customization, you can also personalize individual entry pages in WPForms. This includes options to control the visibility of field descriptions, empty fields, unselected choices, HTML/content fields, section dividers, and page breaks. You also have the option to adjust the layout for a compact view or to keep the original look.
To learn more, check out our guide on customizing the Individual Entry view in WPForms.
That’s it! Now you know how to choose which fields to show in your Entries page. And also set the number of entries to display.
Next, would you like to find specific entries in the Entries page? Check out our guide to learn how to search and filter form entries.